Looks straight forward, right? hell no.
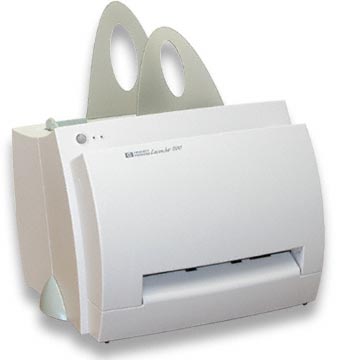
I wasted 2 hours yesterday trying to understand dafuq is wrong. My situation was like this: there is an old printer, connected to a windows7 32 bit system and shared. I had to connect a laptop with a 64bit system to use that printer. The laptop could ping the other computer, it could see the printer and everything else, but it just could not connect to the printer. It would show the error code 0x00000214.
In the end, being hopeless I started googling for the error code and stumbled upon a post on MS technet.
What we did prior to that was try to install drivers first locally few times, which I guess worked, but it would quit because it cannot connect to the shared printer. So we tried to connect the printer to the laptop over a USB cable, laptop installed them drivers but still did not work.
This solution did the trick for me: http://answers.microsoft.com/en-us/windows/forum/windows_7-hardware/error-0x00000214-cannot-connect-to-networked/4517c9e0-9875-47f6-acb7-88963c04a147
Here’s a Copypasta from that link above:
I am assuming that you know how to and have made the necessary share permissions on the computer which is hosting the printer.
To share a network printer being hosted by a computer running a 32bit operating system with another computer running a 32bit operating system, Vista or XP, you would go to Control Panel → Printers → Add Printer → Add a network printer. Apologies if you consider that I am stating the obvious.
Sharing a printer being hosted by a computer running 32bit Vista or XP with a computer running 64bit Vista is not obvious, because if you use the above method, it will not work.
So how? First, you need to know the name of the computer which hosts the printer, and the name of the printer to be shared.
Sitting at the host computer: The procedure is the same for Vista and XP.
Start → My Computer → Properties → Computer Name tab → Change button. Write down the name that you see here because this is the computer name.
Start → Settings → Printers and Faxes → Right click on the printer to be shared → Properties → Sharing tab. Write down the name that you see here because this is the printer name.
OK. Now sit in front of the Vista 64 computer:
Start → Control Panel → Printers → Add printer → Add a local printer → Click on “Create a new port” → Local Port → Next.
The port name will look like this: \\Computer_name\printer_name
So enter the names already retrieved, ensuring that you use the same format, then click OK.
At this point, you will be presented with the “Add New Hardware” process. You can either select the make and model of your printer from the lists or insert your printer installation disk if you can’t find yours. The printer will be added, and you should be able to print a test page.
