Lighters have gone a long way since traditional ones. Now we have things like a so called “Tesla lighter” – which is actually an electric arc generator and you can ignite stuff with it.
These lighters are super cool, some have a coil and a single arc (2-in-1), some have just a double arc tip. They all look pretty nice and cost around 8-15€, depending on whether you want cheap or functional or nice-looking.
Usually Tesla lighters emit a high-pitched frequency sound when activated, maybe it’s just with cheap ones, not sure. They also work in all conditions – wind can’t blow it out (although since it’s all electronic, water isn’t his friend, unlike with flint lighters when you just have to wait for the flint to dry).
Since I play airsoft and use grenades (which are made with firecrackers), I use a cheap jet lighter and sometimes it’s hard to ignite them reliably. It’s resistible to medium winds, but not reliable enough to work on the first try and so I have to keep pressing it to get some fire going. It’s time consuming and enemies can always hear the clicking.
Yes, I could buy a more expensive jet lighter that is much more reliable, but I don’t want to spend a lot of money on that. Tesla lighter seems like a good alternative, but I didn’t want to buy one because they are a bit costly for such a thing and also they don’t have any way to hang them the way I want.
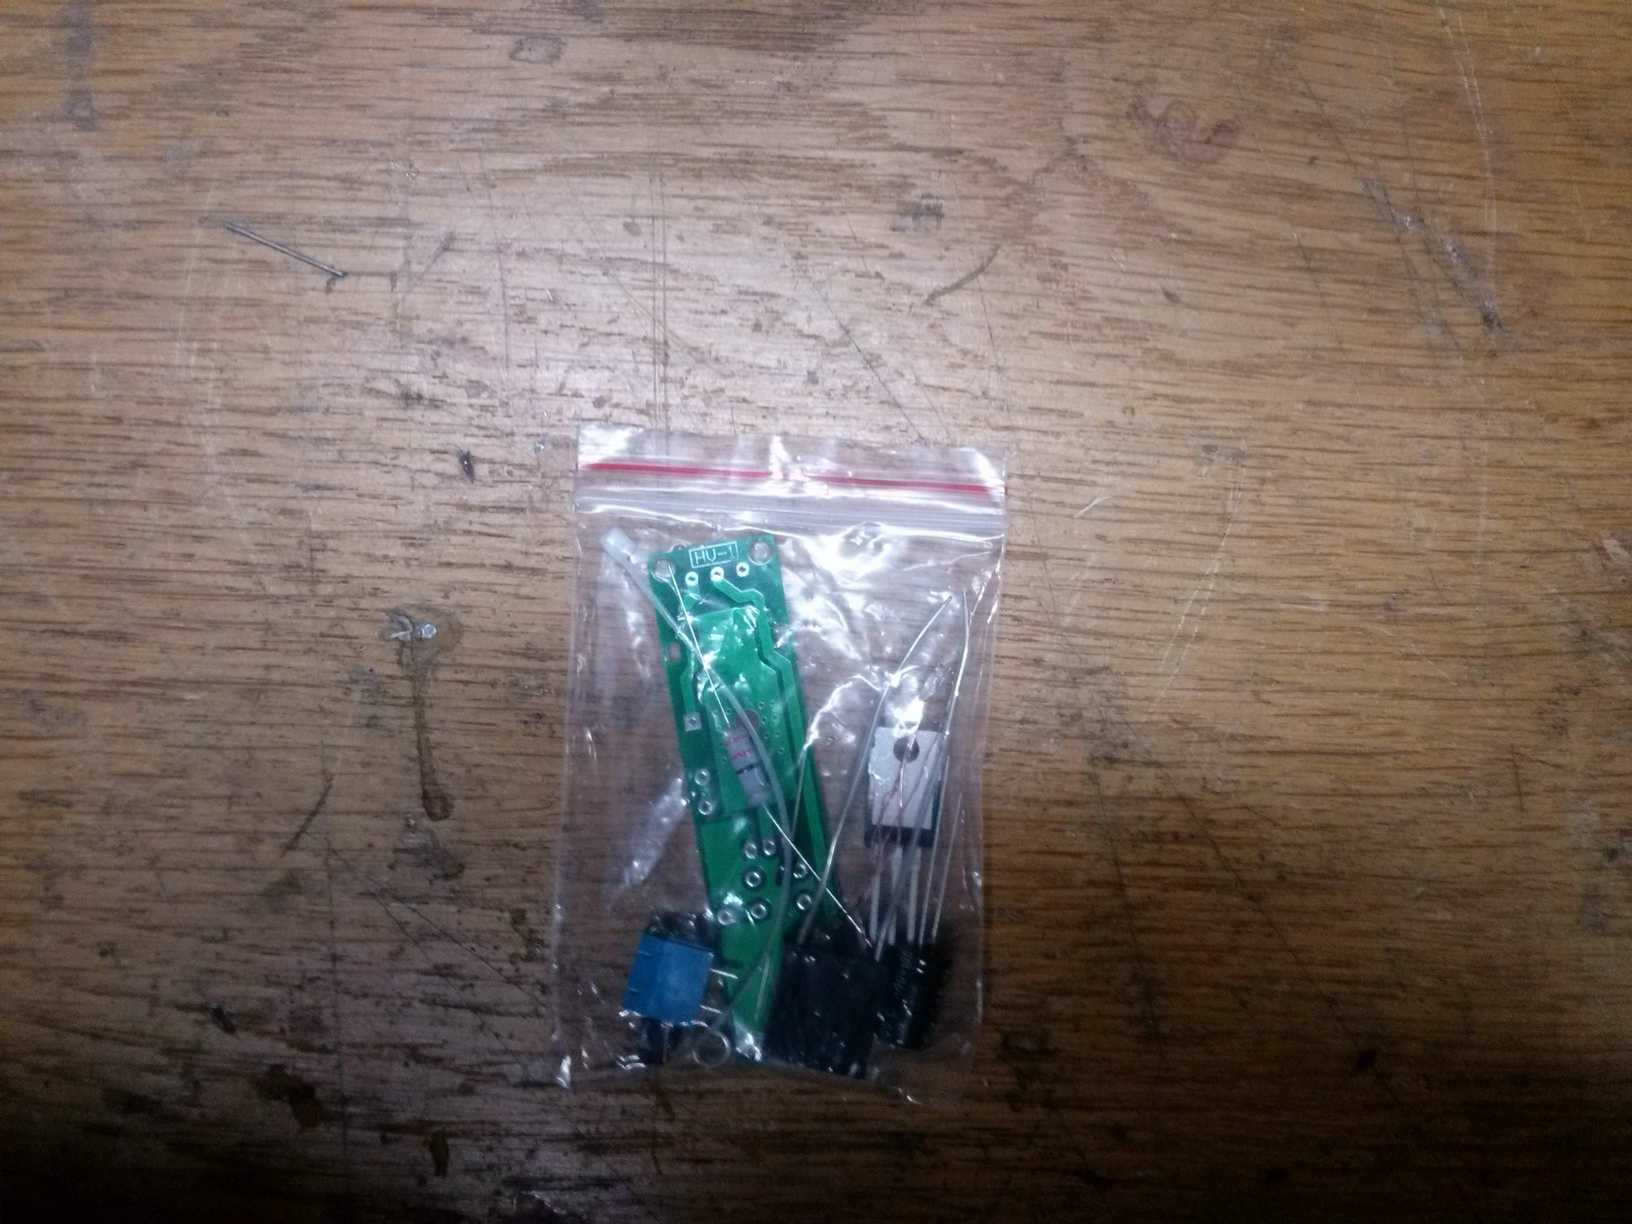
It’s easy to make one yourself from scratch. However you can also buy kits from AliExpress (possibly eBay as well) and assemble them yourself. The one I bought (1.73€) has a nice and small form factor, is powered by 3-5v and uses the same DC inverter as Tesla lighters on the market do.
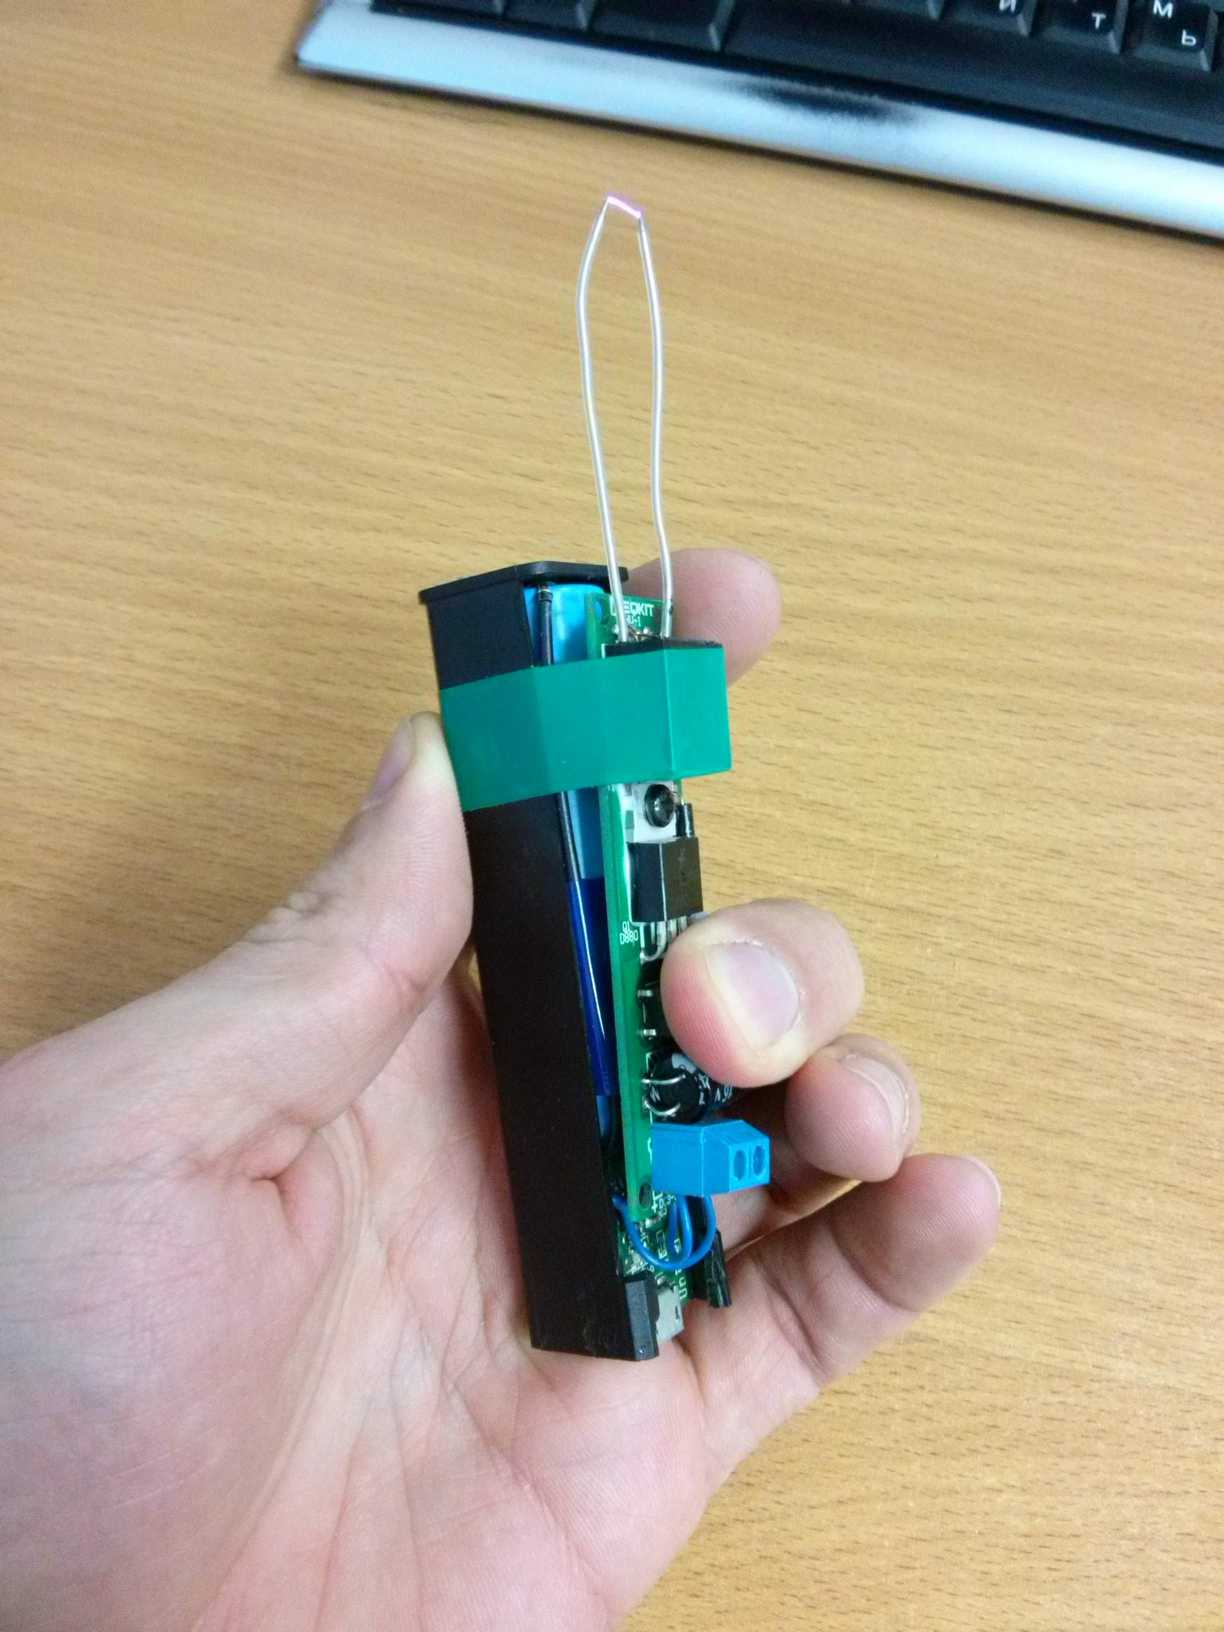
So the idea is to assemble this arc generator kit, connect it to some sort of a Li-ion battery and put it all in a nice case.
I started with assembling the kit.


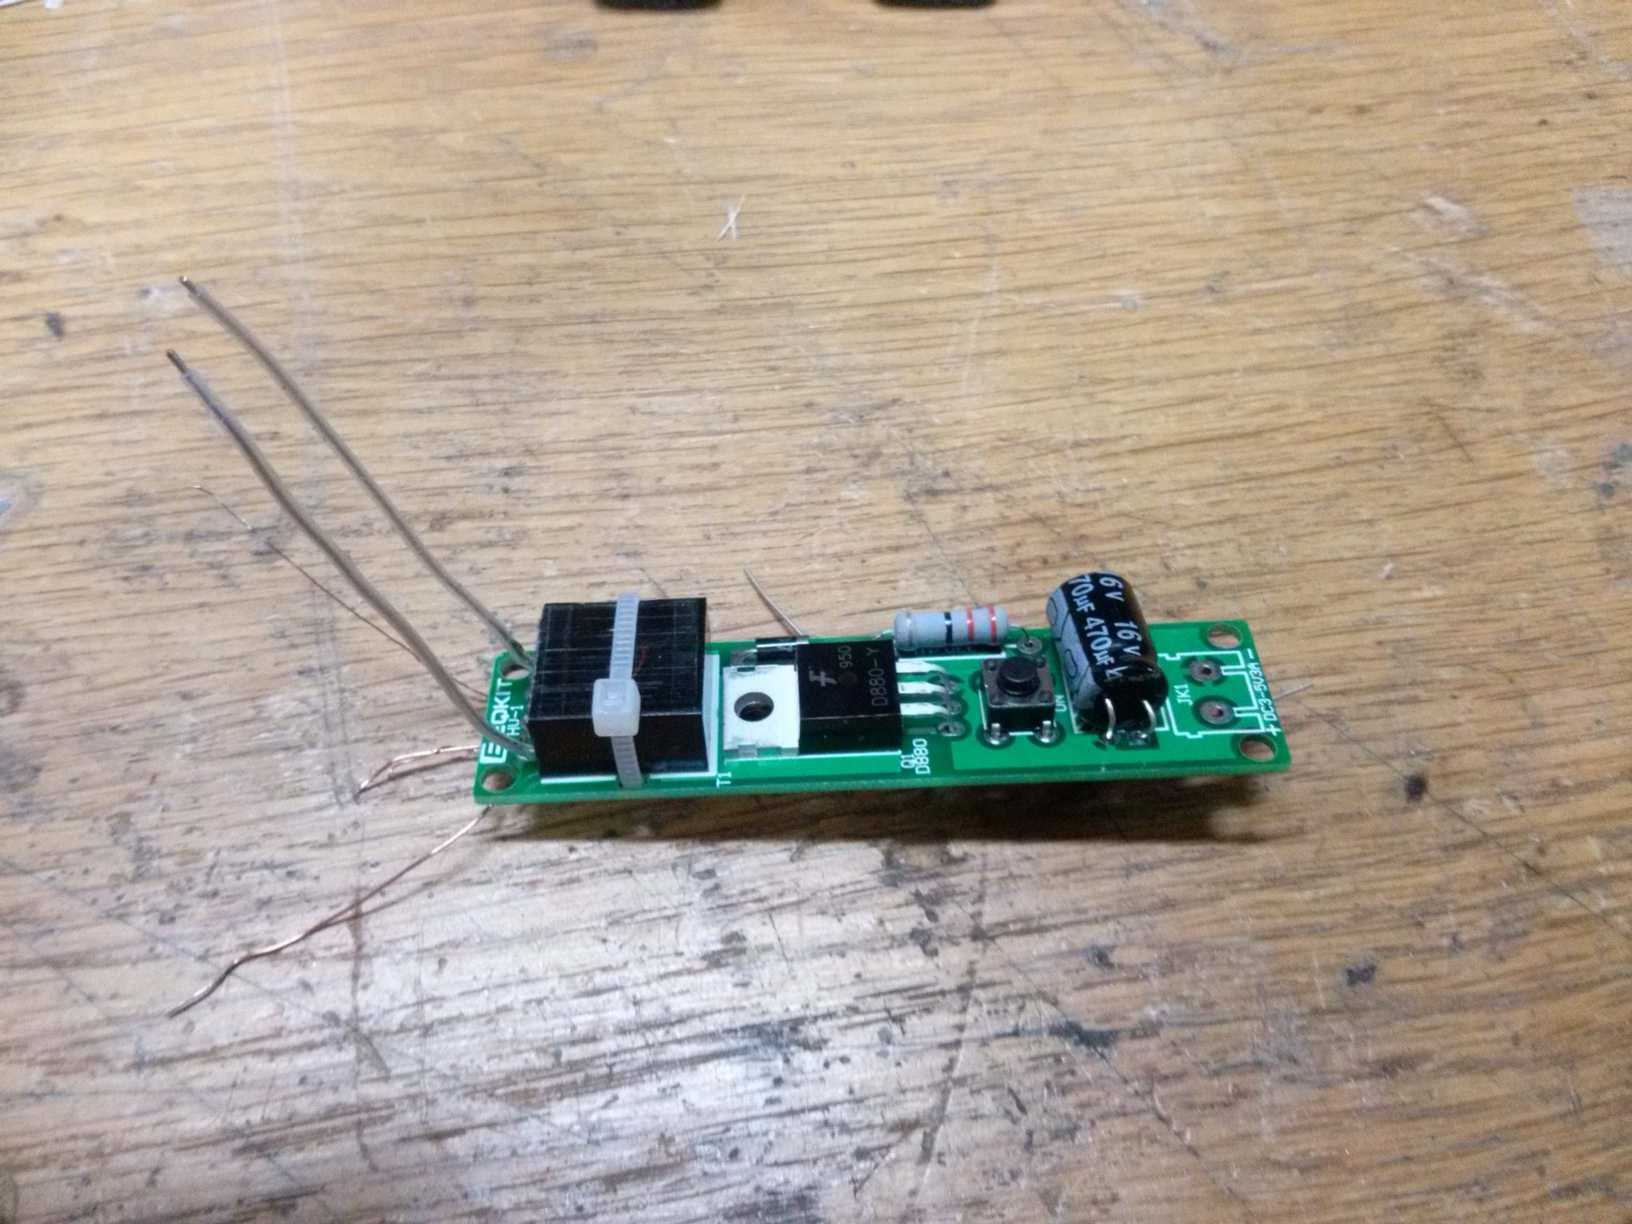
Then I glued down the inverter, capacitor and voltage regulator to save space.
For the battery I used a small (2200mAh) powerbank that I had and don’t use anymore. Ripped it open and connected directly to the terminals.
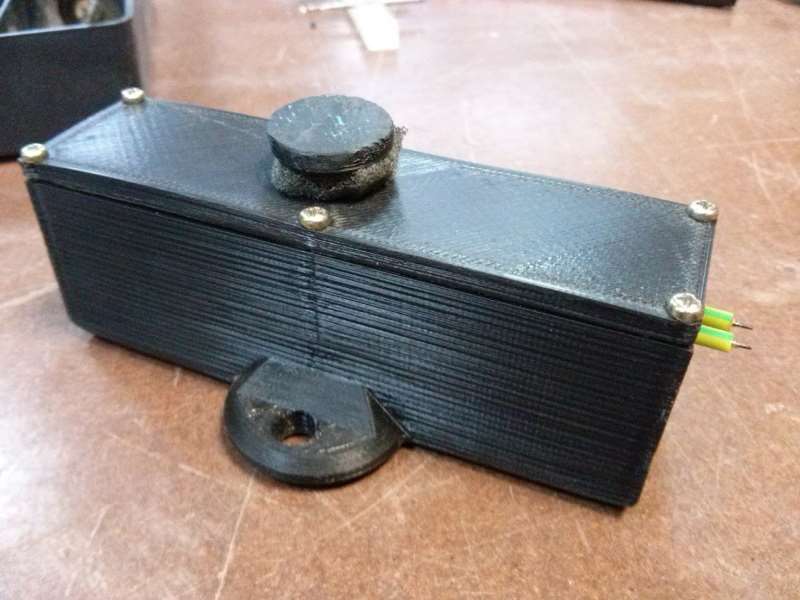
Then I designed a 3D model of a case (which is made up of a body, a cover and a button) using OnShape and printed it out with ABS plastic, which is very tough and durable.

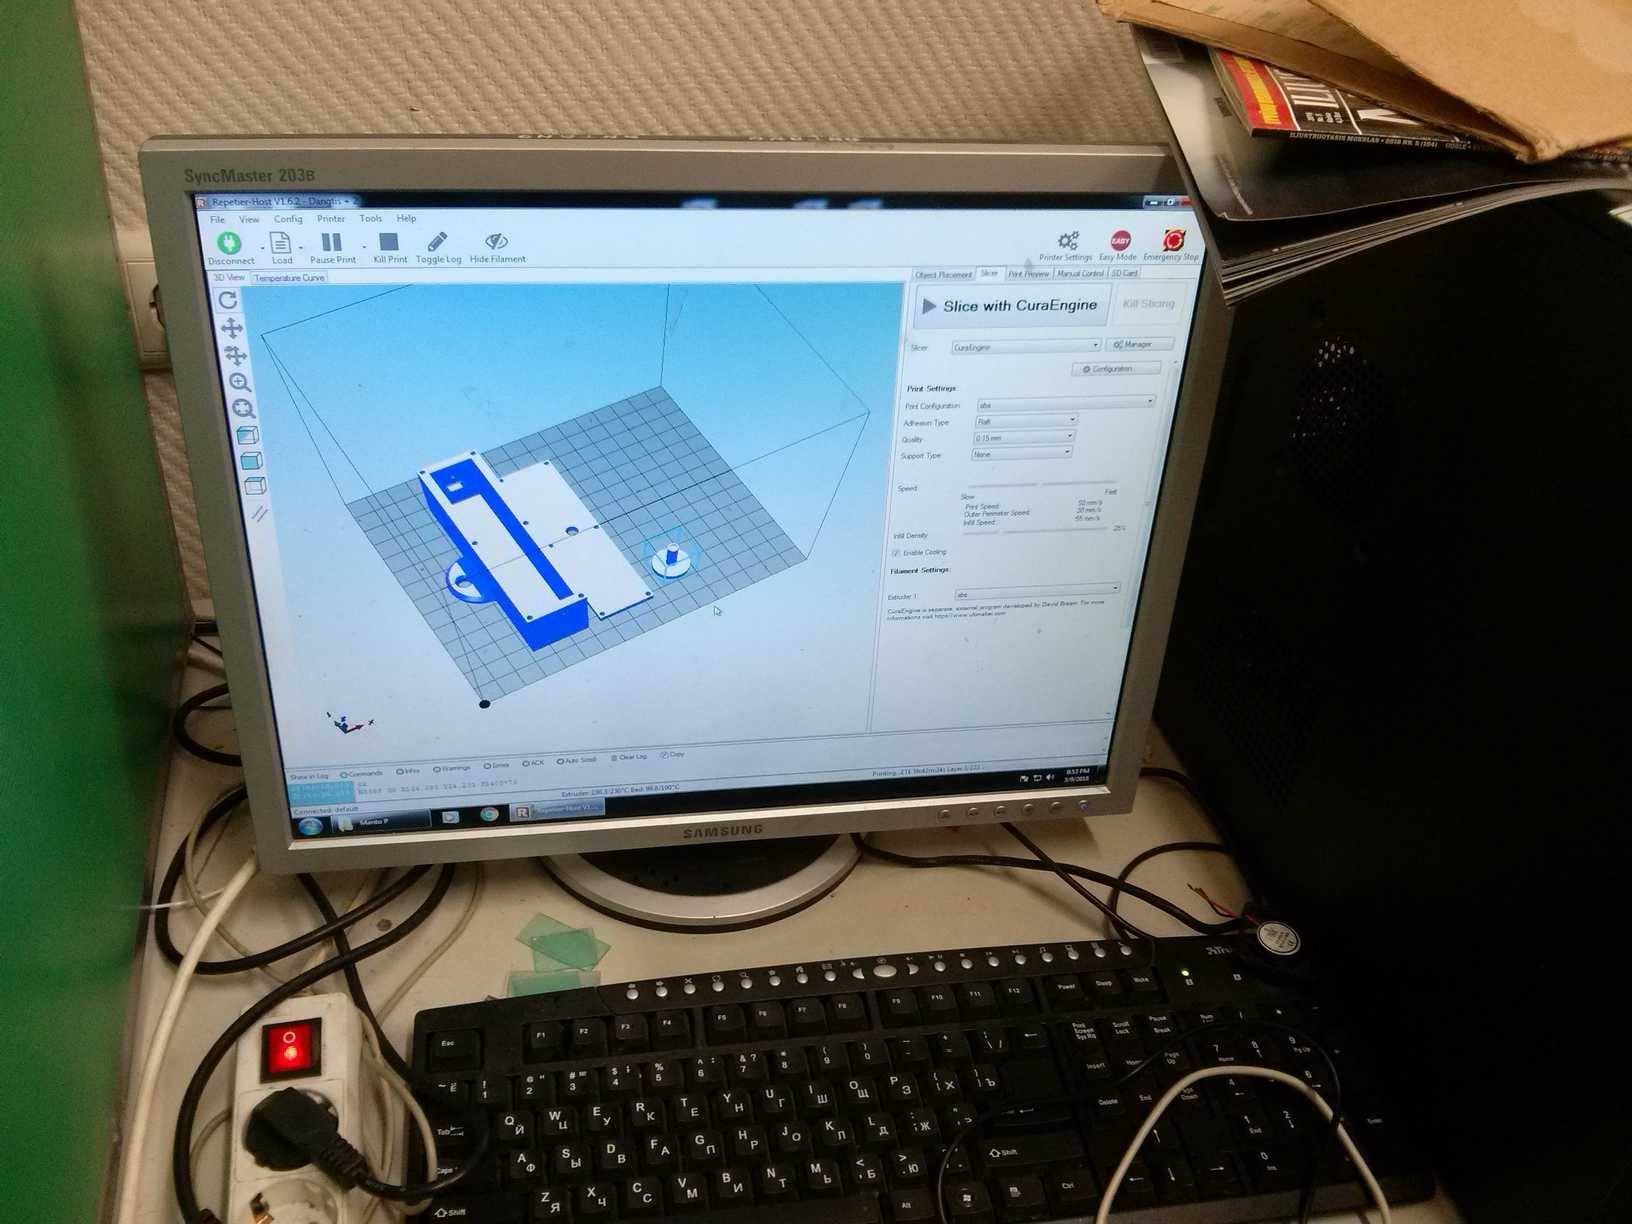


This was my first time being in the process of printing something in 3D, so I thought it might take like an hour to finish, but I later saw that it’s gonna take around 6 hours to complete :D anyway, since I don’t trust my 3D modeling skills and had a lot of help doing this model with OnShape, I thought that it’s not going to be good and will need some tuning. But it was good on first try. Everything fit just right millimeter to millimeter.

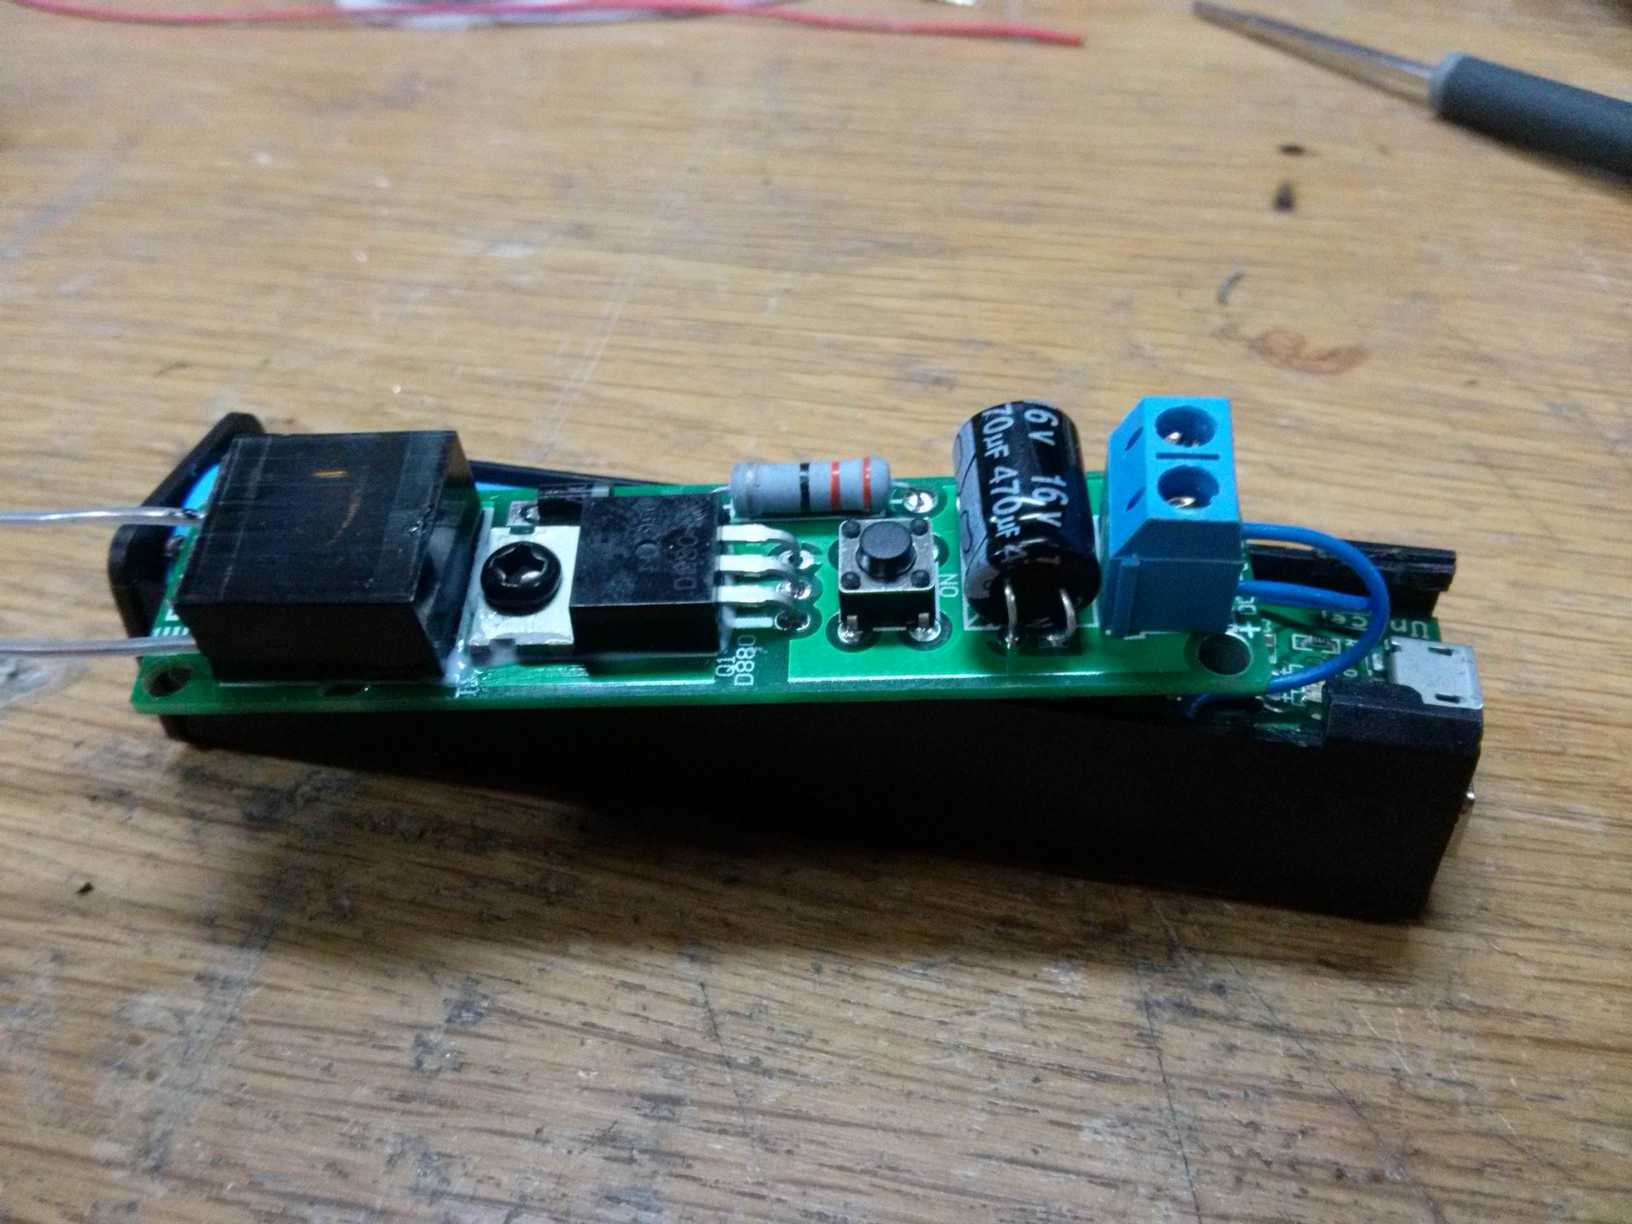
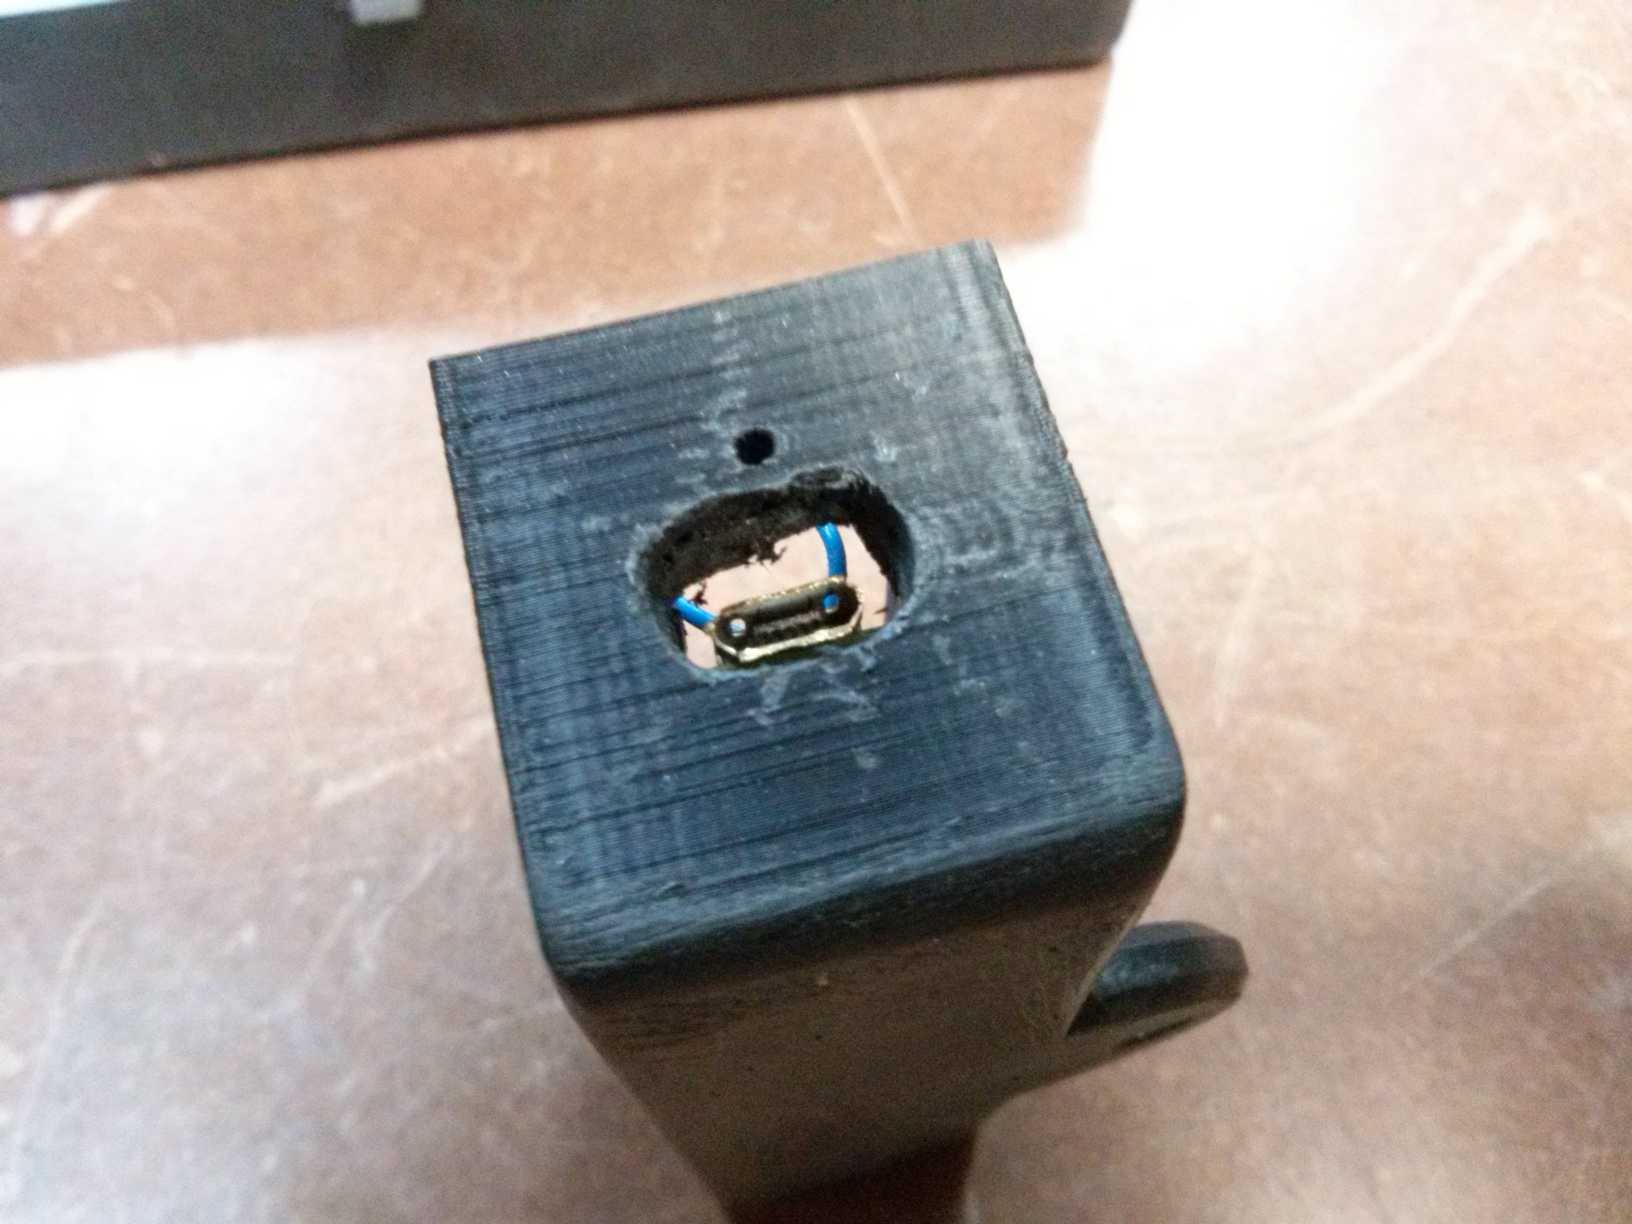
After printing, though, the case needed some work to remove the plastic on the bottom, because it was printed on a “raft”, which is essentially a supportive layer that is needed during printing. And the USB hole wasn’t big enough for a micro USB to fit in.


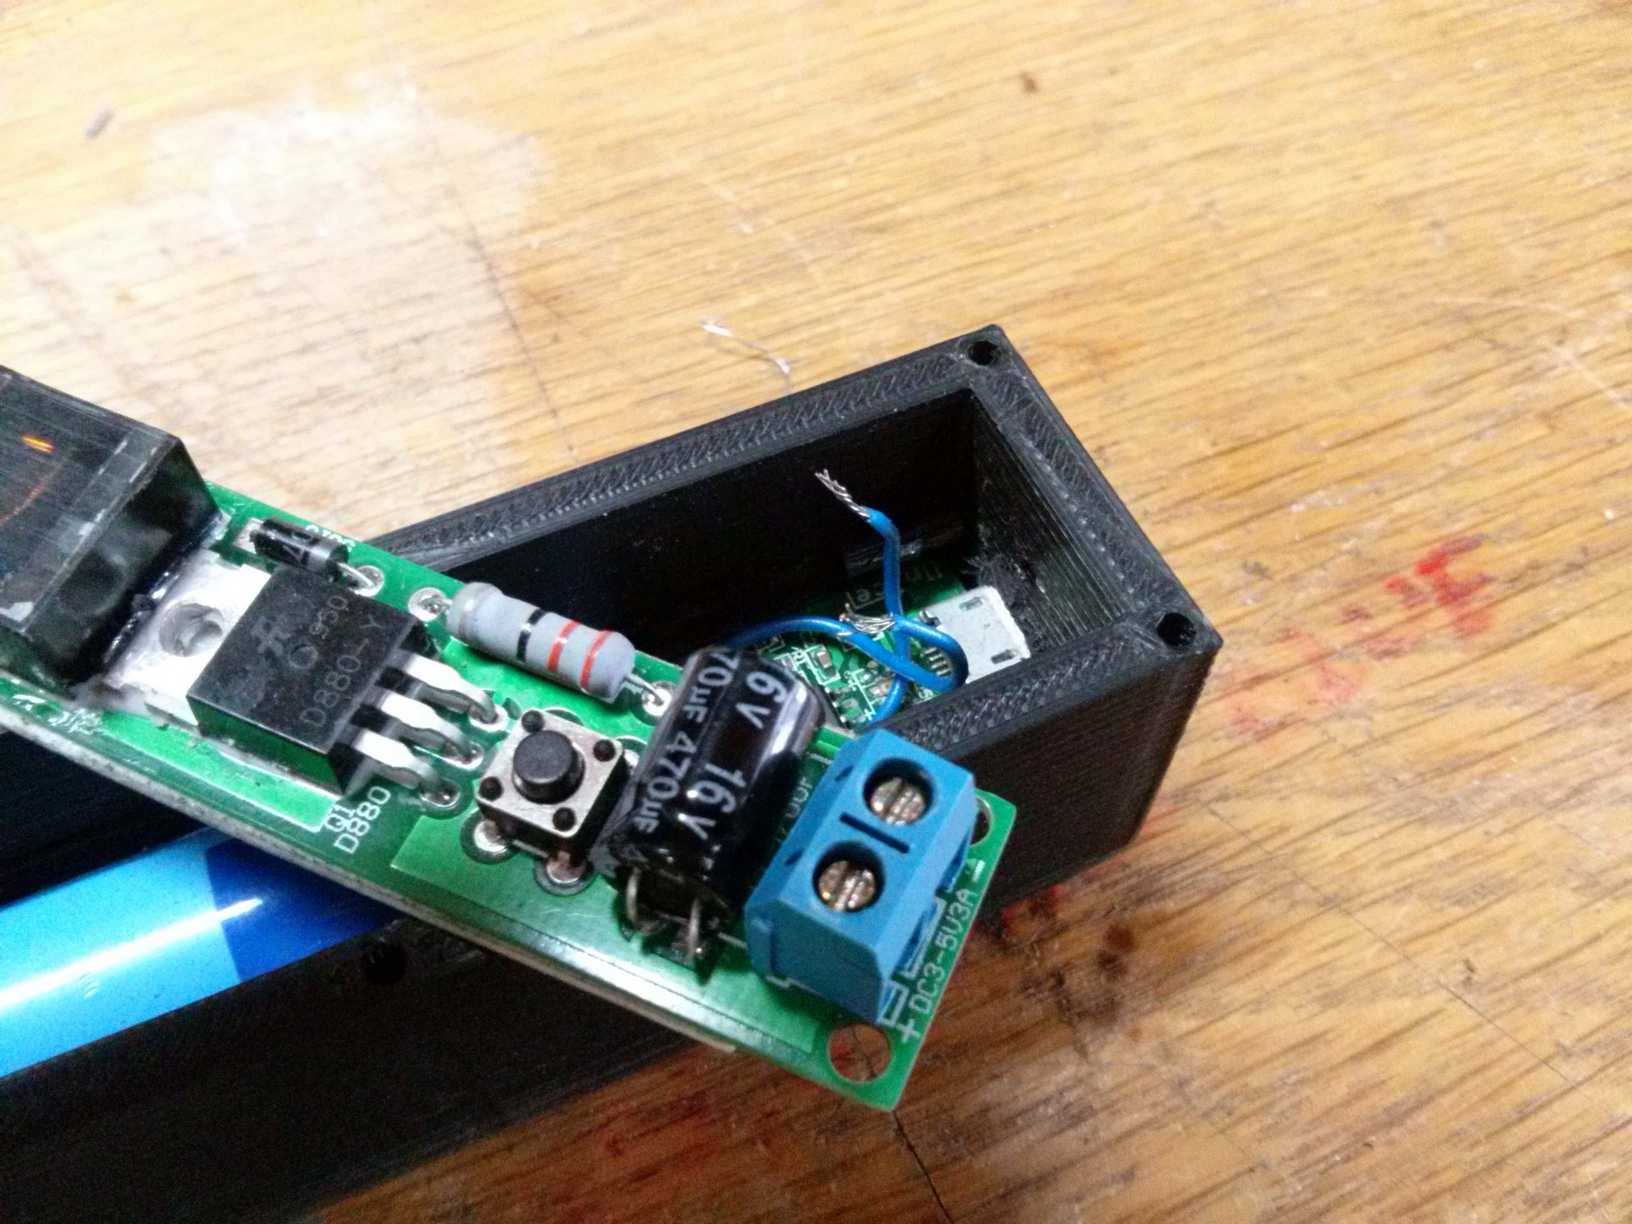
Before enclosing everything, that blue connector at the end had to be replaced with something smaller and simpler.


Now onto making a button!
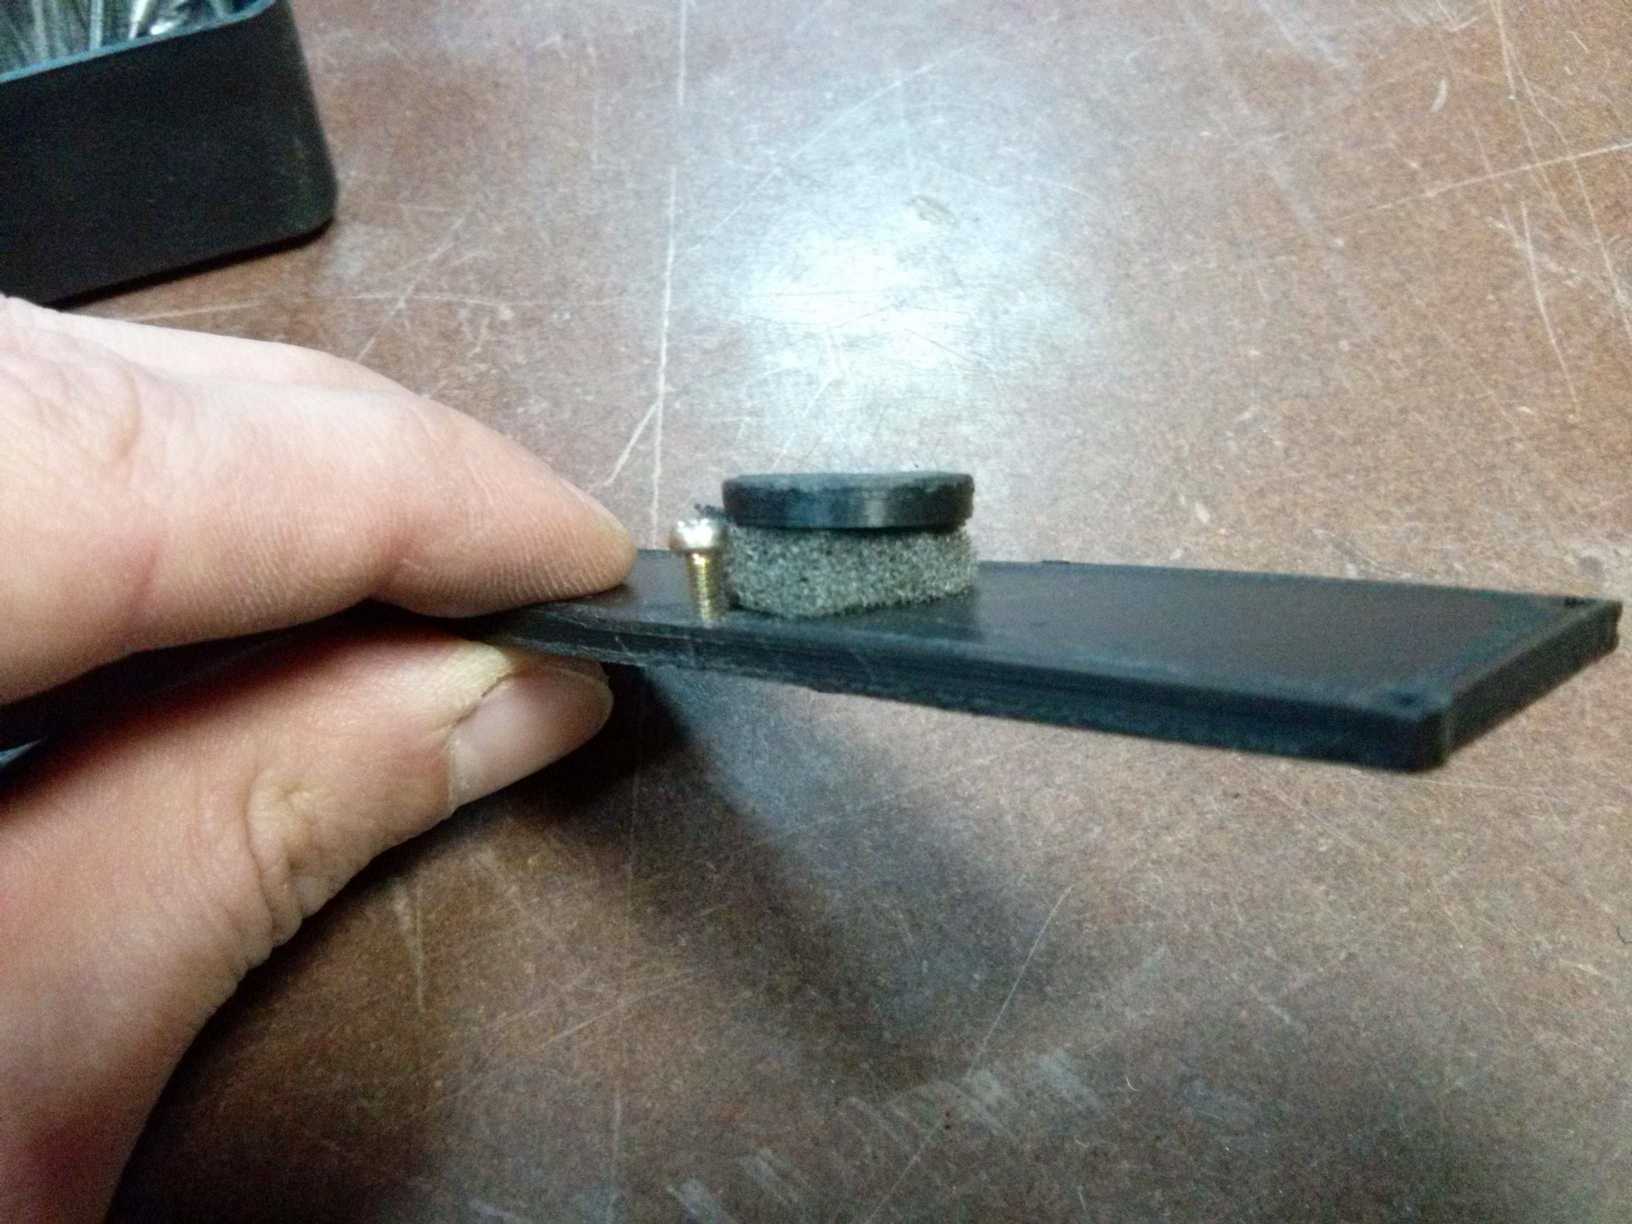
The button shaft was made a bit longer, because I didn’t know for sure how much I’d need. I’ve cut some off and added foam around the shaft on the surface for support and a bit of insulation.
On the other end I added a bit of shrink tubing to prevent this button falling out. Also added some shrink tubing on the wires that come out to make them more stiff.


Later I realized that this isn’t safe at all and a really big fire hazard when carrying around in a pouch, so I wanted to make this more safe but keep the ease of use the same. A rocker switch OFF-(ON) would of been ideal, but those don’t come in tiny sizes.
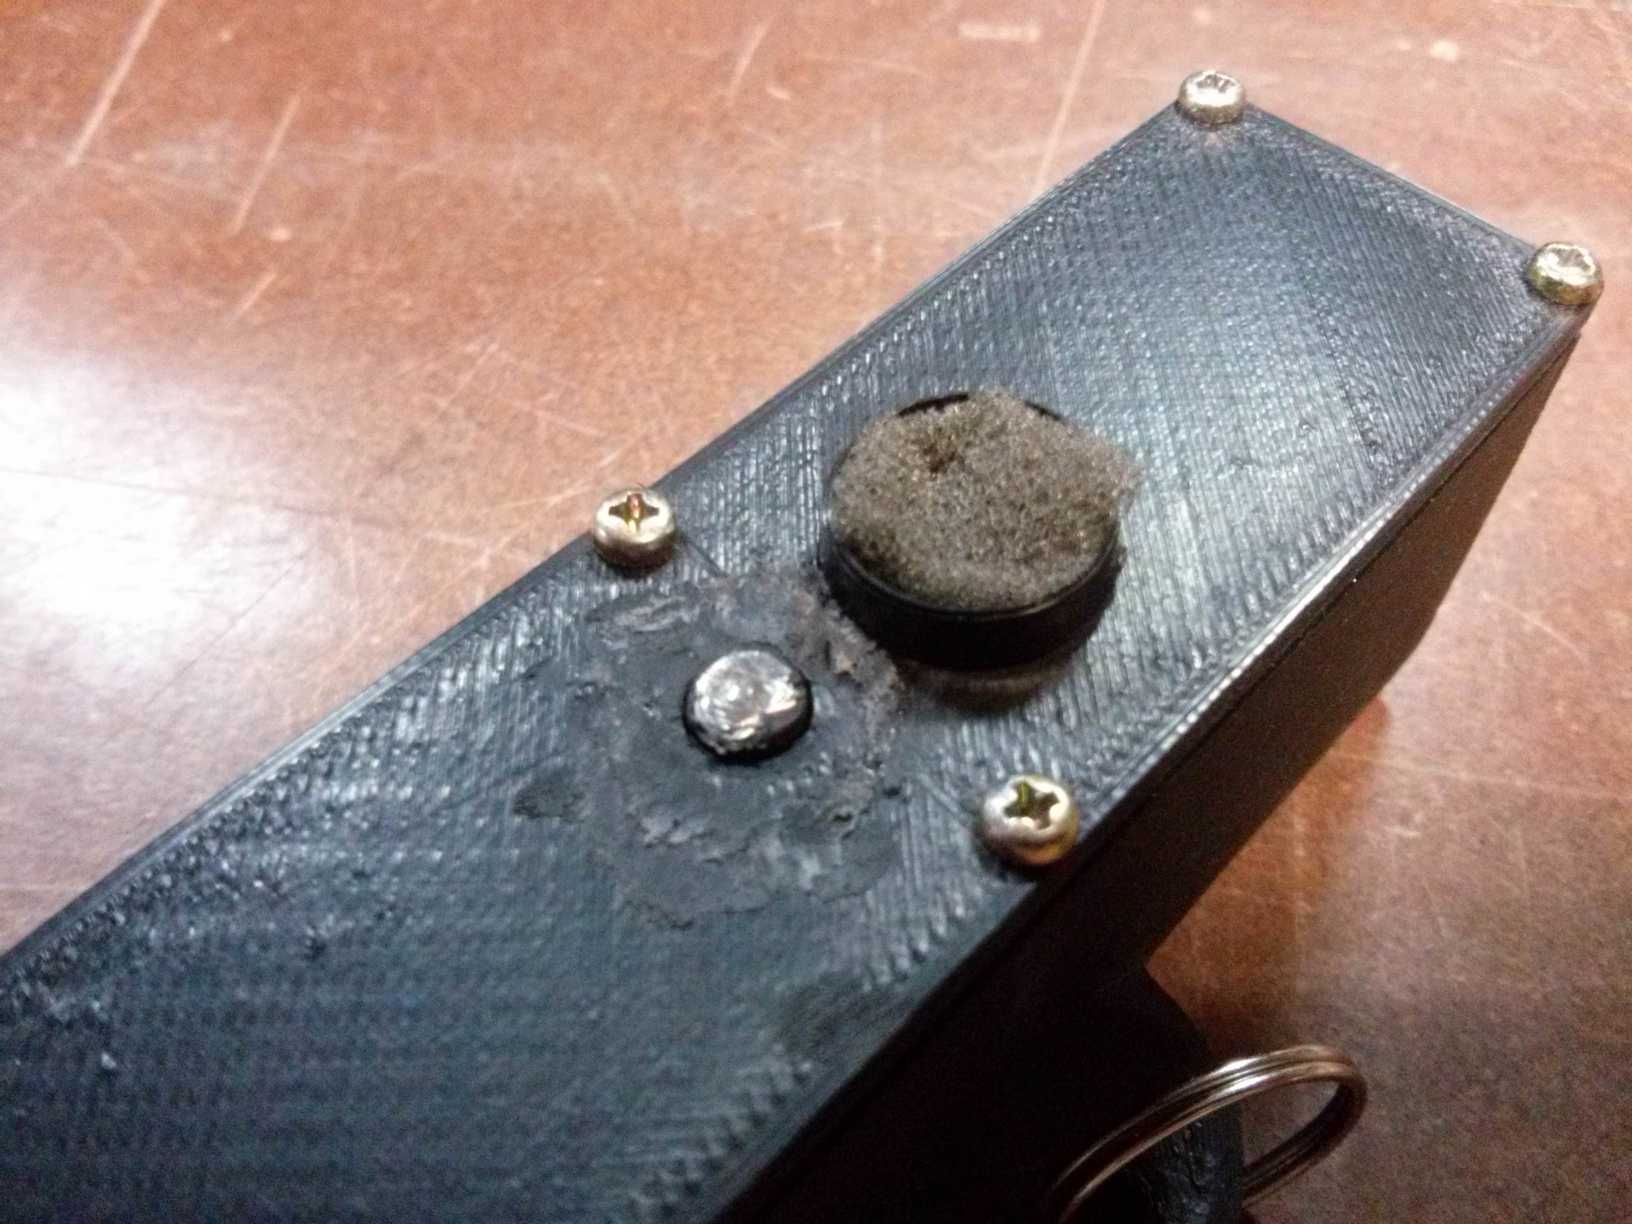
My solution was to add a small cylinder that is ~1mm above the surface to push the button below, add a ring around it and some foam to keep it in place. This way the button is only pushed if force is applied directly from the top, so it’s now safe to carry around anywhere.

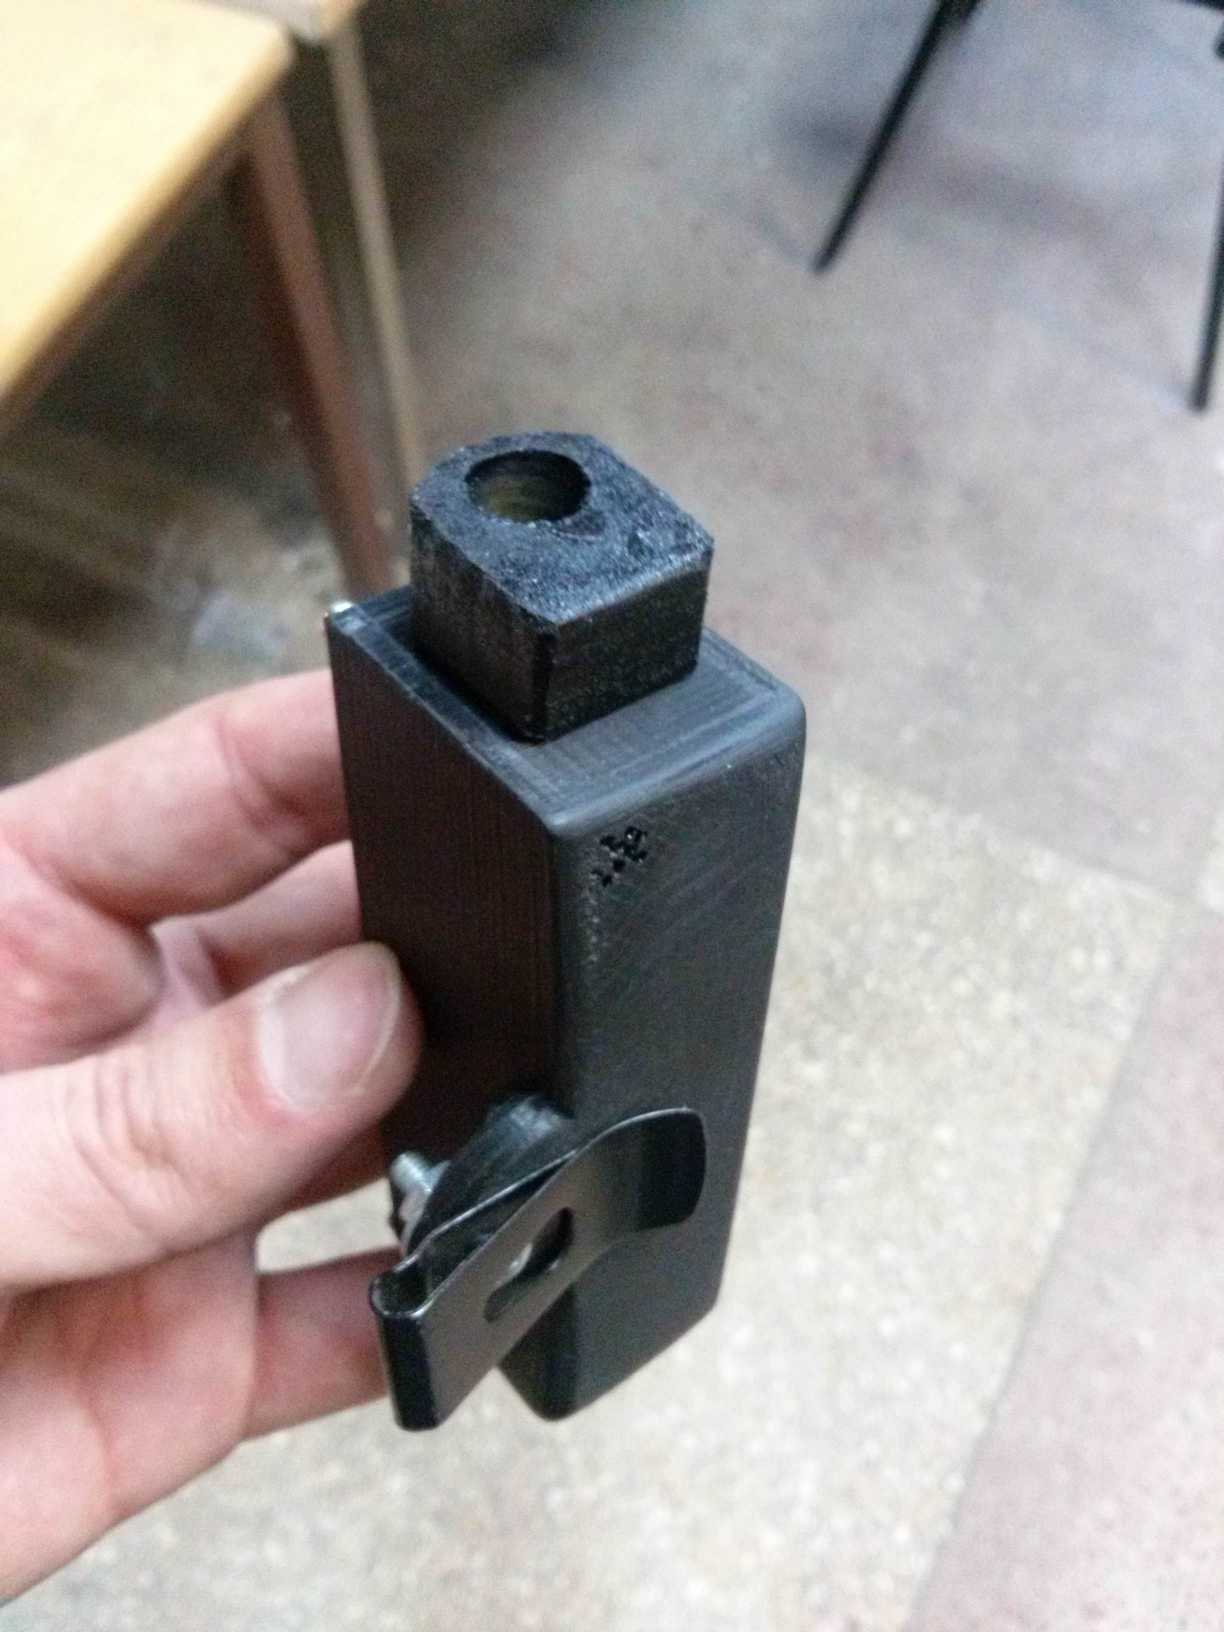
Another thing that had to be done is a guard on the contacts that produce an arc. I didn’t think of this problem when I was making a model, so I had to do some after-market modifications by simply cutting a bit of a round wooden rod, making a hole in it and gluing it on. That seemed to do the trick.
And another last thing to do is a way to hang it on my vest reliably enough so that I don’t lose it. Therefore I added a clip-on whatchamacallit.


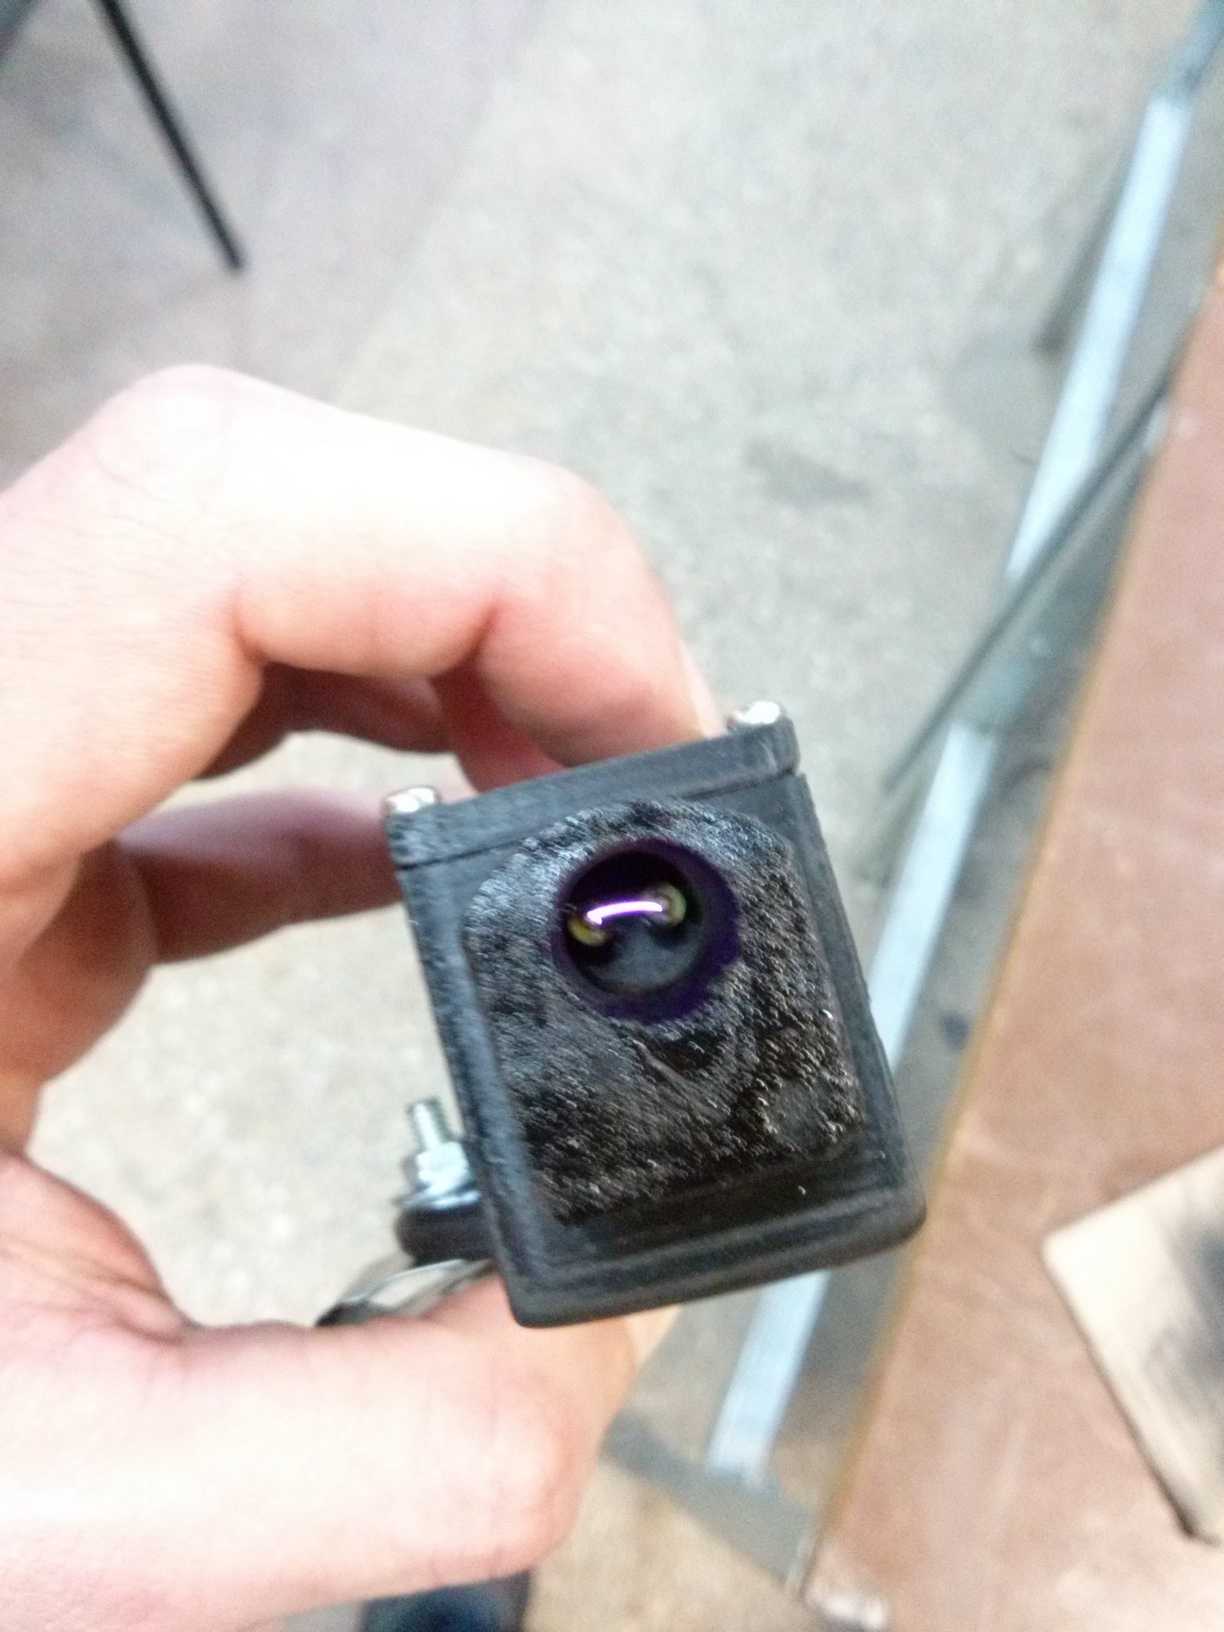


After a game though, I realized that the connection guard is a bit too large and I can’t see when it’s working. So I cut half of it and now everything is perfect!
Except that the plastic around the contacts that make the plasma are flammable and burns when trying to ignite a fuse, so now, after a bit of usage in the field, the lighter started to burn itself. Some sort of non-flammable ends are needed before it can be used again normally.
In conclusion, after testing this in a field, it seems more reliable regarding the igniting part and it’s much more convenient to use, it always lights up, even though sometimes it can be hard to ignite the firecracker, it’s because the fuse is shit and doesn’t burn like it should. It’s surely is not better than what you can buy, but this fits my needs more and so it is better than what I can buy to fit my particular situation.