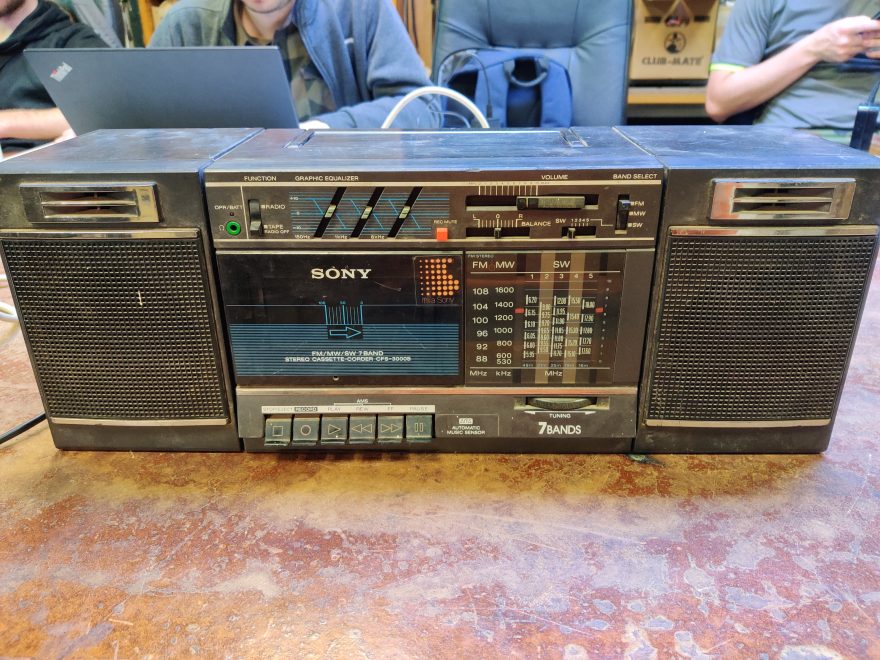
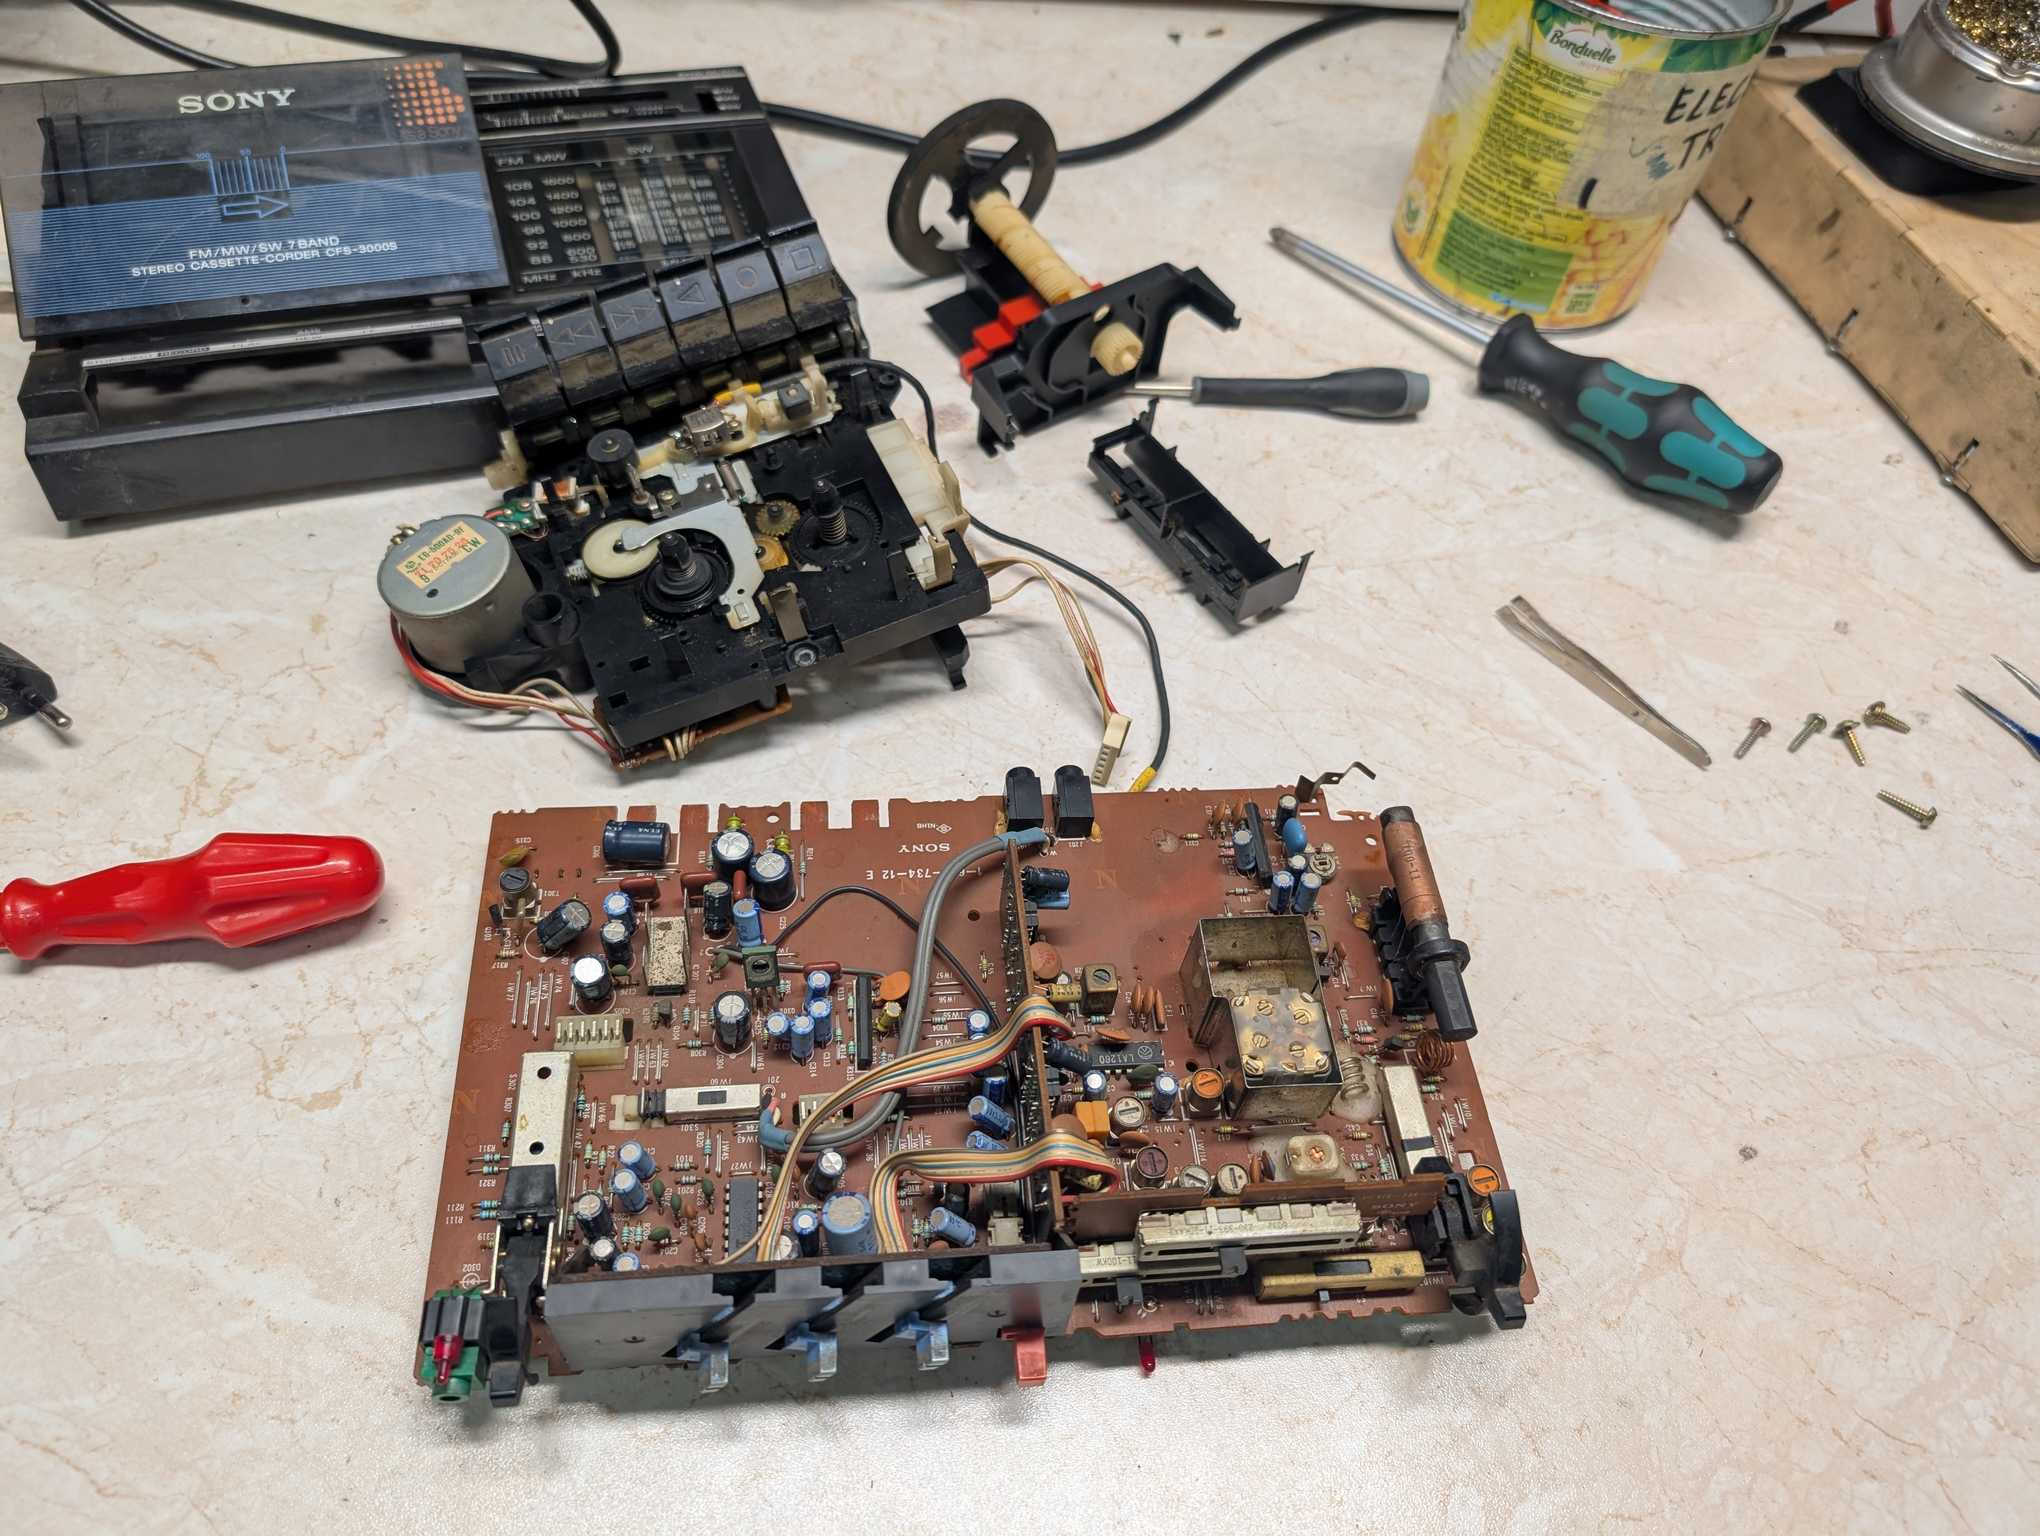
Some couple of years ago I found this kinda-working Sony boombox in the electronics trash pile at Kaunas Makerspace and immediately thought that it looks very cool :D
Made some time around 1988 (more info on the radio museum) it was partially working so I thought I could try and restore it, or in the worst case just add bluetooth with an amplifier.
After inspection here’s what I needed to fix:
- Cassette mechanism wasn’t working
- Volume slider was crackling
- Whole thing was all dirty
- FM radio isn’t working
- Battery cover is missing
And the upgrades I wanted to do:
- Replace speakers with something better
- Install Bluetooth
- Add LiPo battery support
Well fixing the “dirtyness” was easy – I disassembled it completely and gave all of the plastic parts a thorough wash in the sink, then let it dry for a few days.
As for the FM radio – I couldn’t figure out why it wasn’t working when SW and MW bands were picking up just fine, I left it like that…
Fixing the cassette mechanism
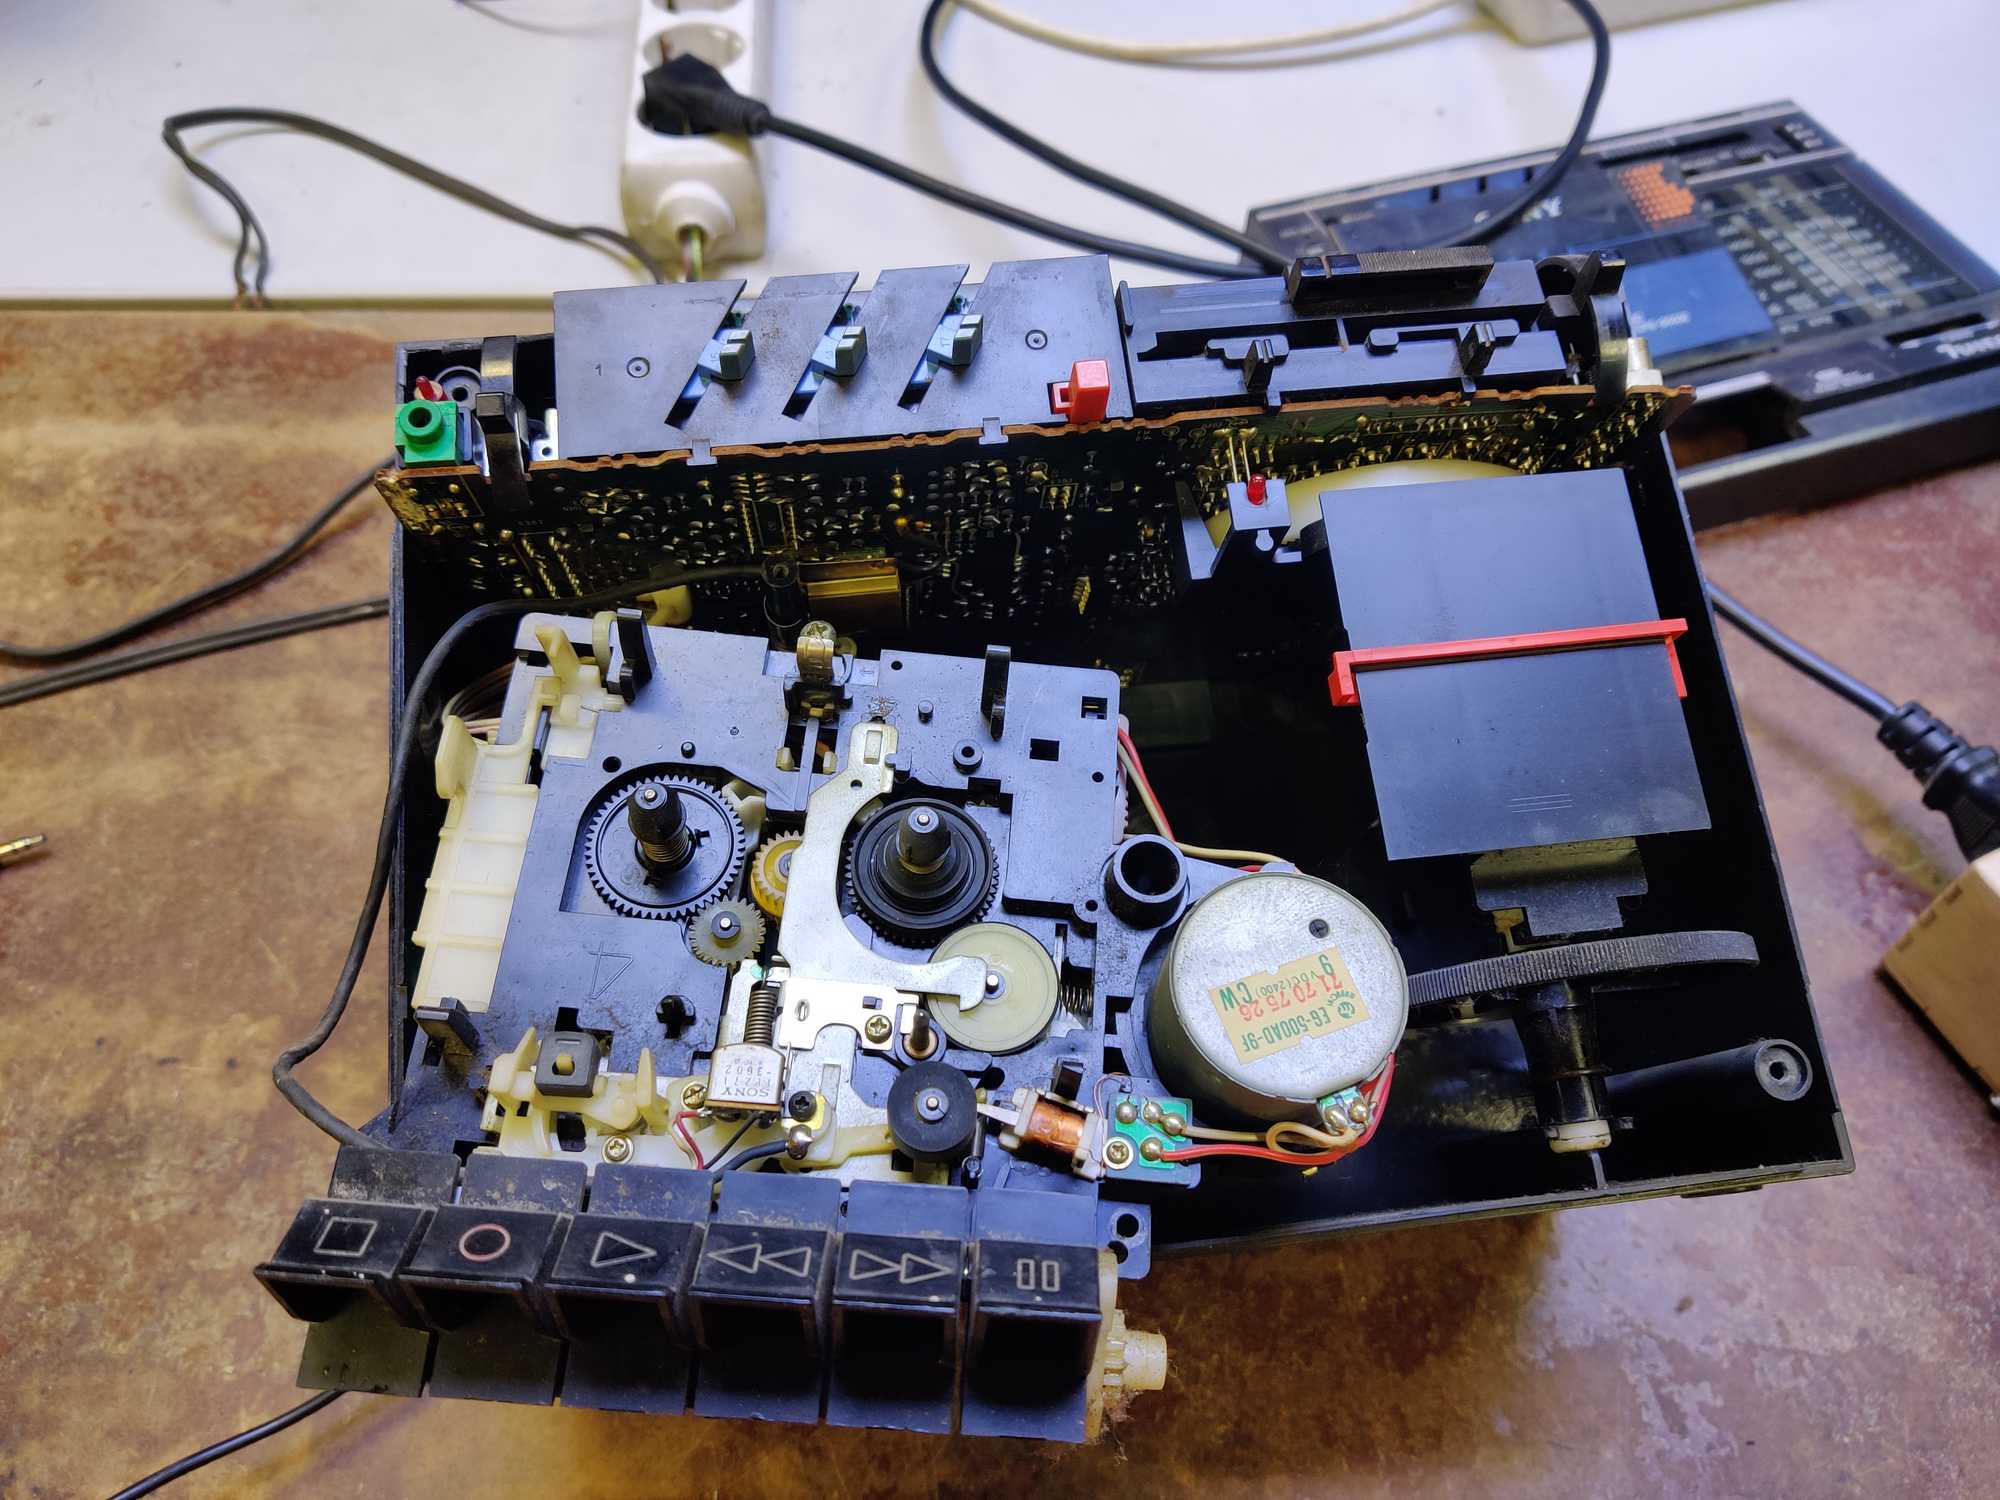
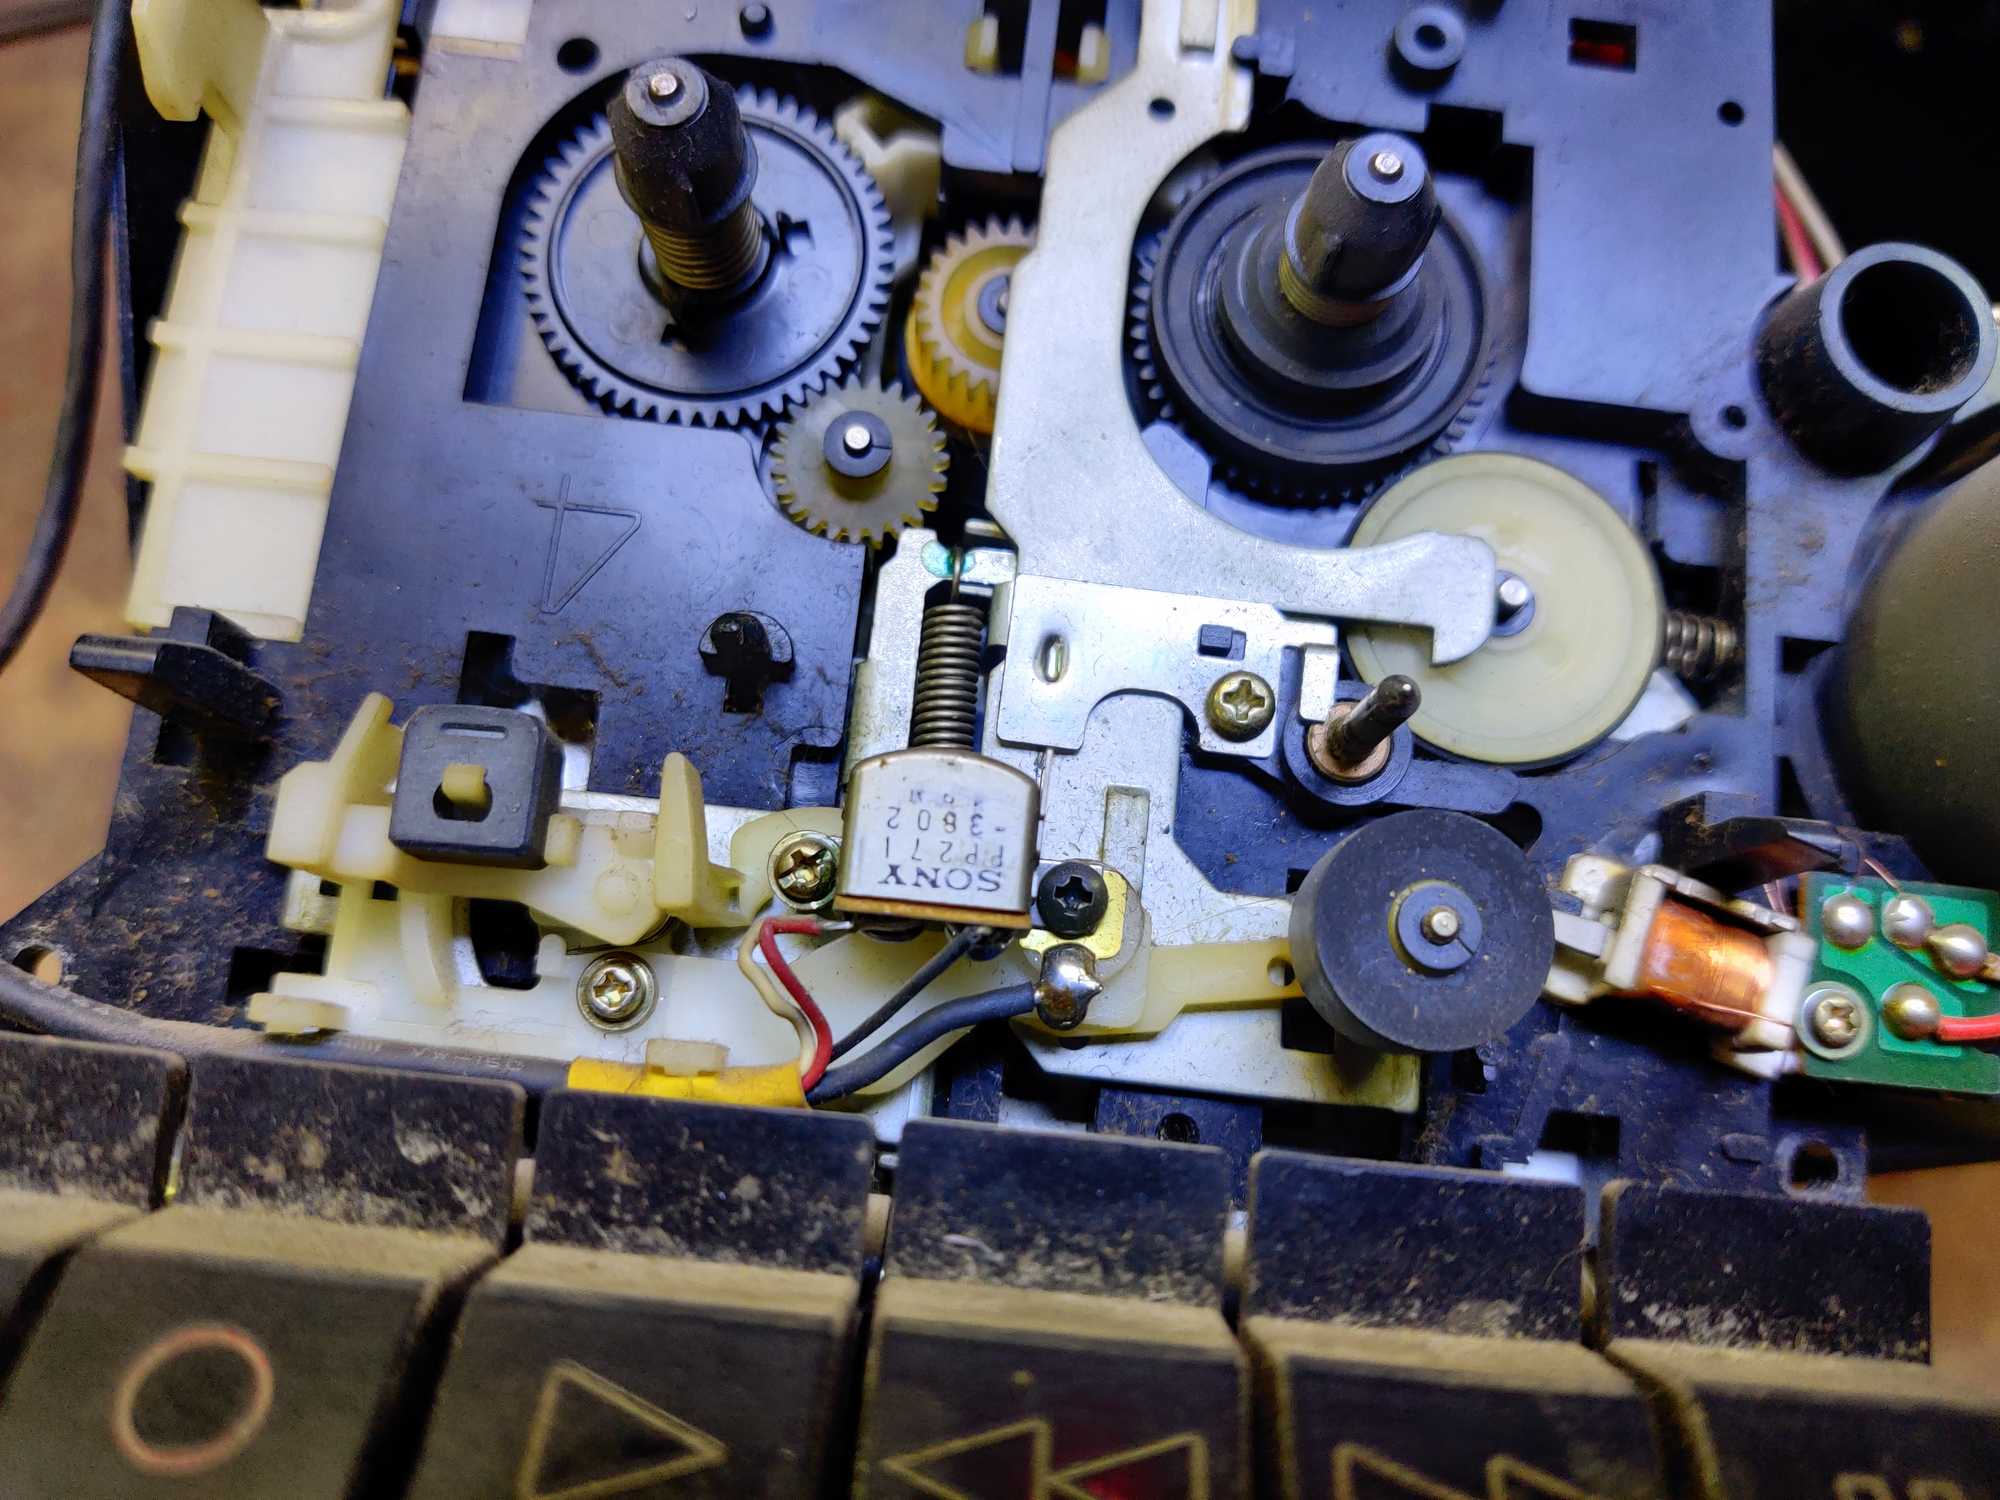
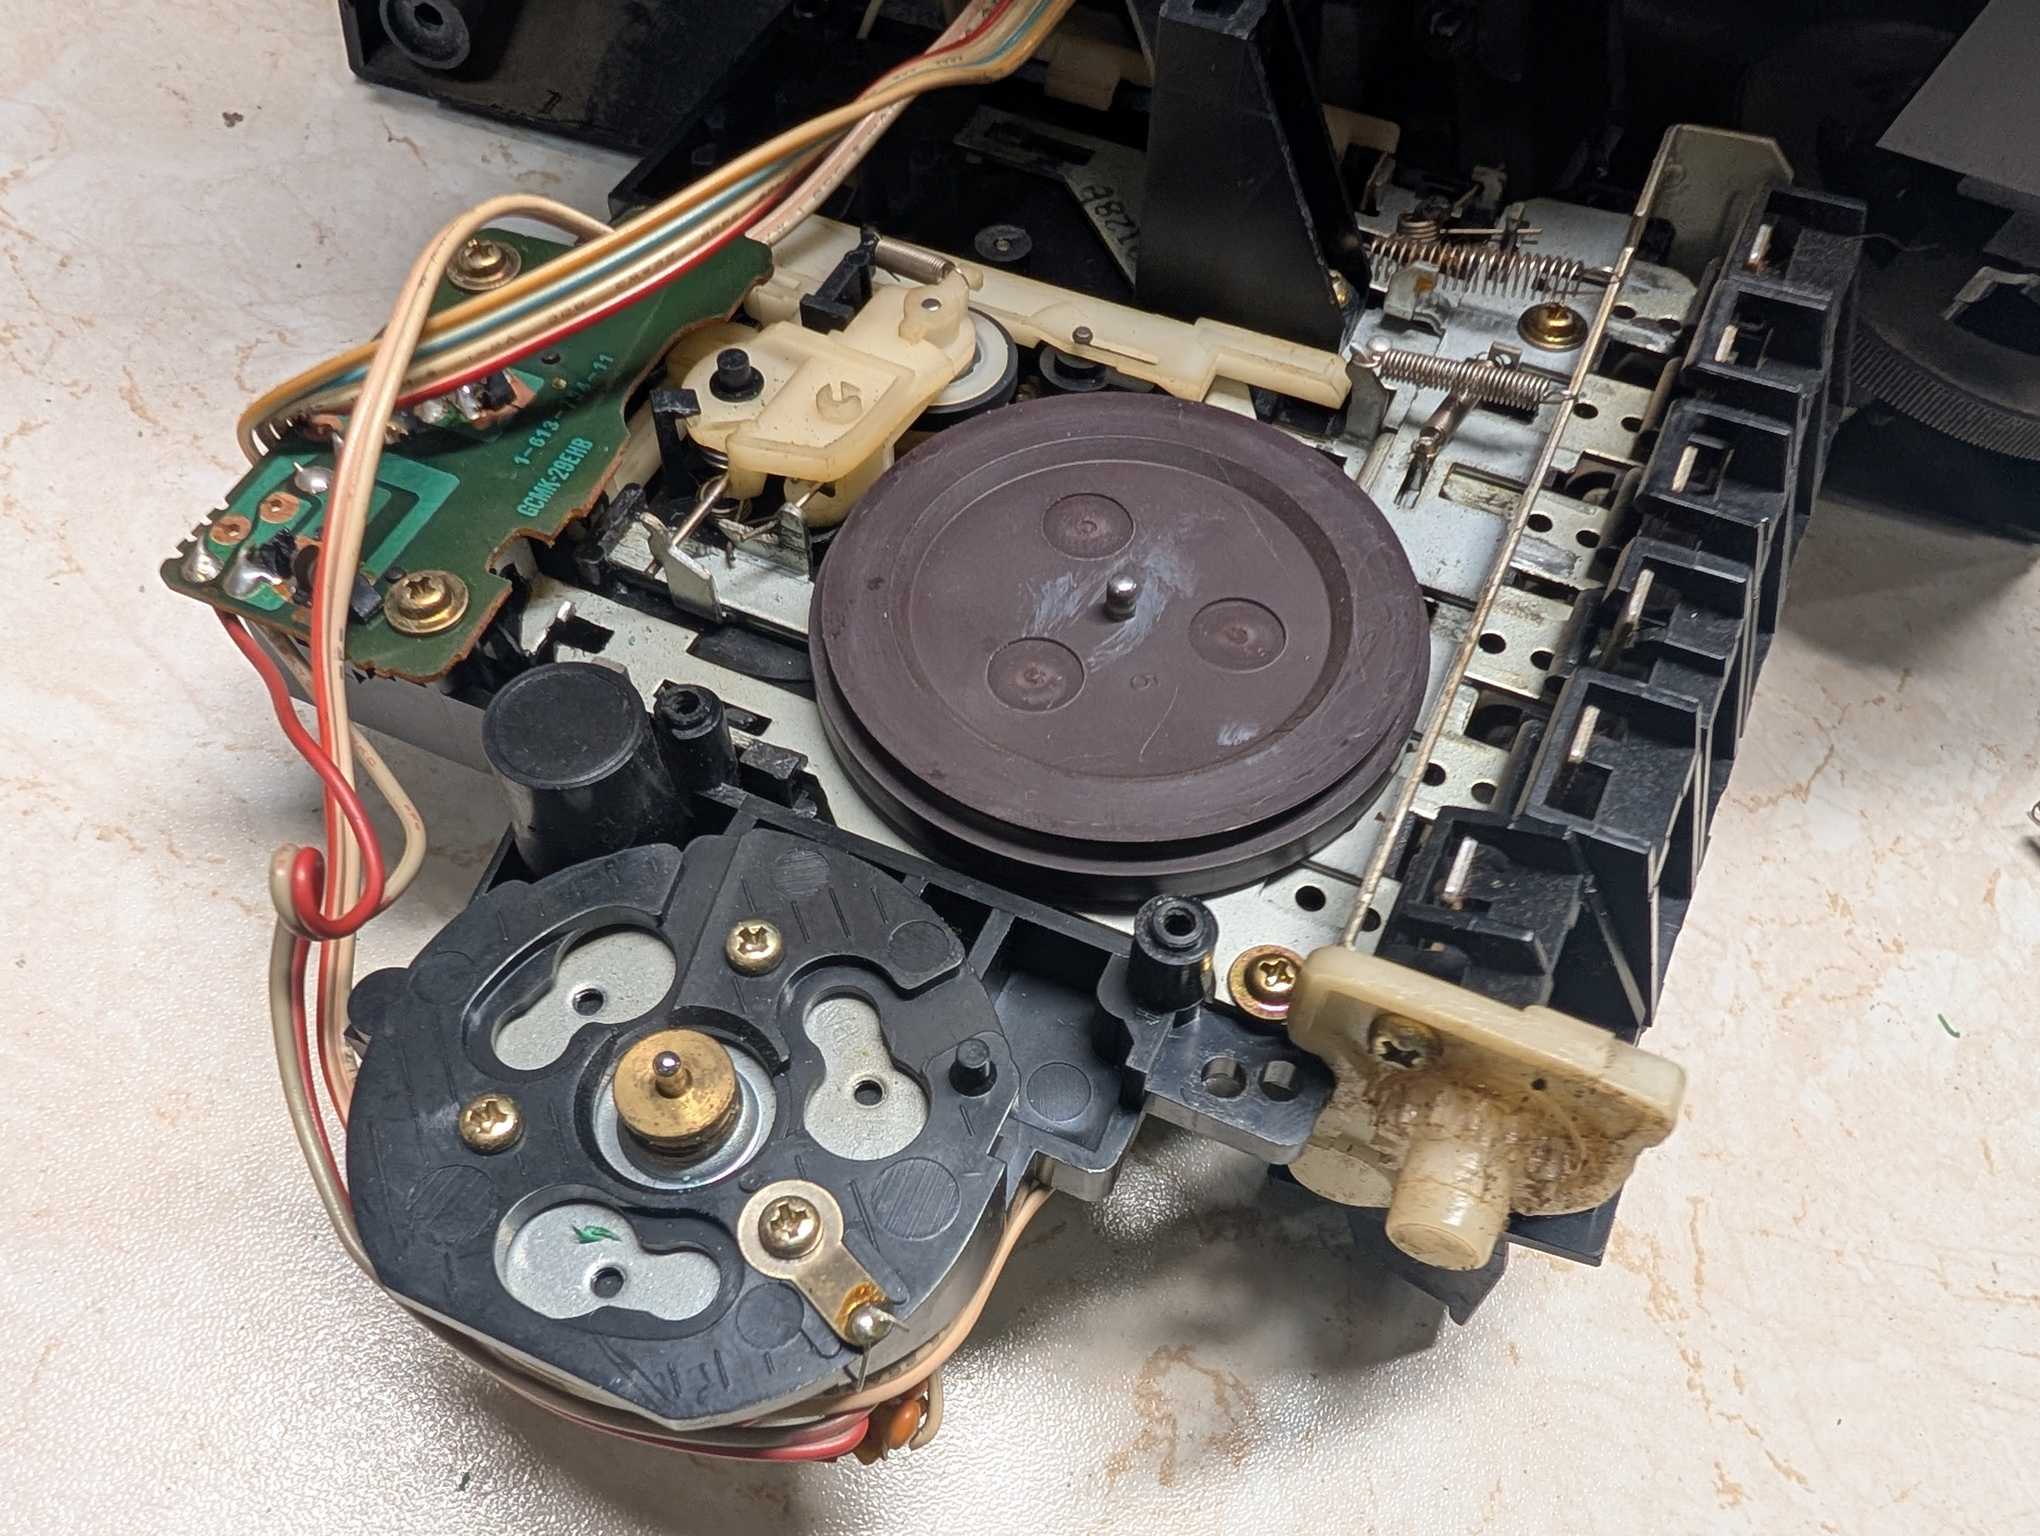
In this case the mechanism didn’t have much to fix, it was just very dirty and had a broken rubber belt. So I did some cleaning and ordered an assortment of rubber drive belts from AliExpress because I didn’t know what length I needed.
One of the belts in the set was a match and after applying oil on the gears the mechanism was working smooth again. But after replacing the drive belt I had to tune the potentiometer inside the DC motor which controls the speed at which the tape spins. I tuned it by listening to a song on the cassette and trying to match the beat to the same song that I played on my phone. That worked okay.
Replacing the volume slider
Adjusting the volume was problematic because the slider was worn out and you’d hear annoying crackling sounds. I had to replace it but it’s a rare part, I couldn’t get one locally and had to order it on AliExpress as well.
There wasn’t an identical slider to order, instead I had to settle for the closest looking one that just had a longer handle.
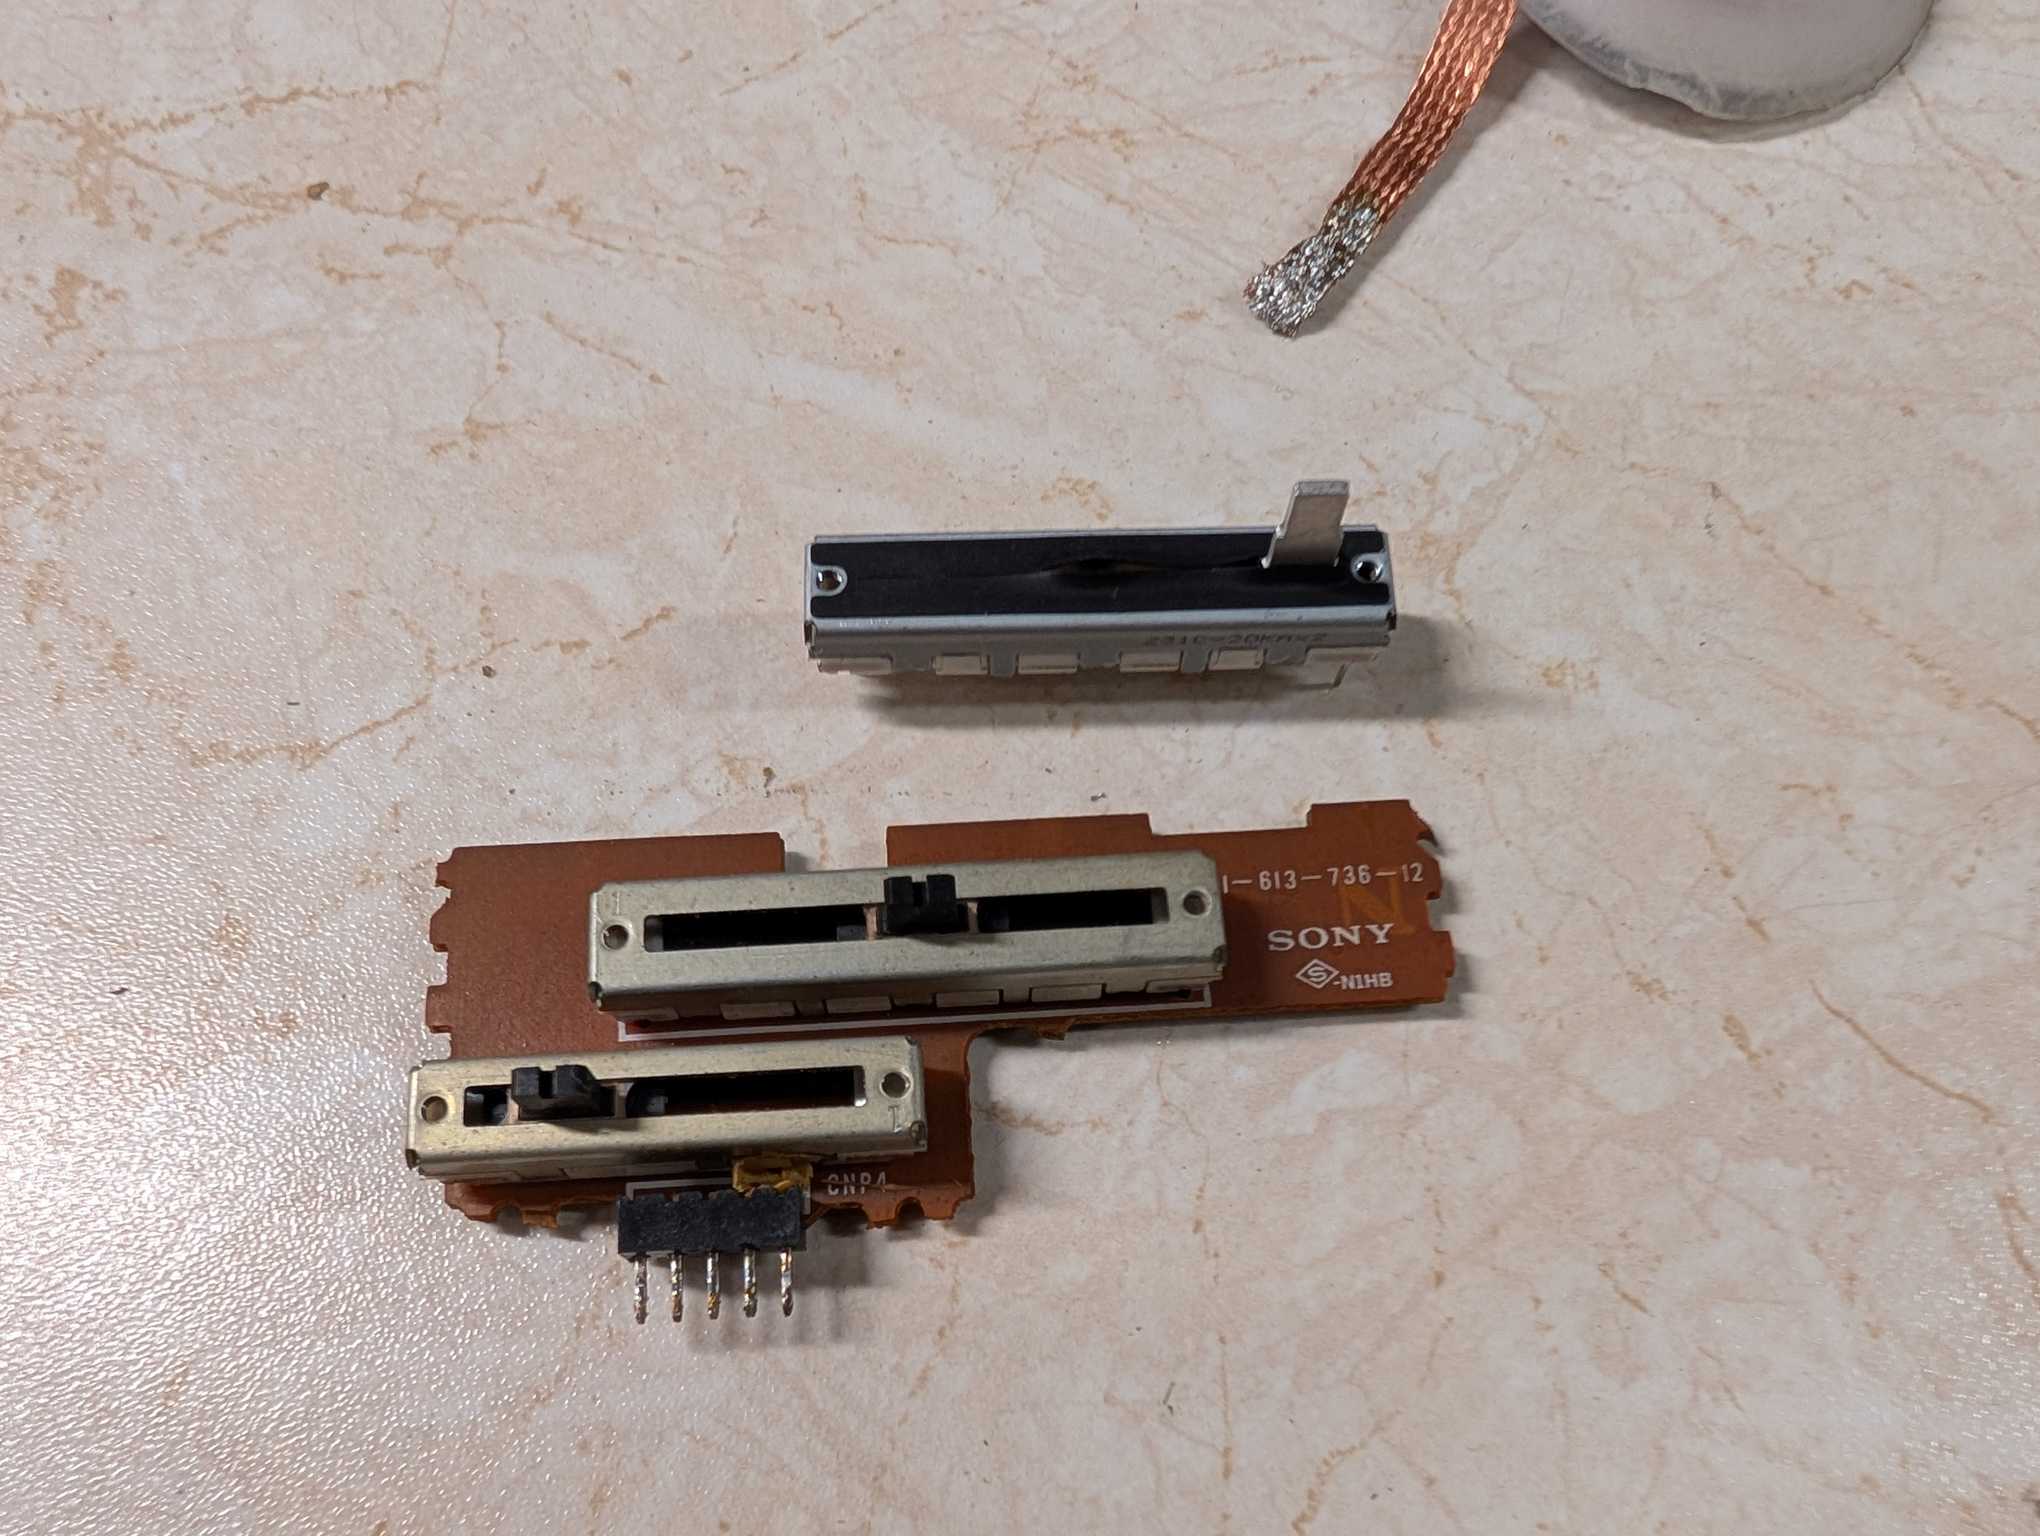
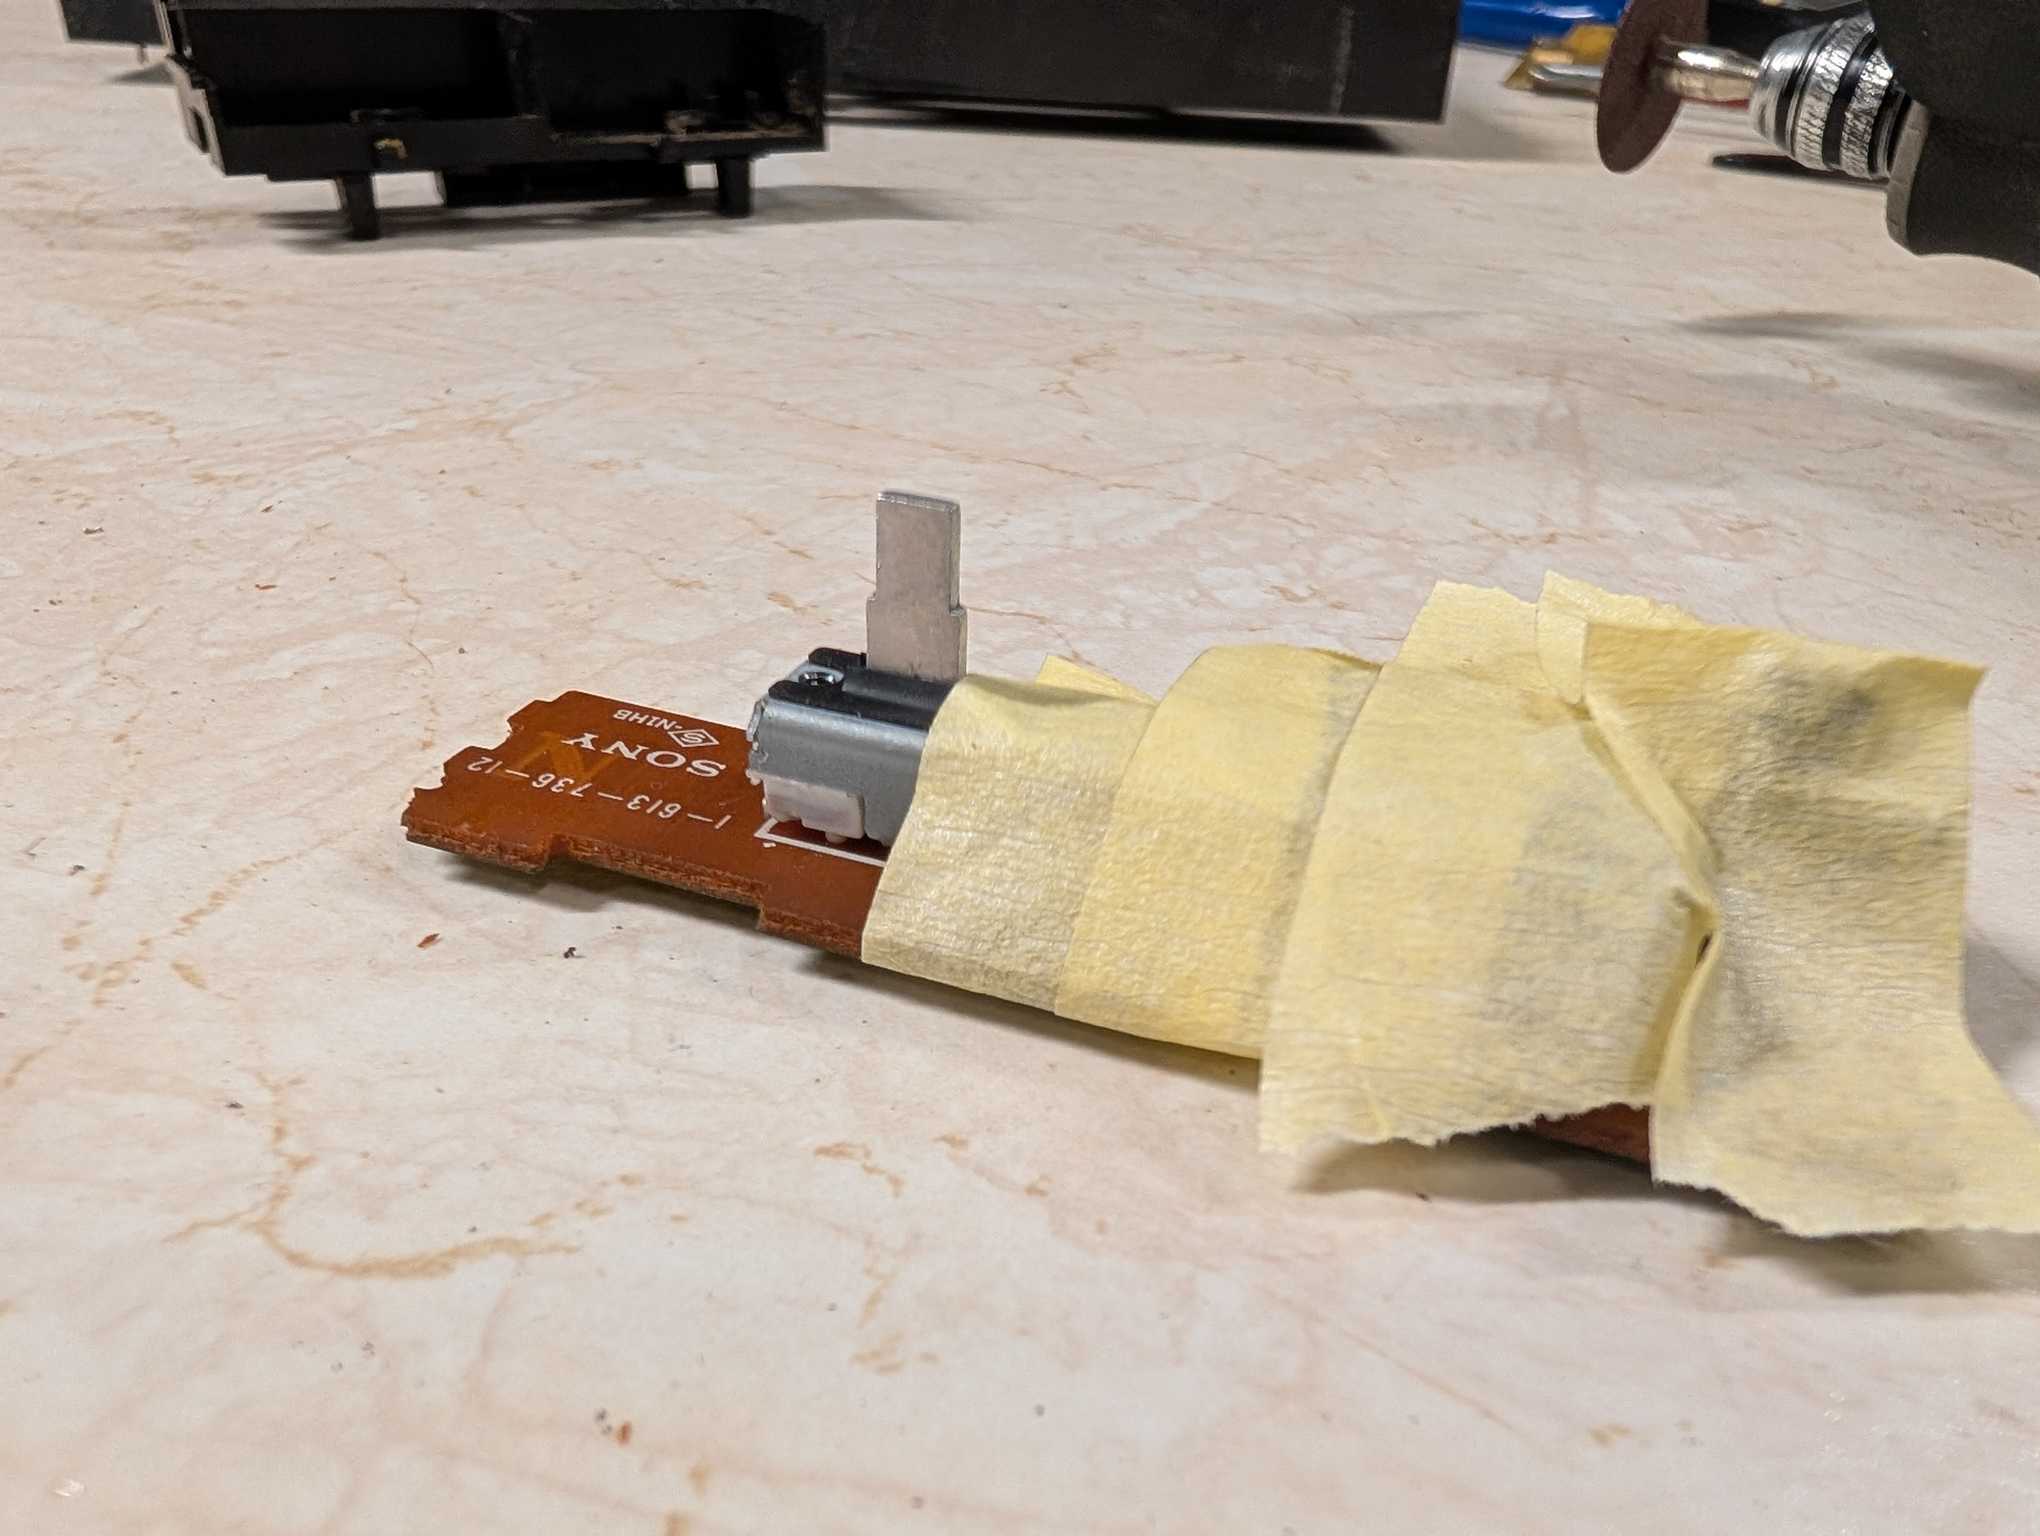
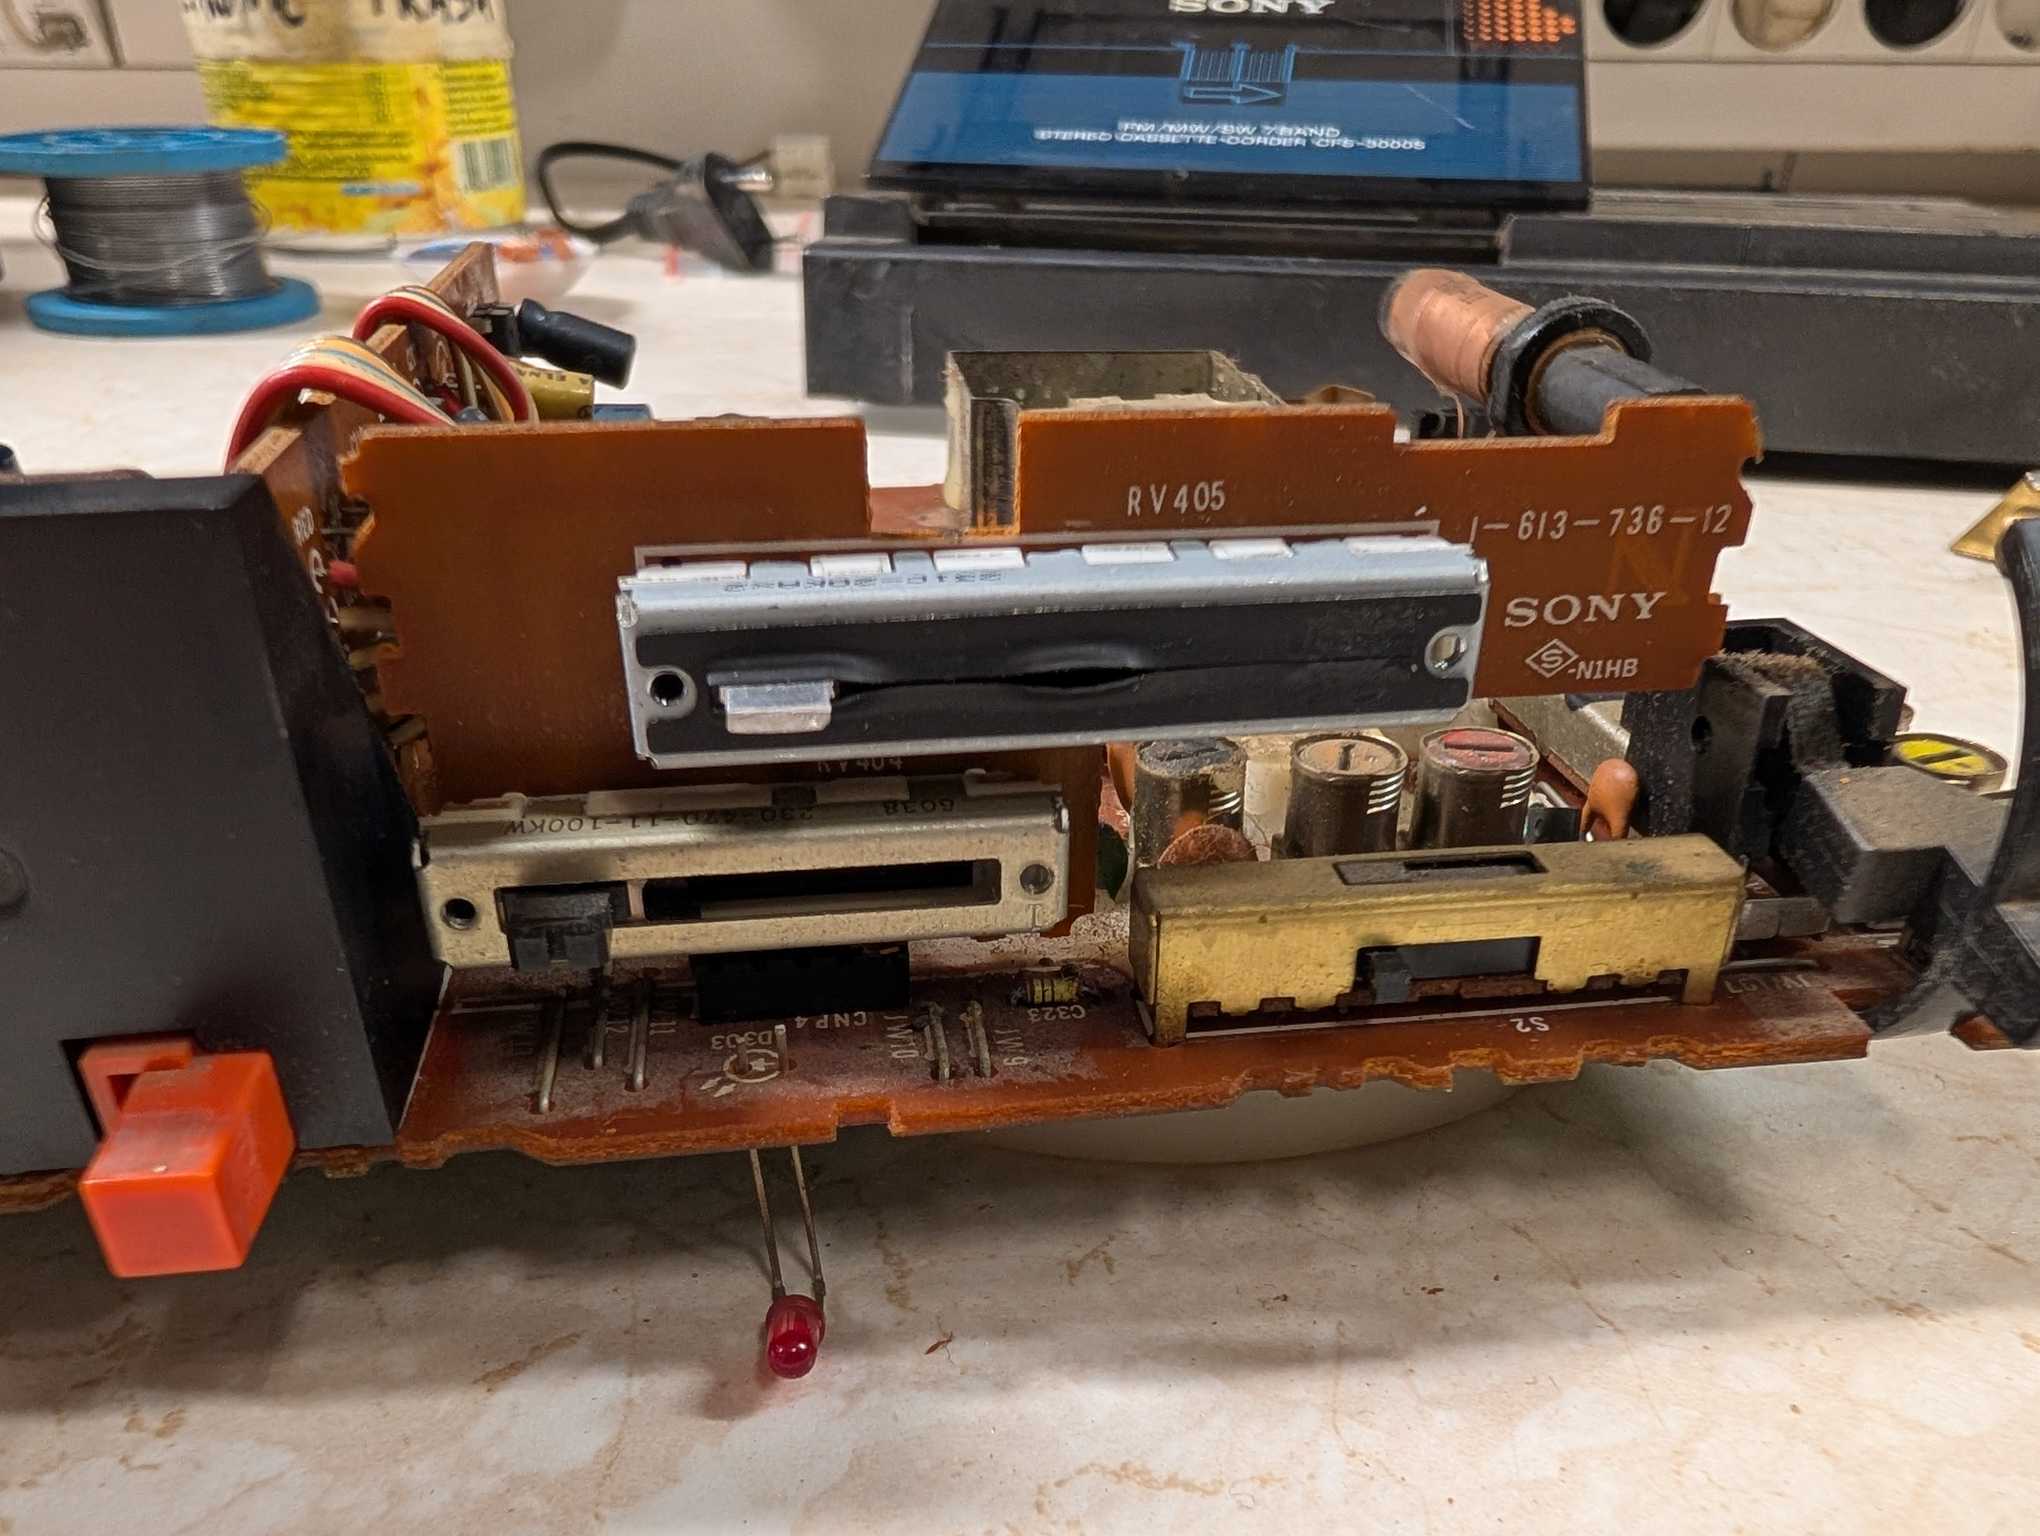
When I got it I was relieved to see that the base of it was identical and I only had to cut off a bit of the handle with a rotary tool to fit the original plastic handle onto it.
Replacing speakers with something better
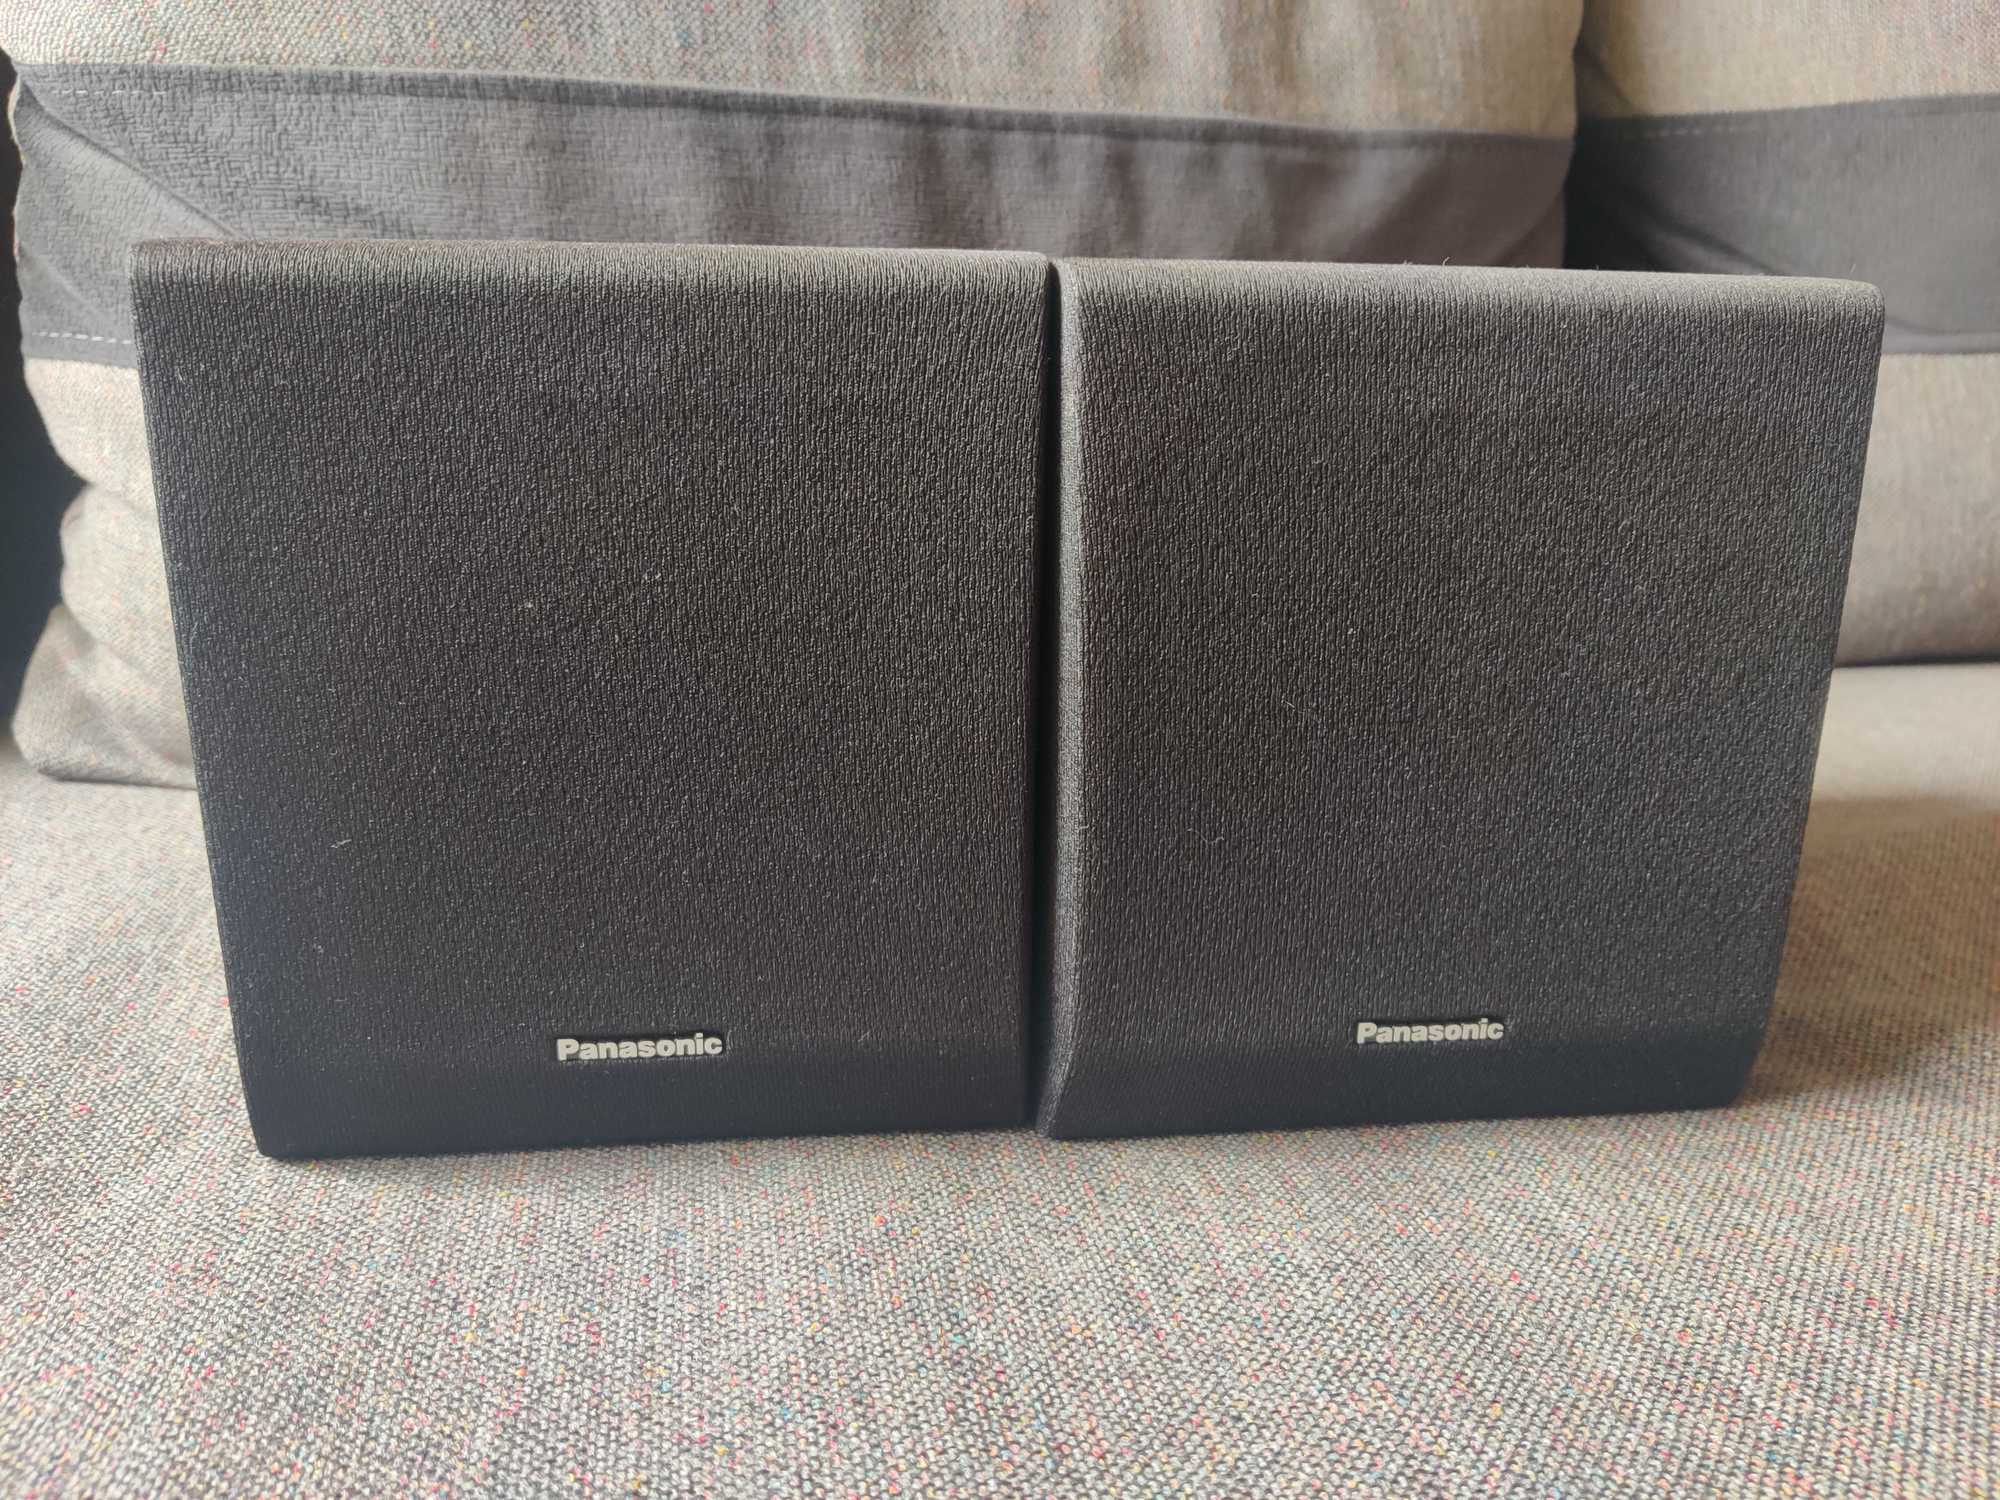
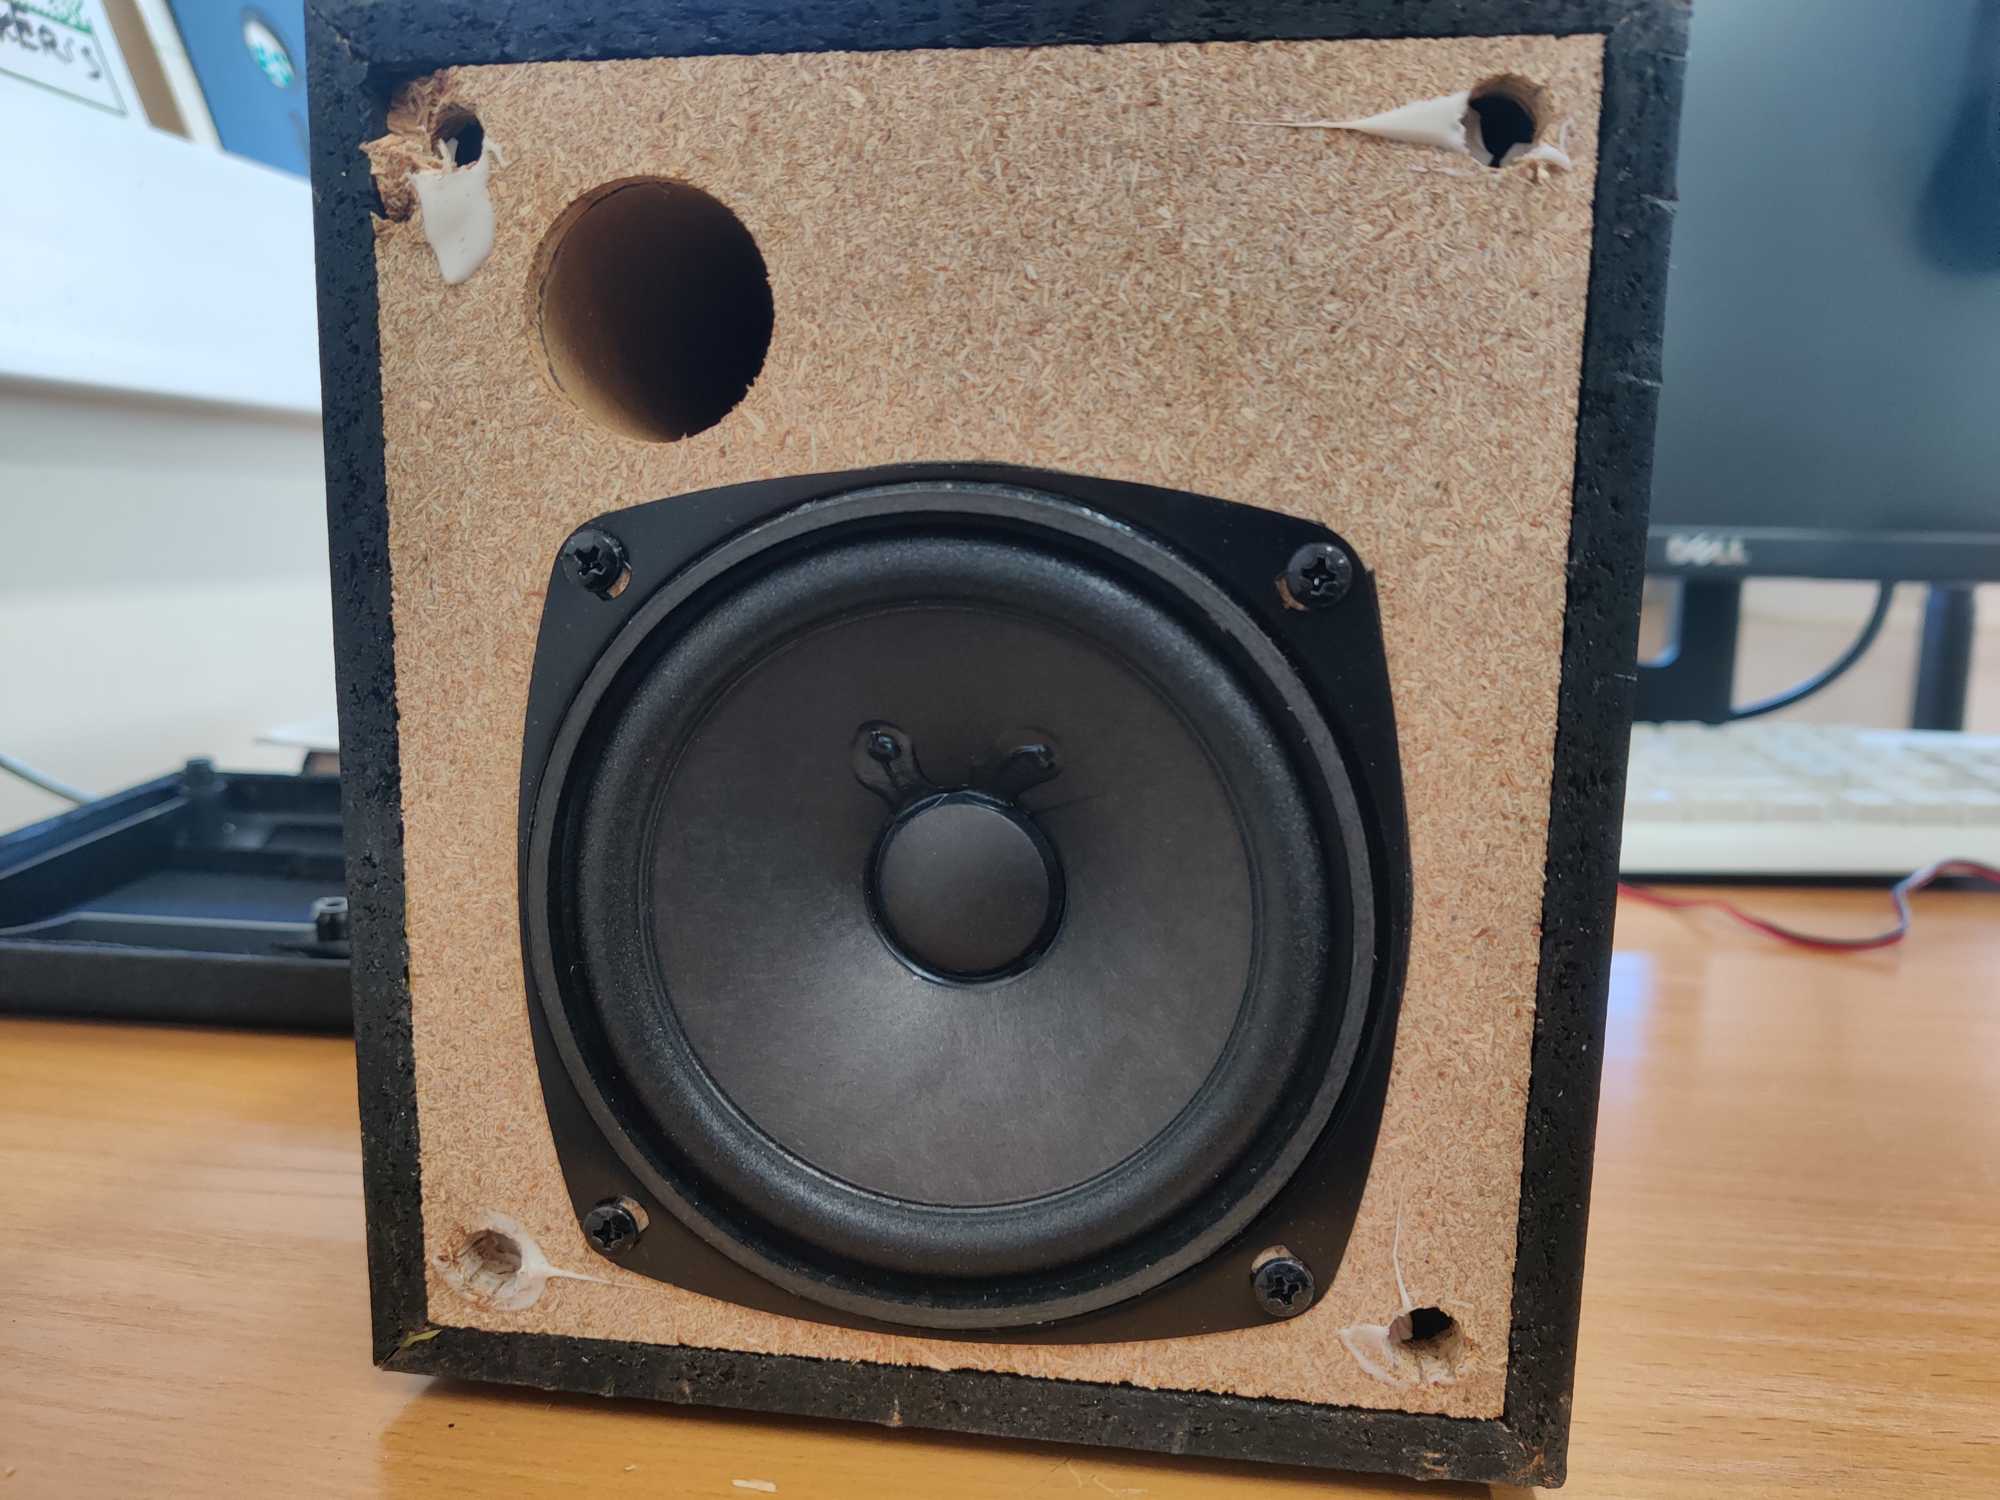
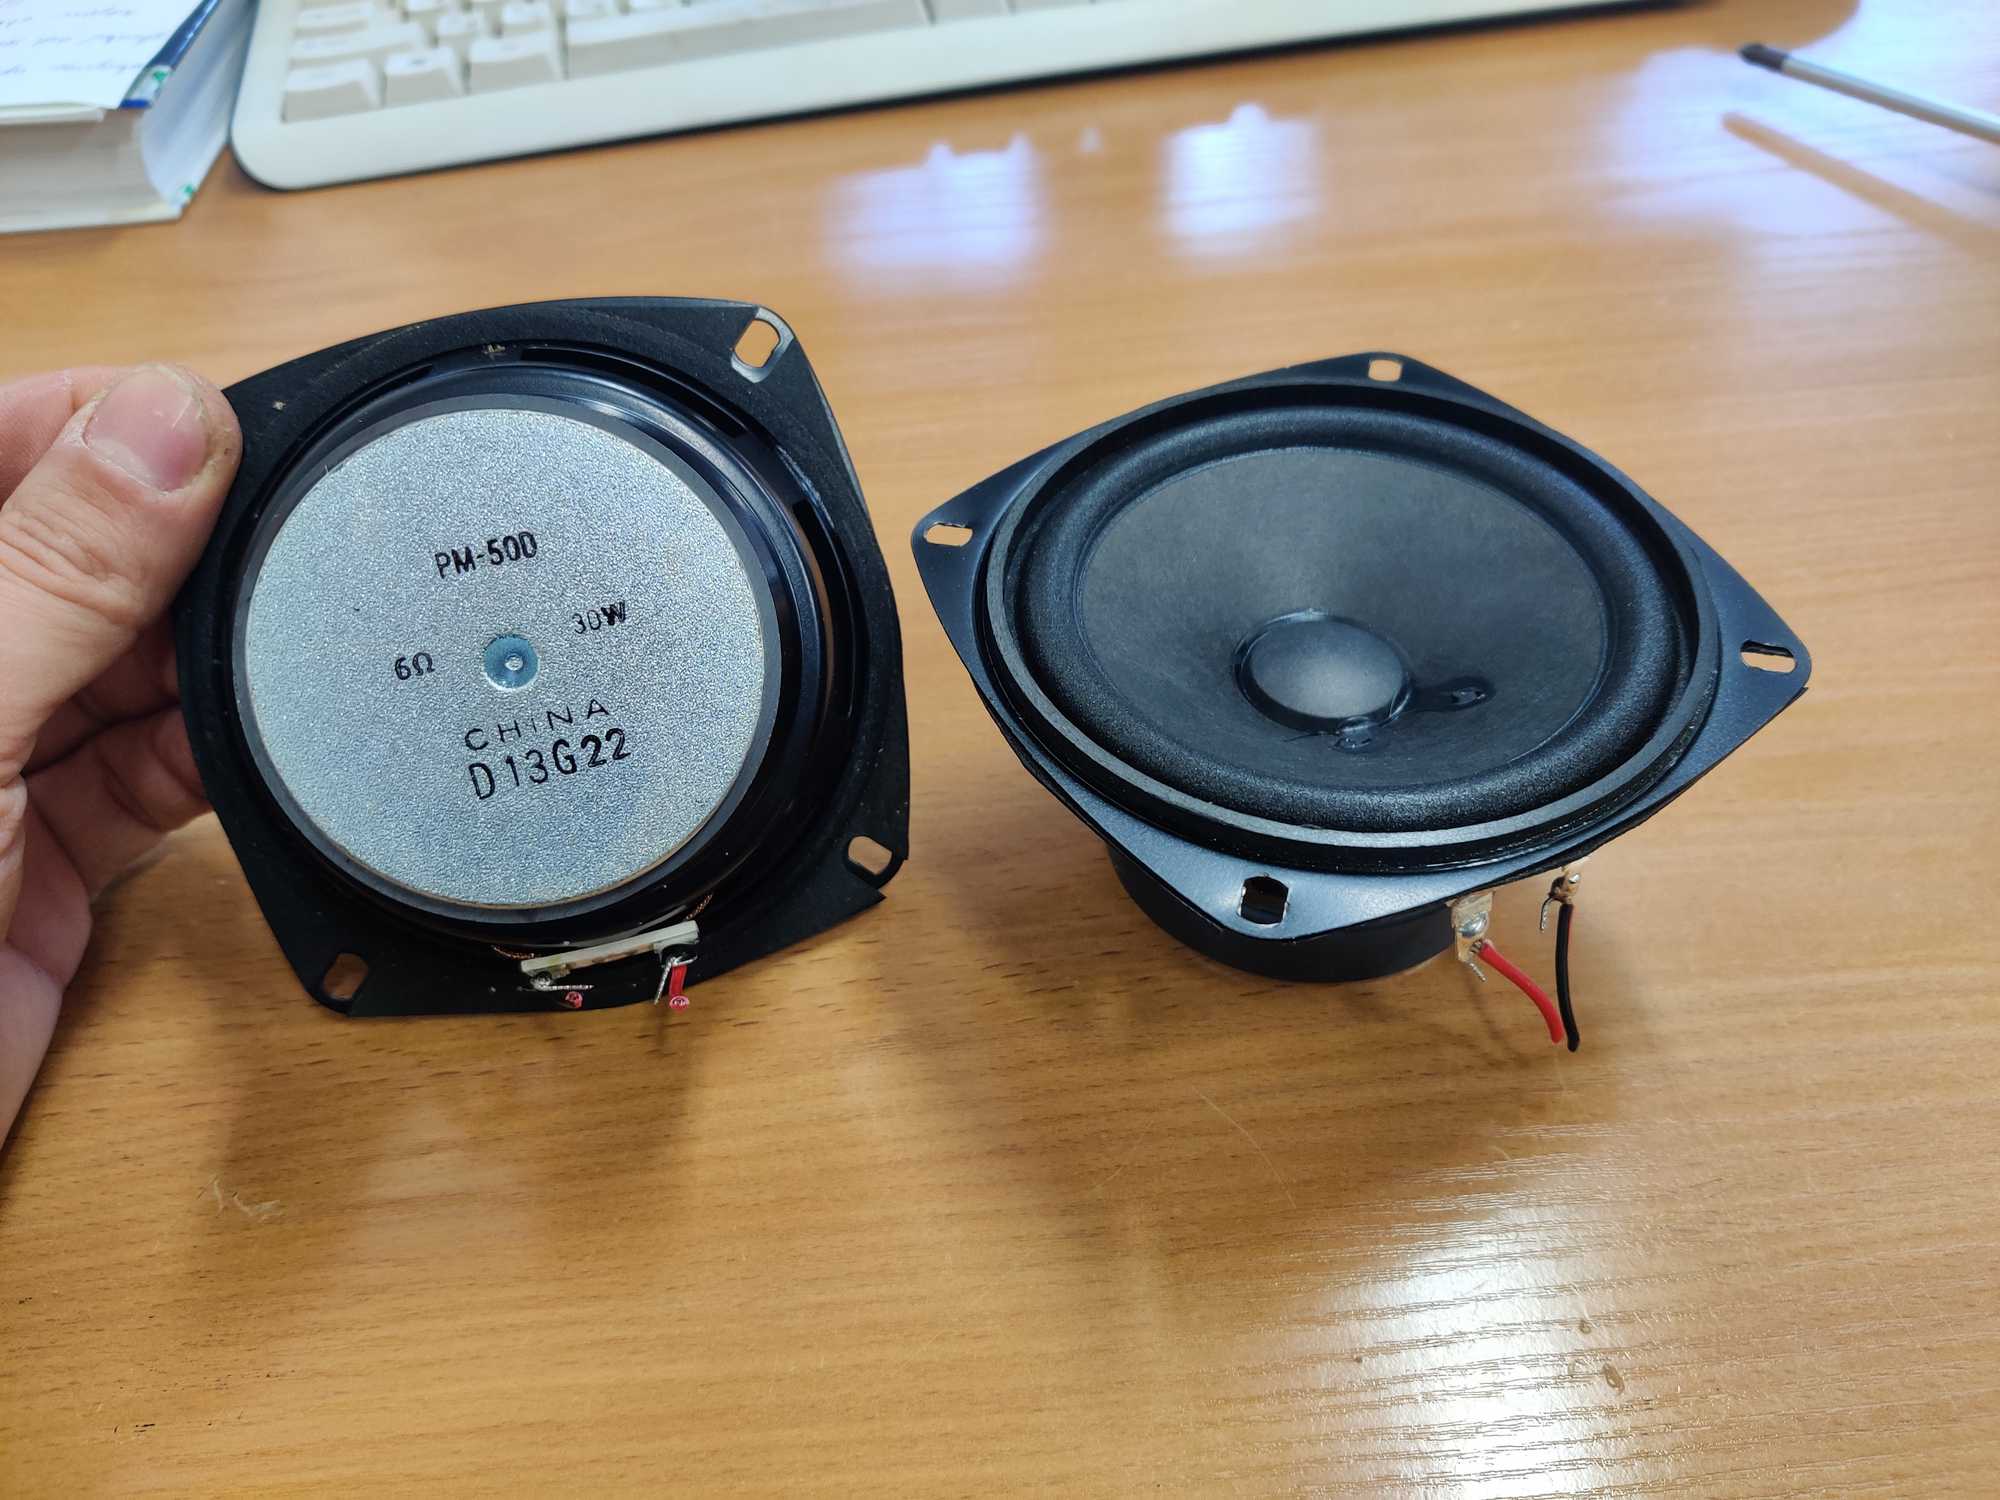
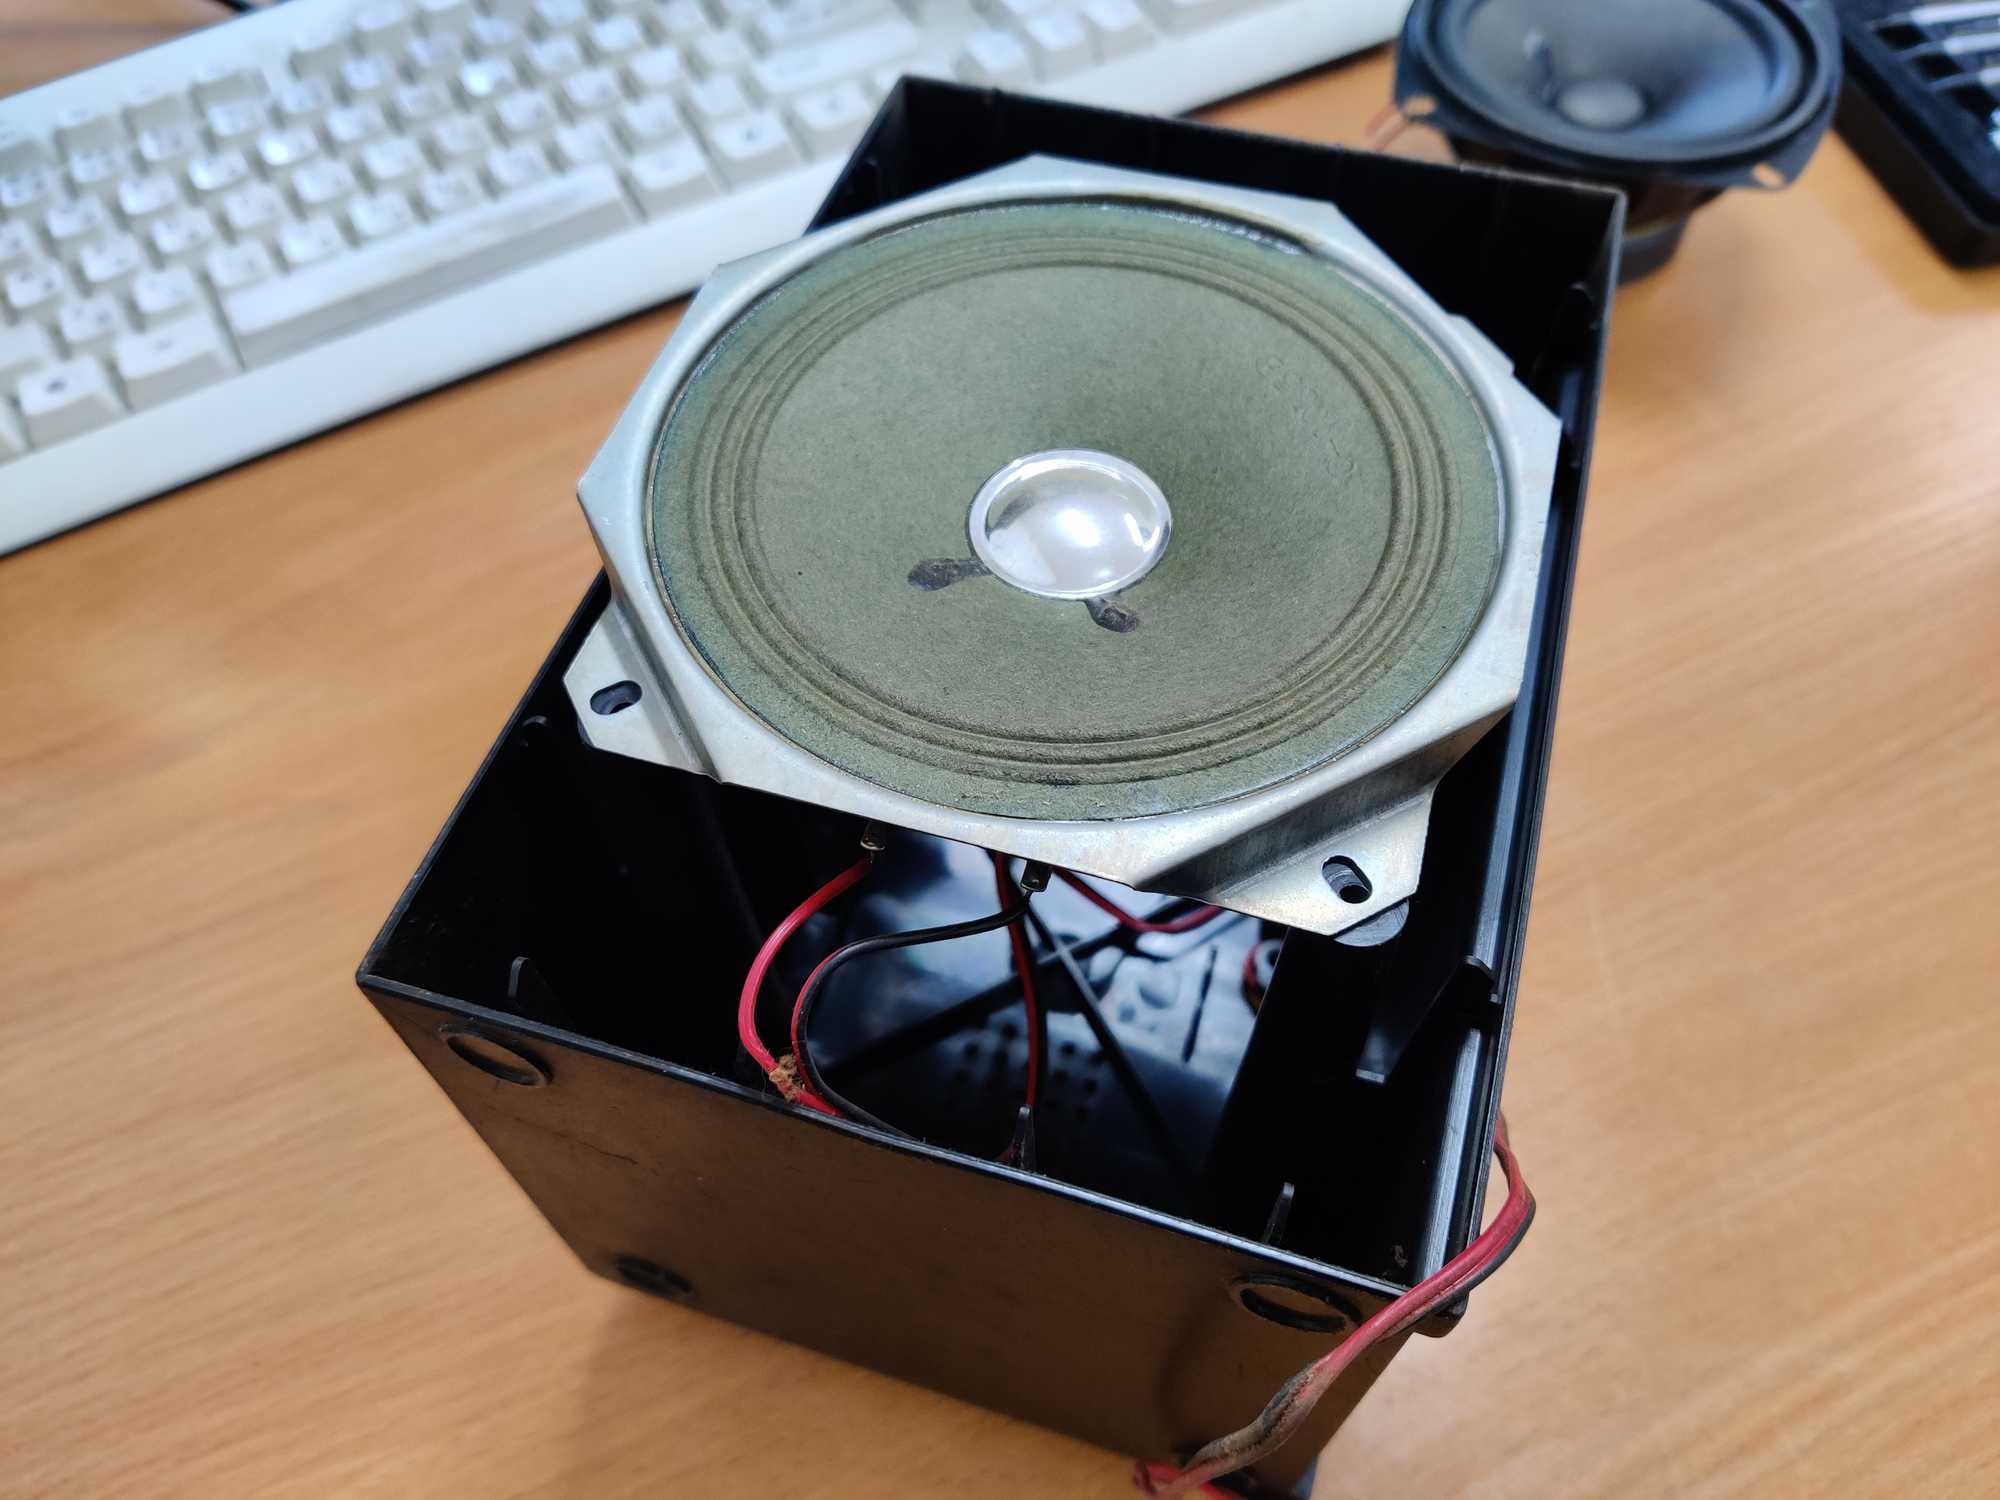
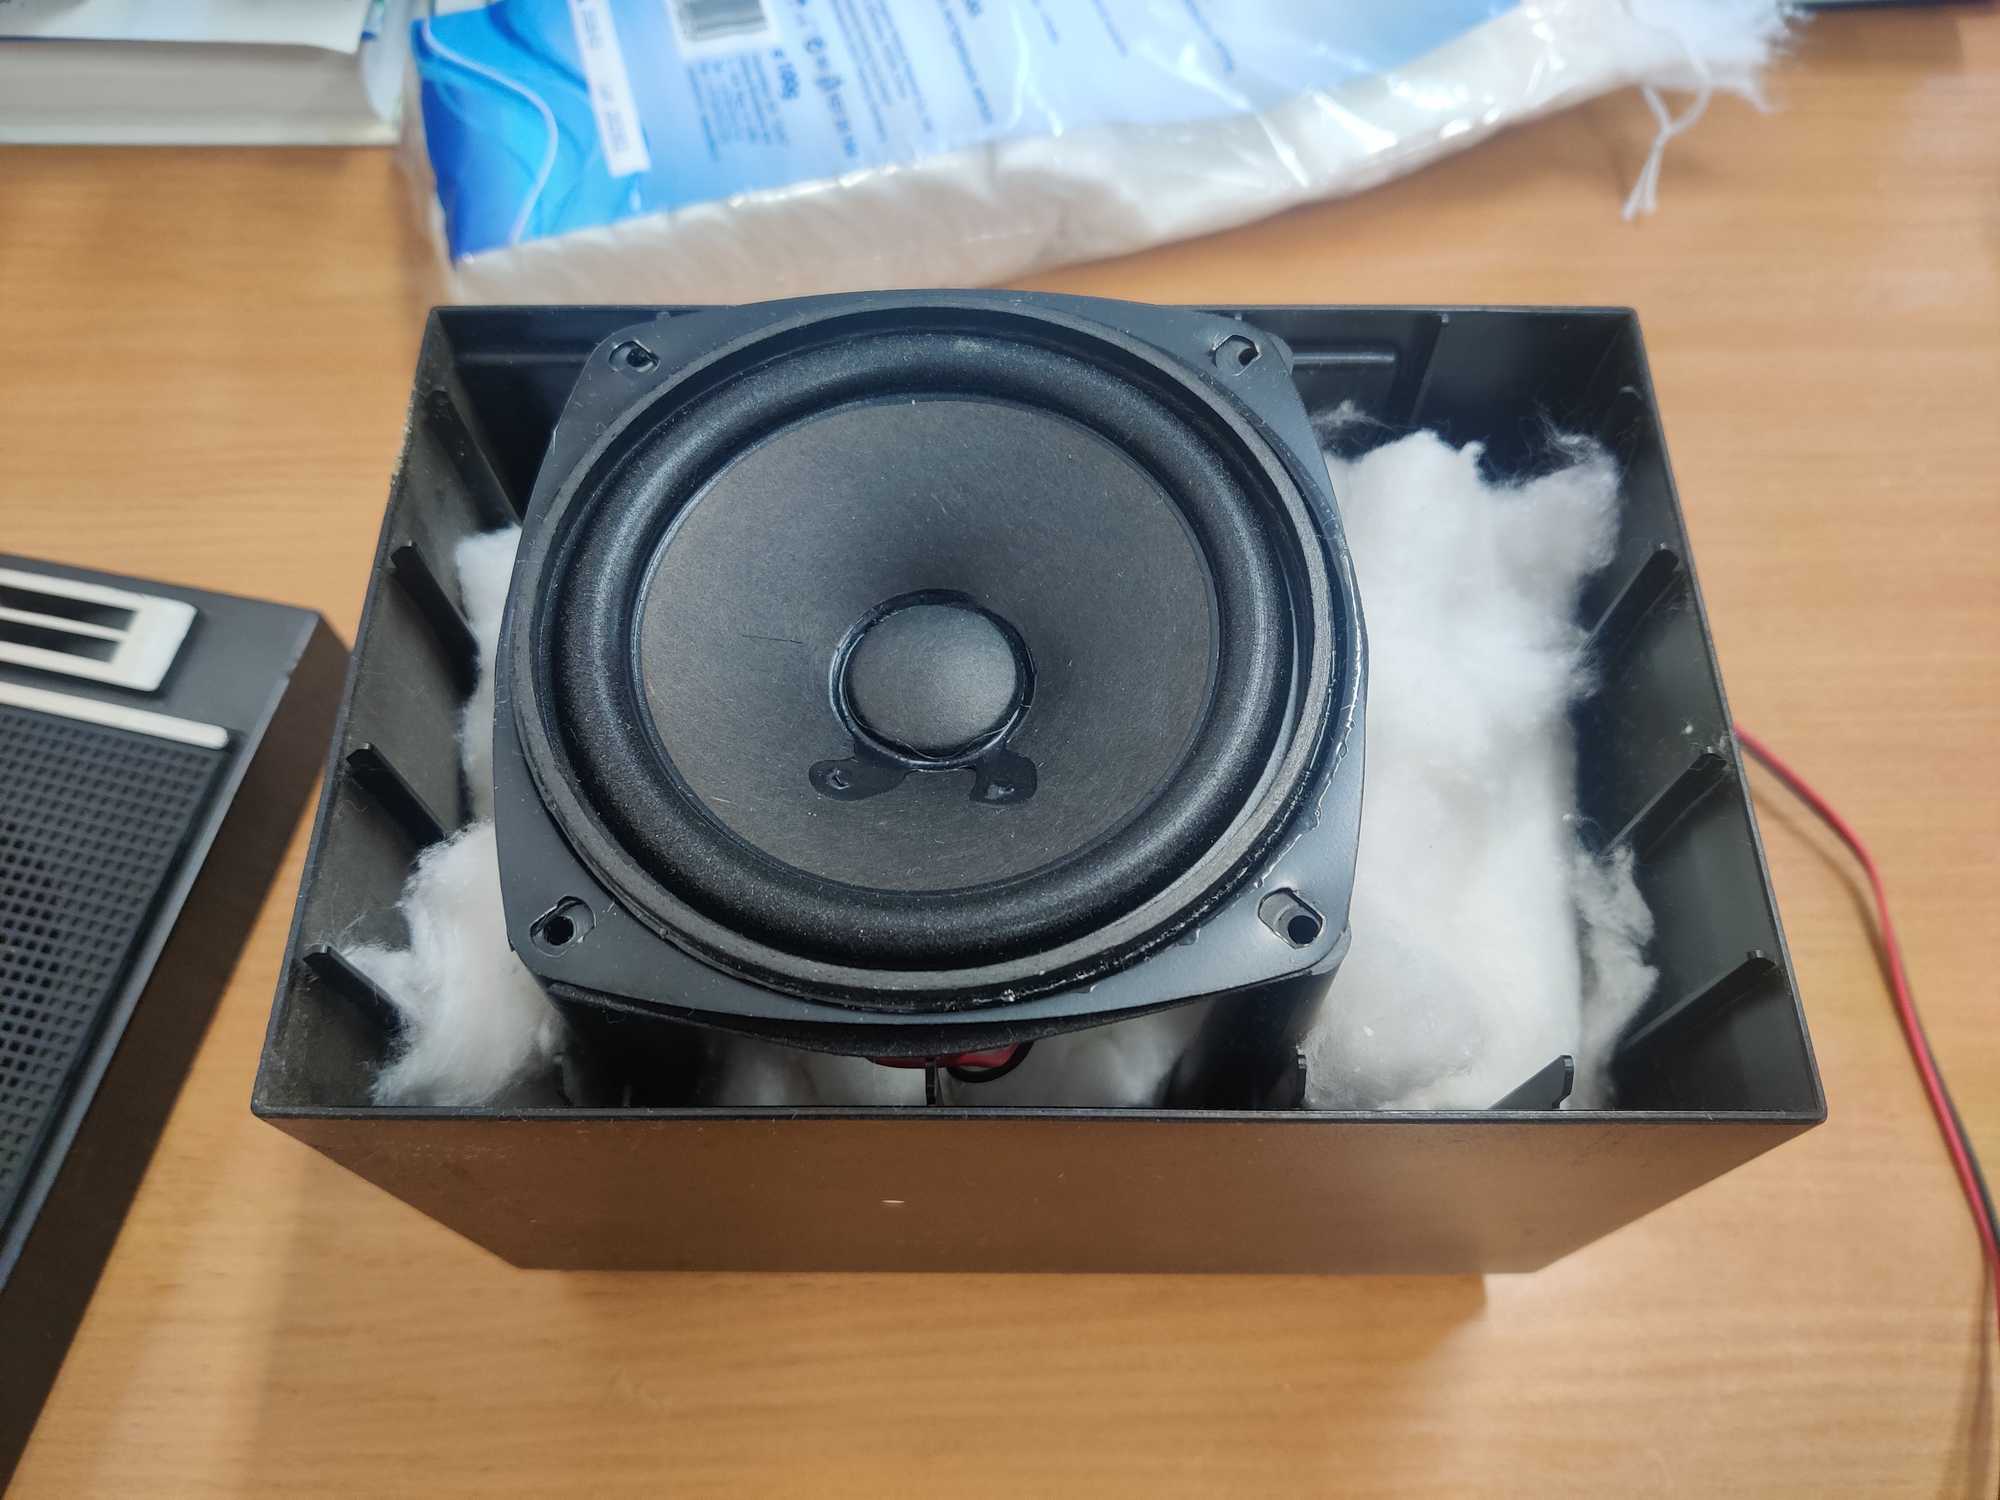
Old speakers is old technology. They were still sounding pretty good IMO but I thought they could be better and there’s ample space inside the plastic boxes.
I bought a pair of speakers from some other more modern audio system from Skelbiu.lt, they were being sold because the main unit broke. Speakers were of perfect size with the same bracket so I didn’t need to hack anything. And I also added cotton wool hoping that it would improve the sound quality or at least reduce plastic vibrations.
Installing Bluetooth
Because the whole unit looks and works great I wanted to have it working like it originally would and that meant I had to add functionality without removing any of the original functionality. Luckily the main unit has so much space inside! most of it is empty, I didn’t had to try and cramp my modules and wires inside.
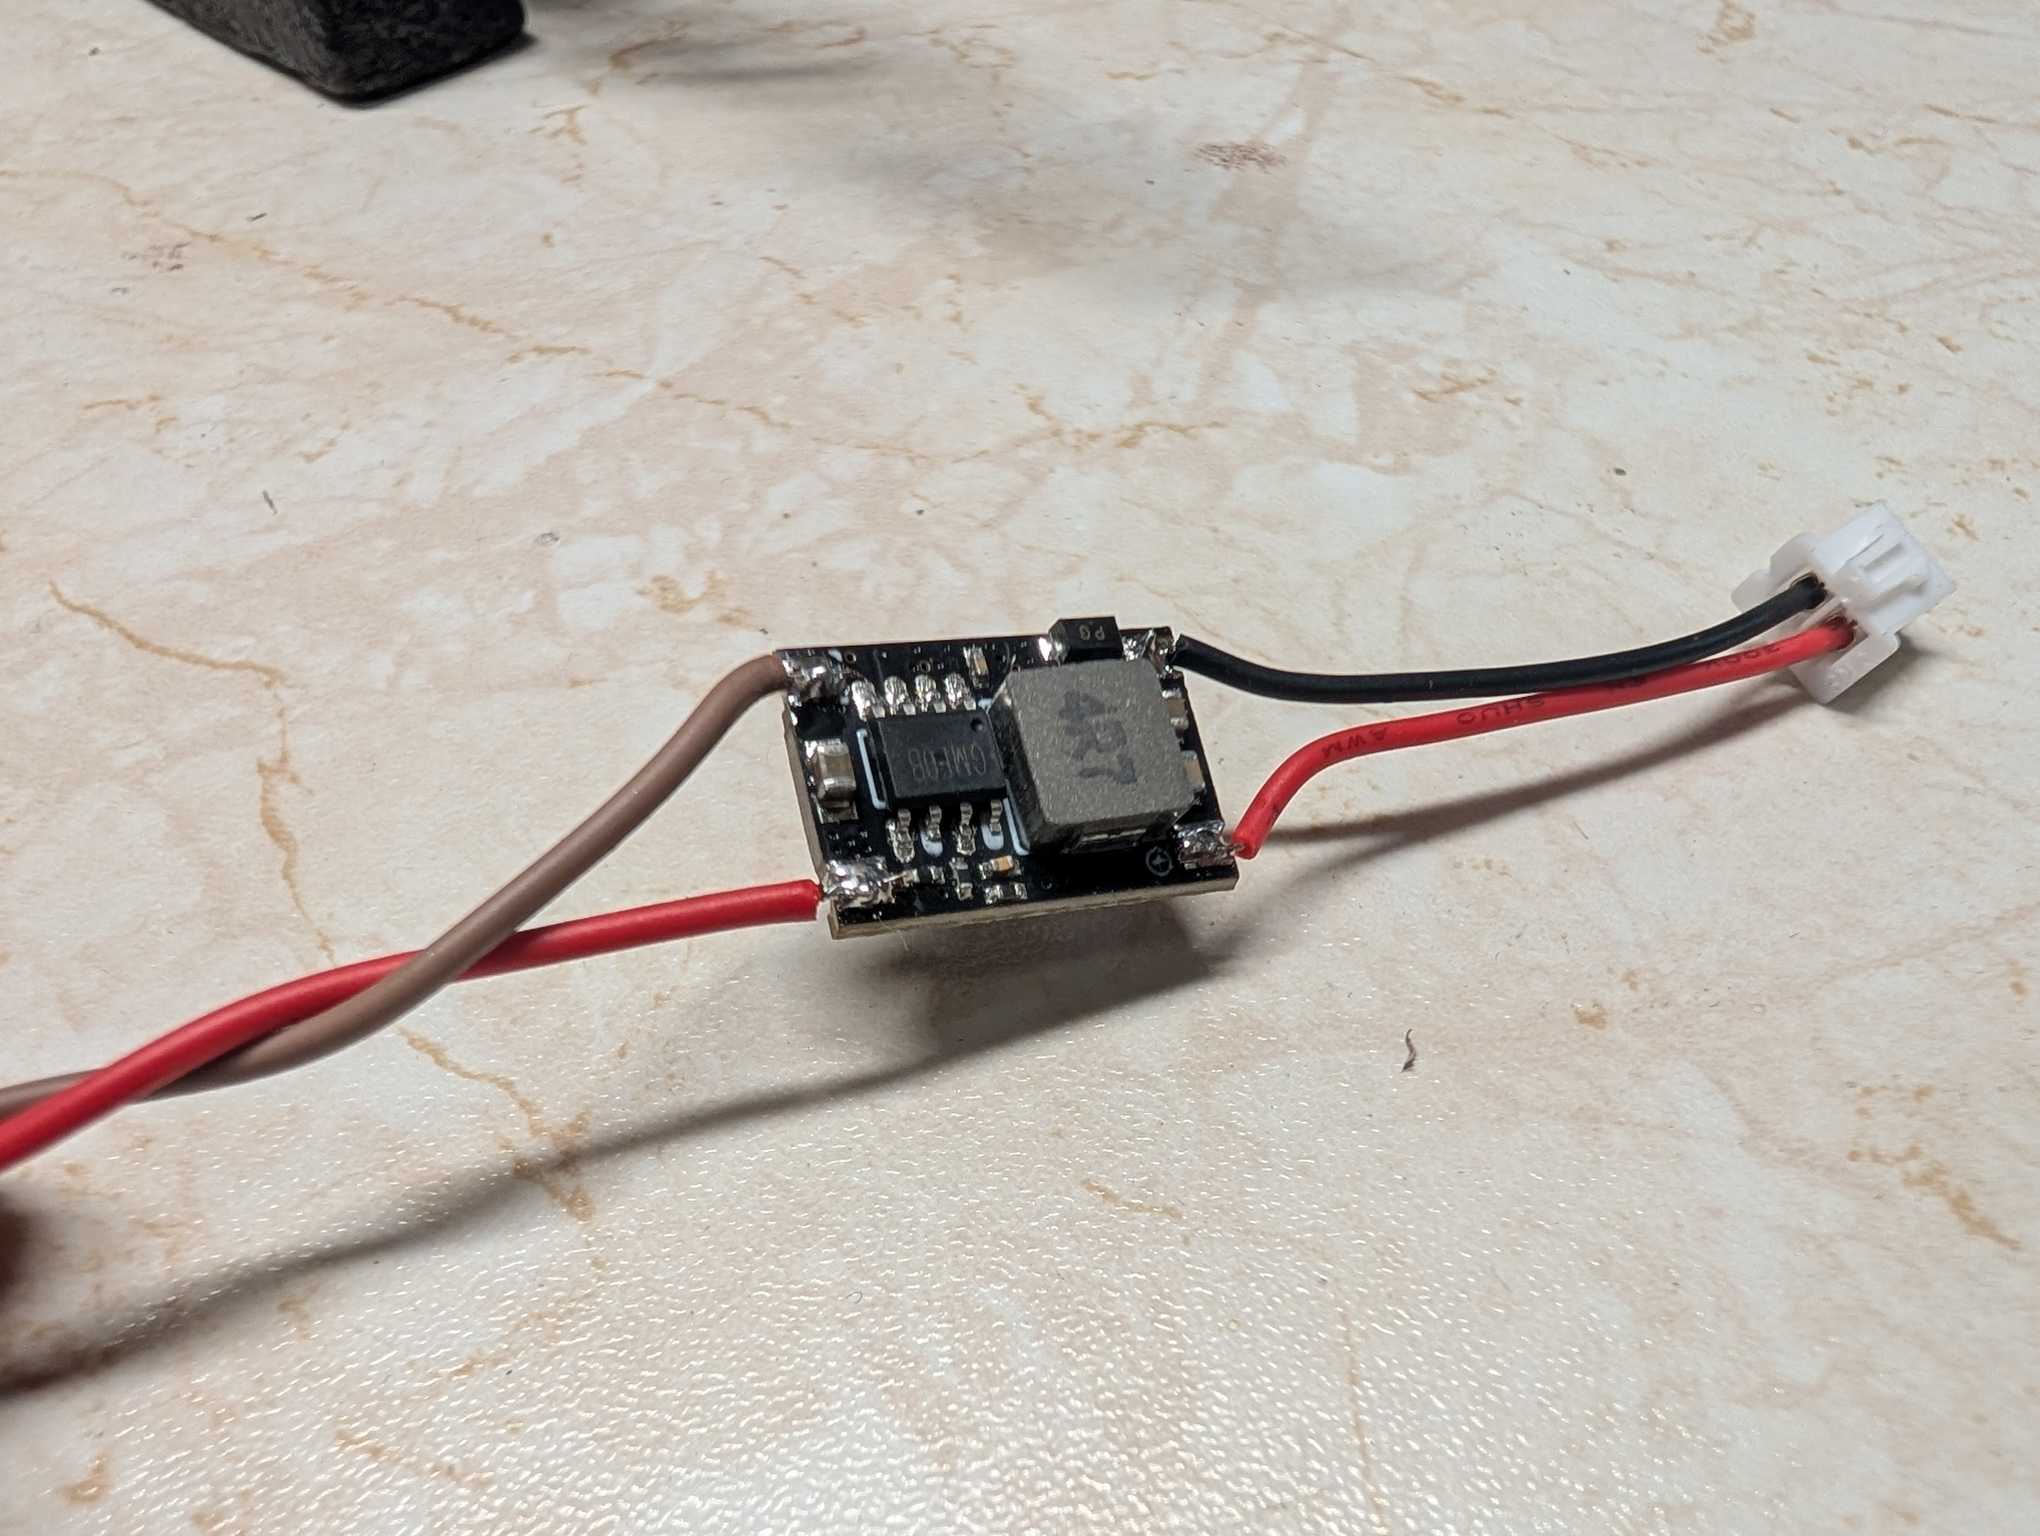
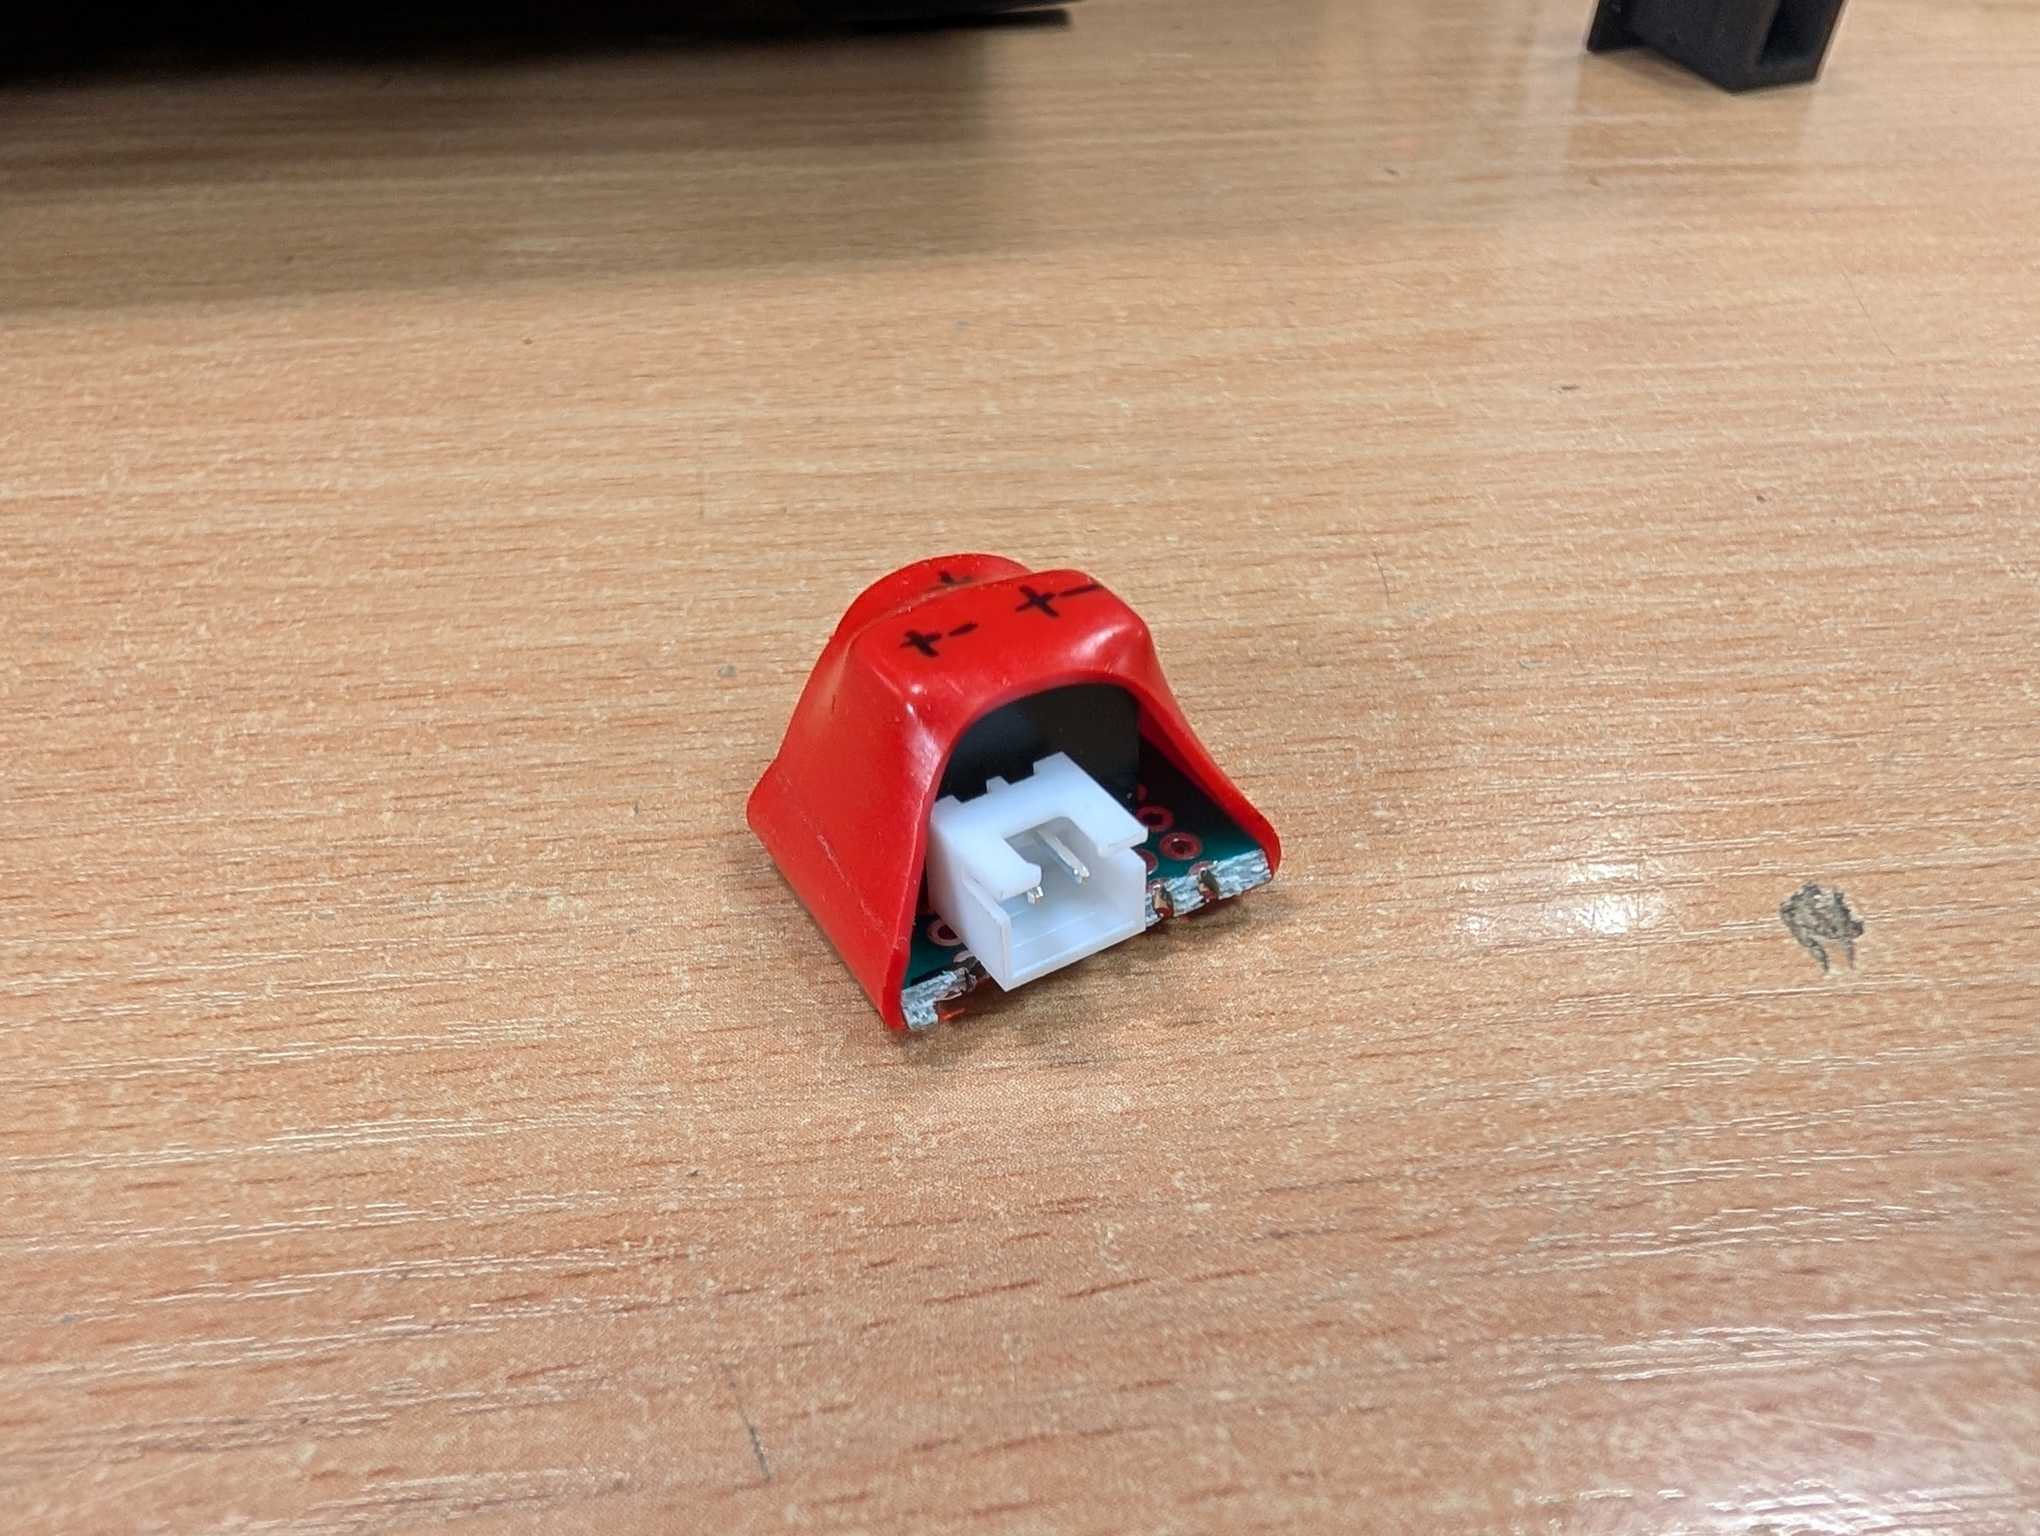
Retrofitting this boombox means that I had to add a Bluetooth module and supply 5v of power to it – that was solved by adding a buck converter before the module chained with a DC-DC isolator to reduce audio noise from a ground-loop that occurs when you want to power up Bluetooth and the main unit from the same power source. Without a DC-DC isolator you’d hear and annoying buzzing sound from.
The Bluetooth module now has power but it also needs to input the sound signal somewhere. And there are two places where this can be done.
Some people add the signal around a pre-amp – either on the output of the pre-amp or into the input.
Pre-amp is there to amplify the sound signal from the magnetic head which is very, very low. If you want to add signal there you need to use a series of resistors to make your Bluetooth signal to about the same level of a magnetic head. It’s also possible to add the signal onto the output of the pre-amp if you can figure out what chip it is to see it’s pinout, or somehow work it out yourself.
I went the simpler path and just added sound input onto the volume slider. The downside of this is that the volume control goes after the equalizer which means that the equalizer does nothing for the Bluetooth signal but it’s not a big deal because Bluetooth sounds great as is.
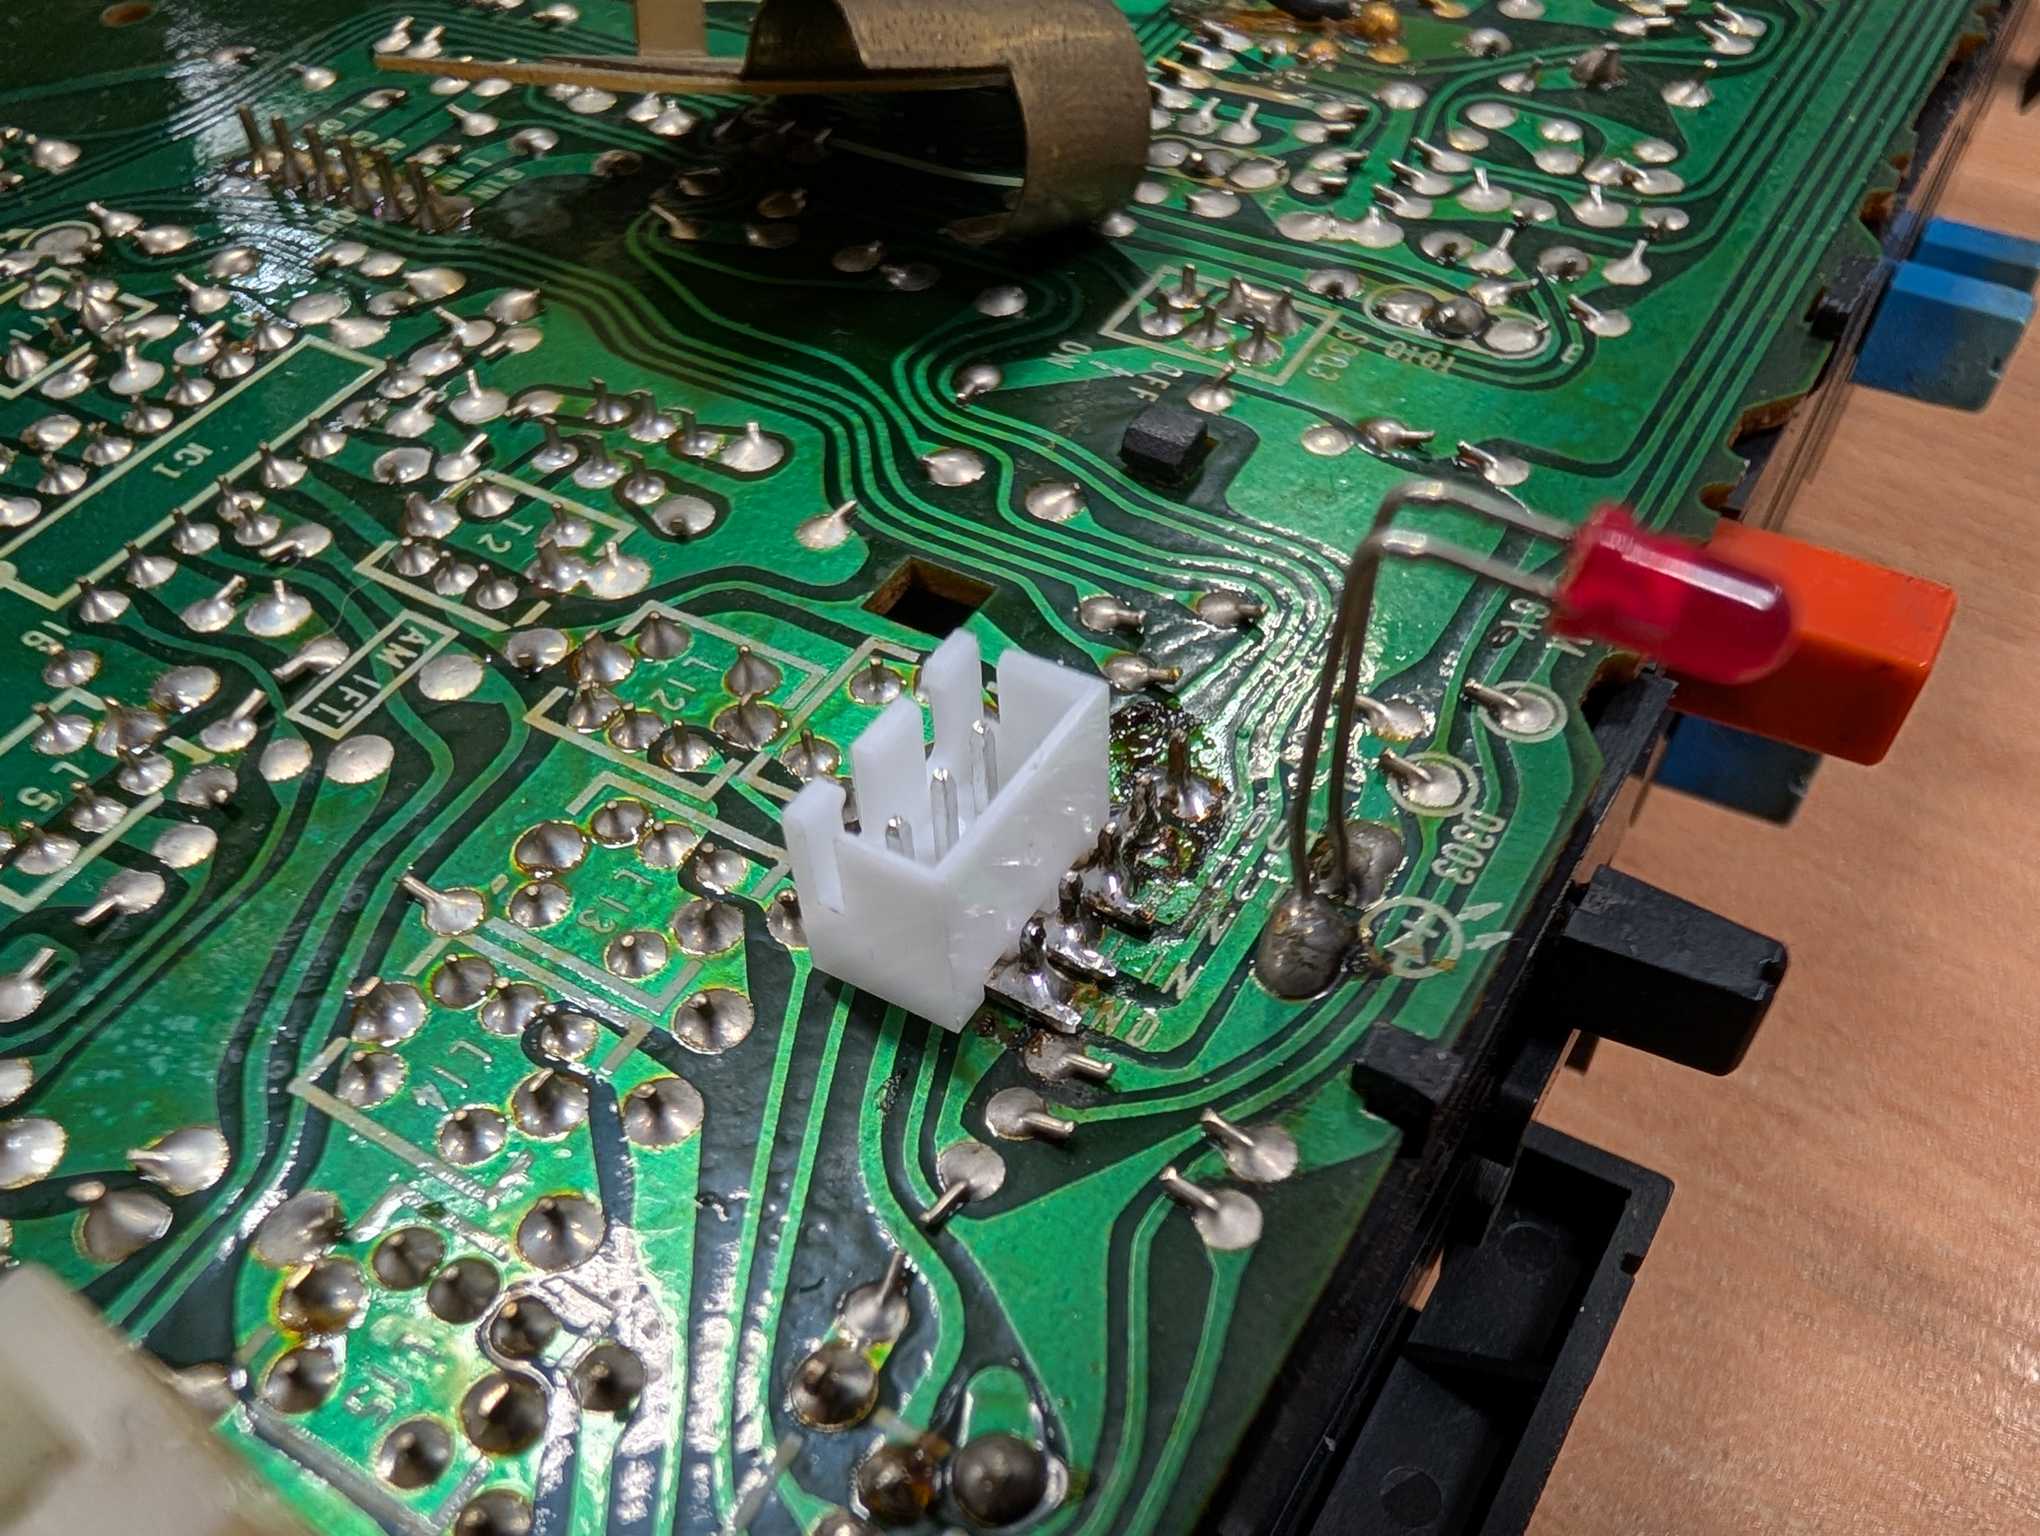
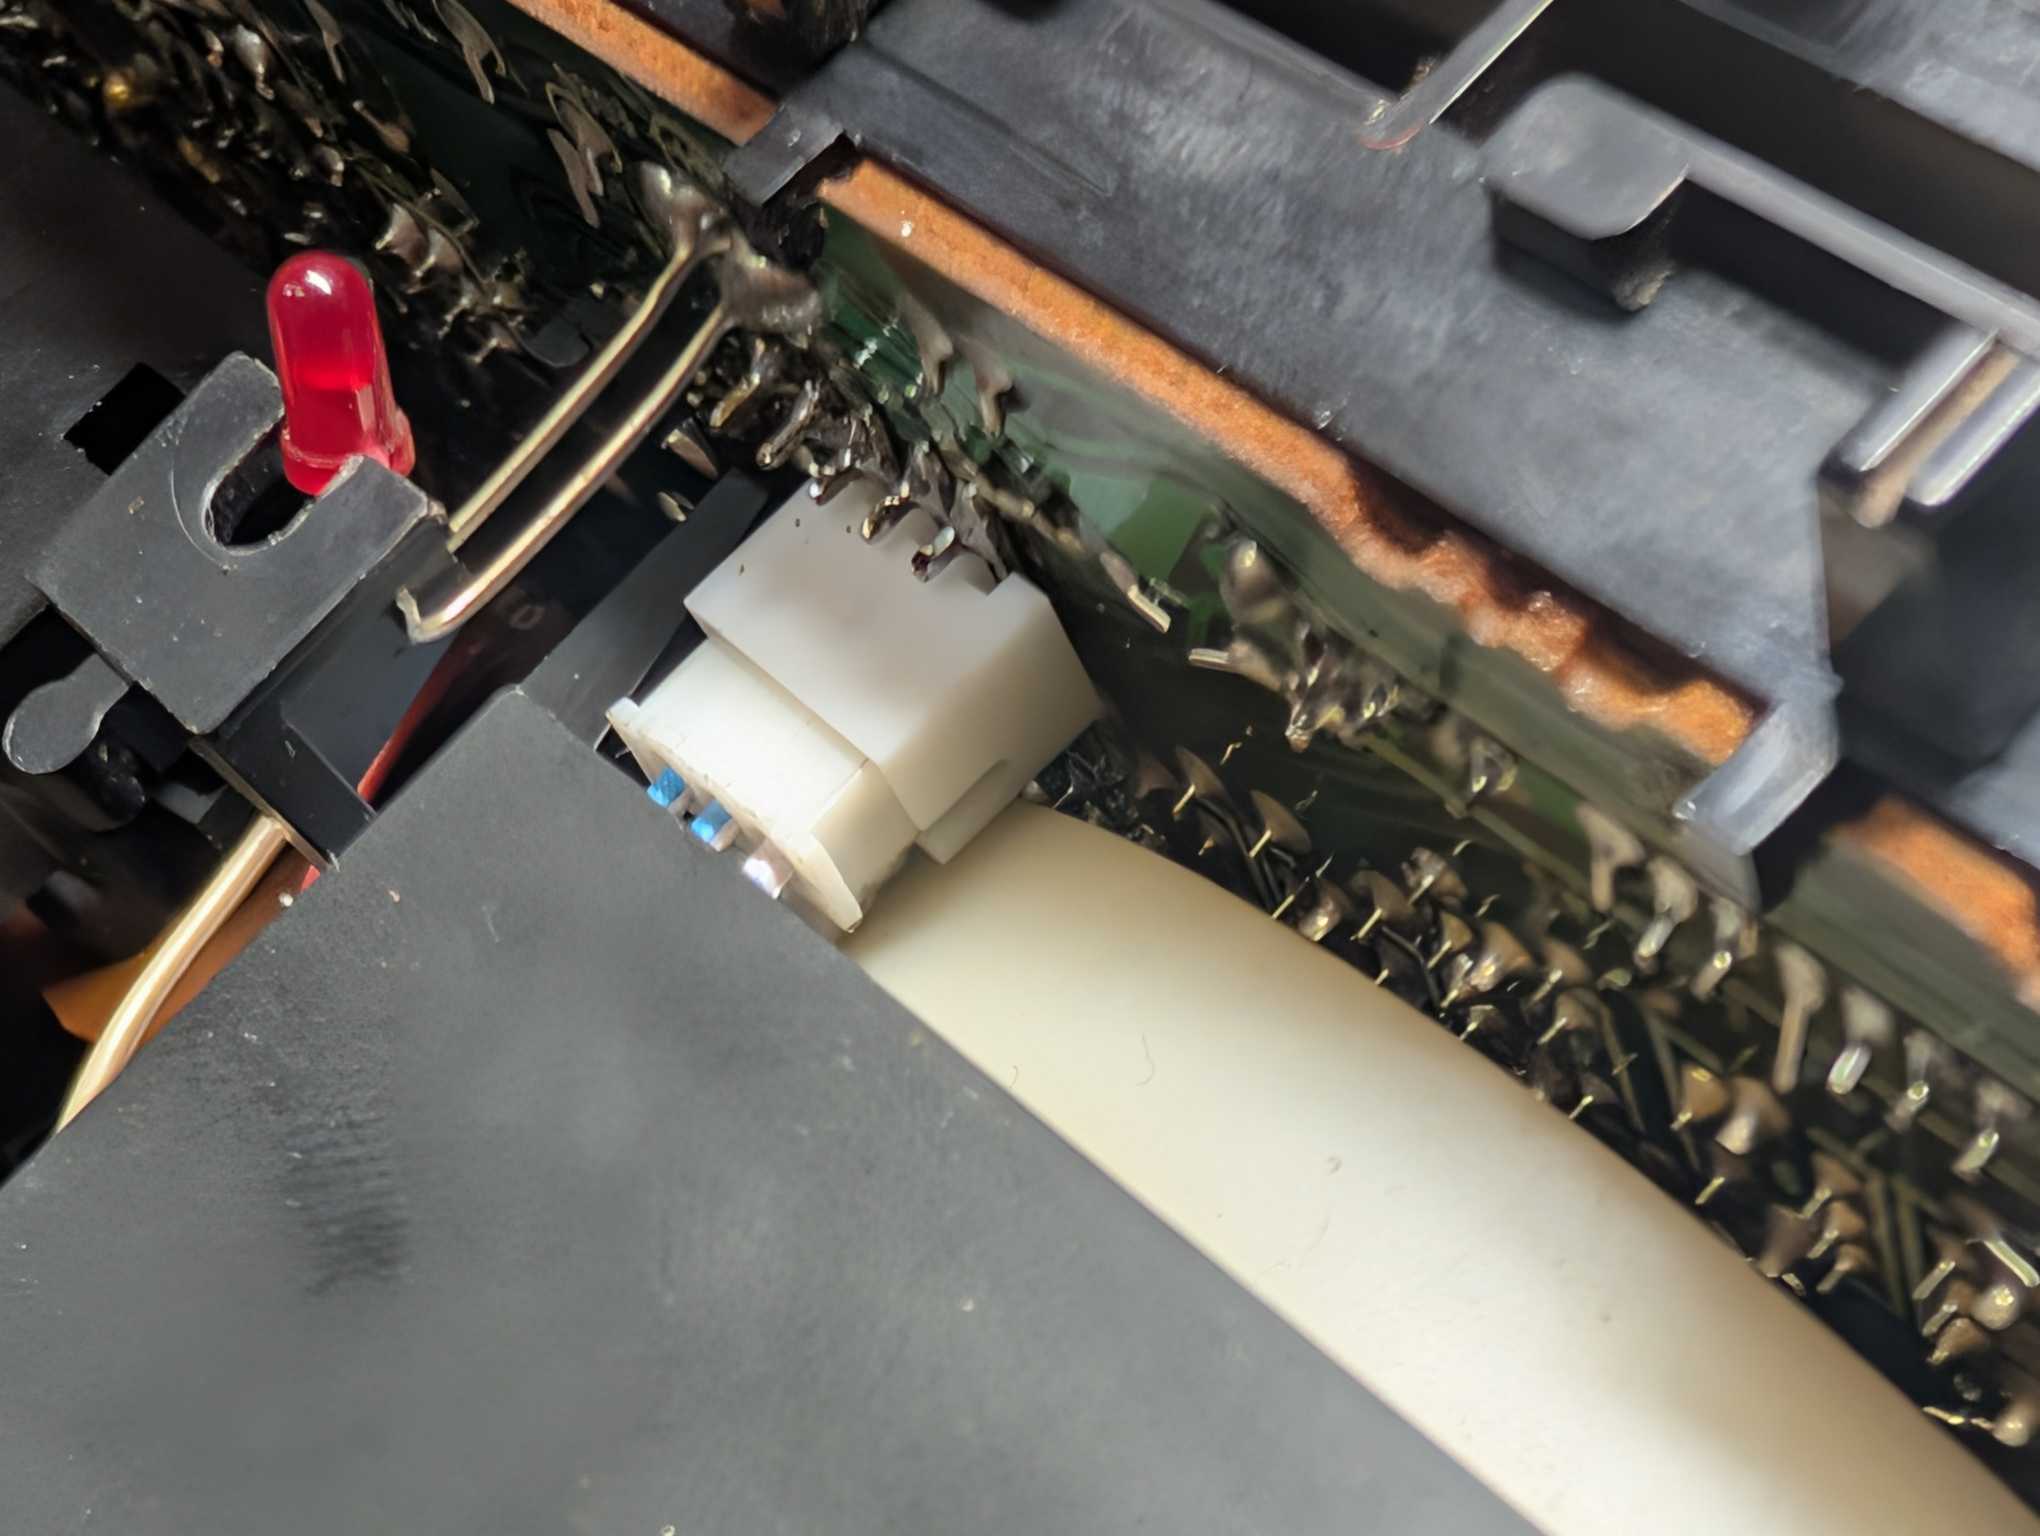
I didn’t have to guess which pins I had to use because Sony engineers back in the day conveniently labeled them and I only had to read what was on the PCB board! Something you will rarely see on modern electronics boards.
Also you can notice that I don’t just solder wires everywhere. I use JST connectors where I can so that I can have modularity and easily connect/disconnect parts in the future.
And the Bluetooth module was conveniently mounted on one of the screw poles since I removed the AC cable and this was left unoccupied. By adding a metal stand-off the module was neatly fixed inside.
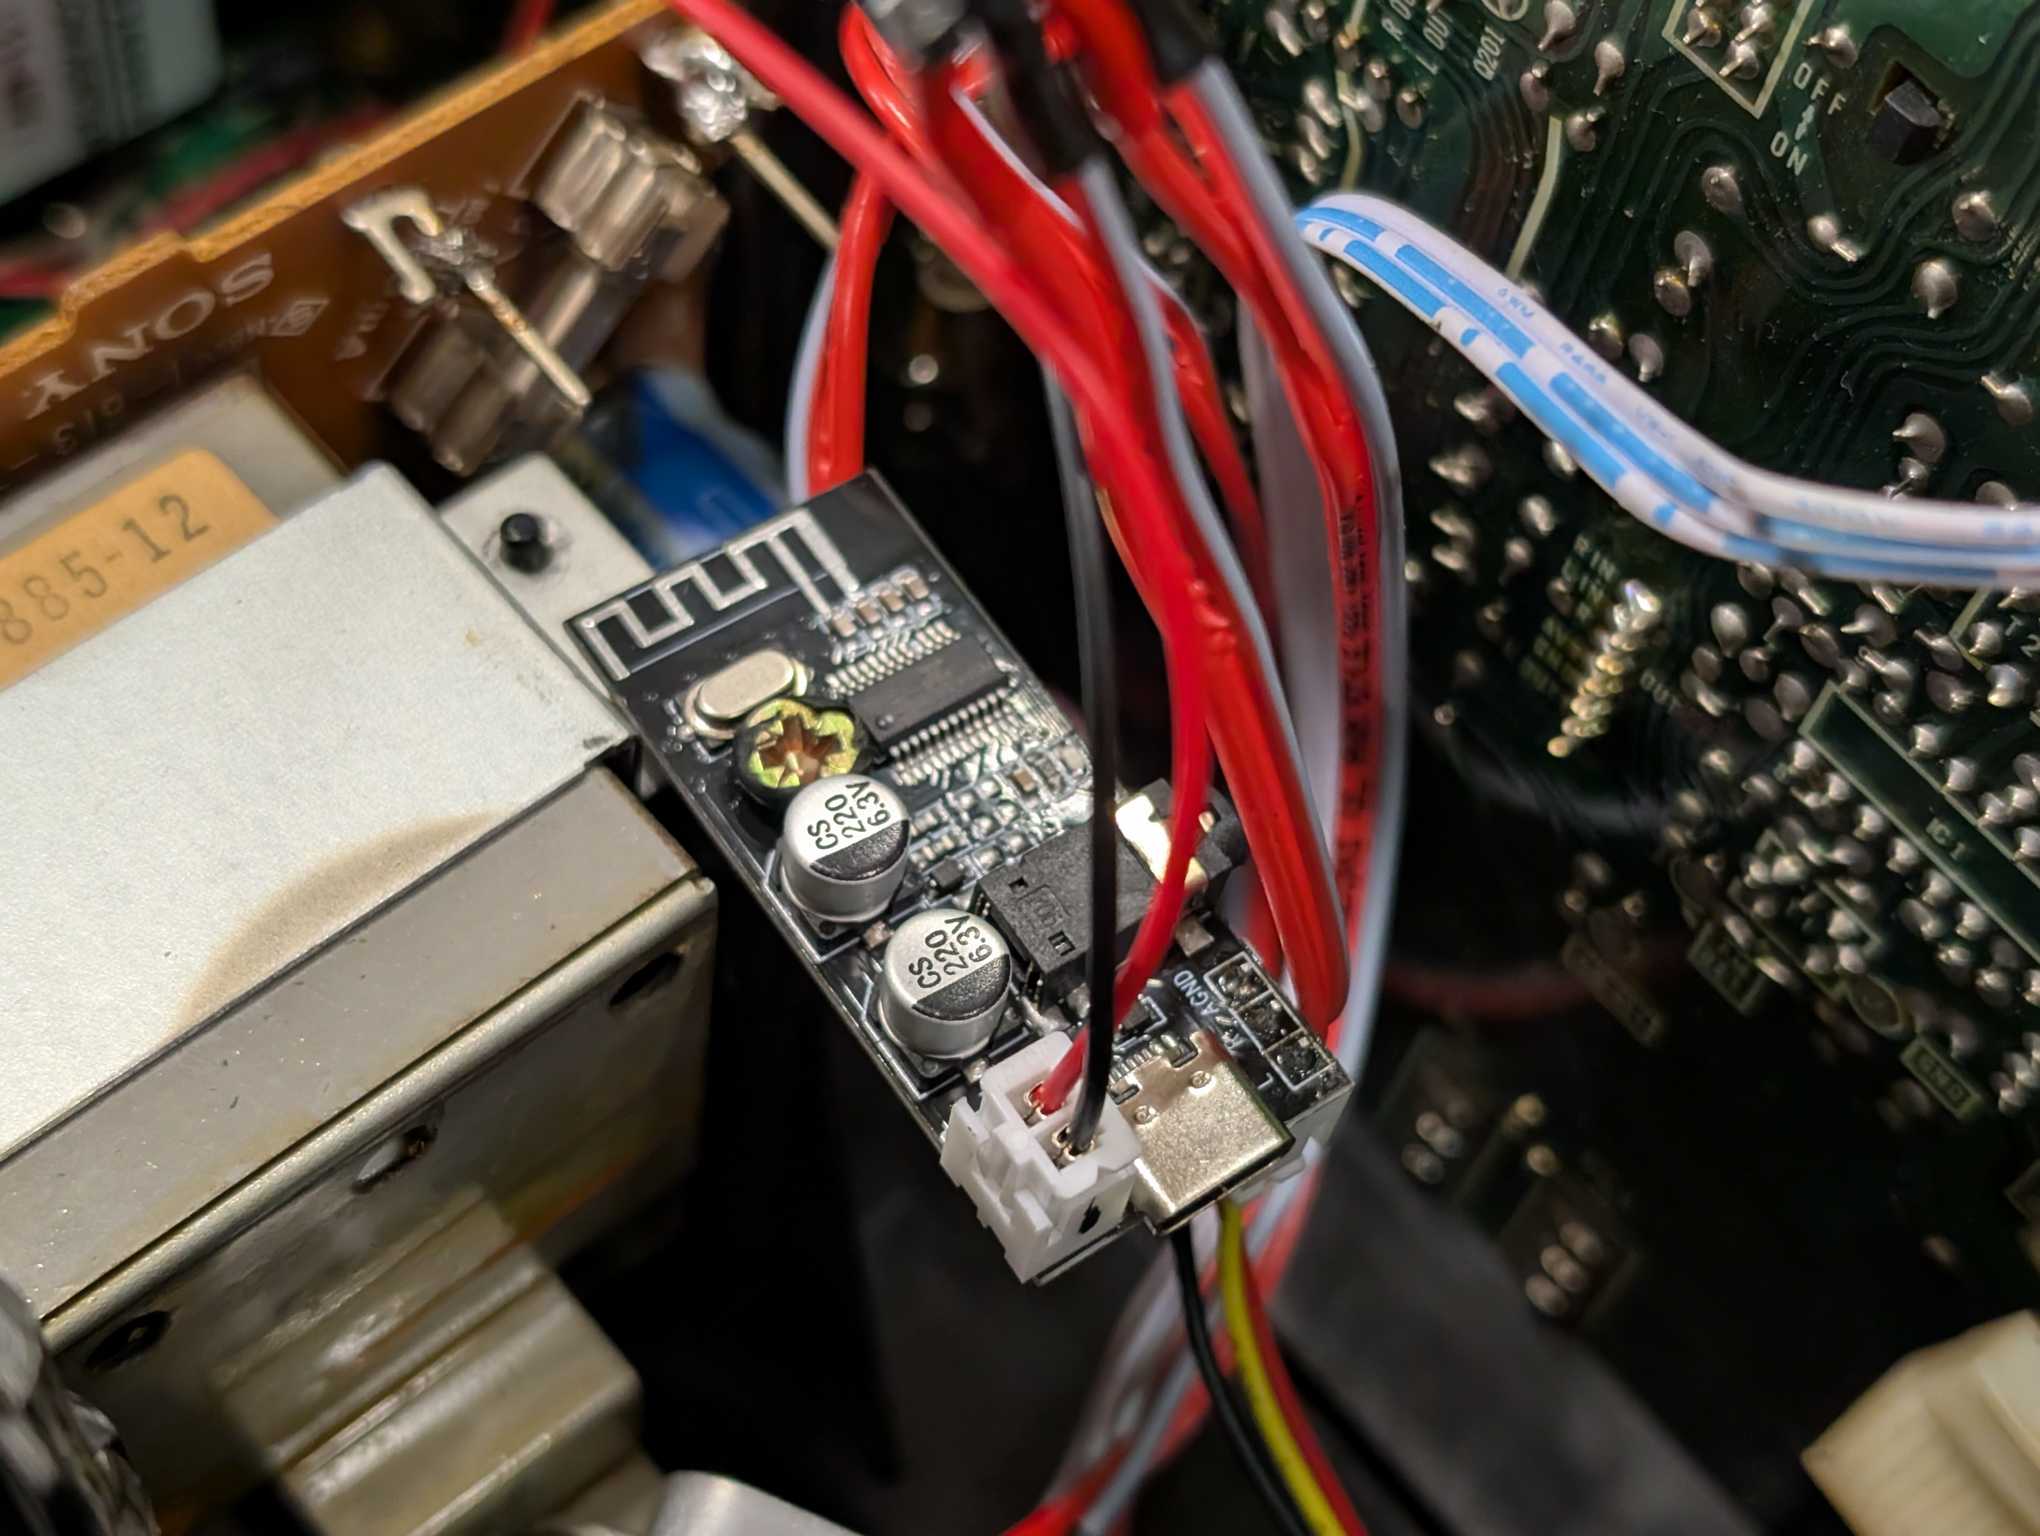
For this to work properly I needed to have a way to switch audio signals to make sure there’s only one signal available at a time. It was fairly easy – I found unconnected pins on a Radio/Cassette switch and used that to connect/disconnect power to the Bluetooth module – when Radio is turned on then the module is turned off and vice-versa.
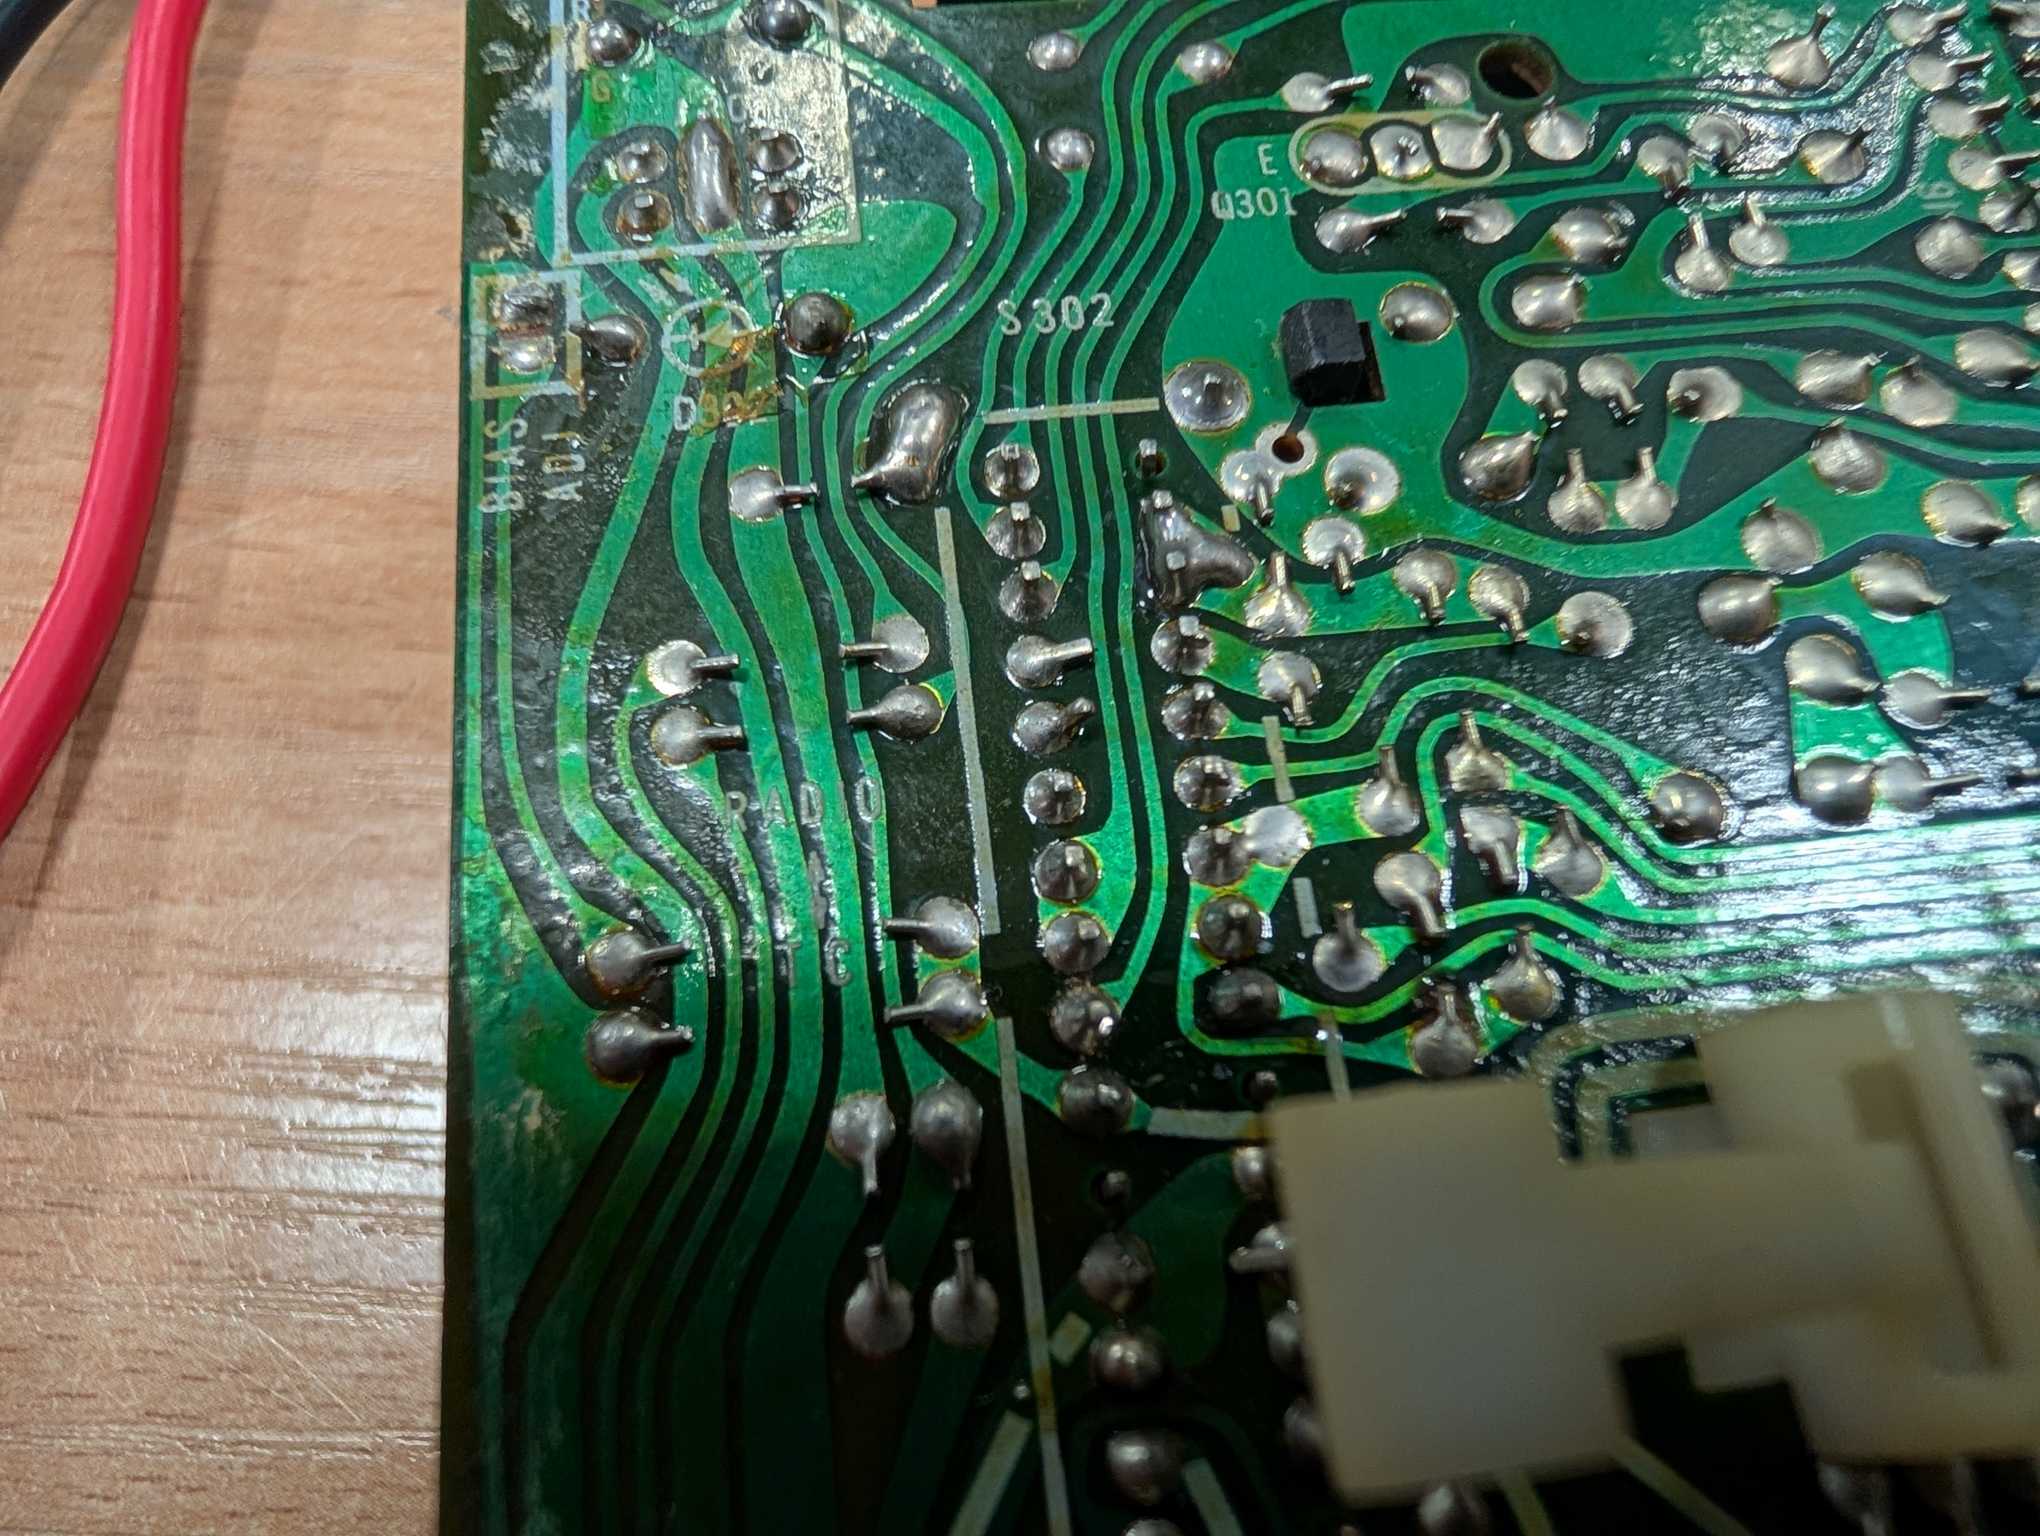
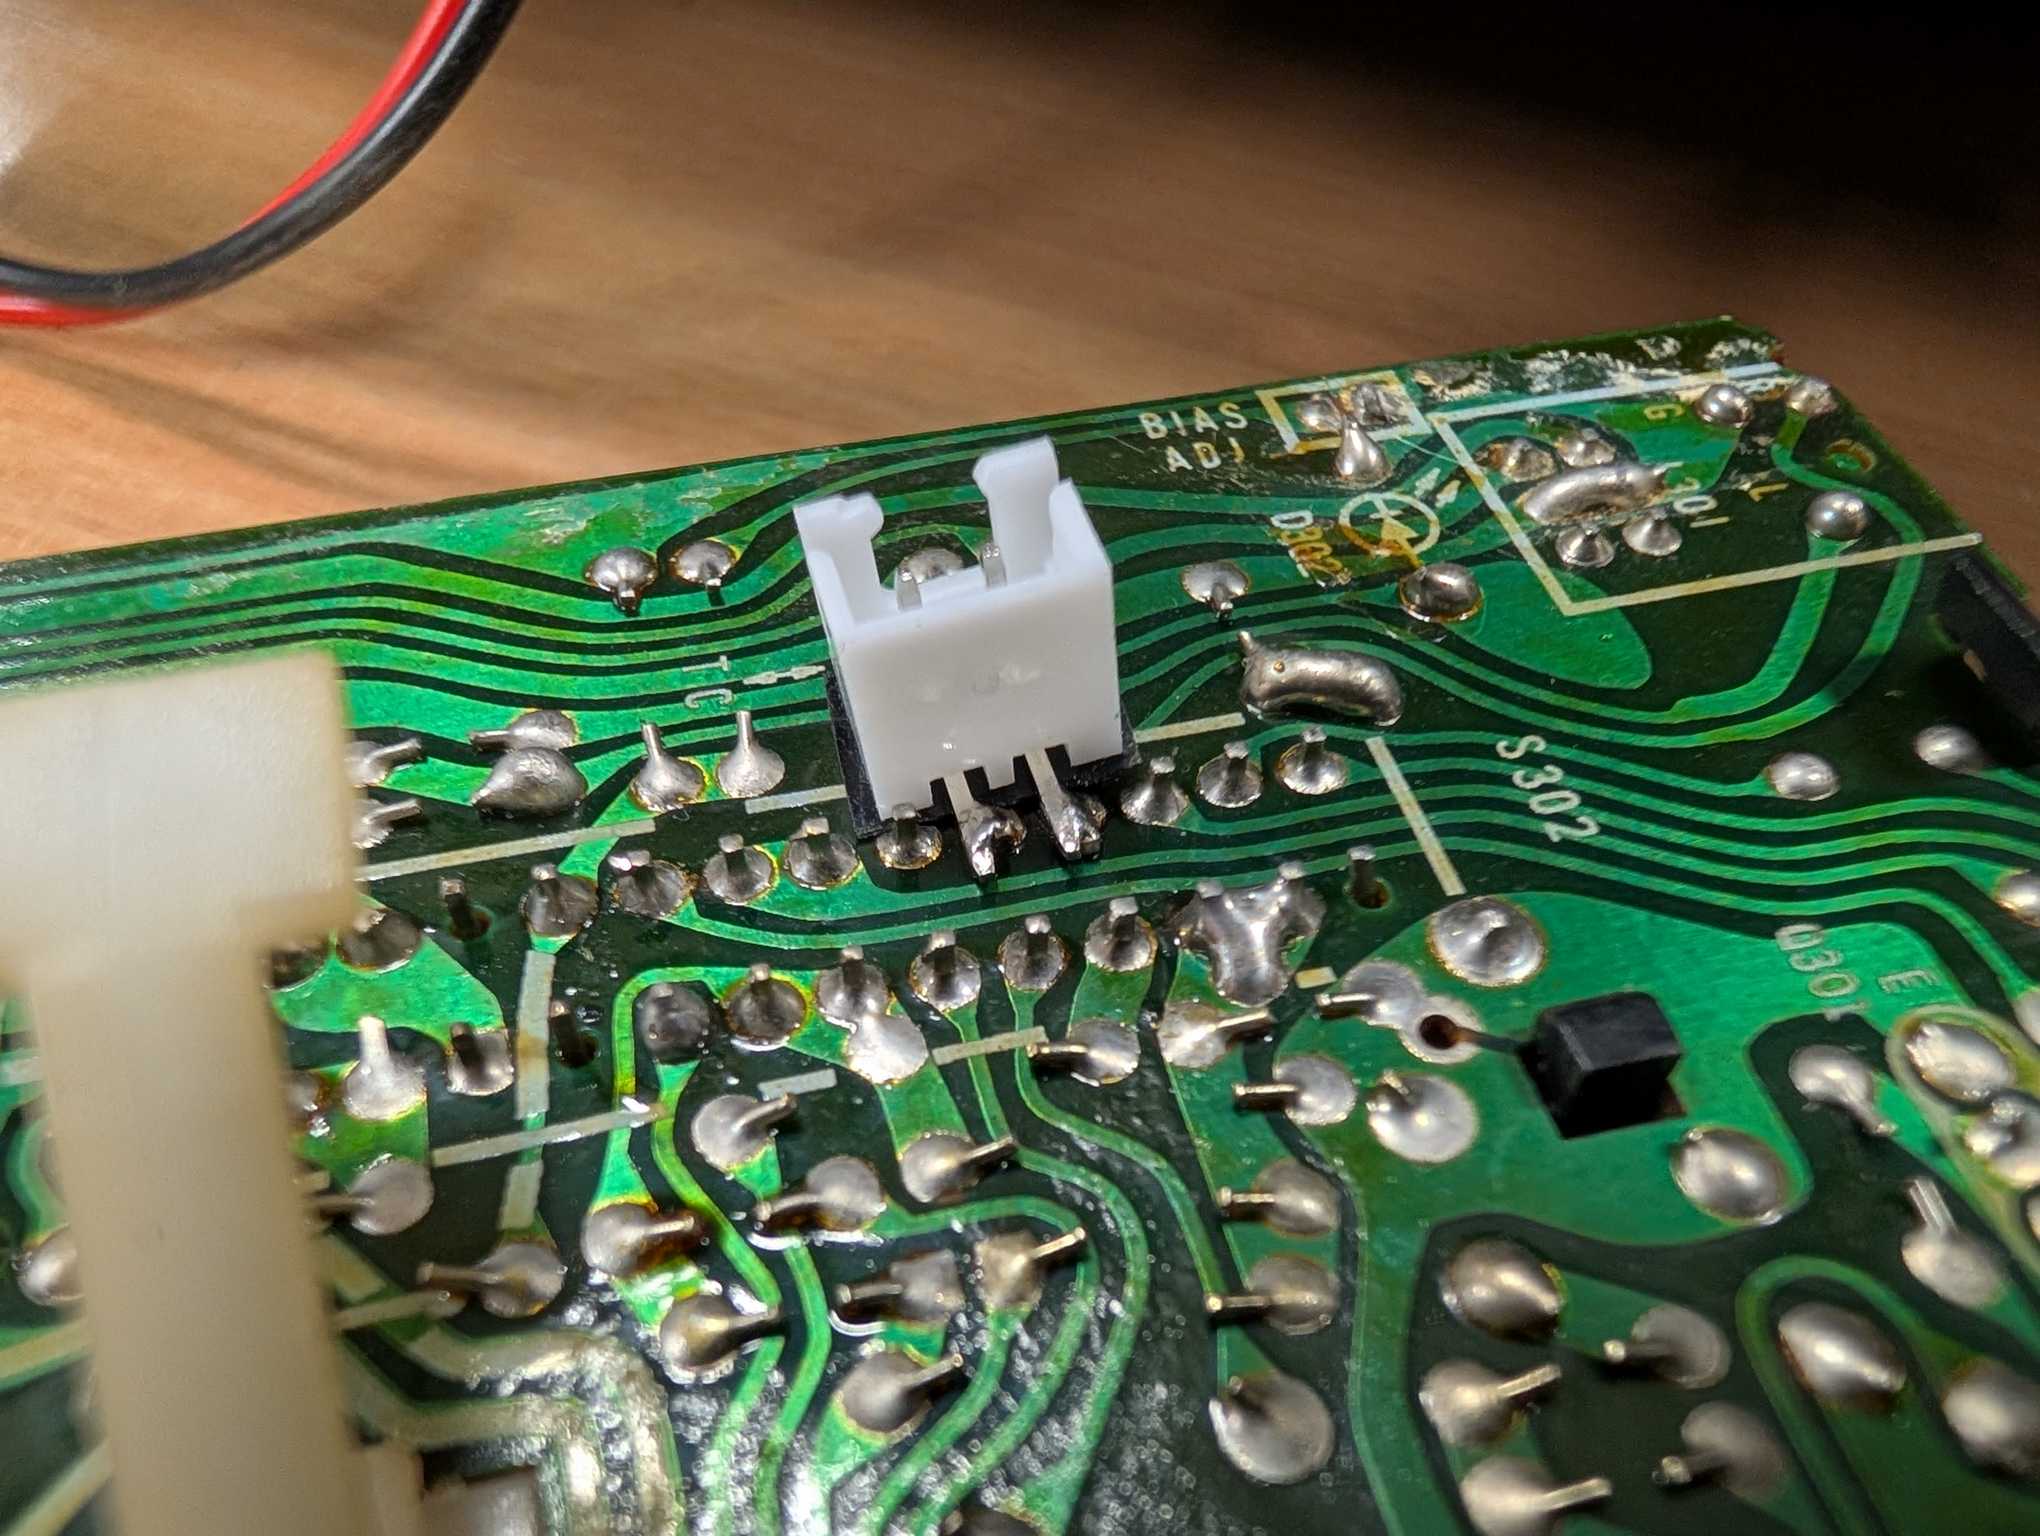
With the cassette (in case it was left inside the unit while Bluetooth is playing) I had to add a switch at the back of the main unit but it can’t be a regular 3-position switch because I need to switch L/R signals for both the cassette and Bluetooth independently.
The only switch that I could find locally were the Russian PKN type switches, I remembered them from when I was retrofitting a VEF radio. Luckily I could get one with a matching button.
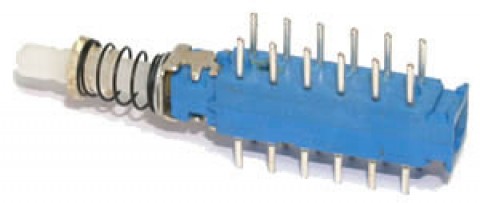
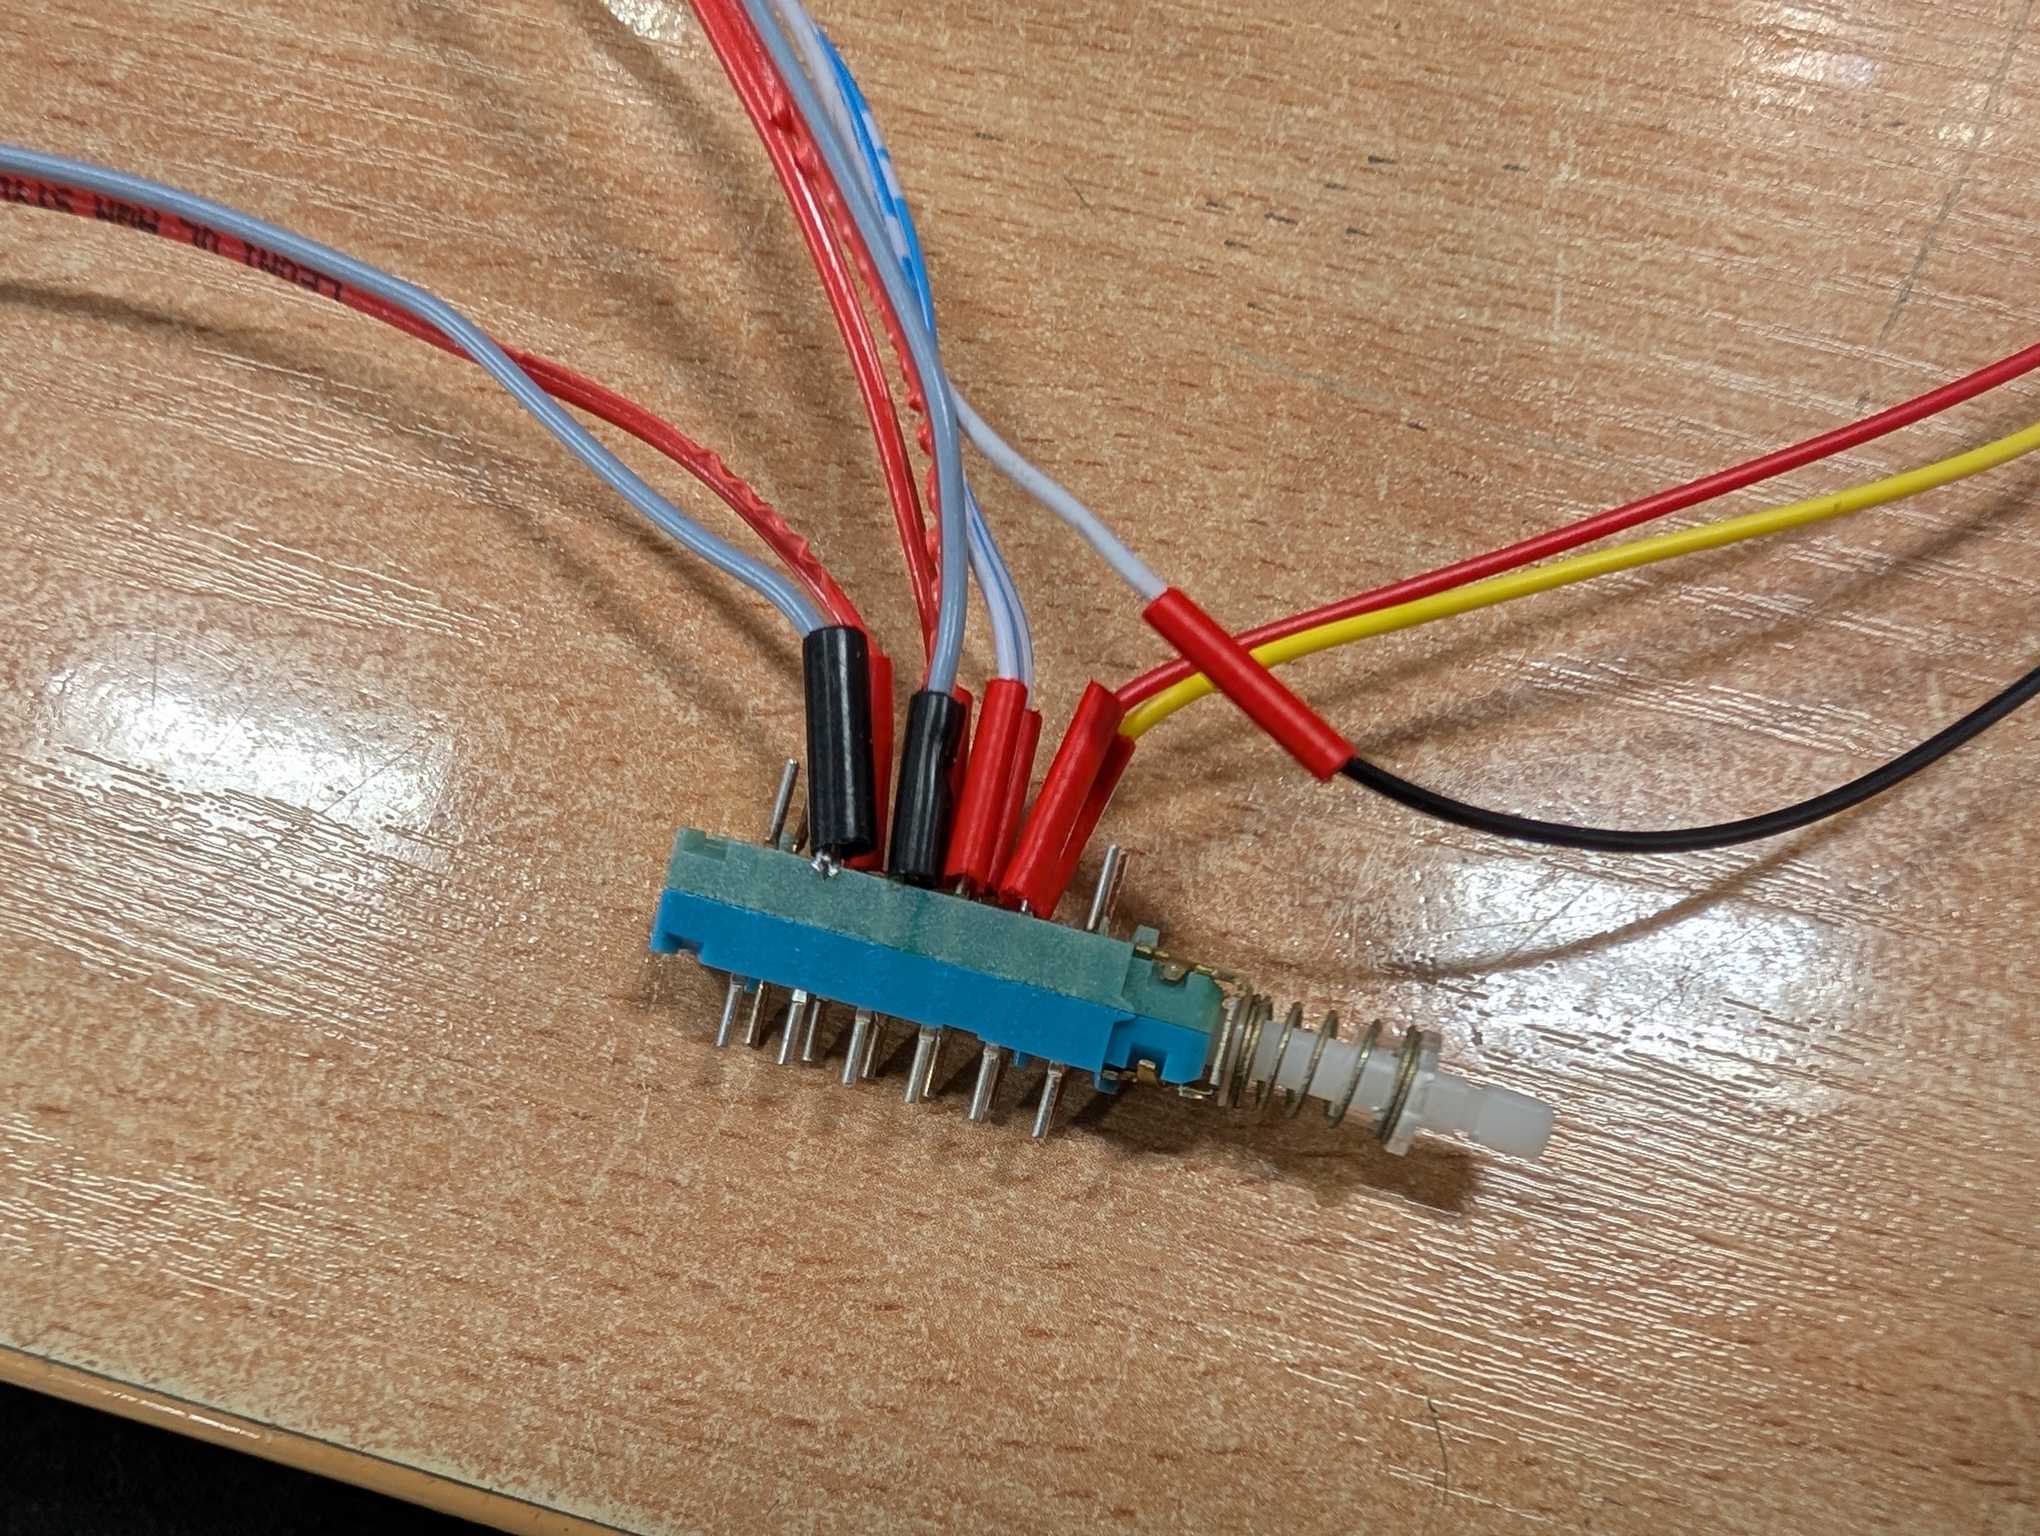
What this button does is when pressed, it disconnects the cassette L/R signals and connects the Bluetooth L/R signals, even though they are routed to different places.
To mount the button at the back of the unit I 3D printed a small bracket to hold it, made a square hole and glued that bracket in place. The button goes in that bracket and the button to manipulate it protrudes outside. Looks as if it was there from the factory!
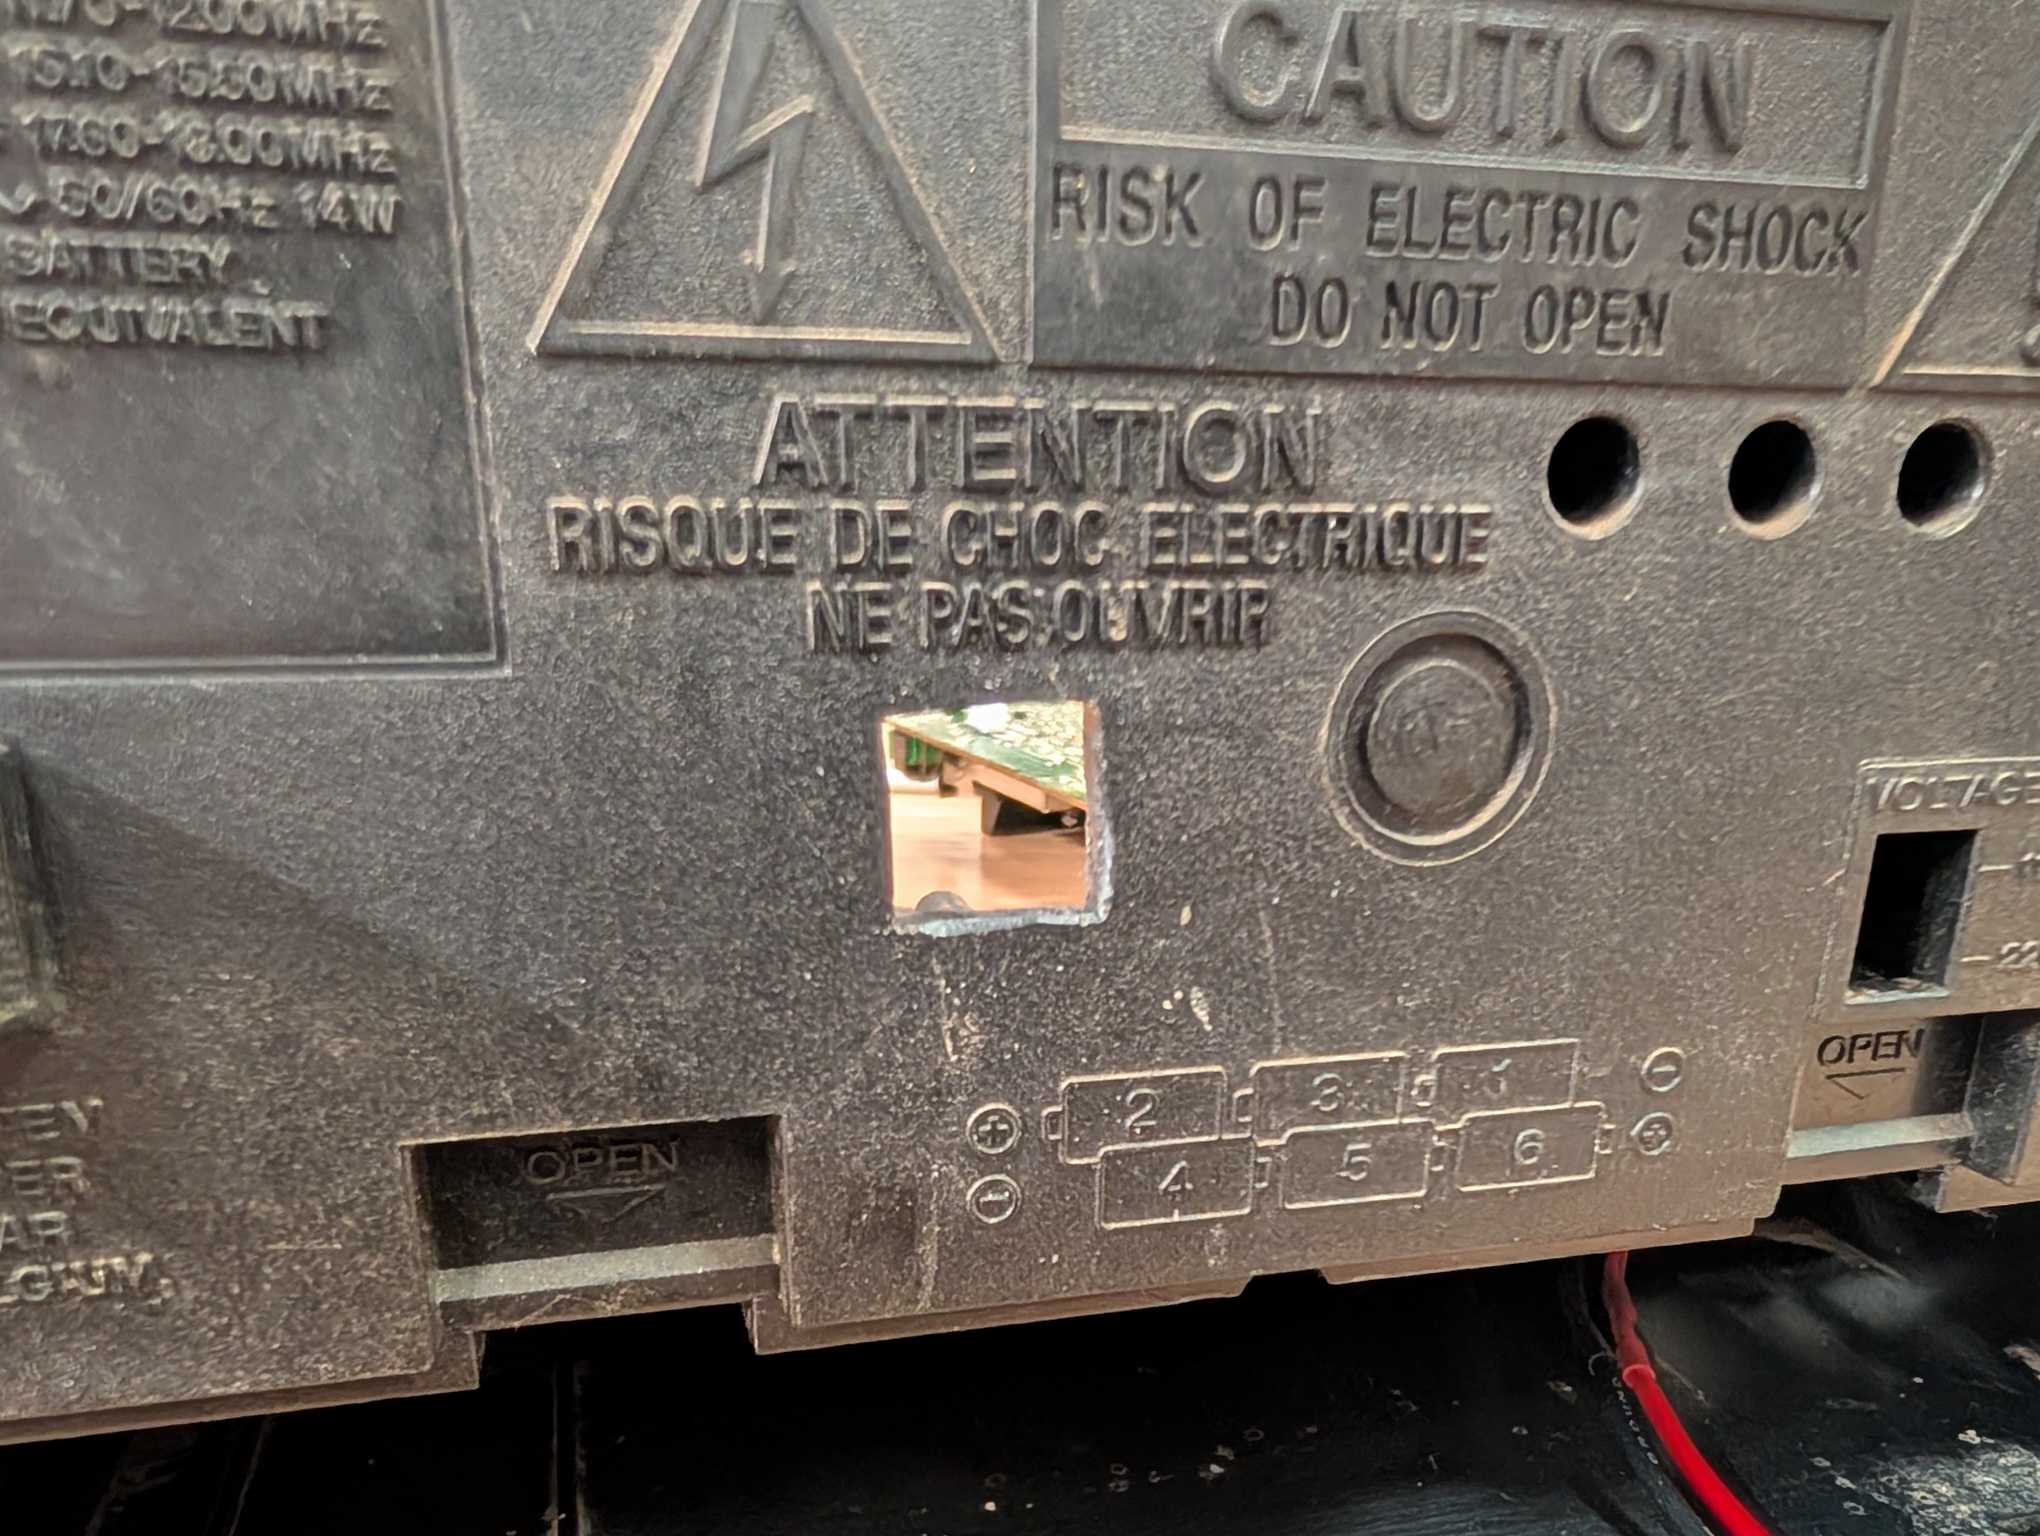
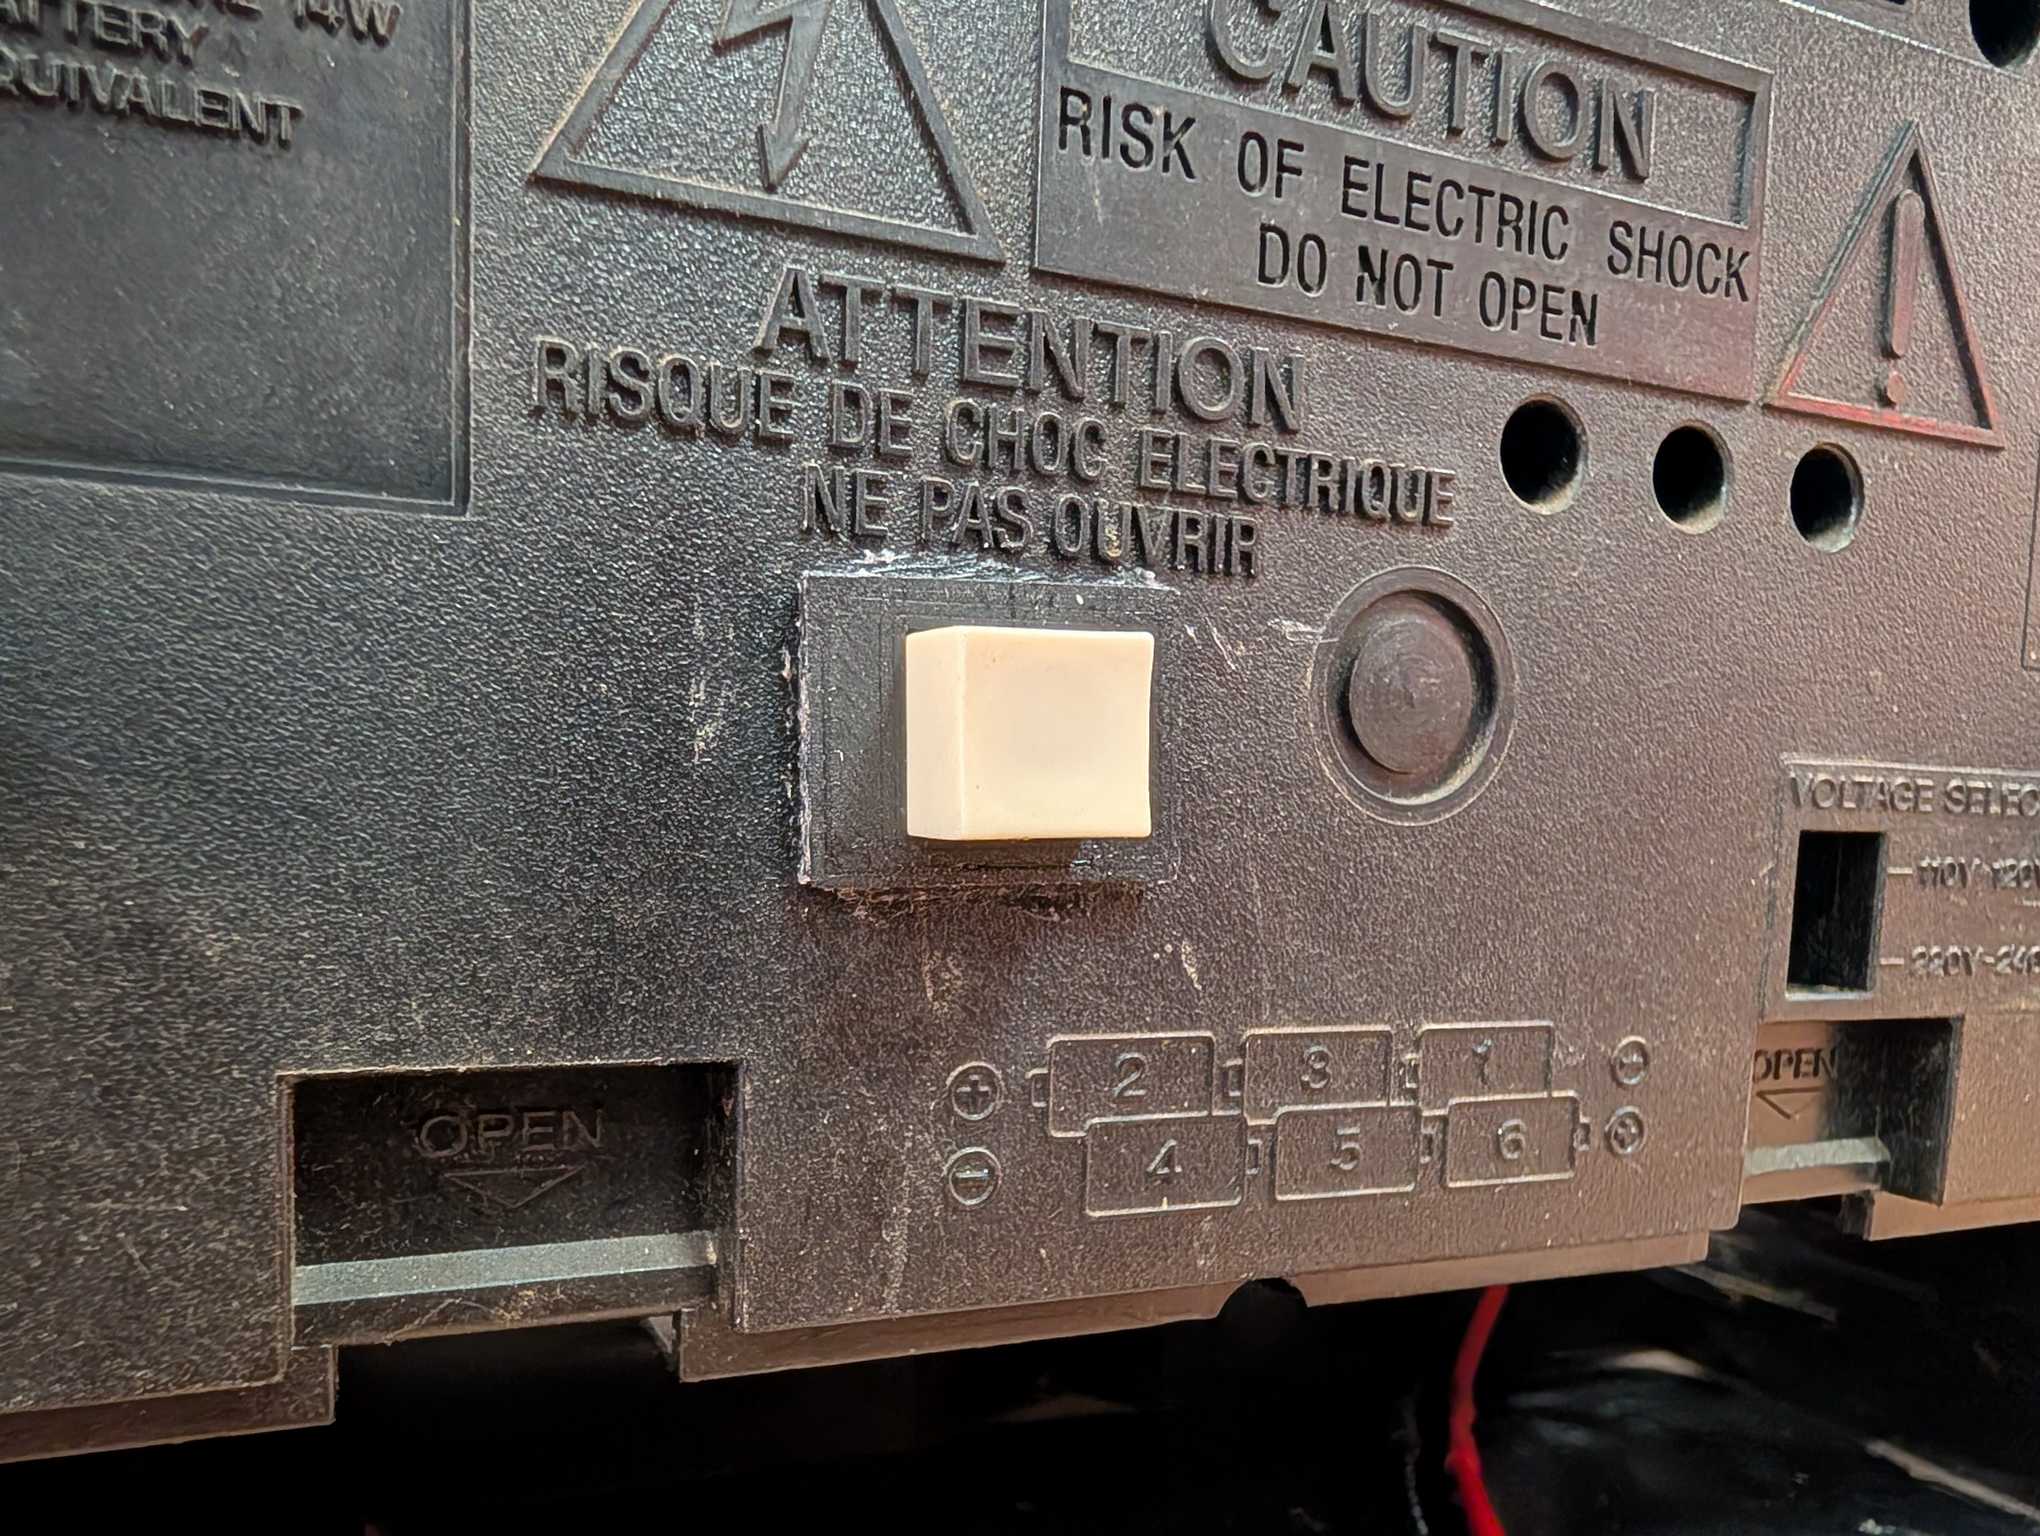
The button isn’t being held in place by the bracket though, so to prevent it from being pushed inside I added a stopper at the back of the button.
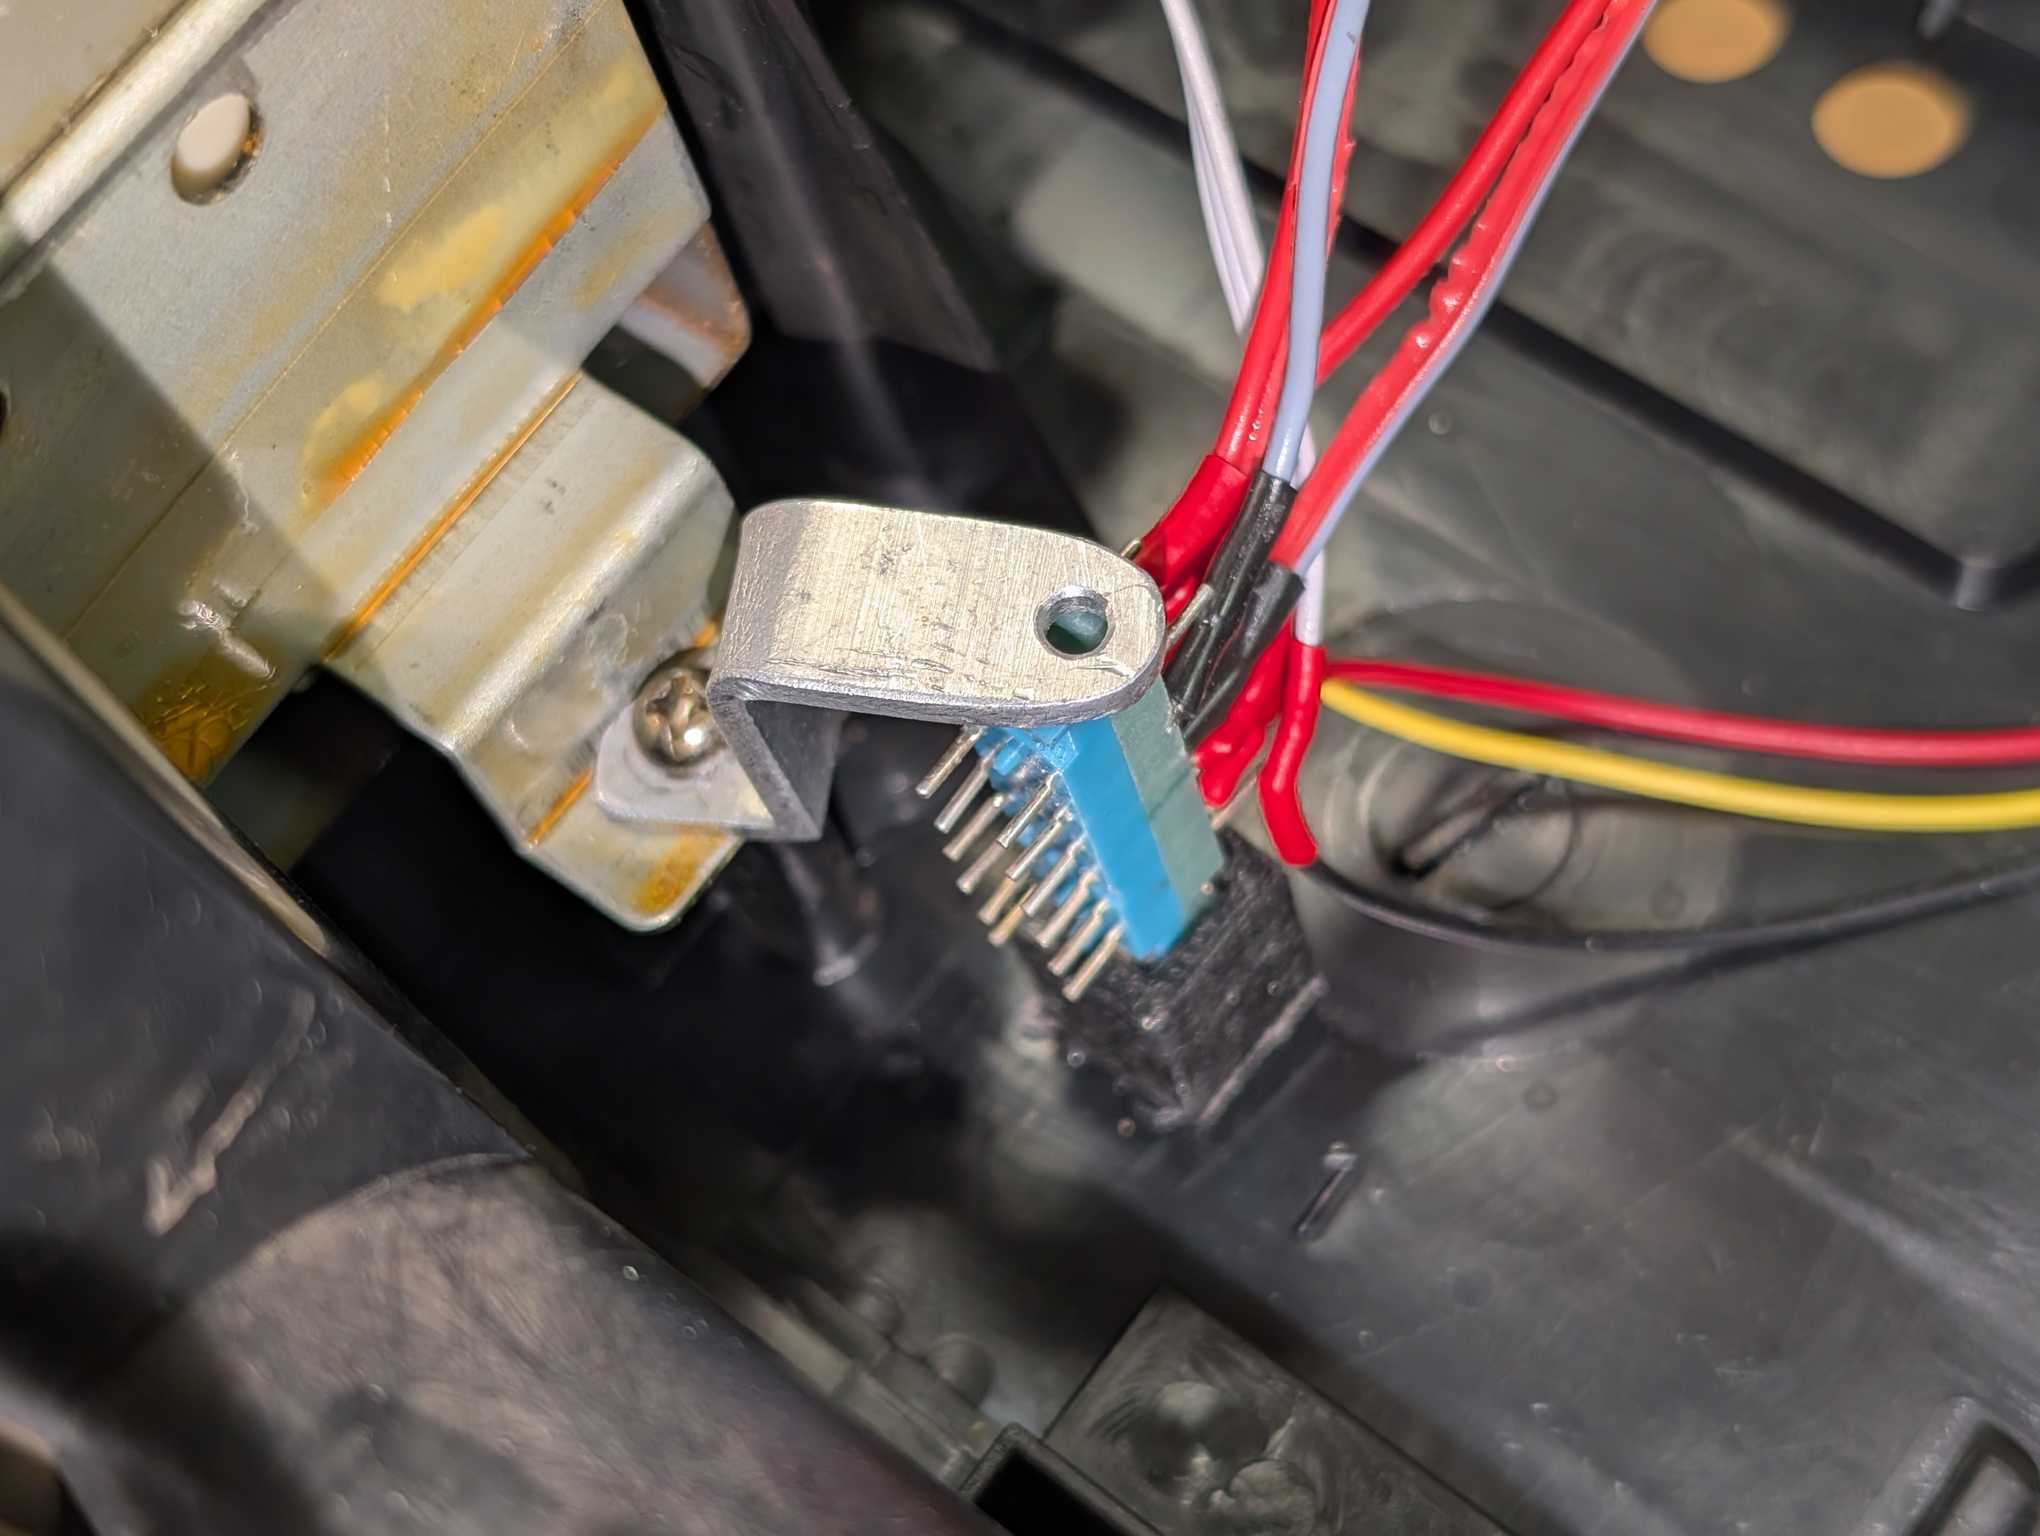
I didn’t think about it at the time but by using the same type of switch with more contacts I could of switched off the cassette motor whenever I turn on Bluetooth and that would save some battery power. I may do that some time in the future.
And so the whole unit so far looks like this:
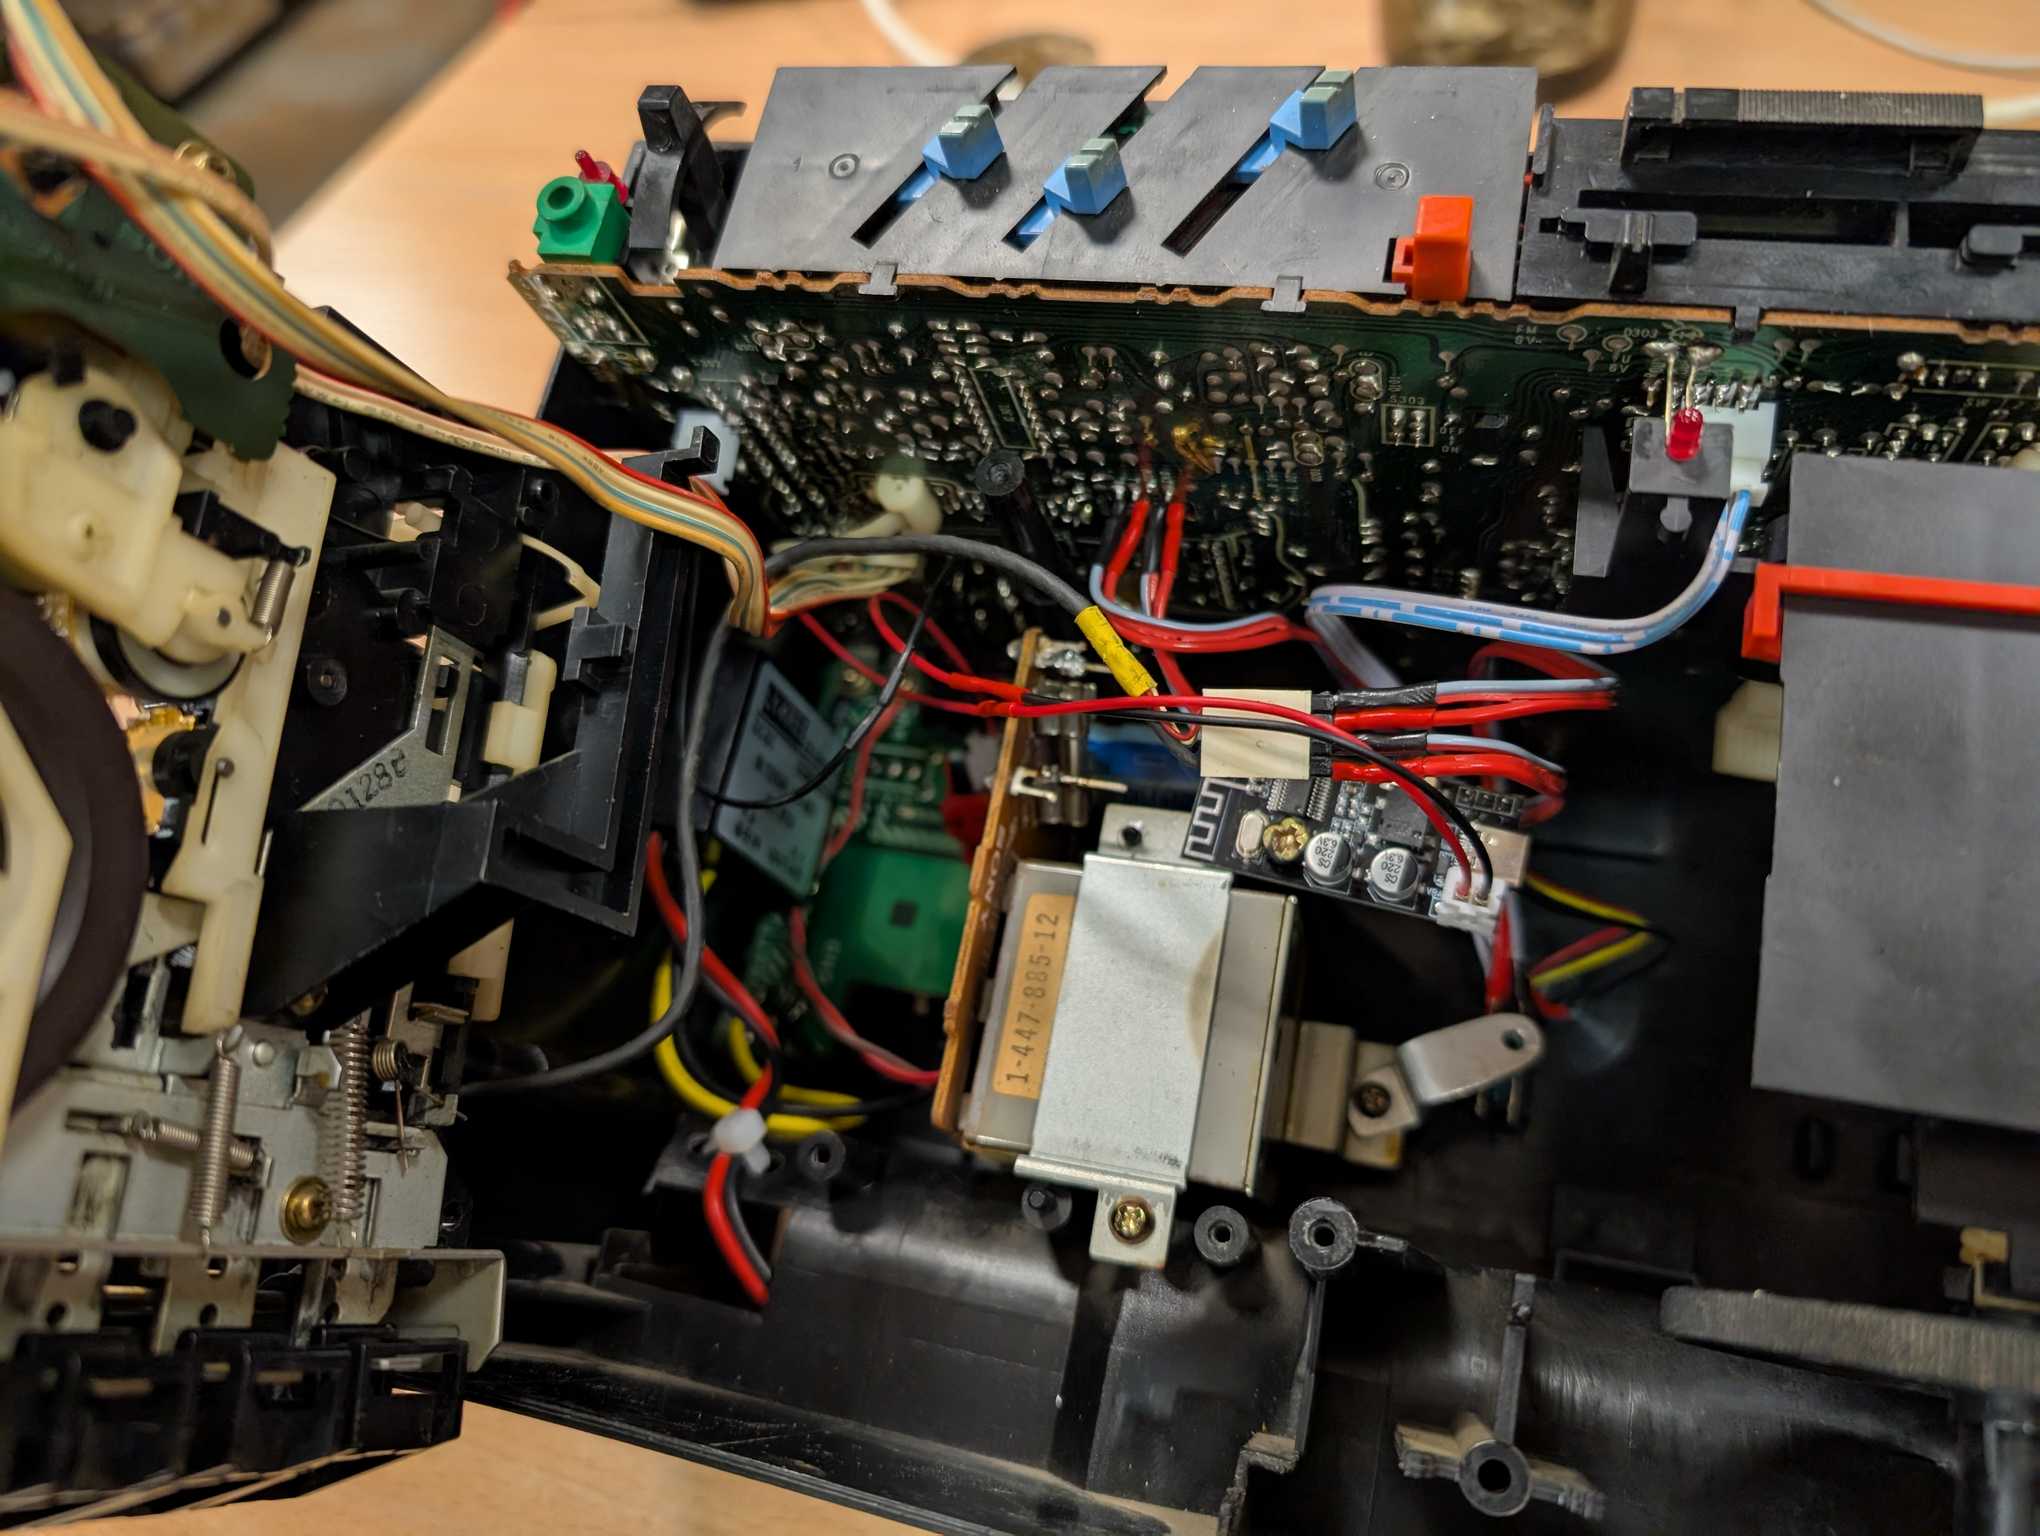
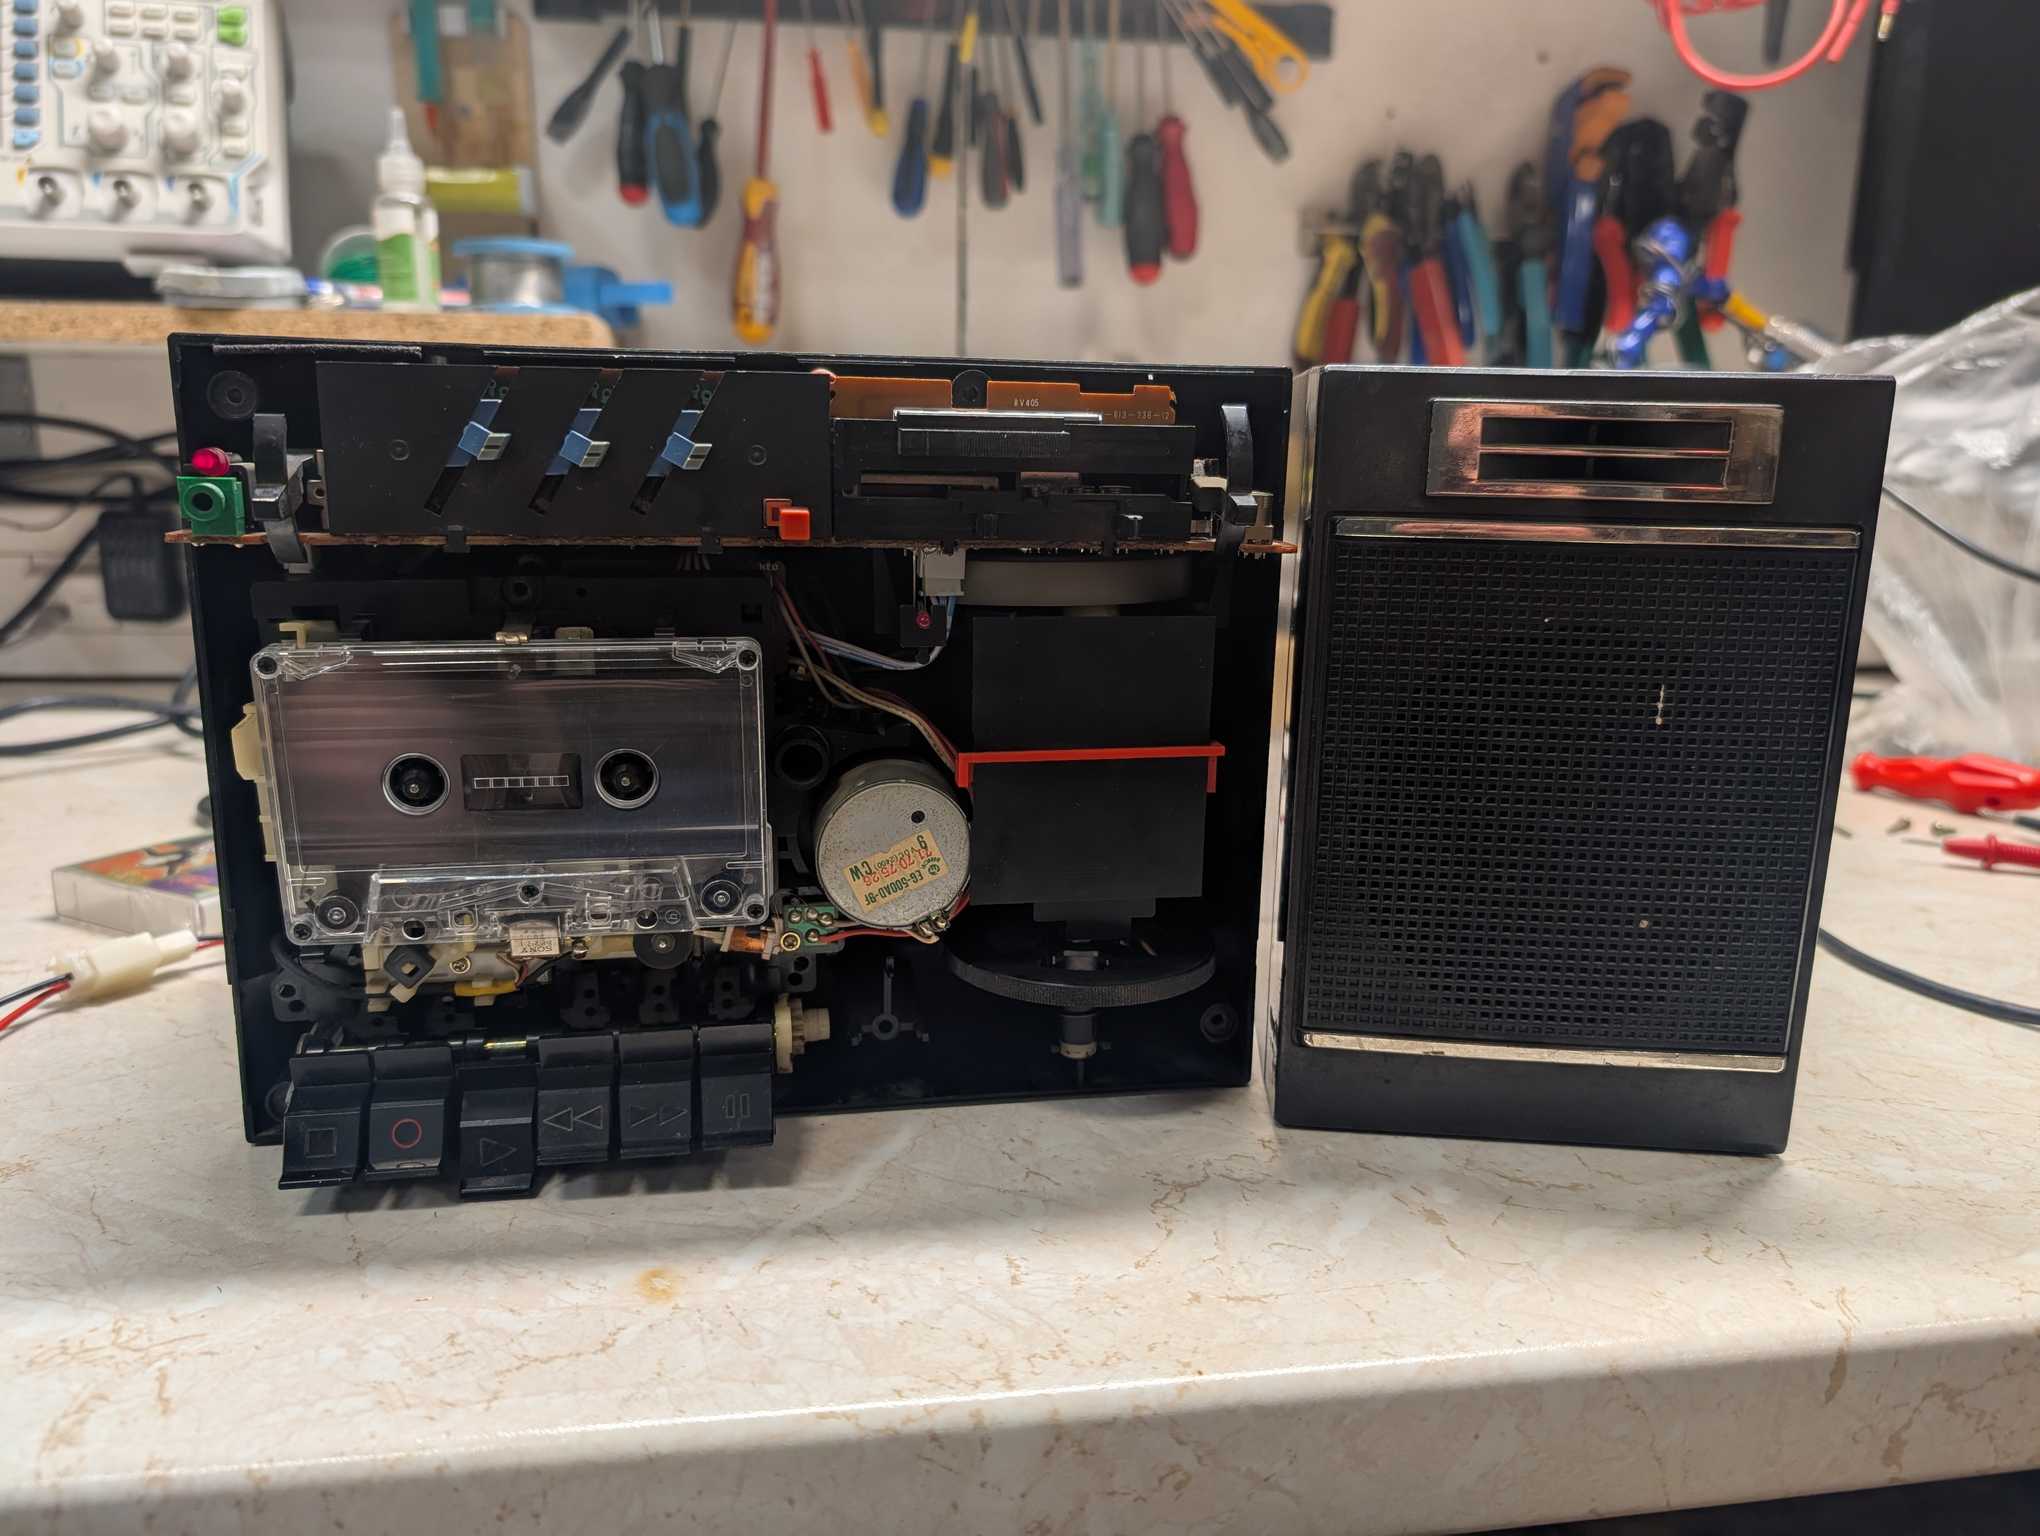
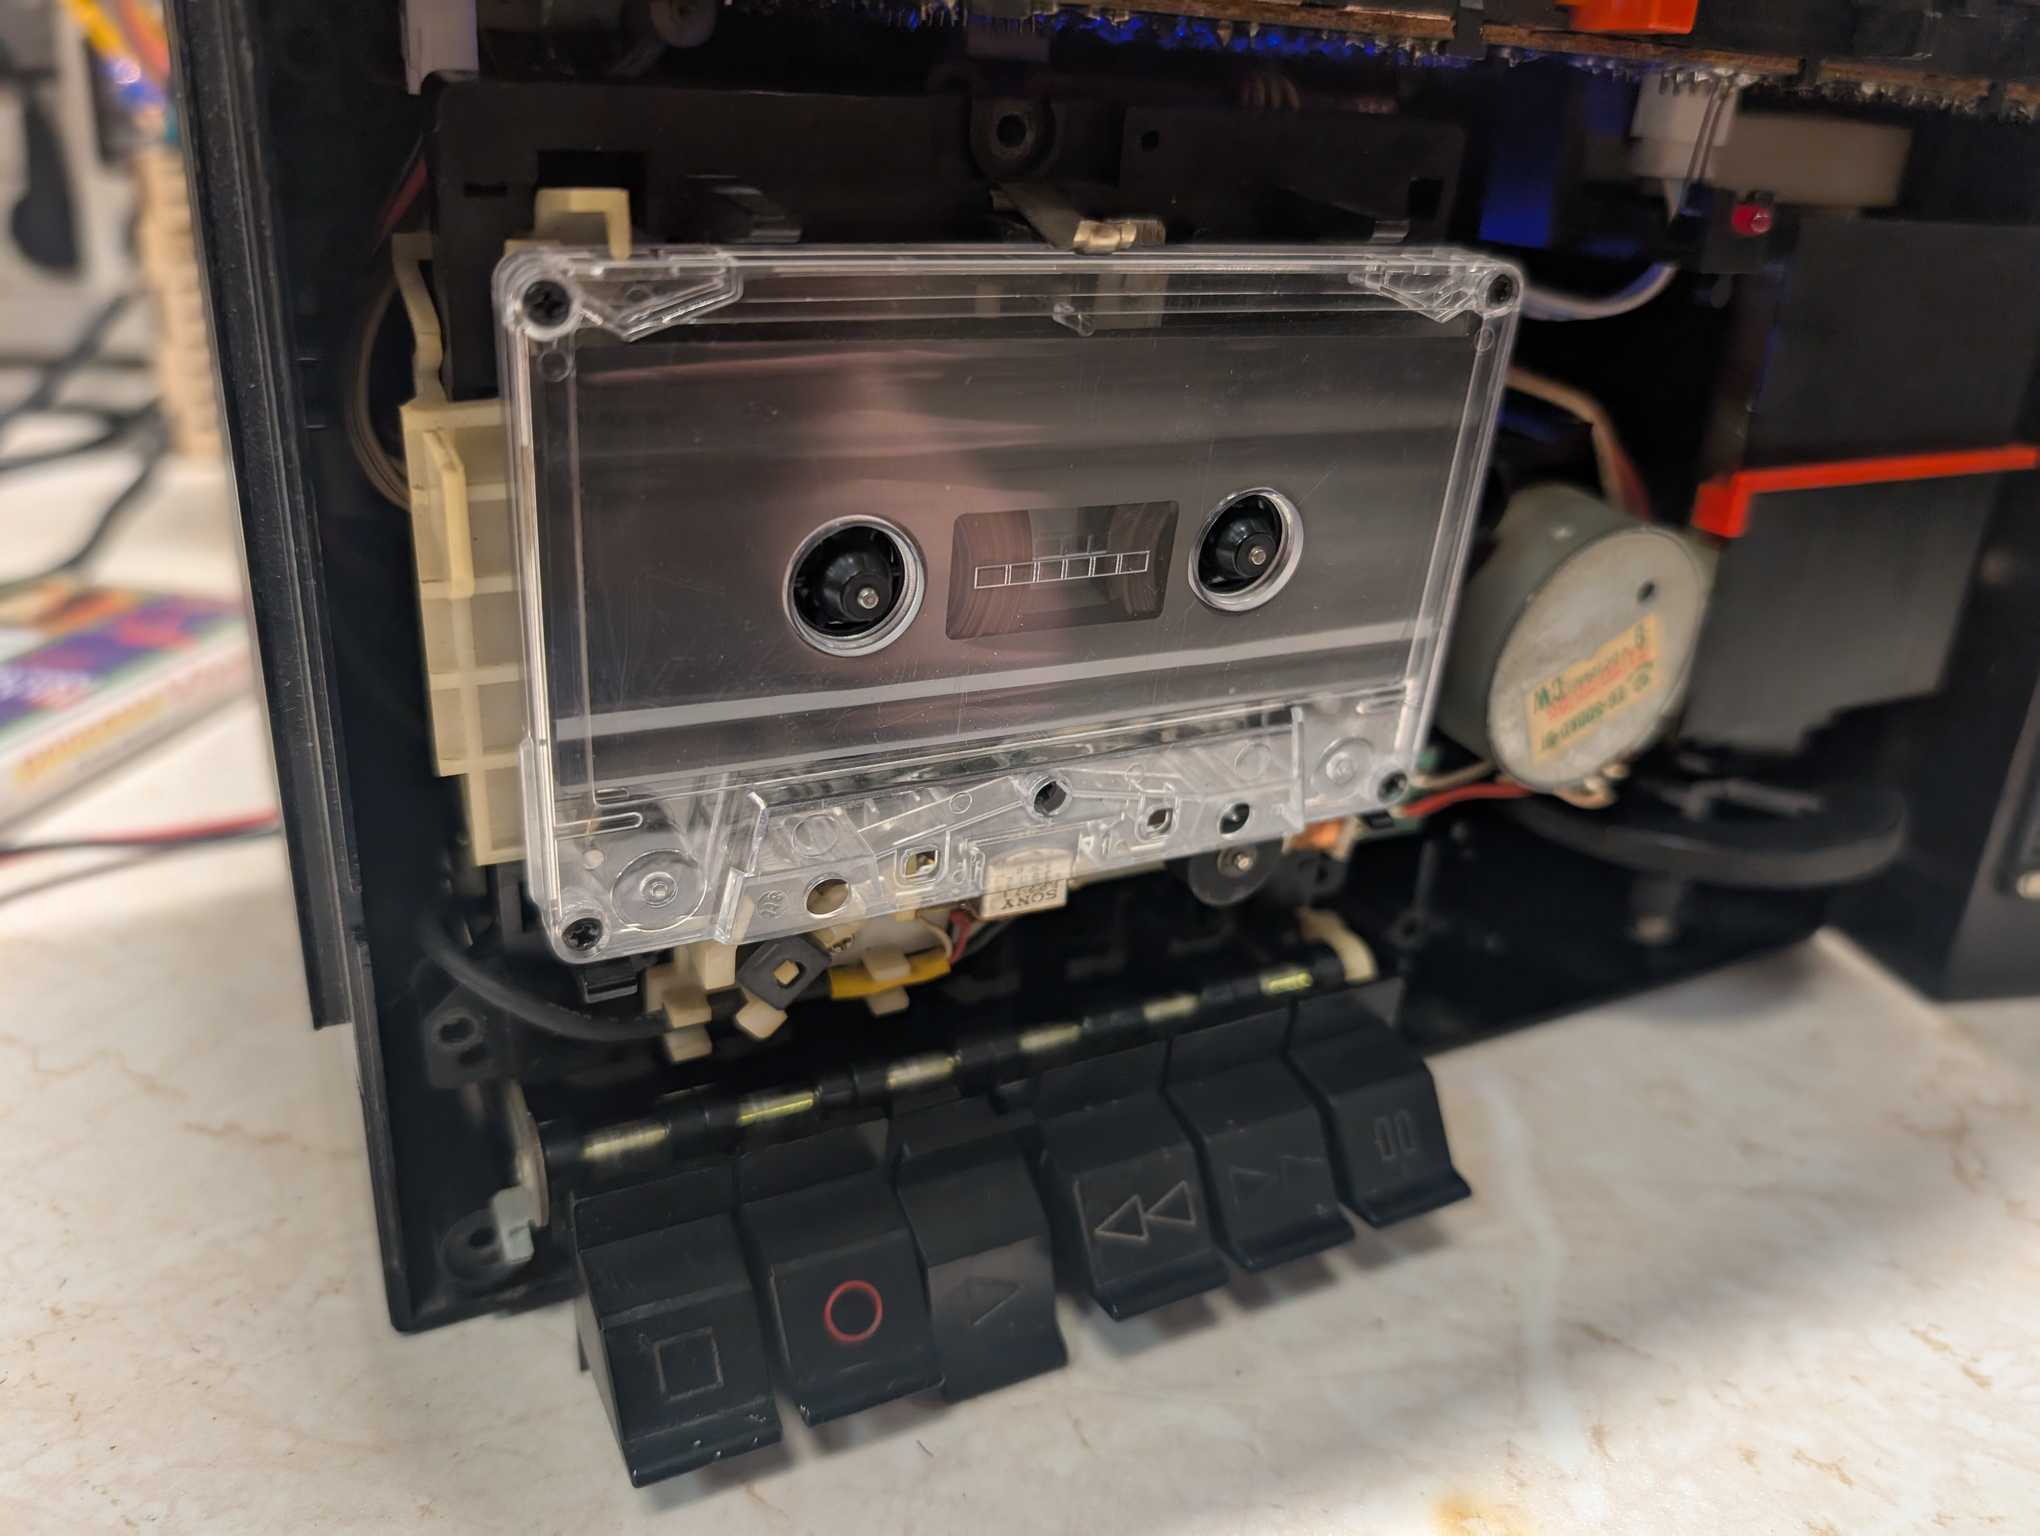
Though after assembly I noticed that an annoying buzzing sound was emitting from the speakers when cassette mode was turned on and not with the radio. Turned out that audio signal wires were close to the DC motor and you’d hear the electromagnetic noise from the motor :D problem was fixed when I pushed those audio wires further back.
LiPo battery
The unit can be powered by AC or with batteries (the big kind, that D cell type) but since I’m retrofitting this it’s appropriate that I also add LiPo batteries to it. But the unit works from 9v… and with LiPo I can get either 8.4v or 12.6v.
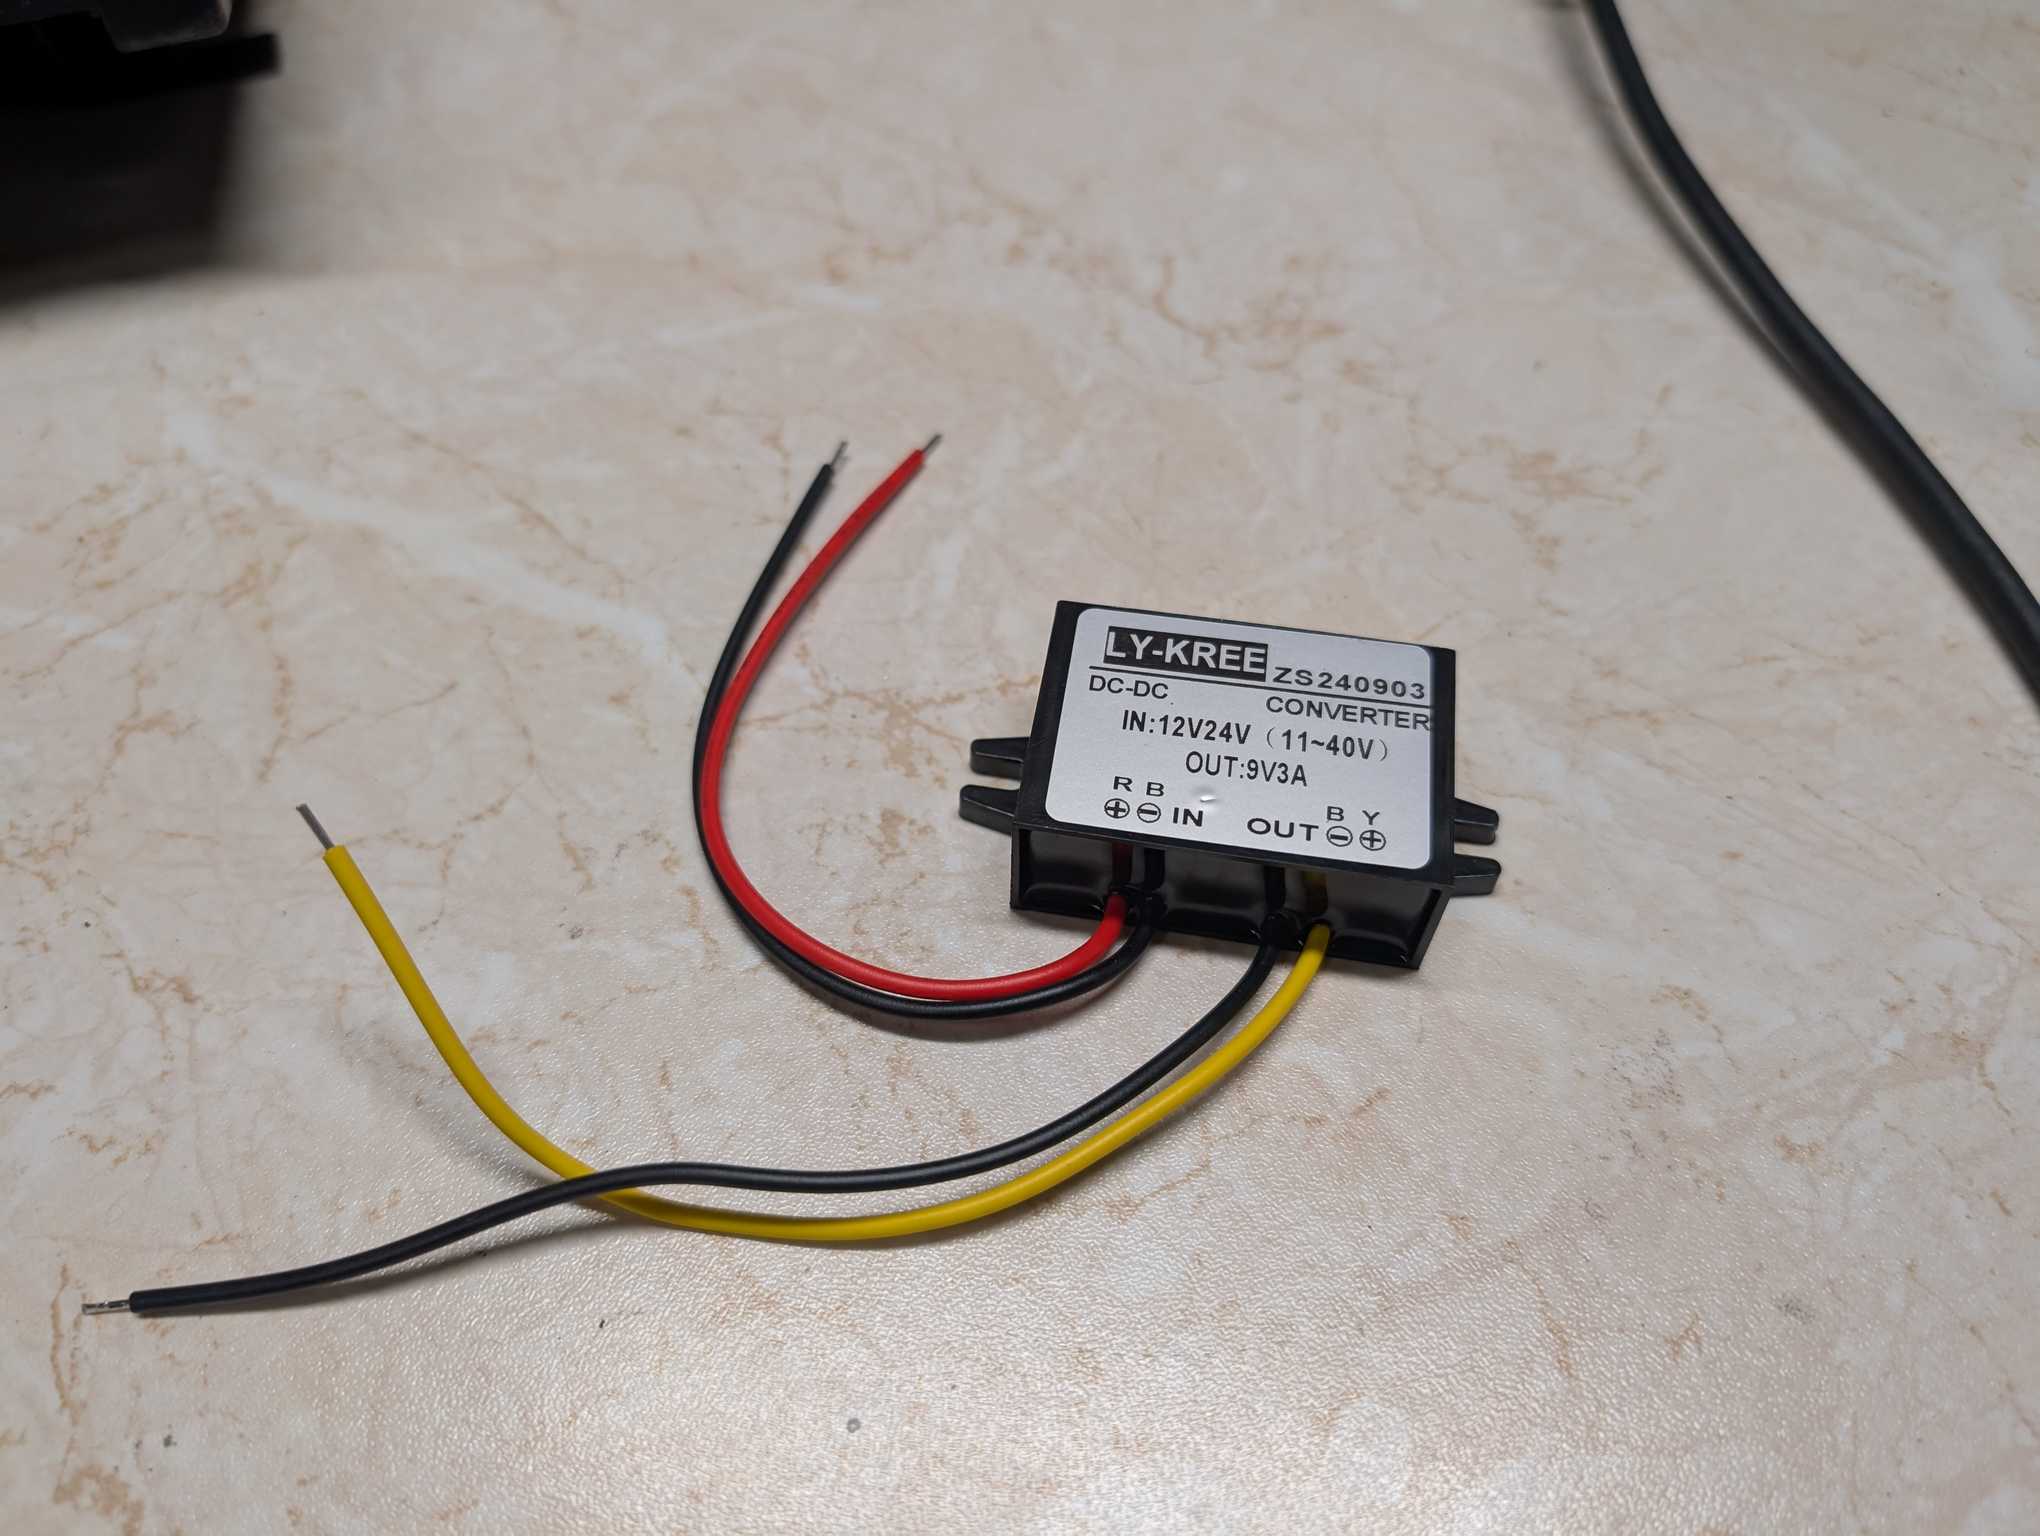
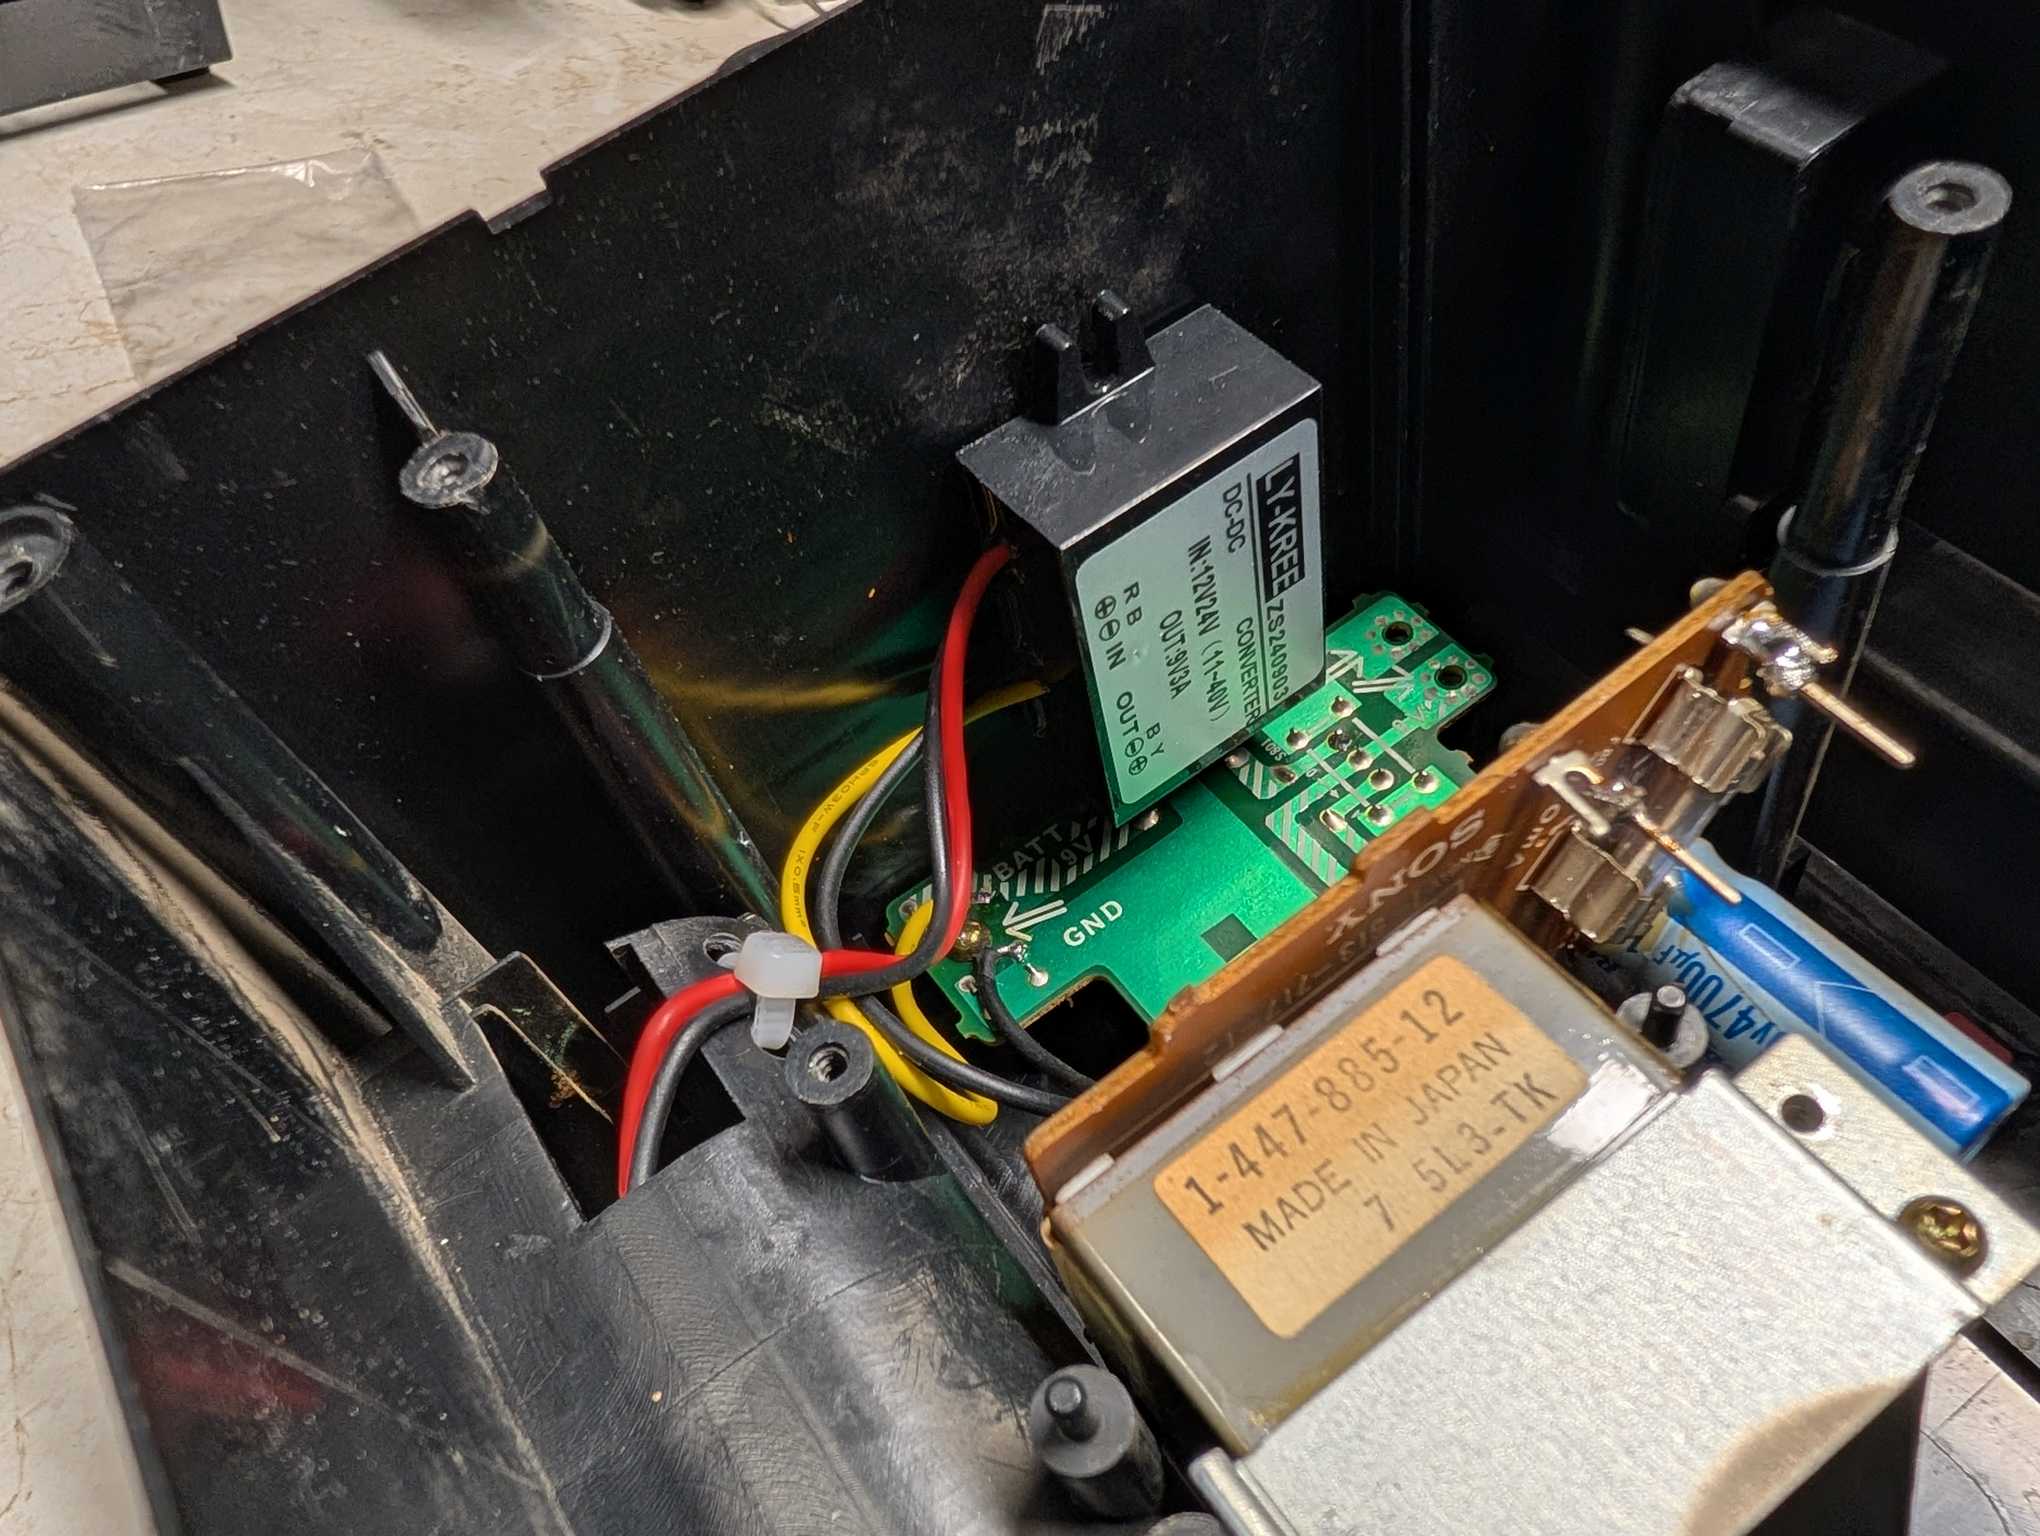
Obviously 8.4v is not enough, but 12.6v is too much to be used like that. To fix this I ordered a powerful 9v buck converter that was placed inside and that powers everything else.
As for the battery itself I could only fit a few 18650 cells in the battery compartment, I had to use prismatic cells that fit there. Thankfully there were enough at Kaunas Makerspace and they were in a good condition too. I took some and made a convenient battery pack with a BMS to manage those cells.
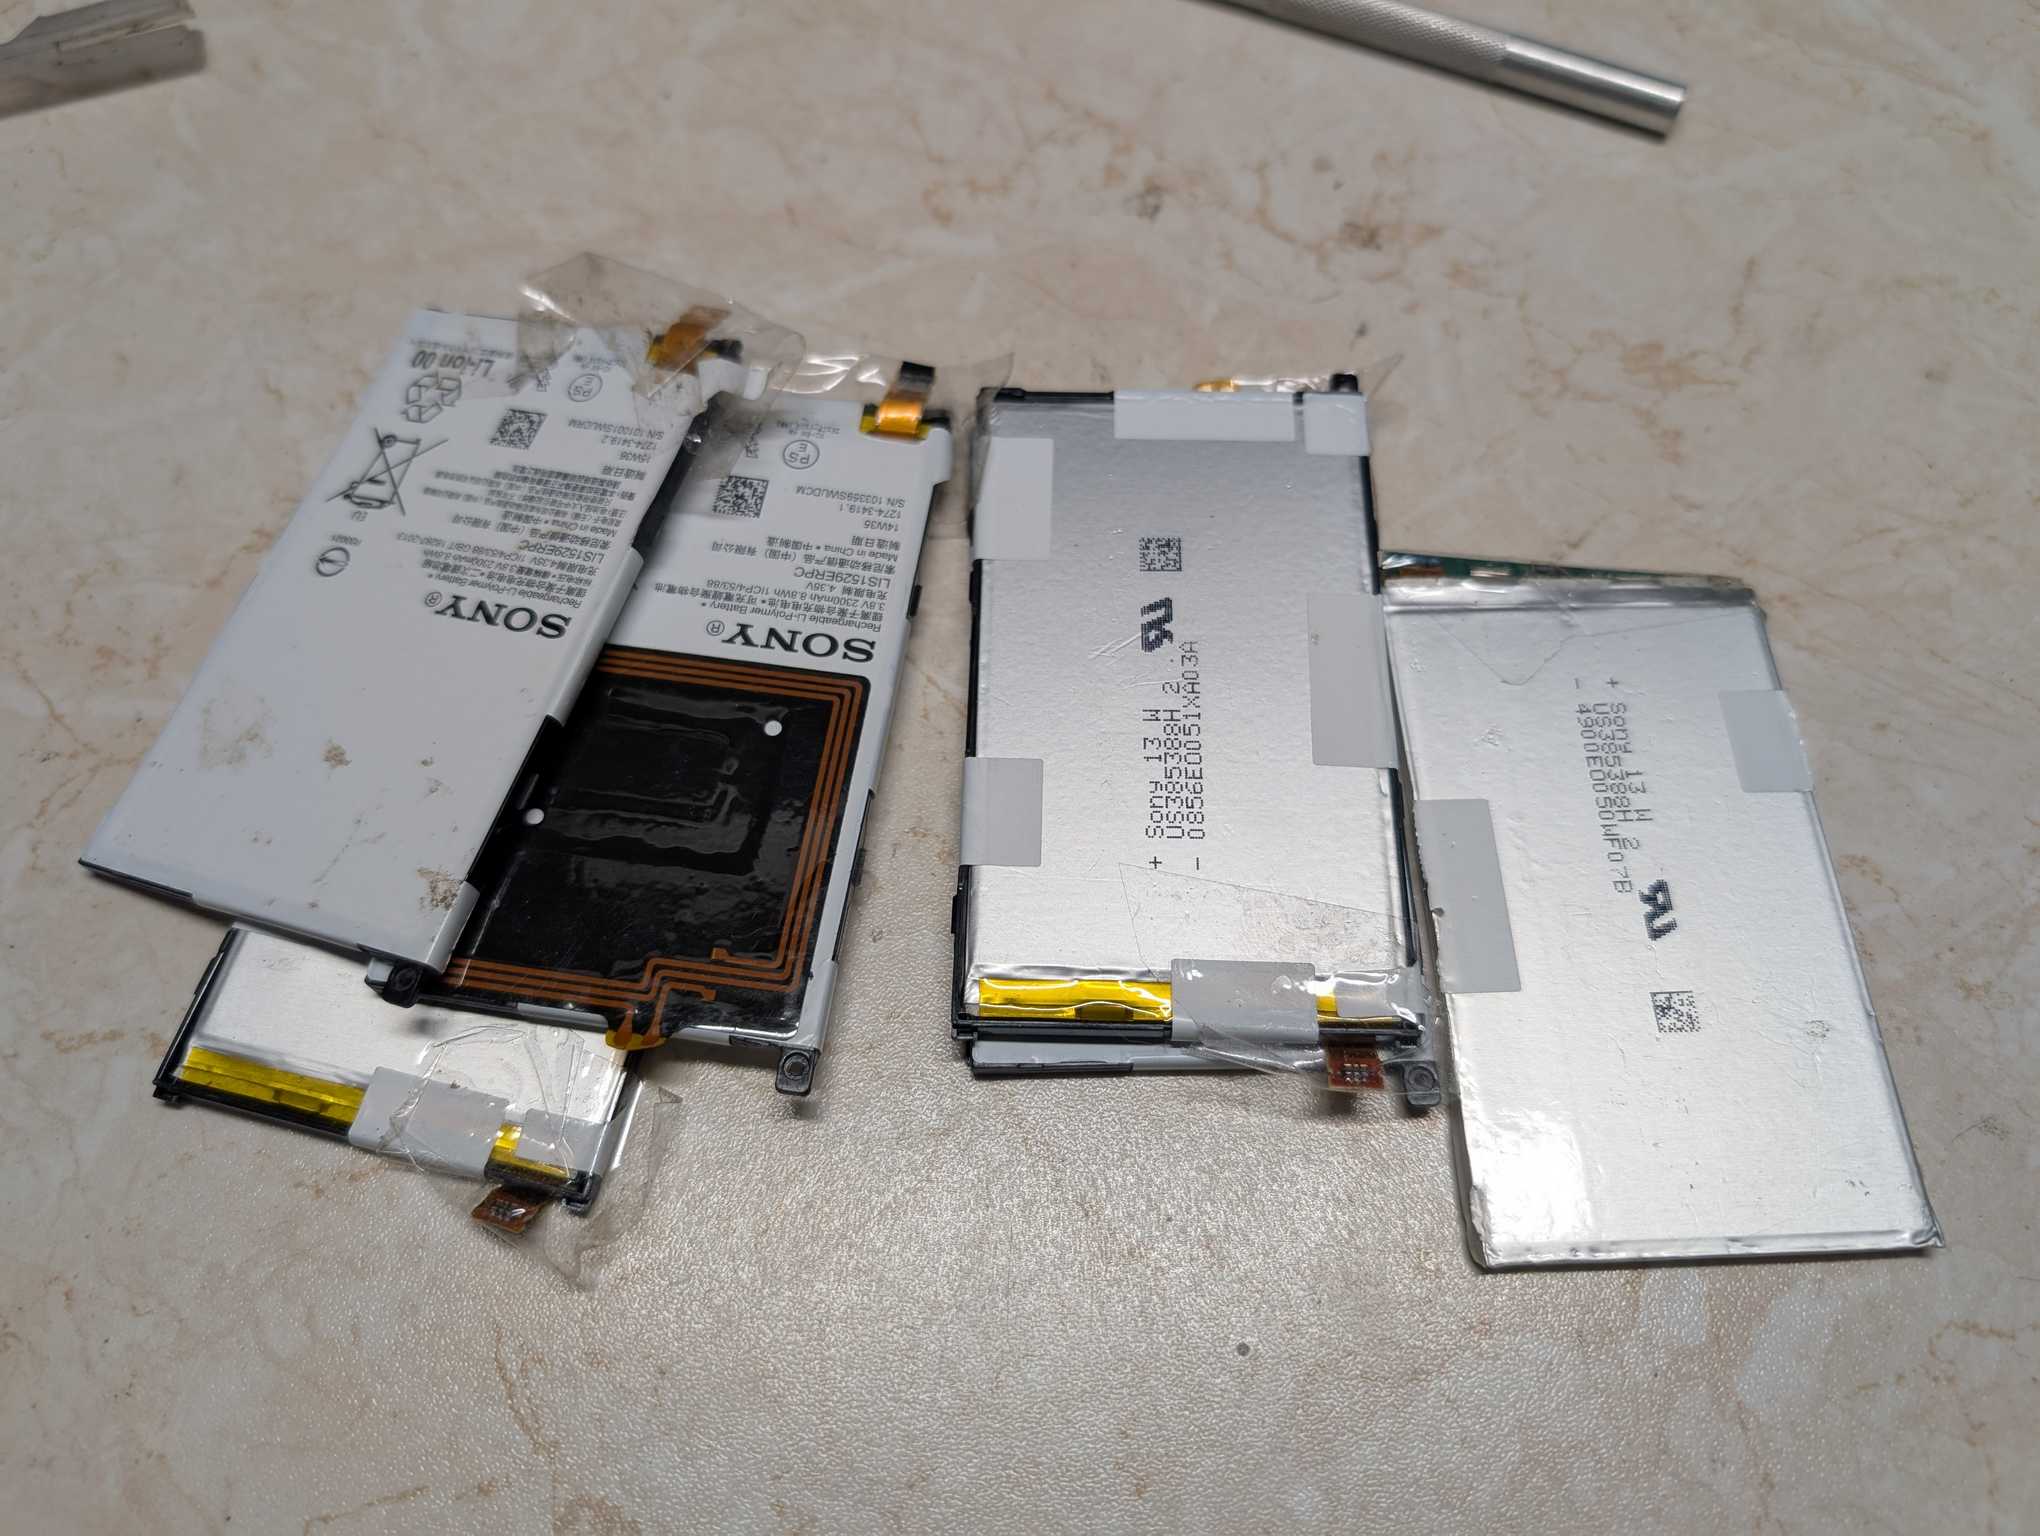
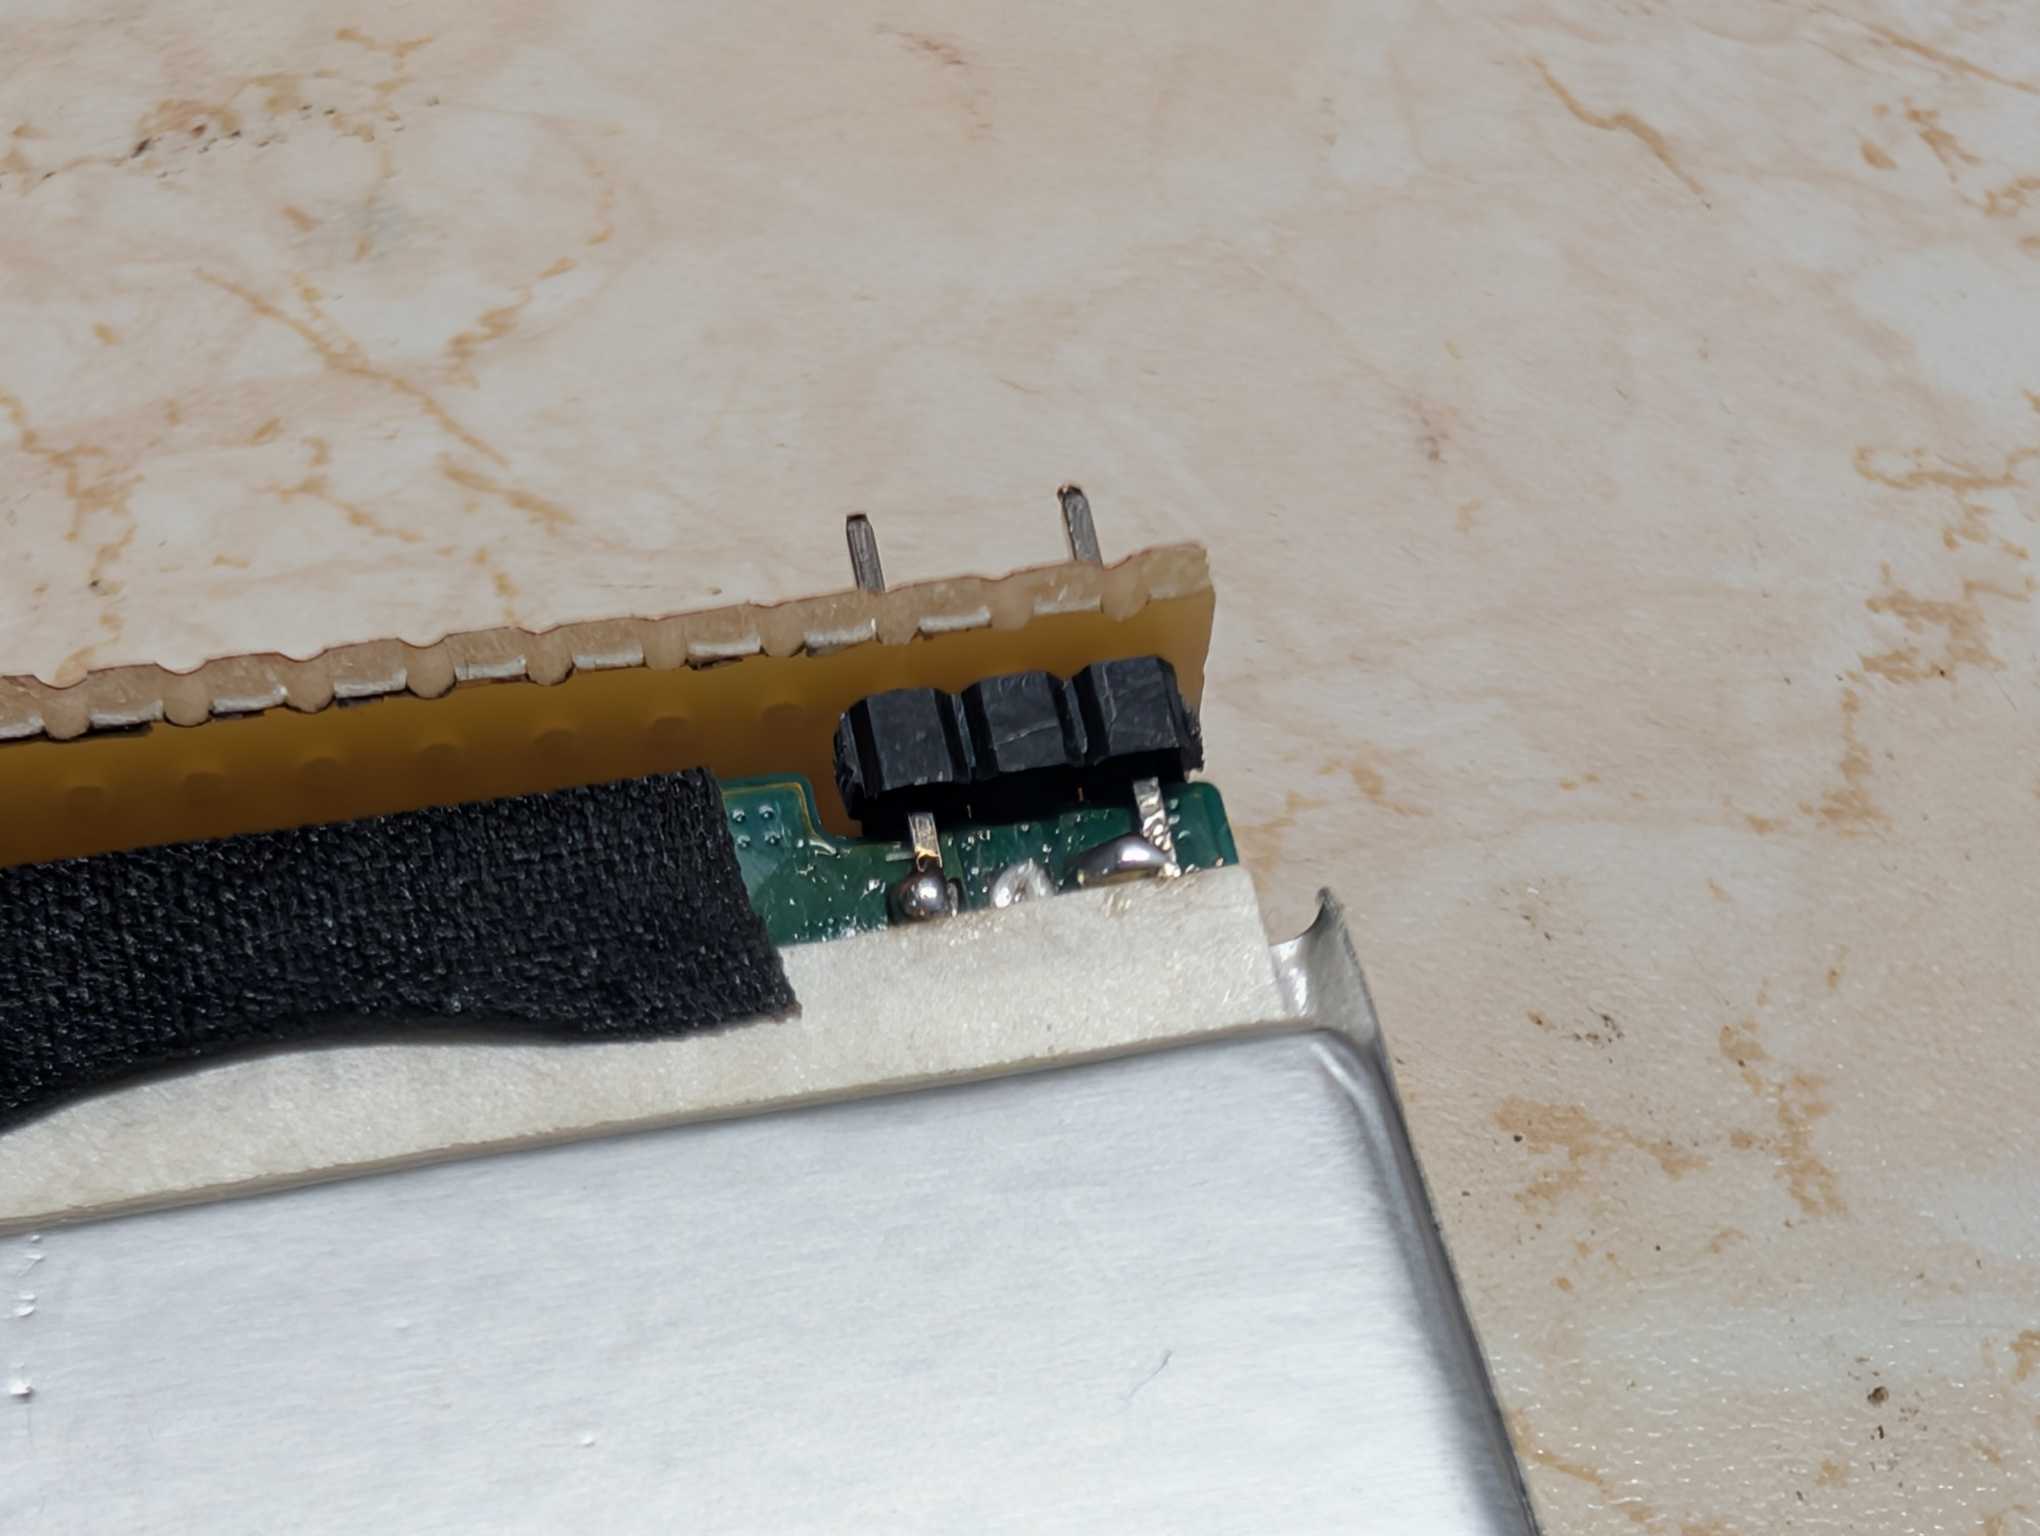
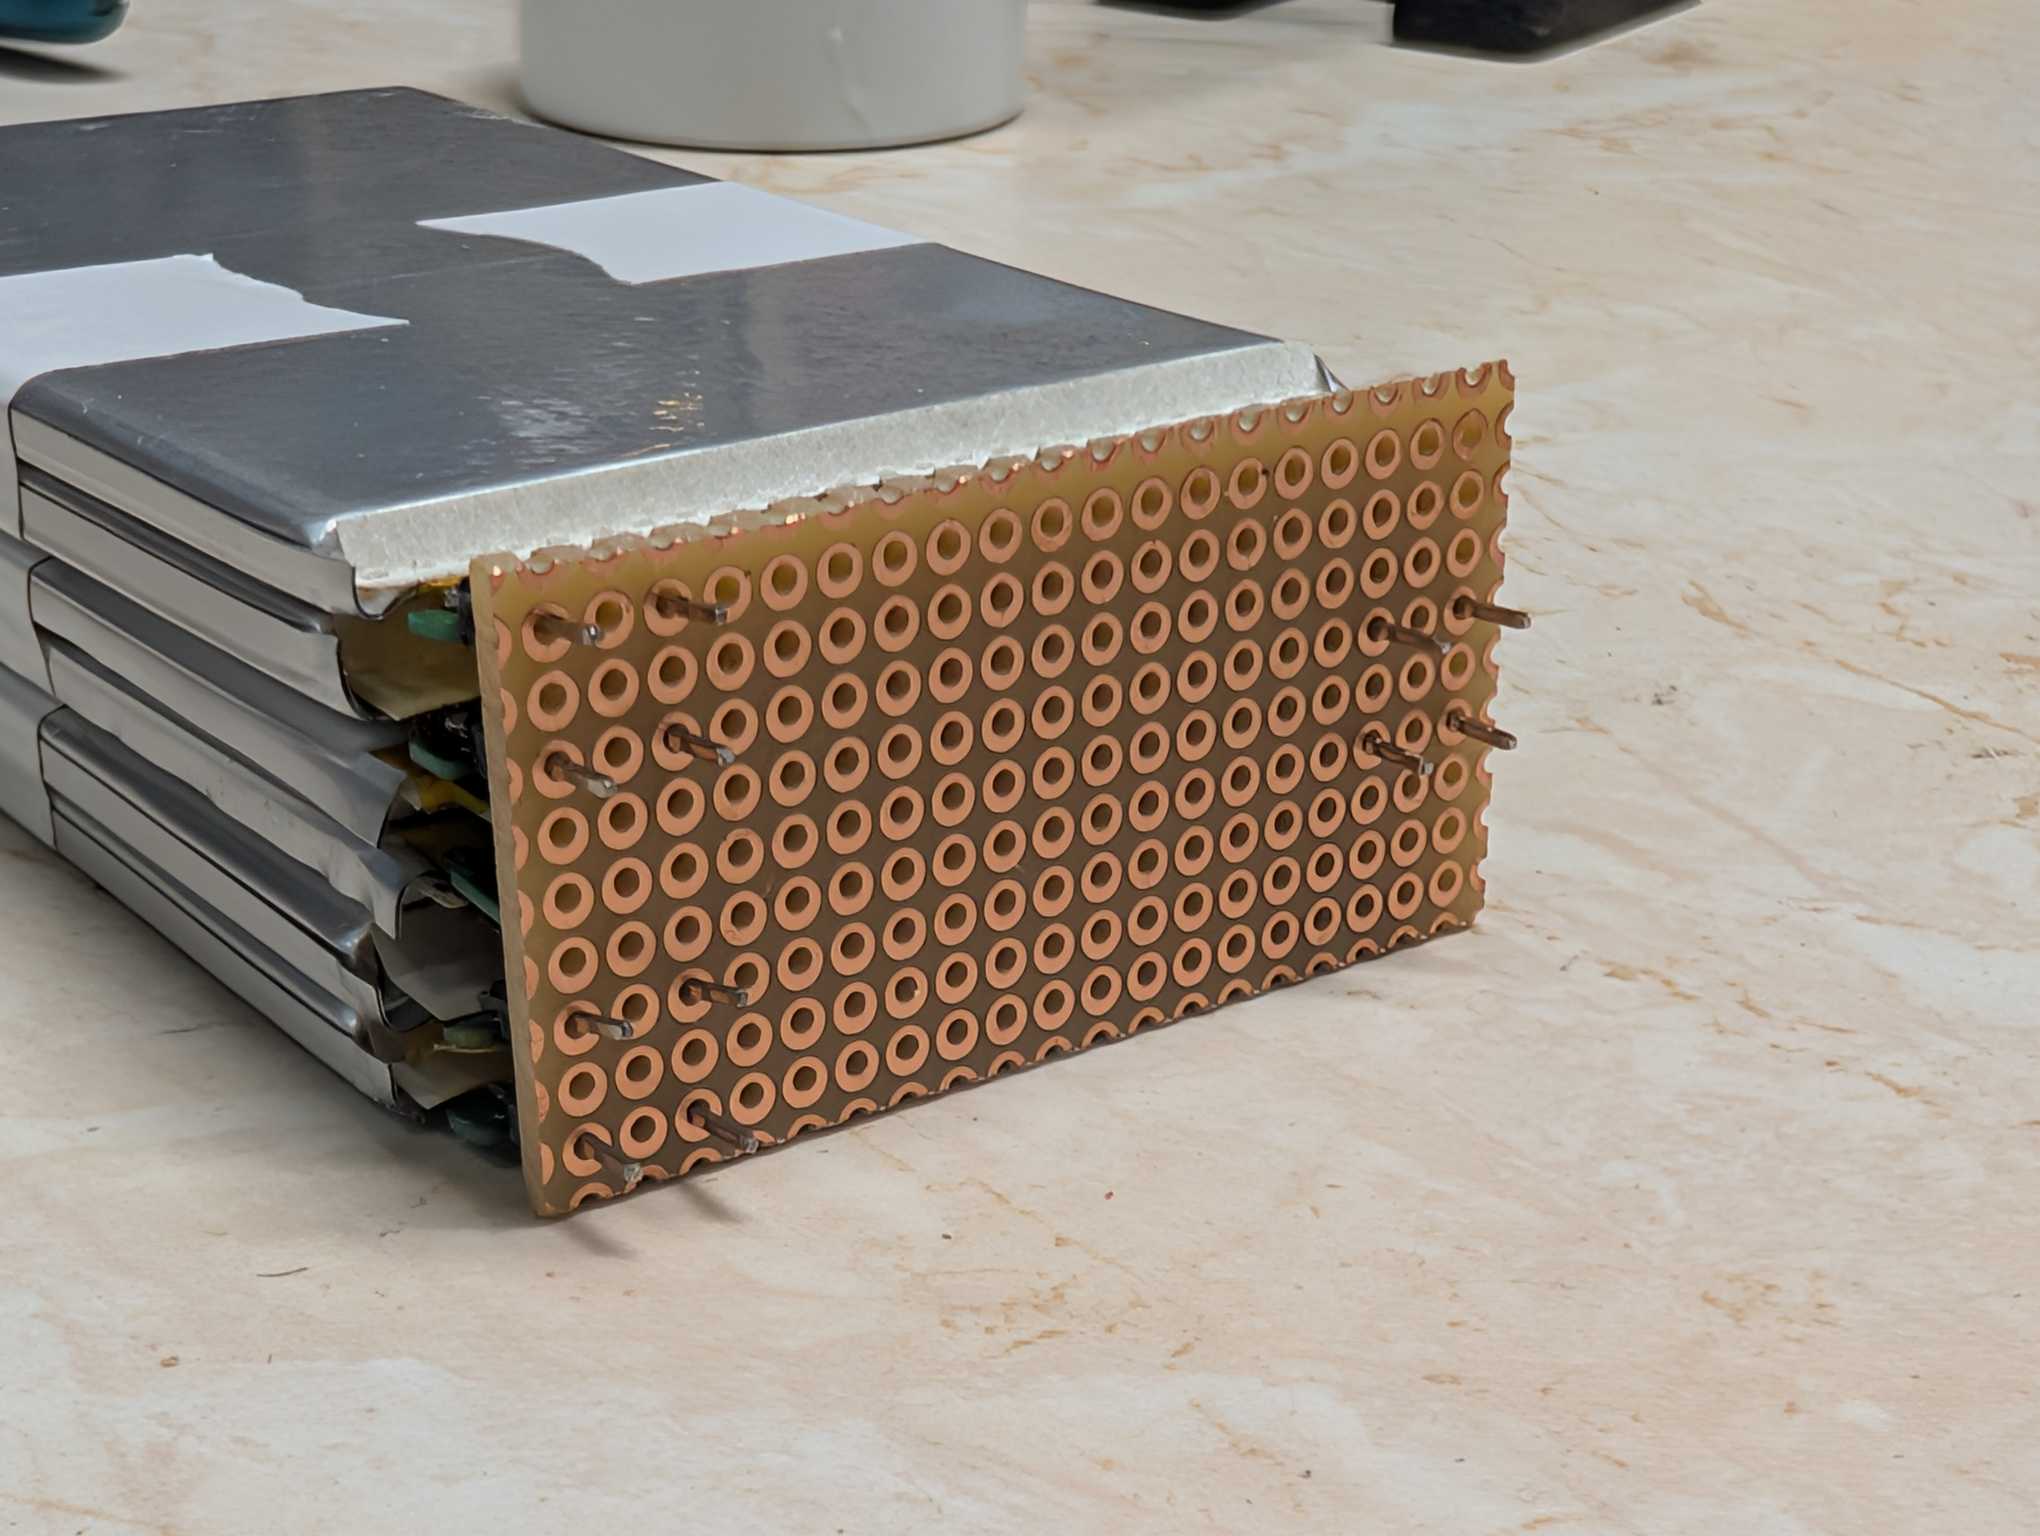
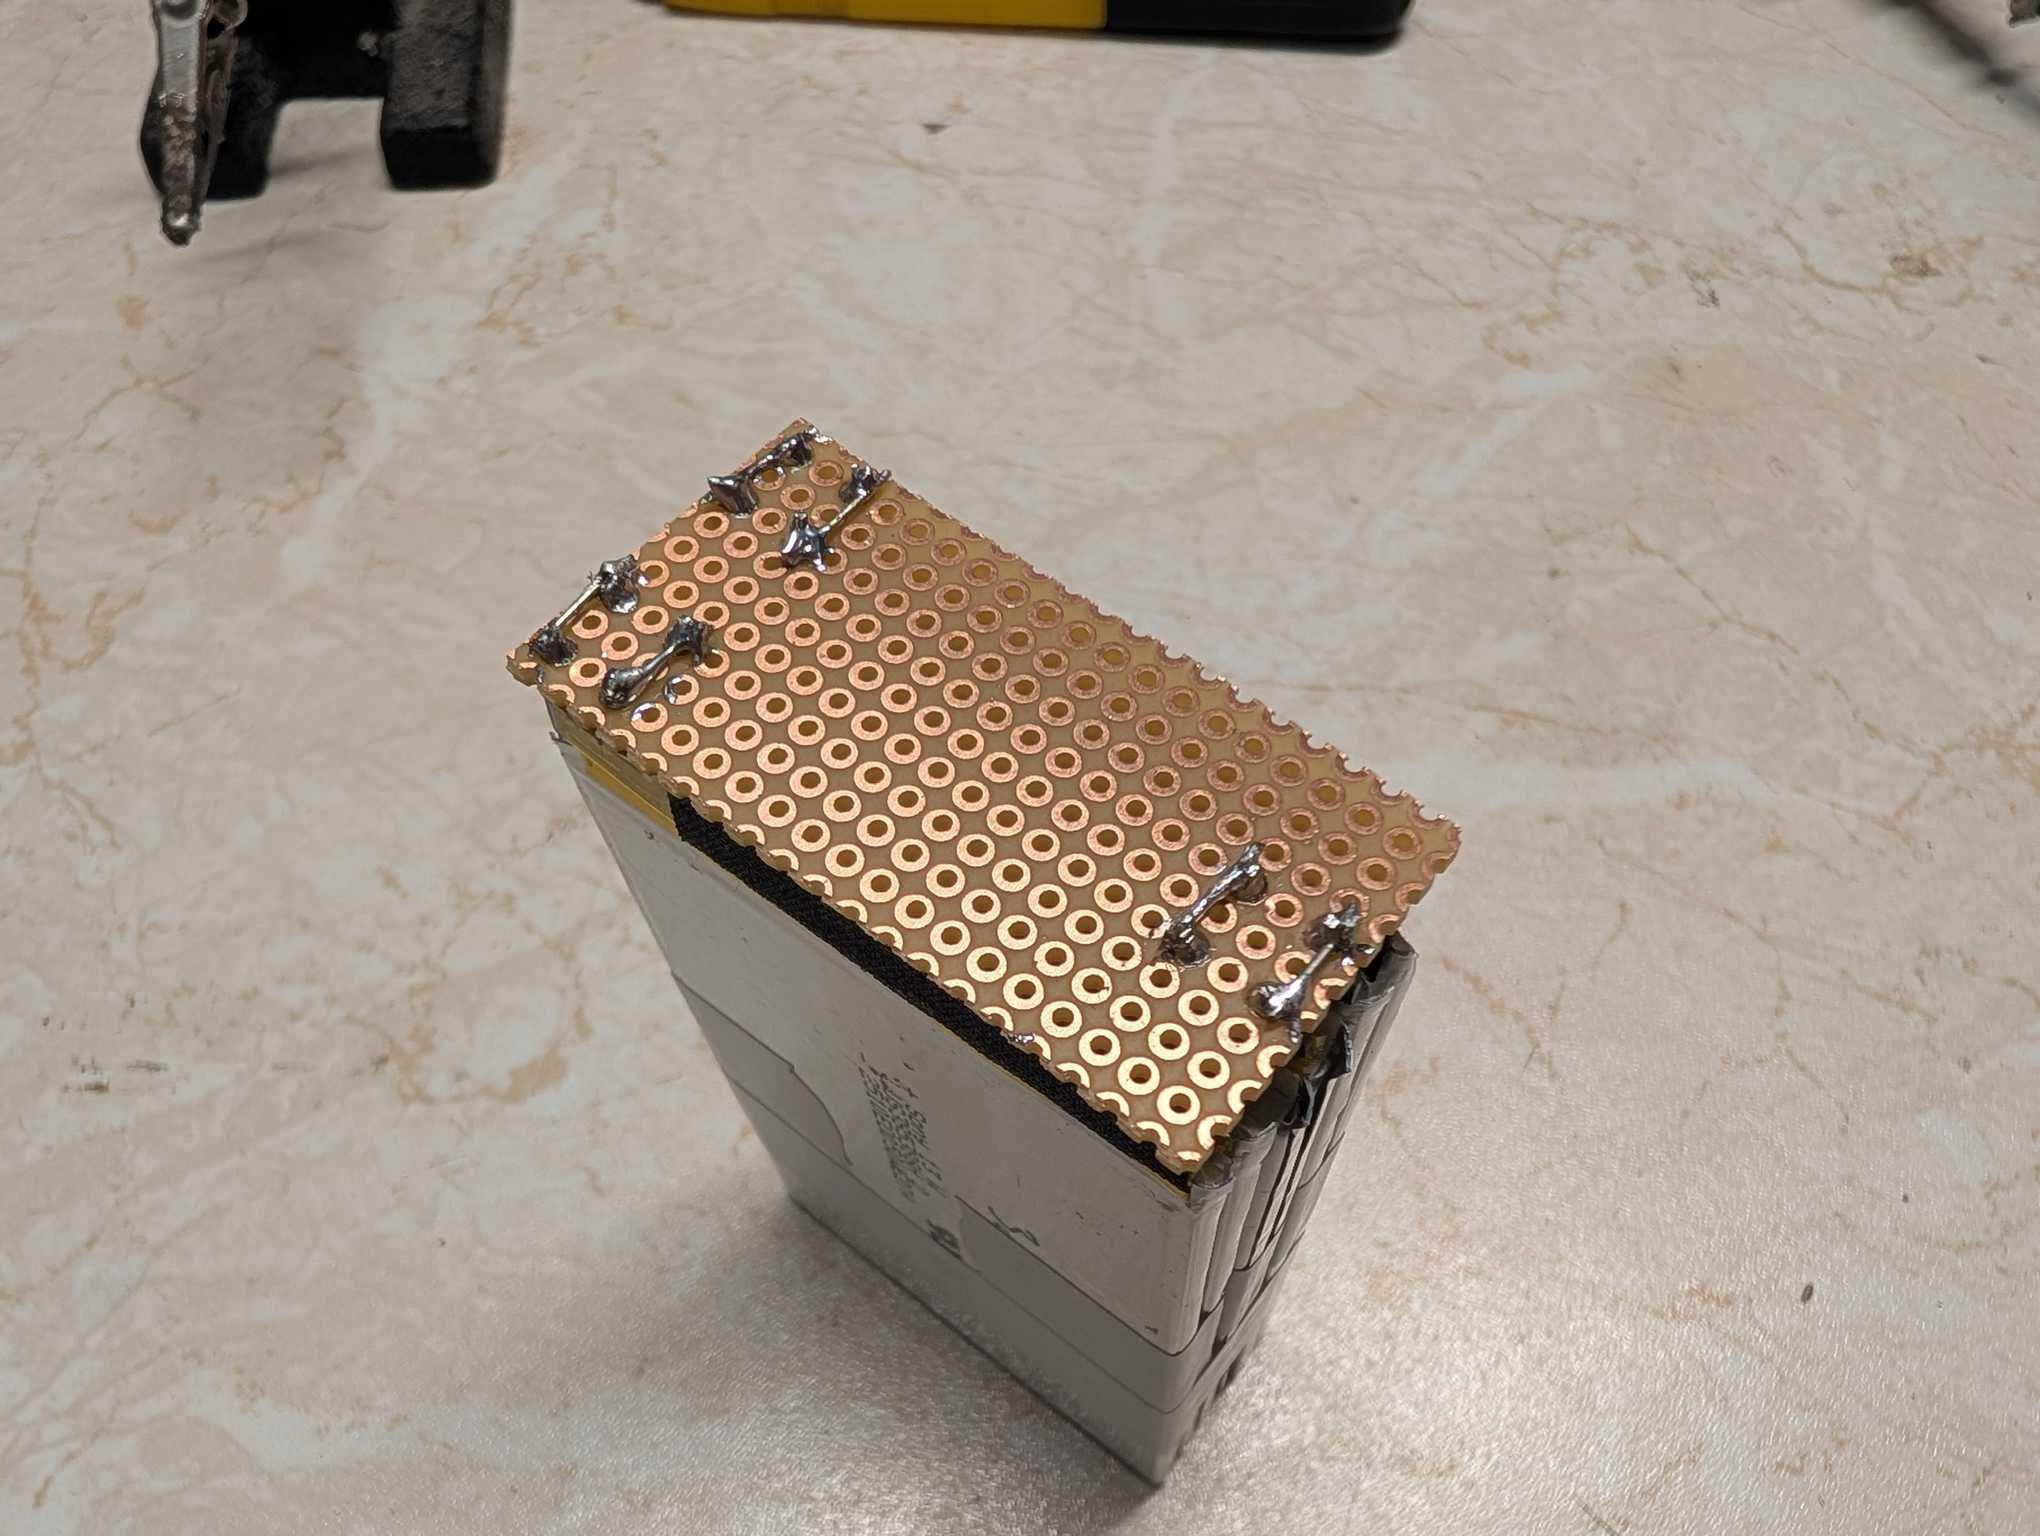
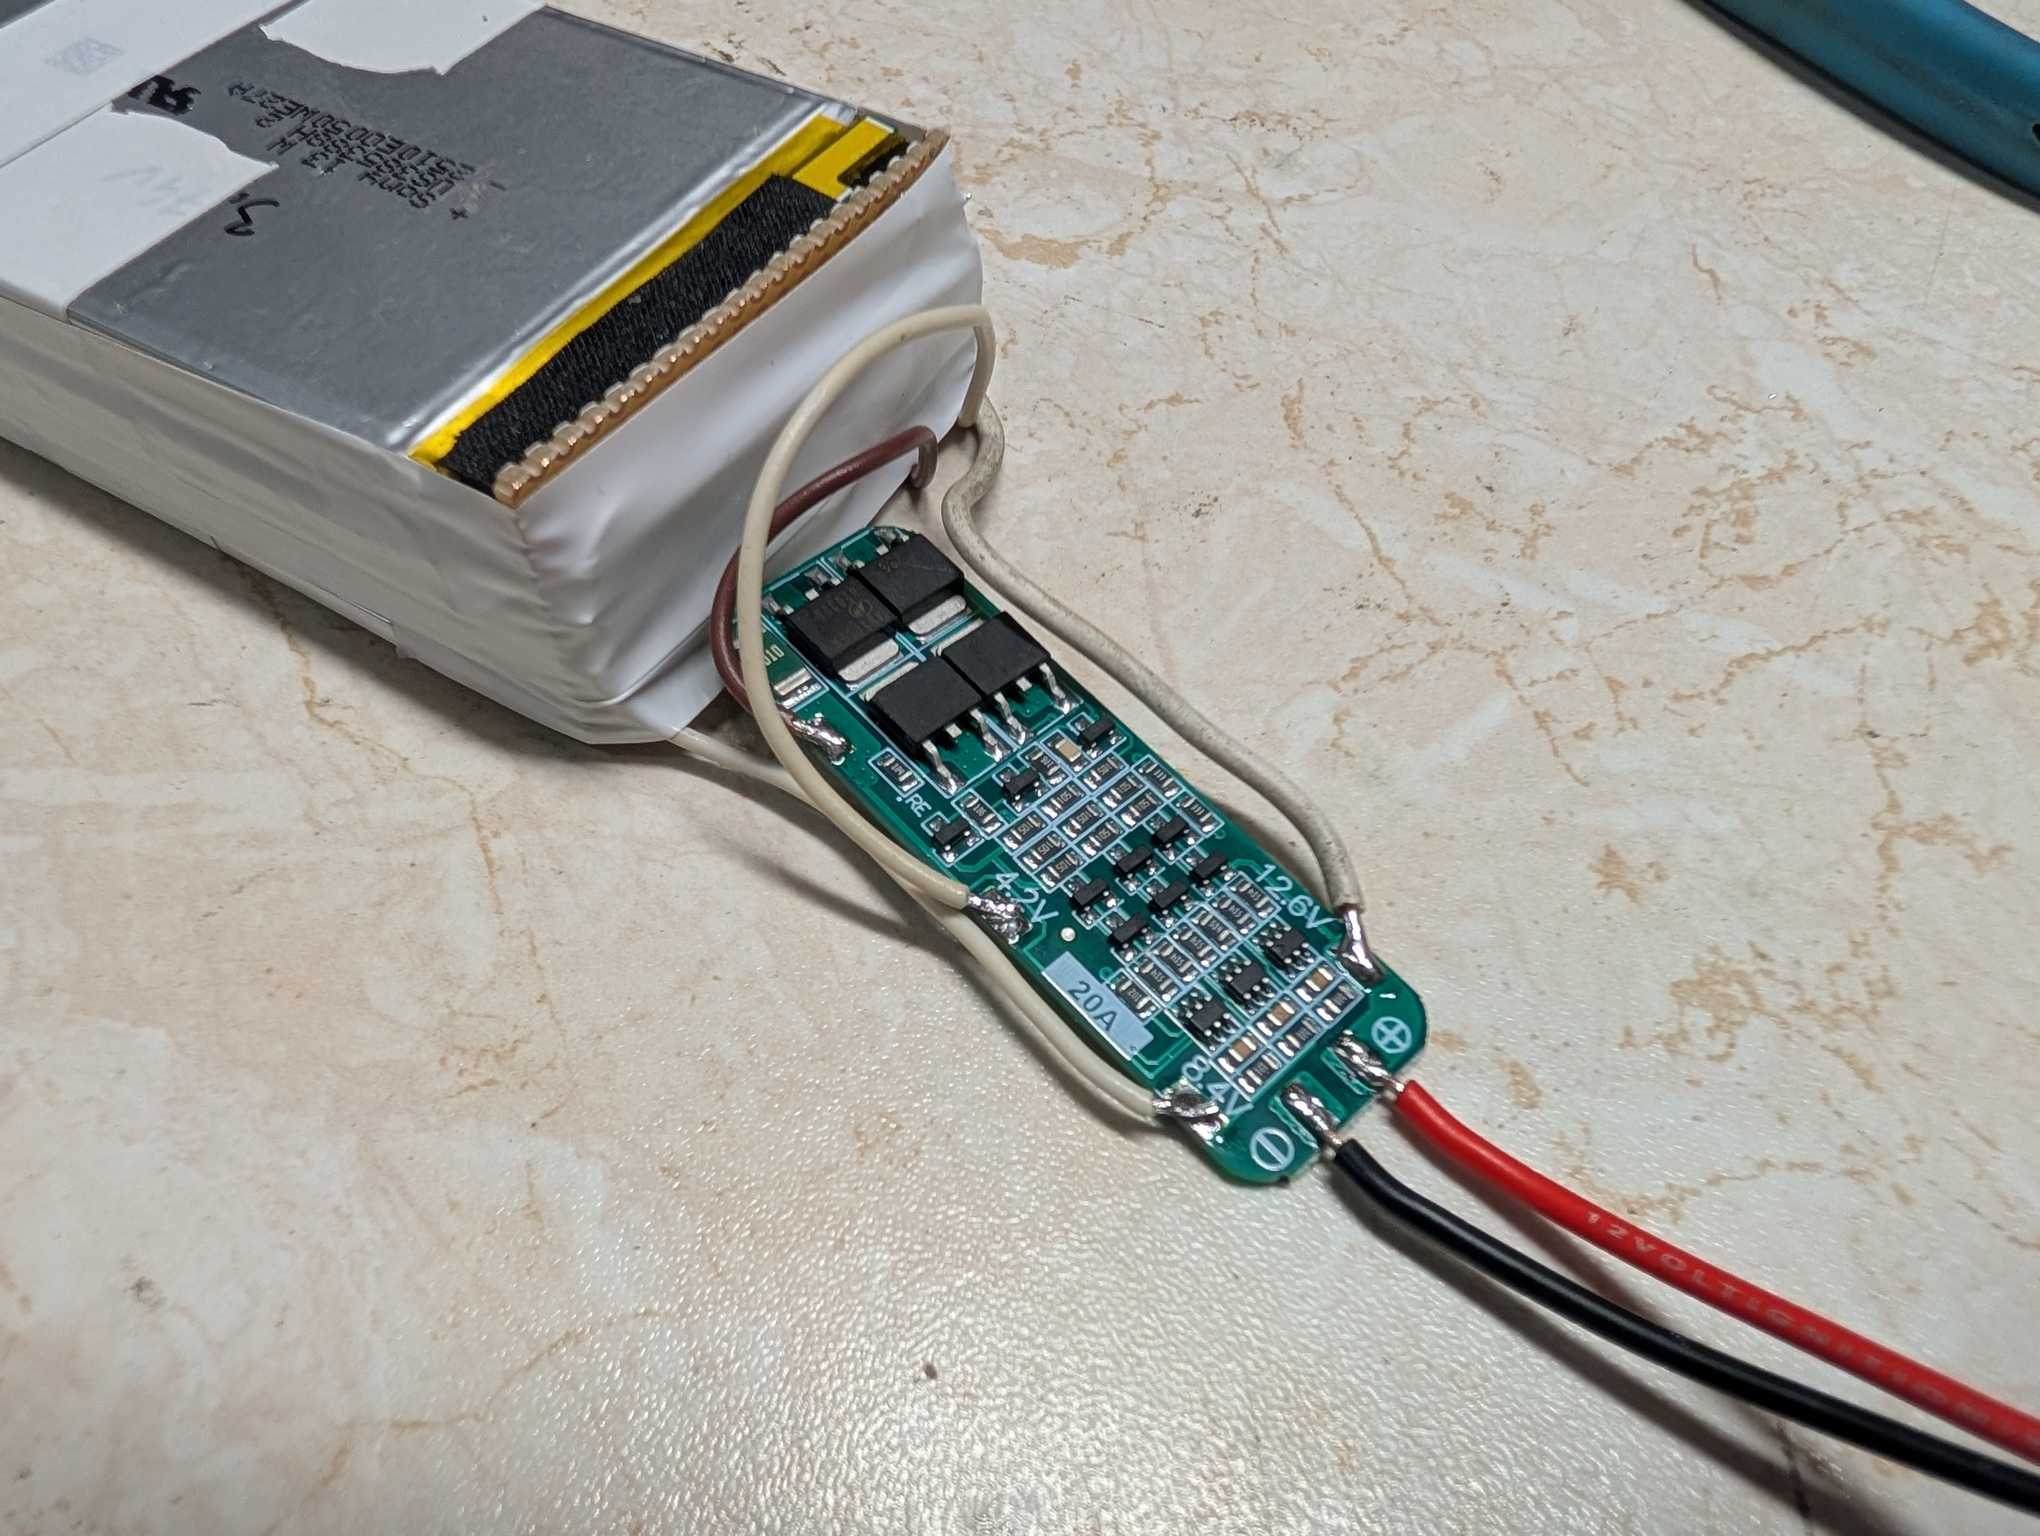
The capacity that I got with this pack was 2.19 Ah – not super but it’ll do for now. The cells seem to be tired because a single cell only holds half it’s initial capacity.
Battery compartment cover
Sadly I found this boombox without a batter cover and I didn’t really want to just tape it up and call it day since I went this far to make it look and work good. Obviously I had to design and 3D print a new one. I fired up my CAD of choice – OnShape and started designing.
To make the original part wasn’t an easy task, and after many tries printing test pieces to see how different parts fit in I got as close as I can. At least it was good enough for me.
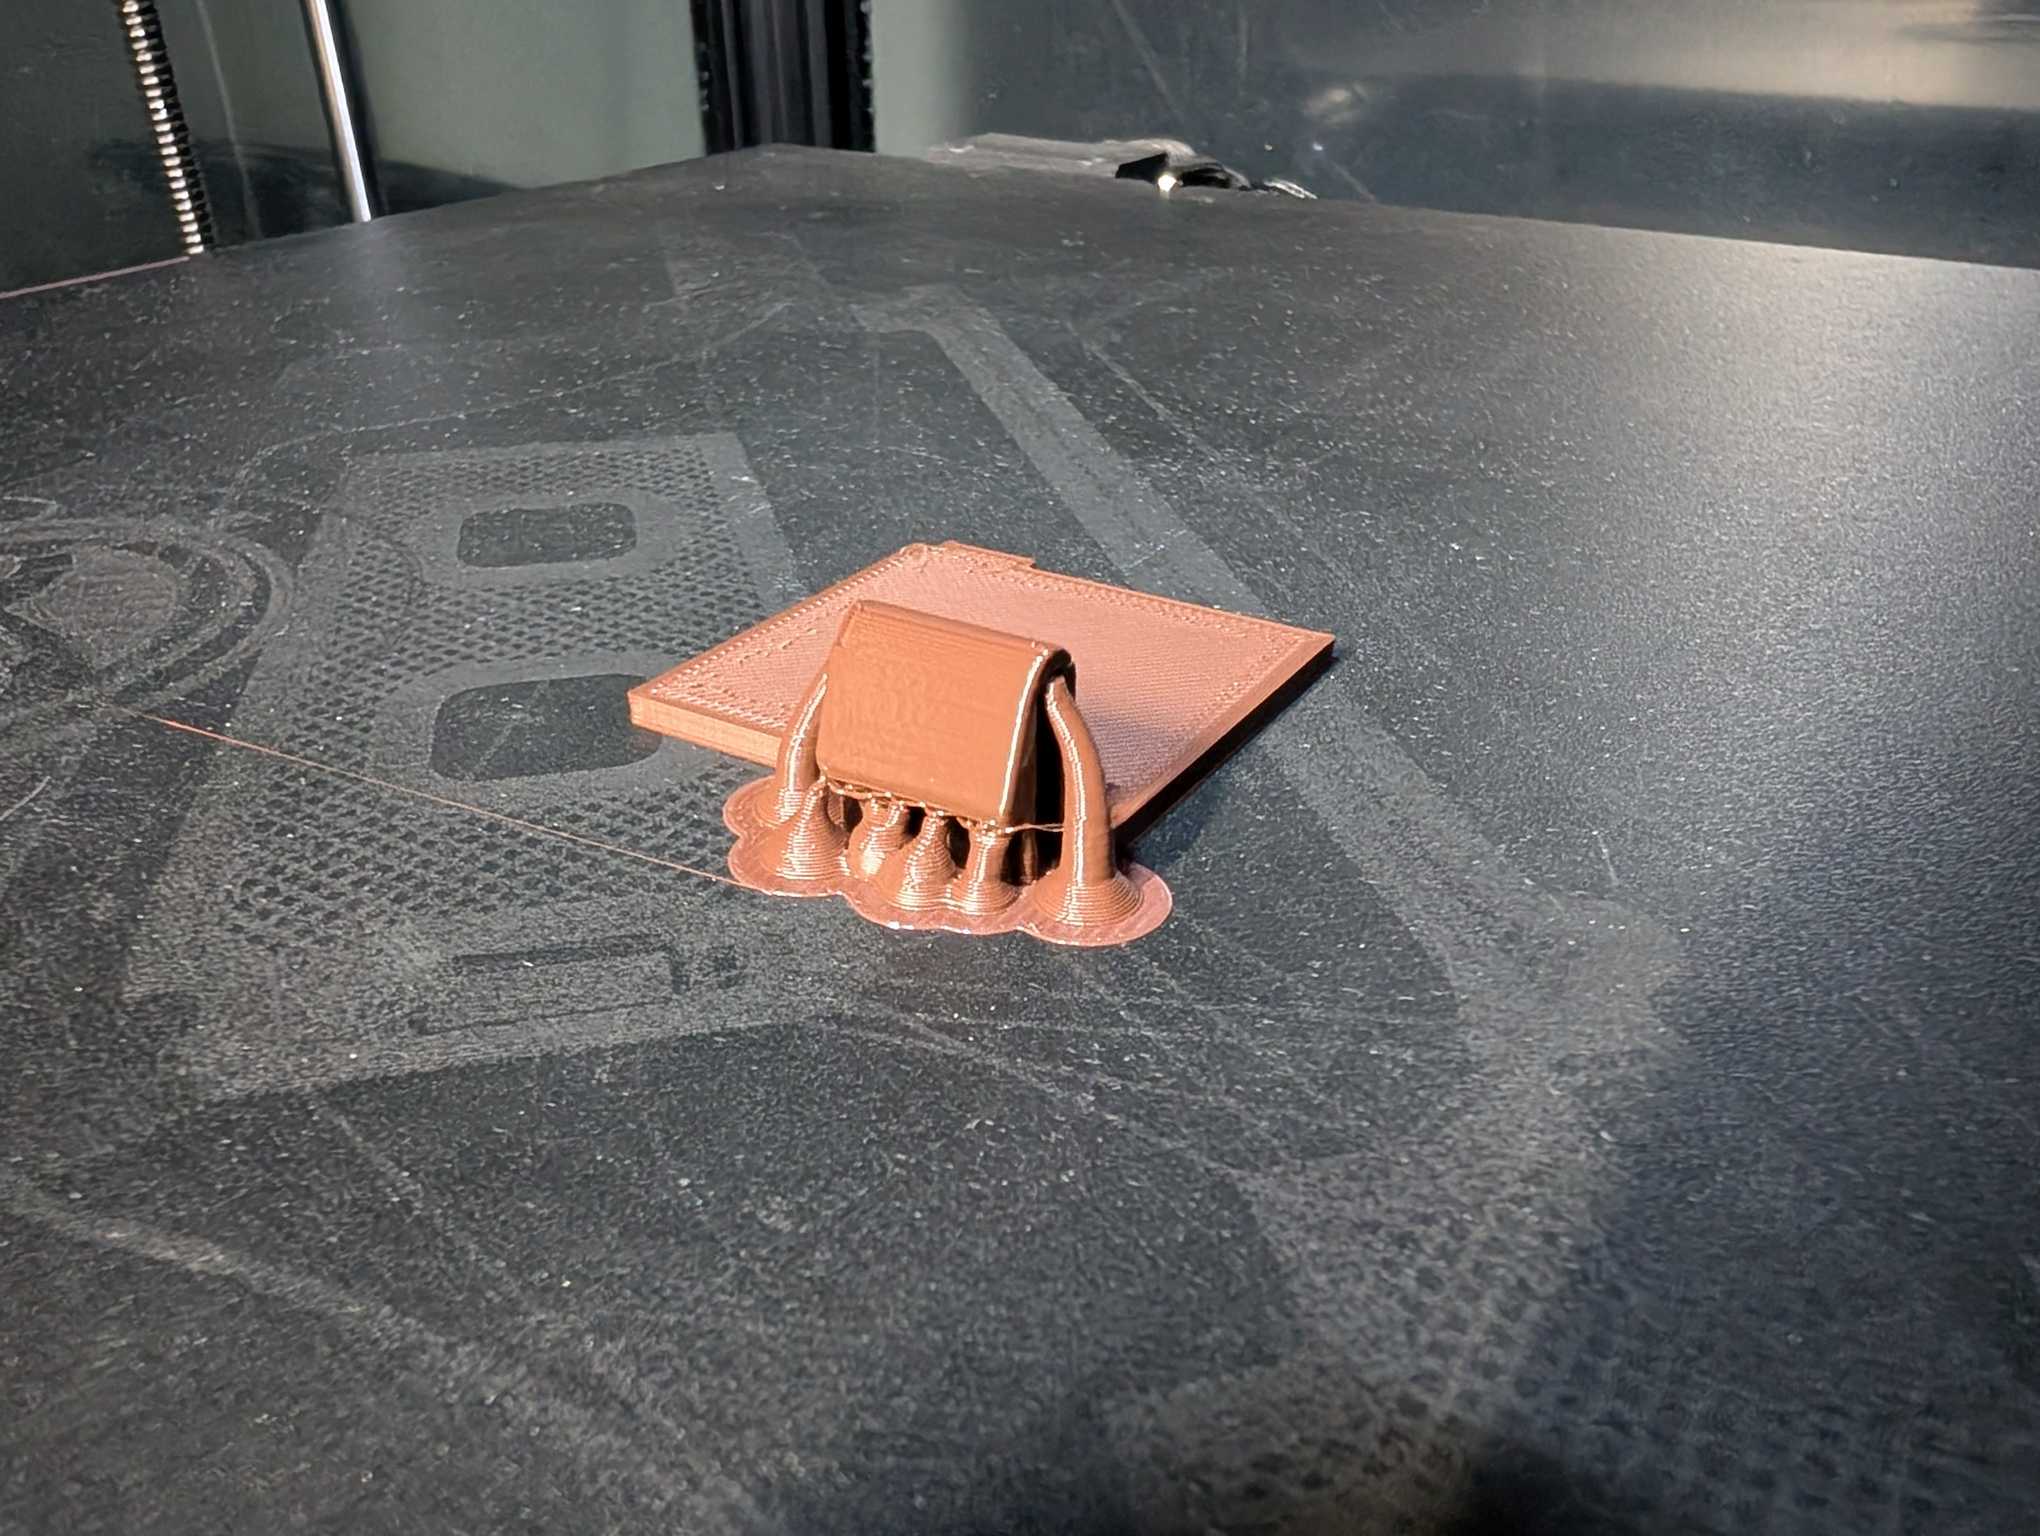
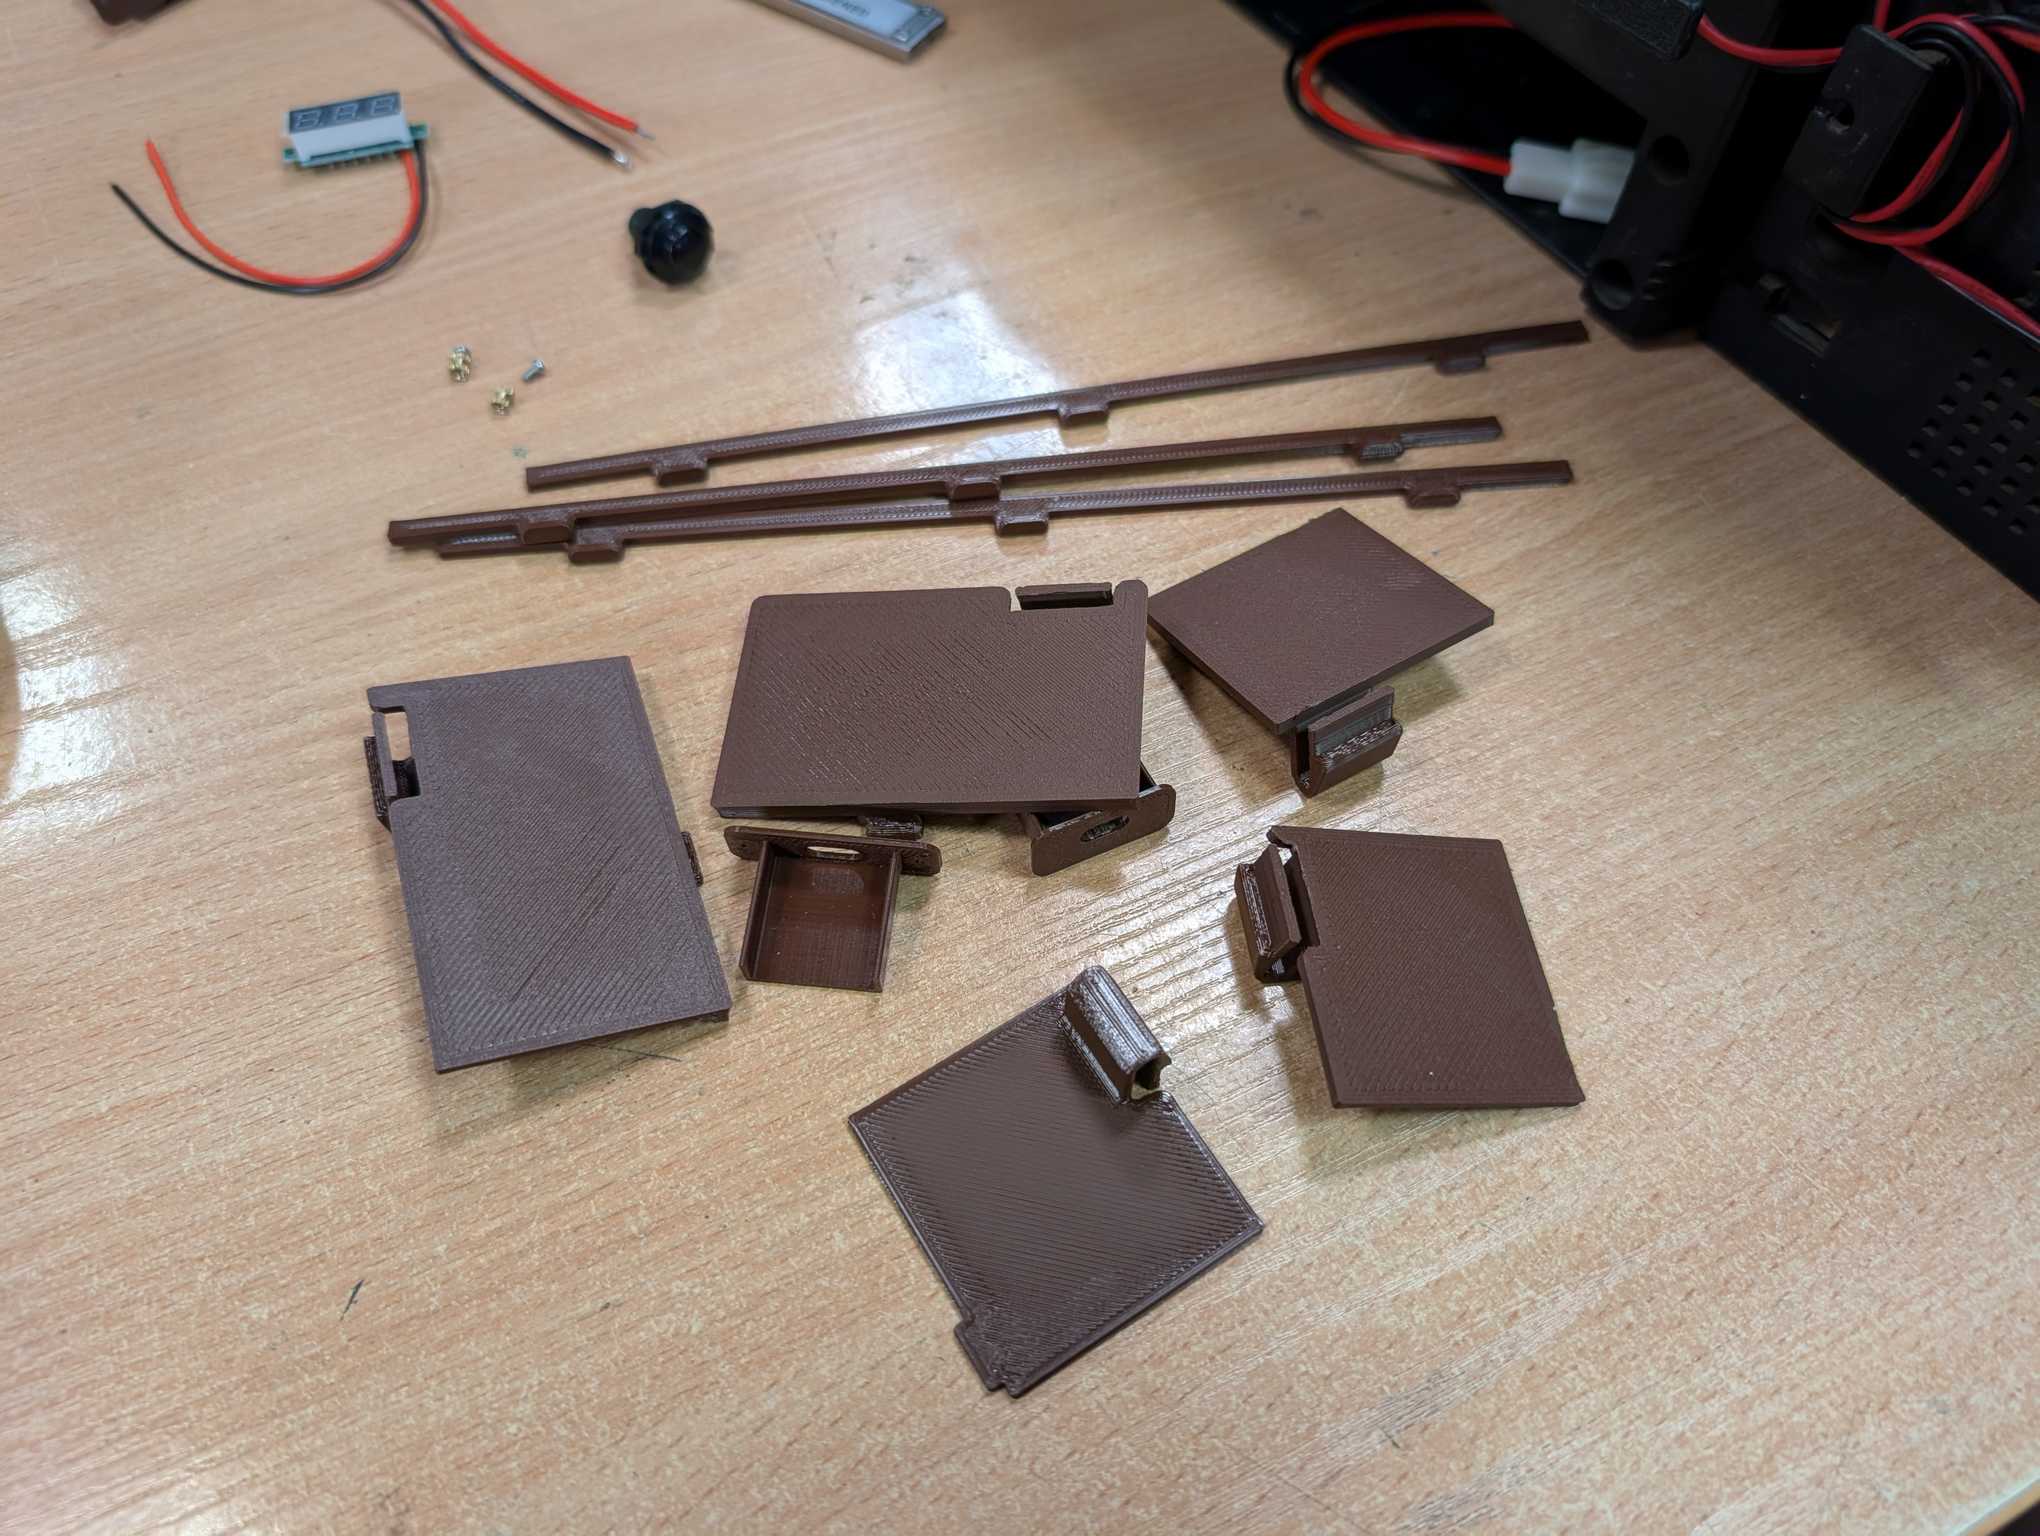
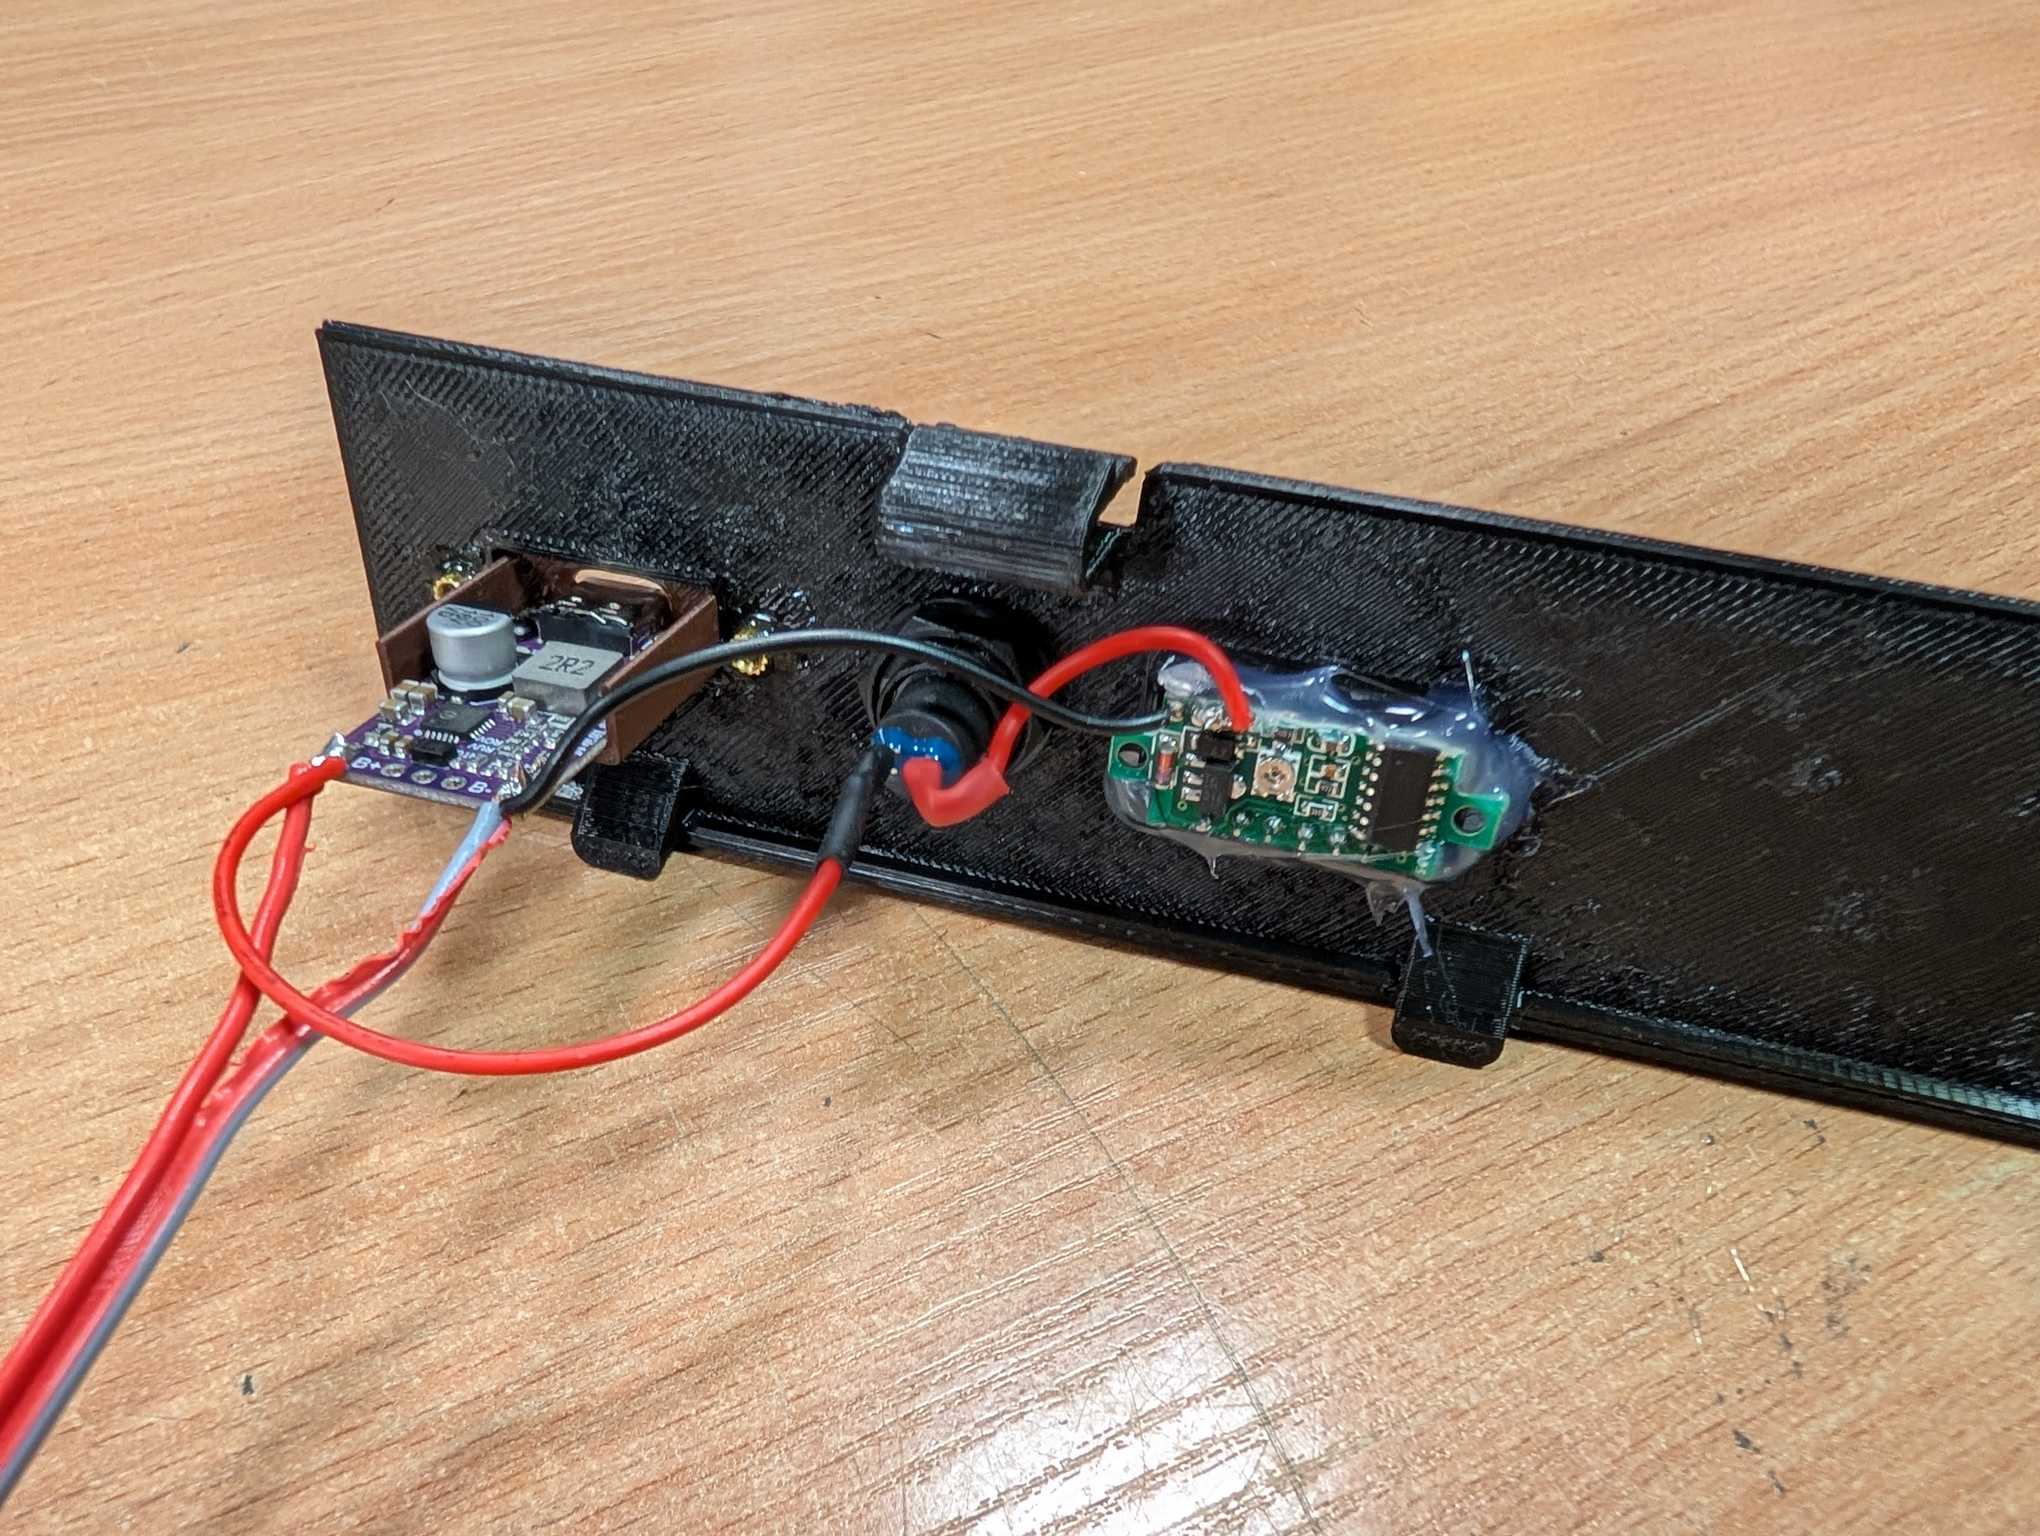
I made the cover with a battery voltage meter, a button to see the voltage and USB-C charging and printed it in black PETG.
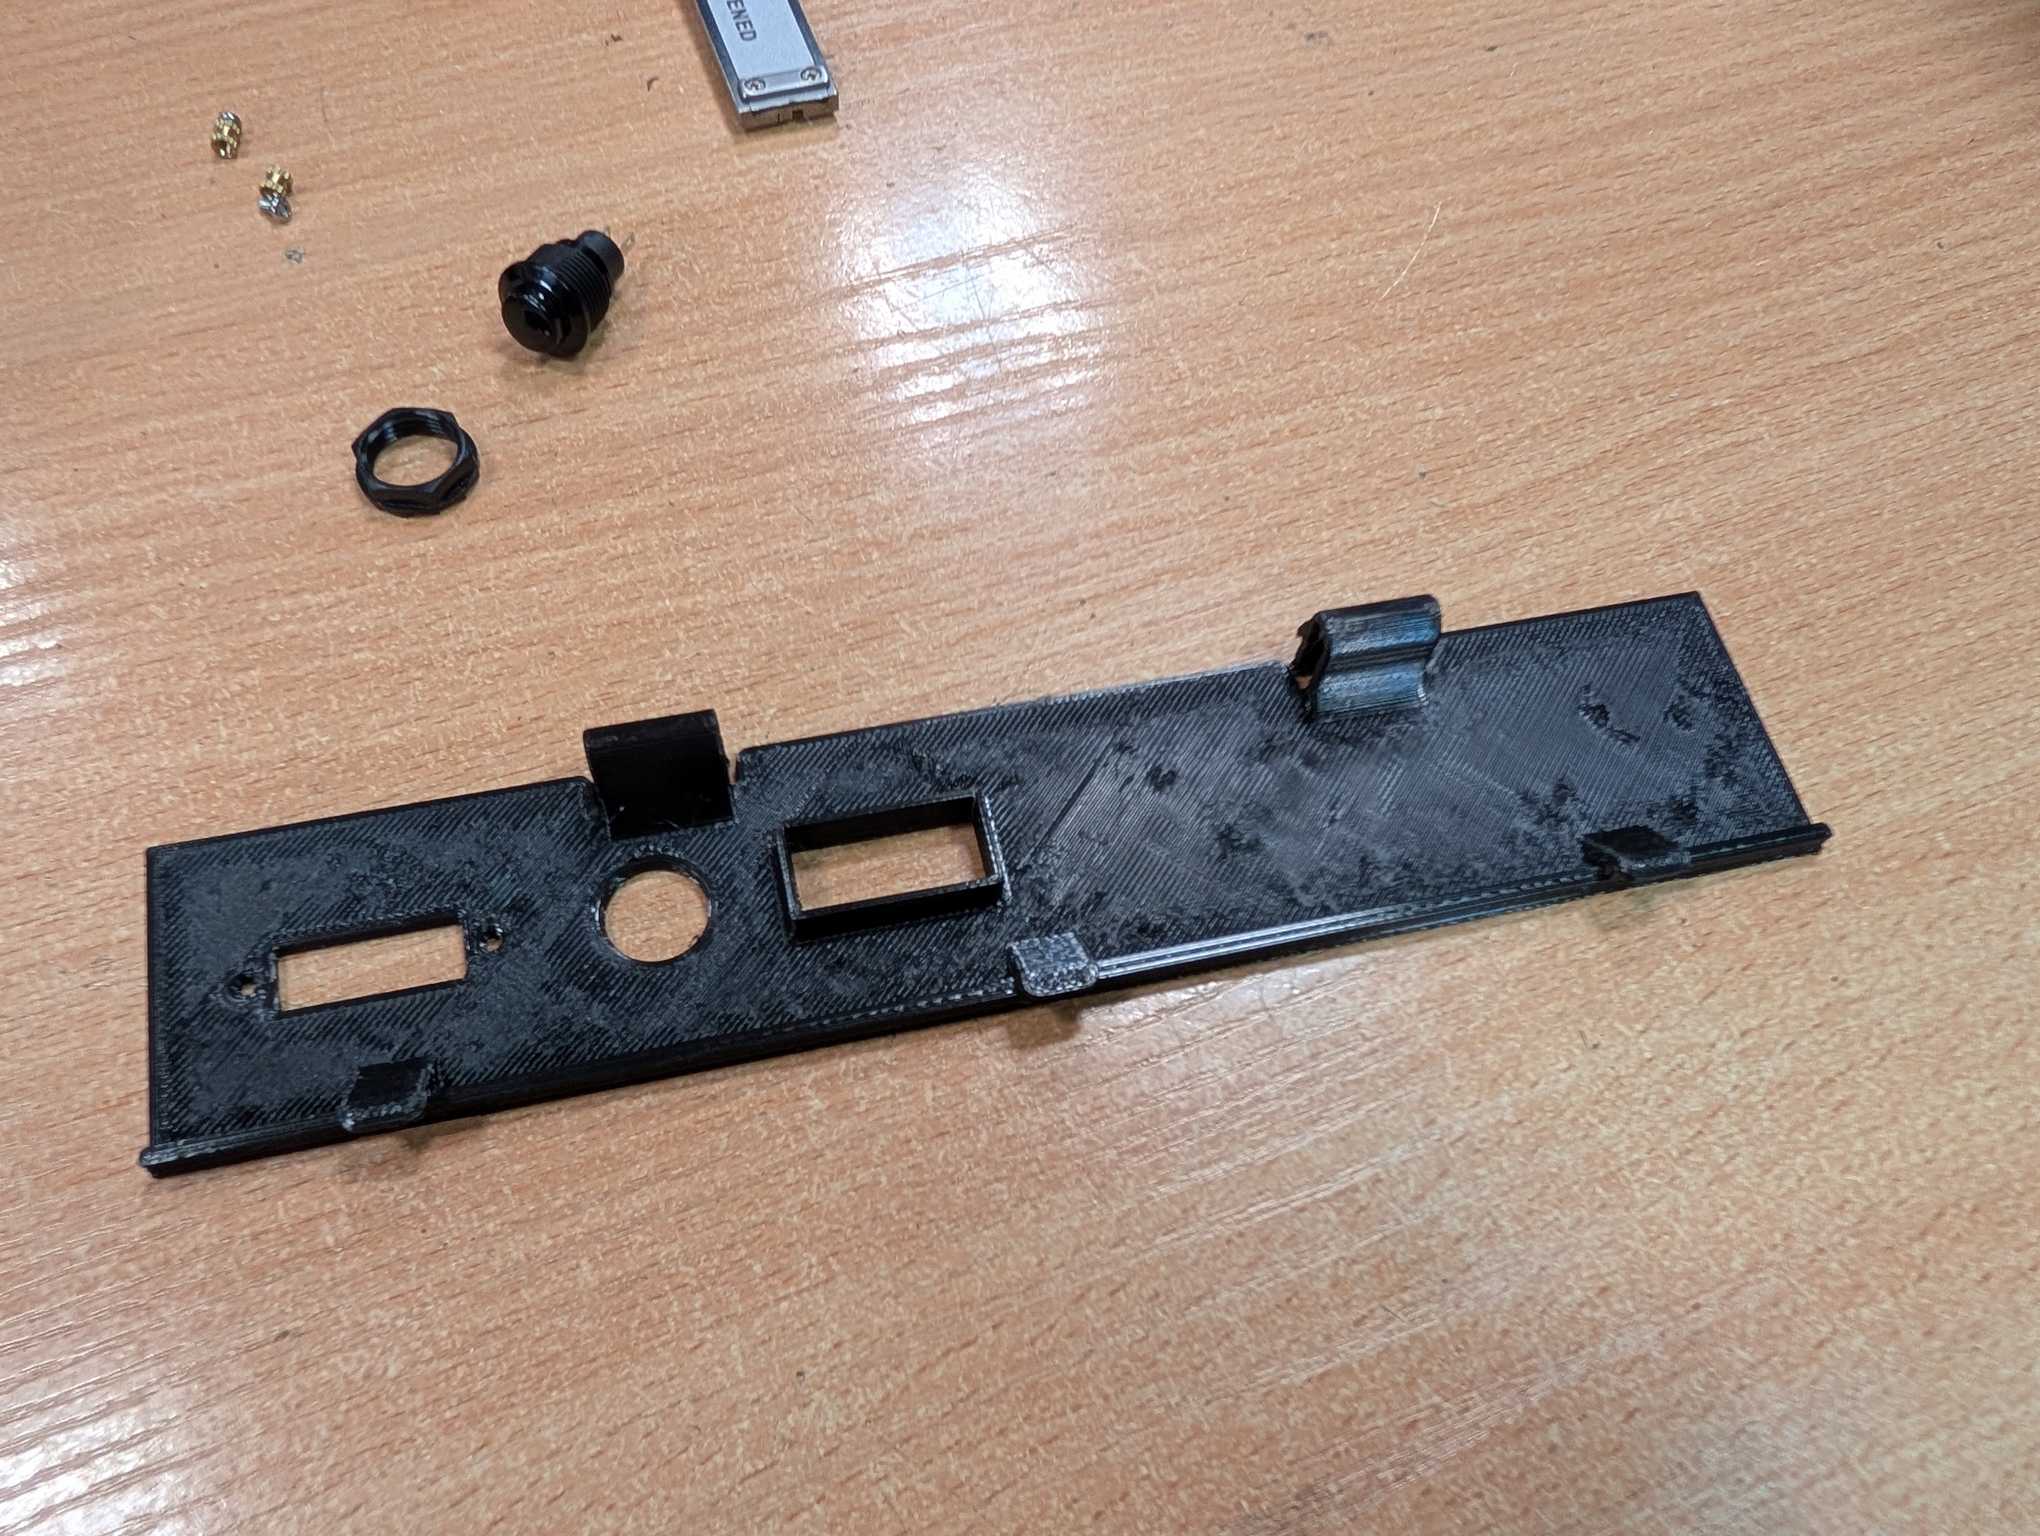
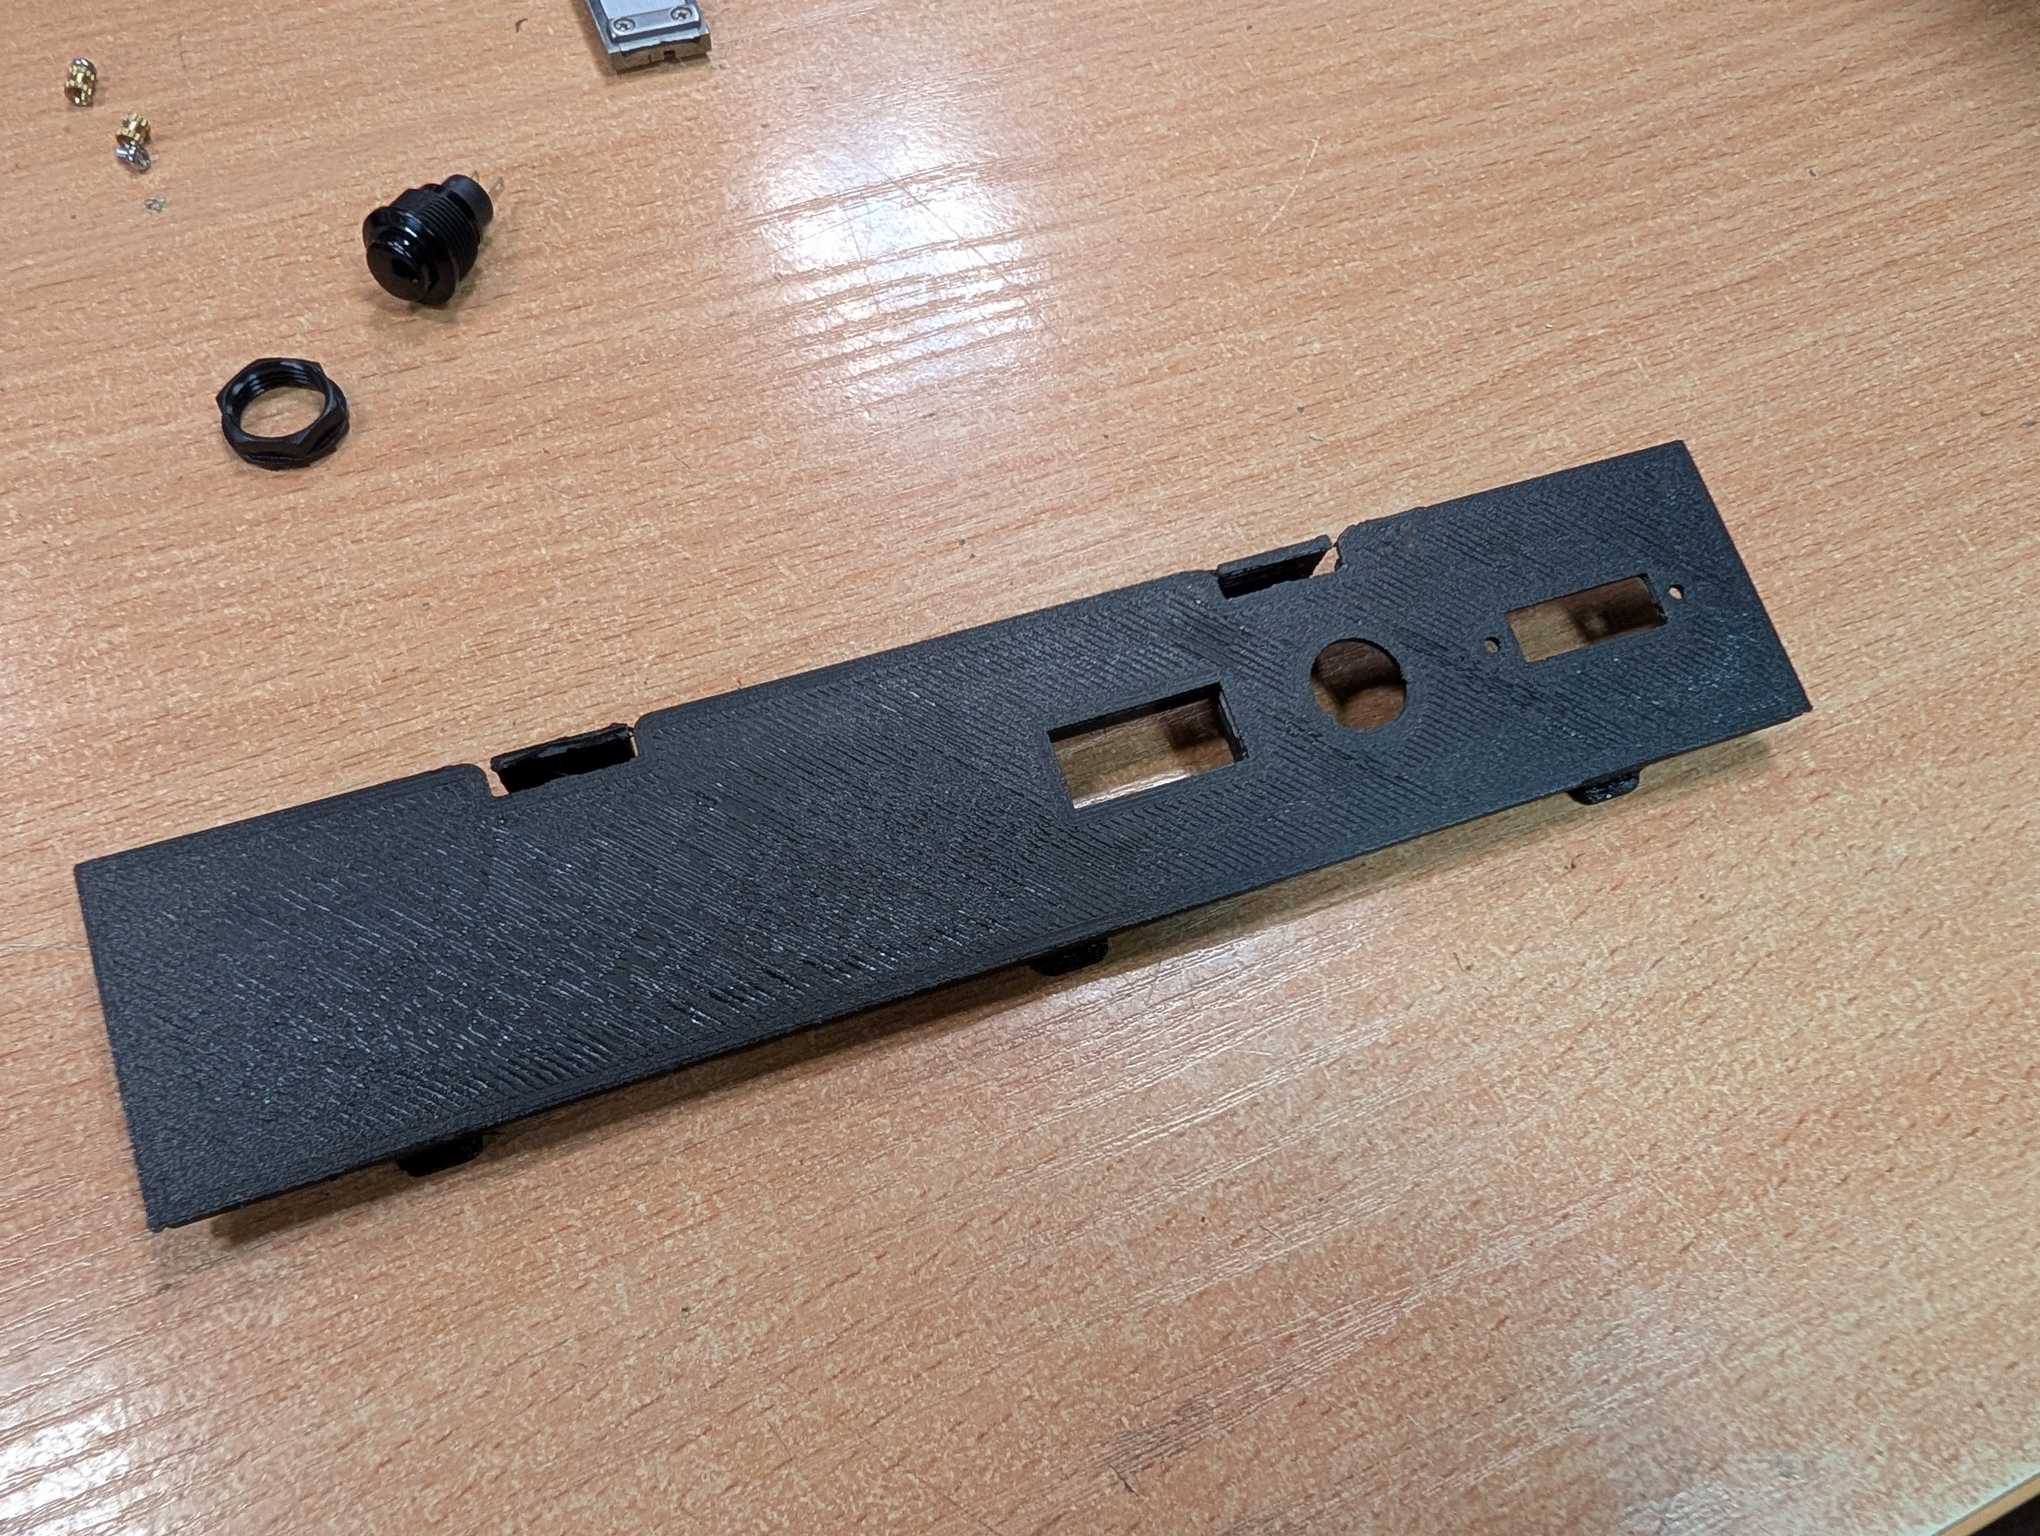
At first I wasn’t completely sure about the snap-lock notches but they turned out to be very rigid with a really nice click when pushed into place.
Finally added the remaining stuff, connected them and the cover was done.
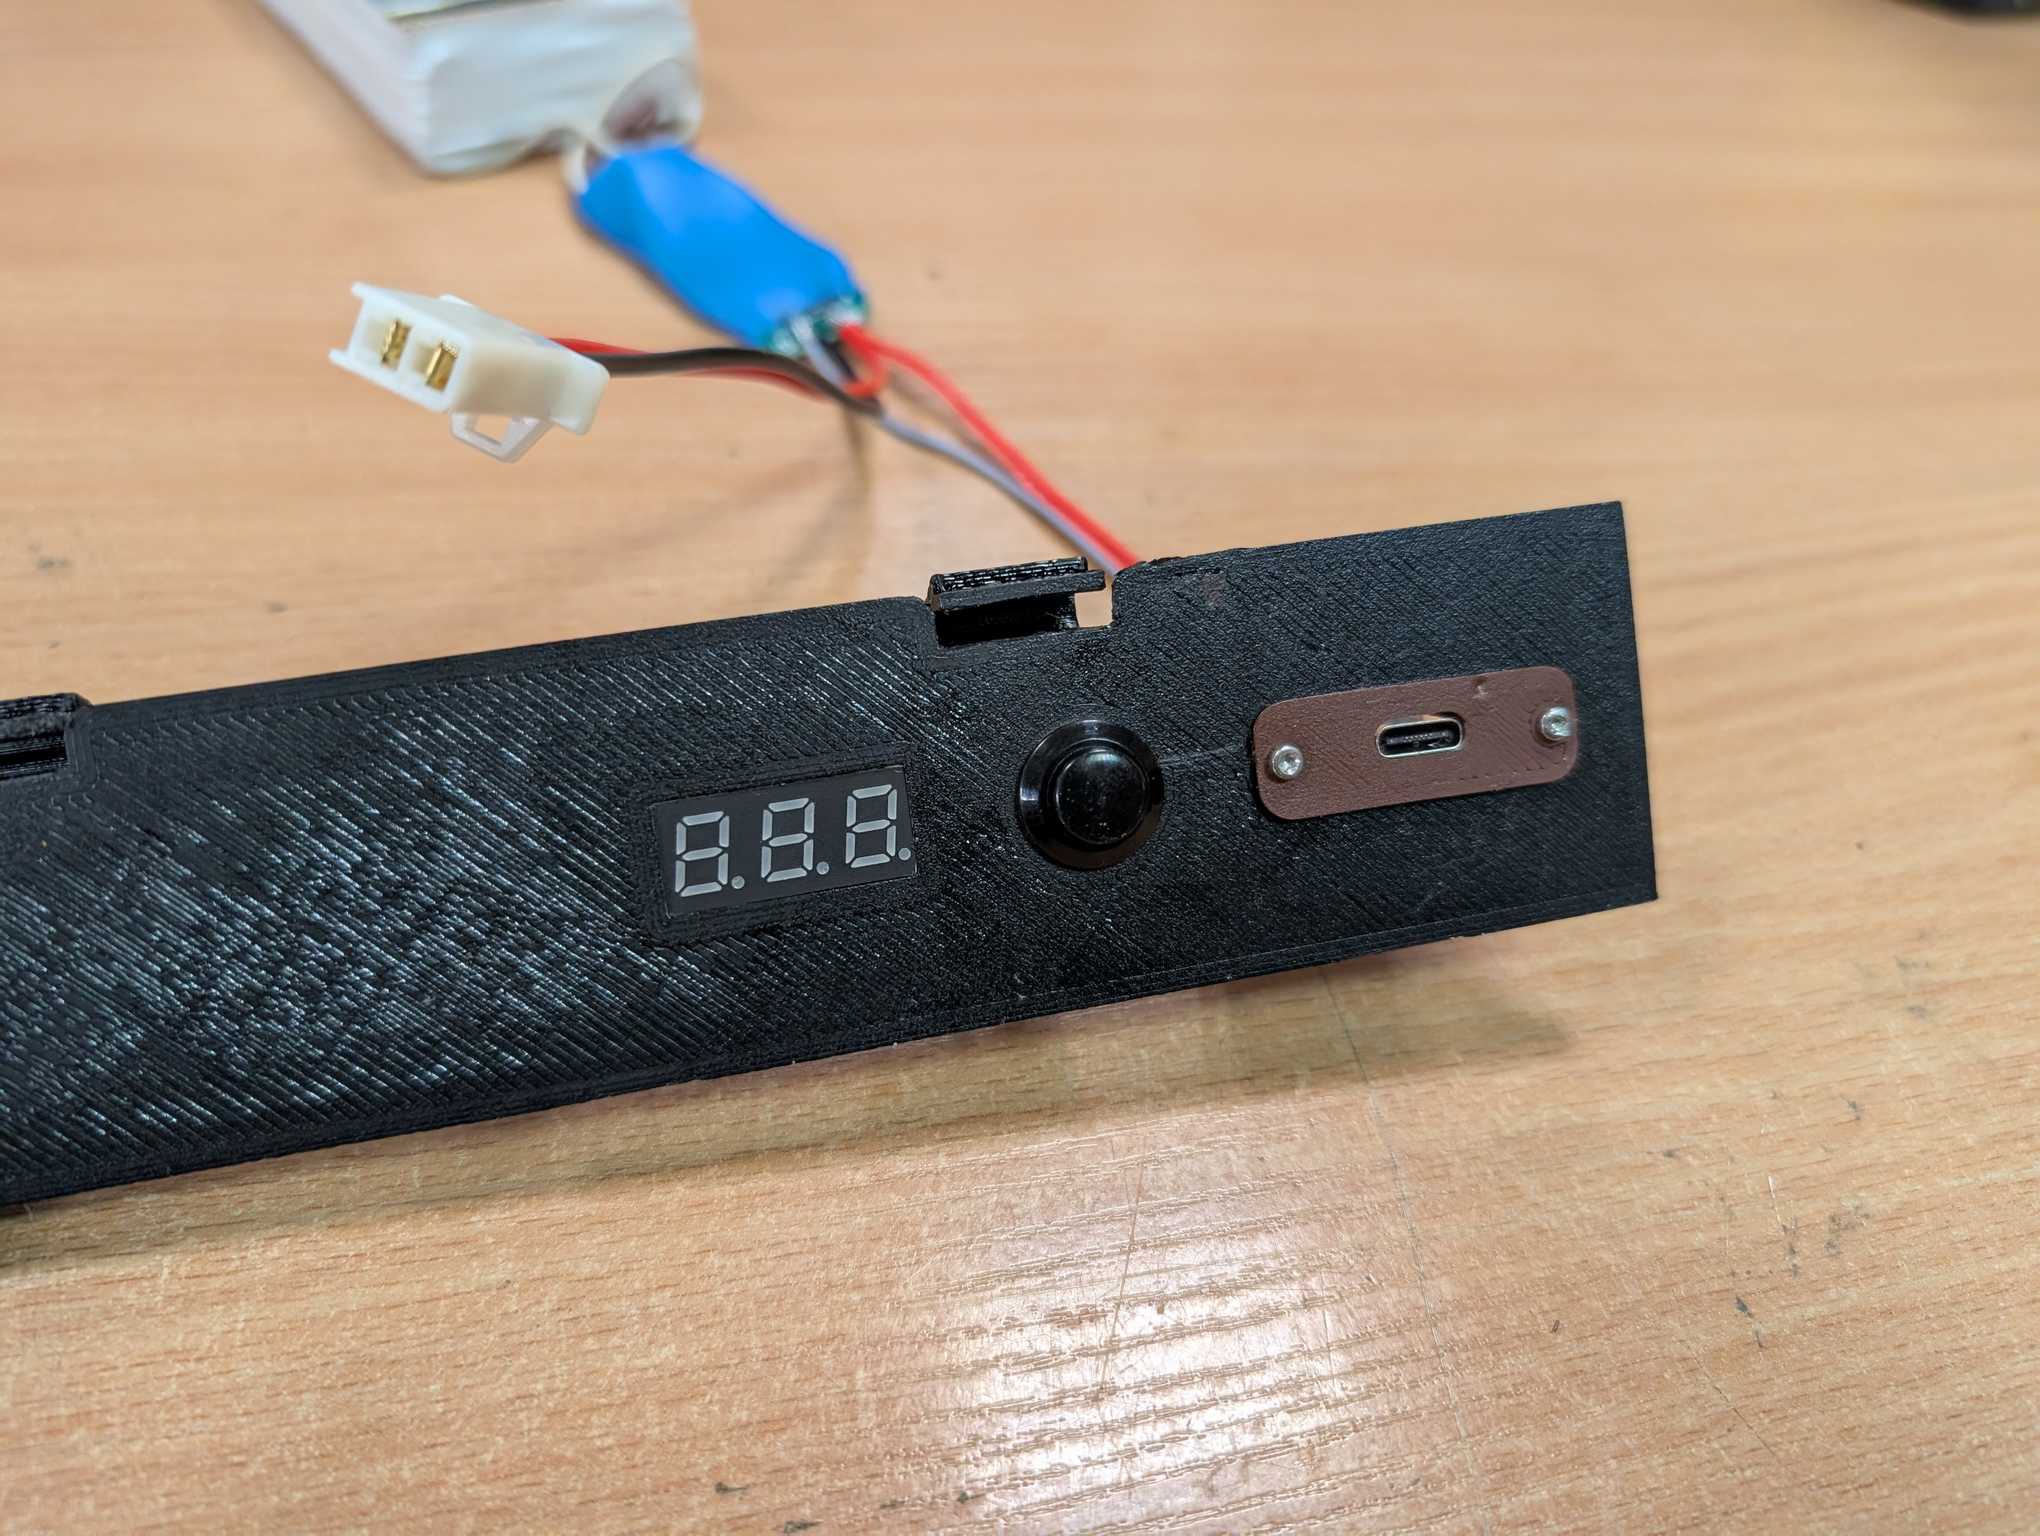
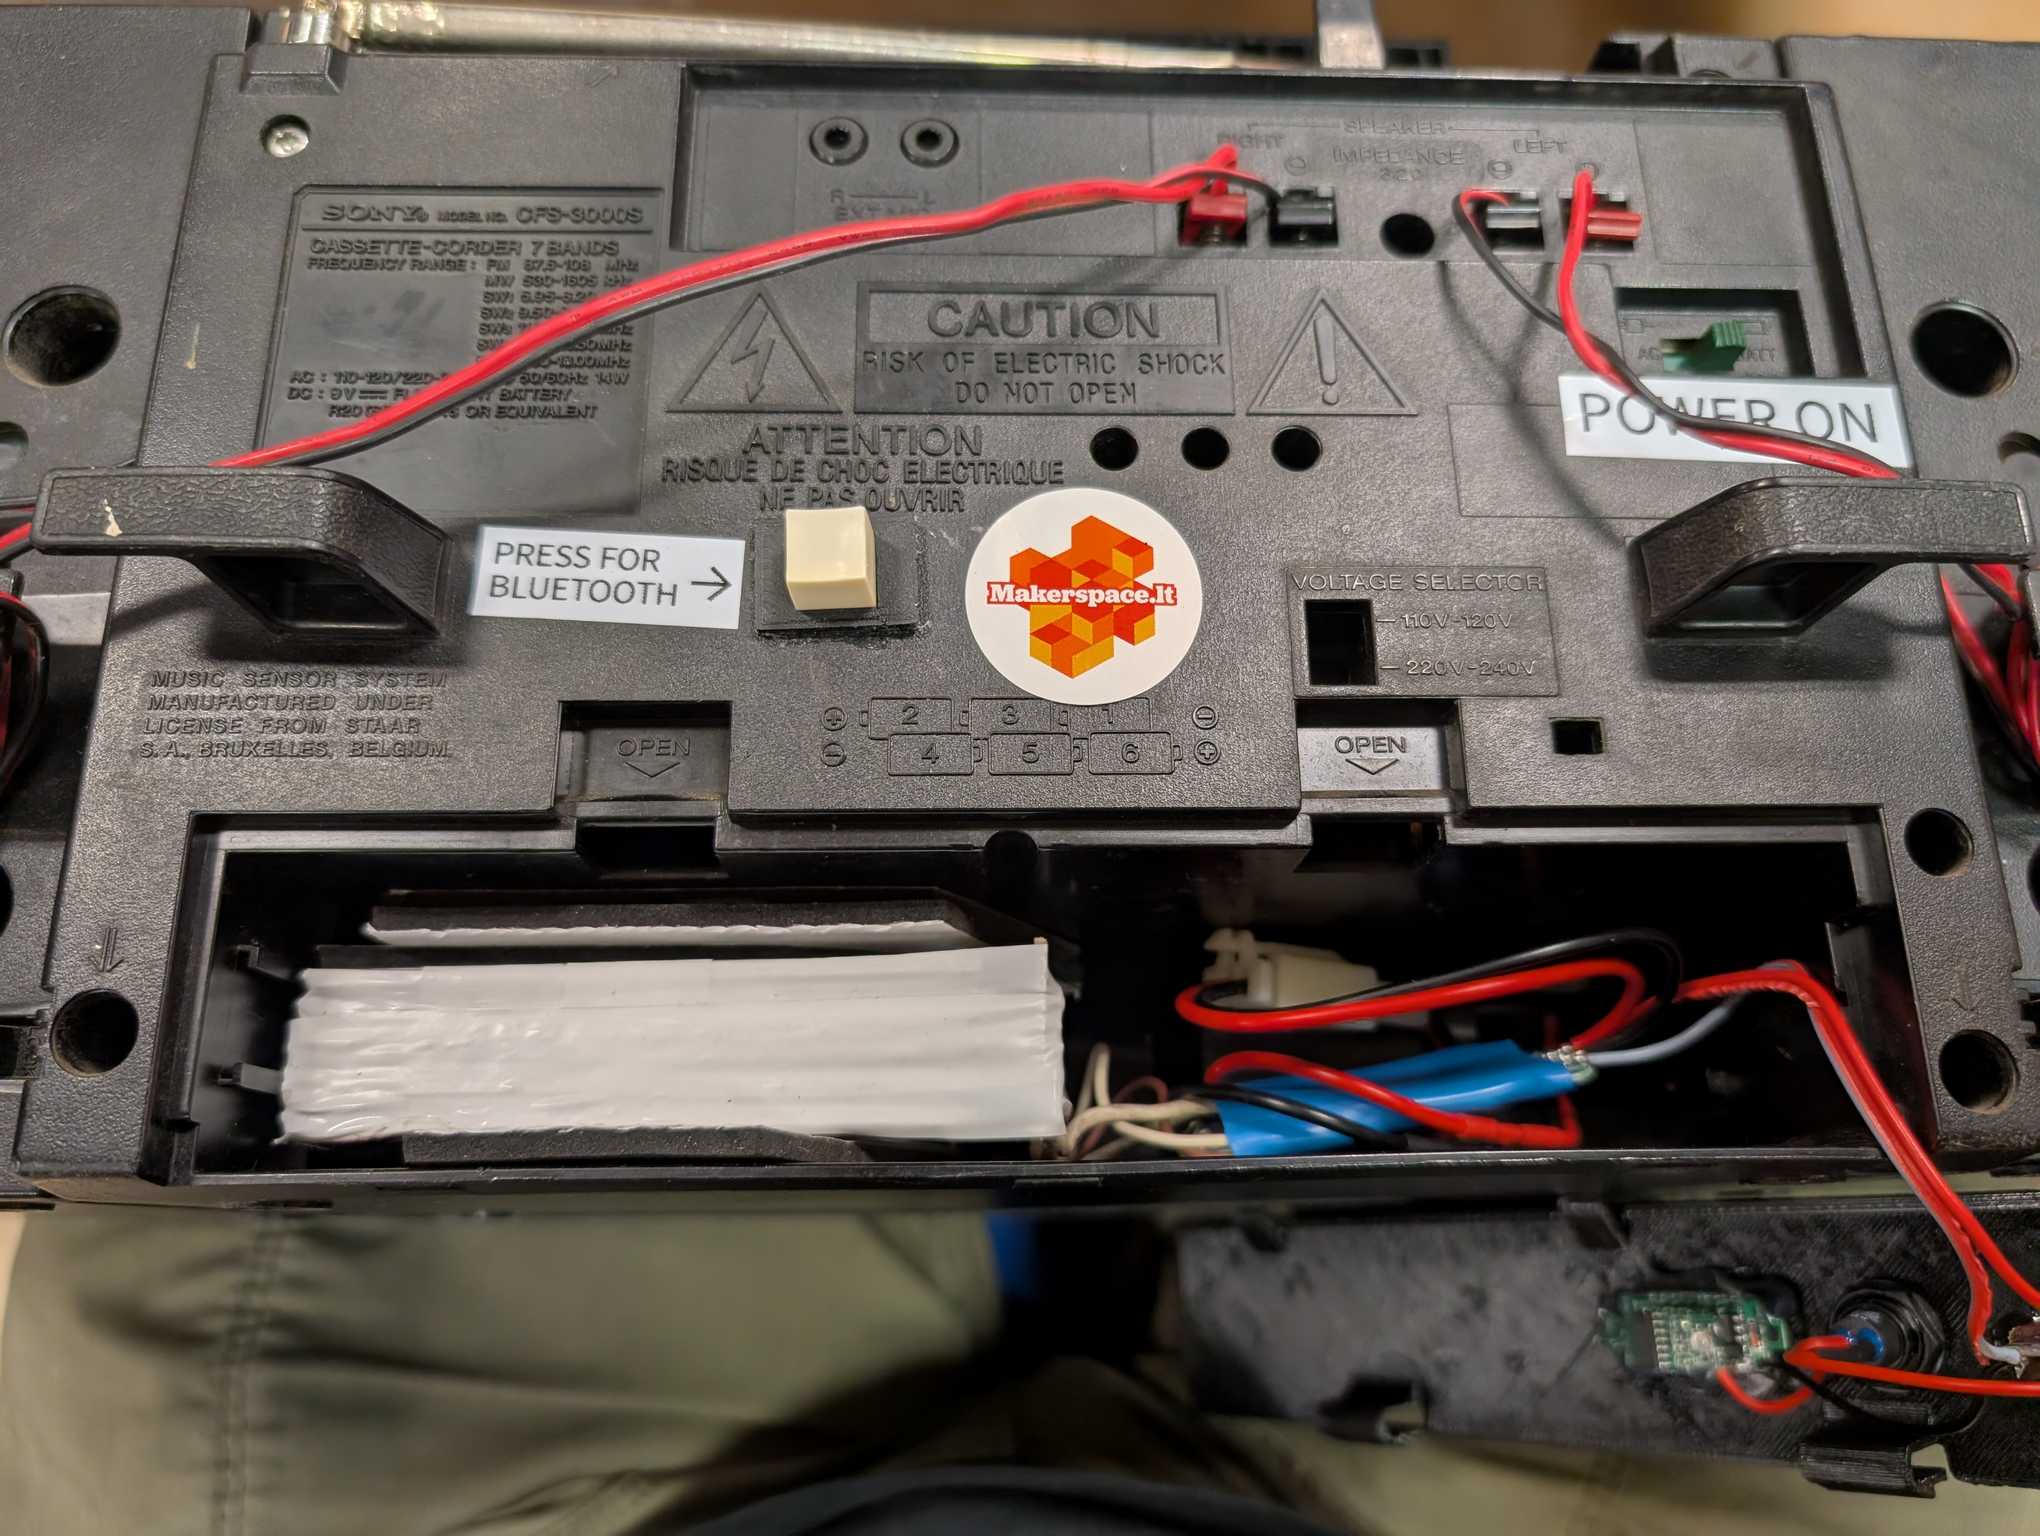
It looks almost like the original. I bet that from a distance you couldn’t tell it apart.
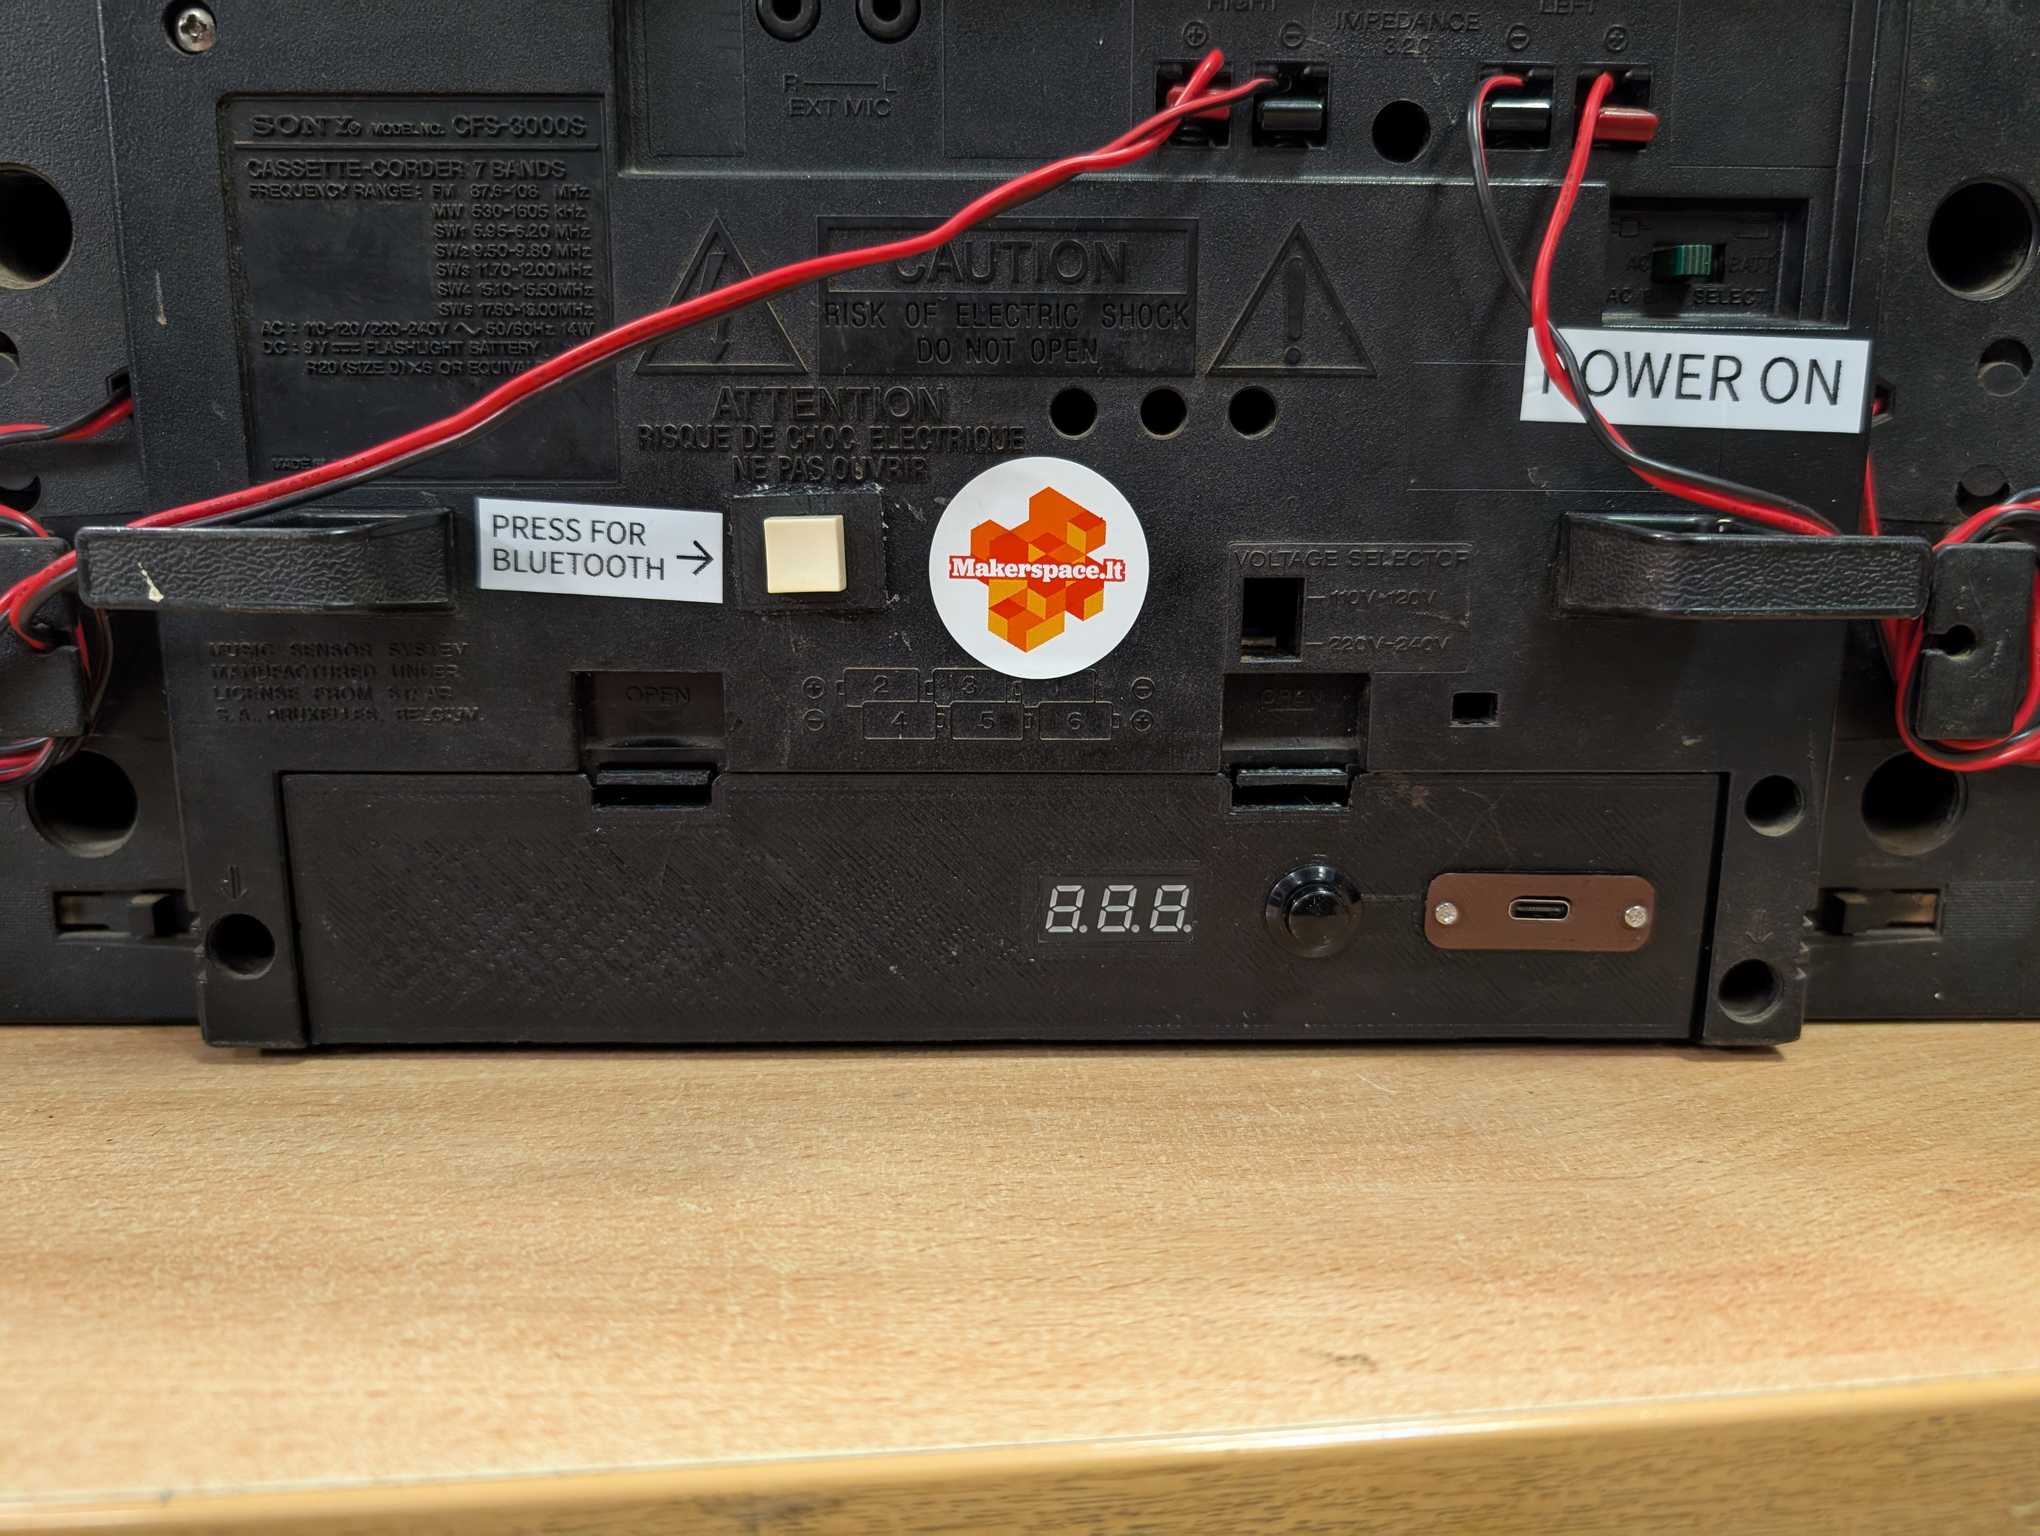
If you want to 3D print a battery cover for your own such boombox, you can export my model here: https://cad.onshape.com/documents/c12ab91912f5bbb9d8d2e7f4/w/4d5e3fd92aa16f589a99671d/e/a6cac5a1114f5c6fceffad1a
I also uploaded to Cults3D: https://cults3d.com/en/3d-model/various/sony-cfs-3000s-battery-cover
And so the boombox is now complete, with all original things working great plus the Bluetooth!