It’s no surprise that Makita tools are very popular and they are everywhere. Their batteries are pretty durable and good quality as well. But as good as they are the batteries will die someday and when that happens you’ll need a new one and new genuine batteries cost a lot. Or you can fix the old one by changing cells inside… which would be the case if Makita didn’t adopt the no-fixing policy for their batteries and that makes me (and probably many others) mad.
Turns out that LXT series batteries are protected by a complicated control board that bricks itself whenever it senses that a cell in the pack is bad. All other cells could be in great condition, but the pack won’t work anyway even if you replace the faulty cells.
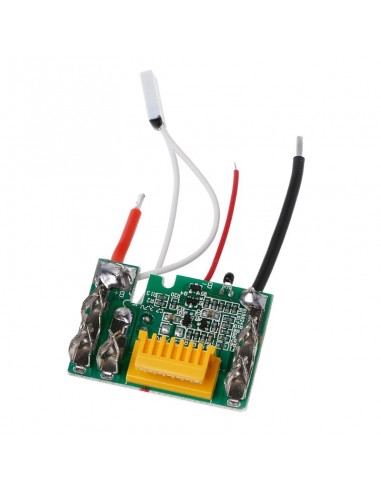
If you want to repair your old pack and have it work with your original Makita charger, you’ll need to buy a new control board without this “feature” from AliExpress or Ebay or other places and replace that along with the faulty cells.
Similarly if you want to assemble additional batteries with the cells that you have you can buy a kit and assemble it yourself. Or you can 3D print the whole case: https://www.thingiverse.com/thing:5026796

In my case, I wanted to do it differently… I wanted to do it cheaper, simpler and integrate into what was made already for Meec cordless drills at Kaunas Makerspace (I wrote about that here: Meec custom cordless drill battery and charging station) by replacing the cells and adding a 3S BMS module bypassing Makita control board.
At the workshop we have one older model Makita 14v cordless drill and several batteries (two 14v 1.3Ah and one 18v 3Ah) that according to the original charger was considered dead. After disassembling the batteries we tested each cell with a 3A load and found out that many of the cells were in great condition (around 1.1-1.5 Ah) and among them only few were bad and had to be thrown out.
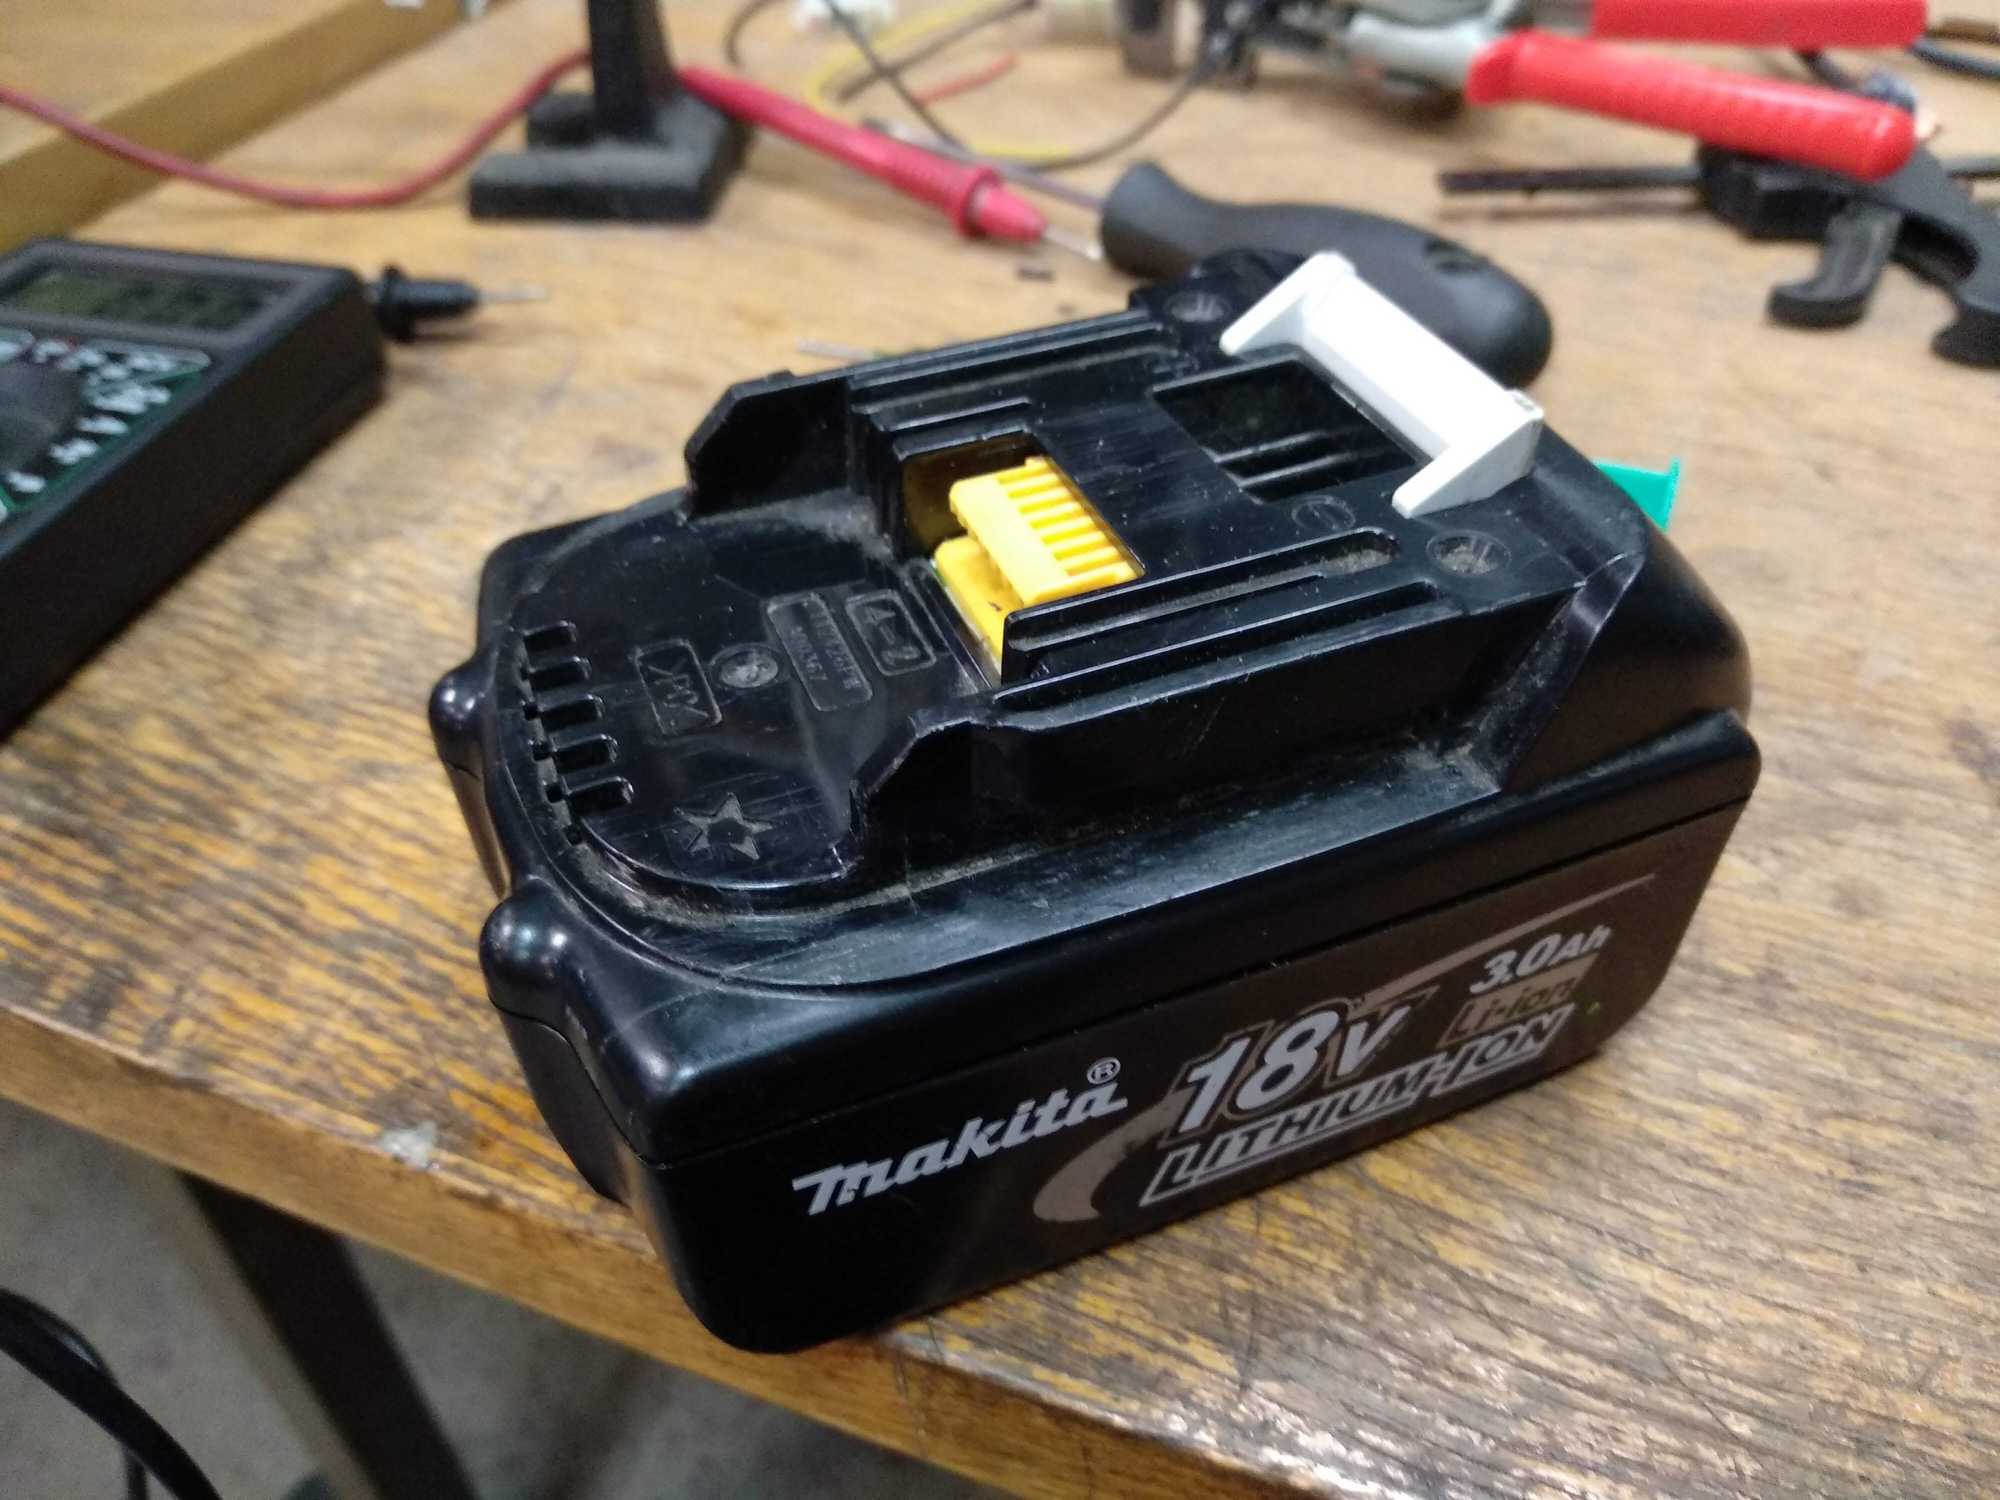
First off I wanted to re-make the 18v battery but obviously it can’t go onto a 14v tool by design, that would be very bad for the tool and there’s a physical protection against that, but the contact layout is the same regardless. But since I’ll be replacing battery internals with a 3S BMS (so 12.6v nominal) it doesn’t matter for me. Turns out you can snip off one bit that sticks out on the tool and make it accept both battery types.

Now 18v 3Ah battery case is the easiest to handle. Along with the 3S BMS you can fit 9 cells in there (3 rows of 3 cells) and if fitted with good cells that is pretty good for regular drill work.
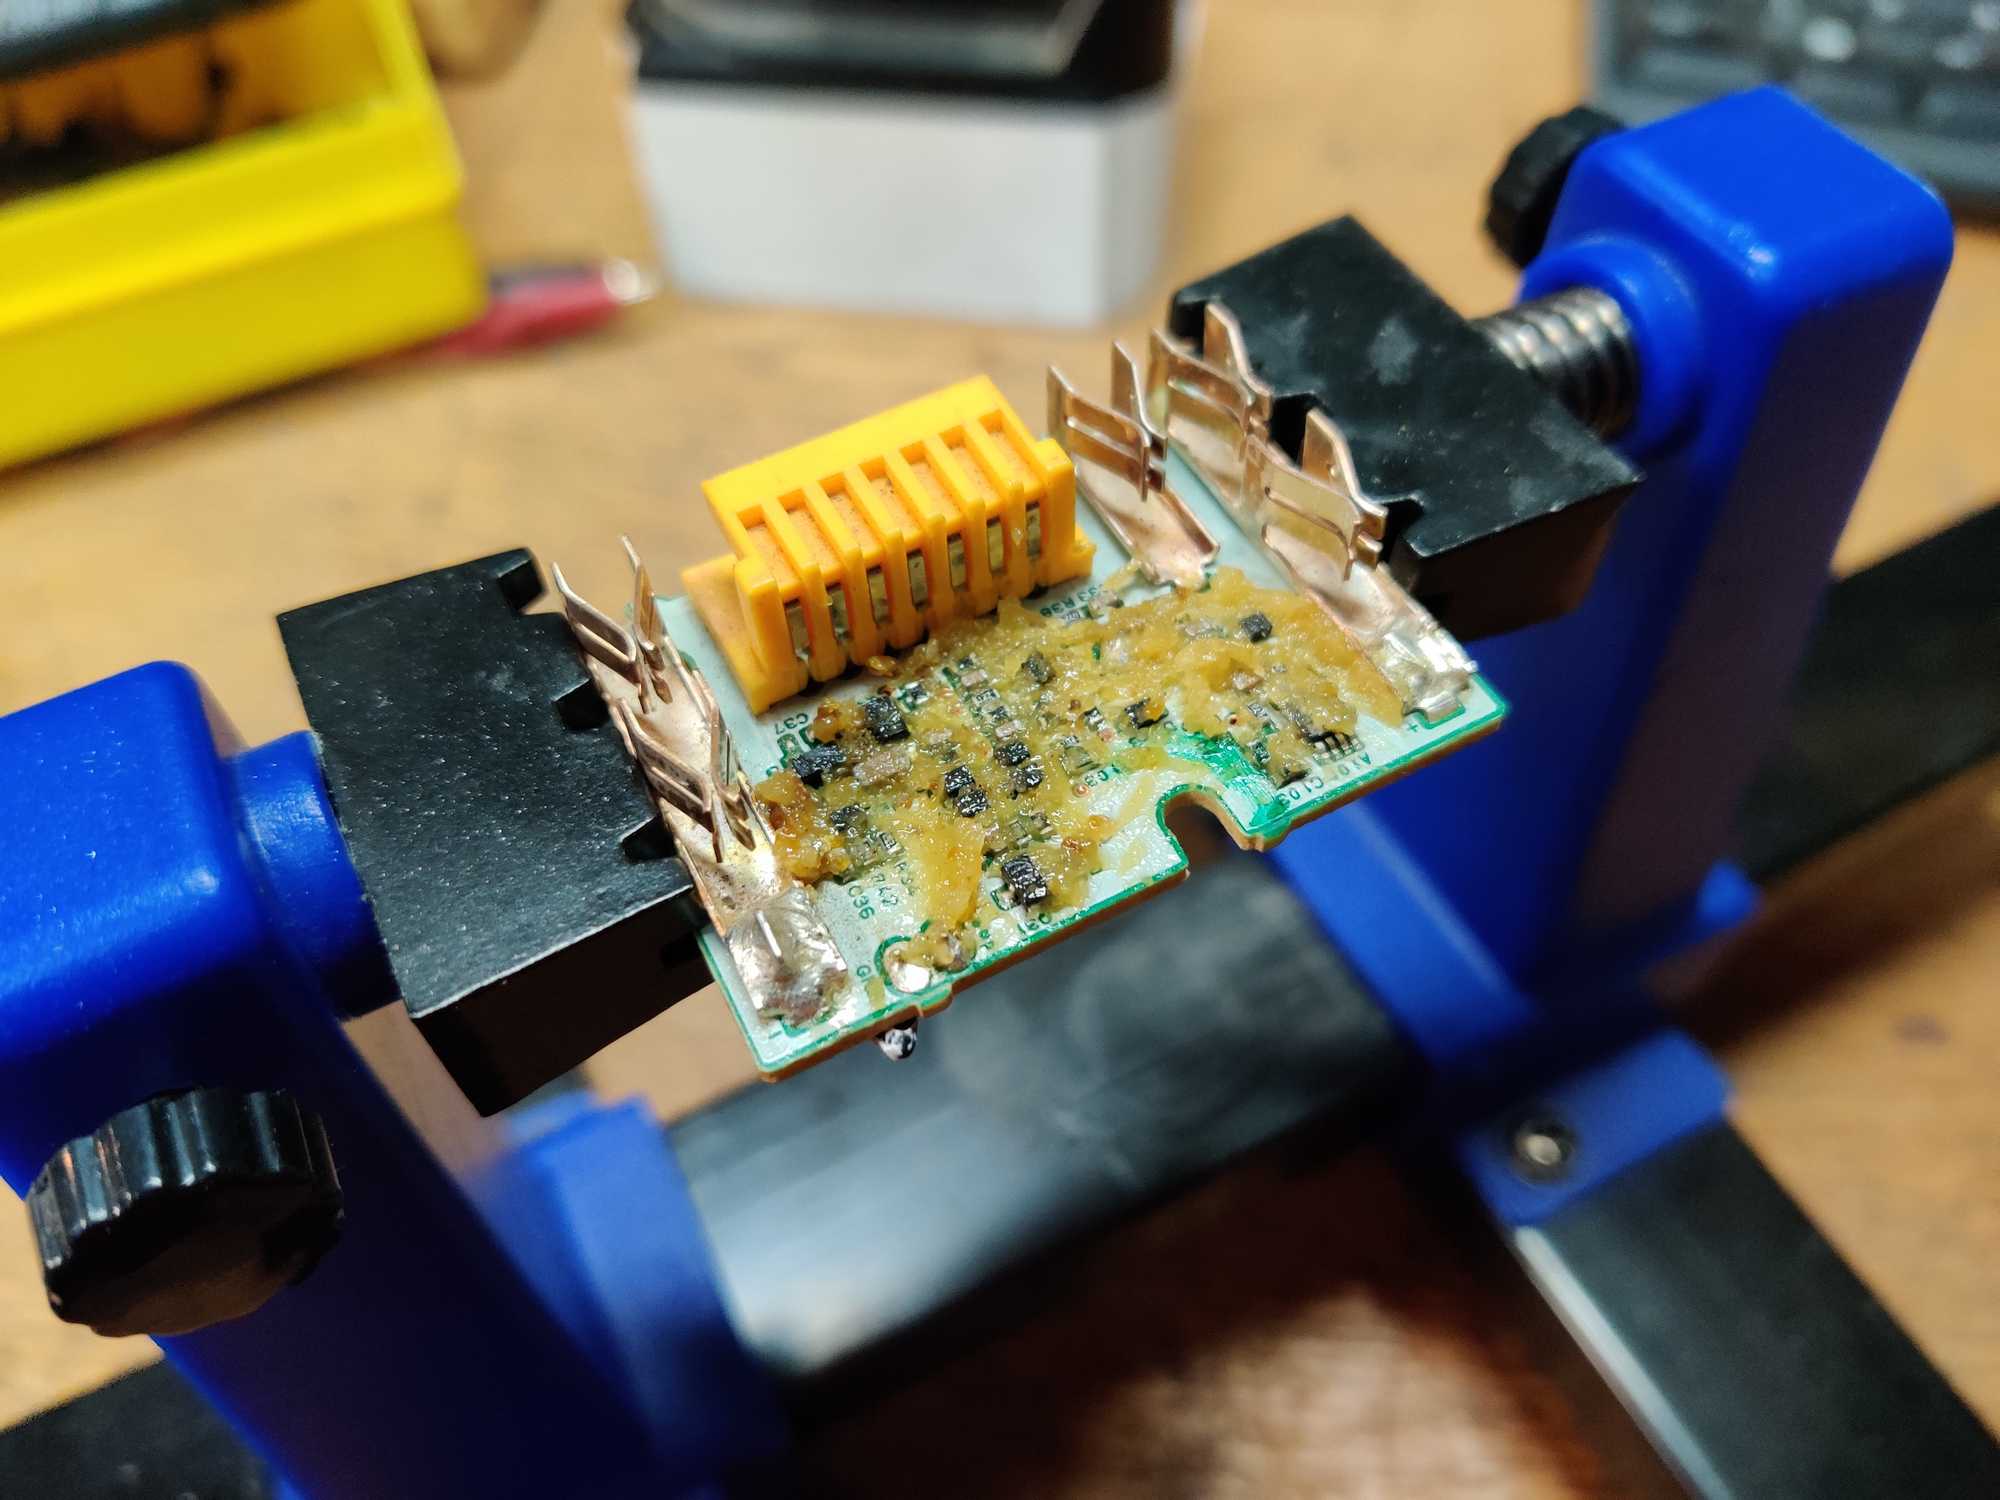
Also, since I won’t be needing the control board, I decided to remove all of the components from it (by applying soldering paste and blowing on it with hot air until everything comes lose and then simply brushing everything off) in case it decides to wake up and ignite or self-destruct in some other (hopefully spectacular) way.
And if you want to expand the 18v battery you can 3D print a spacer so the whole thing could hold even more cells:


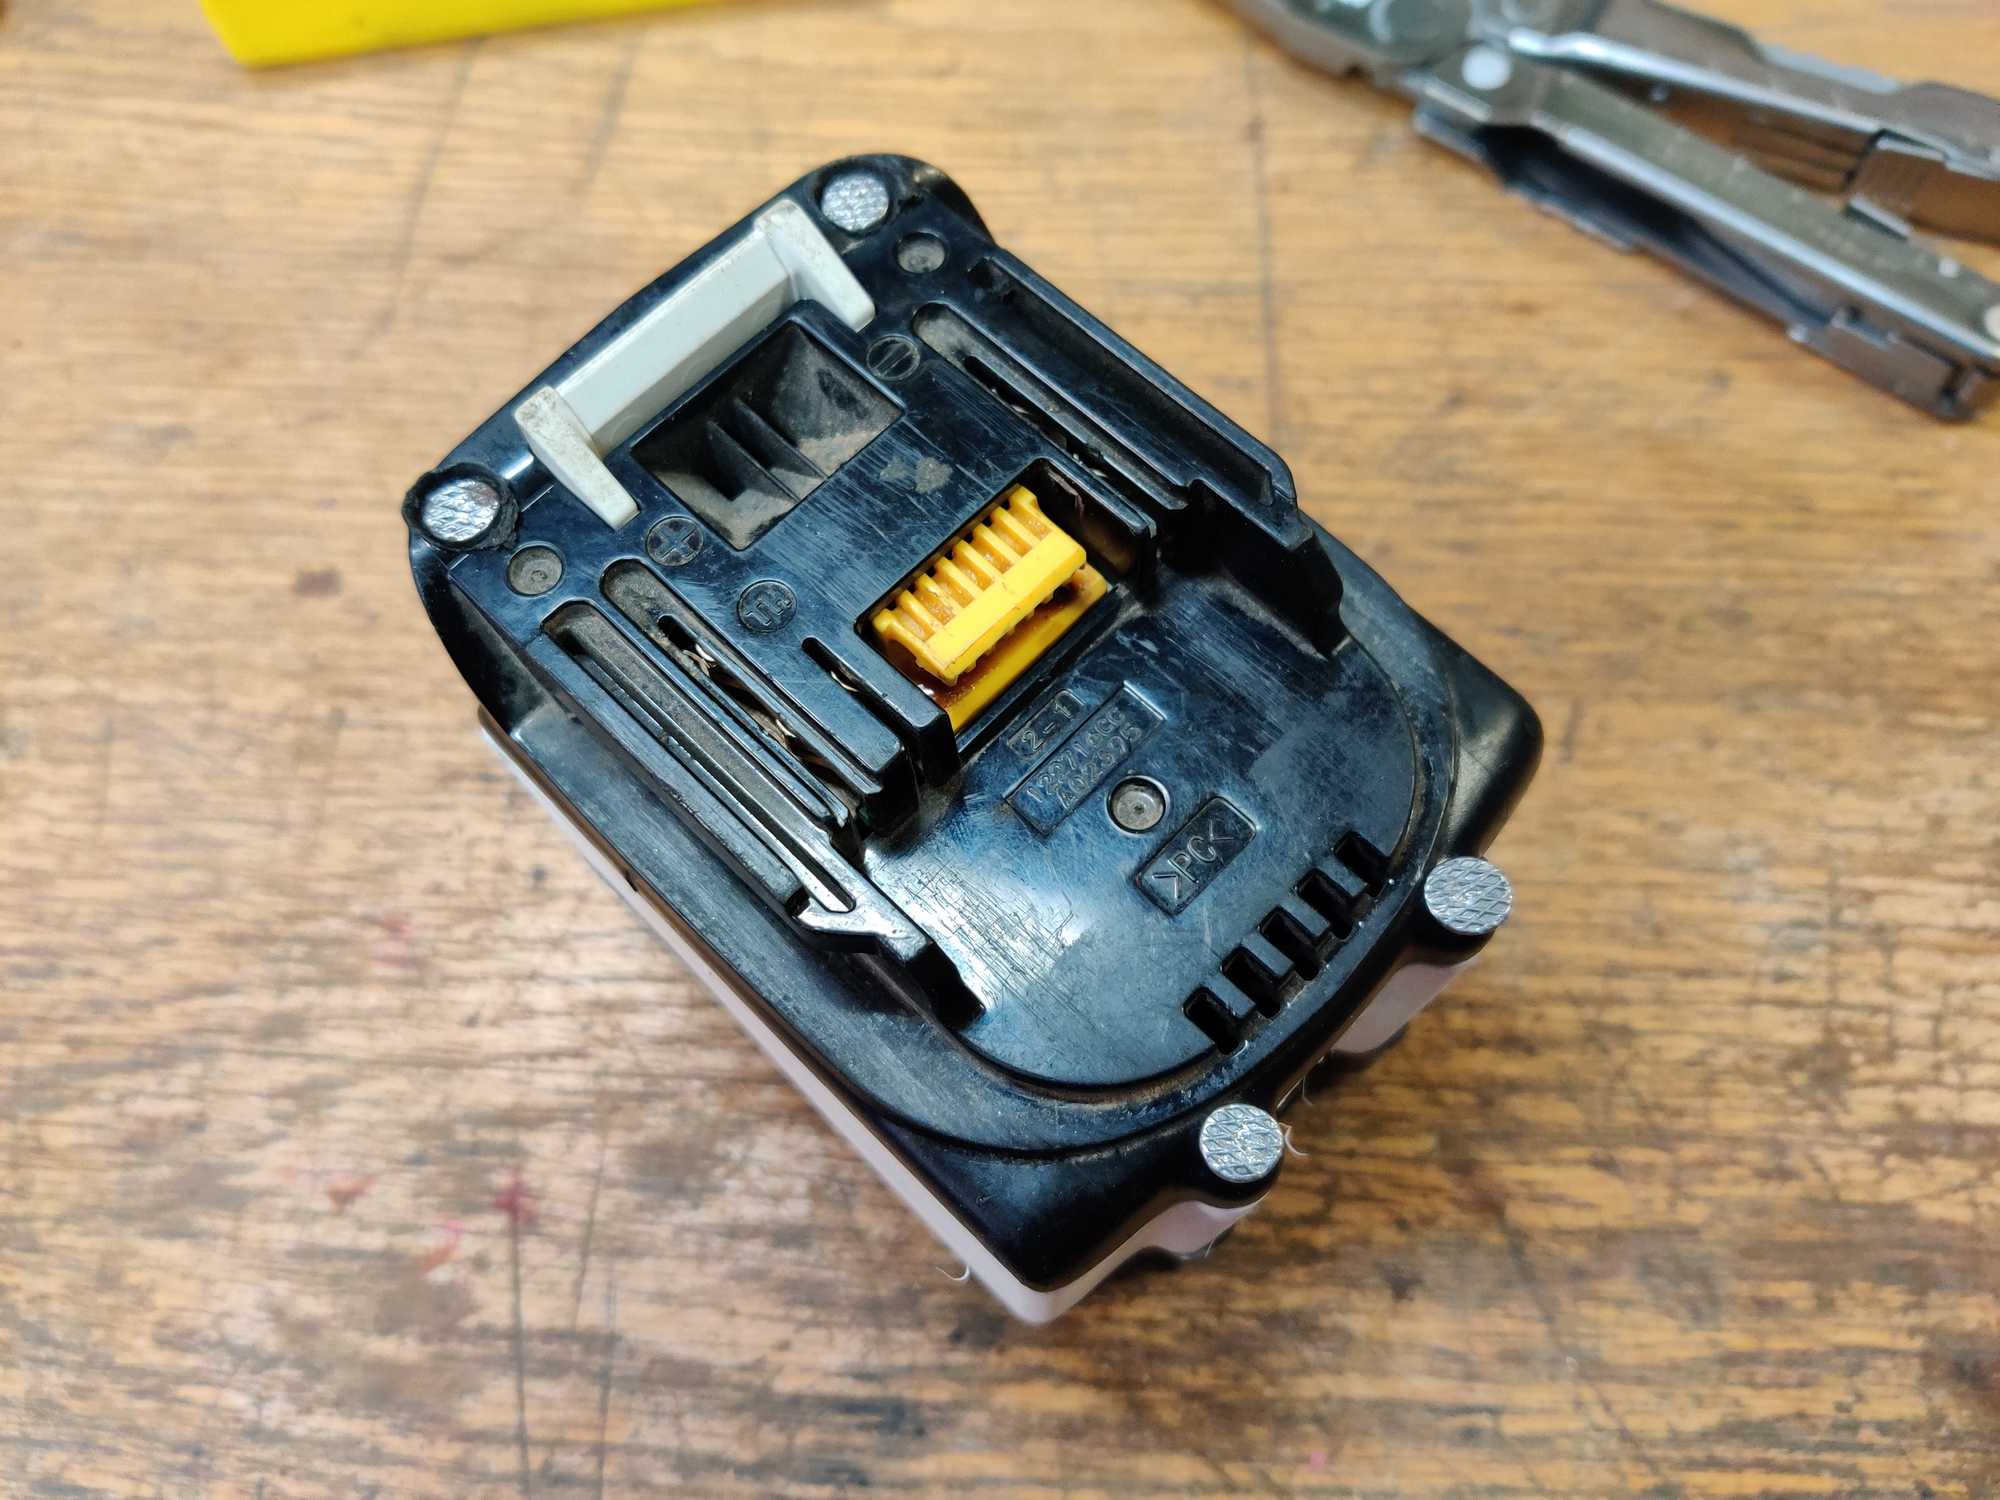
A bit different story is with the 14v 1.3Ah batteries. When I opened it up, I saw that there are 4 cells in there and that Makita doesn’t even bother balancing them, even though the control module was present.
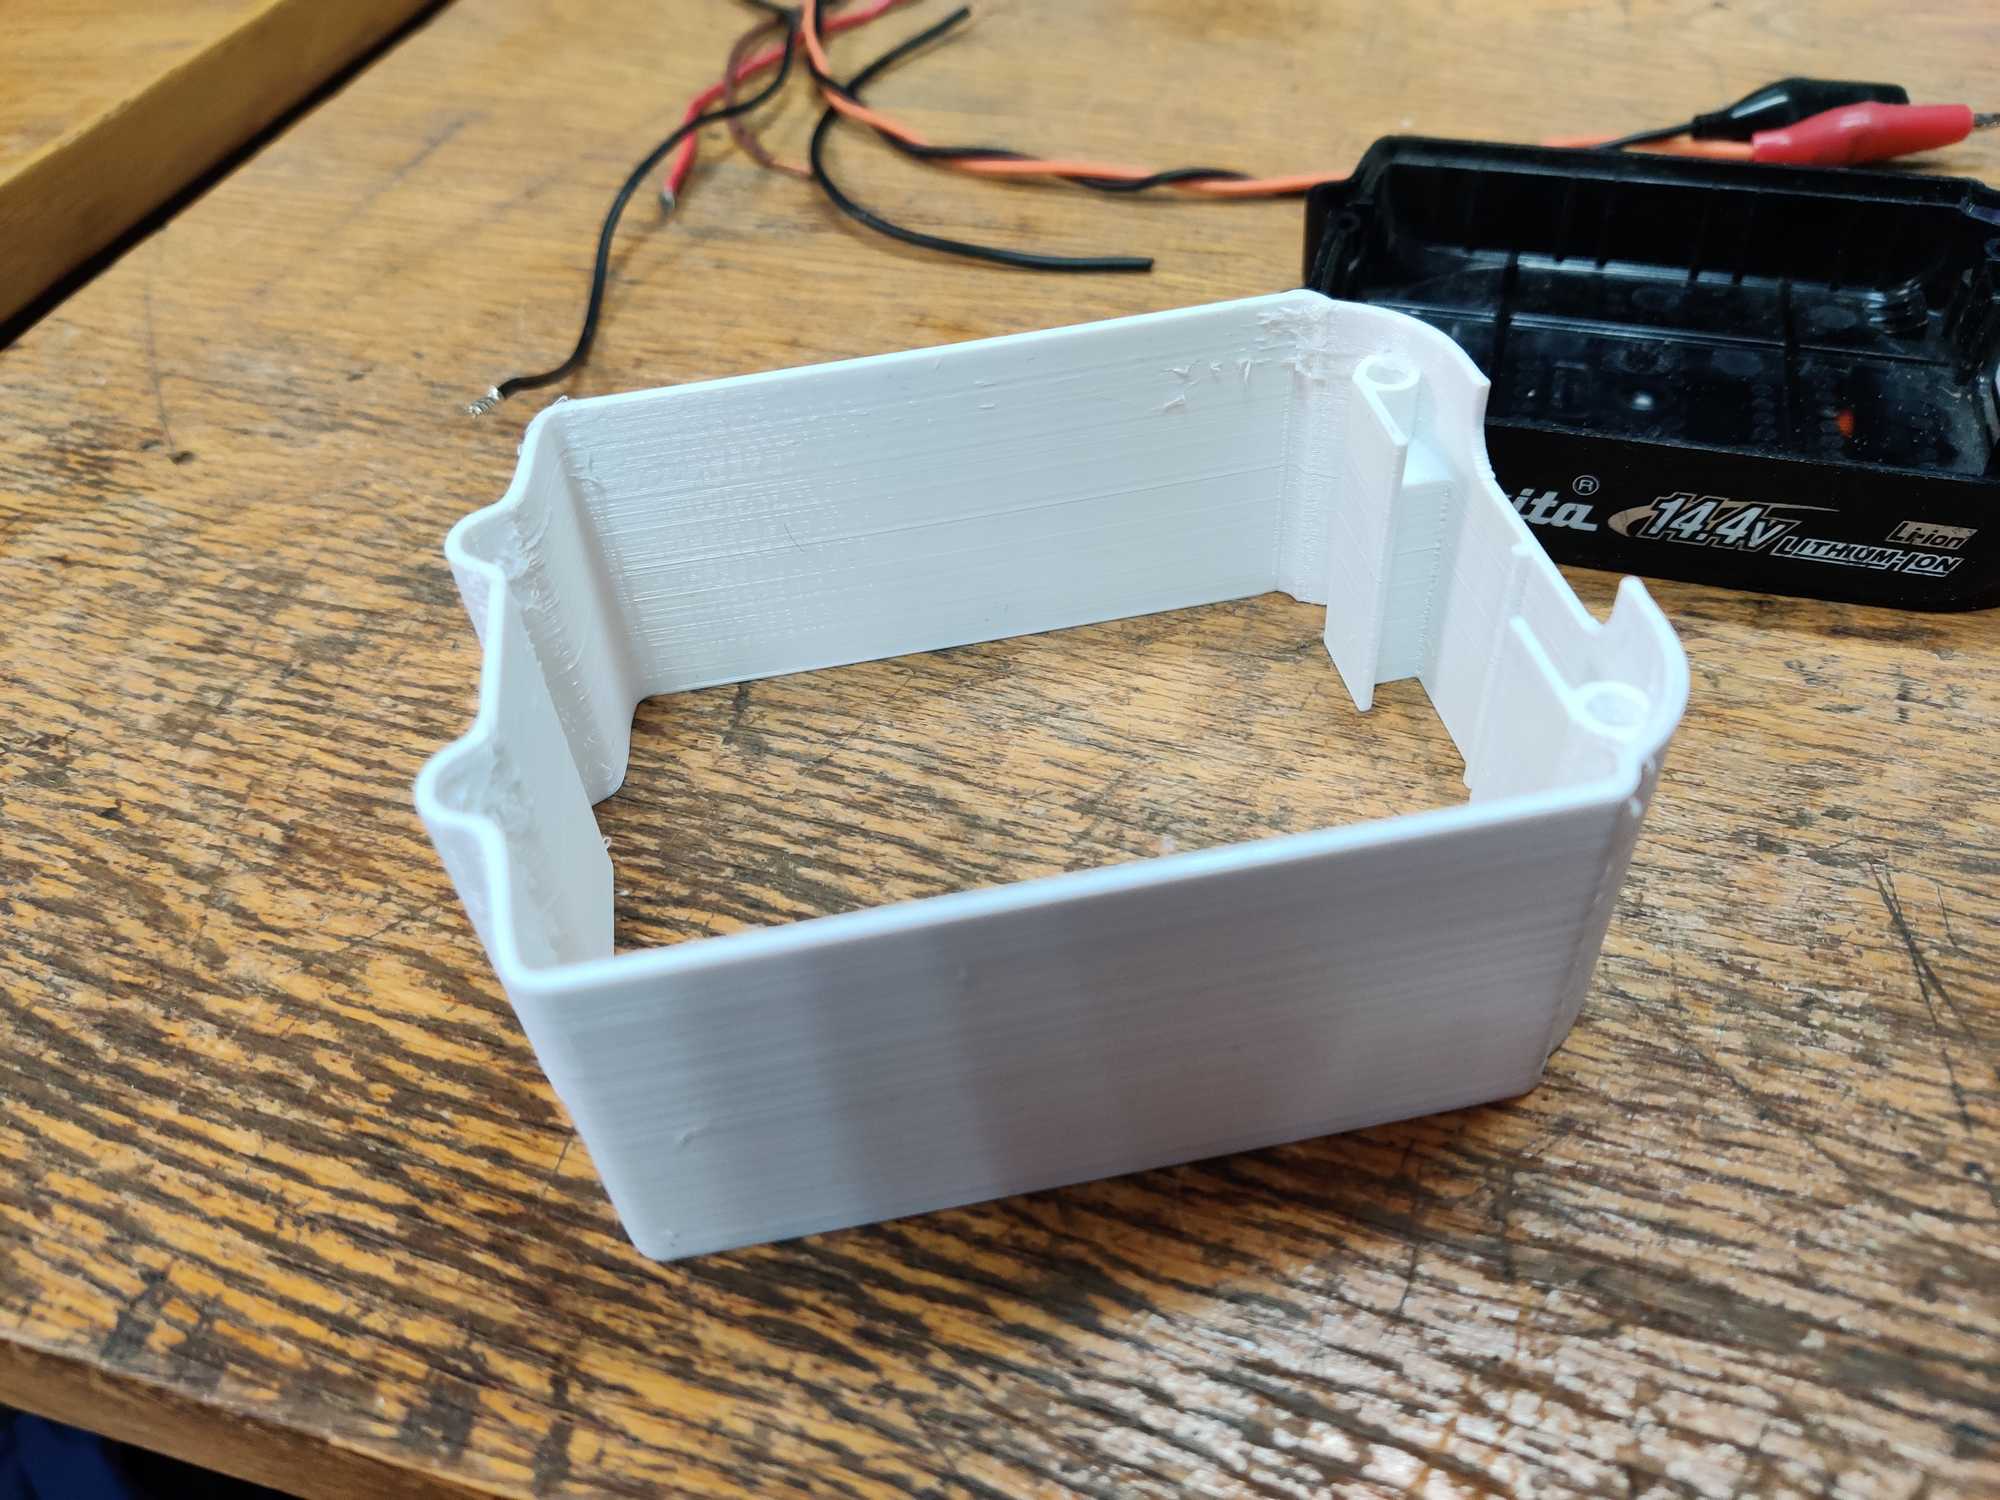
Along with a BMS you can only fit three of them and that is not powerful enough even for minimal work. To expand the capacity I needed a spacer (the middle part between top and bottom). I was hoping I could find it already done on Thingiverse or somewhere else but nope. So I had to make my own and 3D print it.
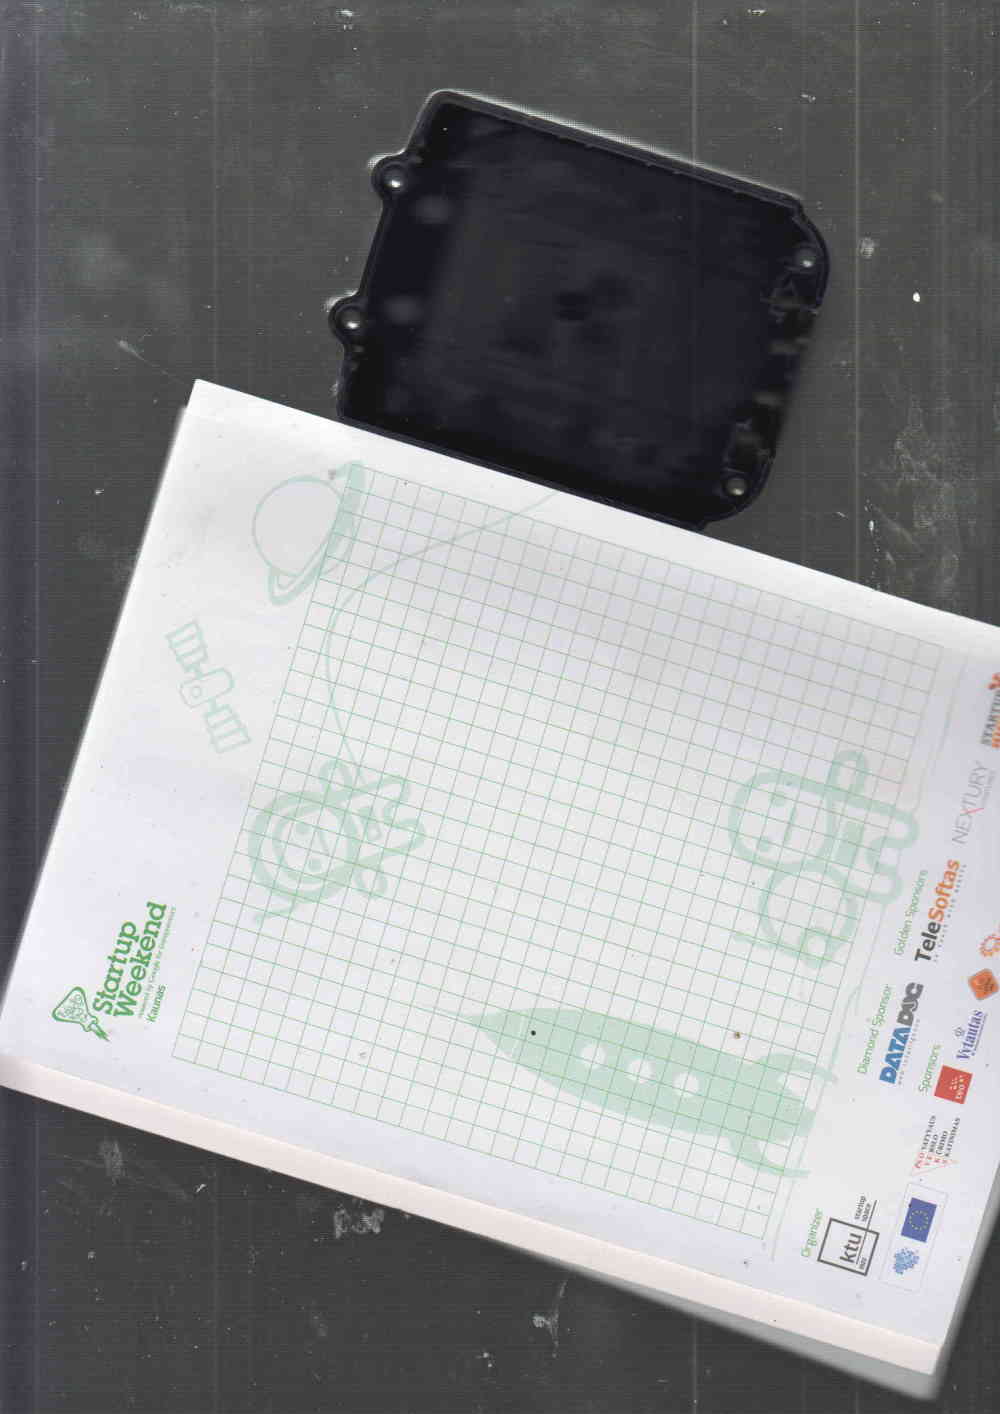
By scanning the bottom part along with a size reference sheet I was able to make it in OnShape which you can get from here and clone it into your workspace to change.
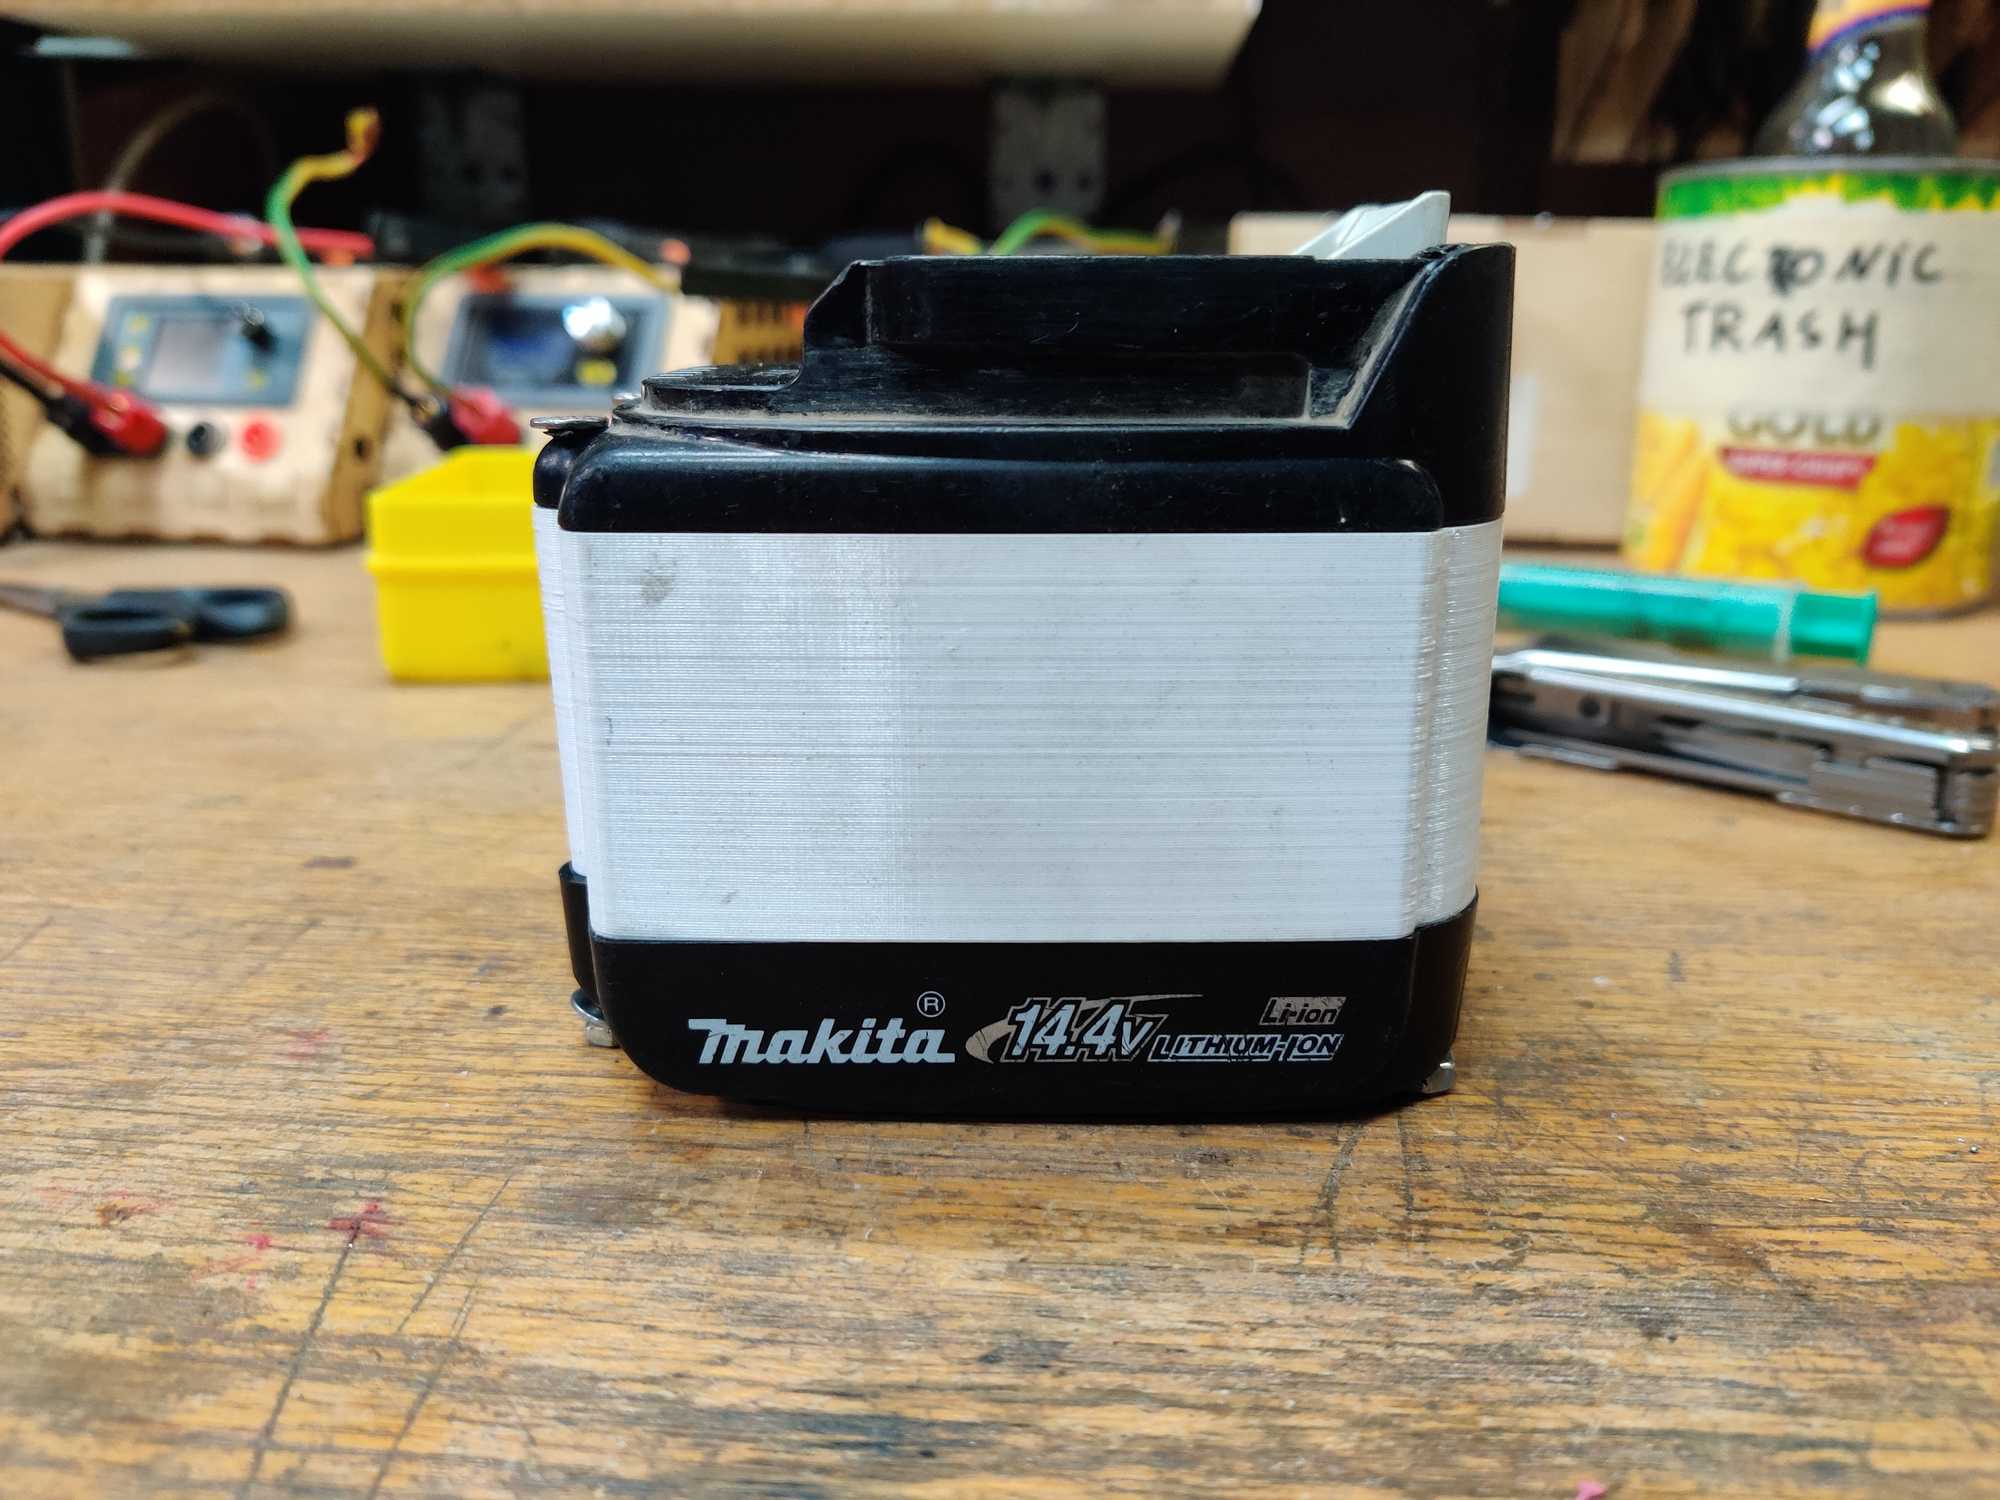
And then by printing out a 40mm spacer I was able to fit 9 cells instead of 3.

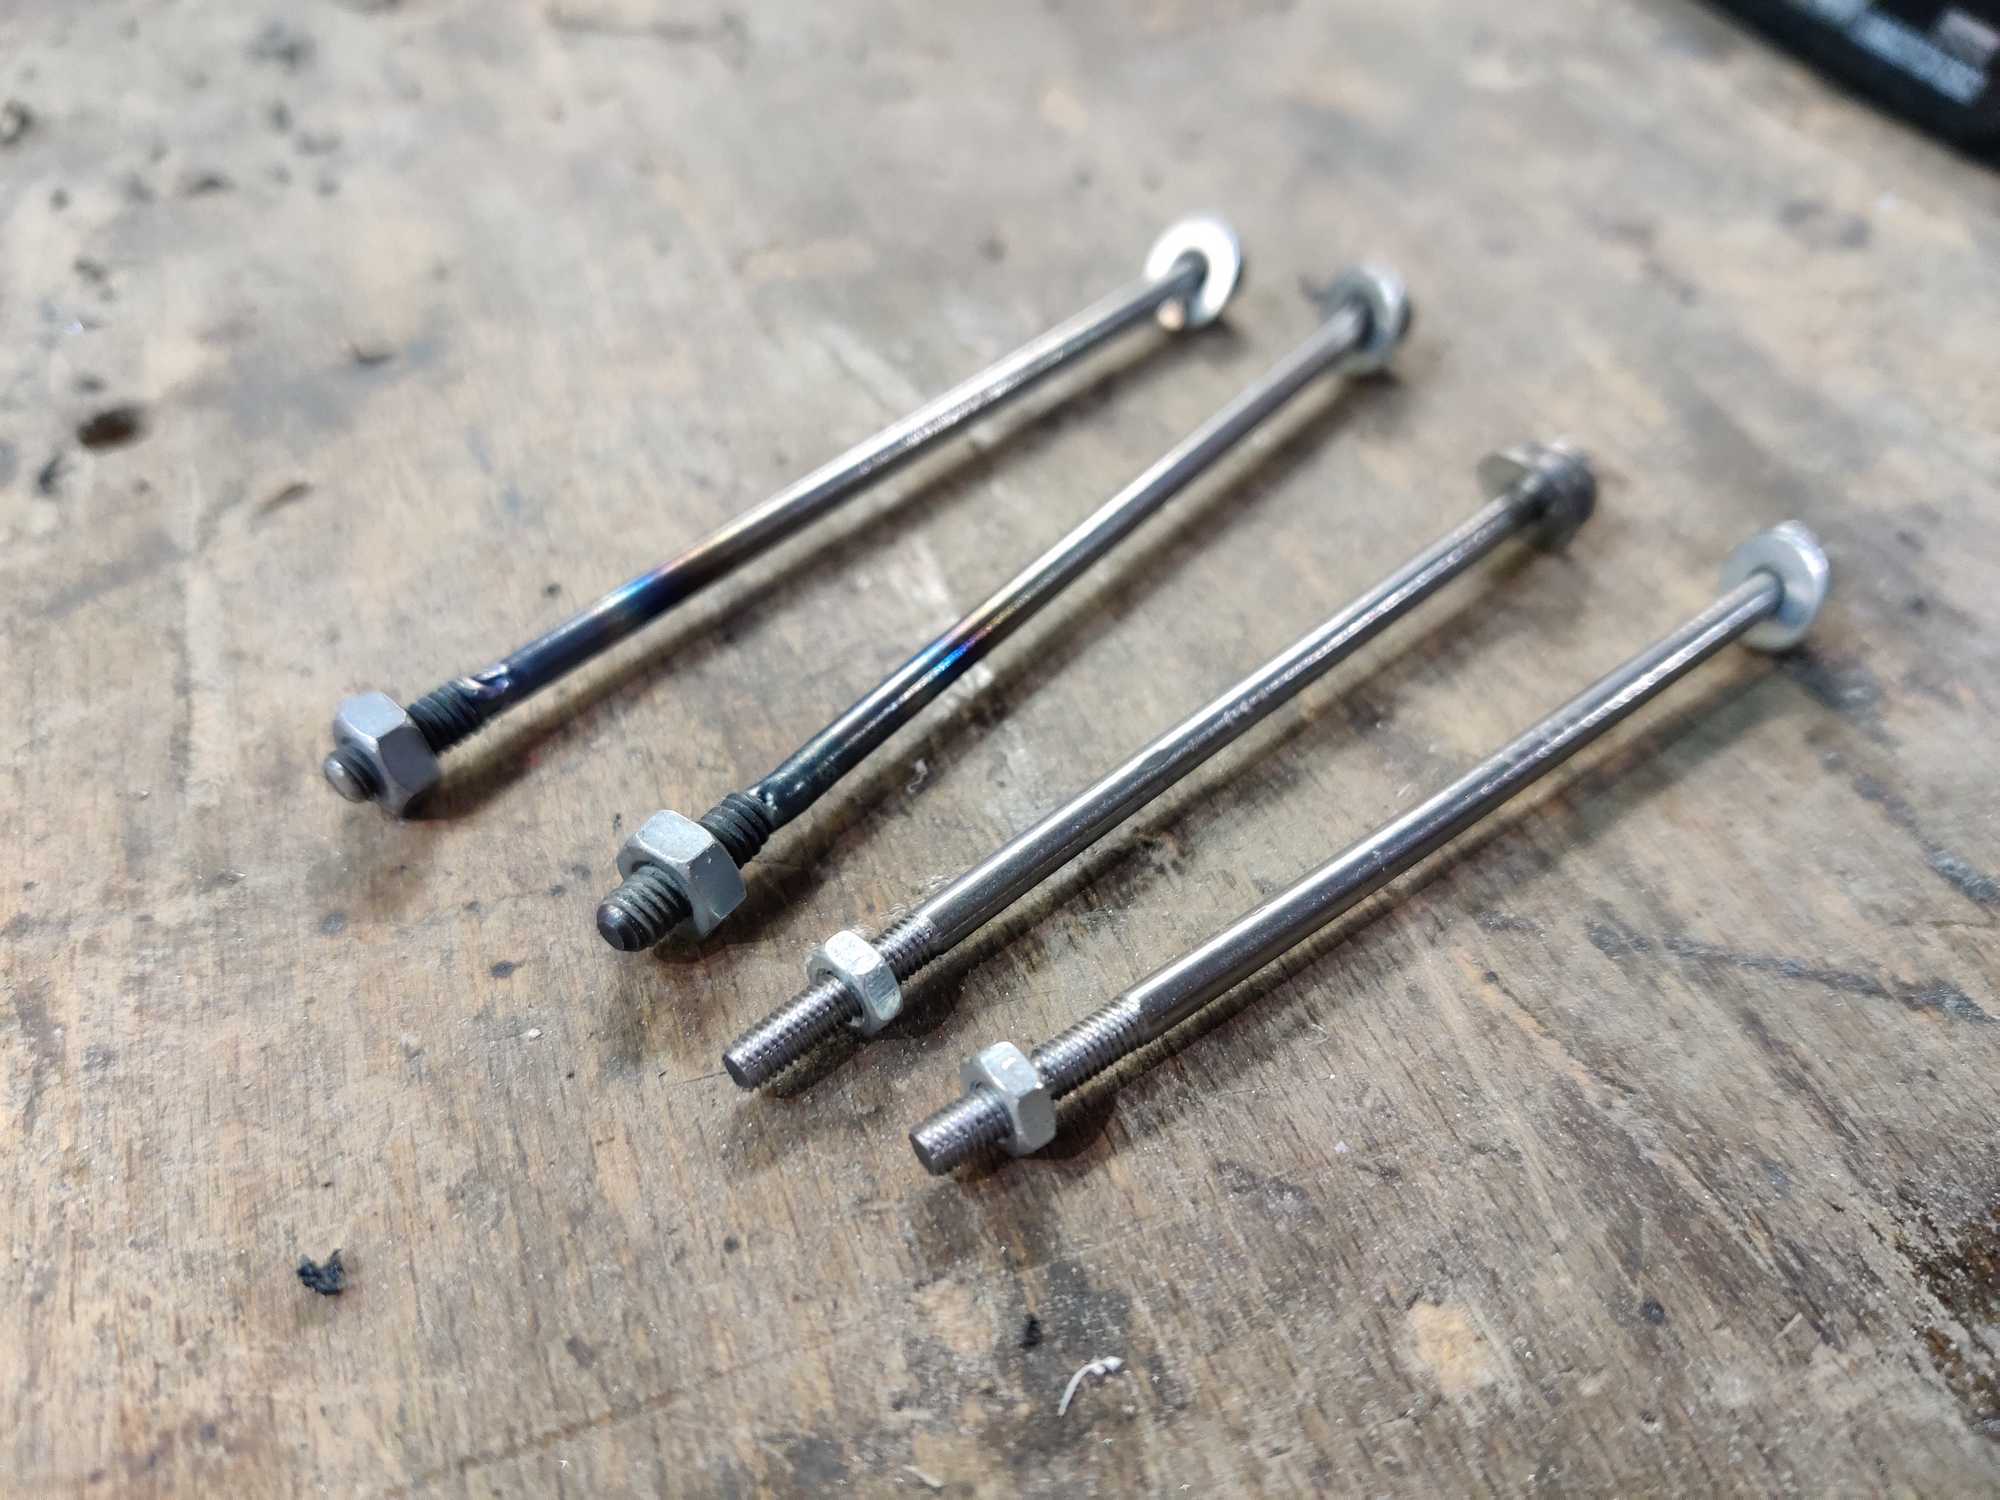
But now I needed much longer screws to hold all of it together and I didn’t have any of needed size, so I made them from nails. Two nails using TIG were welded to a piece of M4 threaded rod (after removing zinc with sulfuric acid!) and two more only needed to be threaded for M3 bolts.
Of course holes on the battery case had to be enlarged as well for new “nail-screws” to fit.
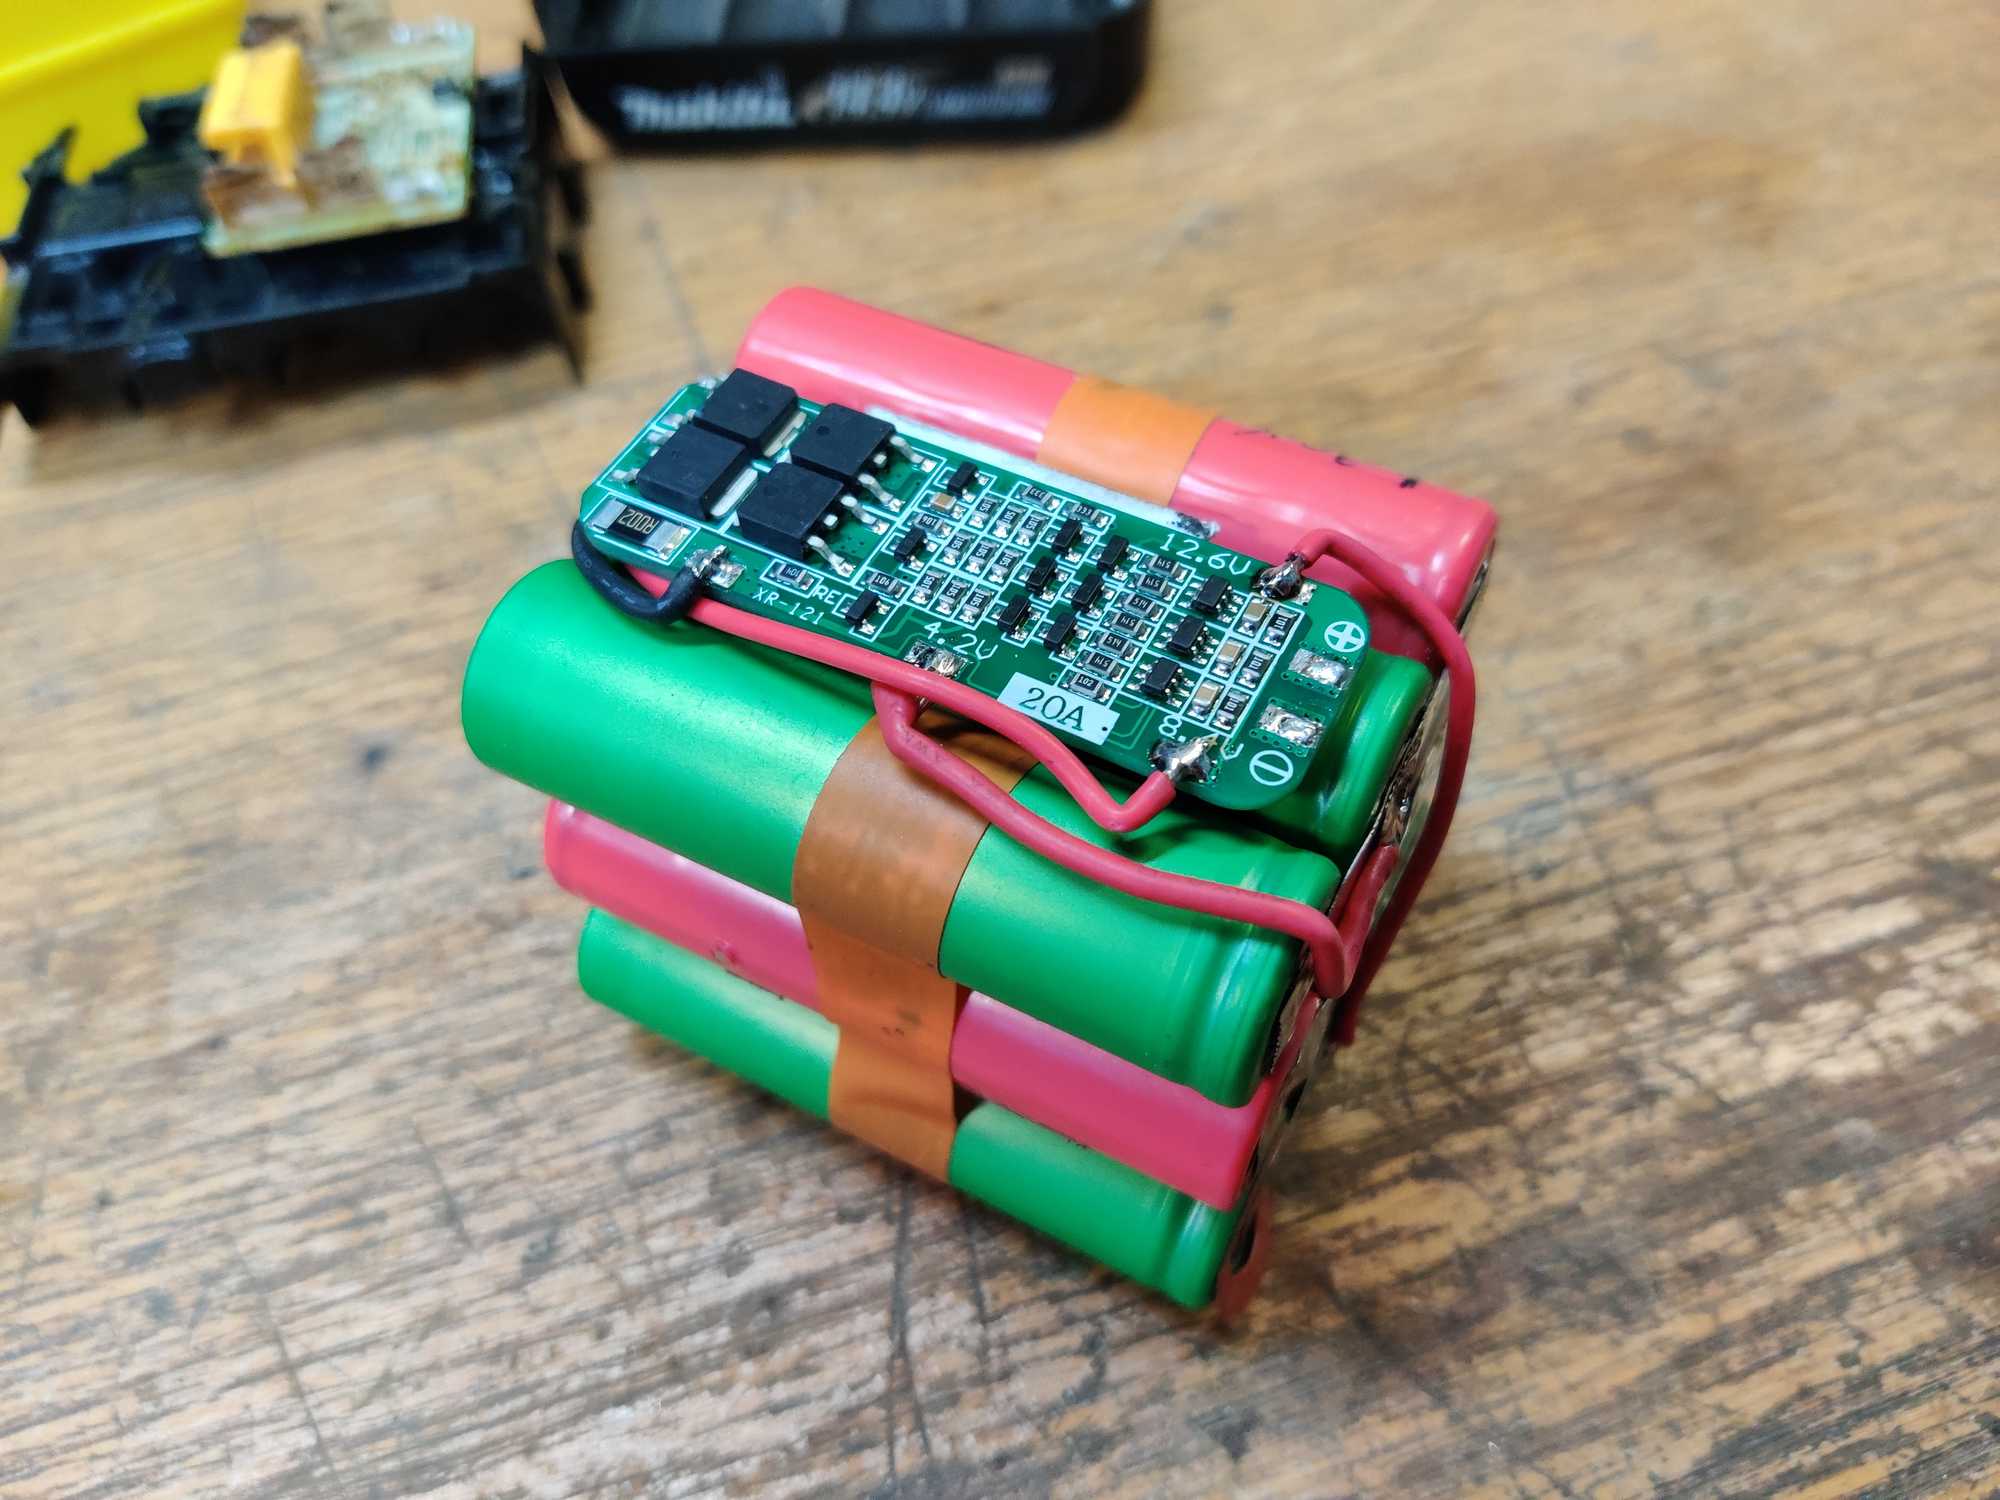
Battery block was assembled like any other I made for Meec drills.

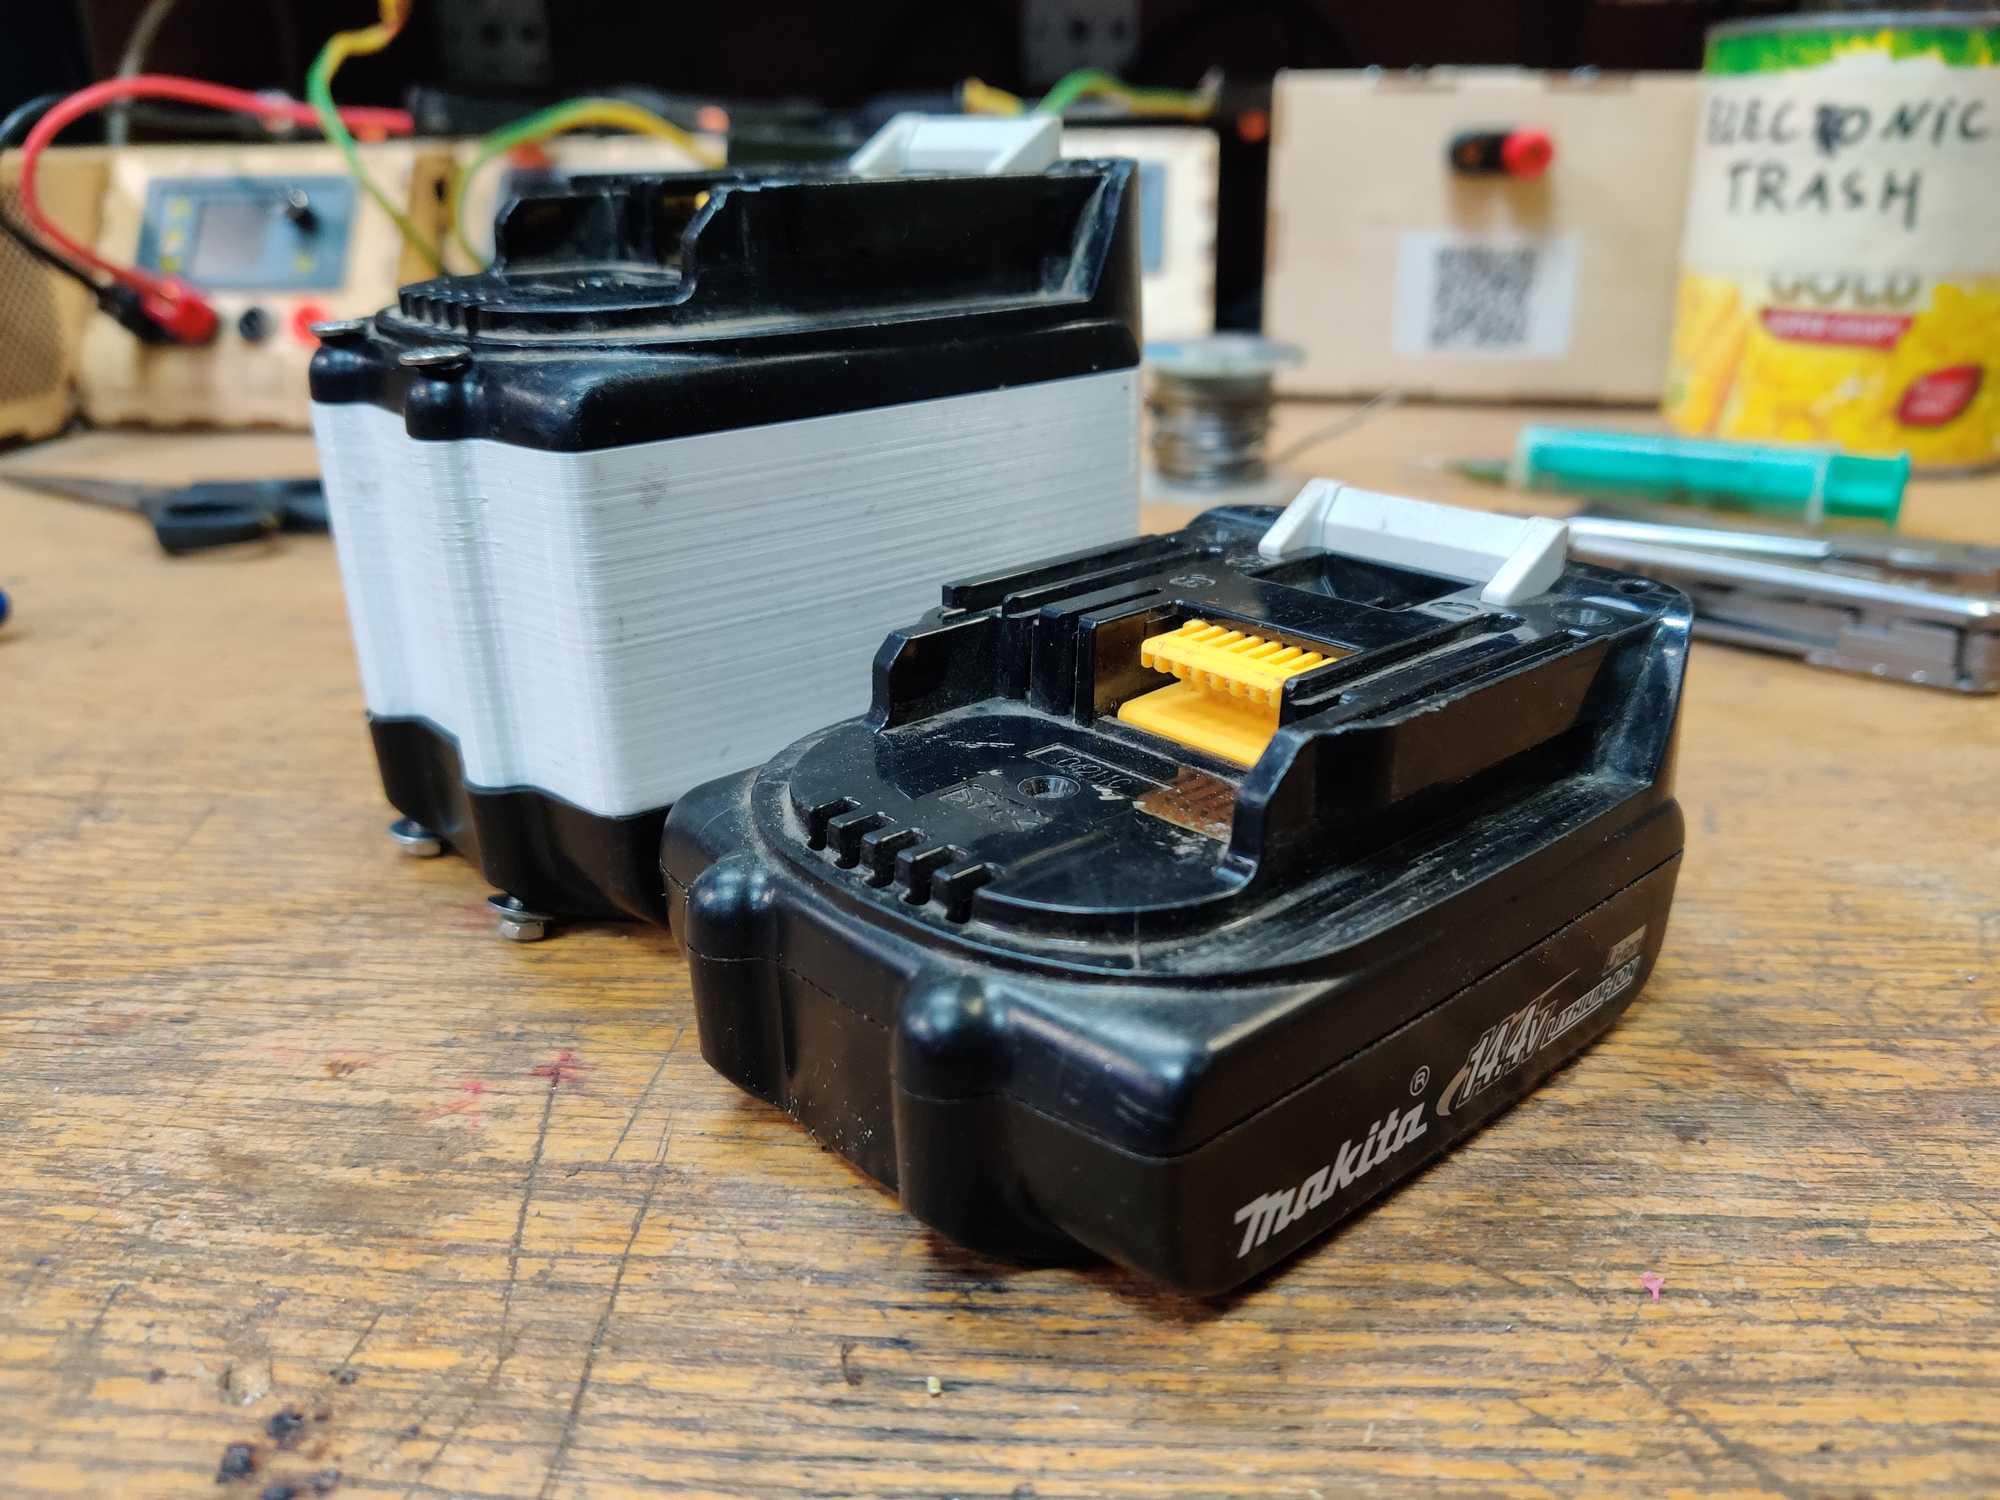
And here’s how it looks like when it’s assembled and compared to a real 14v battery.