
At a local makerspace that I visit so often very long time ago was decided to upgrade current soldering stations. The ones that we have are old, expensive to buy iron tips or just not very friendly to use. The upgrade project was started years ago, even before I came to this place, but as it happens with some projects – it was done up to about 95% and then put away for one reason or the other. Recently I was introduced to this project with hopes to help finish it already…
These soldering station kits are quite popular it seems, you can find loads of articles and videos about them, but no consistent documentation since they are Chinese clones and there exists MANY of them.
The ones that we bough are labeled “Mini STC T12”. Others might be labeled differently but all of them are similar if not the same. Though some versions have an OLED display. They can be easily bough on AliExpress with or without a case, or even assembled already.
I agreed to help and here we are. What needed to be done to finish this was to adjust a 3D model from previous attempts, laser-cut the case for it, assemble electronics and put everything together. In total we needed to make three stations.
When I started gathering information about these stations I saw that they are very nice indeed. Very lightweight and ergonomic, heats up super fast, has a tilt switch to detect movement of the soldering iron, has many options to configure it (though you most likely won’t be adjusting anything).
There were attempts at building a different kind of station, but ultimately these kits were used instead. A 3D model was made in OnShape by other members, it can be found here which you can clone it for yourself and make changes.
First the model was adjusted and laser-cut, then glued together.

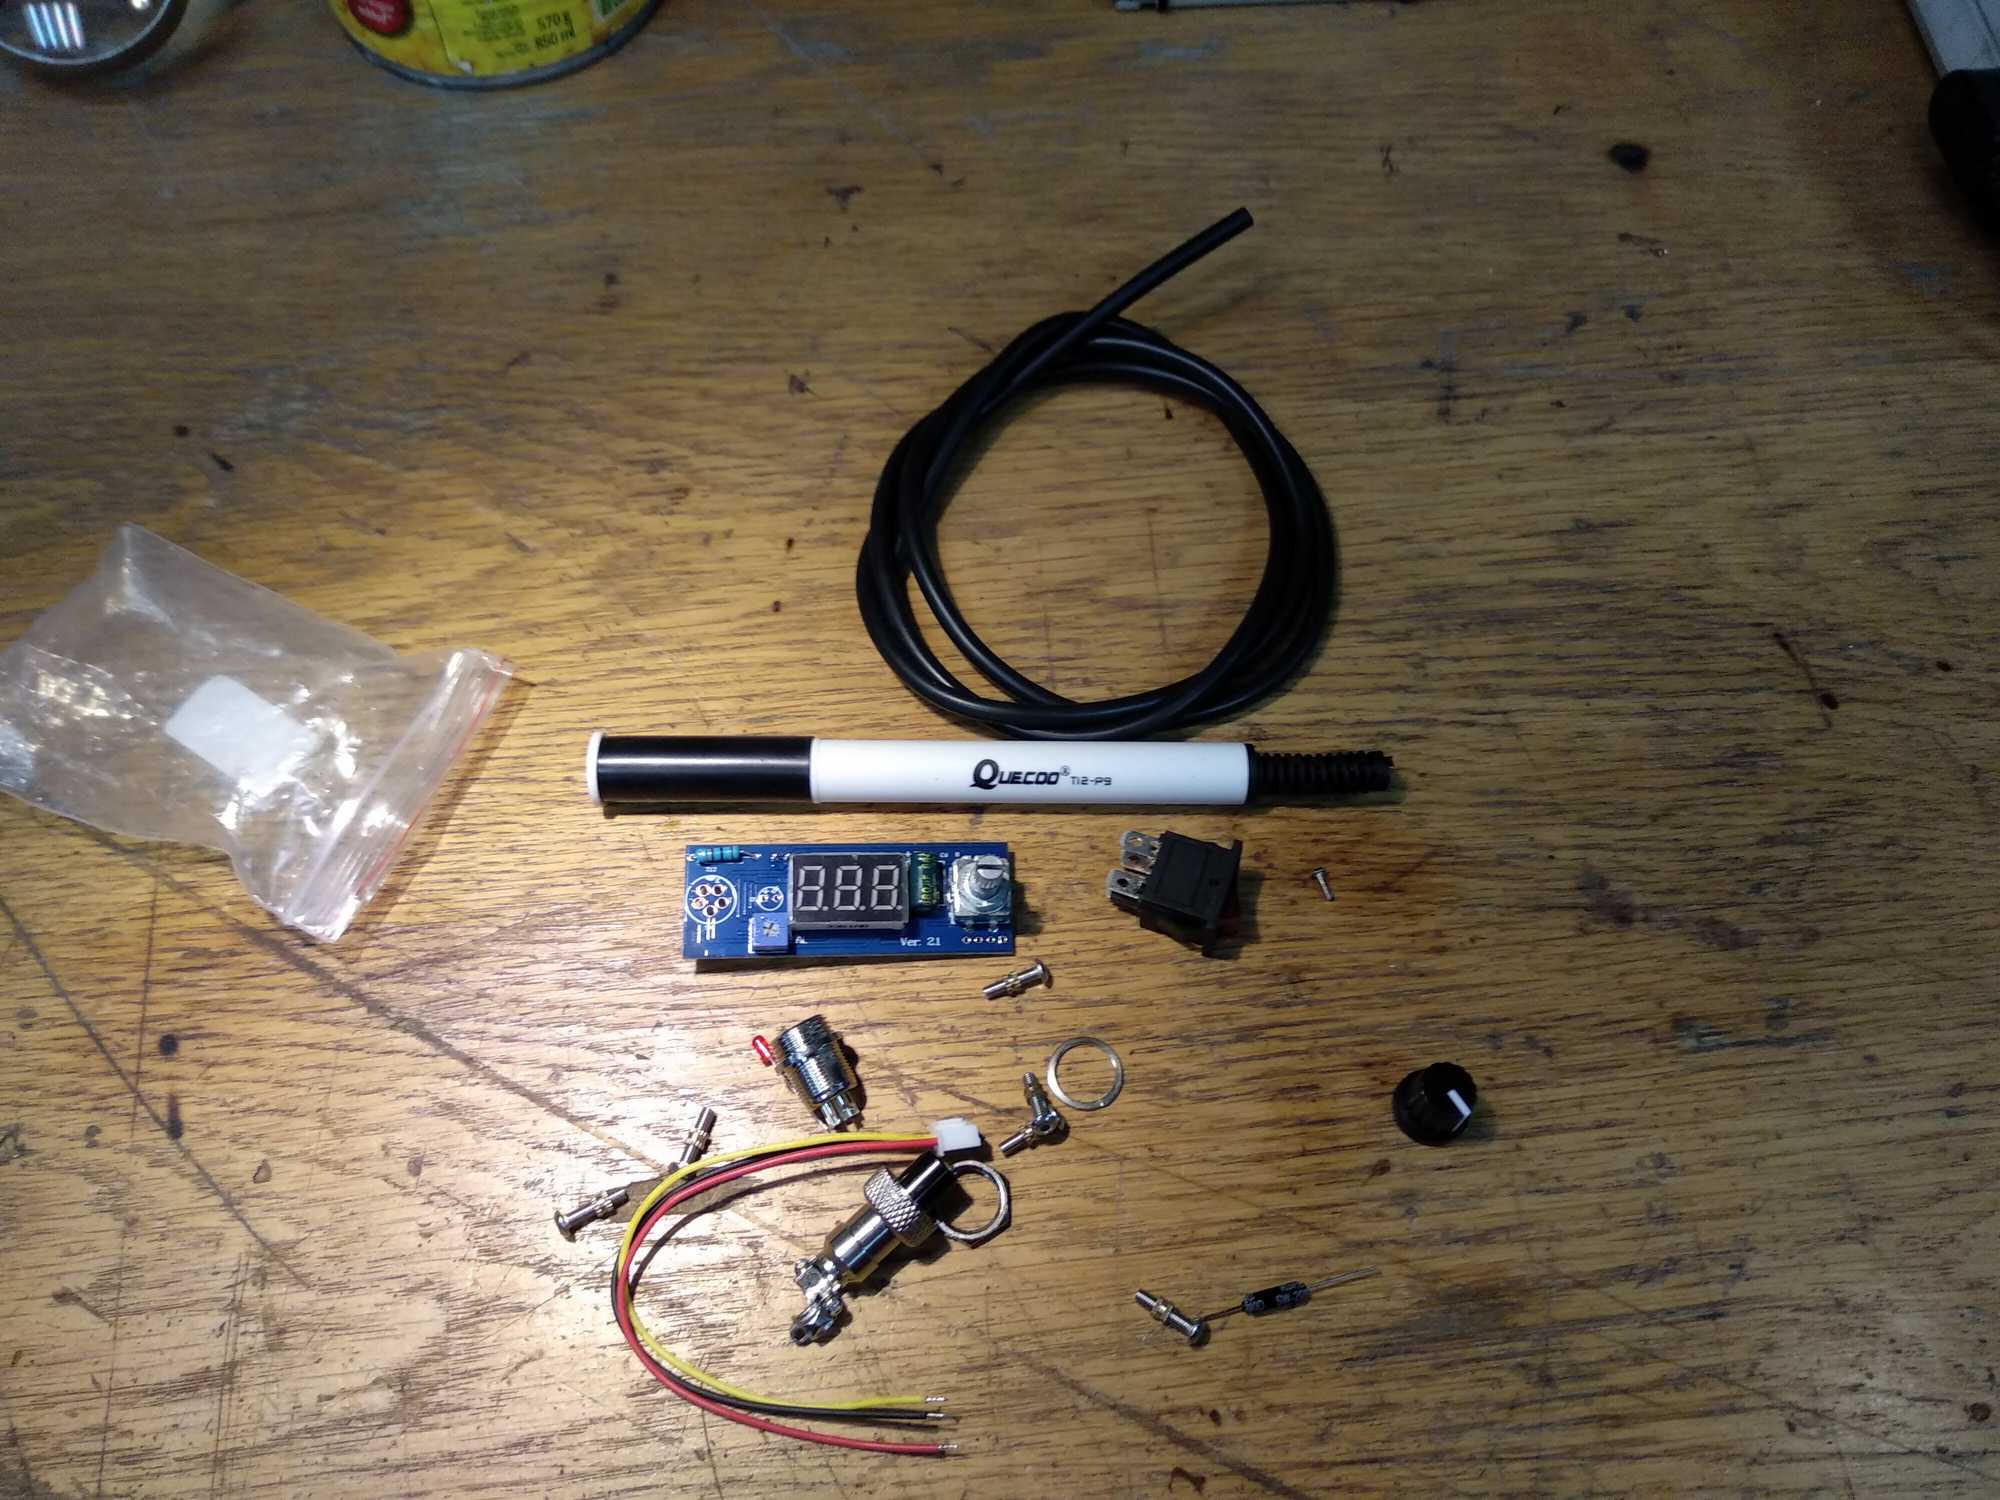
After that I assembled the electronics. For a PSU I used laptop chargers of 19v and about 3A-3.5A.
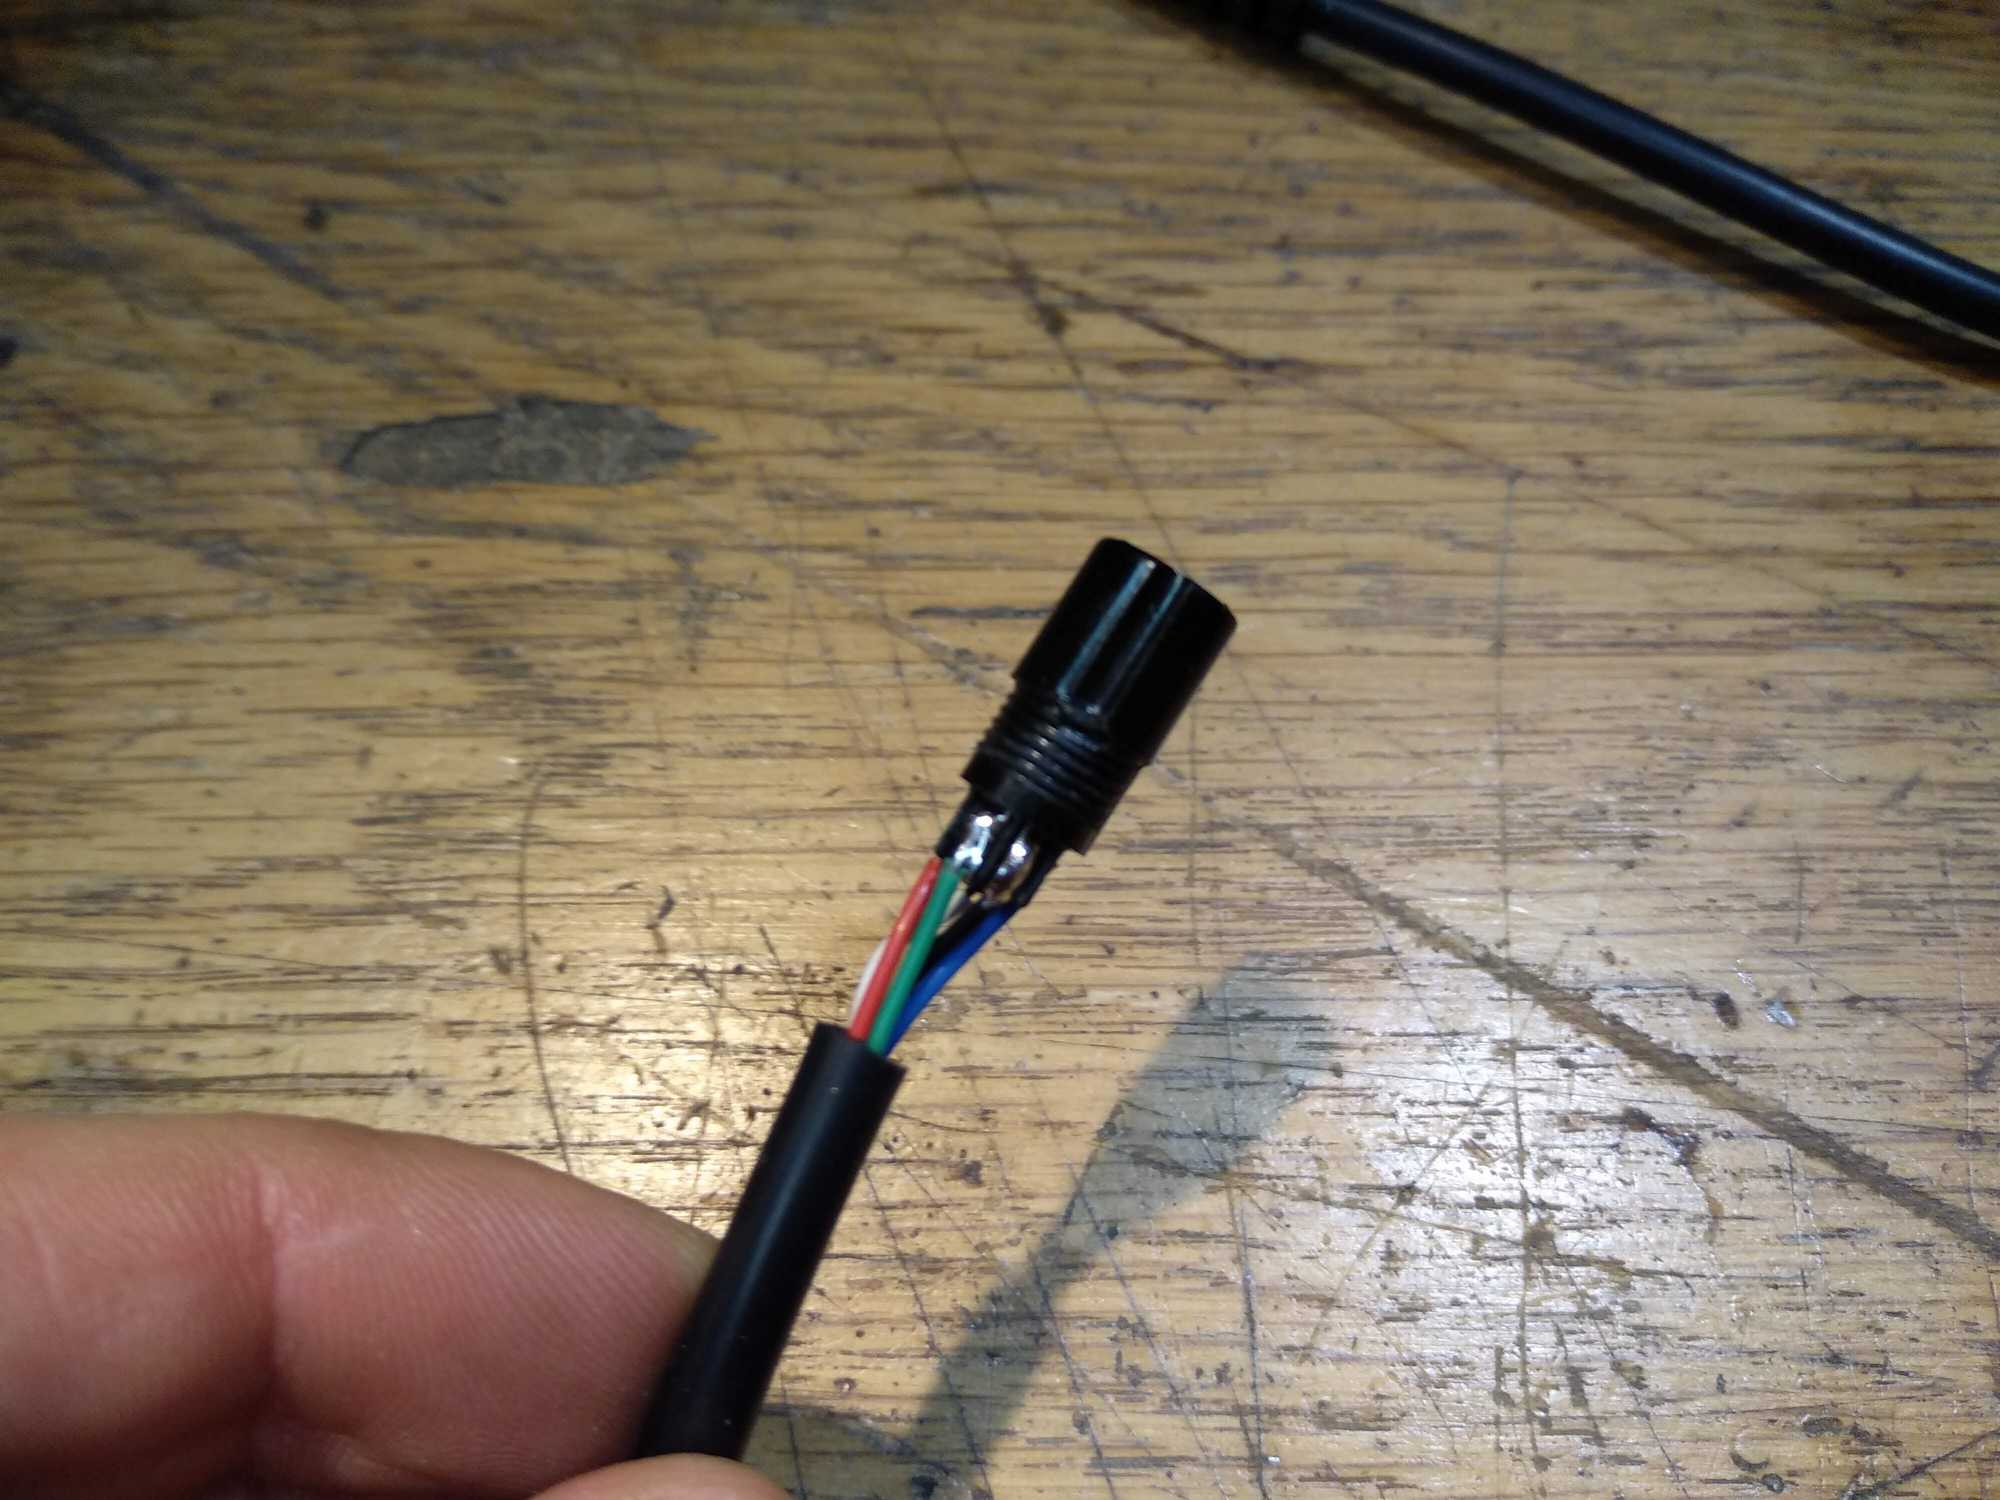
There are lots of information on how to connect the wires, but not all of the instructions are the same. I followed this video and the image below to correctly connect everything. In my first attempt the tilt switch information wouldn’t get through.
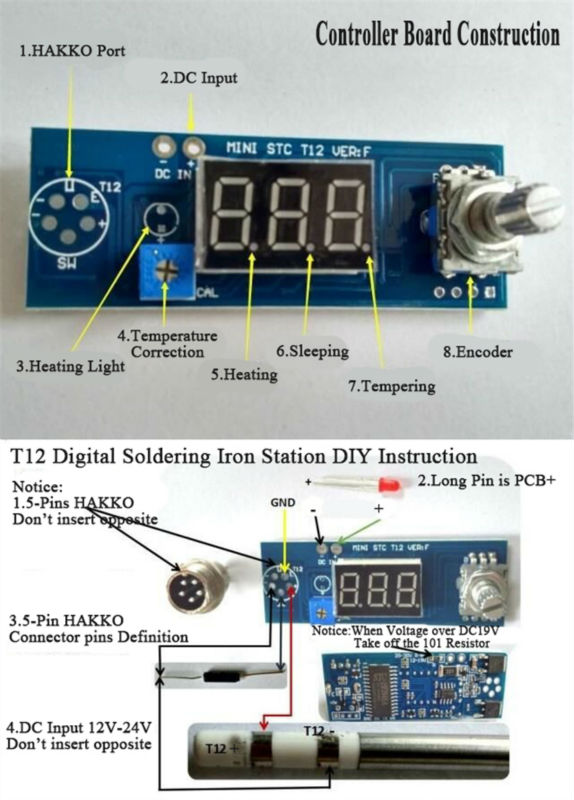


If you have connected everything right and it still doesn’t heat up, make sure that none of the contacts on the end that plugs into the station are touching the outside and making a short – it has to be isolated.
Because the handle has a tilt switch, the soldering iron knows when you’re not working and after two minutes (default, can be changed in settings) it lowers the temperature to 200C. After you pick it up, it starts to heat up immediately to your set temperature and takes about 5-6 seconds to get to 400C. If you don’t move the handle for about 10 minutes, then the temperature drops to 0 and won’t start heating up again when you pick it up, so you’ll have to turn the temperature dial. This can probably be turned off in the settings if you like.
After electronics was assembled, the unit needs to be calibrated. To do that you’ll need an external thermometer. I used a multimeter with a thermocoupler by inserting the thermocouplers into solder and turning the blue calibration component until the measured temperature matched what was shown on the screen.
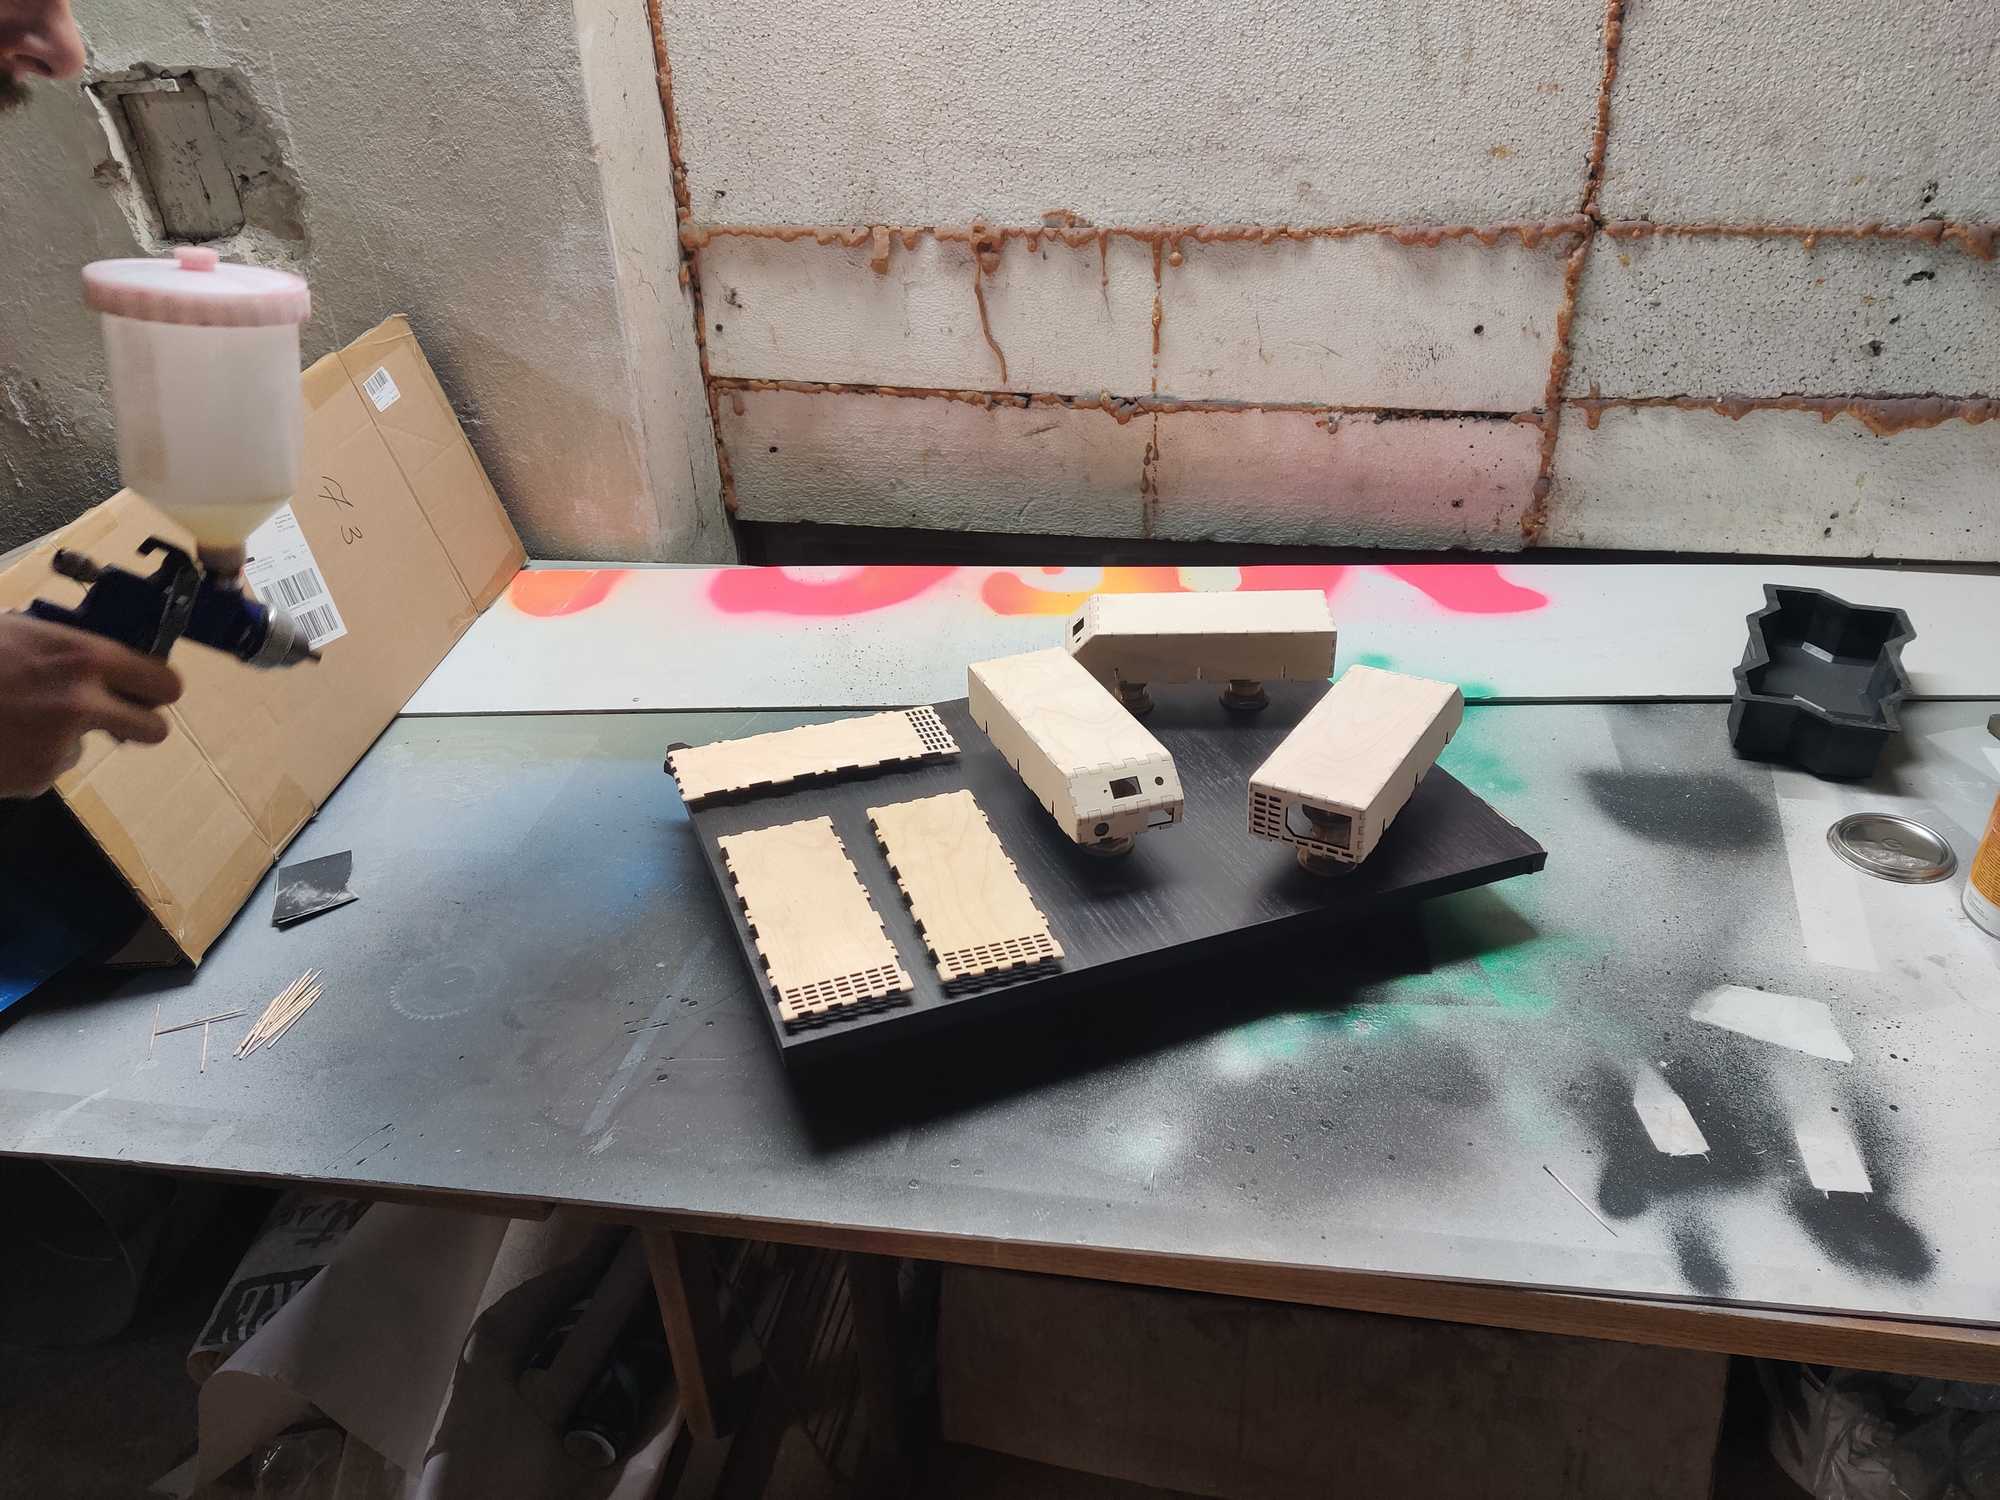
Now the electronics are fully working, time to finish the case. It needed to be sanded down and sprayed with varnish so that it would become resistant to dirt and scratches. We used Rilak Nitro Varnish (Matte) which is very quick drying.
First the cases were sanded down with rough grit sandpaper, sprayed a thick first layer of varnish on it and let it dry for an hour. After about an hour it wasn’t sticky anymore, so we took some fine grit sandpaper and smoothed down the cases by brushing very gently and after that we sprayed a second thinner layer. And if done right the result is a very smooth and clear surface that doesn’t stain easily.


On the top we added a holder made out of a spring.
Finally we can assemble all the stations and here’s how they look like:
