
Somehow I can never get bored of retrofitting old radios. Maybe it’s related to the fact that I love music? probably. So this is another (simple) project about that and this time it’s a different kind of radio.
It’s different in a sense that it was part of a subscriber radio.
Back in the old days in Soviet Union there existed a thing called subscriber radio. The antenna was installed on various buildings and worked on a high frequency (often 78 and 120 kHz). Its purpose was to receive just one main program and the main idea of it was that it’d be useful to inform the public in case of an emergency or war.
Installation in residential areas was done by running a separate cable alongside the power cable and the outlet was the same as power outlet only marked with a “Radio” sign… and so the listening device, or “aбонентское устройство” in Russian had the same electrical plug as any other 220v device but would fry if you plugged it into actual 220v socket… very “intuitive” design.
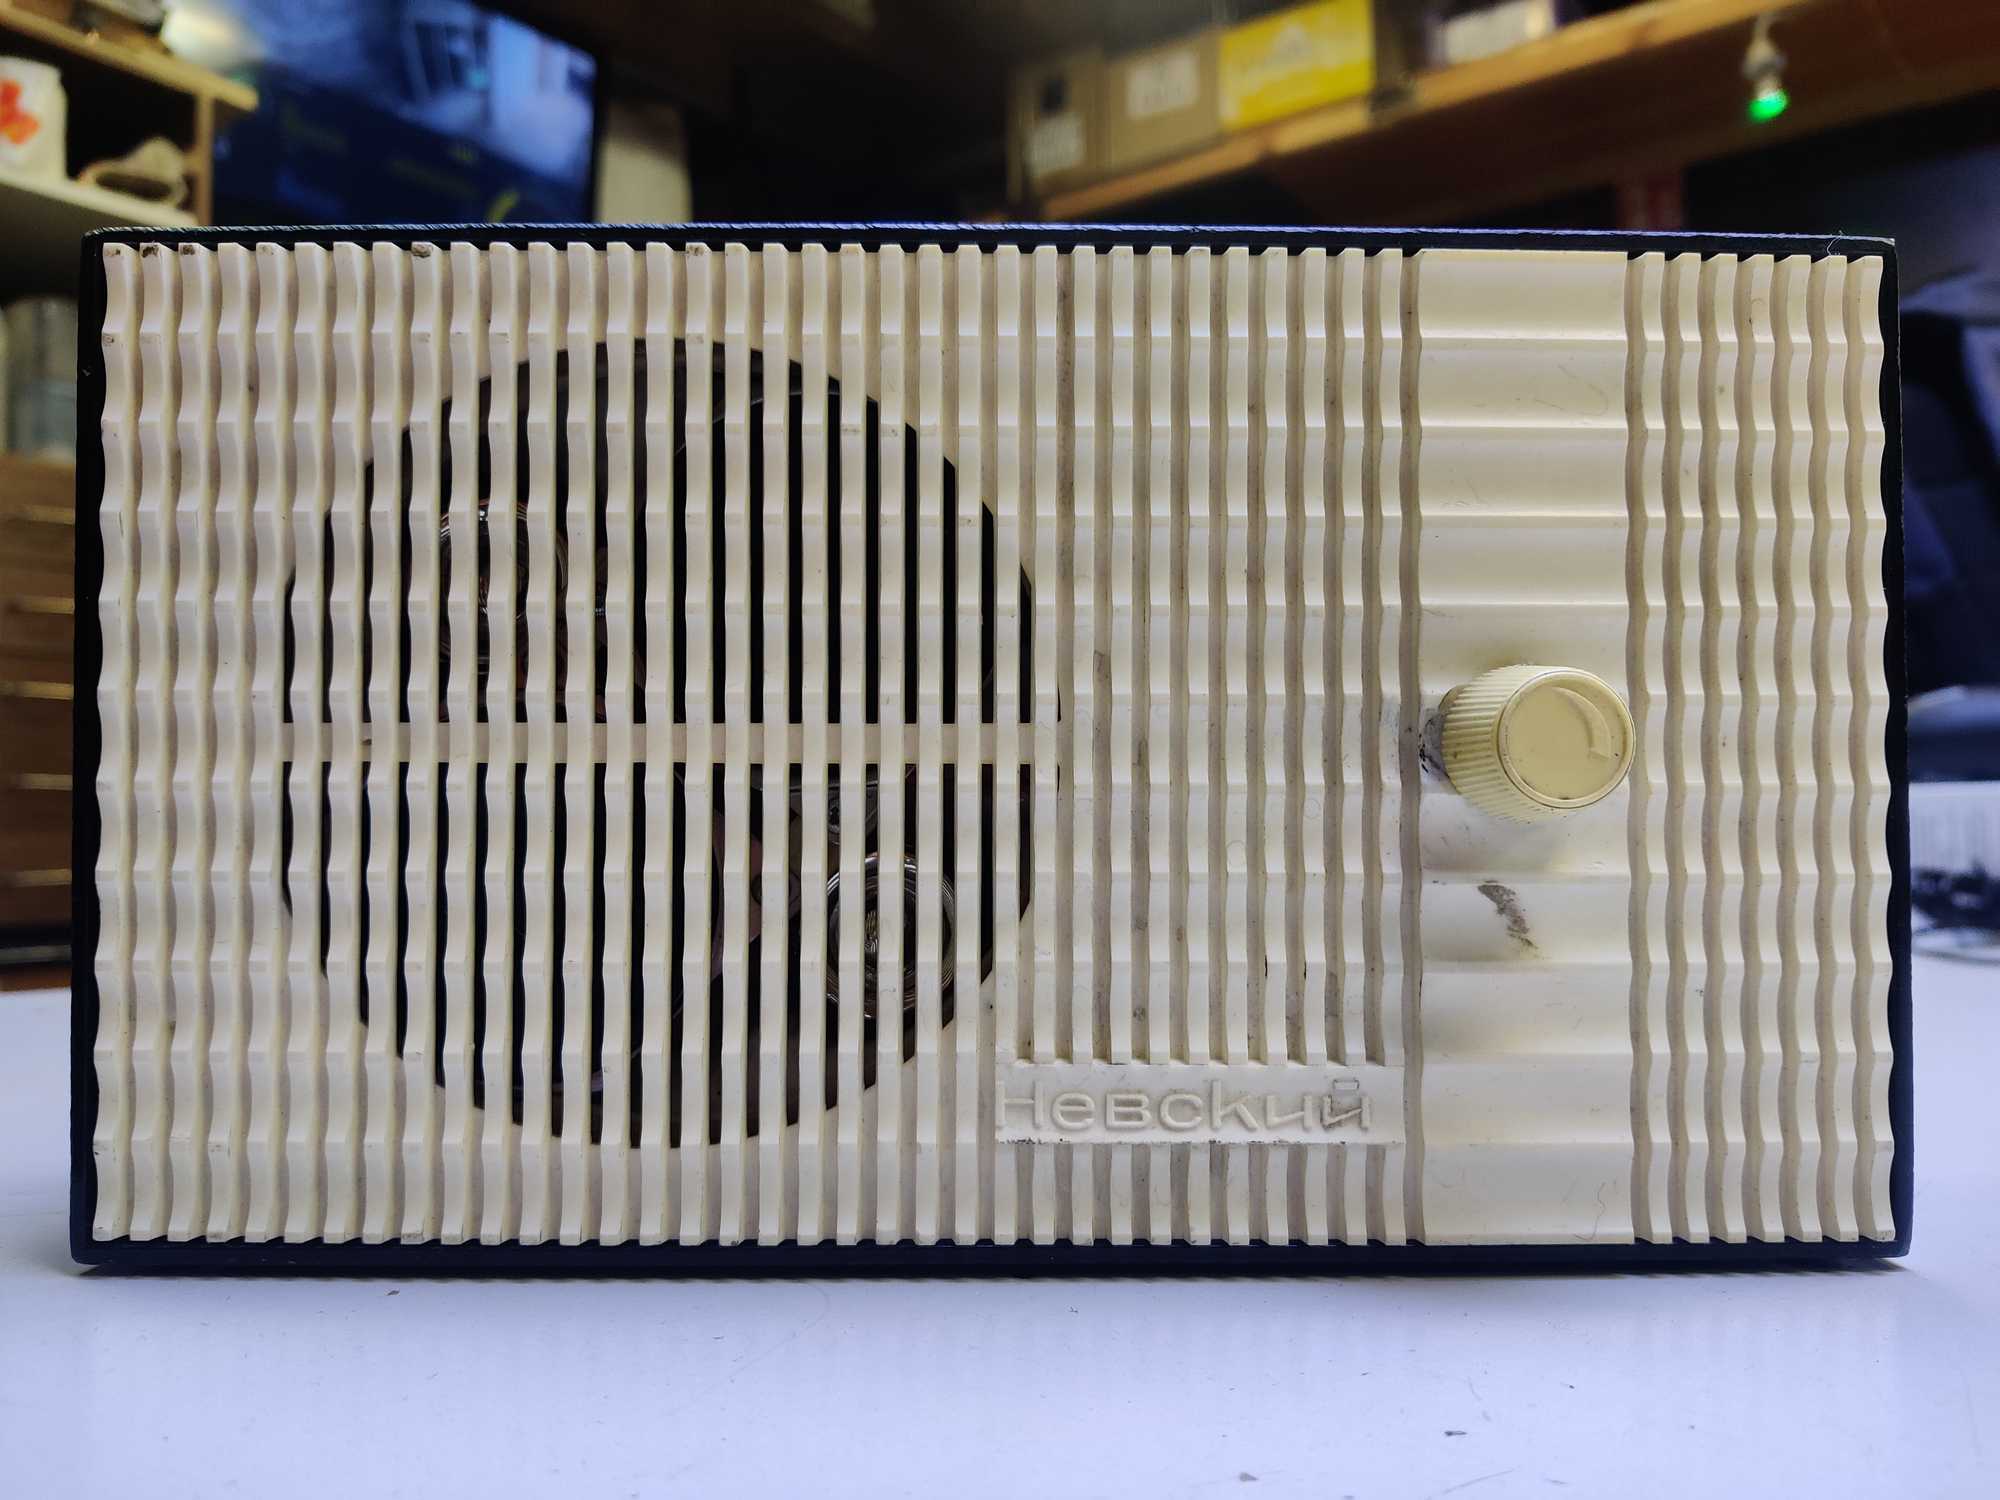
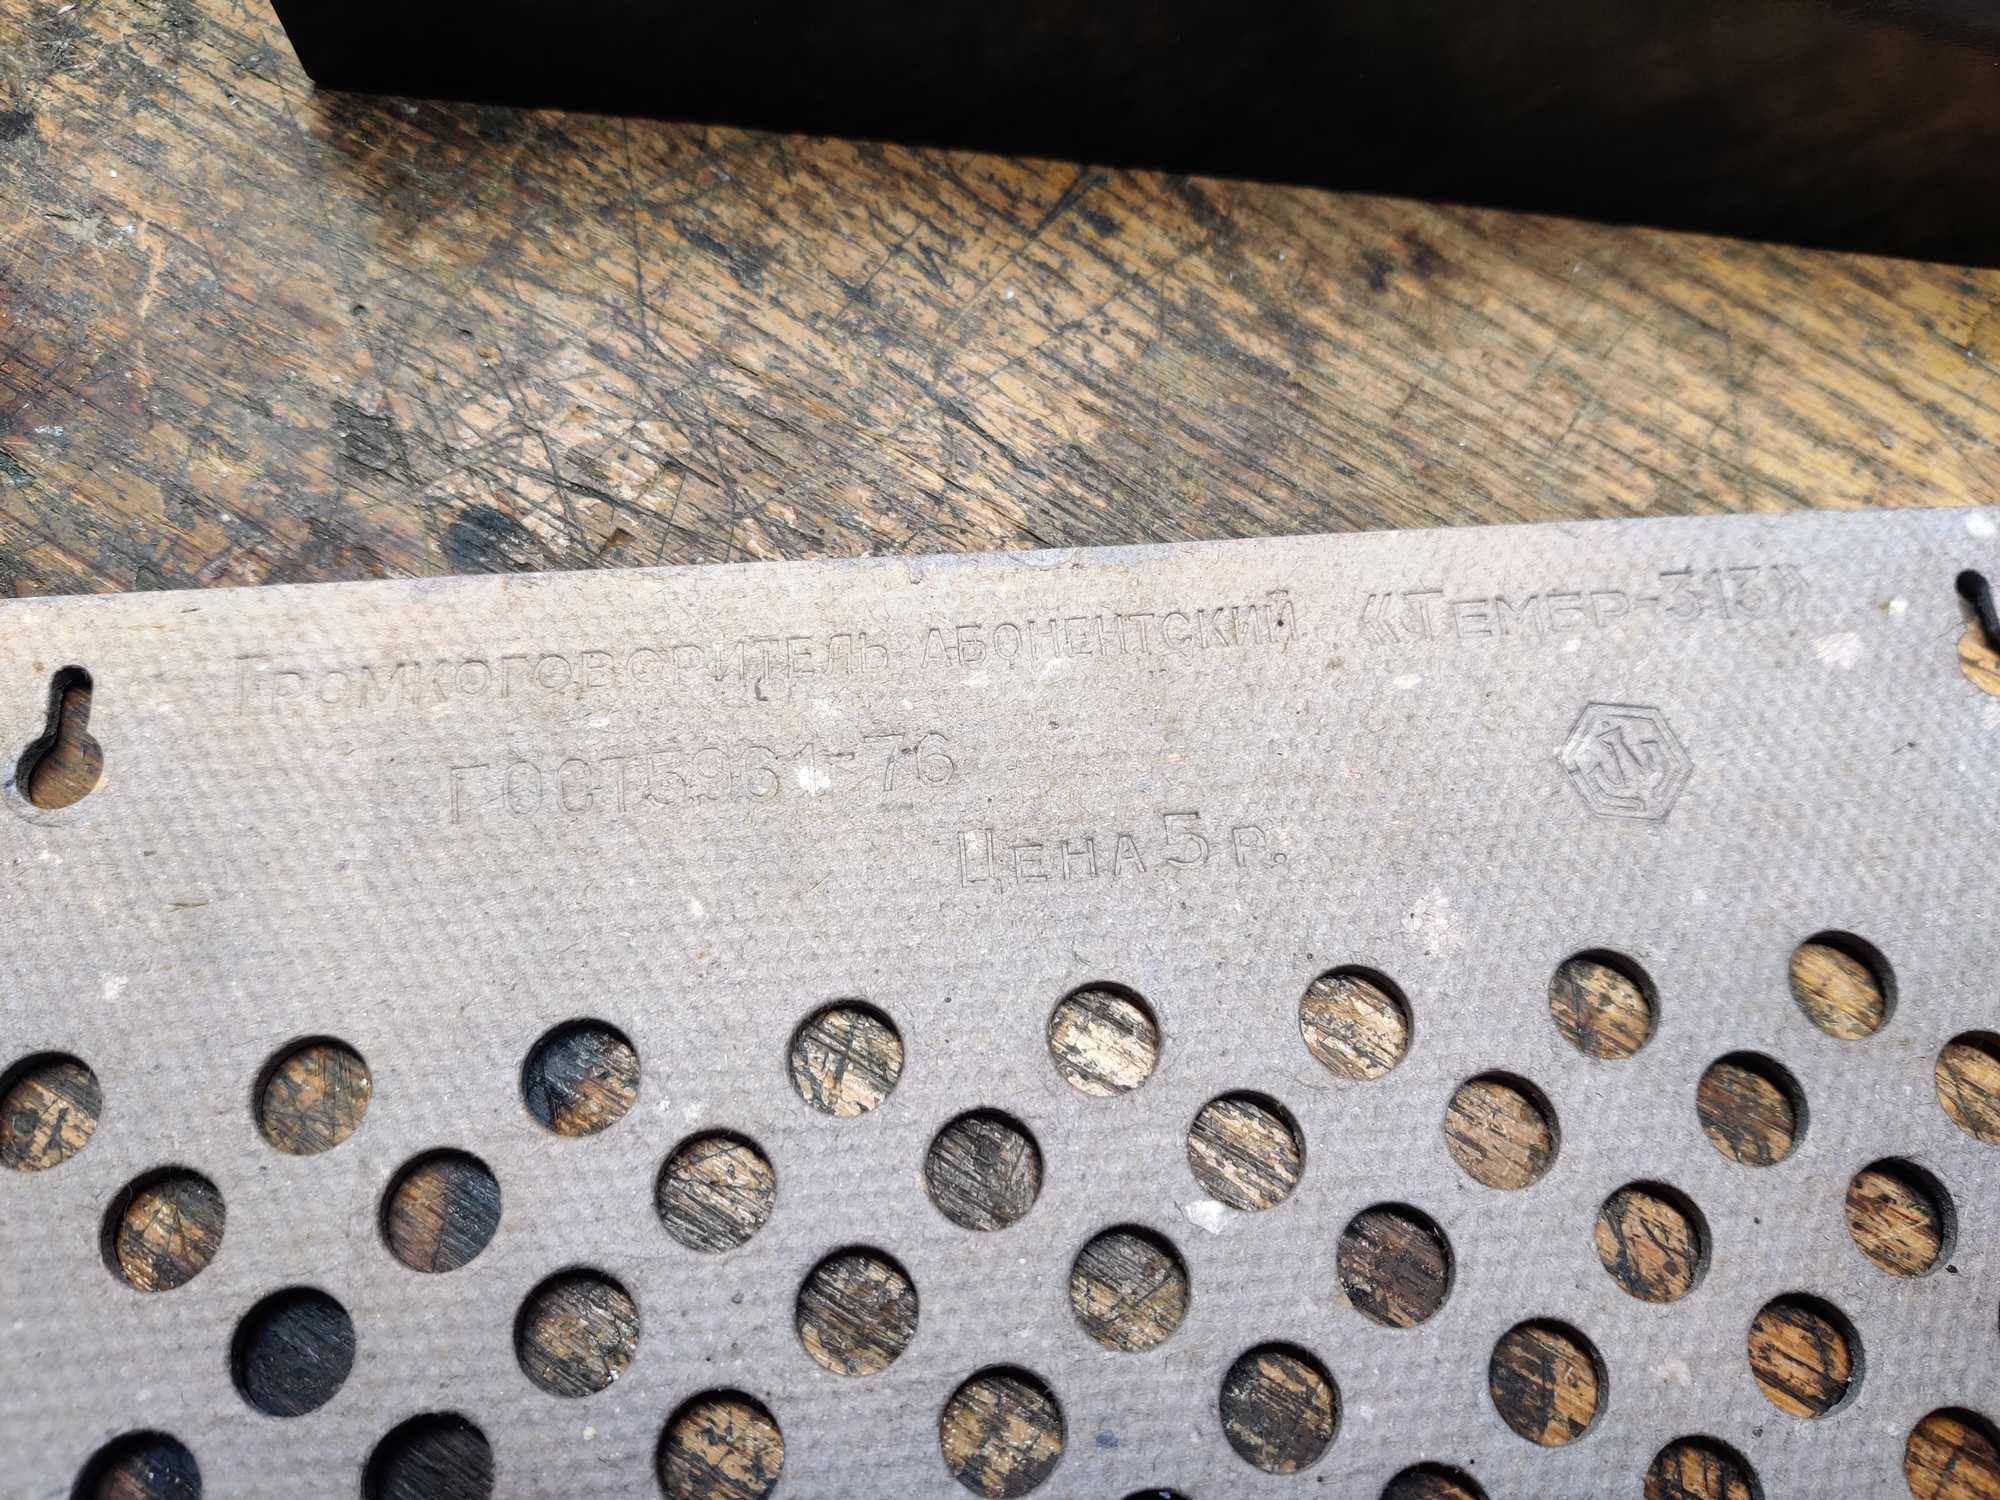
This particular model that I have is “Тембр-313” which was made since 1985 with small design changes over time in some Leningrad association “Plastpribor” (probably a factory), worked on 30v, had a volume knob and plenty of space inside.
More about this: http://rw6ase.narod.ru/index1/ag_gr/ag_st_/tembr313.html
For this thing I wanted to have a volume knob with a switch, had to order that from Aliexpress since I couldn’t find a specific one in local shops. It had to be battery powered and this time I decided that I want to install a Chinese Kebidu MP3 player, similar to the one that I wrote about when I was making my little boom-box :D
The reason a wanted to install that player is because it can play from USB/SD media and bluetooth – very simple and would be useful (hopefully) in various LARP events.
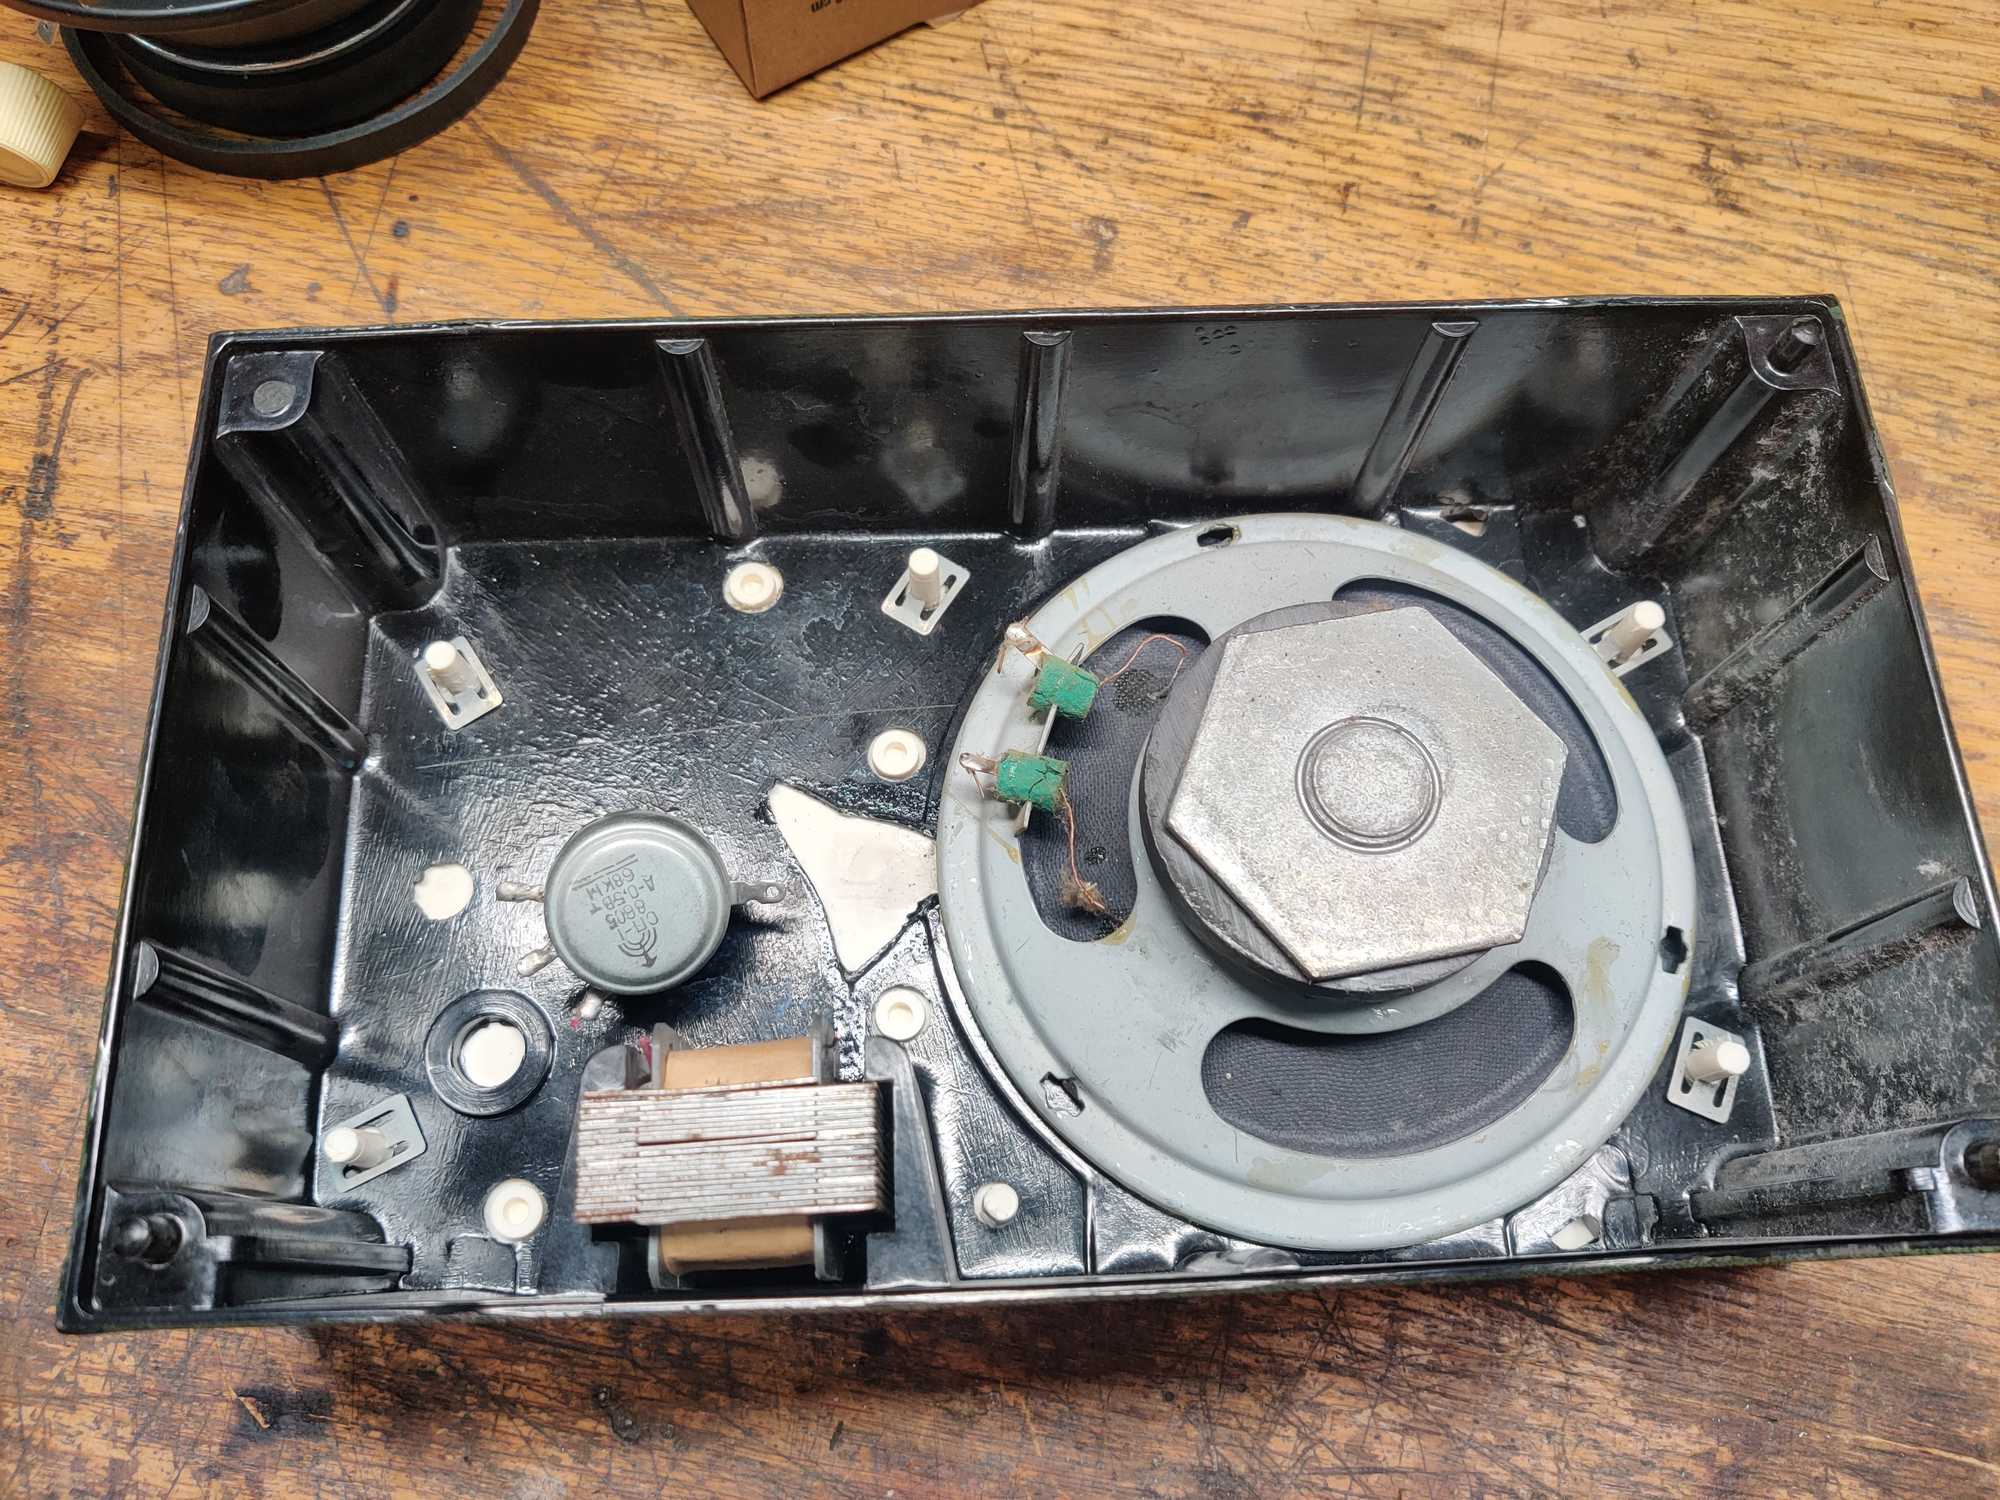
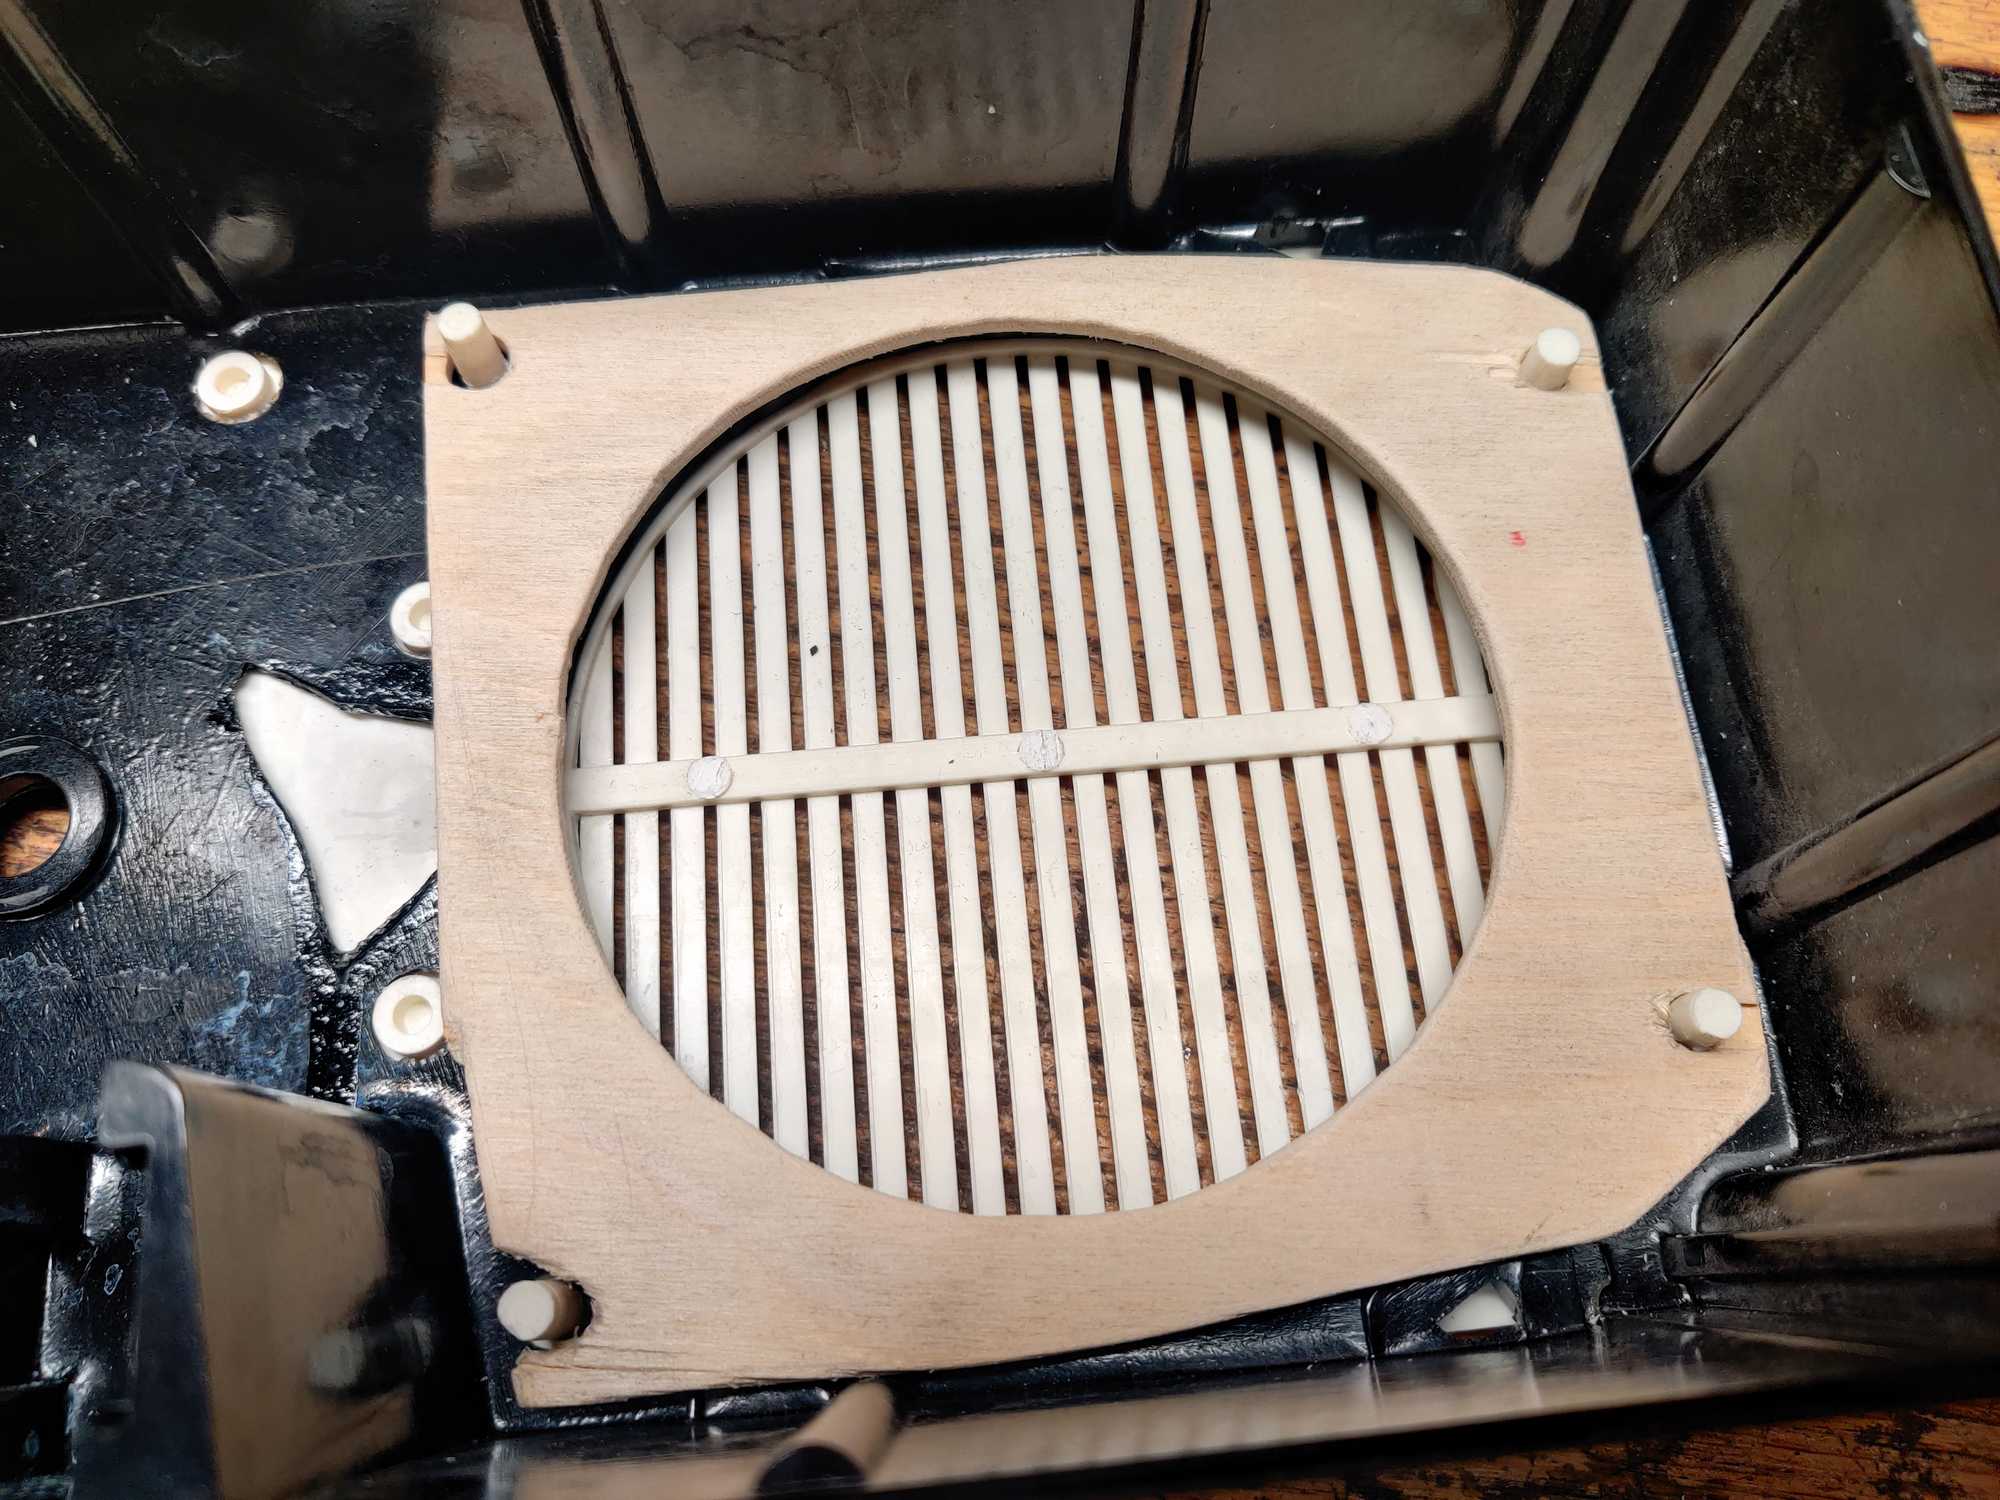
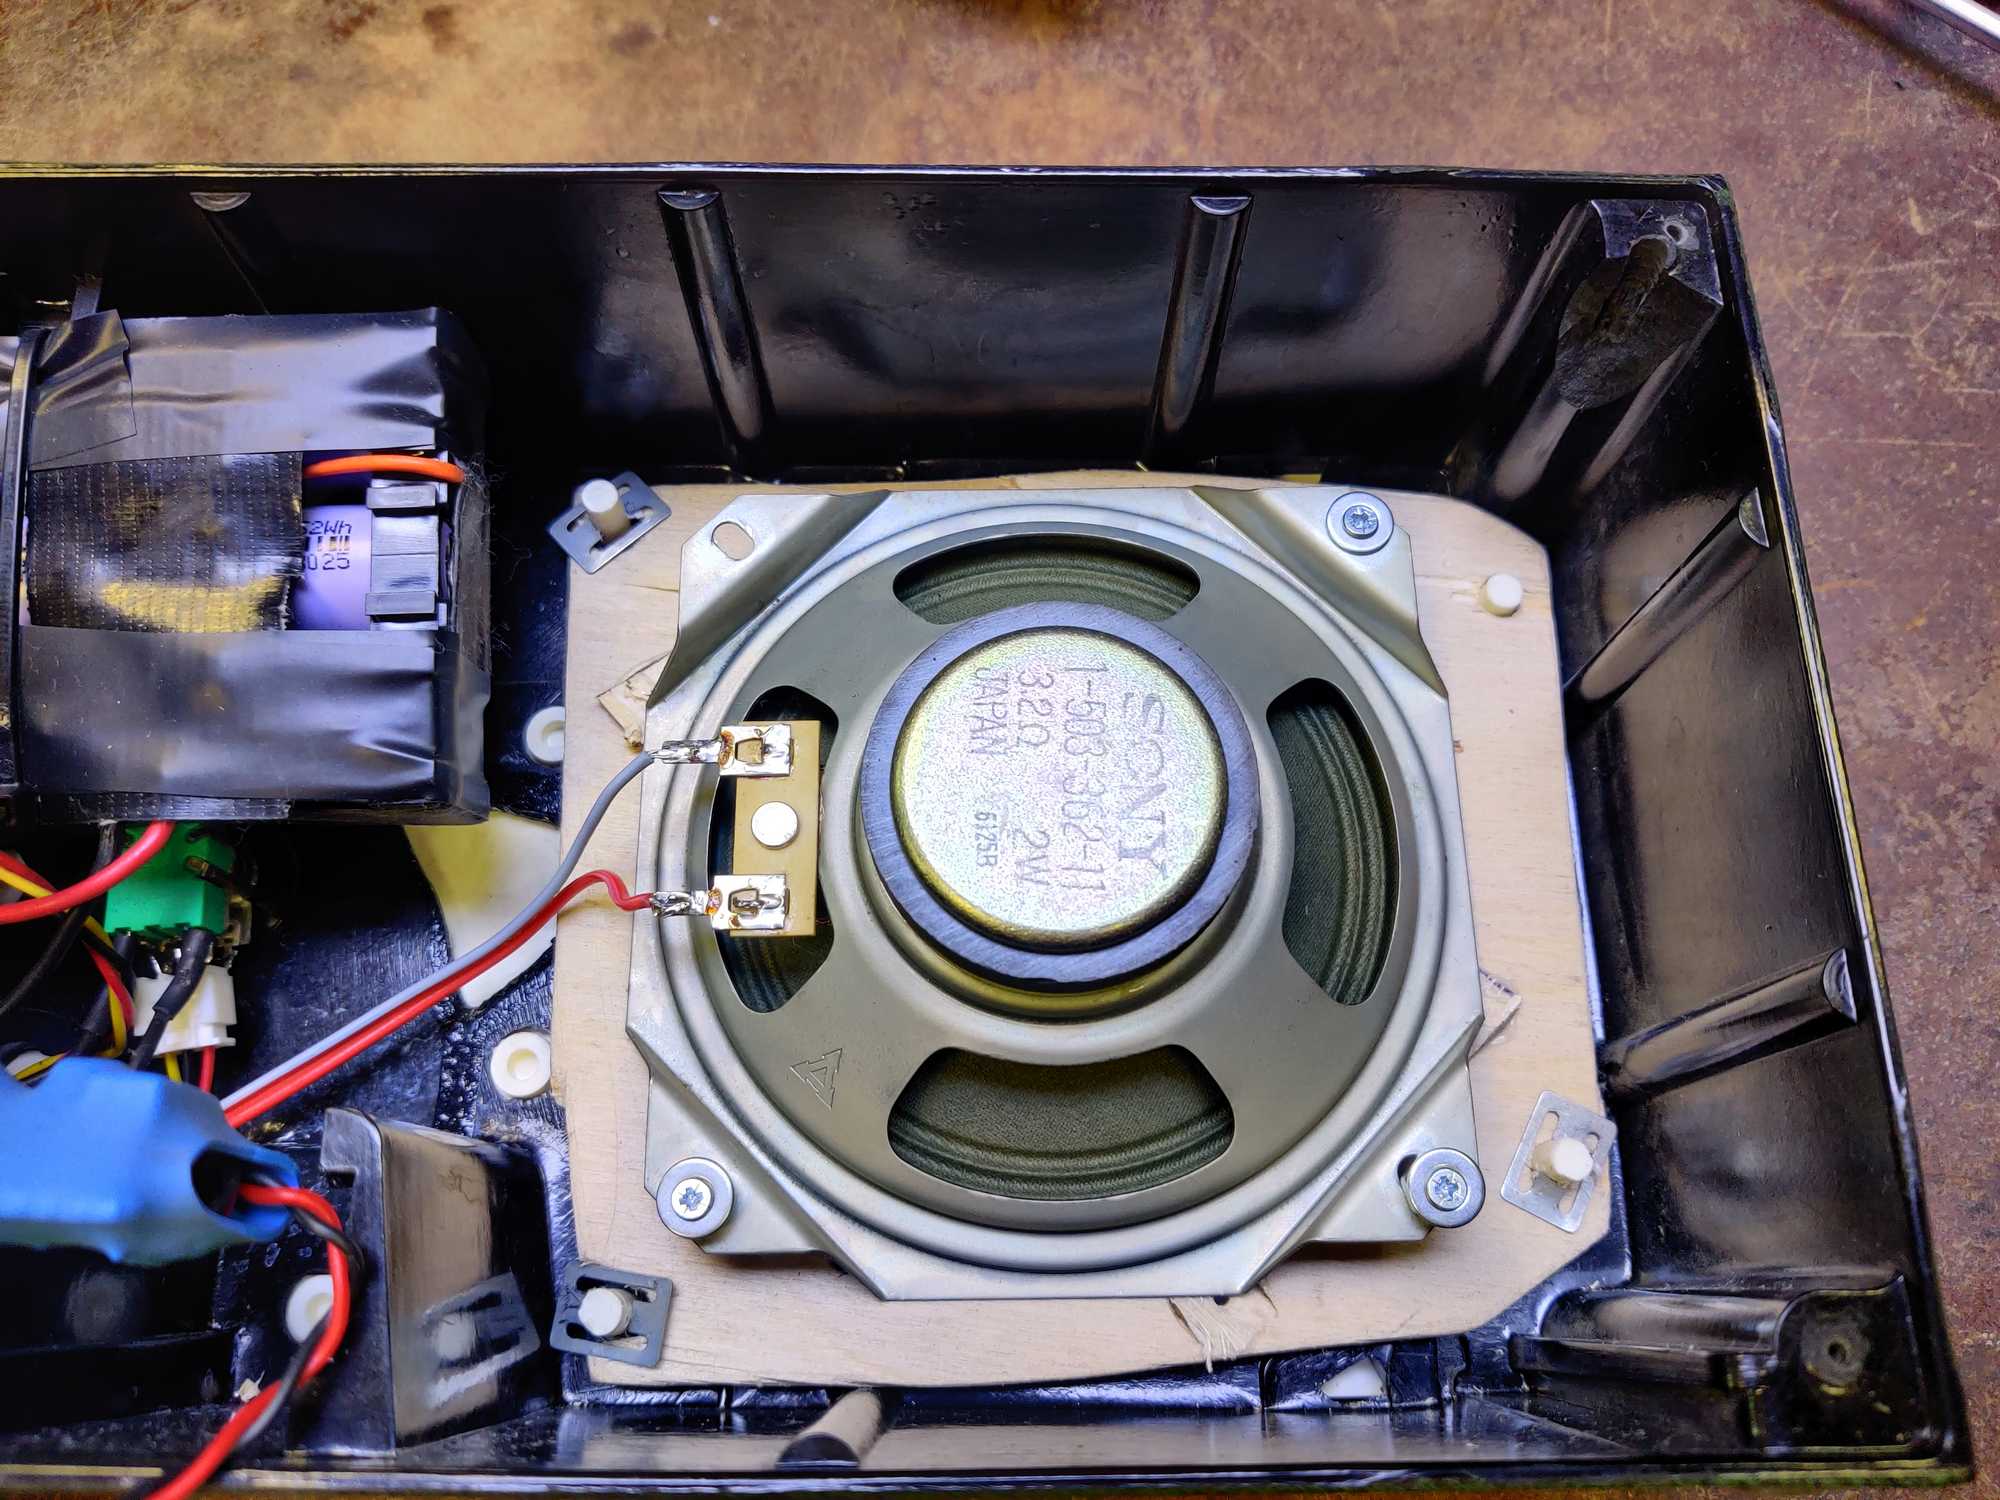
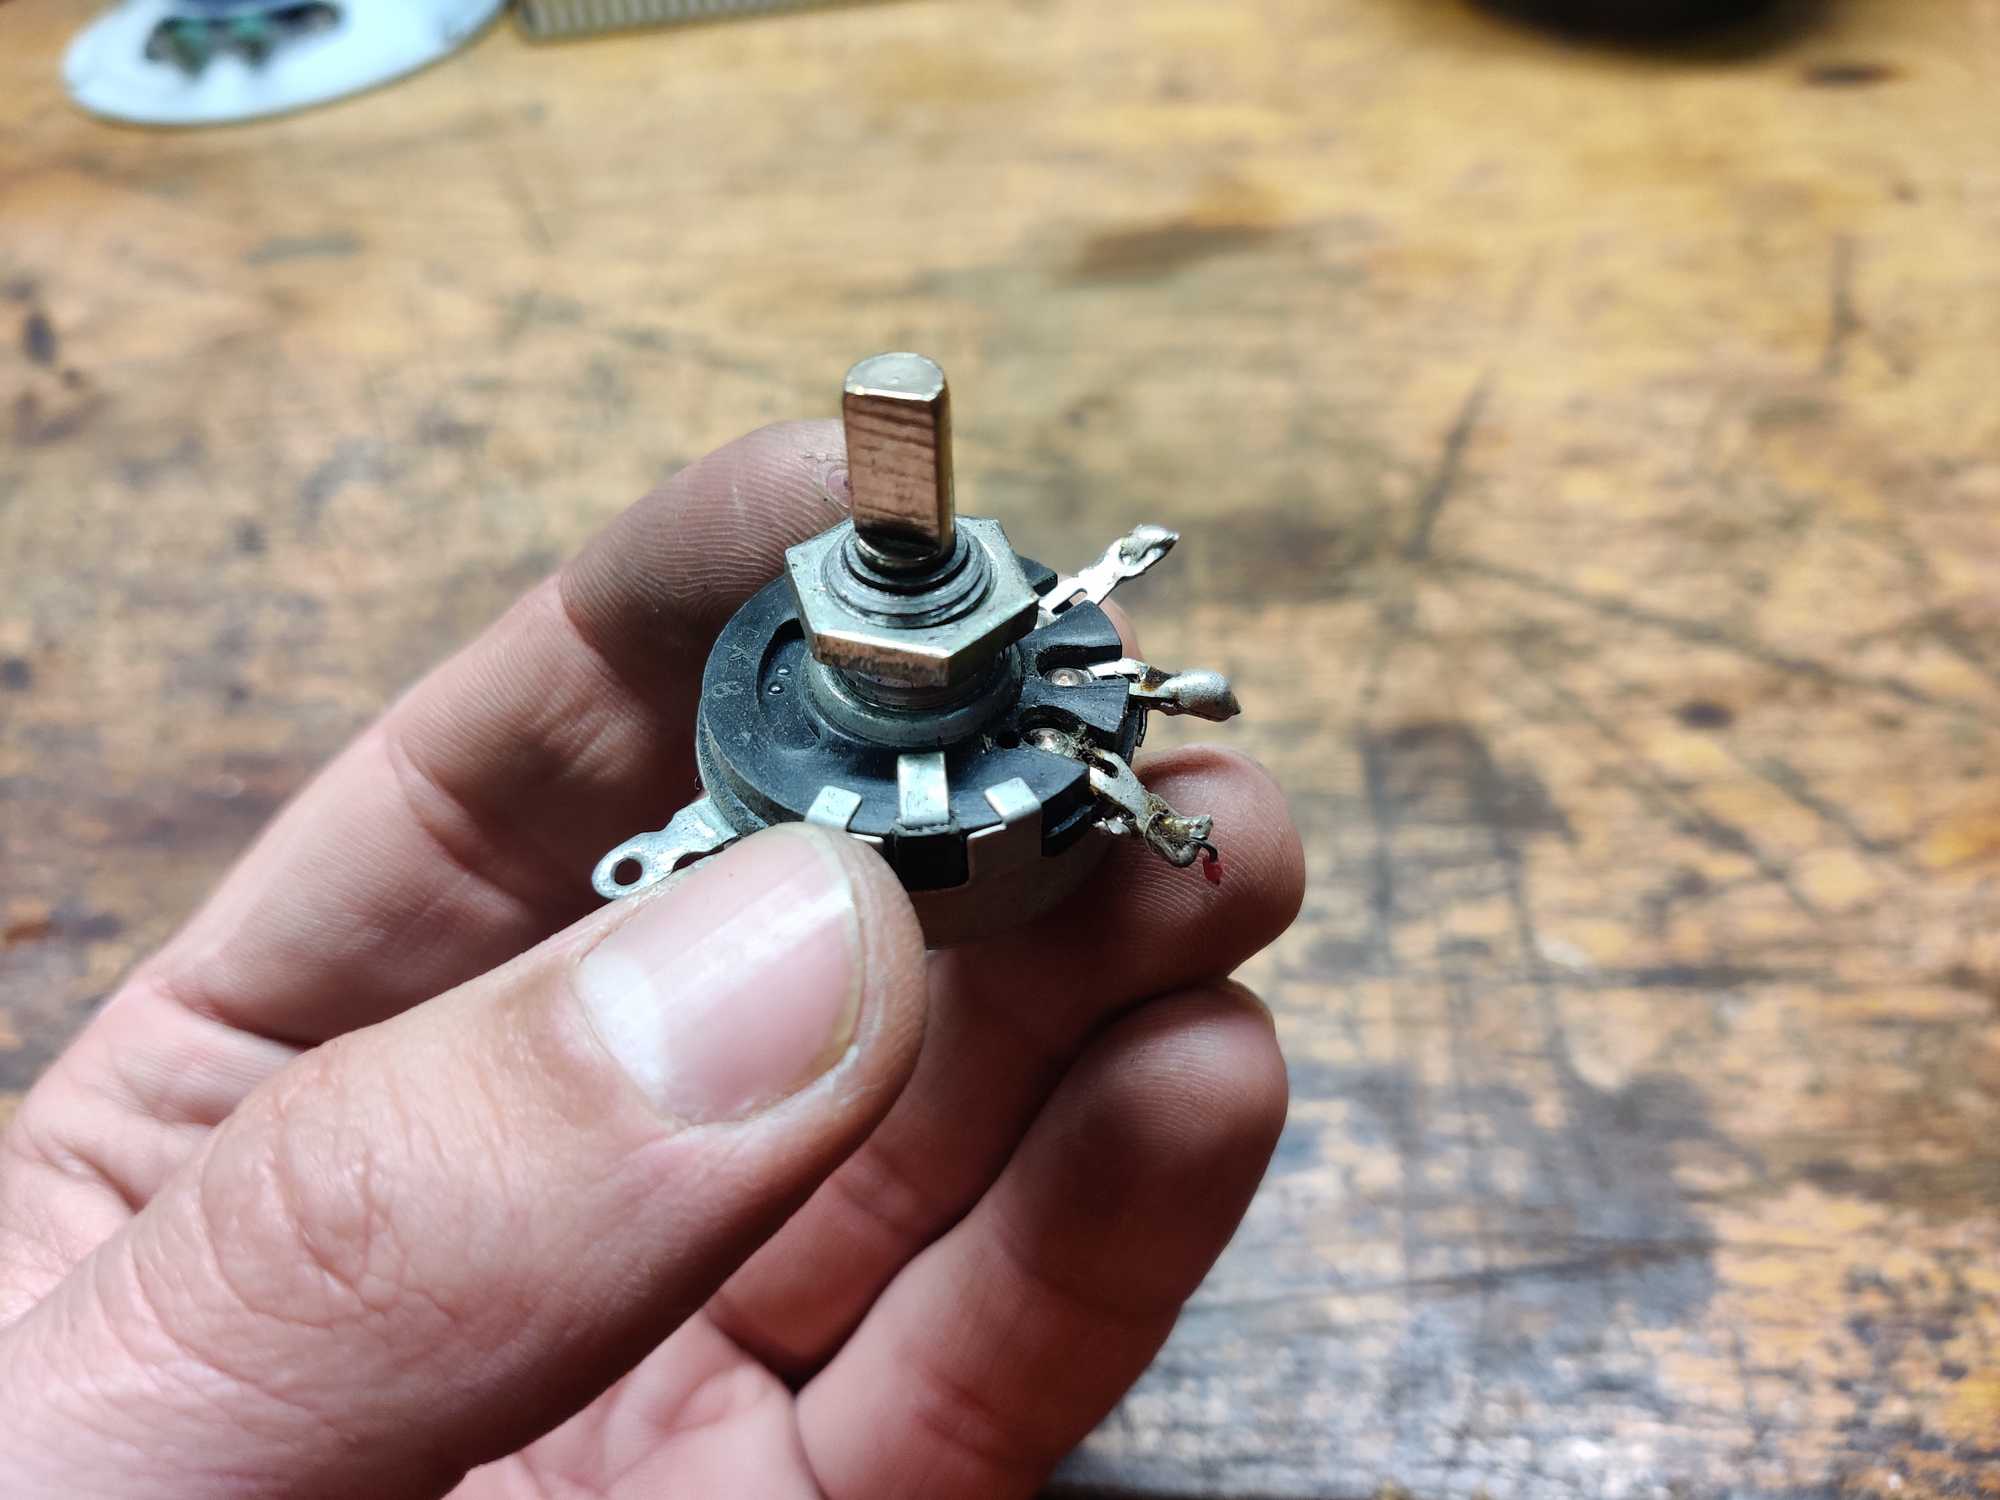
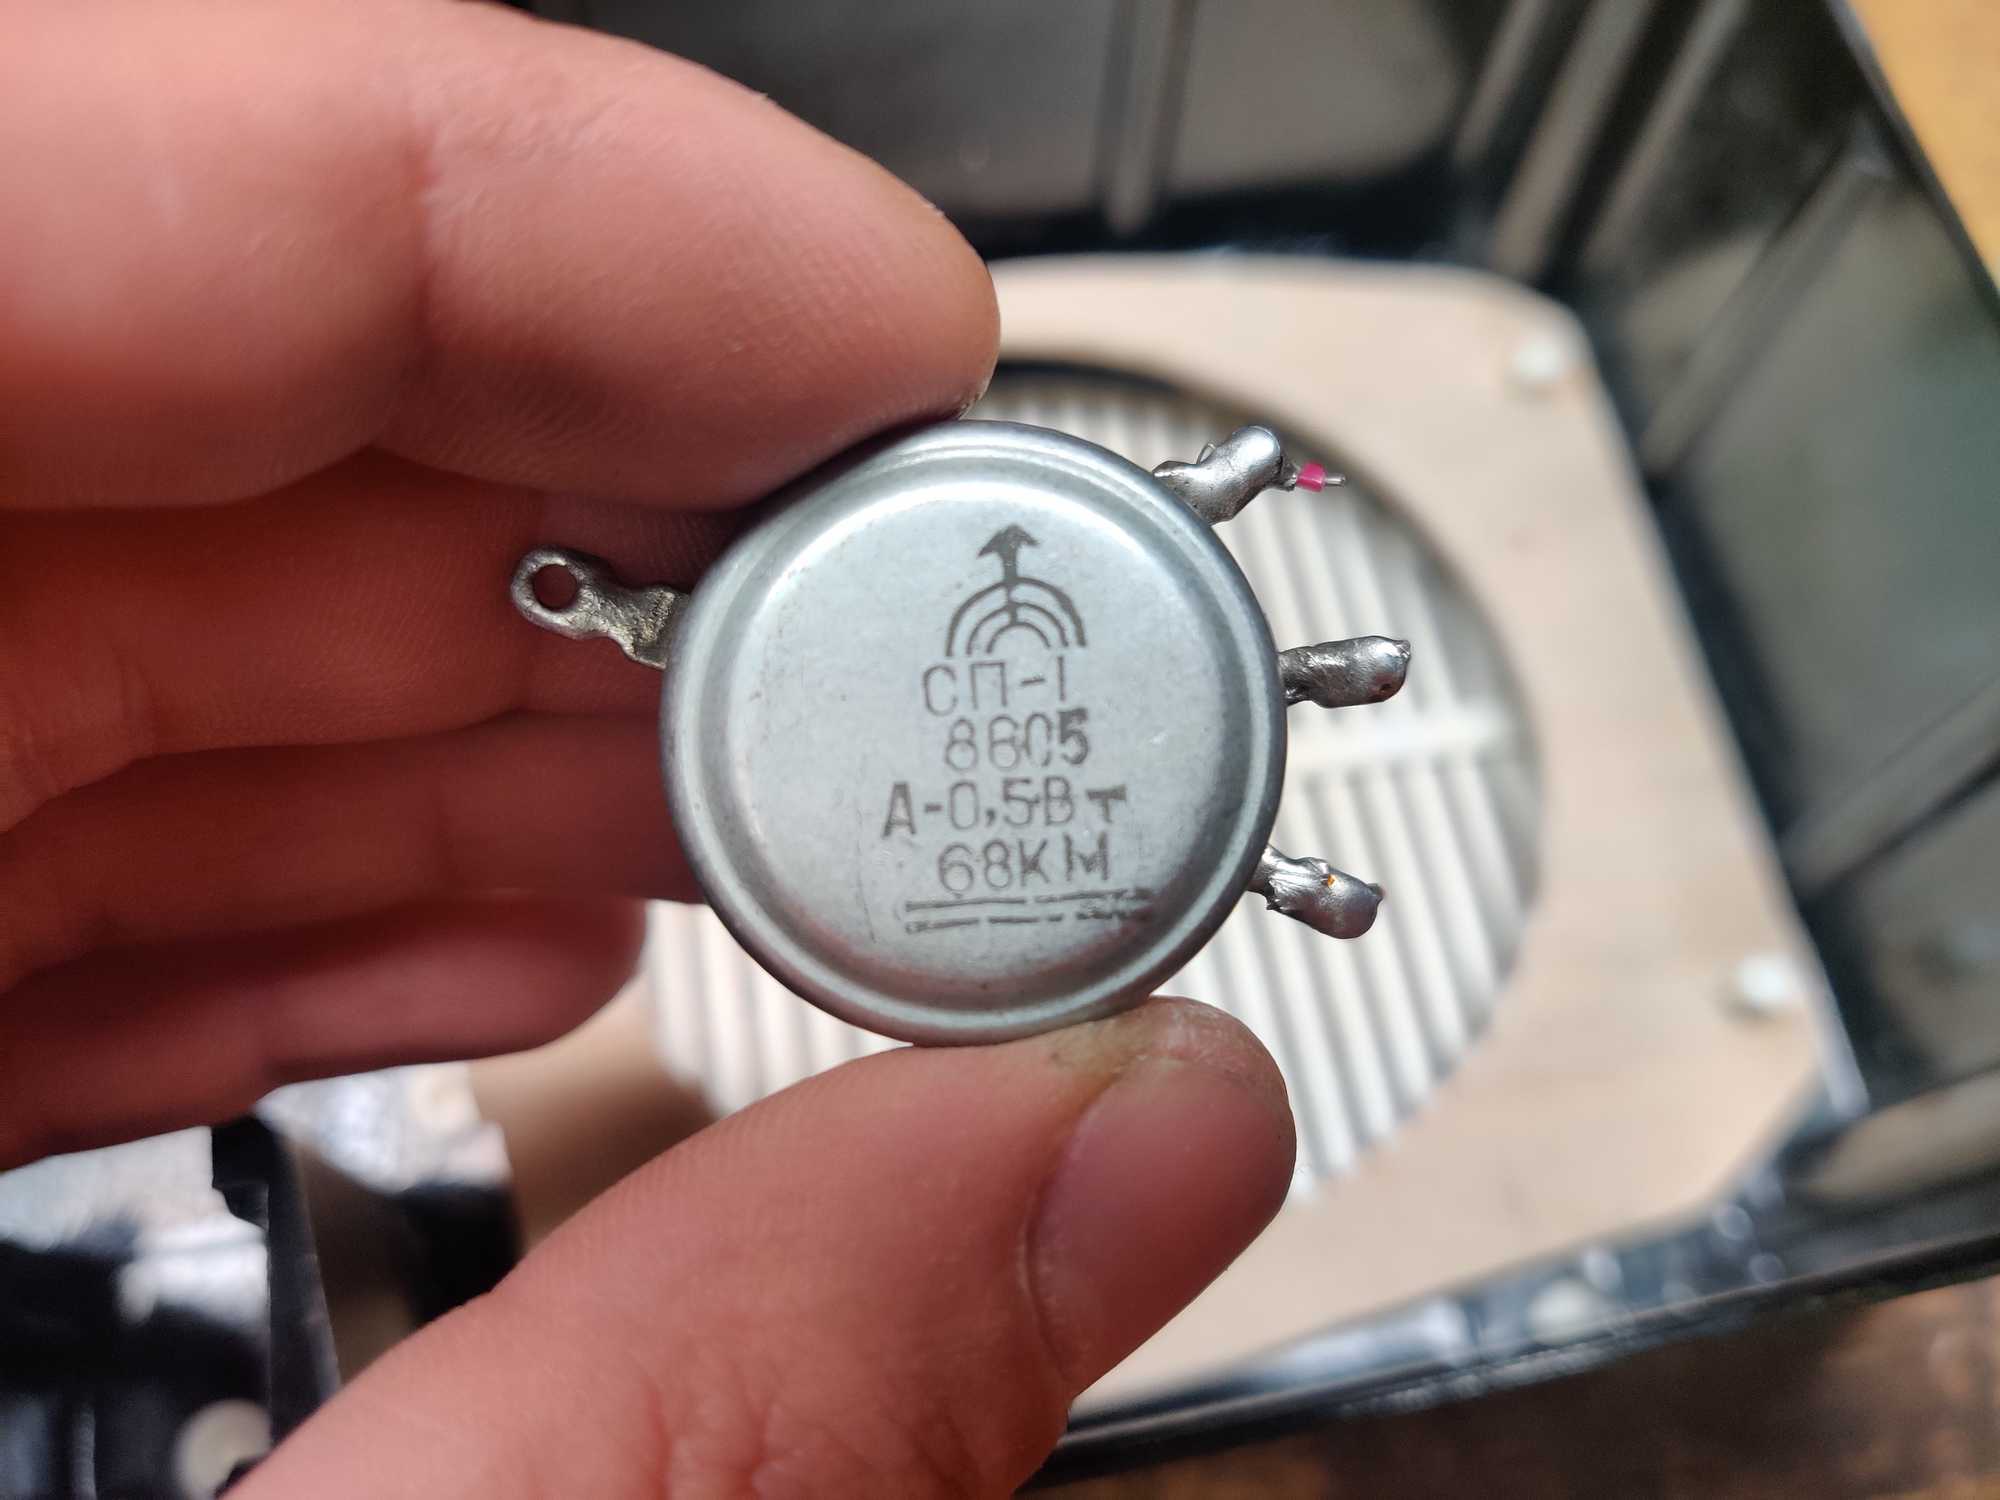
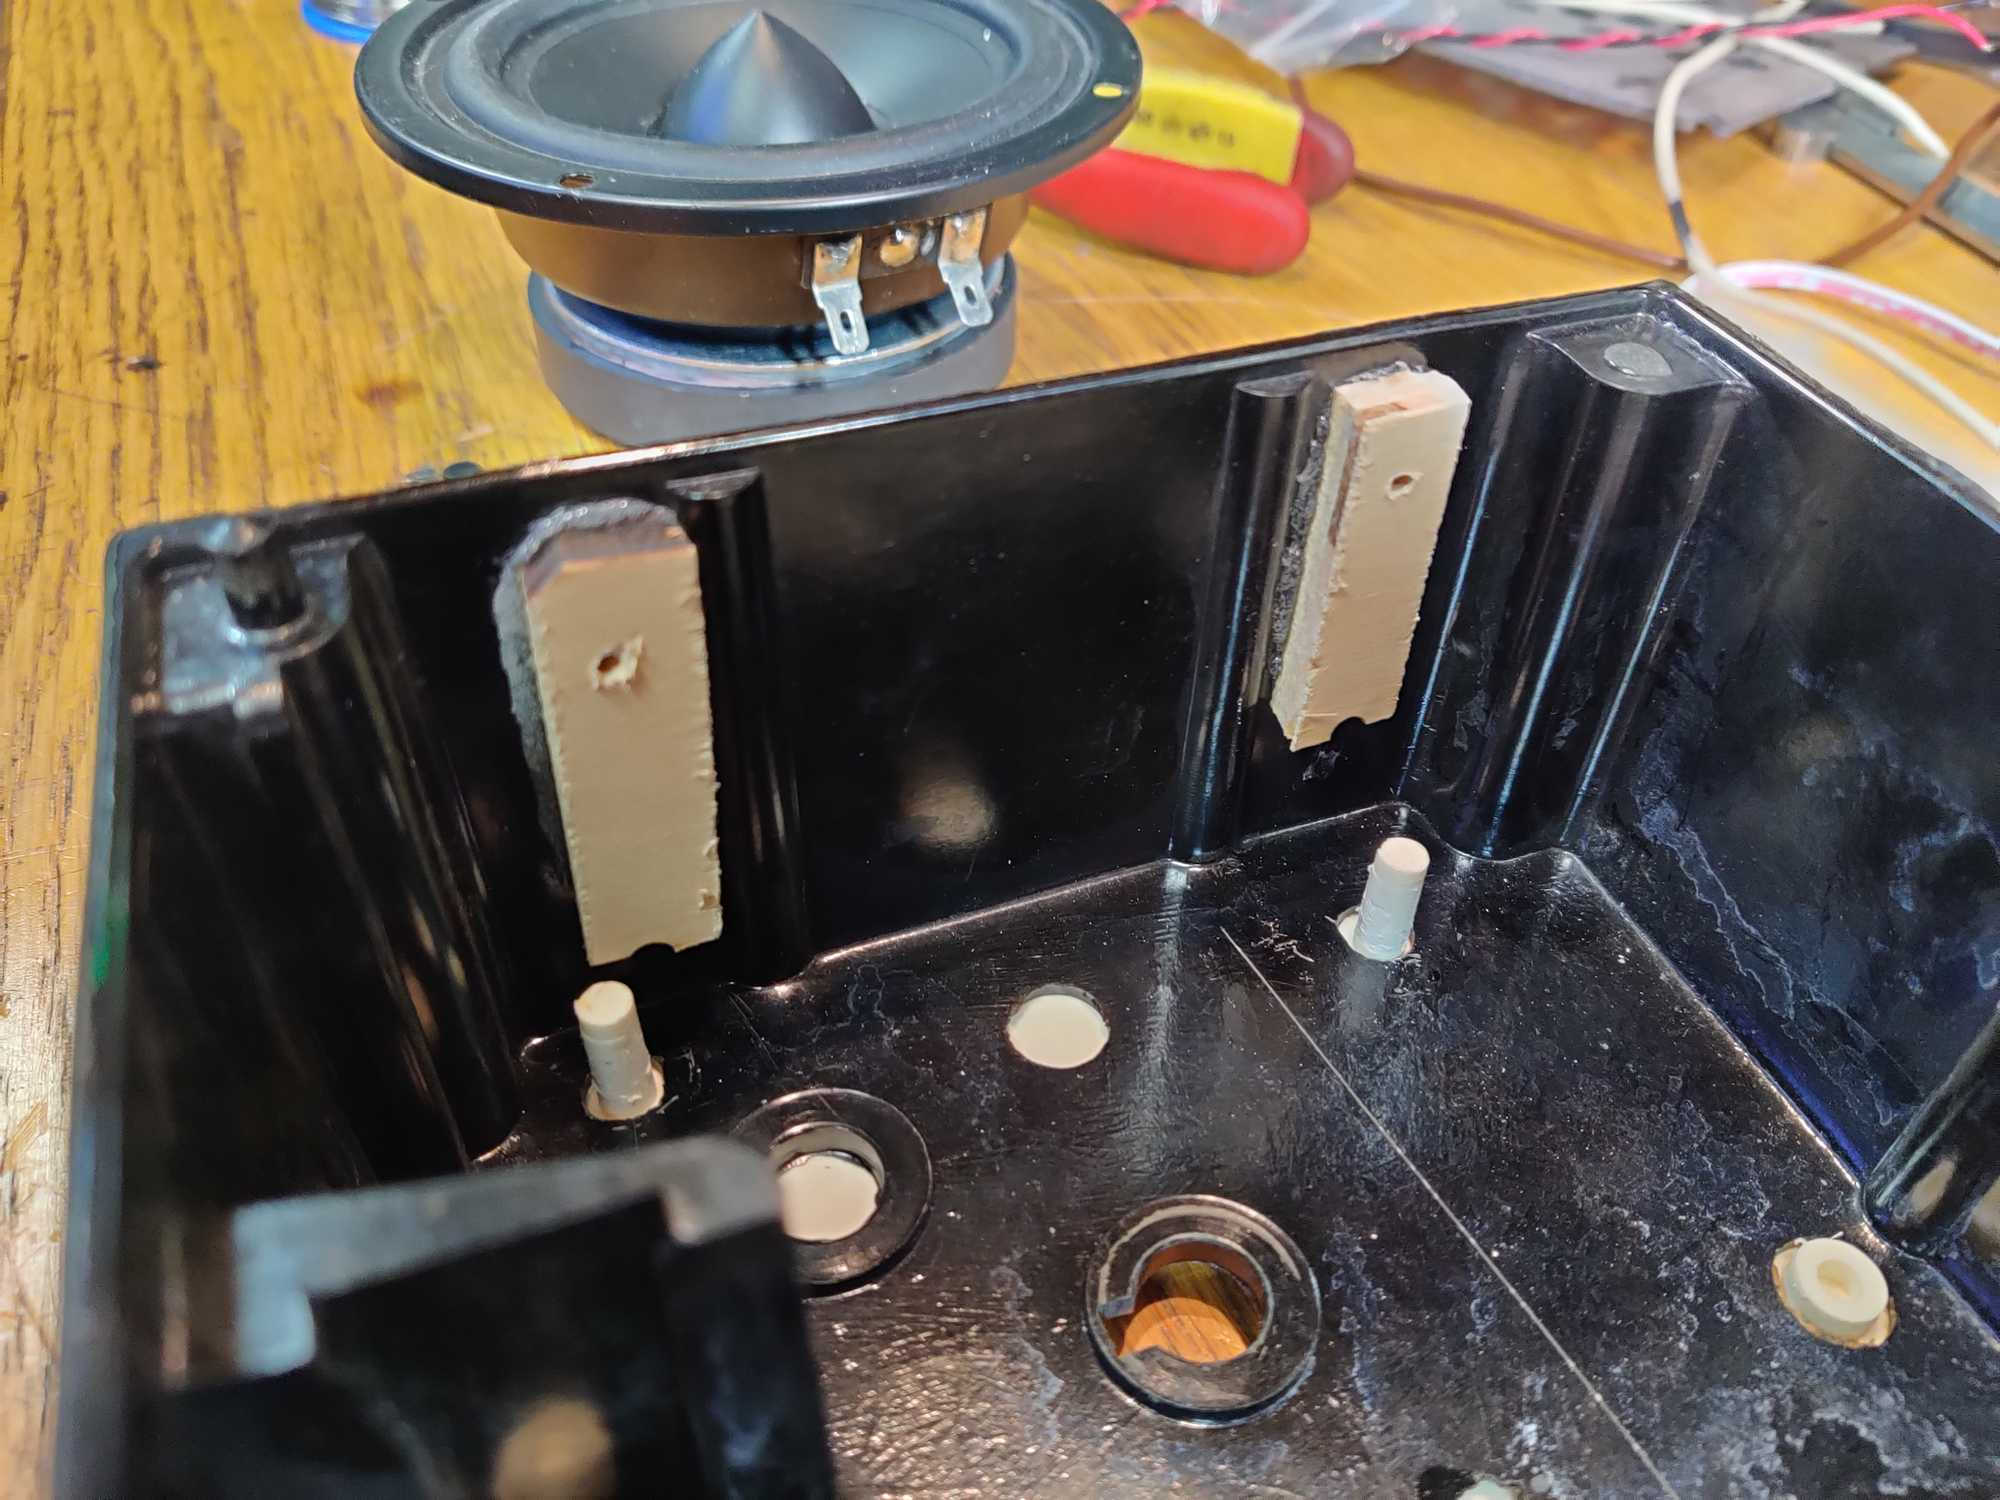
When I opened it up I saw that inside there were only three components – a transformer, a loudspeaker and a potentiometer… I threw out all of them and started with mounting a better speaker. The one that I had is a bit smaller and I needed to make a bracket to hold them both somehow.
The bracket at first was made to fit a cheap-o Dibeisi speaker that cost 8.5euro but later I threw it out and replaced it with speakers I salvaged from Creative desktop system. I did that because the Dibeisi speaker had such a bad sound quality that it hurt my ears.
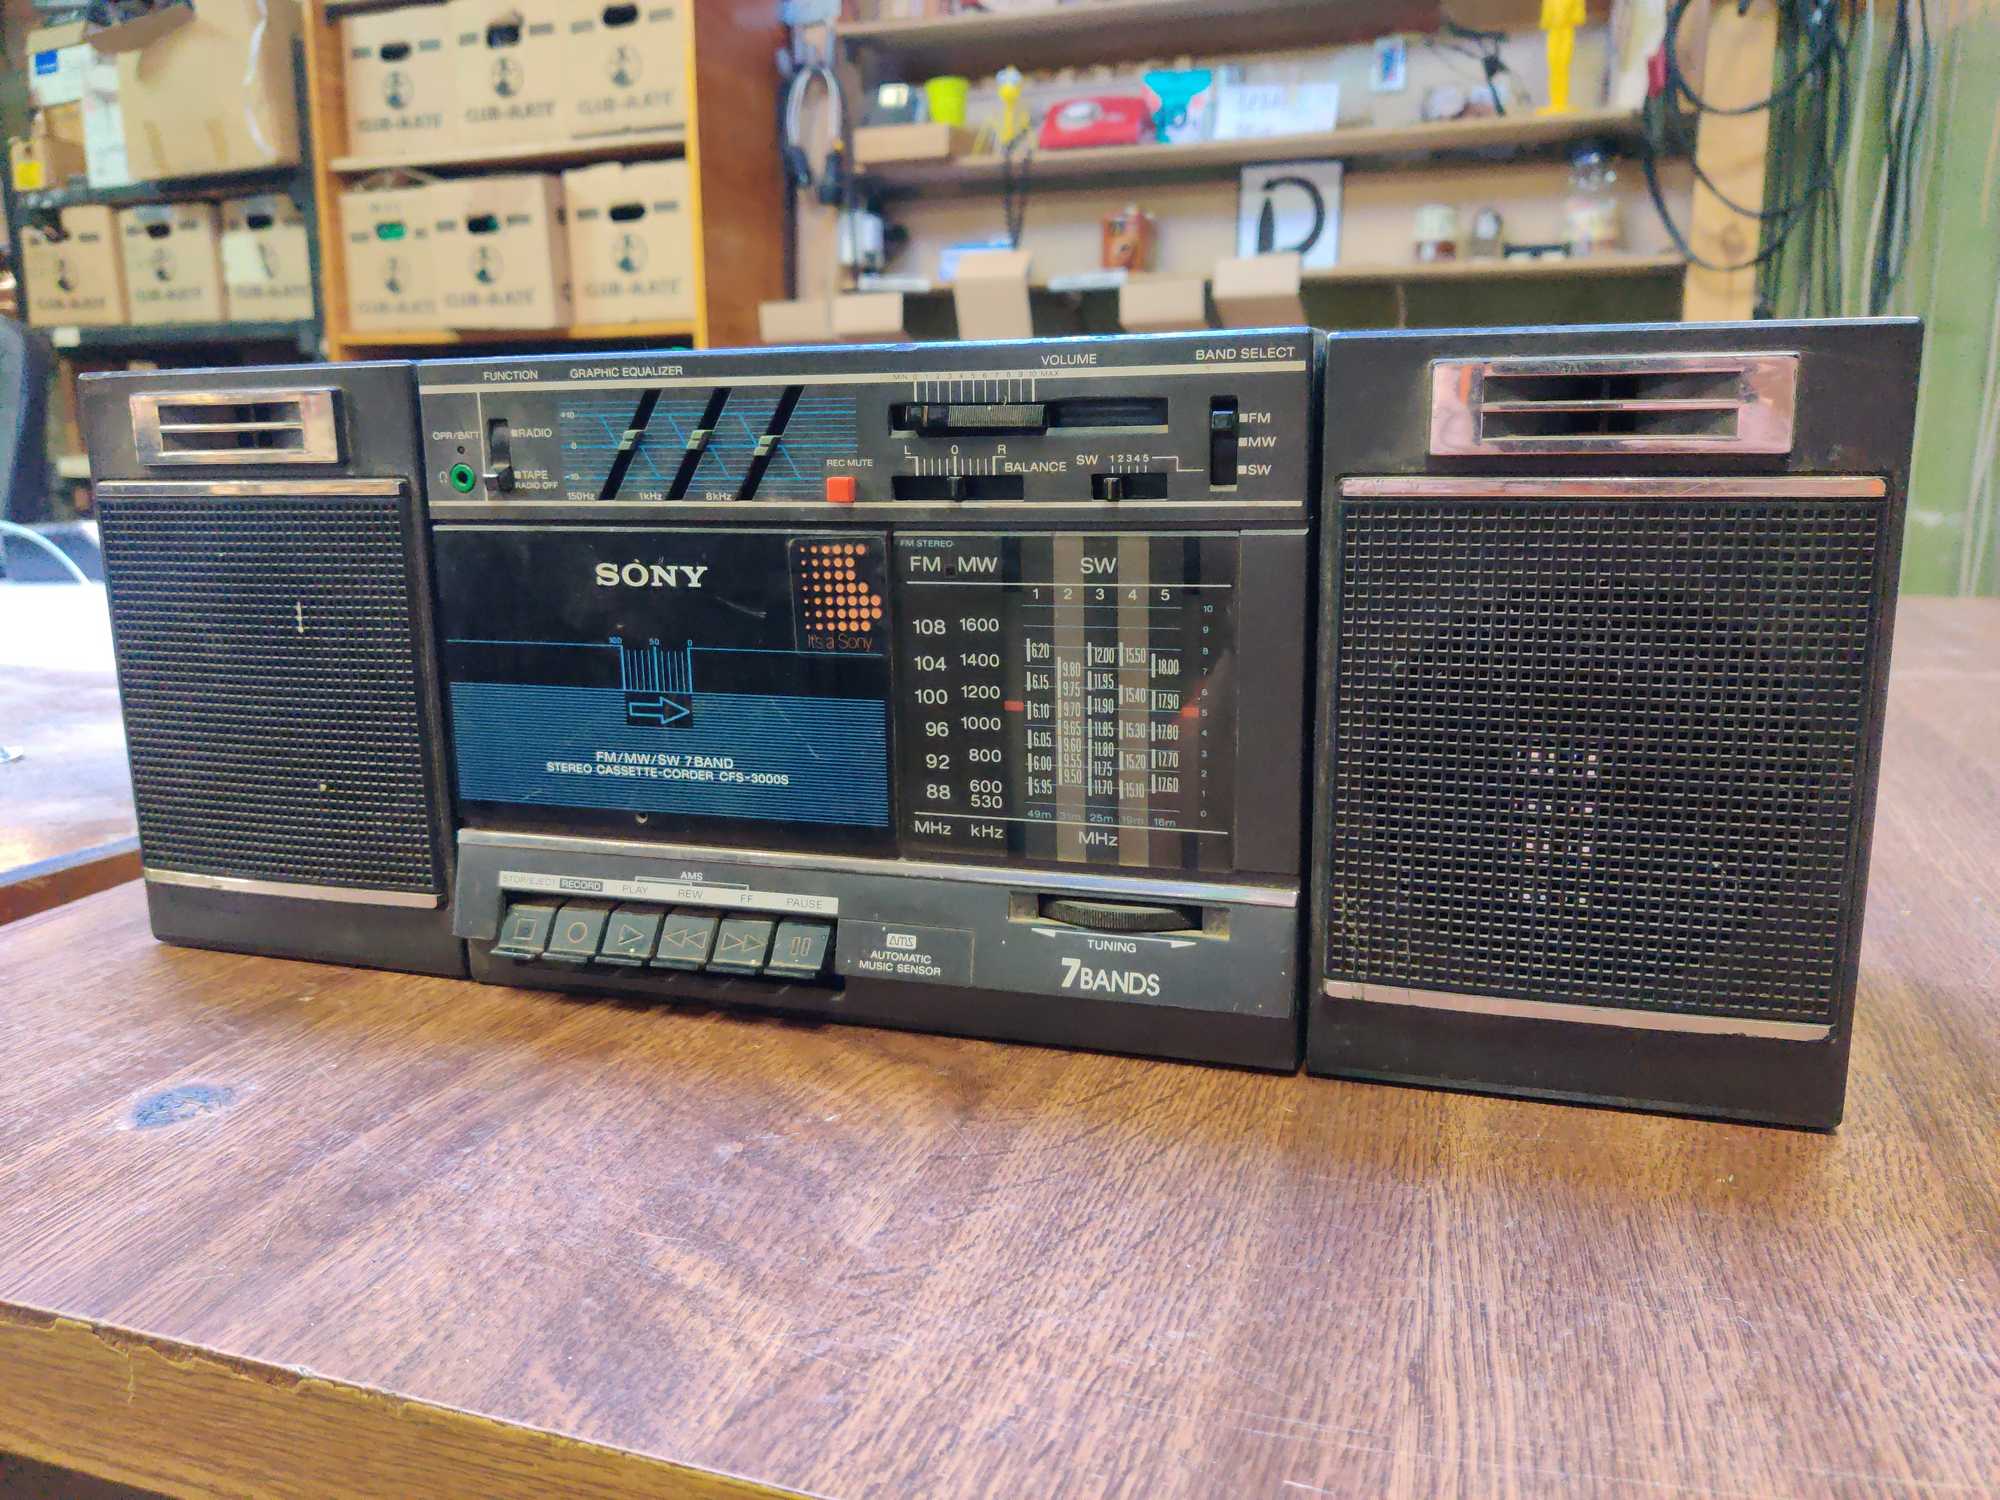
Creative speakers didn’t have a great sound quality but were better. I still wasn’t satisfied. And some weeks later a Sony portable hi-fi system appeared for throwing out. Because that system looked pretty cool, like a small boombox I took it to restore and upgrade :D (as a future project).
Part of upgrading the hi-fi system I wanted to replace its speakers to better ones. I took them out and put one in here and the sound was great. Now I was satisfied.
Original:
Creative mod:
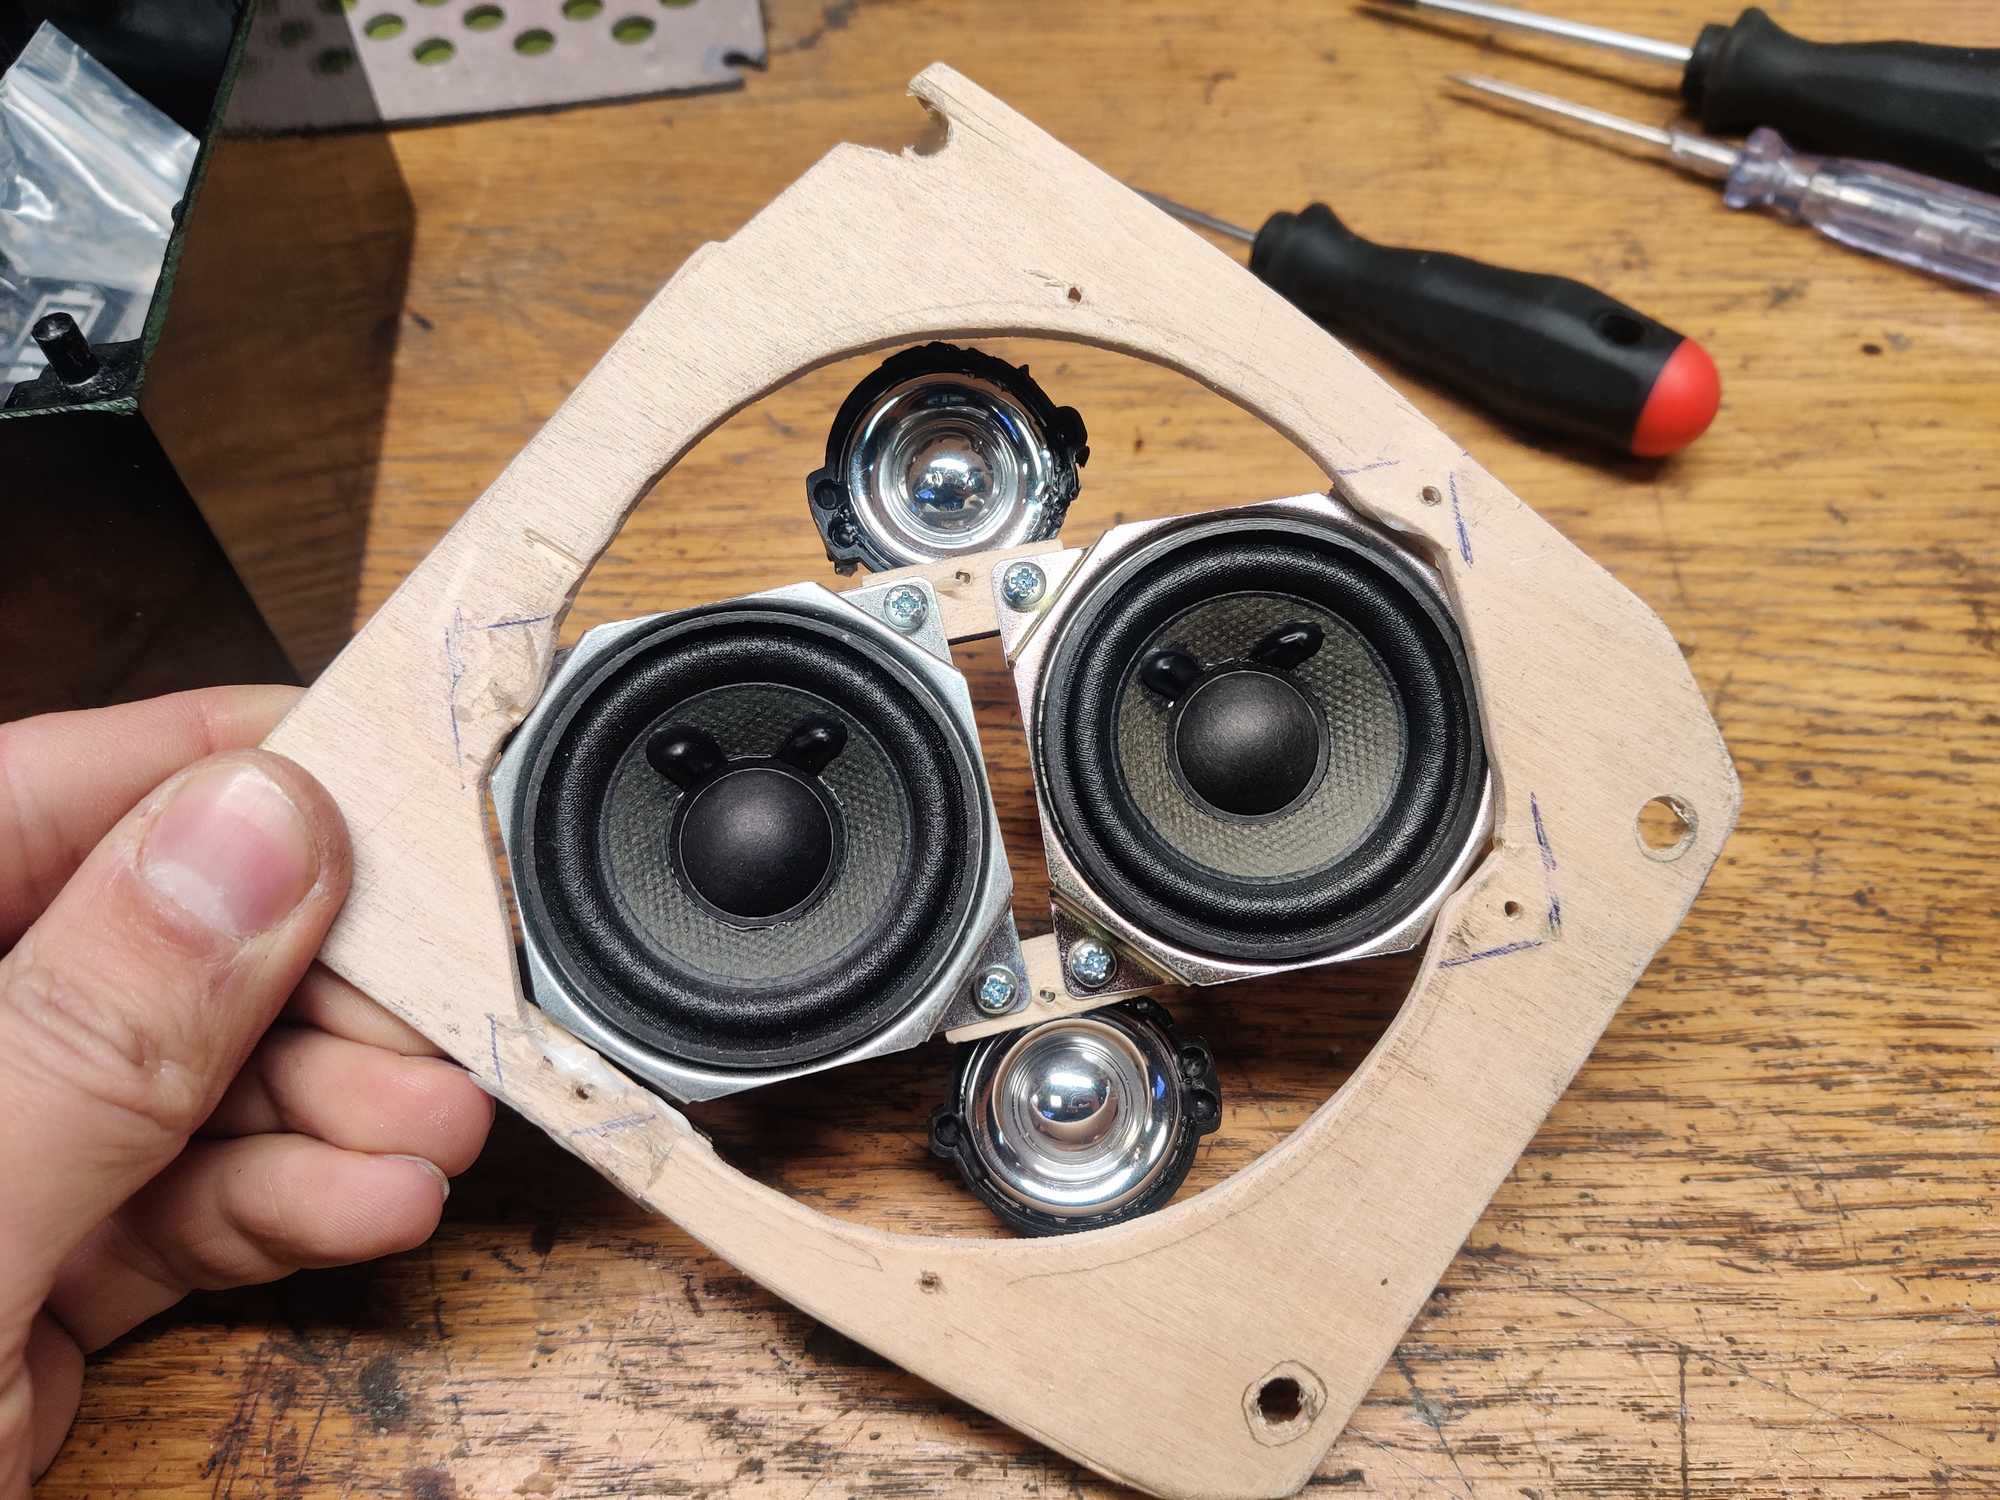

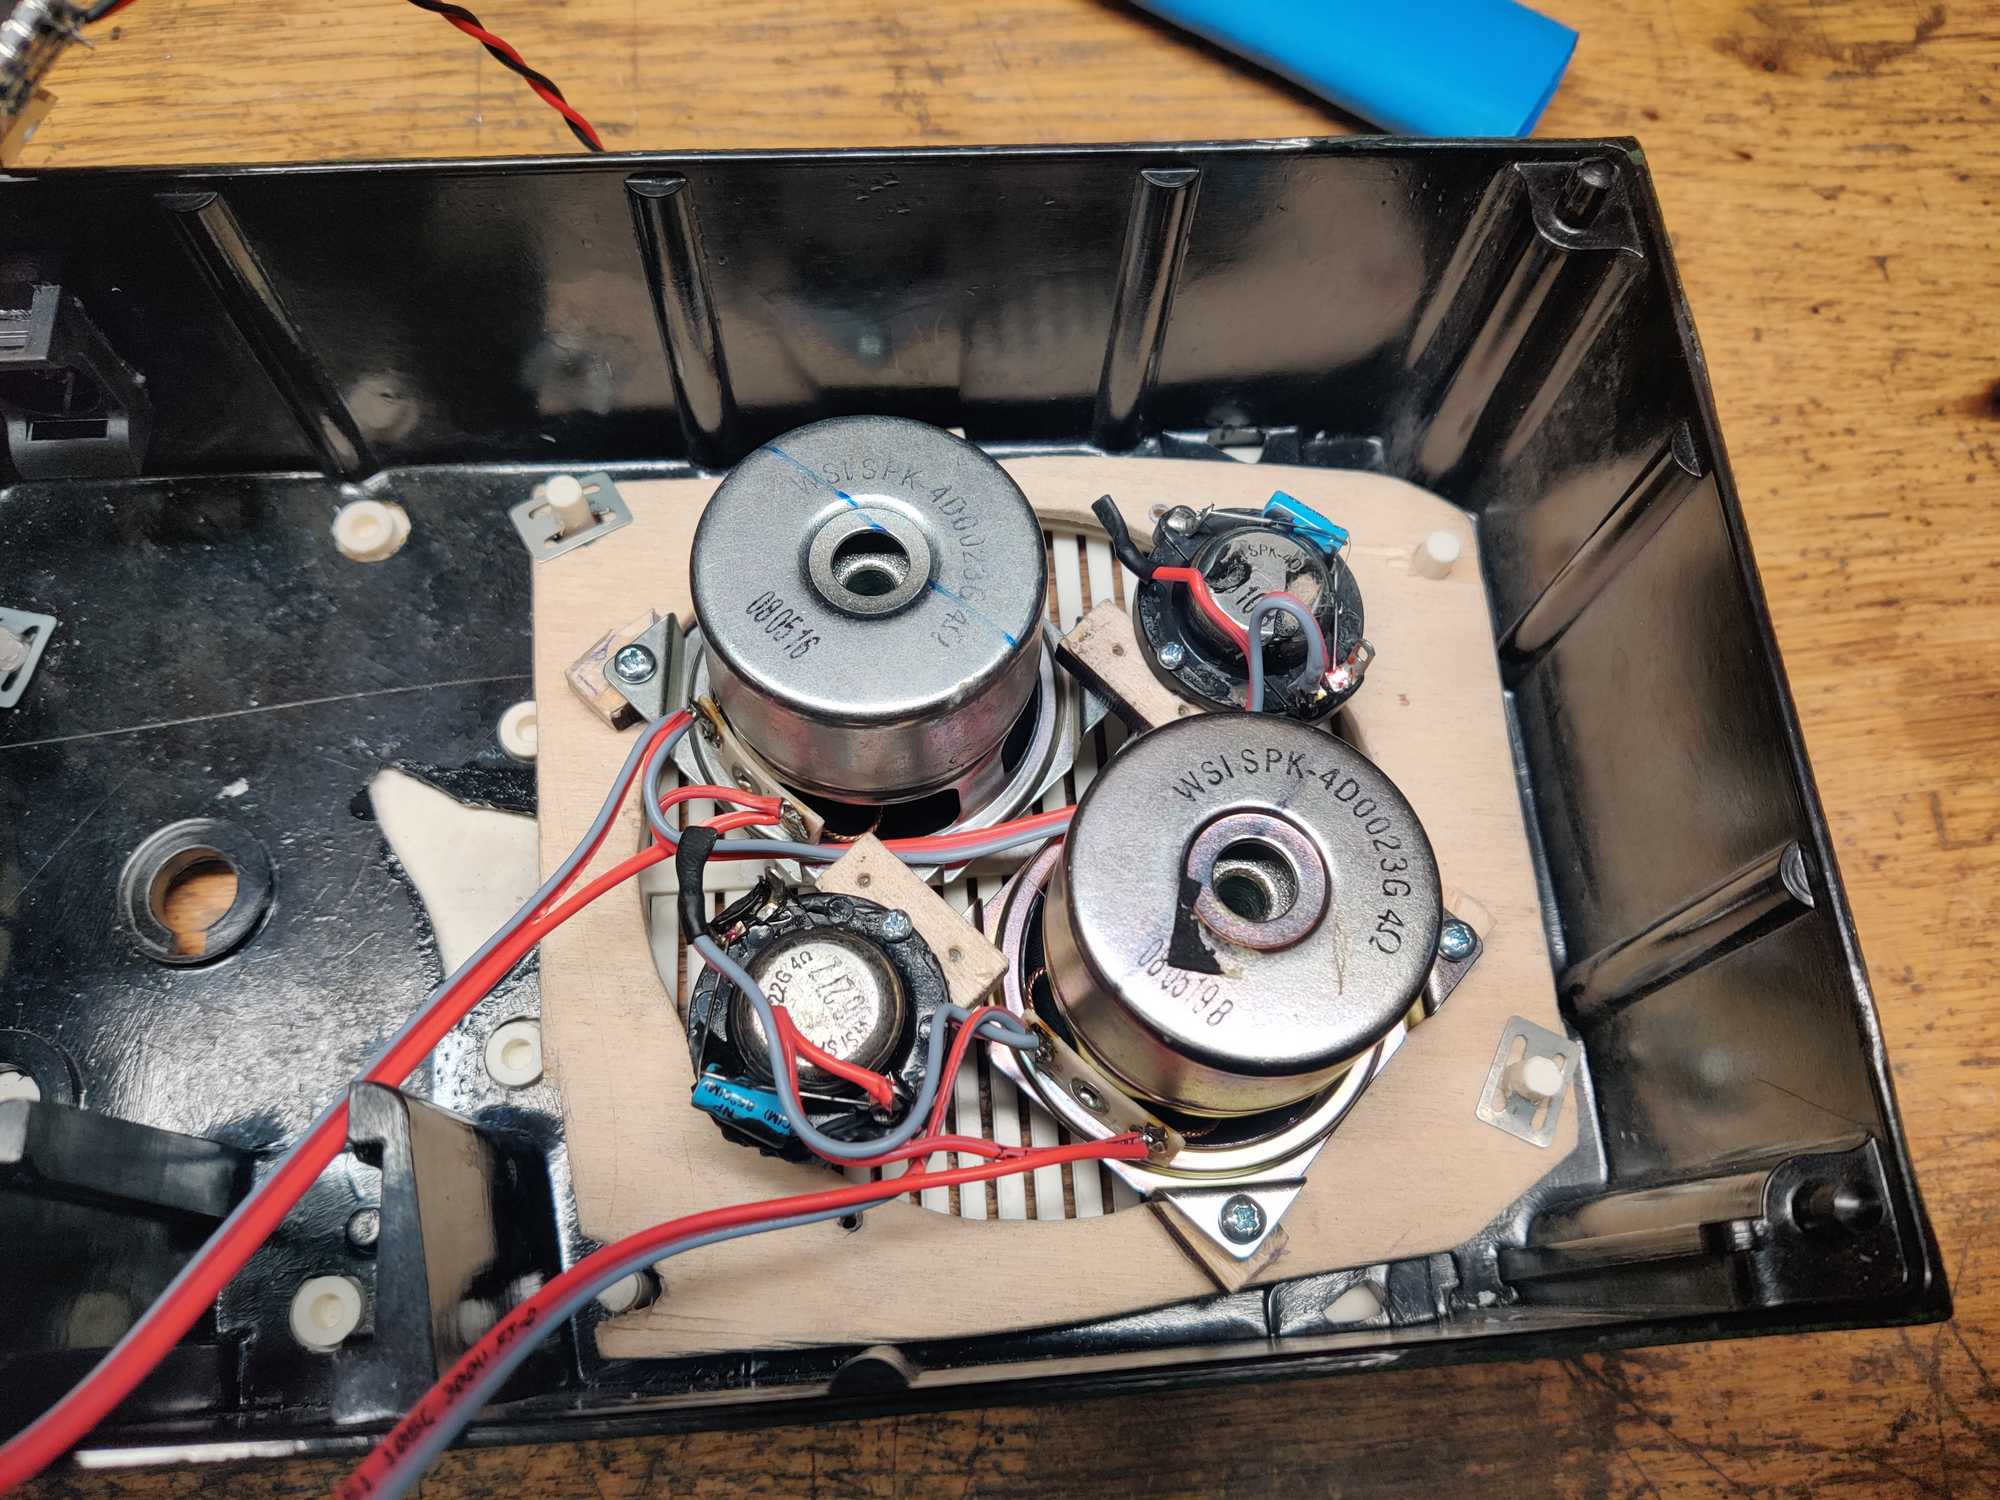
Sony mod:
Notice that I mounted tweeters as well but eventually left them disconnected and the reason for that was because those tweeters had such a screeching sound quality. It was awful to listen to. Funny enough those tweeters in Creative setup were left unconnected as well and I don’t know if it was intentional or not.
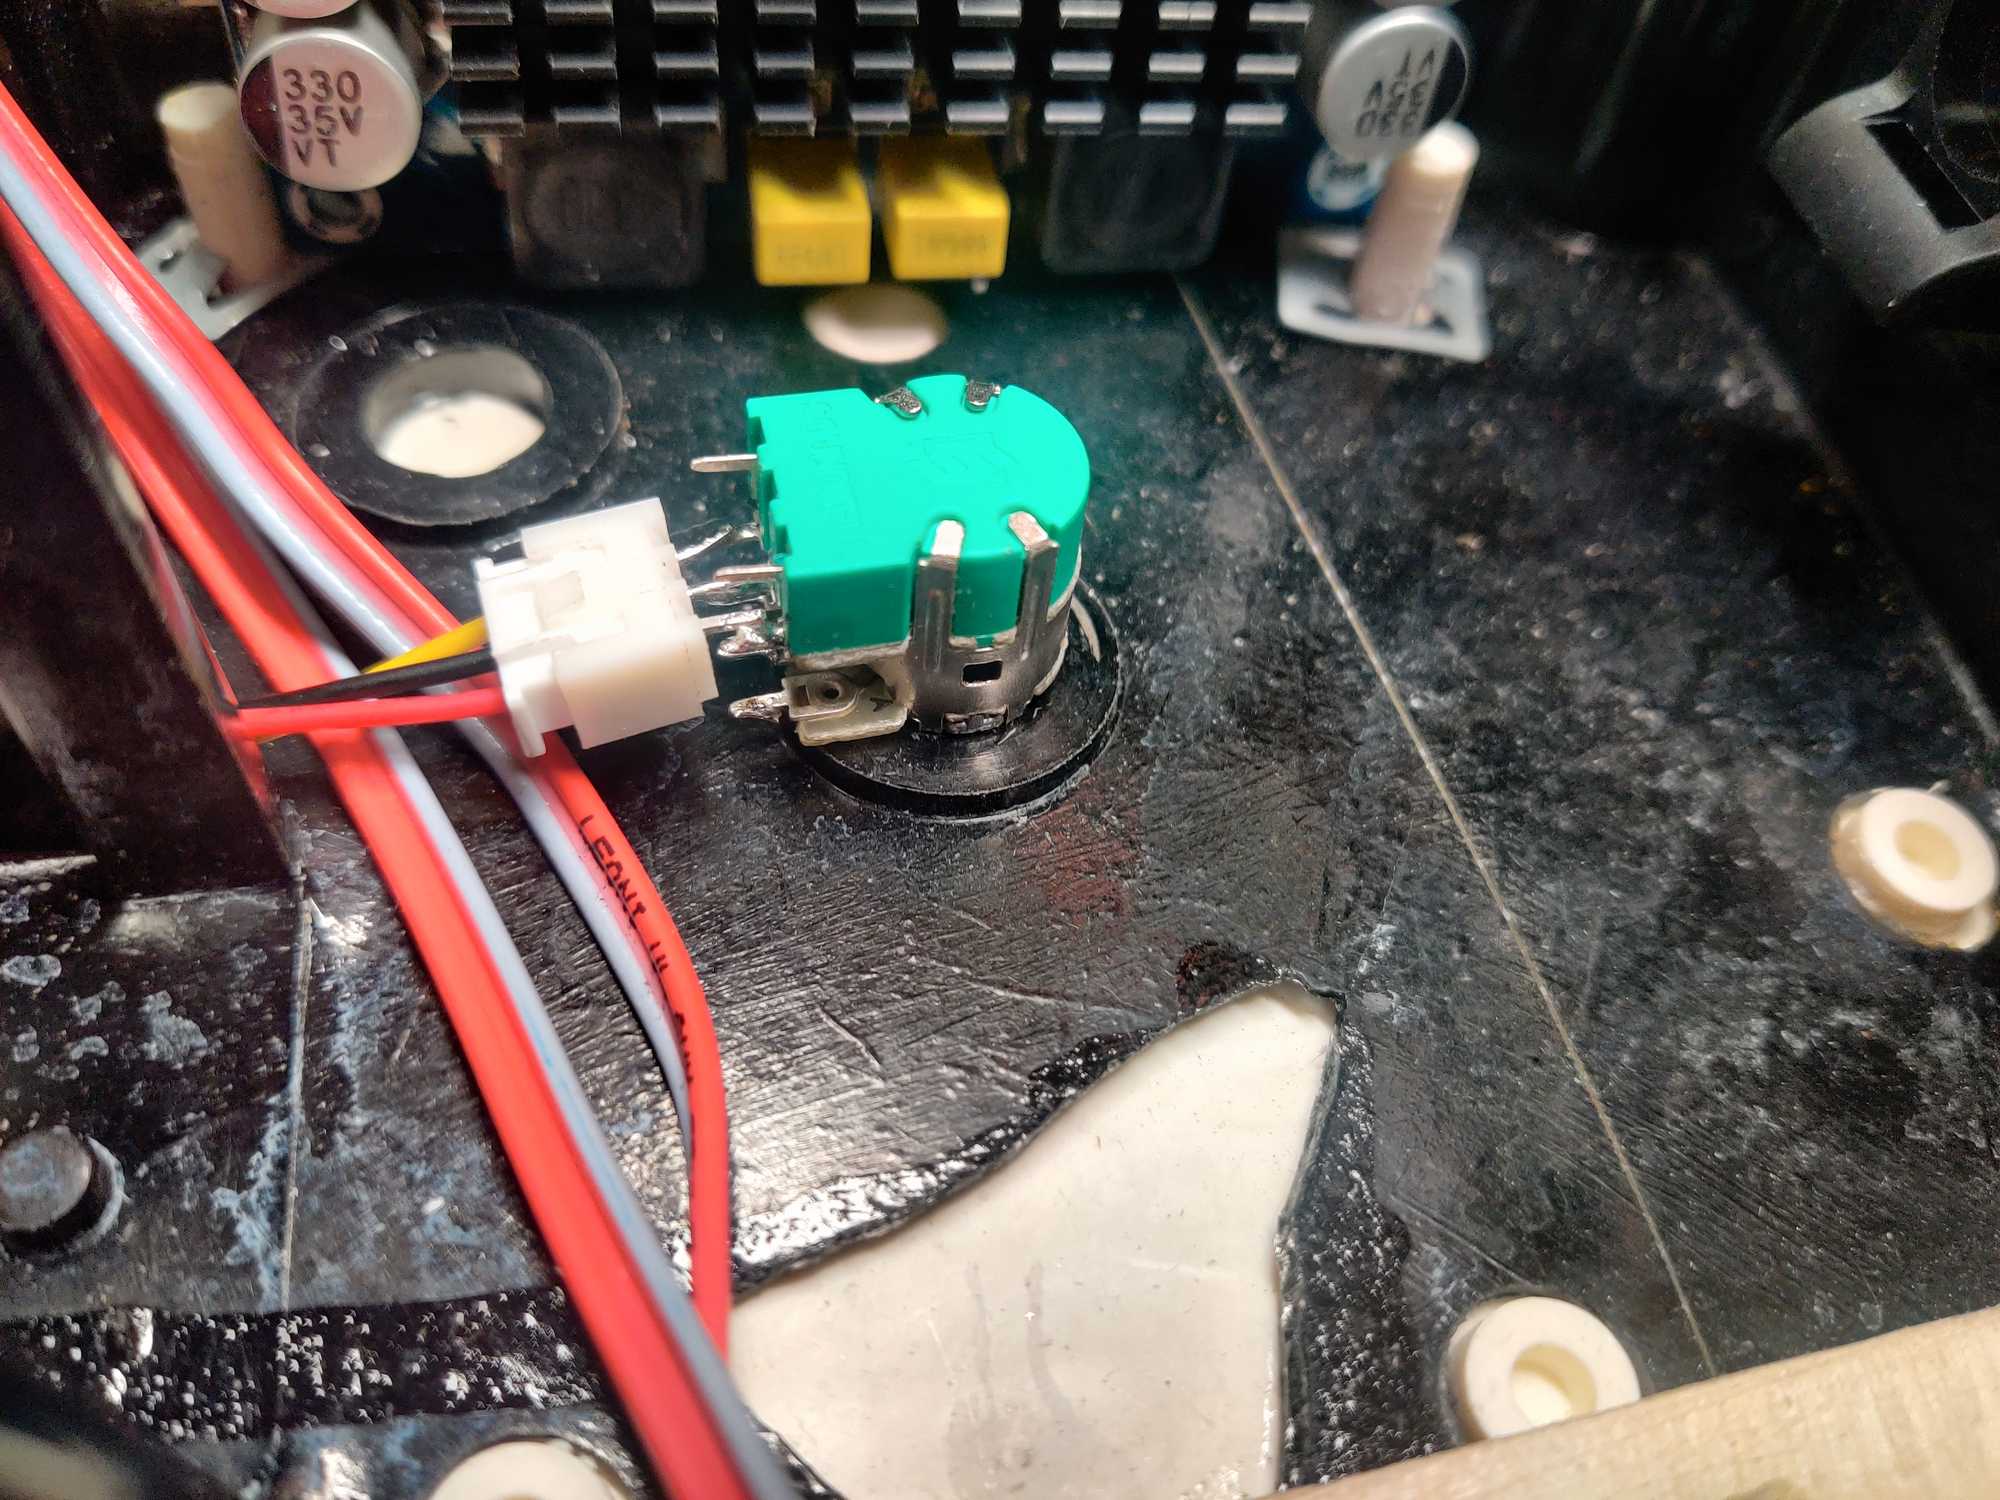
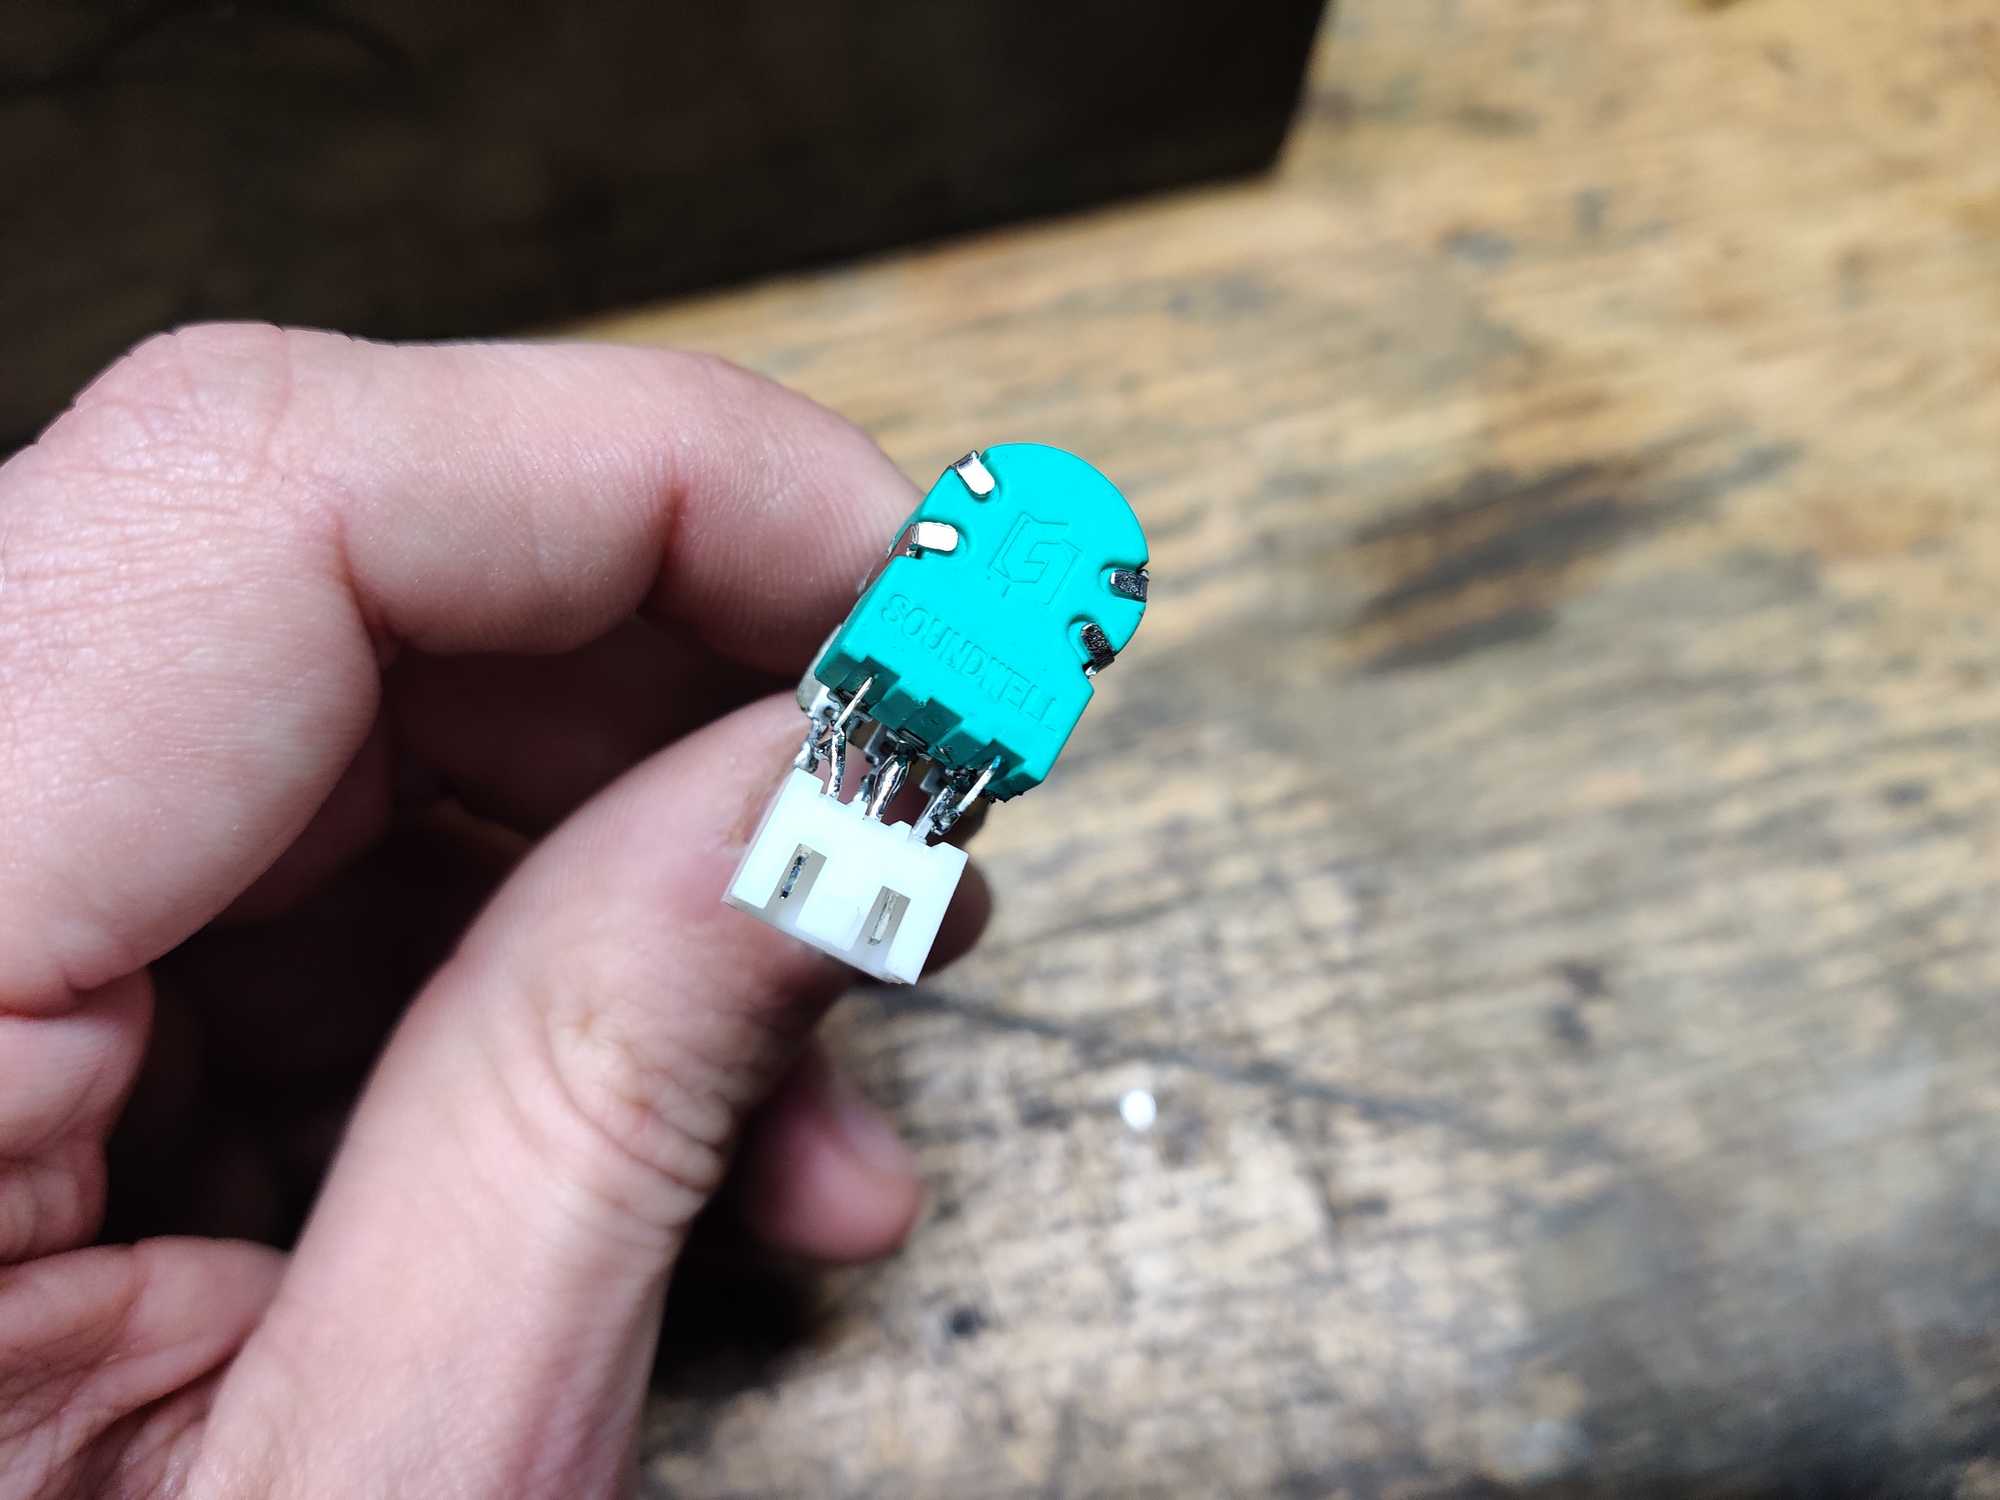
To turn it on I wanted to have an authentic feel with it. Interestingly this one didn’t have a button to turn it on, only a potentiometer for volume control. So I replaced it with one that has a switch built in. Locally I didn’t find any such a thing so I had to buy from AliExpress. And to fit it in I had to make a small keyway and soldered a 3-pin JST connector for convenience which was connected to the amplifier in-place of the volume control pot on the amp.

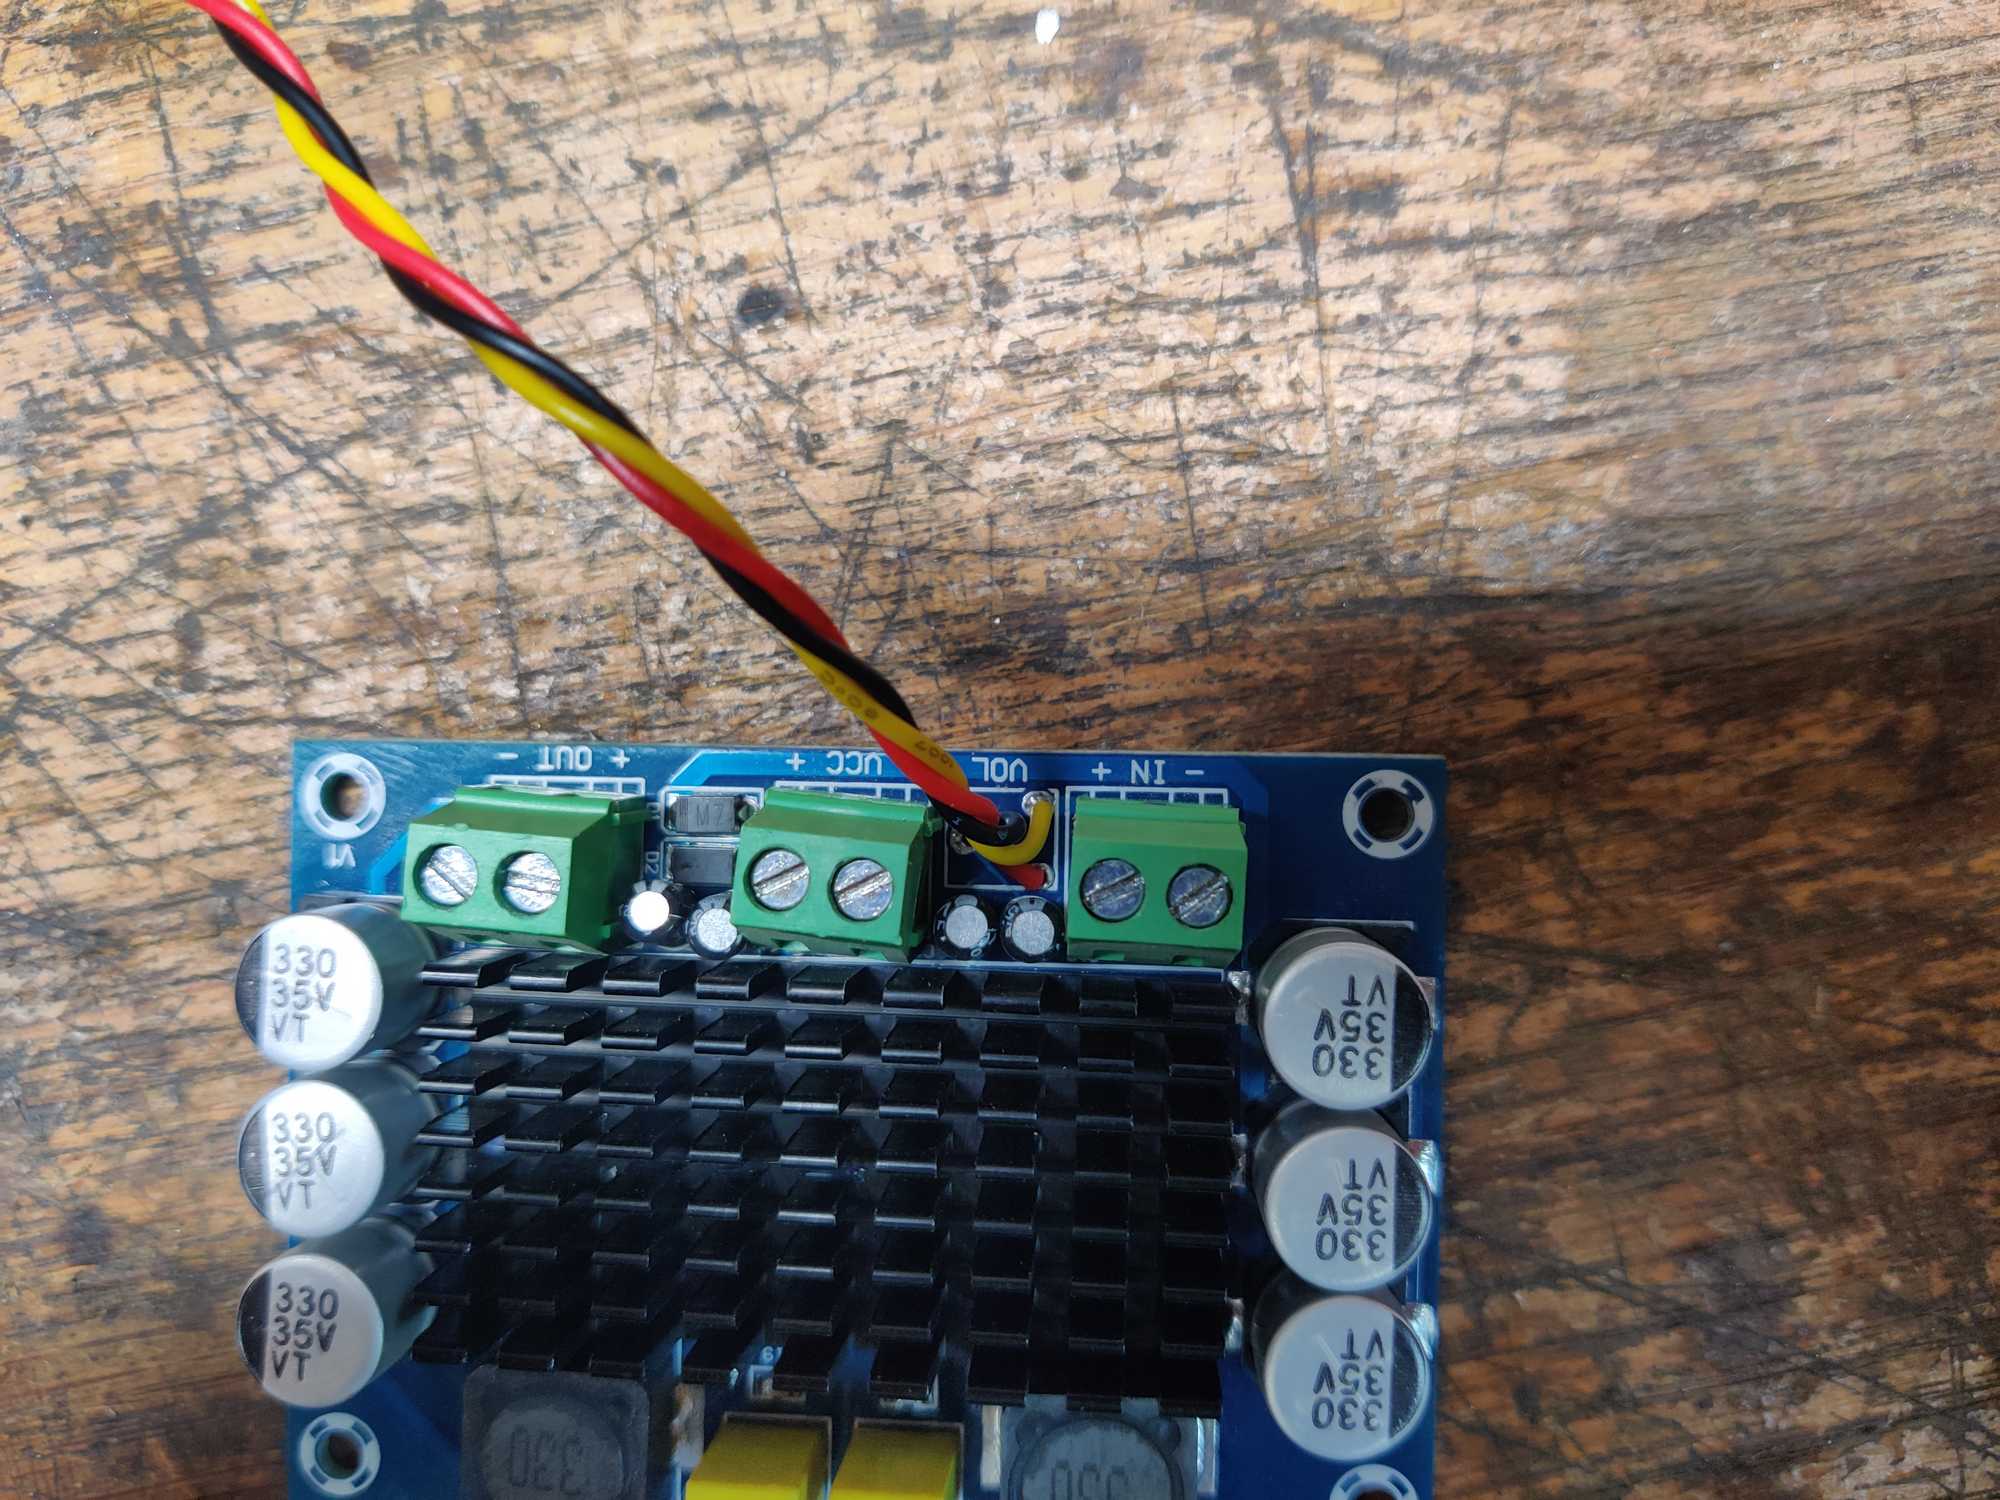
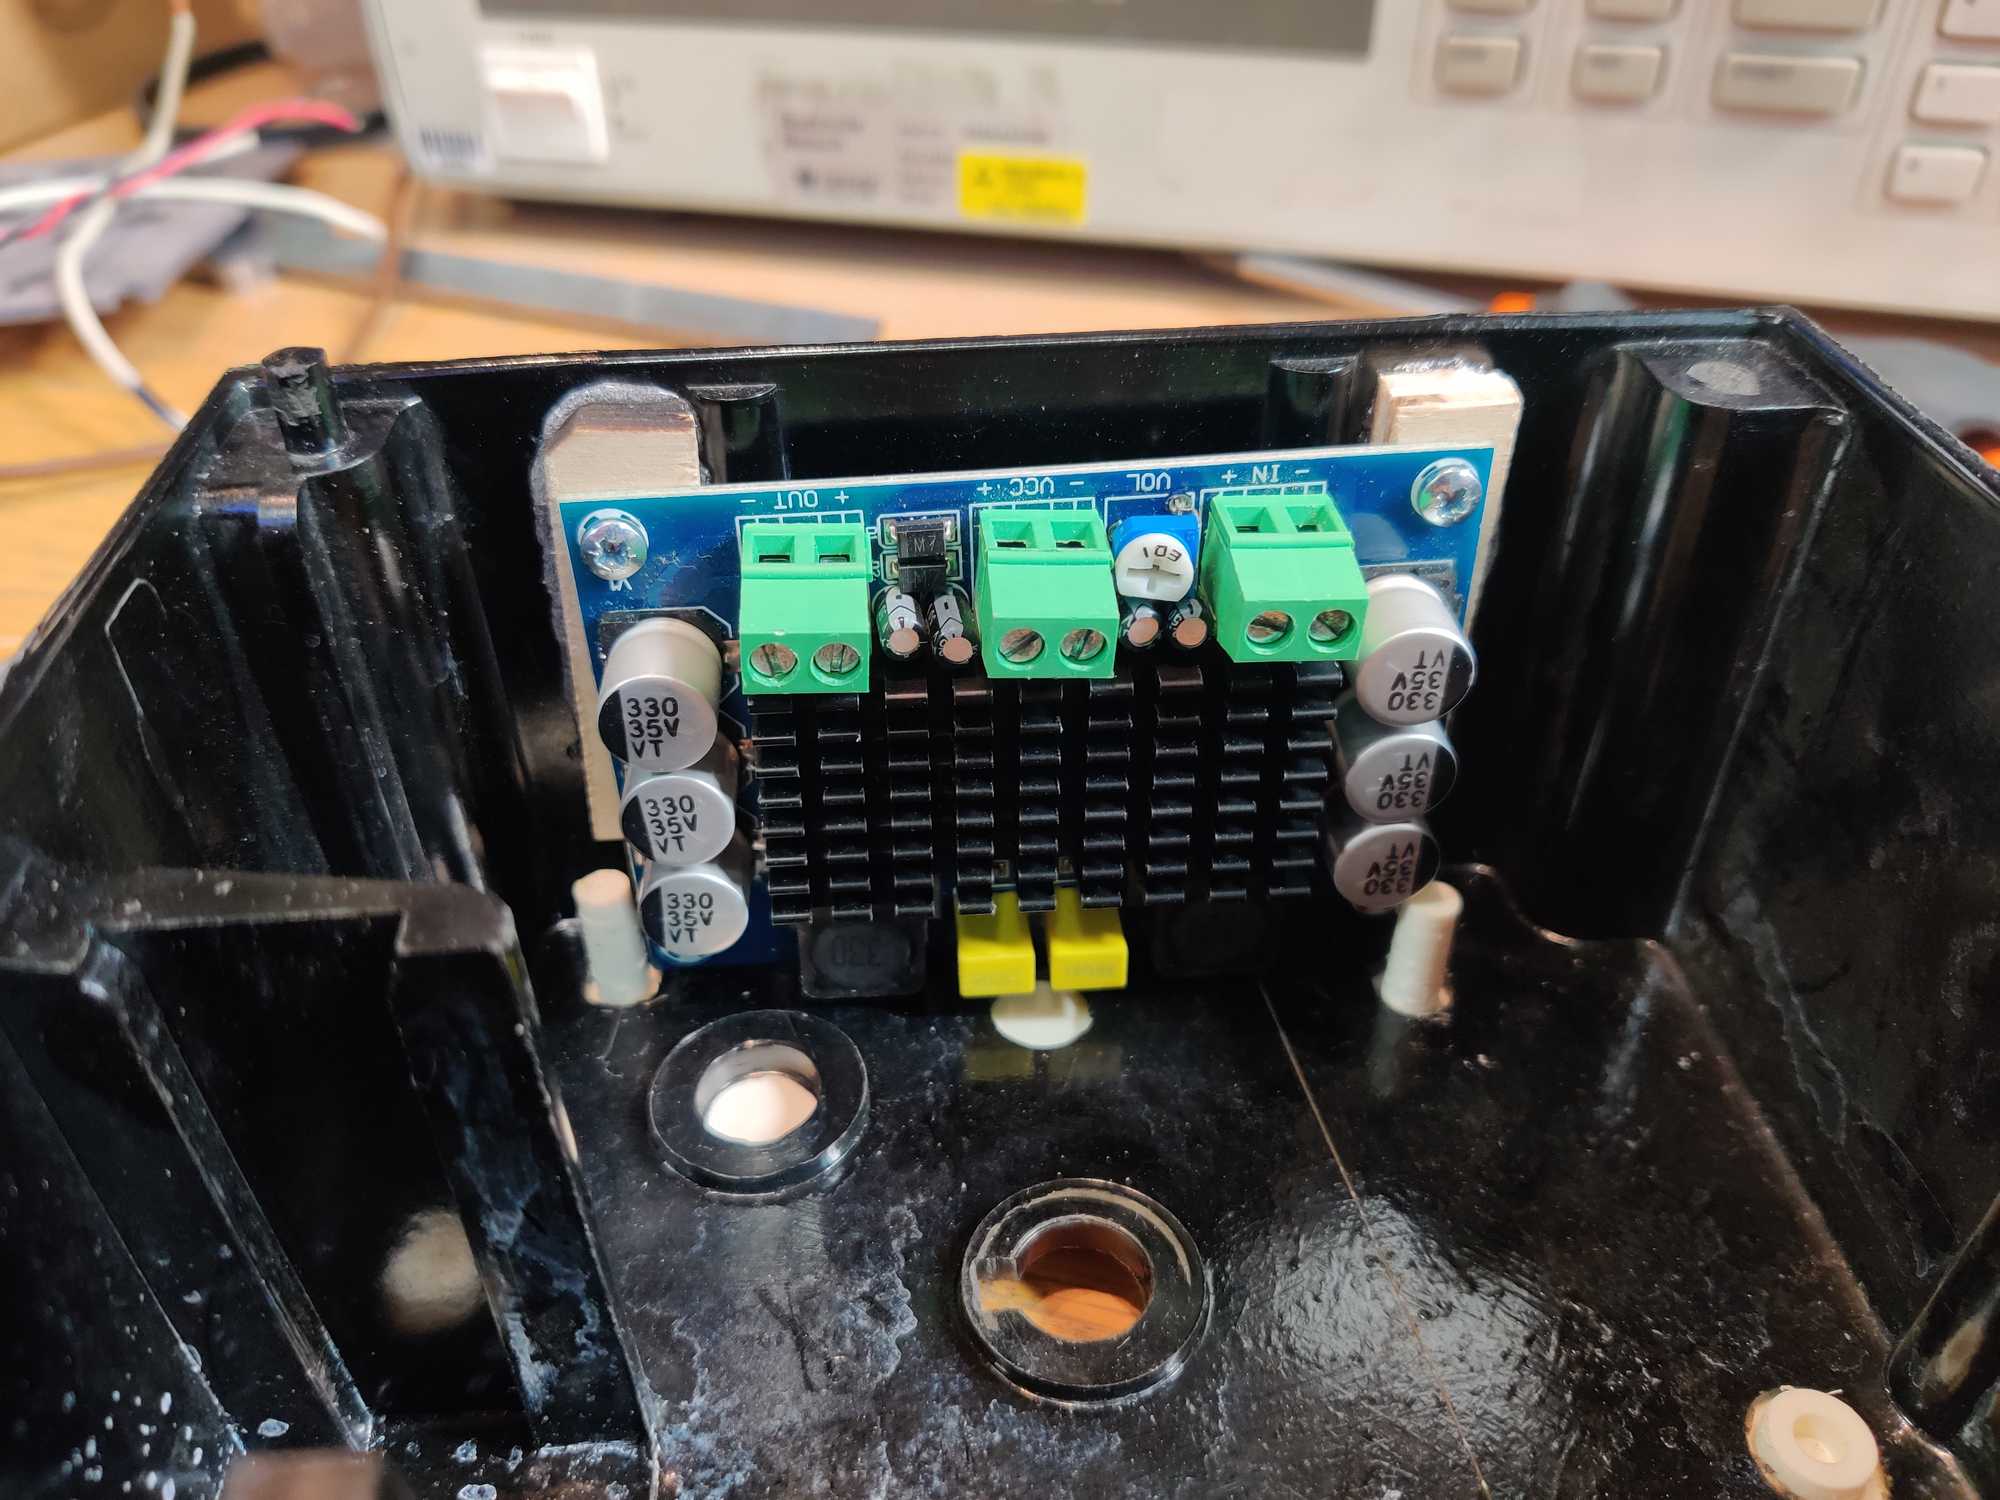
Mounting a mono amplifier was fairly easy. By gluing to the inside little pieces of plywood I made a way to screw the amplifier to the case.
And because it’s a mono amplifier I needed to combine left and right channels into one. This was done by connected both channels together through 10k resistors.

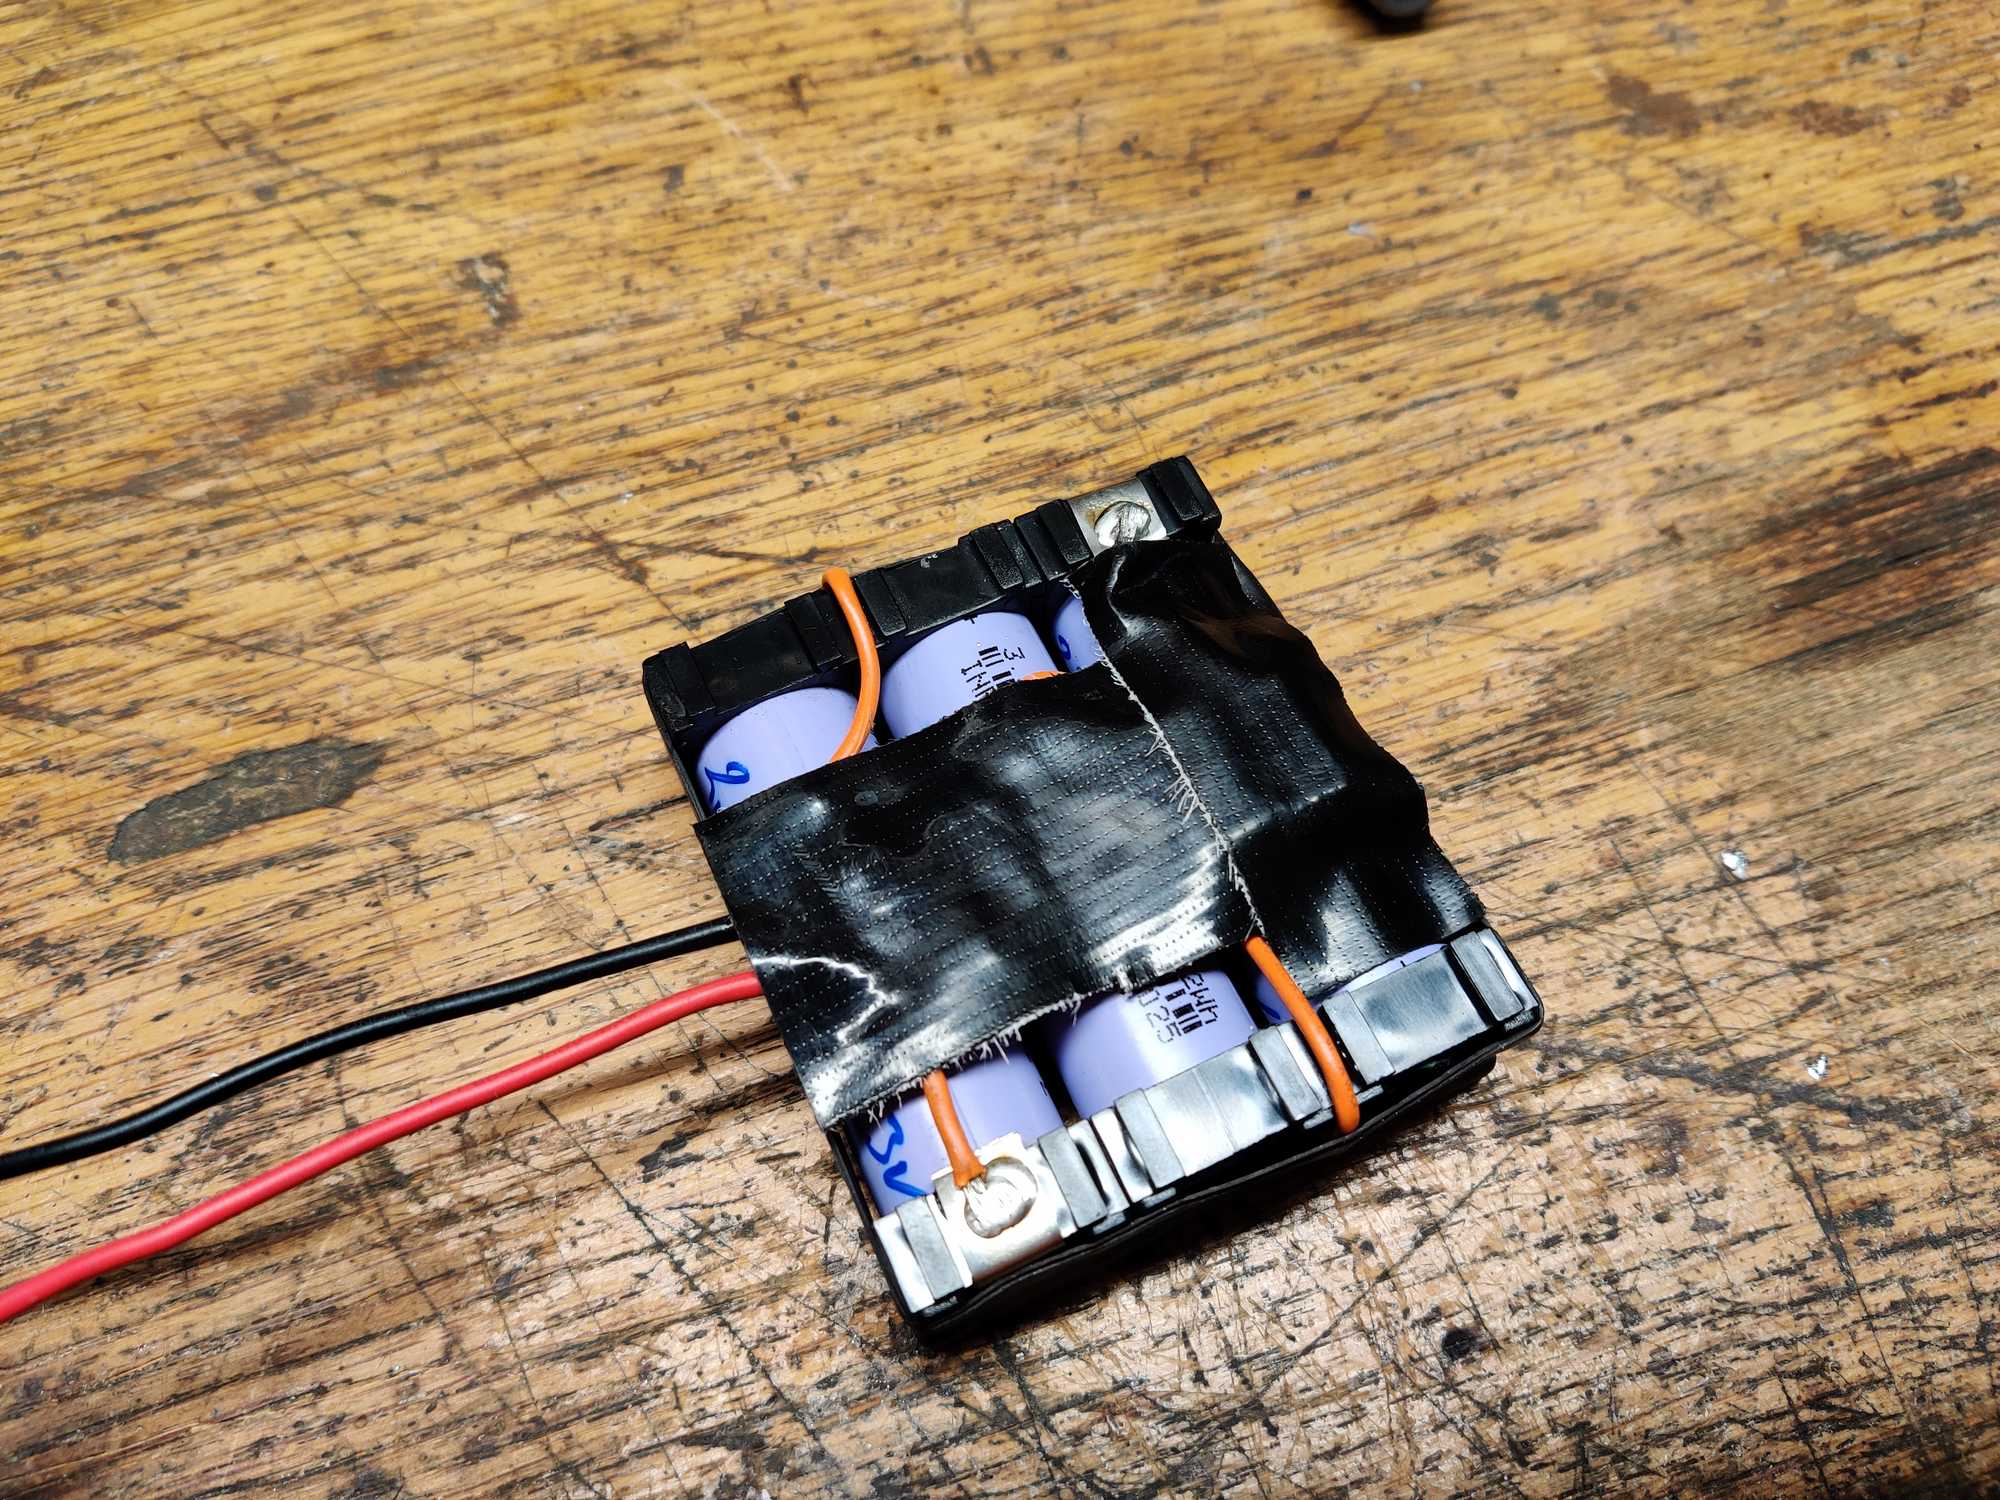
The battery was made from refurbished 18650 cells in 3S1P arrangement. I could only fit three in there so I picked with the largest capacity that I found – each around 2.6 Ah tested with a 3A load.
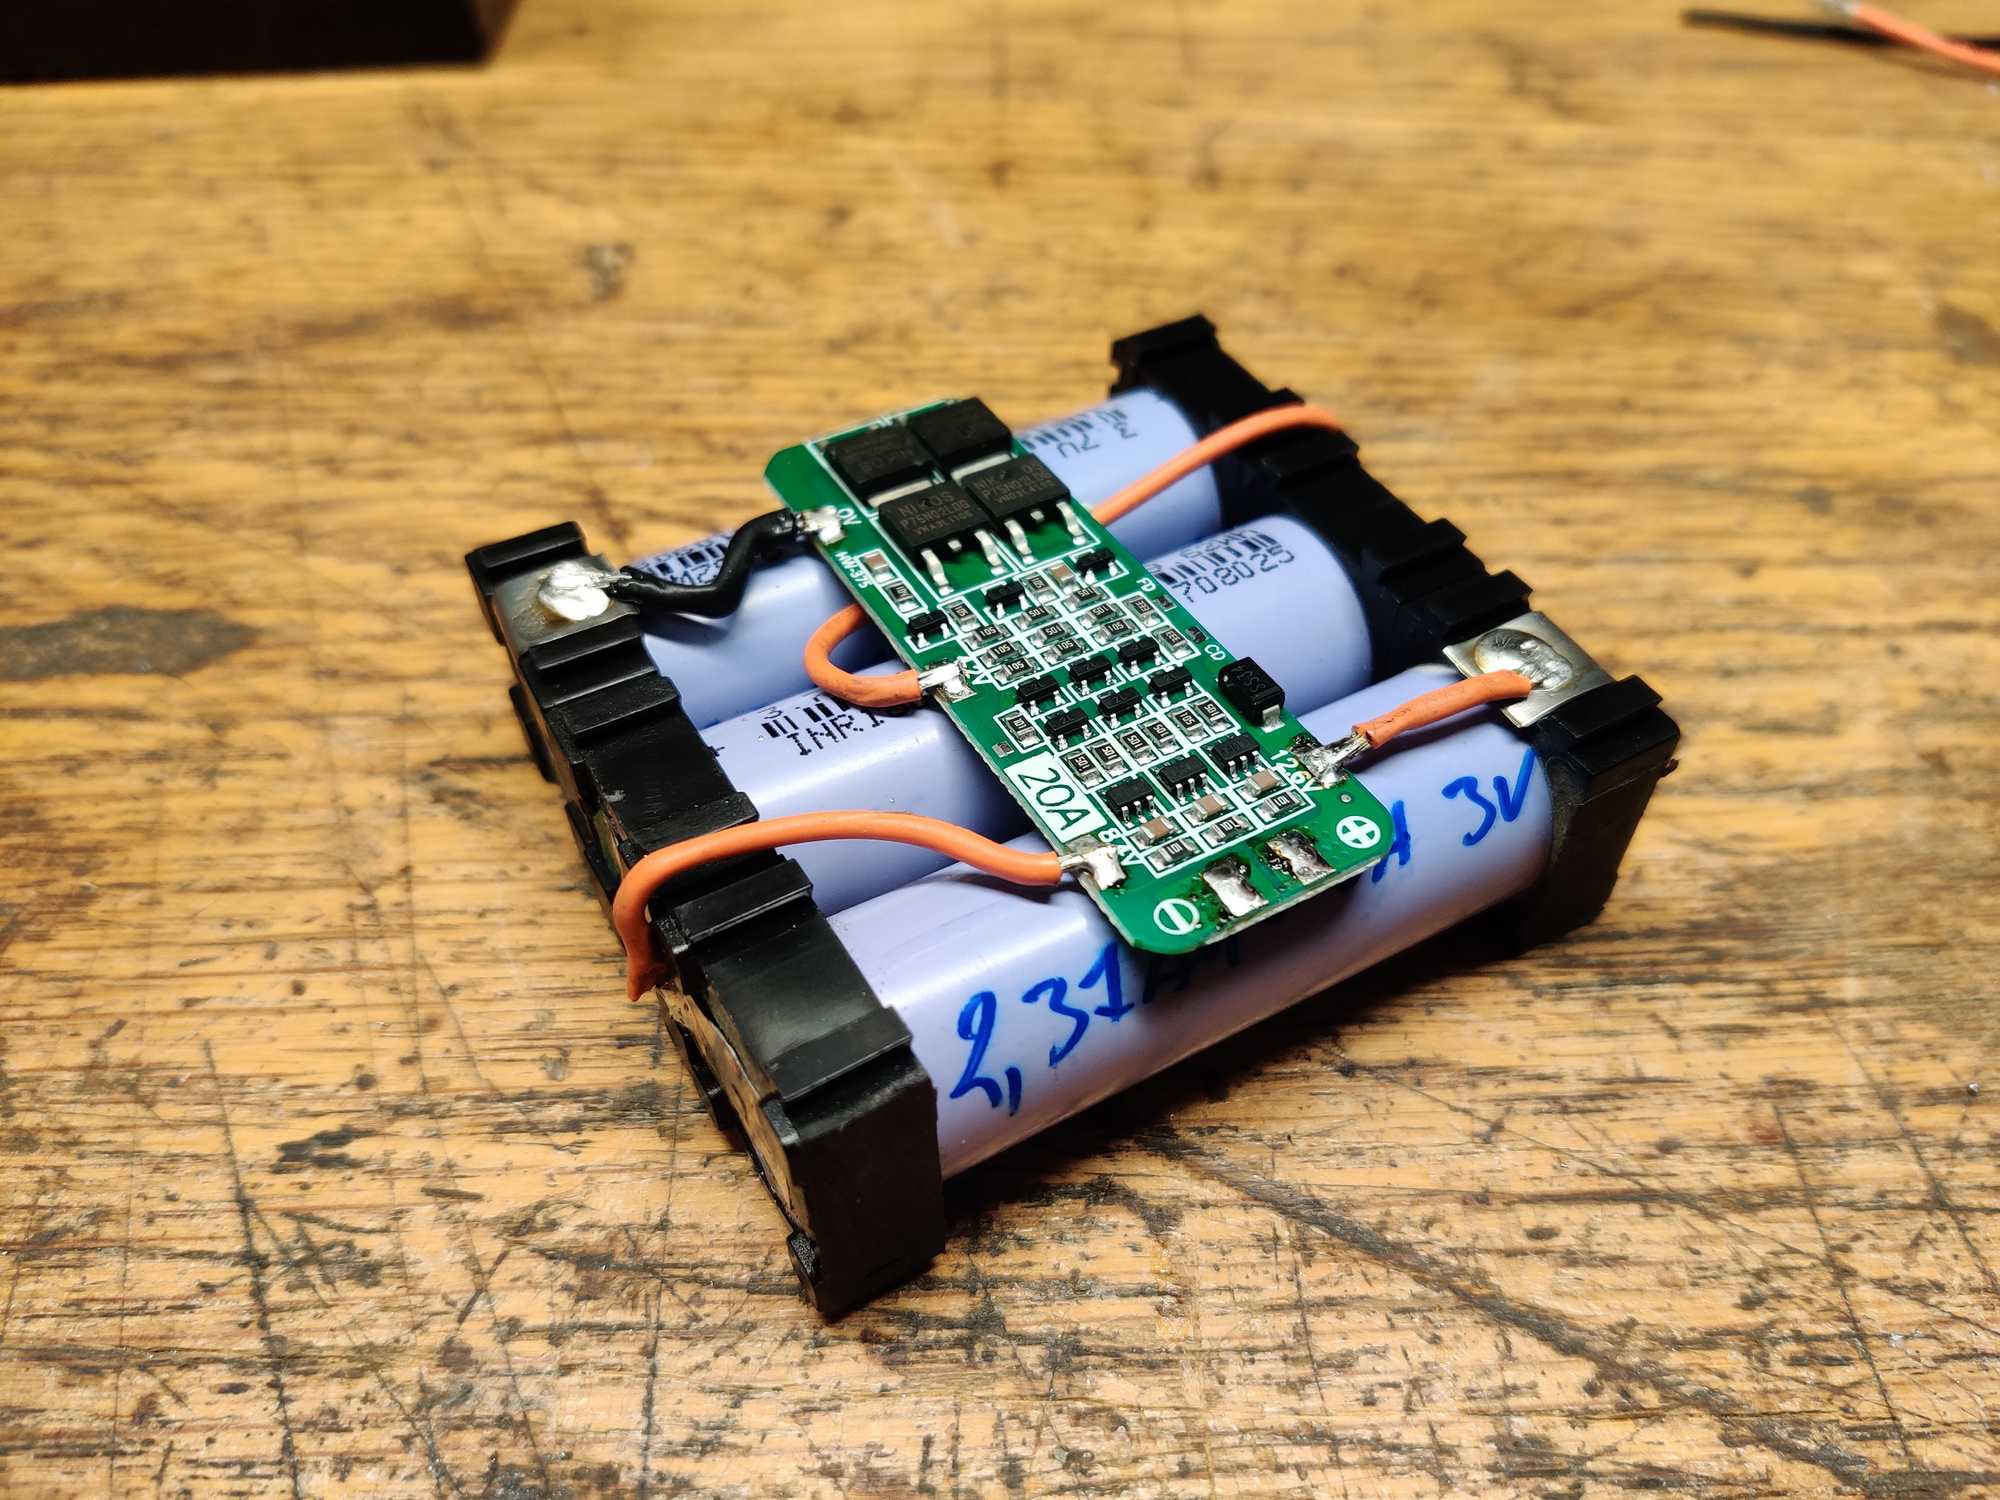
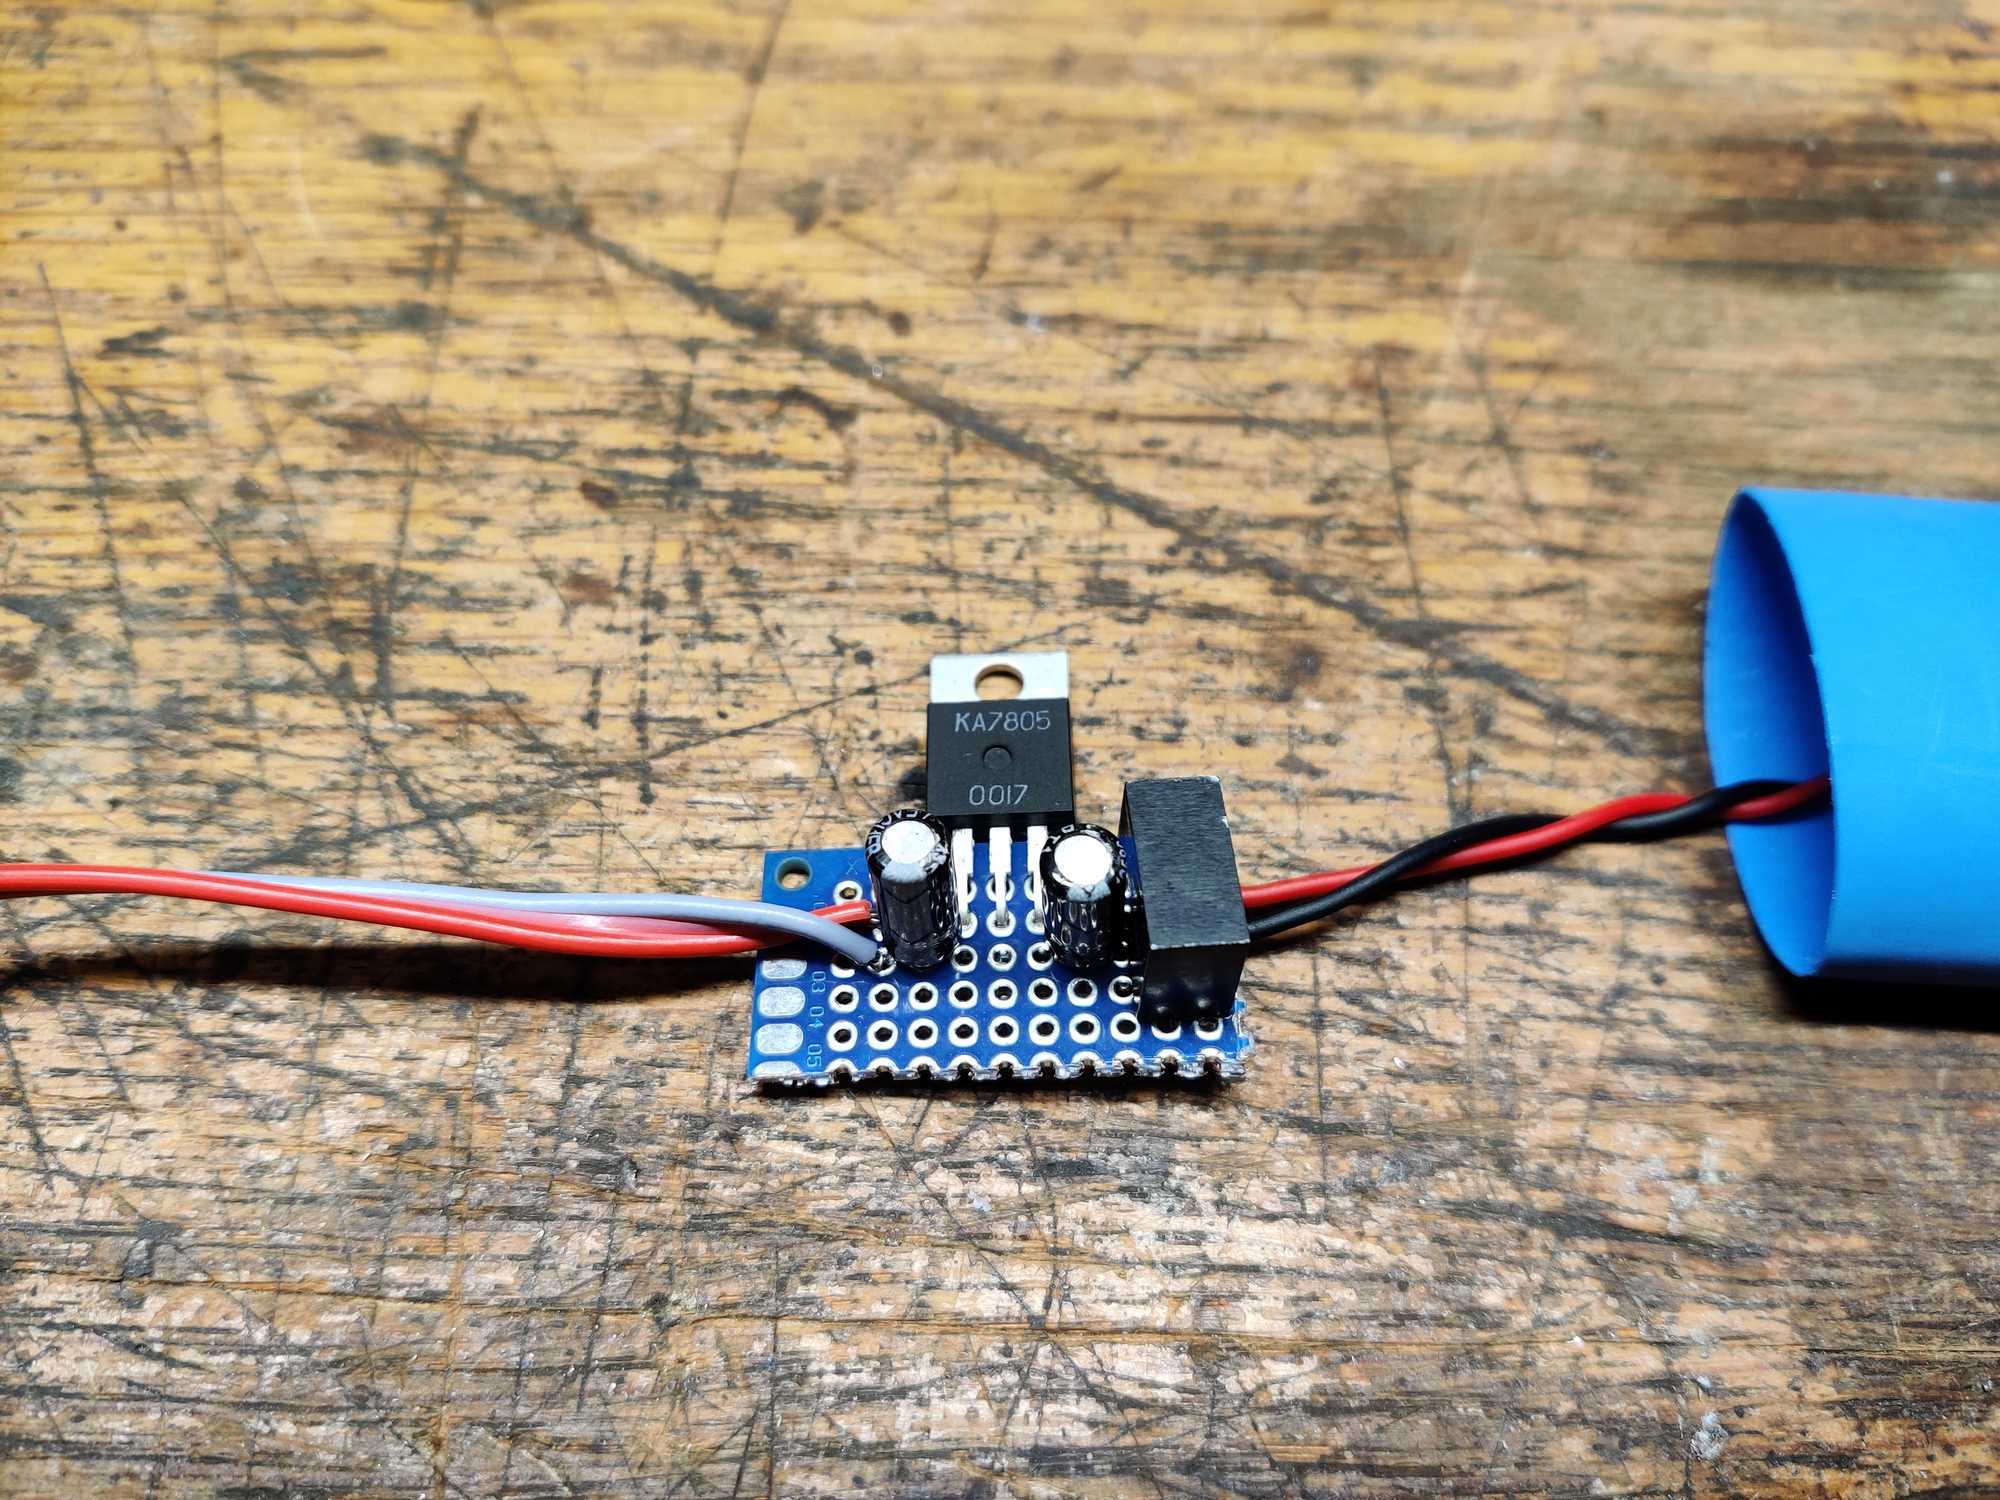
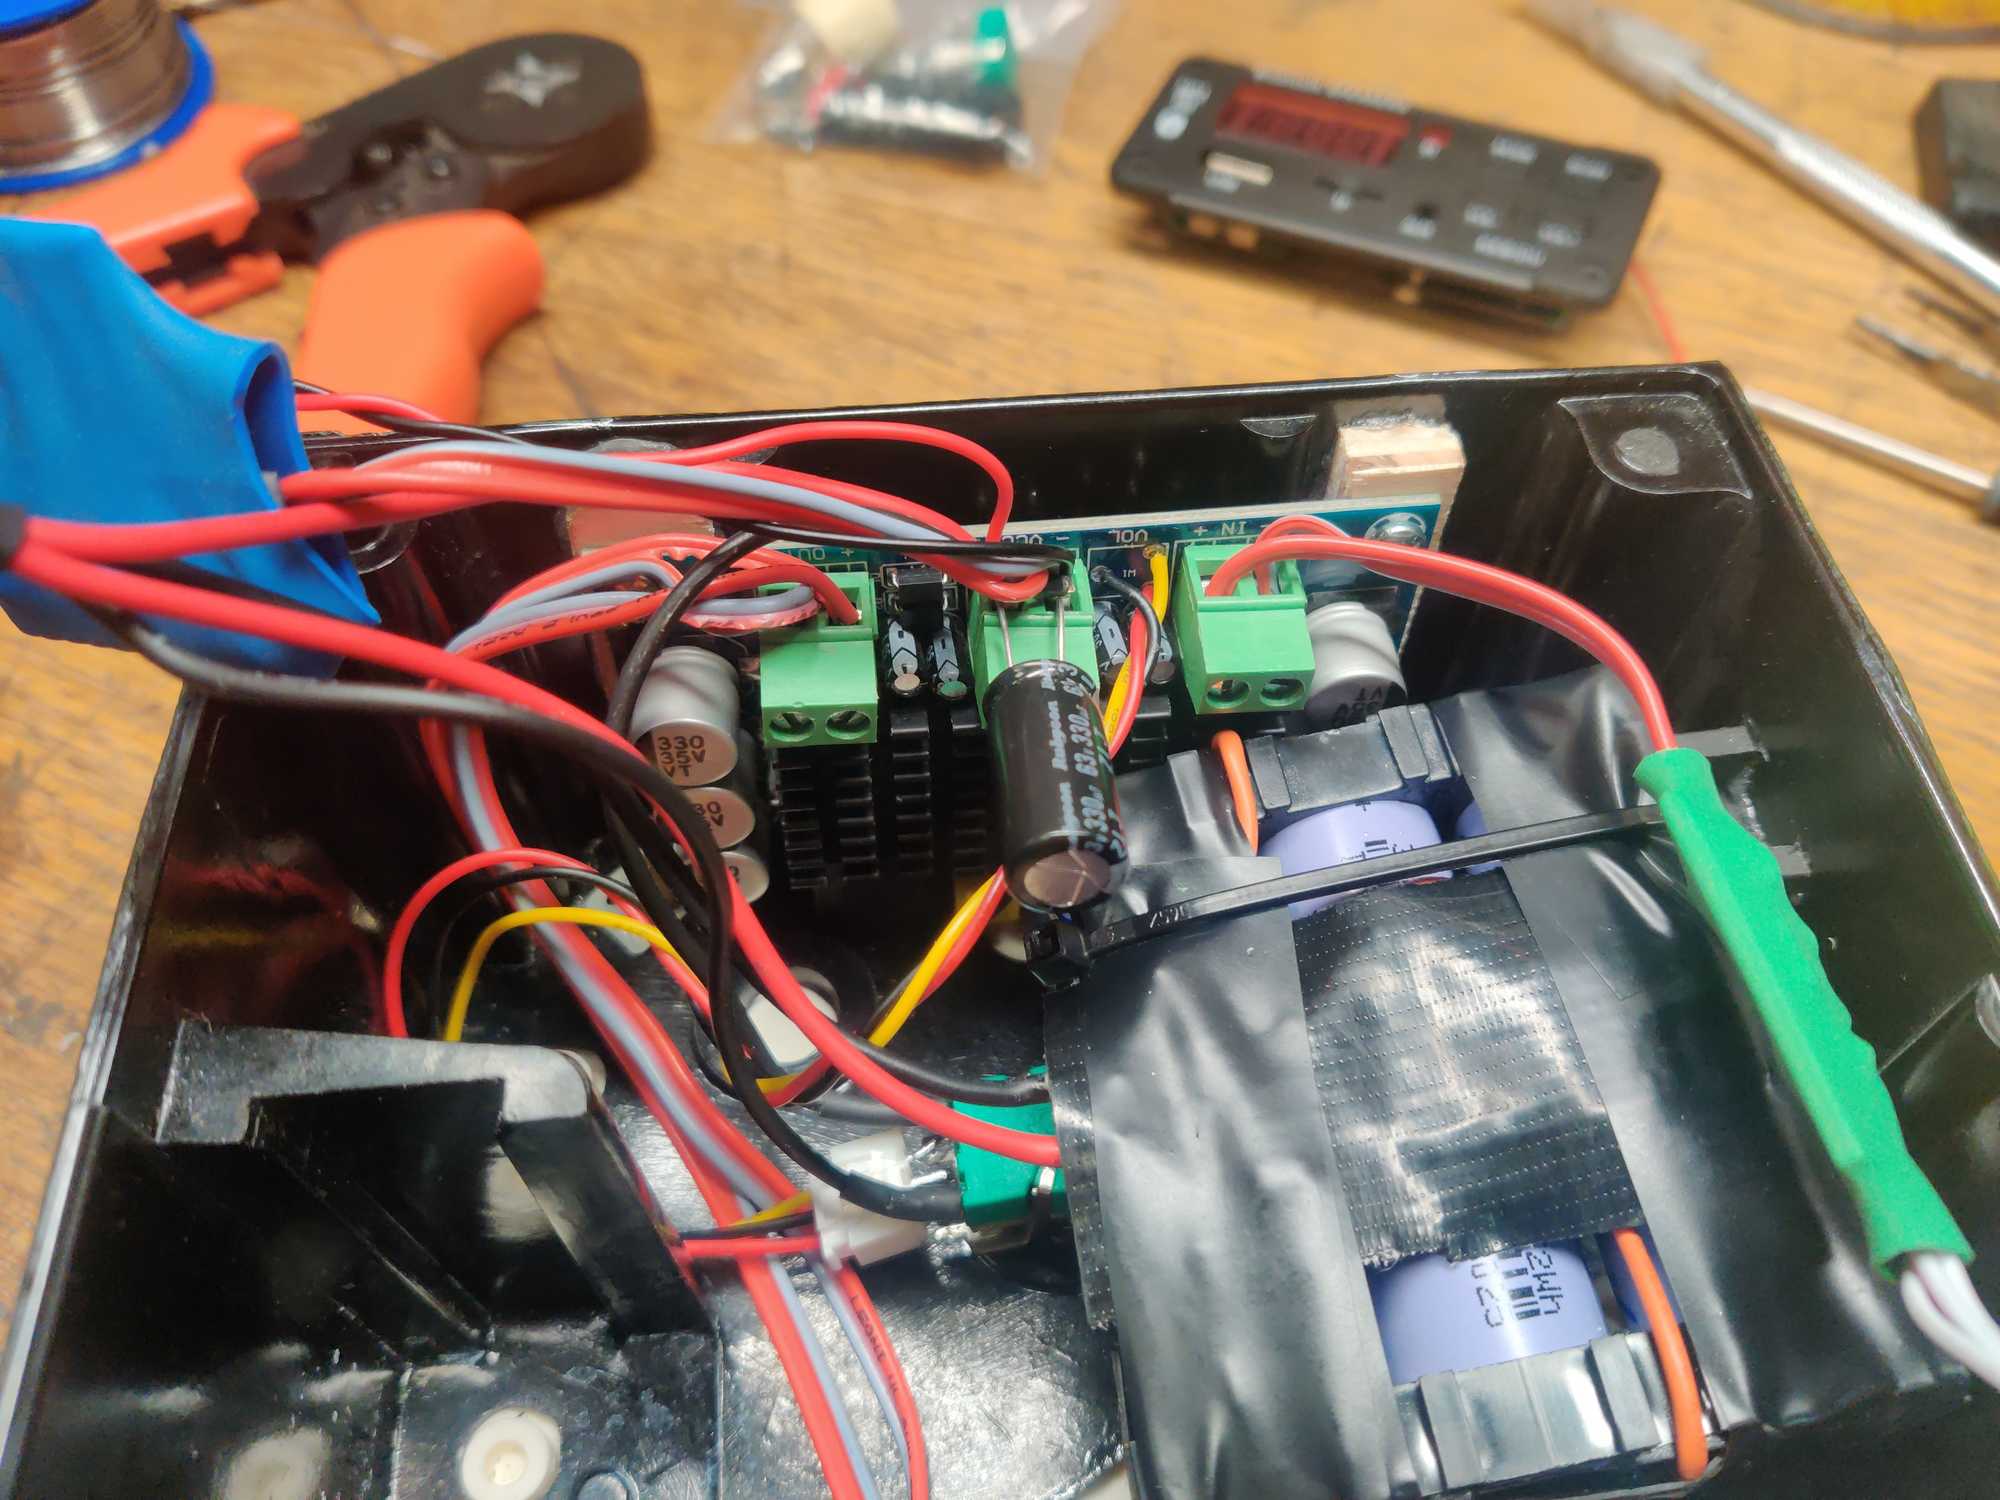
The battery is 12.6 when fully charged and the player I wanted to use has a voltage range of 5-12v but at 5v it works very unreliably. I made a buck converter from capacitors, a linear regulator and an isolating DC-DC converter to remove that annoying hiss sound.
The linear reg shown below is a 5v one because I thought that 5v is the maximum power for this player, but after more documentation flipping I replaced that with 12v one. That’s to set the voltage to 12v because to charge the battery you’d use around 13-14v.
Electronic components are done now. I needed to mount some of them on the back somehow so I designed and laser-cut the back cover. Sanded it down a bit and used crude oil to stain the wood and that turned out really nice.
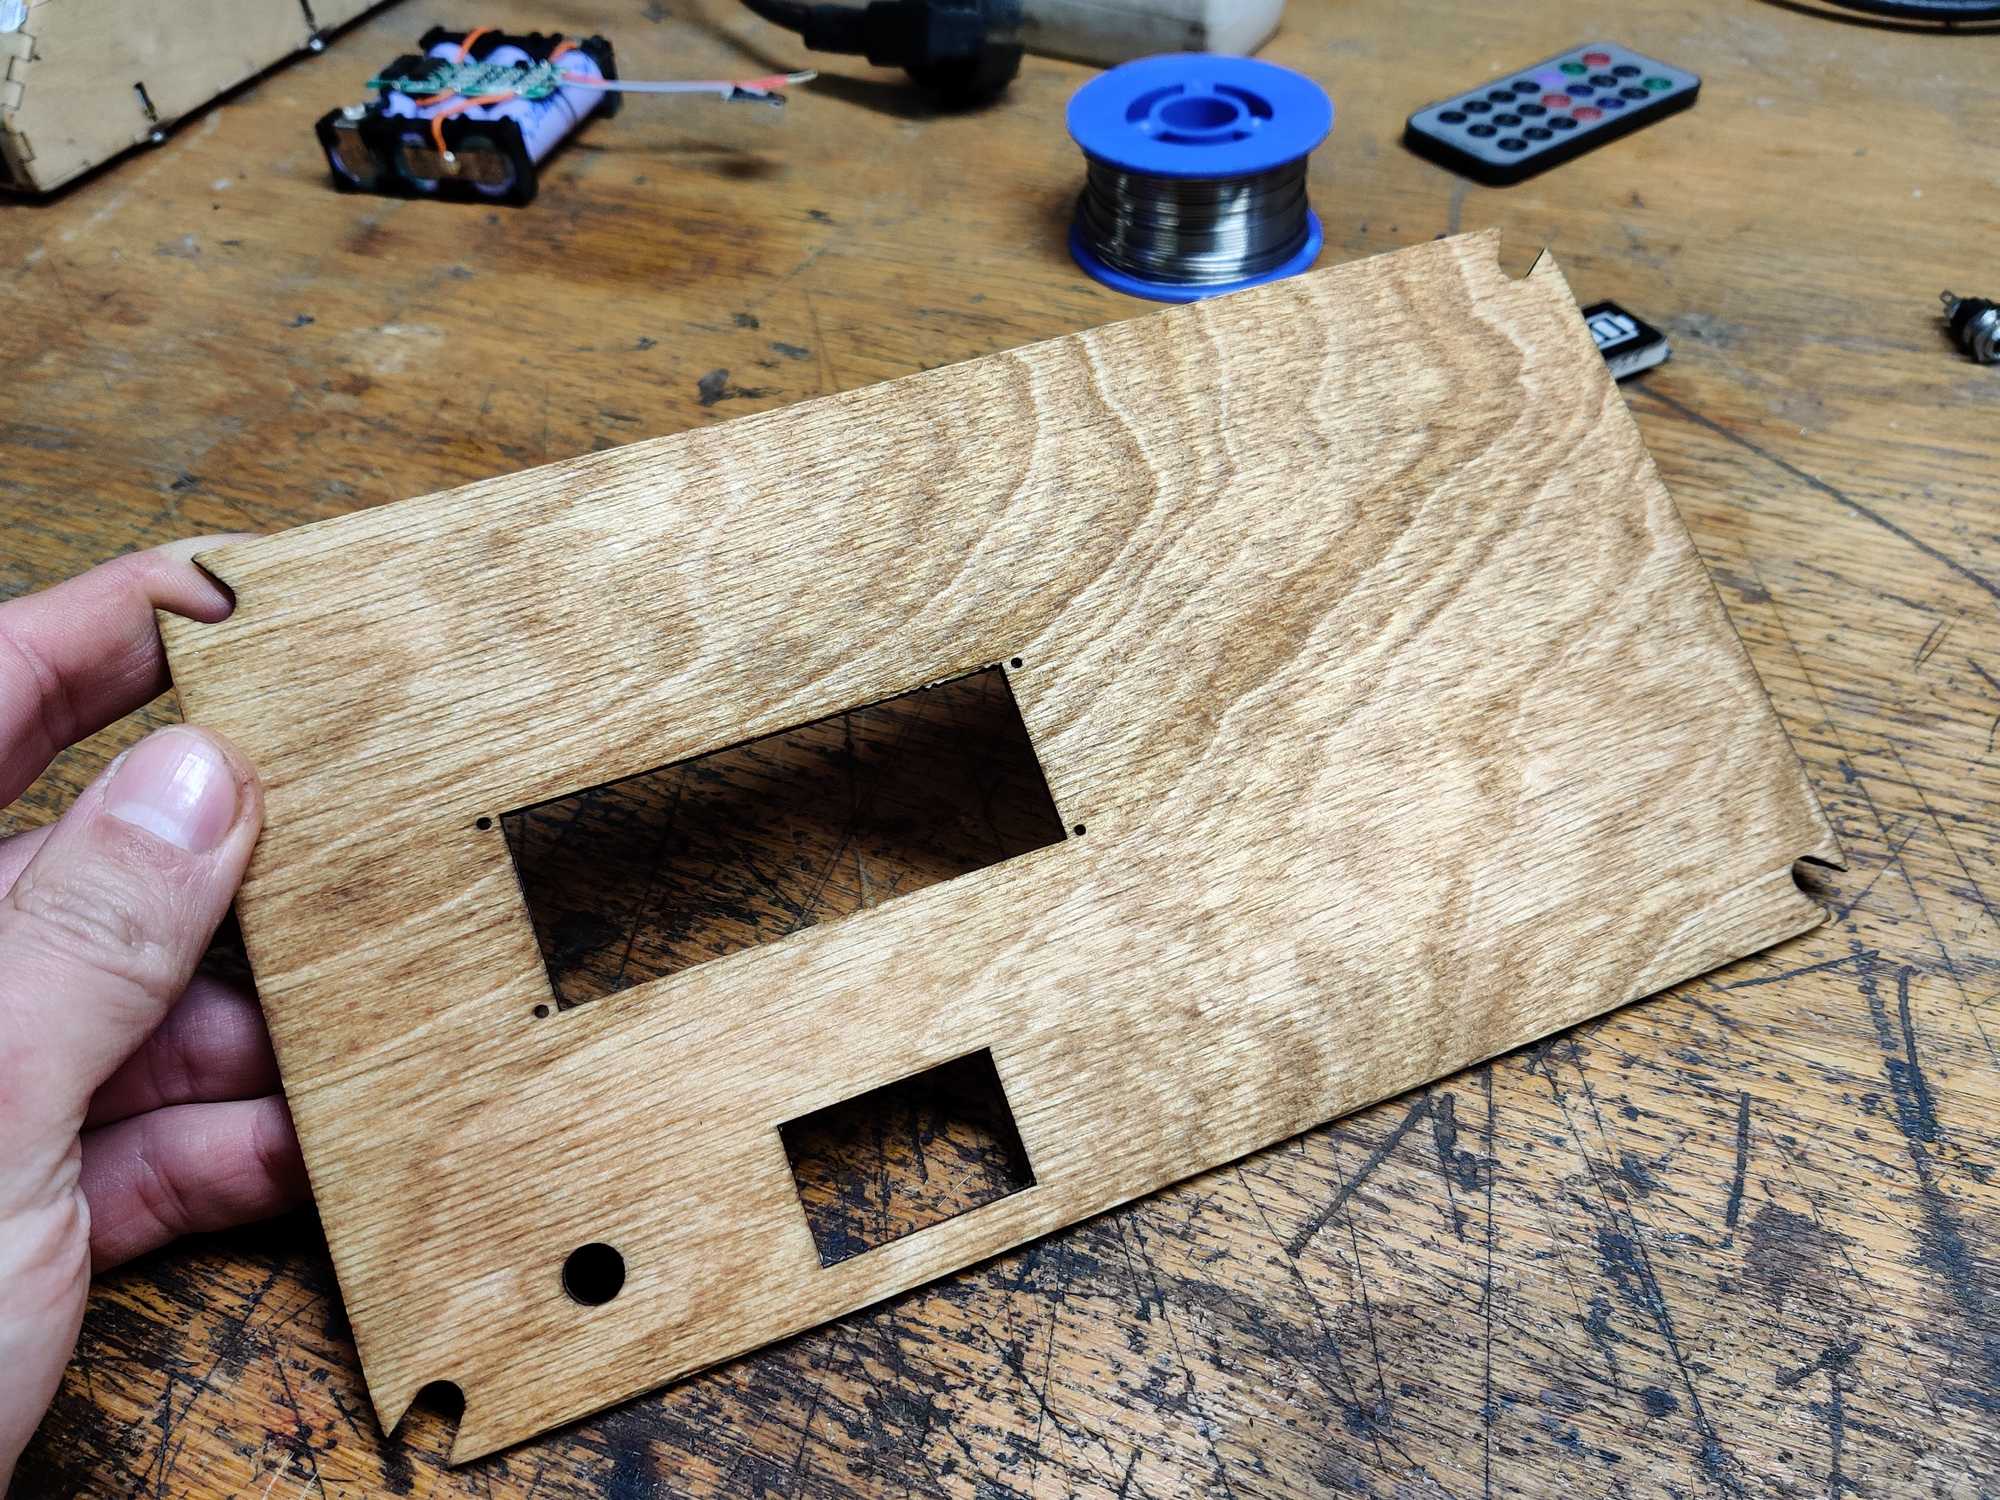
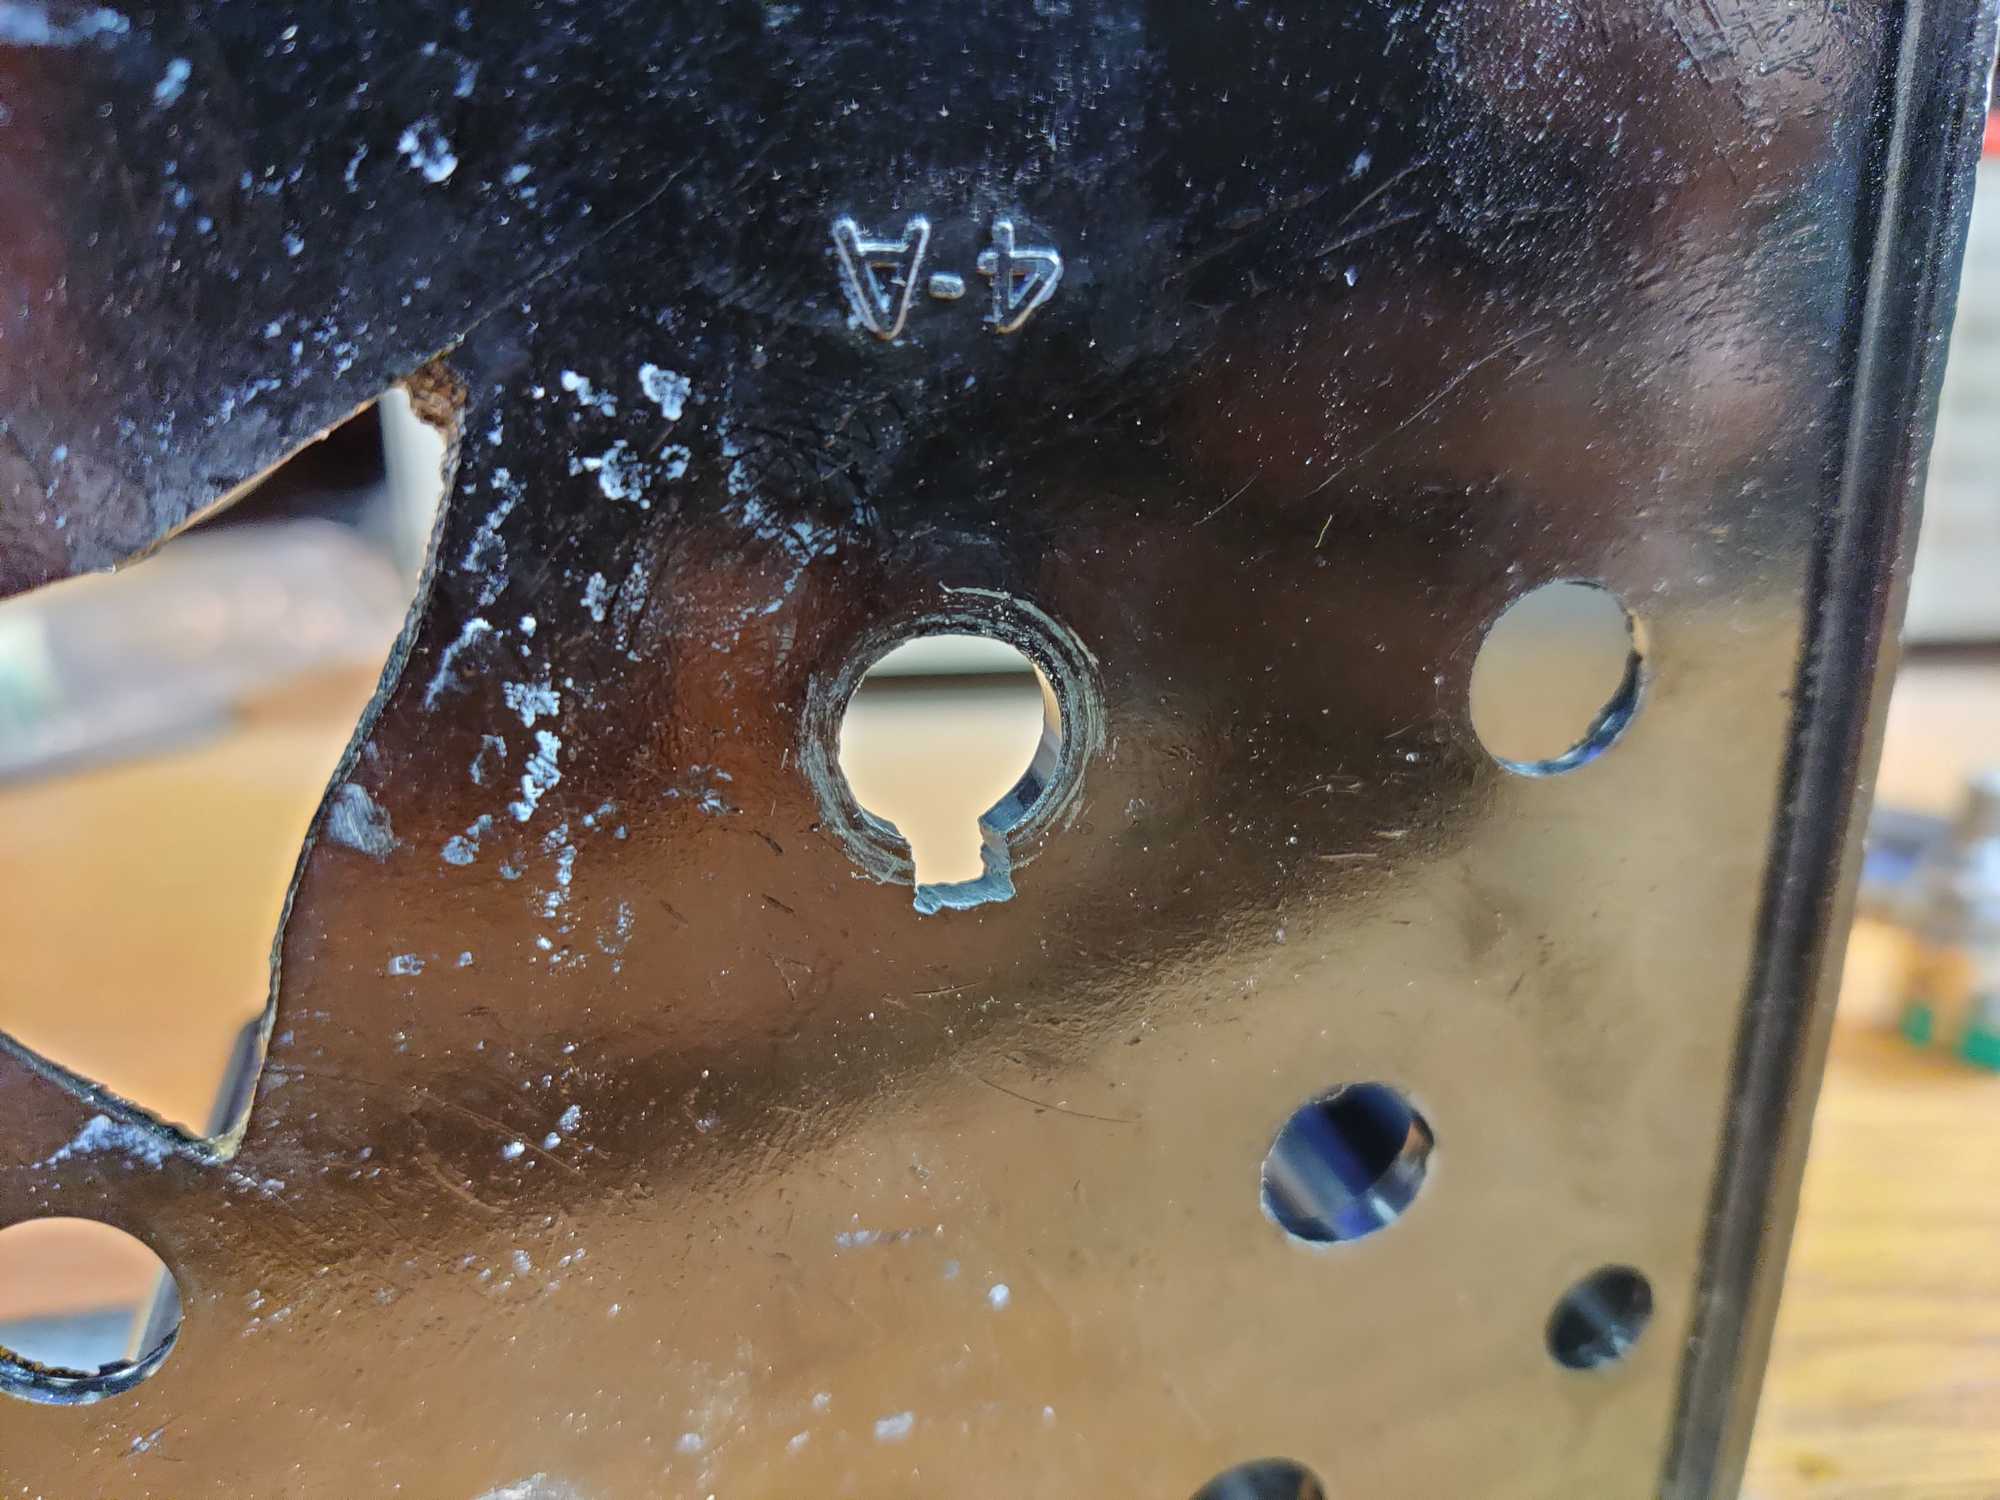
But when designing the back I designed it around the original mounting tabs and that was one of the biggest mistakes. One was broken off when I got this radio and the remaining three didn’t hold it down properly. I eventually snipped the remaining three off as well and drilled 3mm holes. The plastic is very brittle so I had to be very careful and use exactly fitting screws. This part didn’t turn out very great but it works.
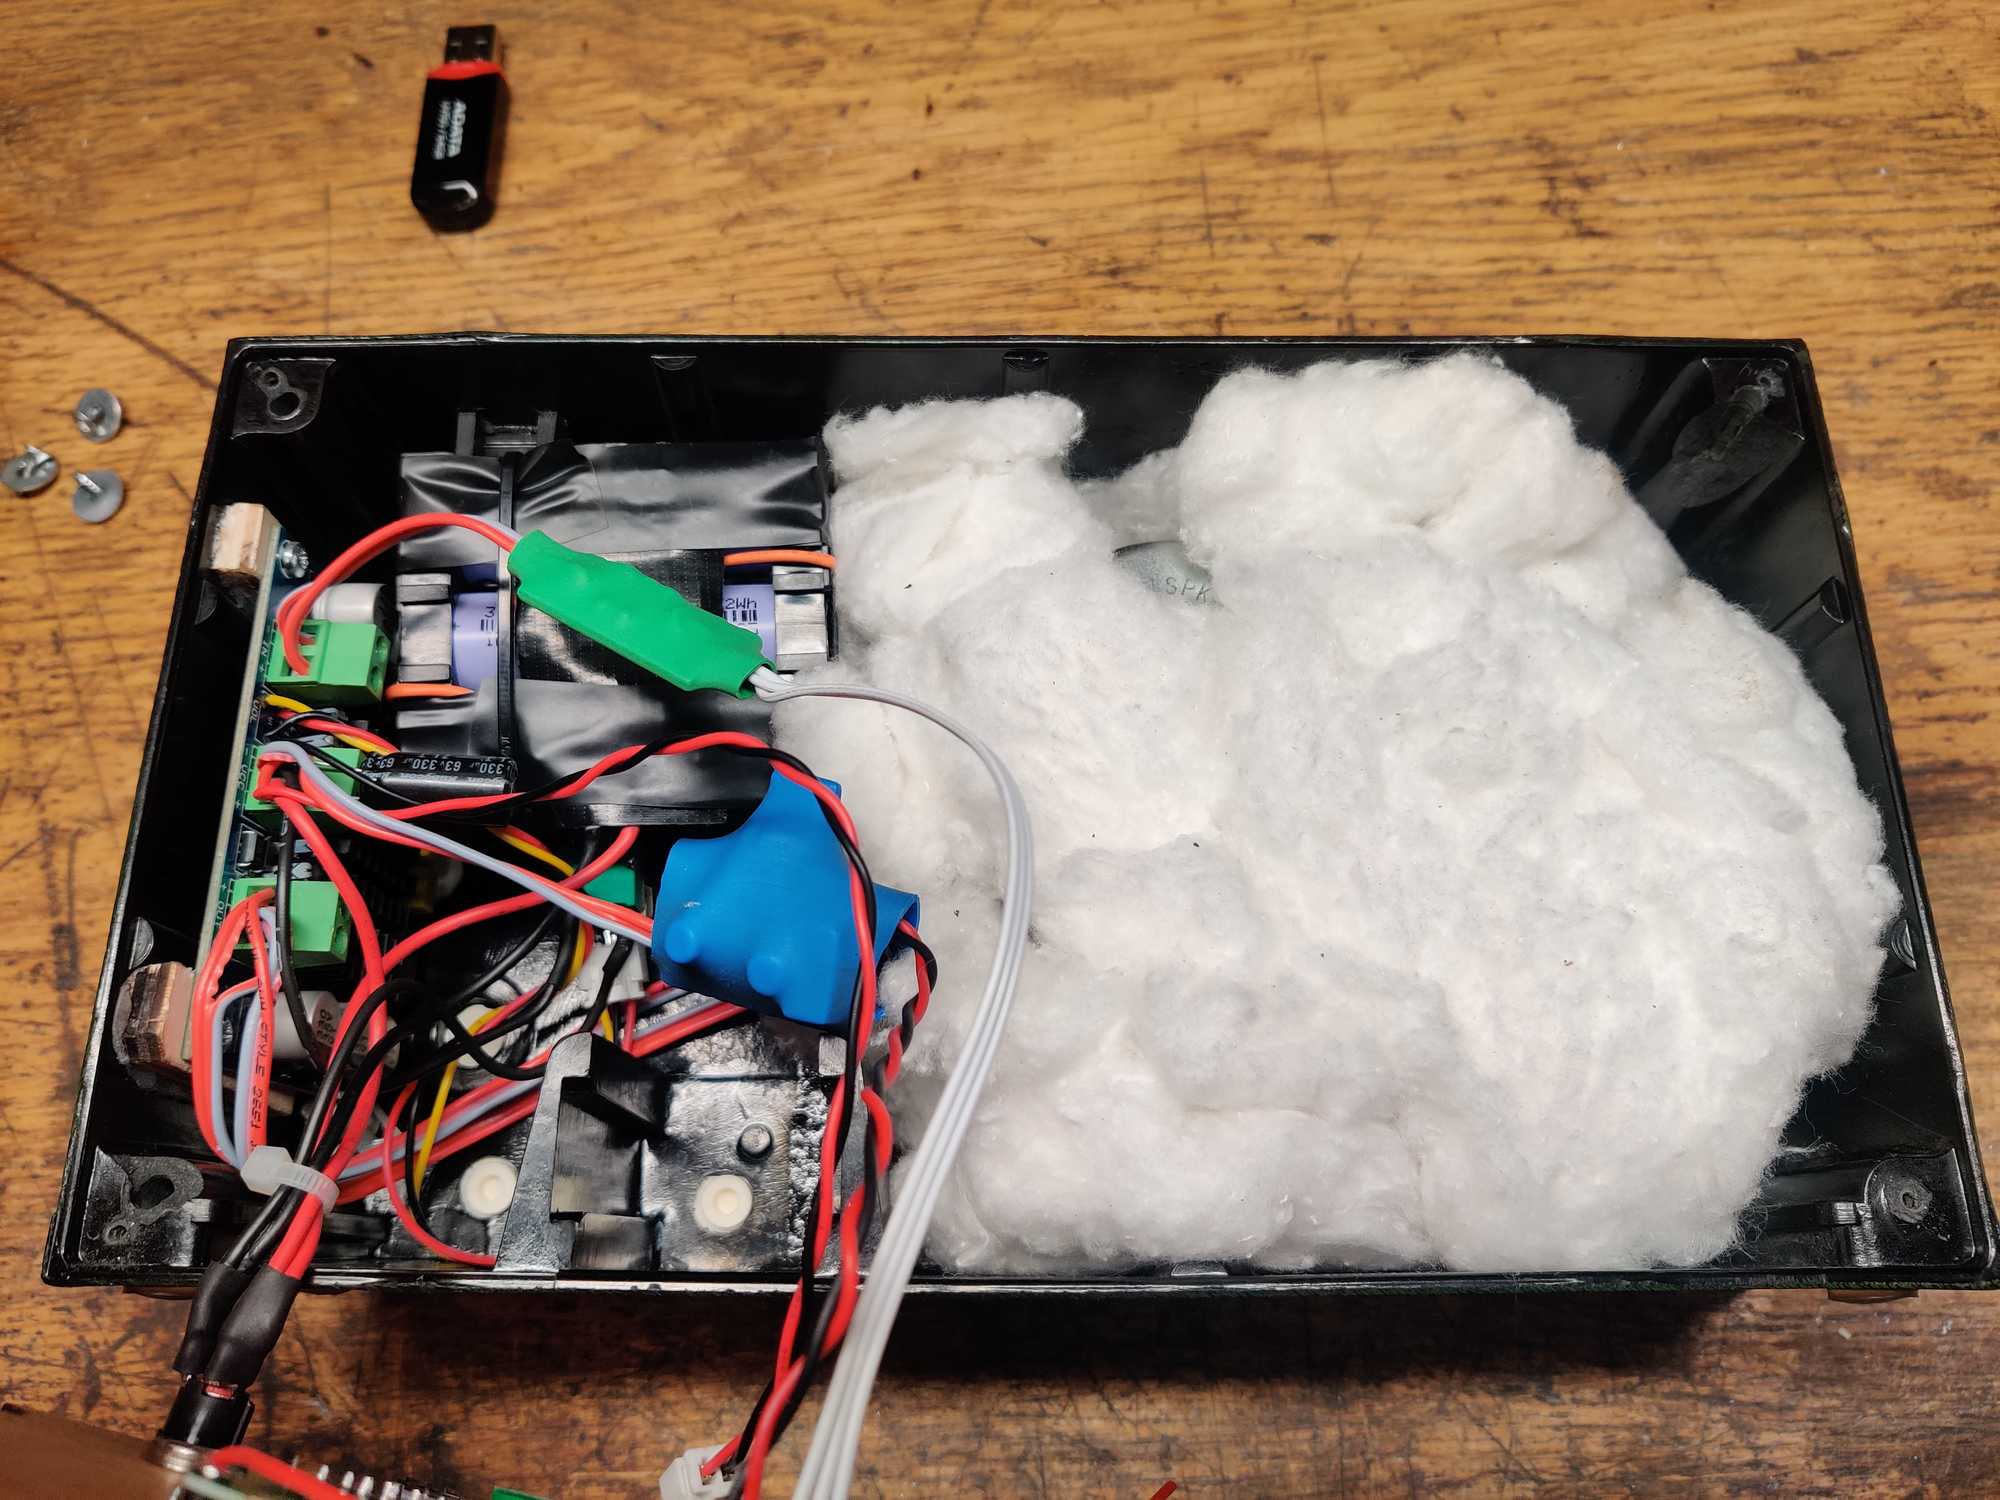
Time was to assemble everything and close it up.
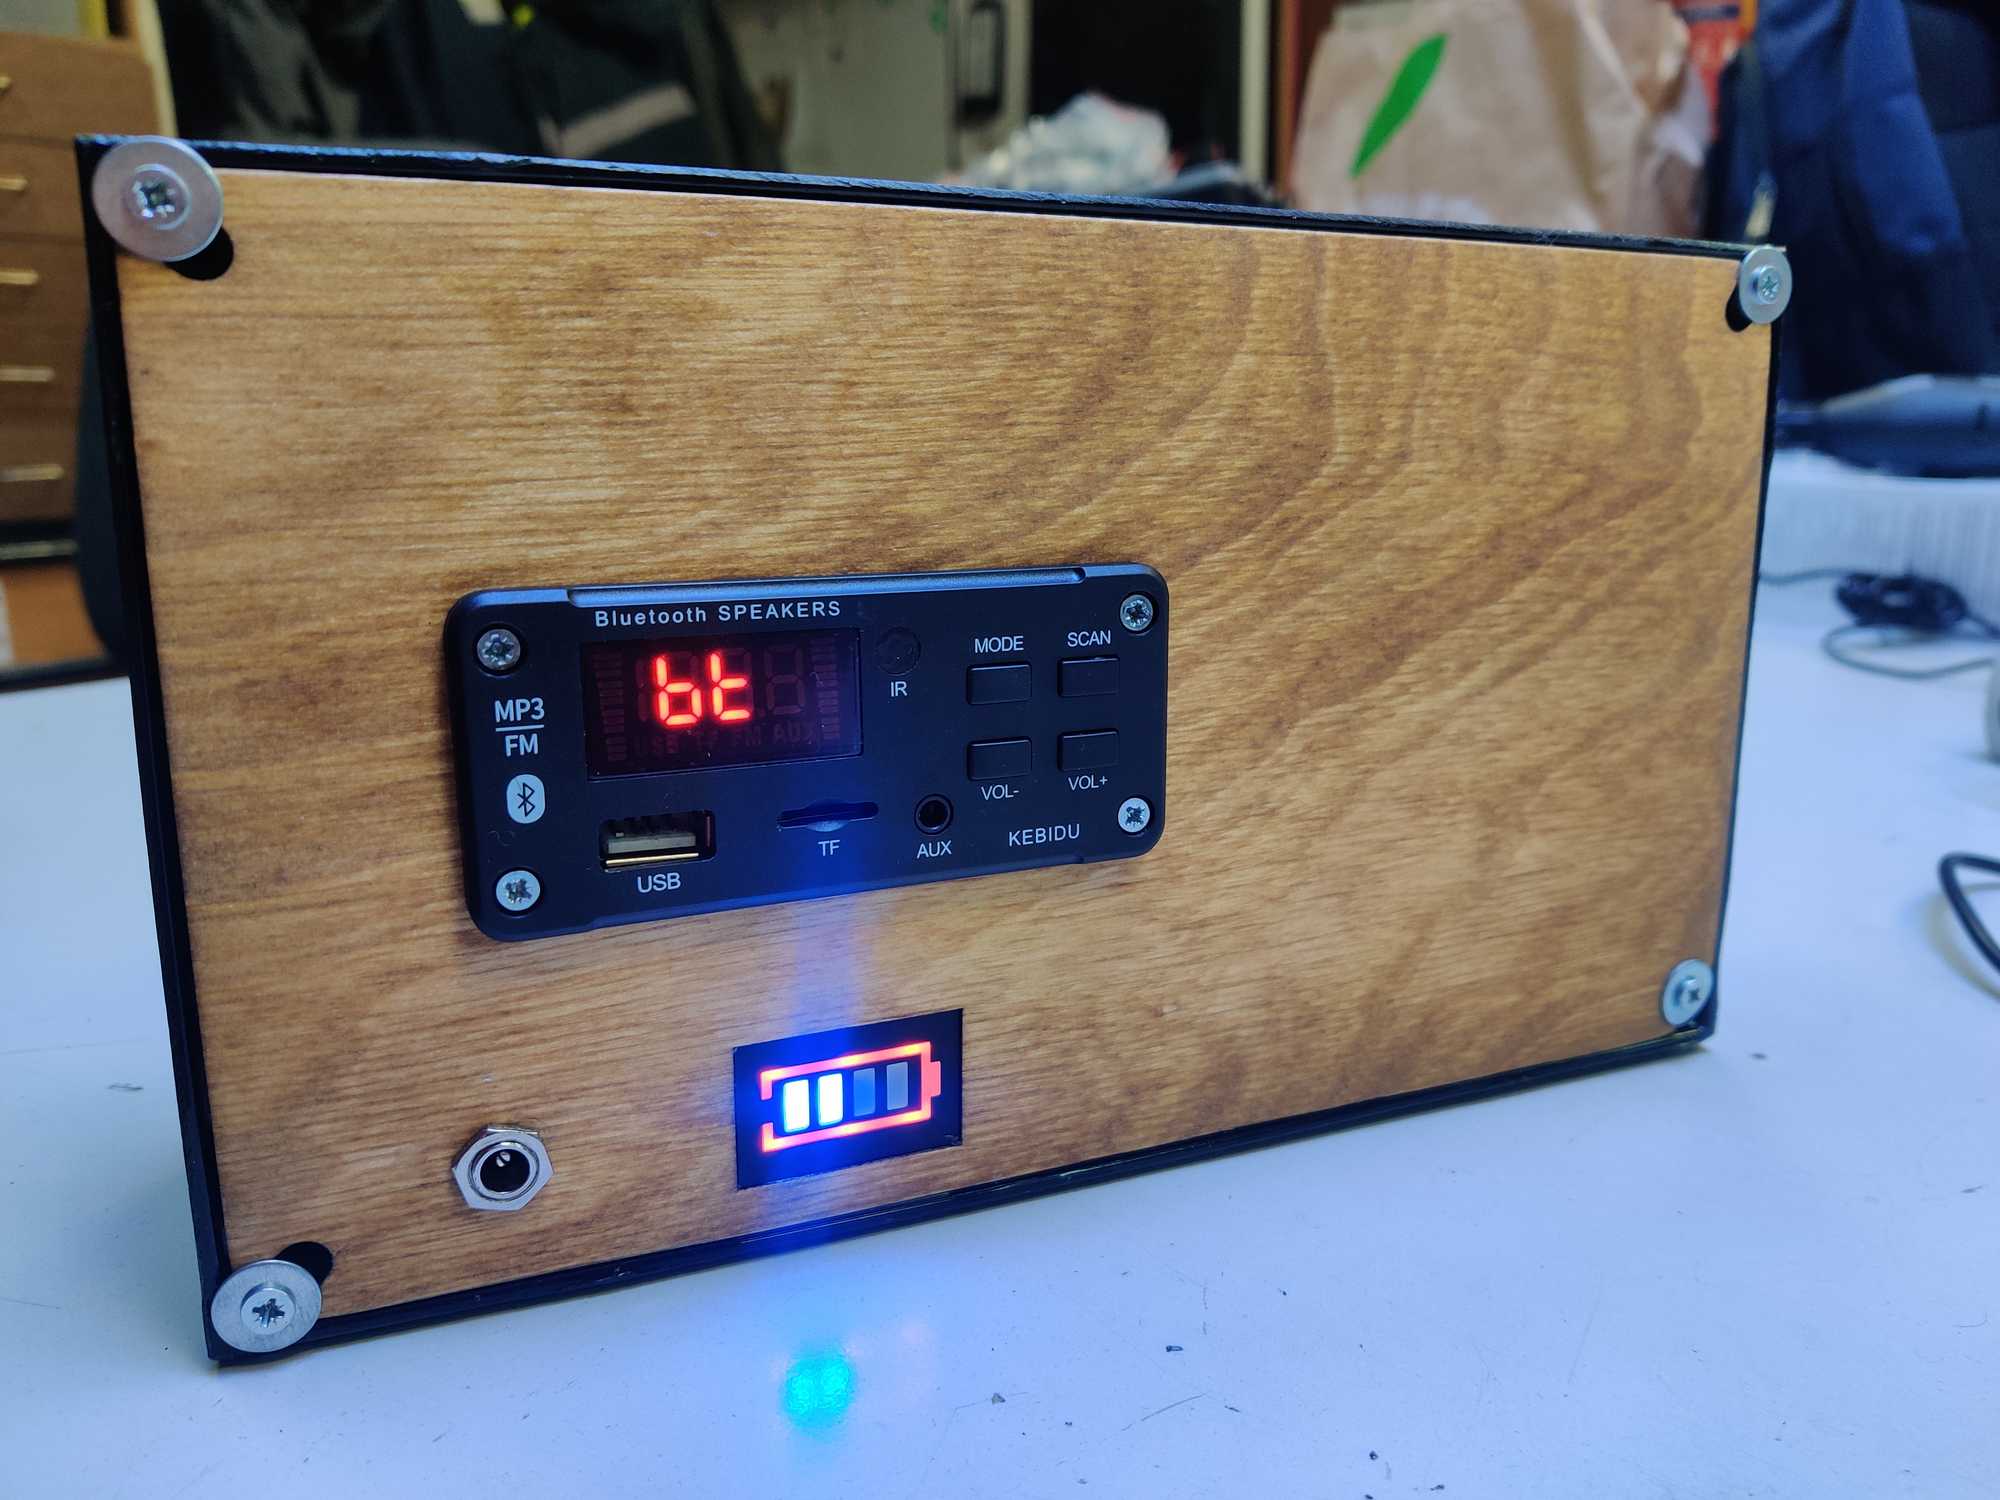
Overall the whole thing turned out pretty cool. The sound quality isn’t super but isn’t awful either. Battery isn’t the best but holds up to around 4-5 hours and the ease of use makes it very cool.
