At the Kaunas Makerspace that I visit very often to do various projects, most tools there are donated, some are bought and some tools are self-made (like a spot-welder that I used to connect batteries).
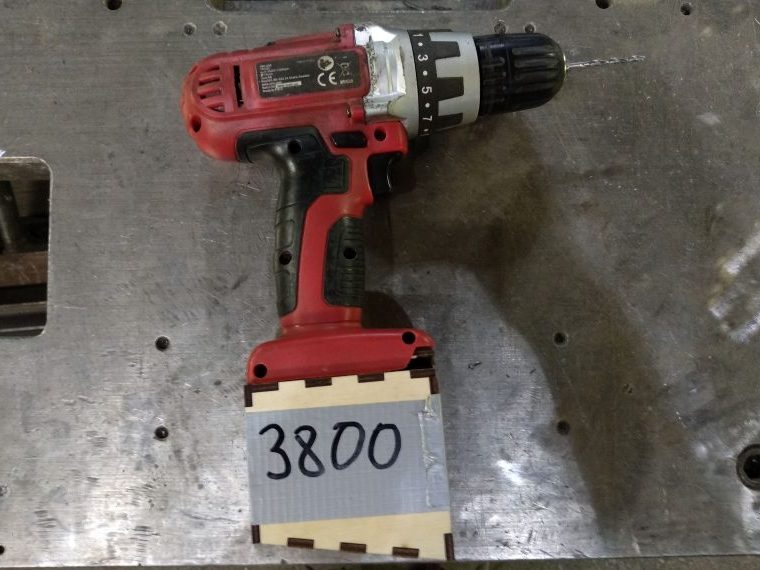
In the case of cordless drills the situation was never good. There are a few of them, but all are missing batteries or have dead packs and sometimes when you need to screw or drill something a bit it’s a little annoying, so we made a few from old LiPo (18650) cells that we salvaged from laptop batteries for Meec cordless drills. They have a very neat battery holder design – batteries simply slide in.
Making of the battery pack is easy, hardest part was to make a case for them and of course a charging station.
Whole lotta cells
We started off with checking how many good cells we have from a whole drawer of them by ripping out the cells, checking their voltage (trashing any that are below 2.5V), charging them and then discharging with a 3A load to get the capacity rating. The load that high was used because the drill takes about as much power.

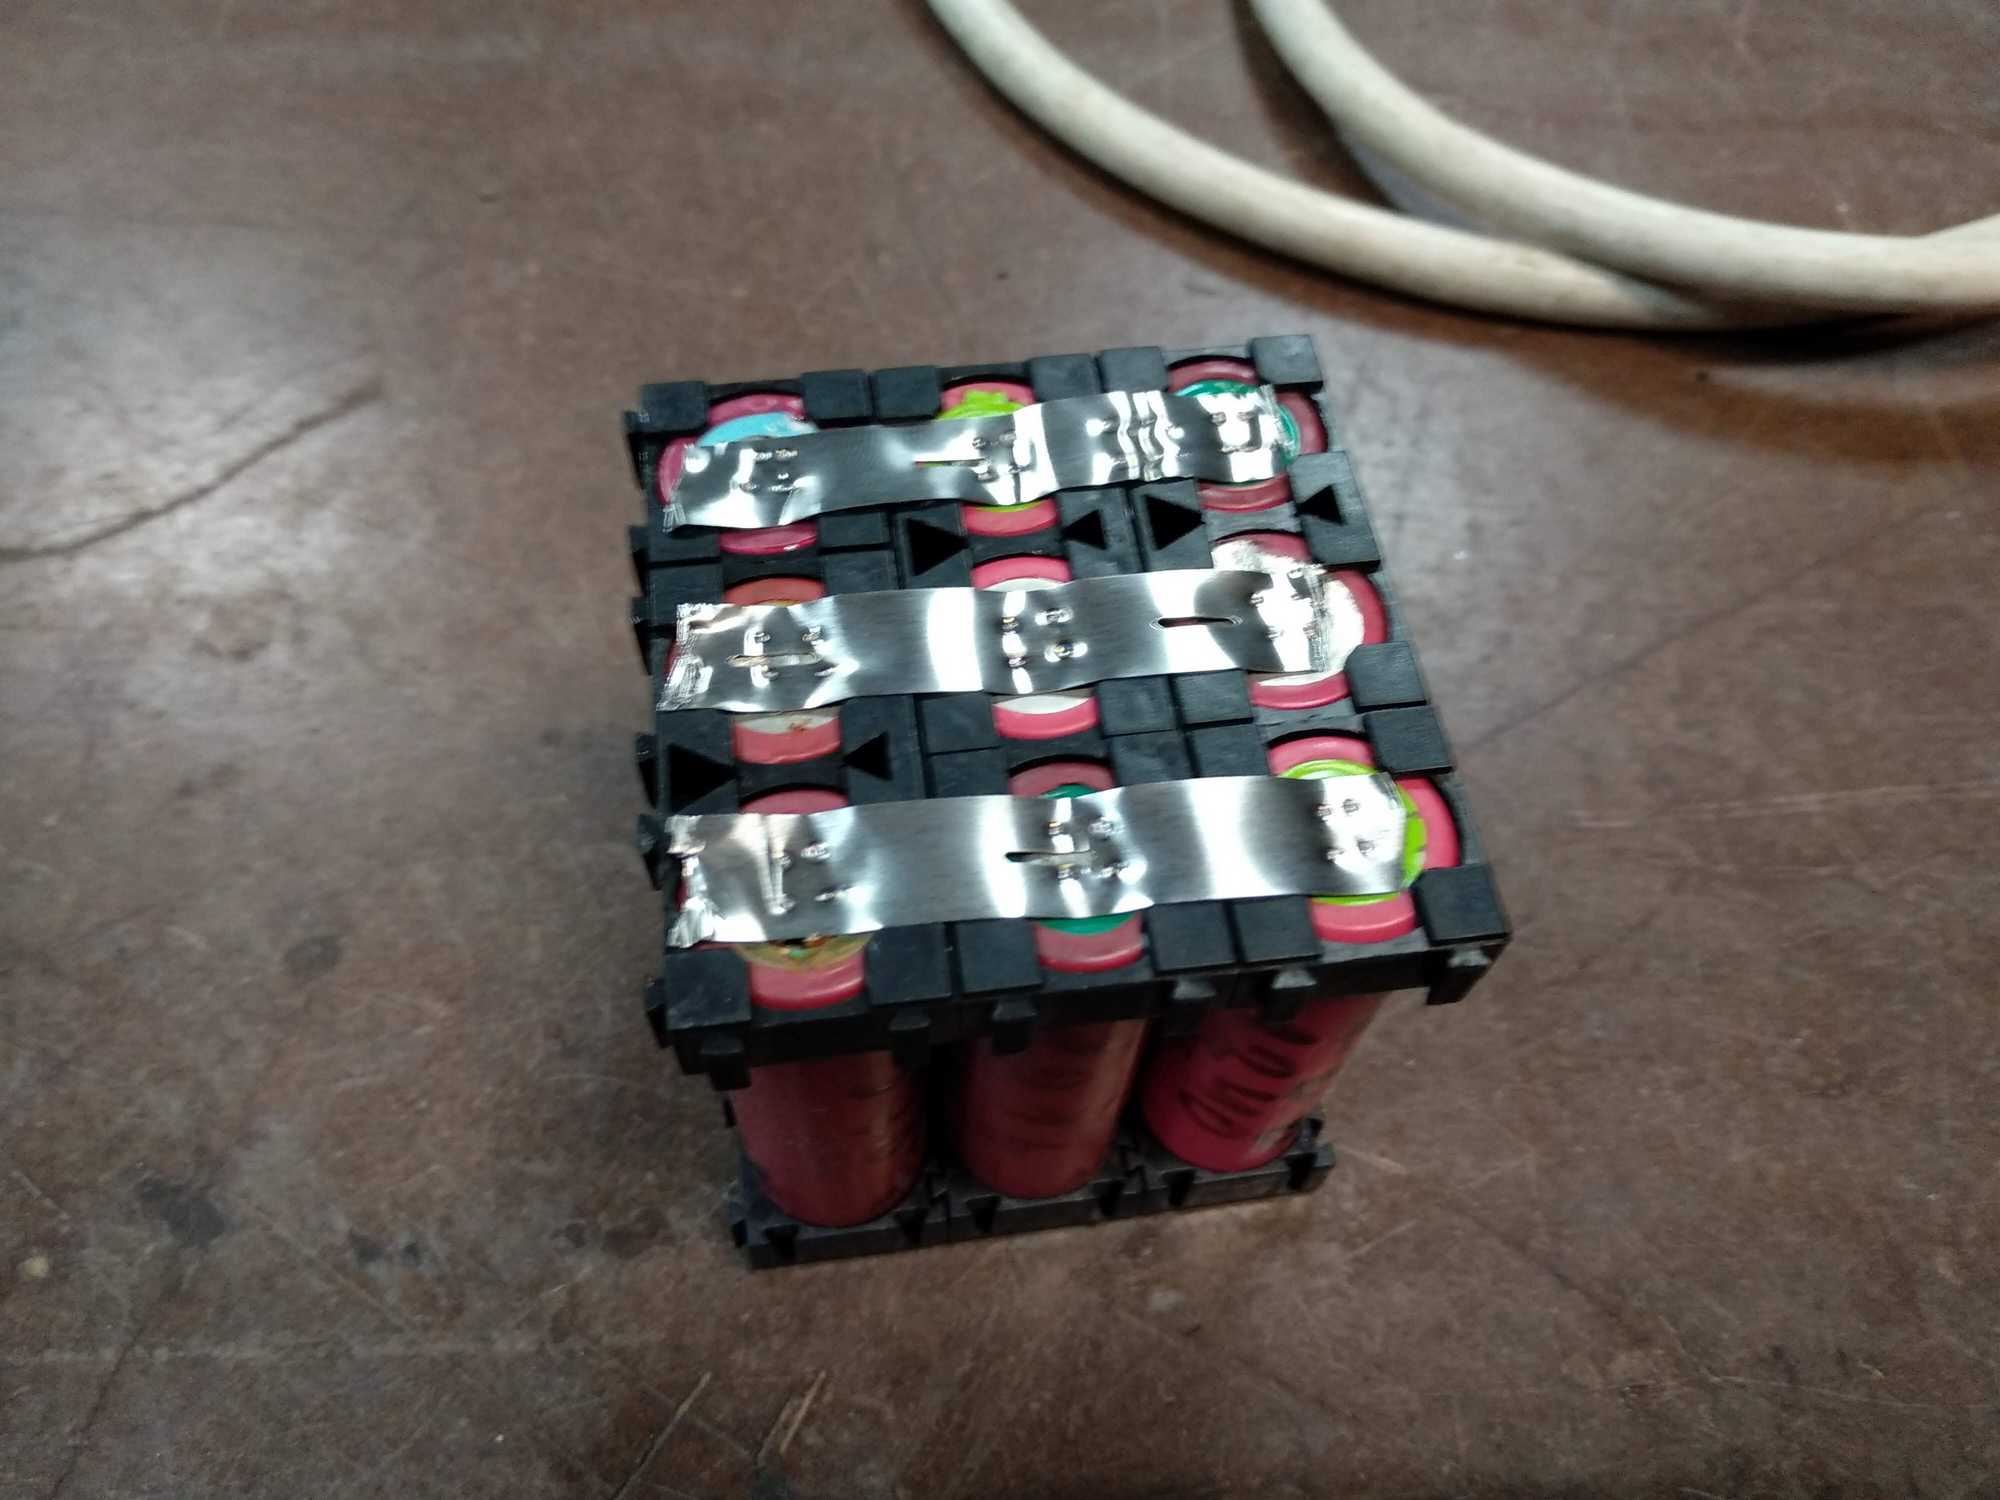
The battery pack was made of 9 cells, 3 connected in parallel (for greater capacity to form one larger cell) and those connected in series (for greater voltage) and a Battery management system (BMS) that balances the charging and cuts off voltage when certain level is reached.
When picking out the cells to use, you have to make sure they are fully charged and that the capacity is very similar. This is very important when connecting cells in series because otherwise the BMS module will have a hard time balancing your pack and that’s not good in the long run.
EDIT: After the project I was suggested to use a website repackr.com next time as it helps to calculate what cells you’d need to connect.
So all cells were put into brackets and spot-welded together with nickel strips and lastly the BMS module was soldered on.


Battery cases
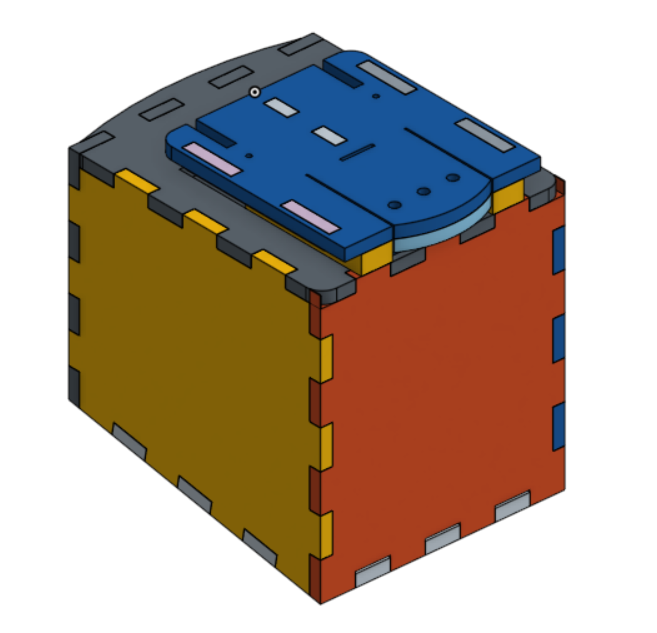
The pack now needs a case that fits nicely into the drill, so another guy that is good at 3D modeling made a shell-case with OnShape and laser-cut all the parts (also with a self-made laser-cutter) from plywood.
This 3D model can be found here: drill-battery_meec-18V (battery tab) so you can simply make a copy into your workspace and laser-cut it yourself.
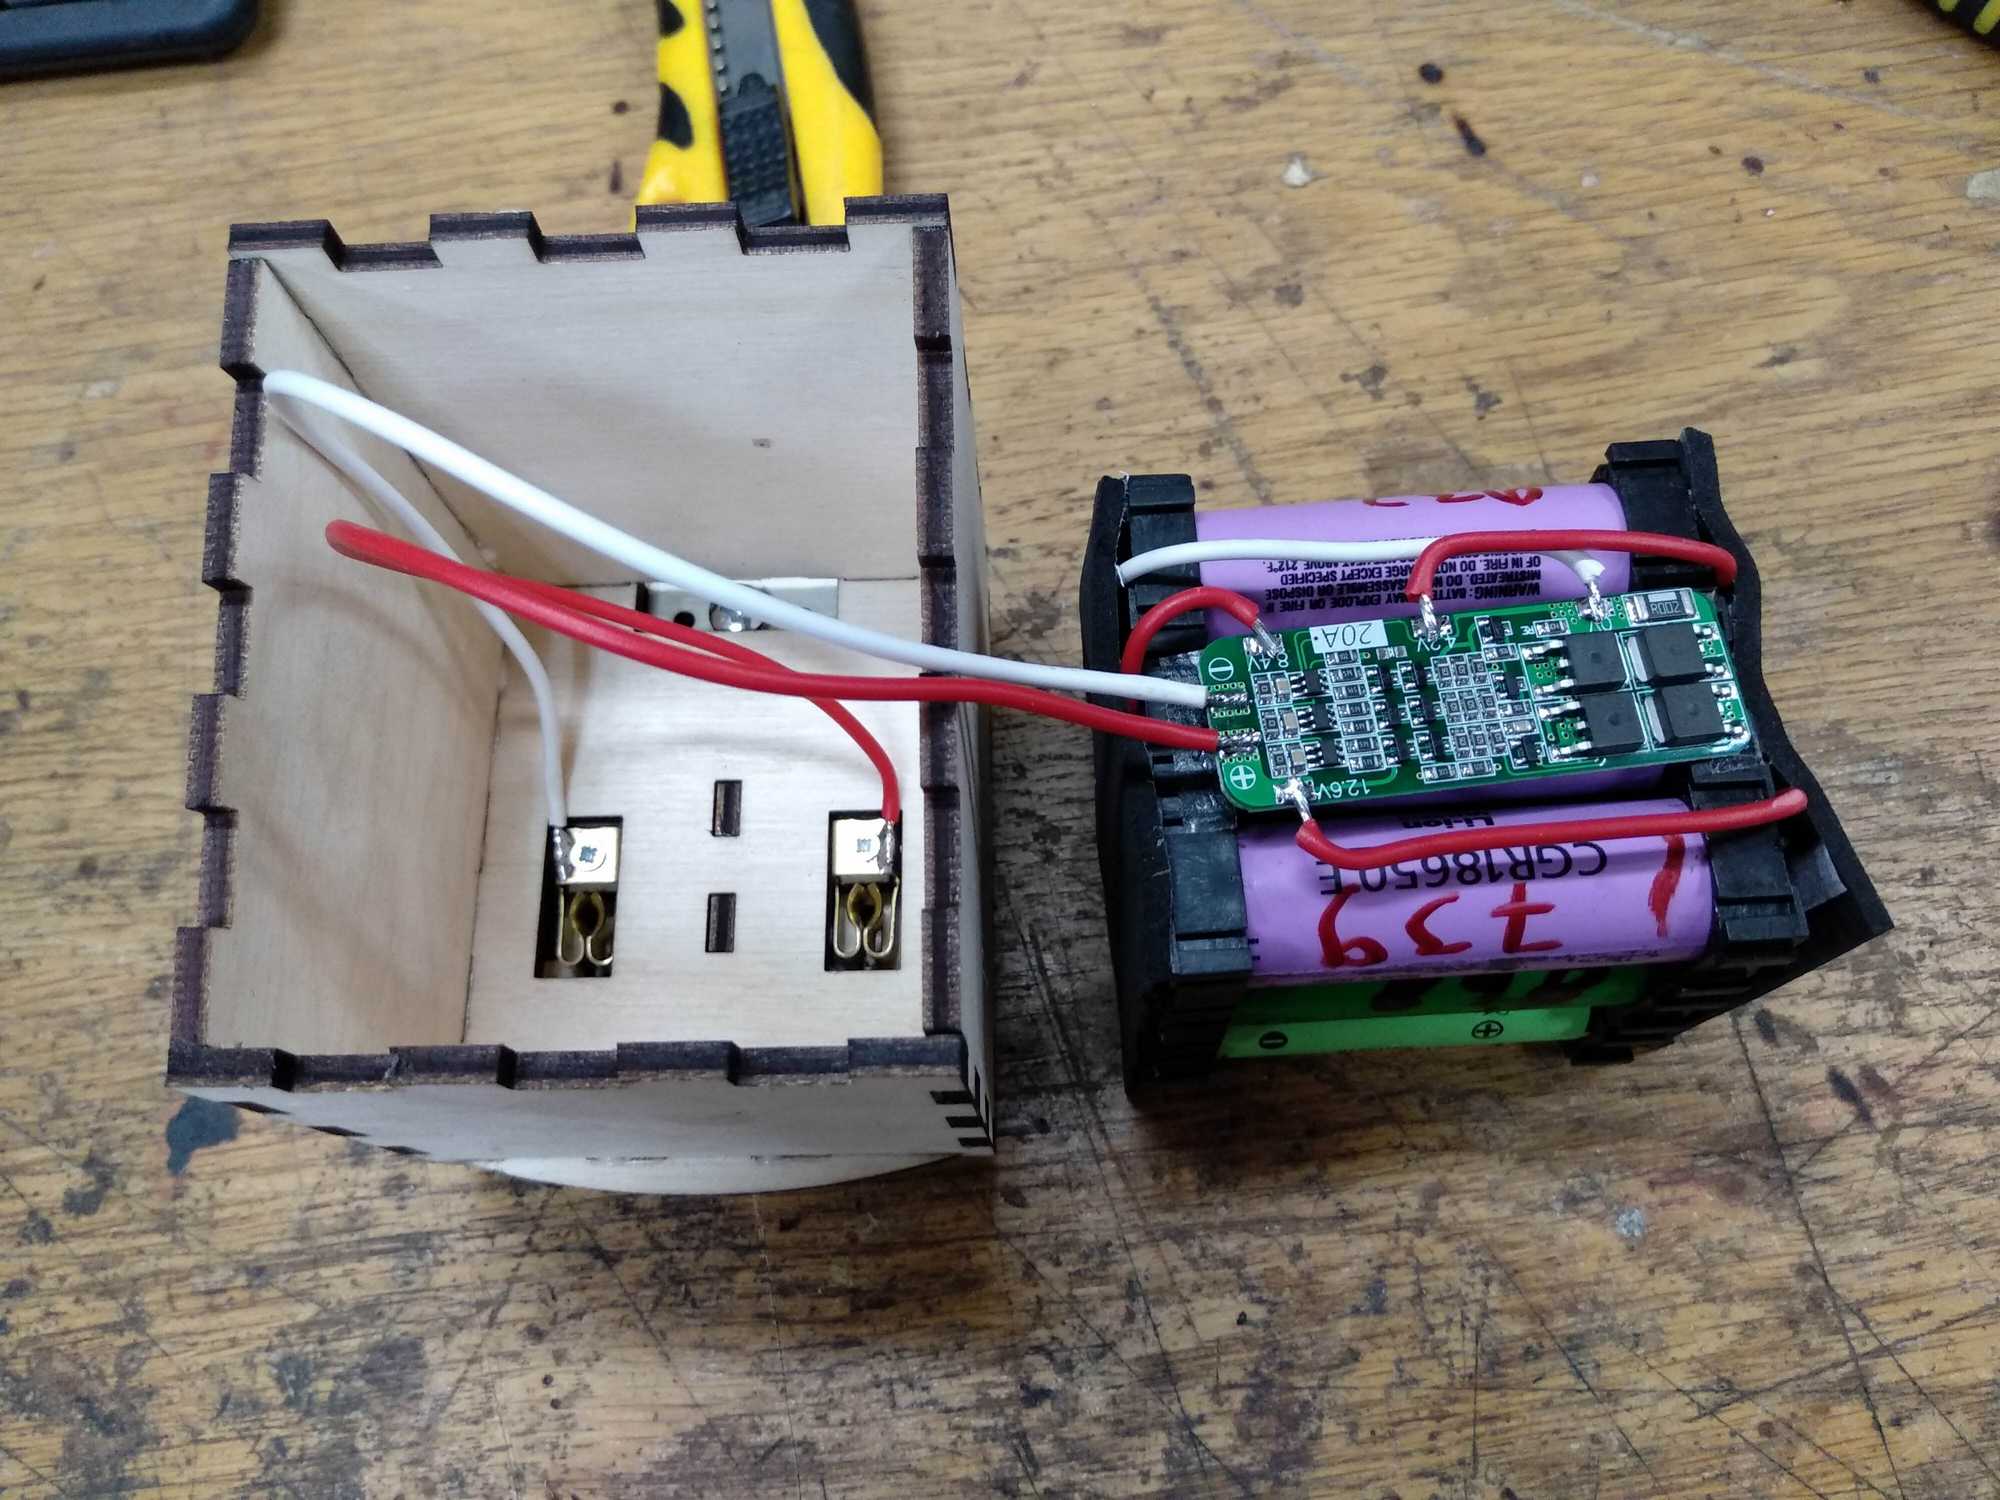
The case is a bit like a puzzle when you have to assemble it, so we left that for him to do :) The case uses small screws that snap into a groove to keep that pack in place once put on a drill, and to release the pack you’d press on a latch.
As for contacts – those from a european power cord extender fits perfectly once pressed together a bit with pliers. Because our Meec drills have a very simple battery connection design, it was pretty easy to do.


And obviously duct tape holds the whole thing together if it ever gets dropped on the floor.
In total we made 3 battery packs – 4Ah, 3.8Ah and 2.1Ah, all are 12v, but the Meec drill is 18v, however the packs have plenty of power to drill, screw, mill and everything else. And the capacity is huge for this type of thing – it seems that the drill would start burning before the battery runs out.
Charging dock
Next we needed to make a some sort of a user-friendly charging station, because we’re not the only ones gonna be using these and while charging with screw-drivers plugged into battery contacts connected to a power supply is cool, it’s also not practical :P
It also has to be somewhat fire-proof, because we all know how unstable LiPo cells can be.
Therefore another 3D model for laser-cutting was made – a battery dock that has a voltage meter on it, to know when it’s done charging.


This 3D model can also be found here: drill-battery_meec-18V (charger tab)
The charging dock has brass strips for contacts and a buck converter inside that can also adjust current, not just voltage and that was set to 4v 1A for optimum results.
Charging station
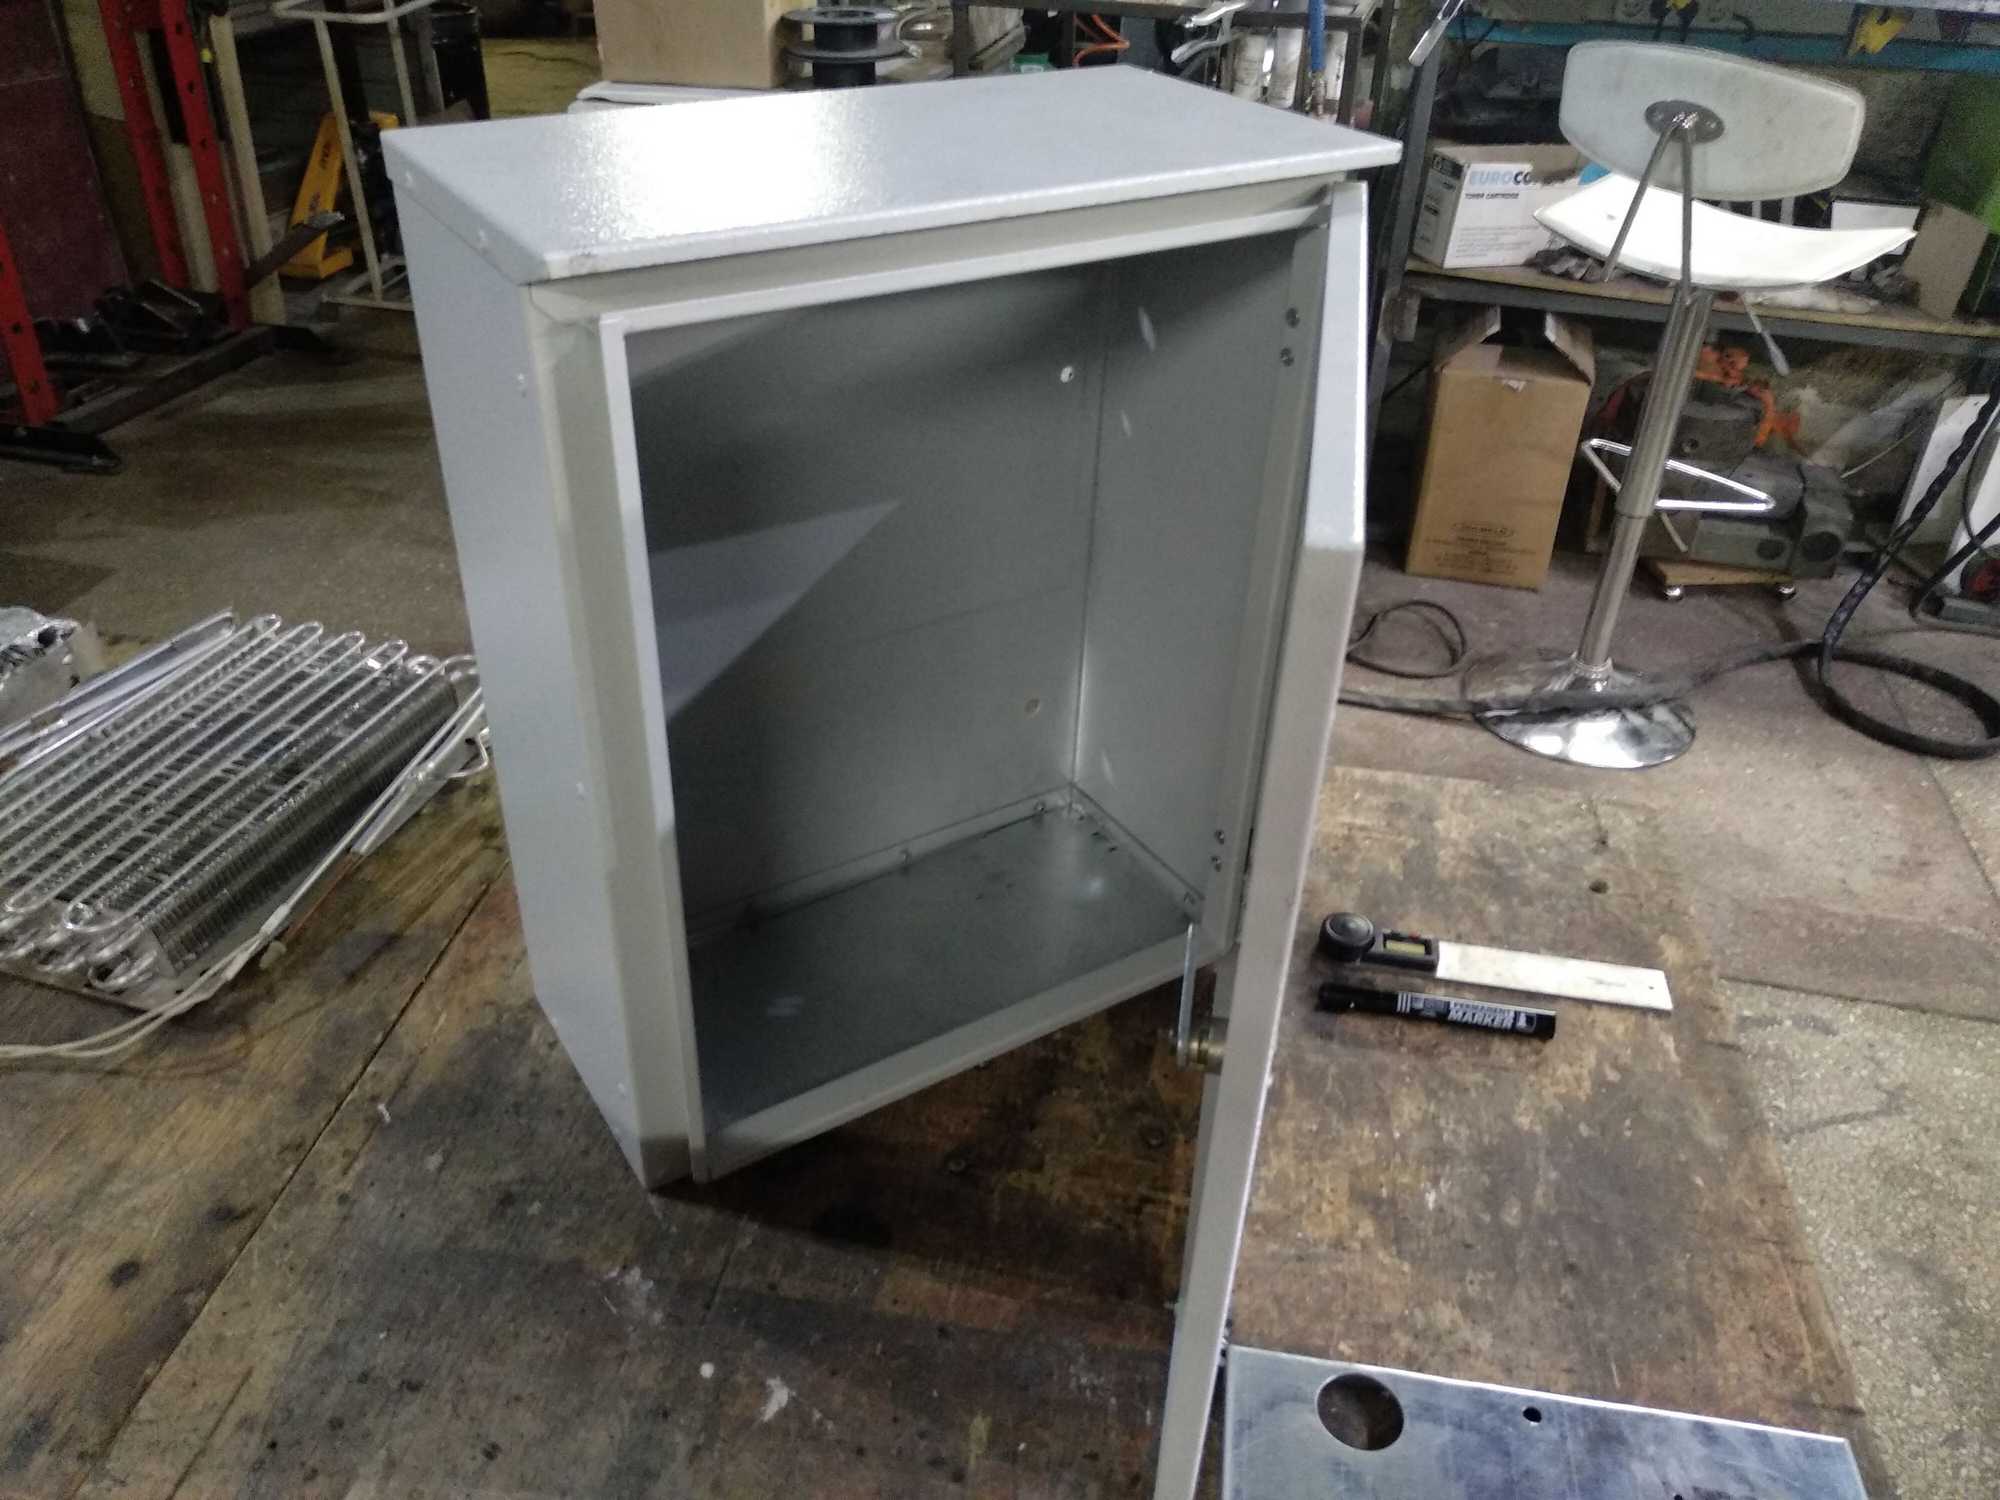
In total we made 3 charging docks. All of them were screwed to the inside of a metal box that is used for electrical things near homes.
A neodymium magnet from a hard-drive was also added on the door to keep them closed.


For the power supply we used a HP laptop charger that is giving 19v 5A and that is plenty of current.
Ending
Everything works like a charm so far and the finished thing looks great!
