
This project idea was born from another project that we at makerspace did, as sometimes happens, when you make something to work temporarily, but later see how well it worked you realize it’d be cool to have a proper thing.
And this time it was when we were photographing Makerspace Hack’n’Tell transitional prizes.
Hack’n’Tell is an event we host every first Saturday of each month where anyone can come and present projects that they did. After presentations, everyone who came can vote for the best project and the winner gets a prize for a month (until next event) and in that time he can add something or modify the prize however he wants and at the end of the year the prizes become something really impressive :)
Anyway, we made a lightbox and began planning how could we photograph them in a way to show most of them. Since the prizes have something to look at on every angle, it’s pretty difficult to photograph it in such a way to show everything in a few photos. After a few tries one makerspace member remembered a project he did about ten years ago for a similar reason. It’s supposed to rotate an object 360 degrees with high precision and automatically take photos on every turn. It was perfect for this. We placed it inside our temporary lightbox and shot everything we needed.
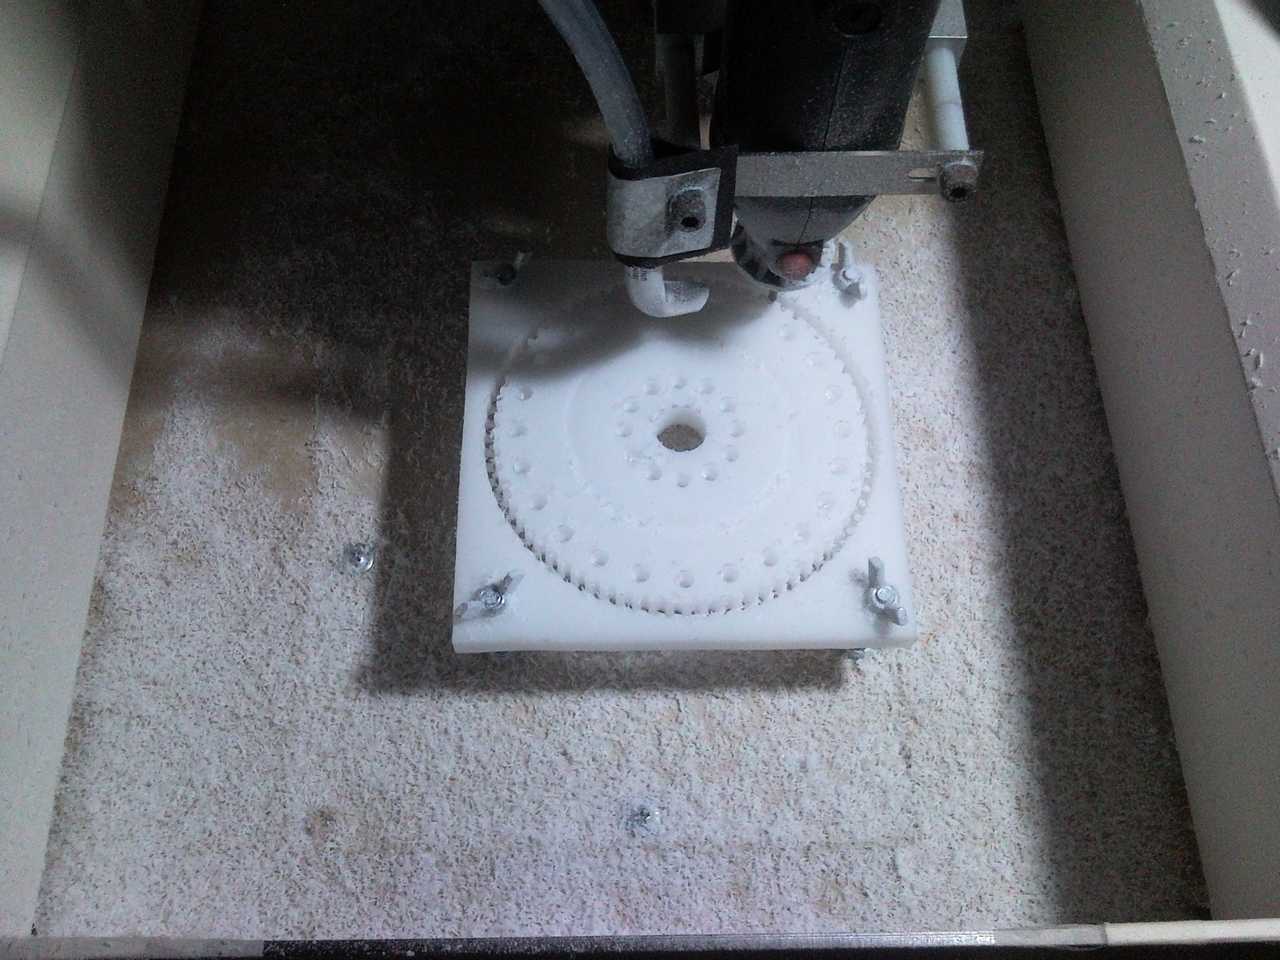
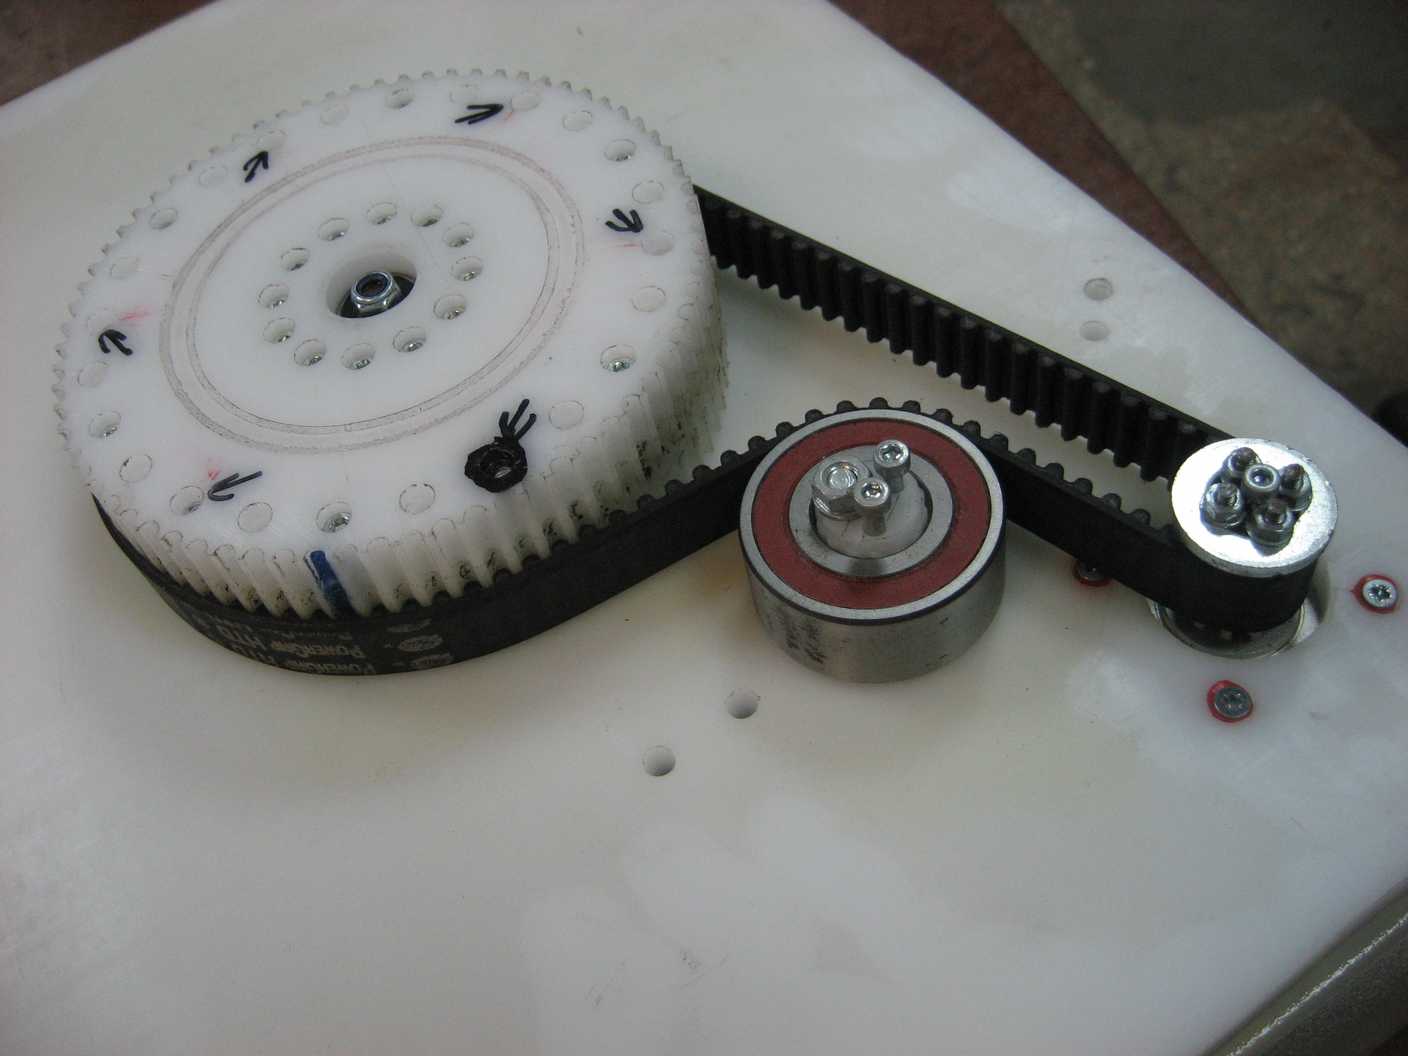
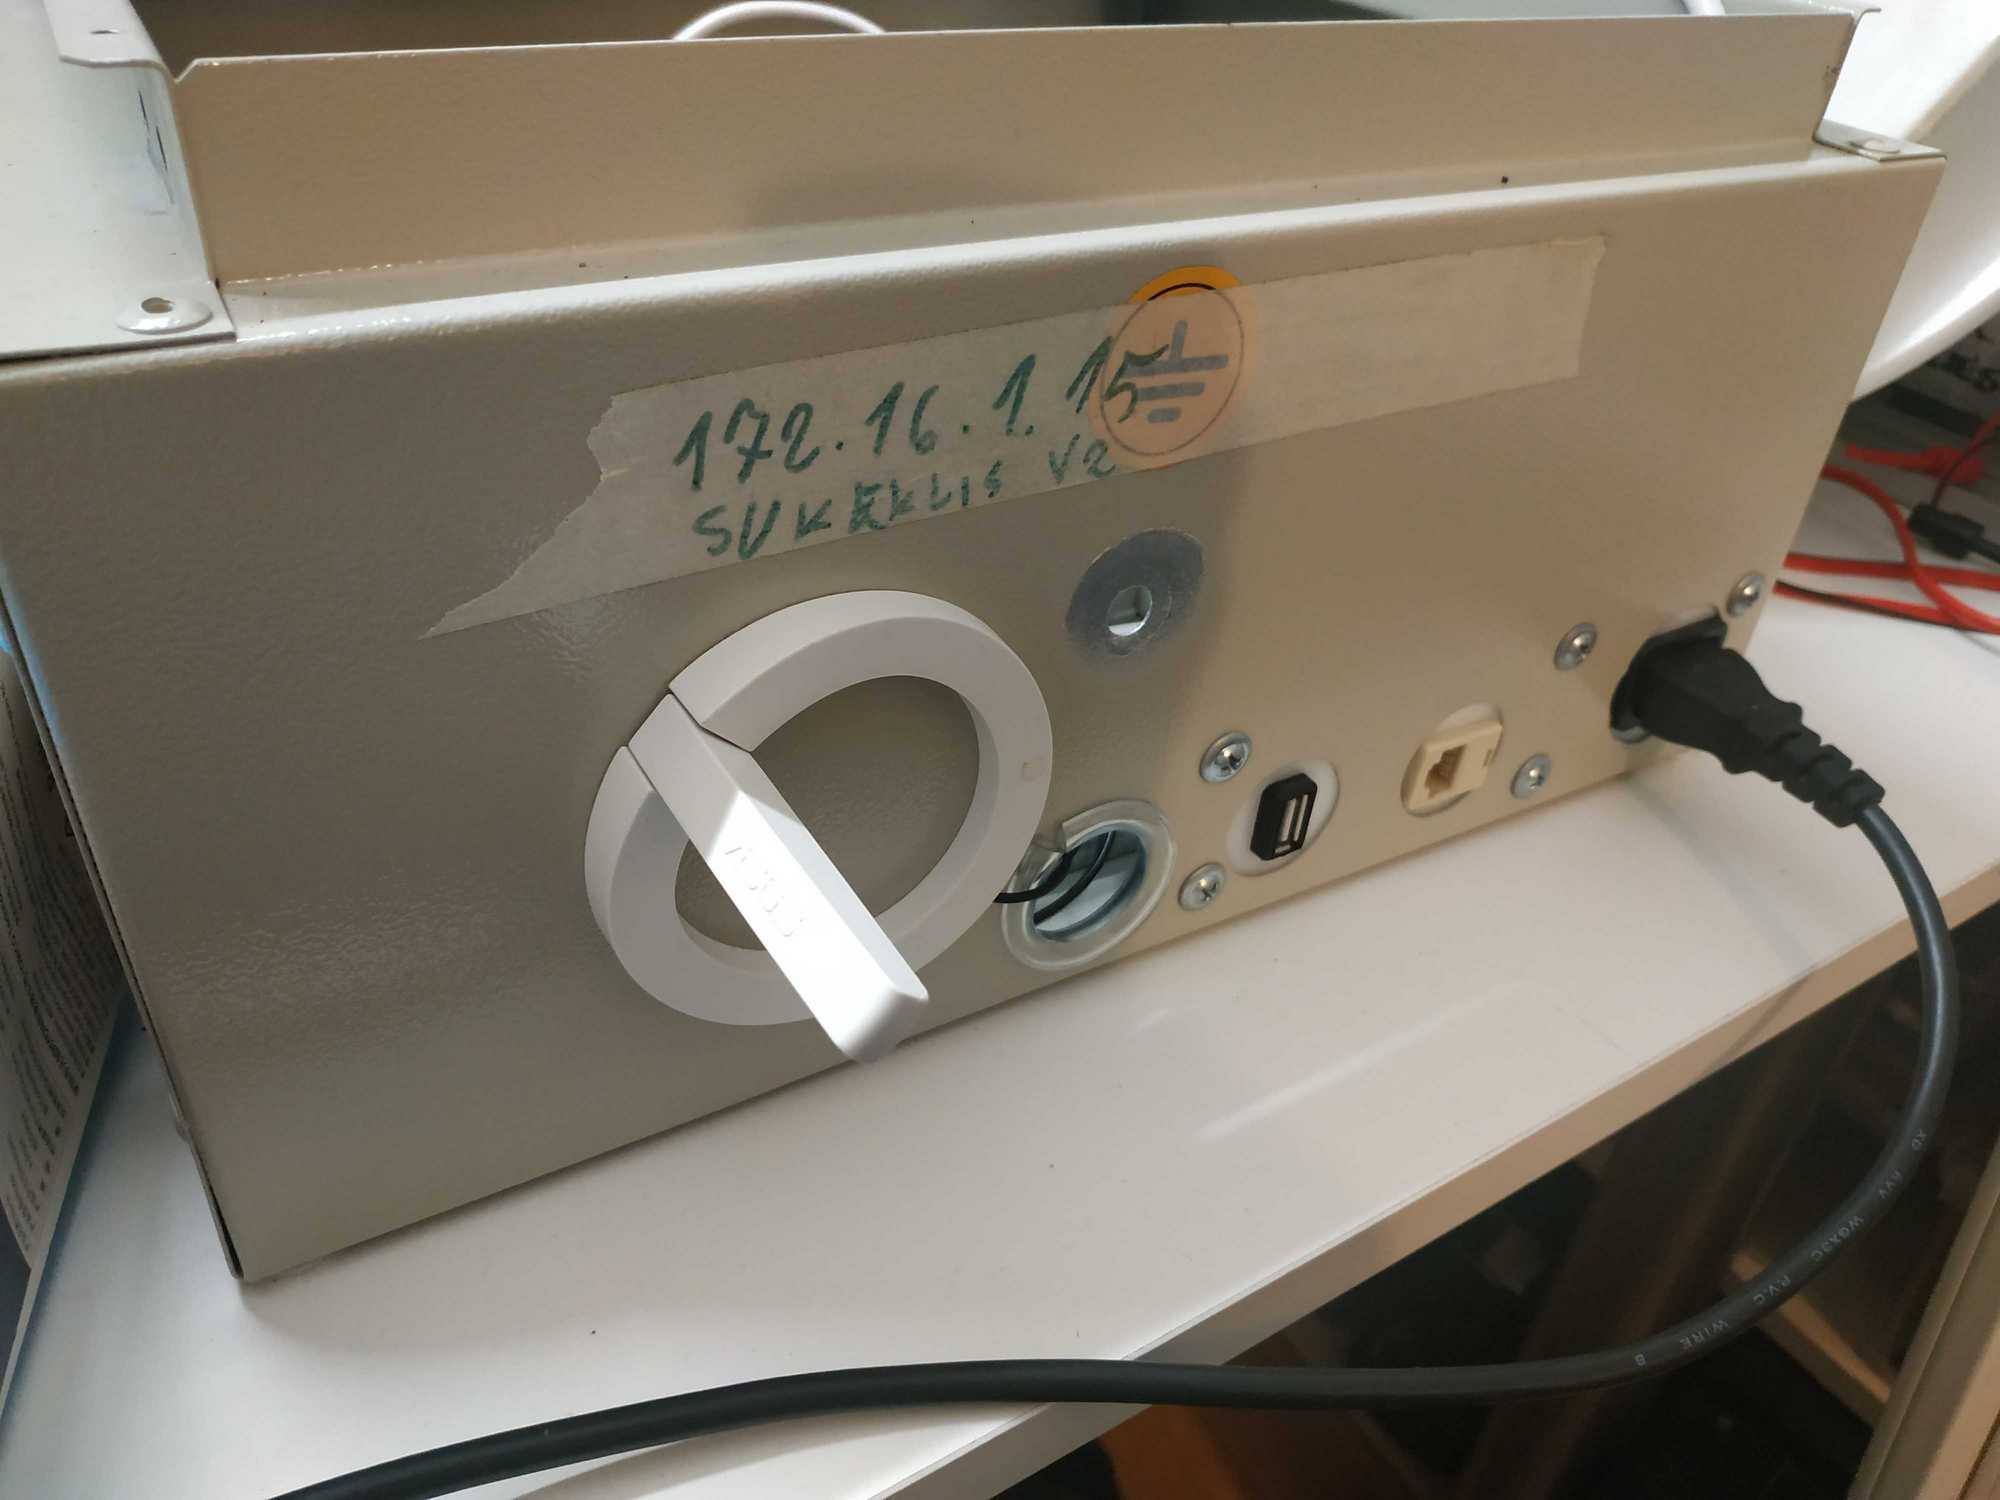
Unfortunately, there isn’t any progress article of that rotator (named “Sukeklis v2” btw), but there are progress photos which can be seen below. It’s pretty nicely built and control is simple too – a few http commands to control and get info fully.


The beginning
Here’s an early setup we used:
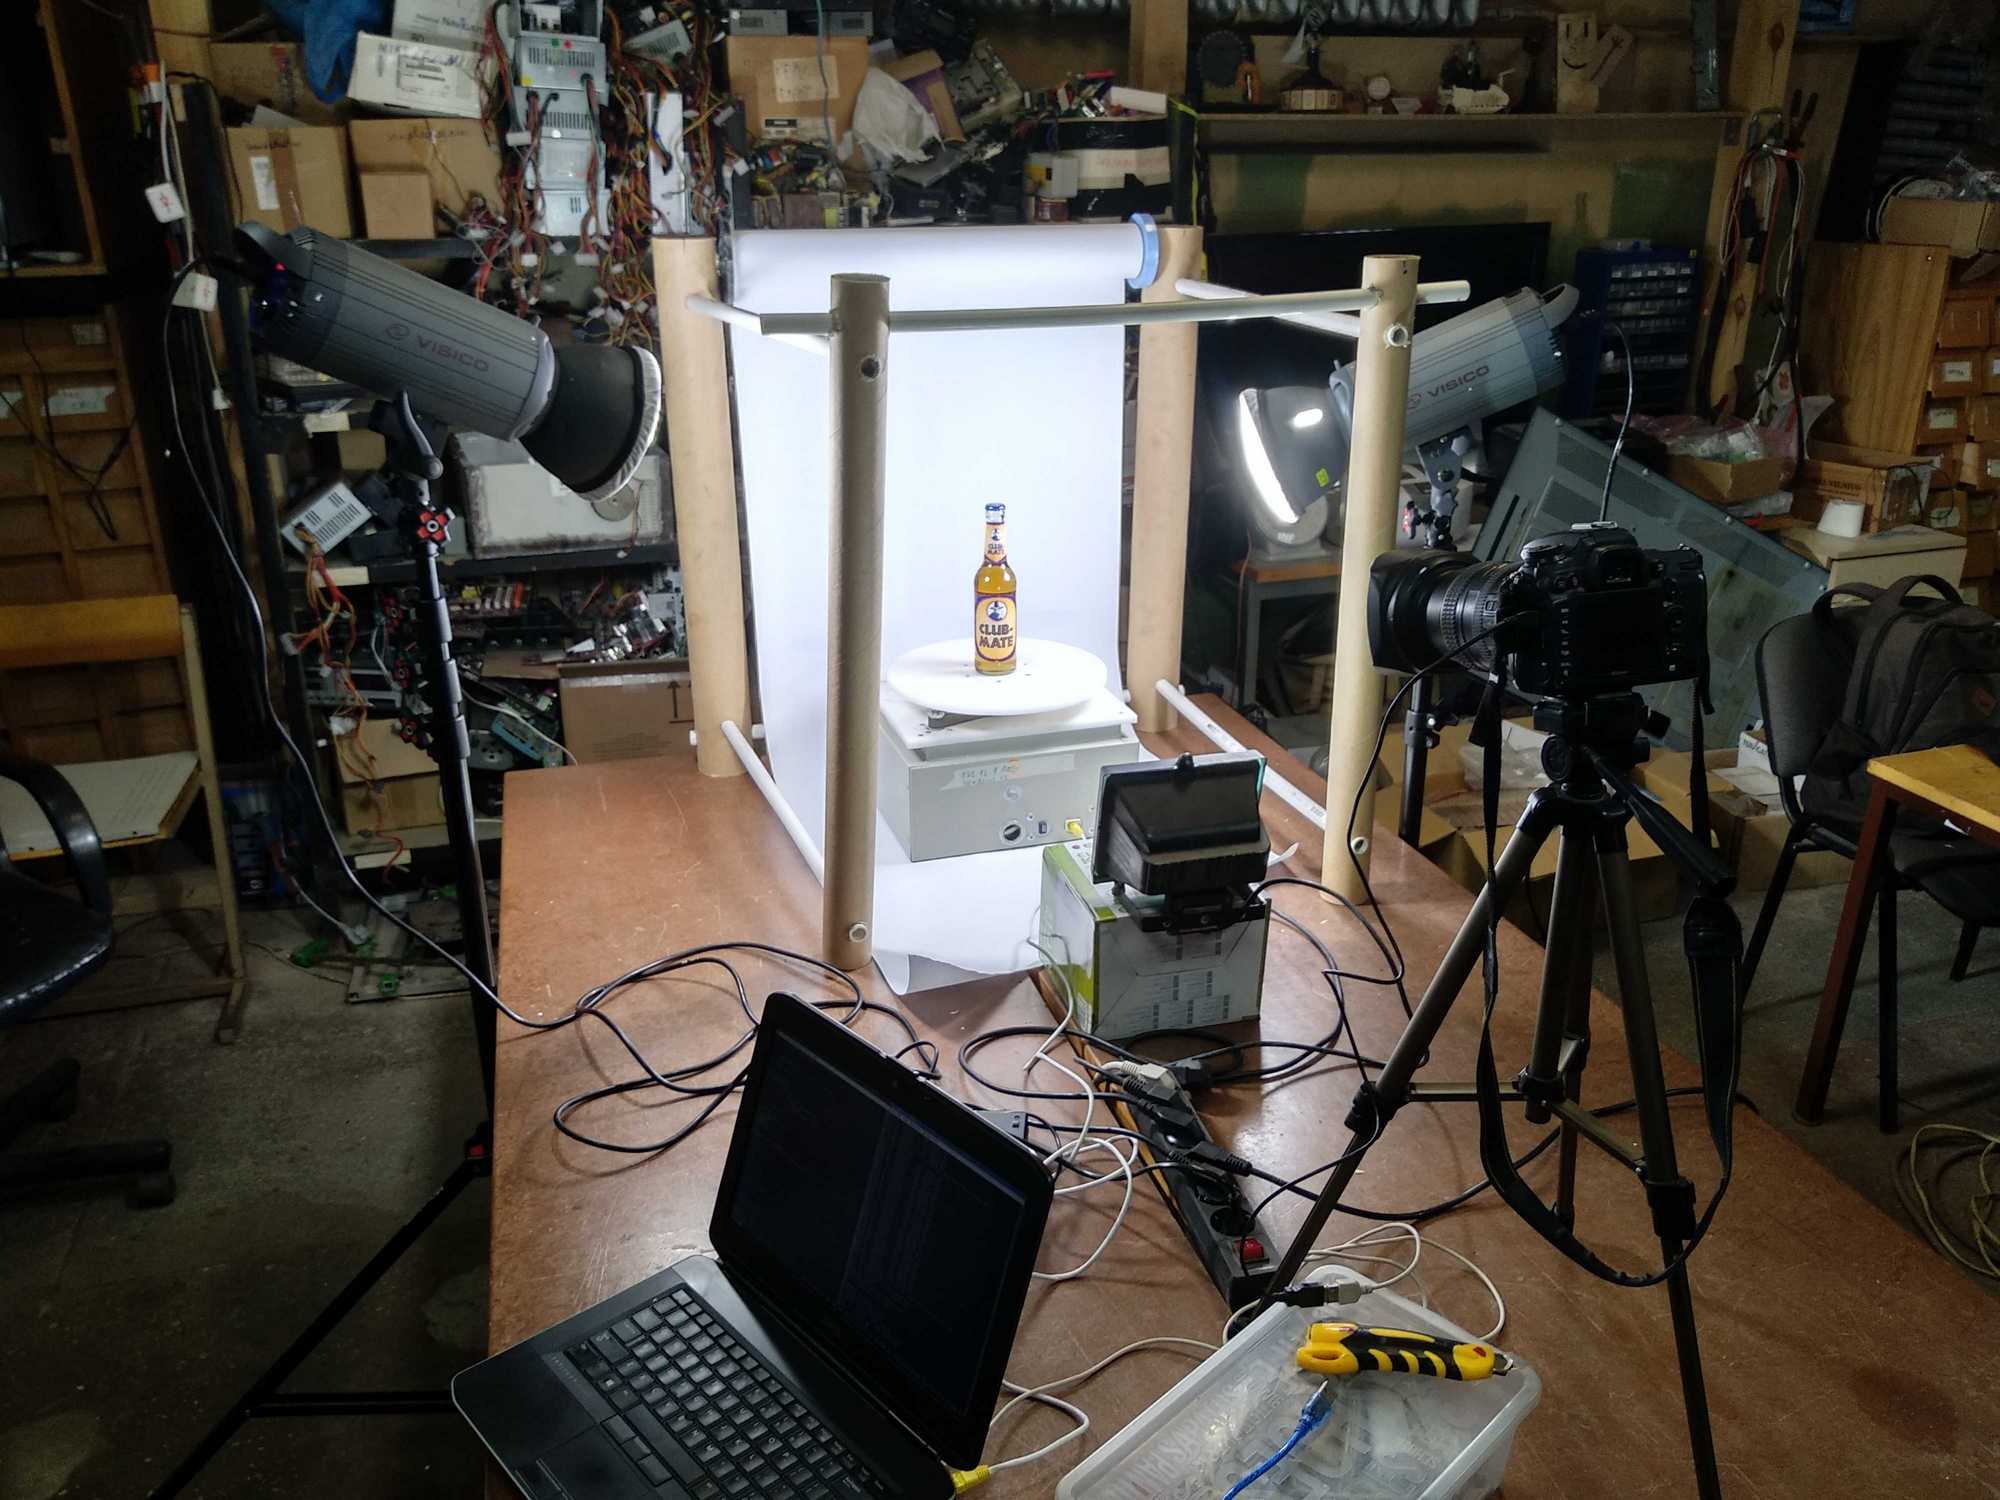
Aaaaand here’s how thee result was:
The first attempt is something like this:
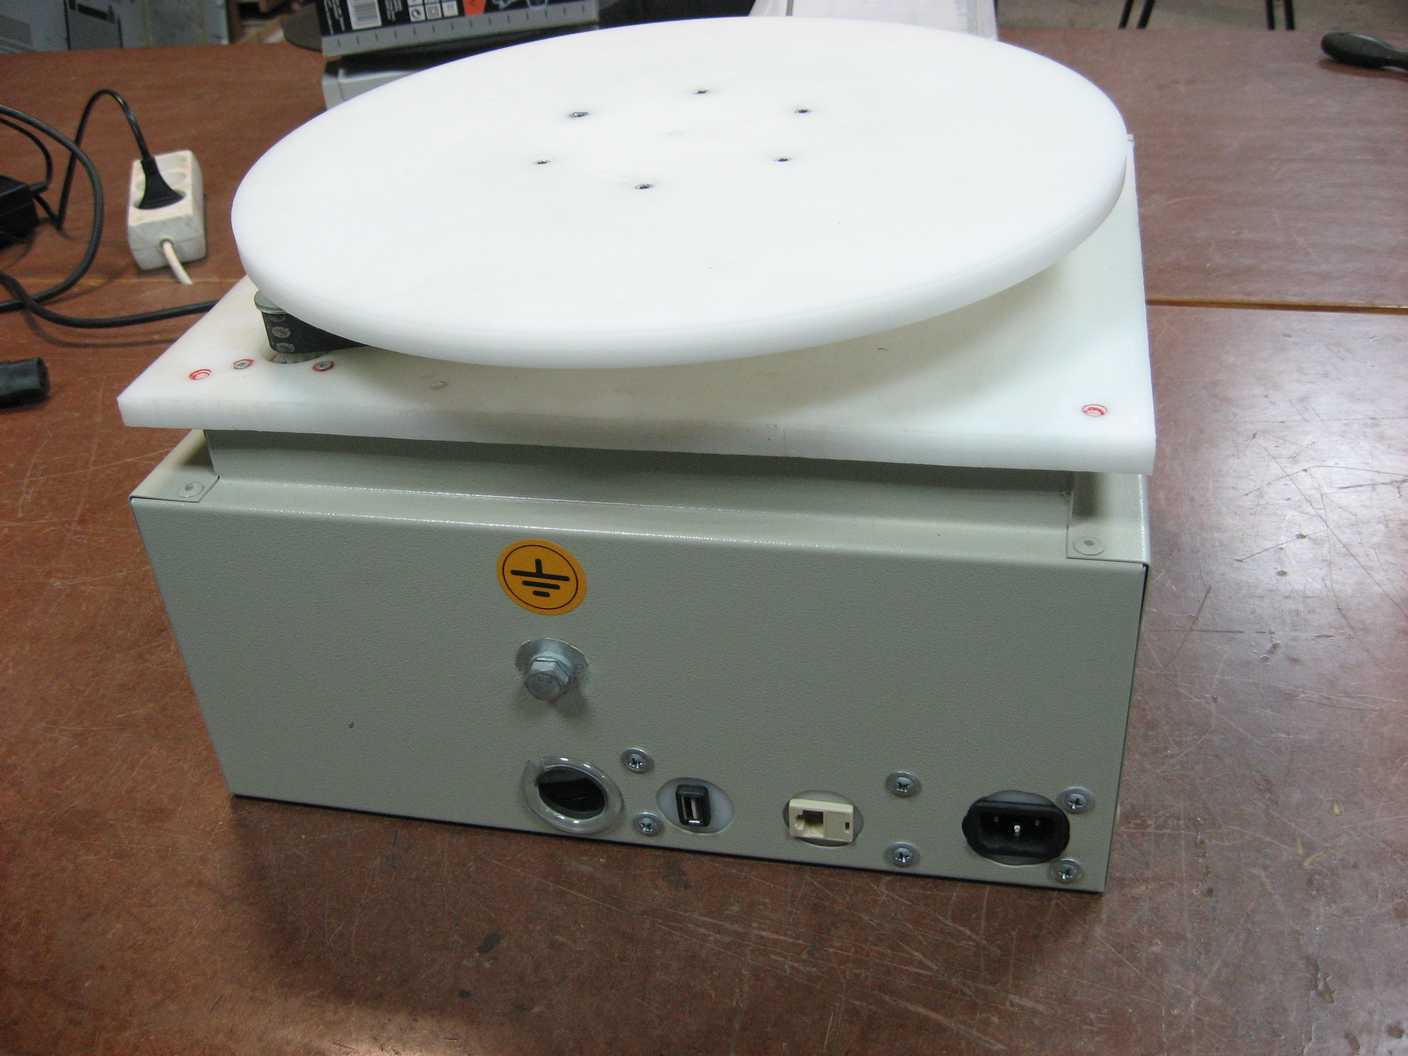
The result that we got at the end was very cool. Below is the base prize that we give at the start of each year.
And with that we thought that we should make a dedicated and normal box just for this. Especially that someone recently donated us a Canon D1000 DSLR with a 50mm lens, a tripod and an old Samsung tablet (it’ll come in handy later :) ) and a stand on wheels. Most other materials I used I found around the workshop too, so the cost of this project is very minimal.
The idea was to have a All-in-one box, where all the components are inside the box so that in case we’d need to transport it somewhere we wouldn’t need to worry about anything sticking out. I bought 5m of neutral white LED strips (9.6w, 120 led’s/m, I bought them from luxon.lt for very very cheap) and 3 PWM dimmers, which will sit inside. Also for convenience (and because our donated camera doesn’t have a battery, only a battery adapter that plugs right into the wall outlet) I wanted to add an electricity outlet.
Making the box
I got to work by first making a 3D model in OnShape of how the whole thing might look like. And this model is available publicly here. You can copy it to your workspace if needed.
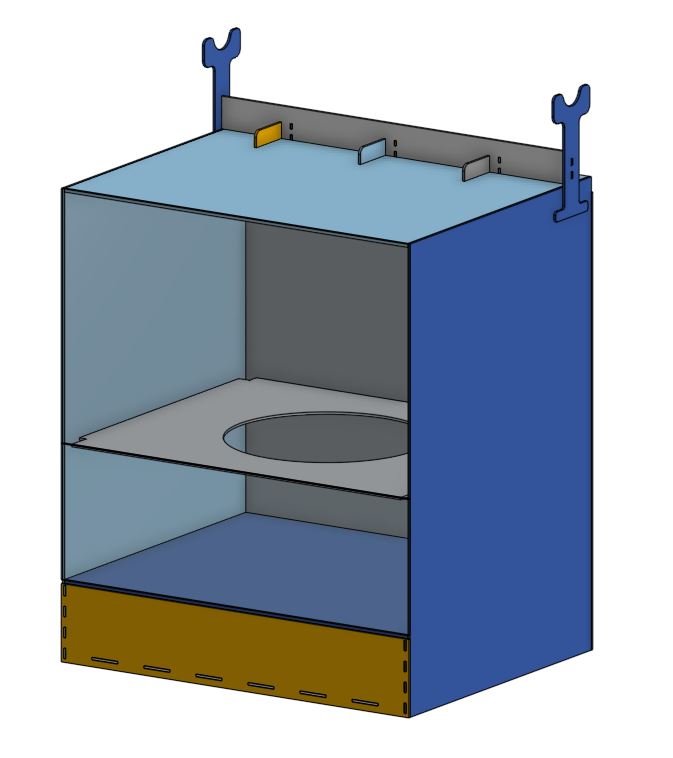
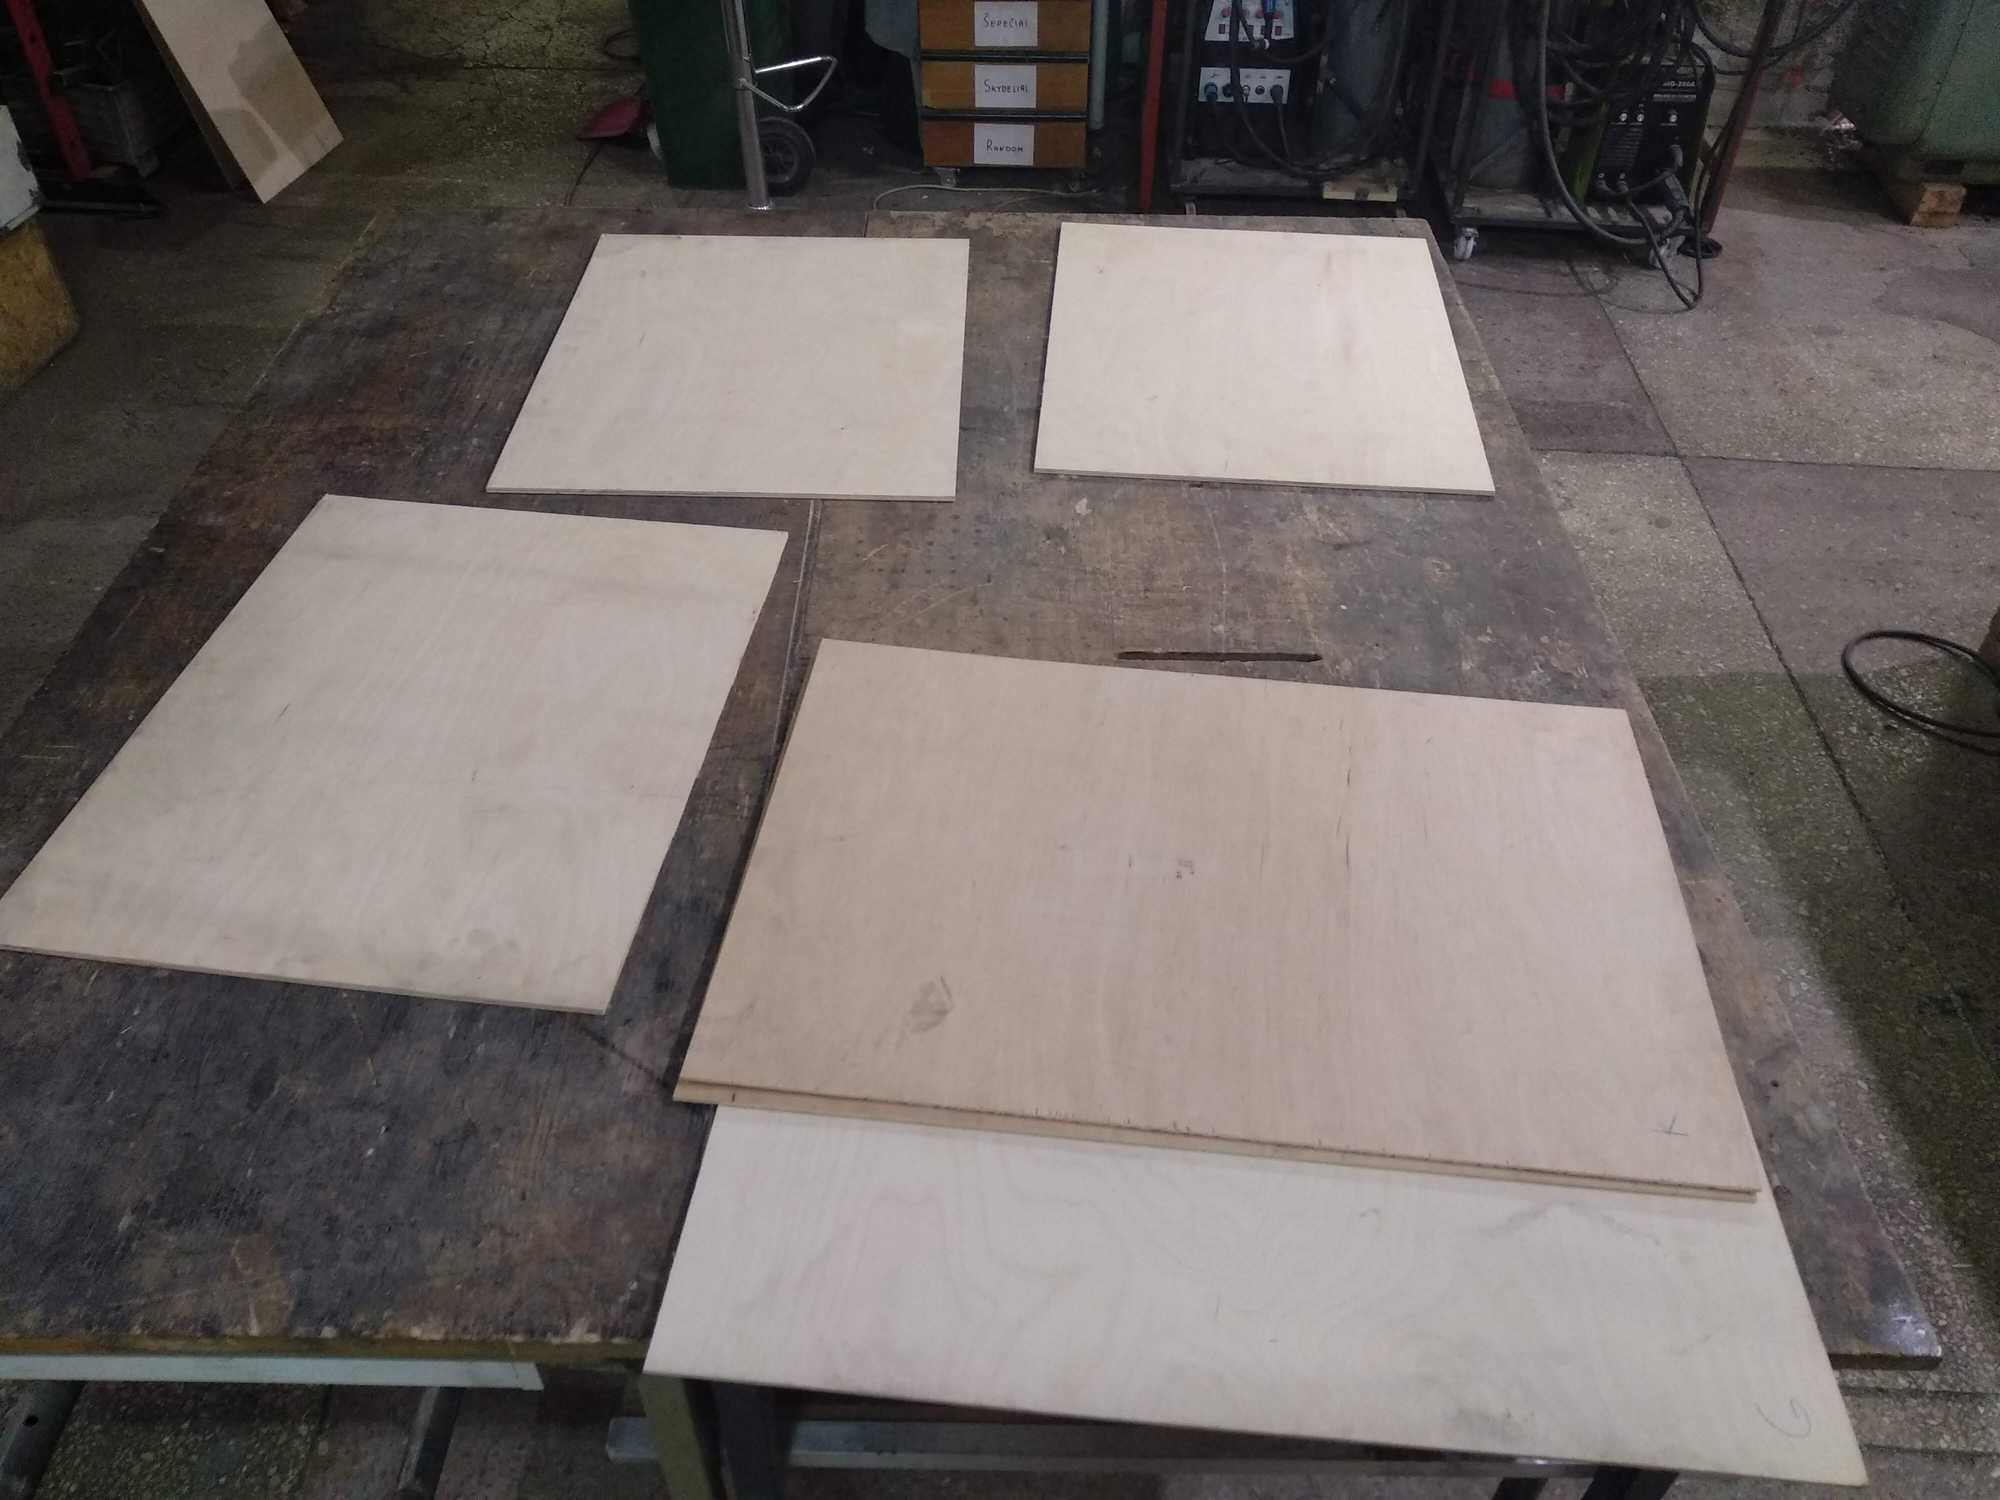
Then cut out the pieces from plywood – used 4mm for walls and 6mm for bottom, middle and top parts. Used glue and staples to connect them.

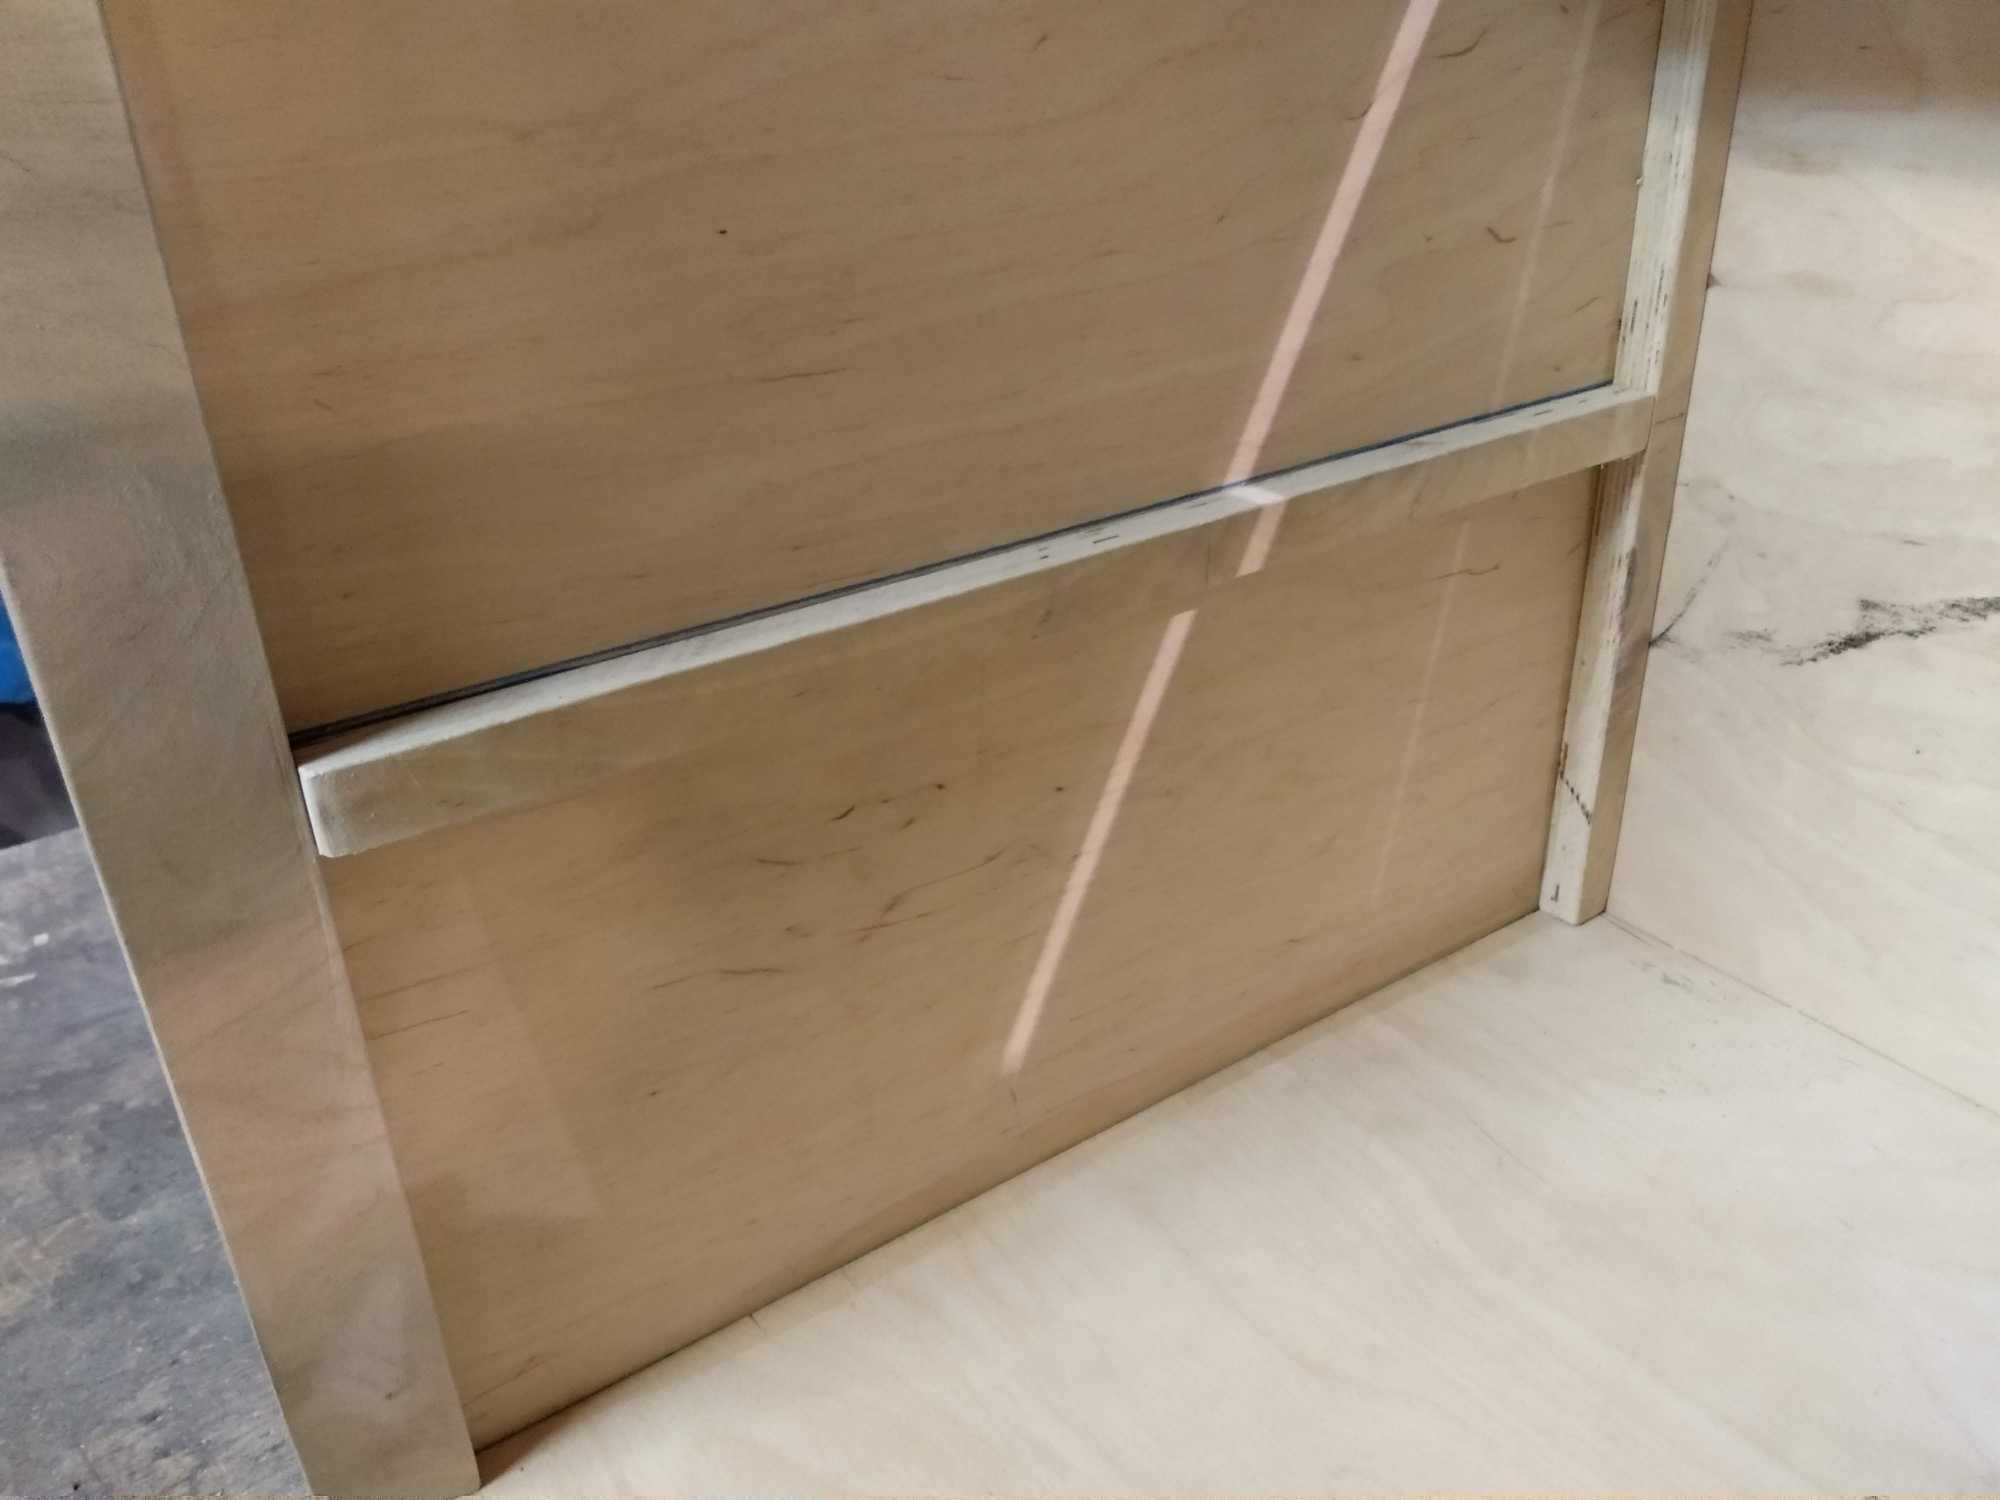
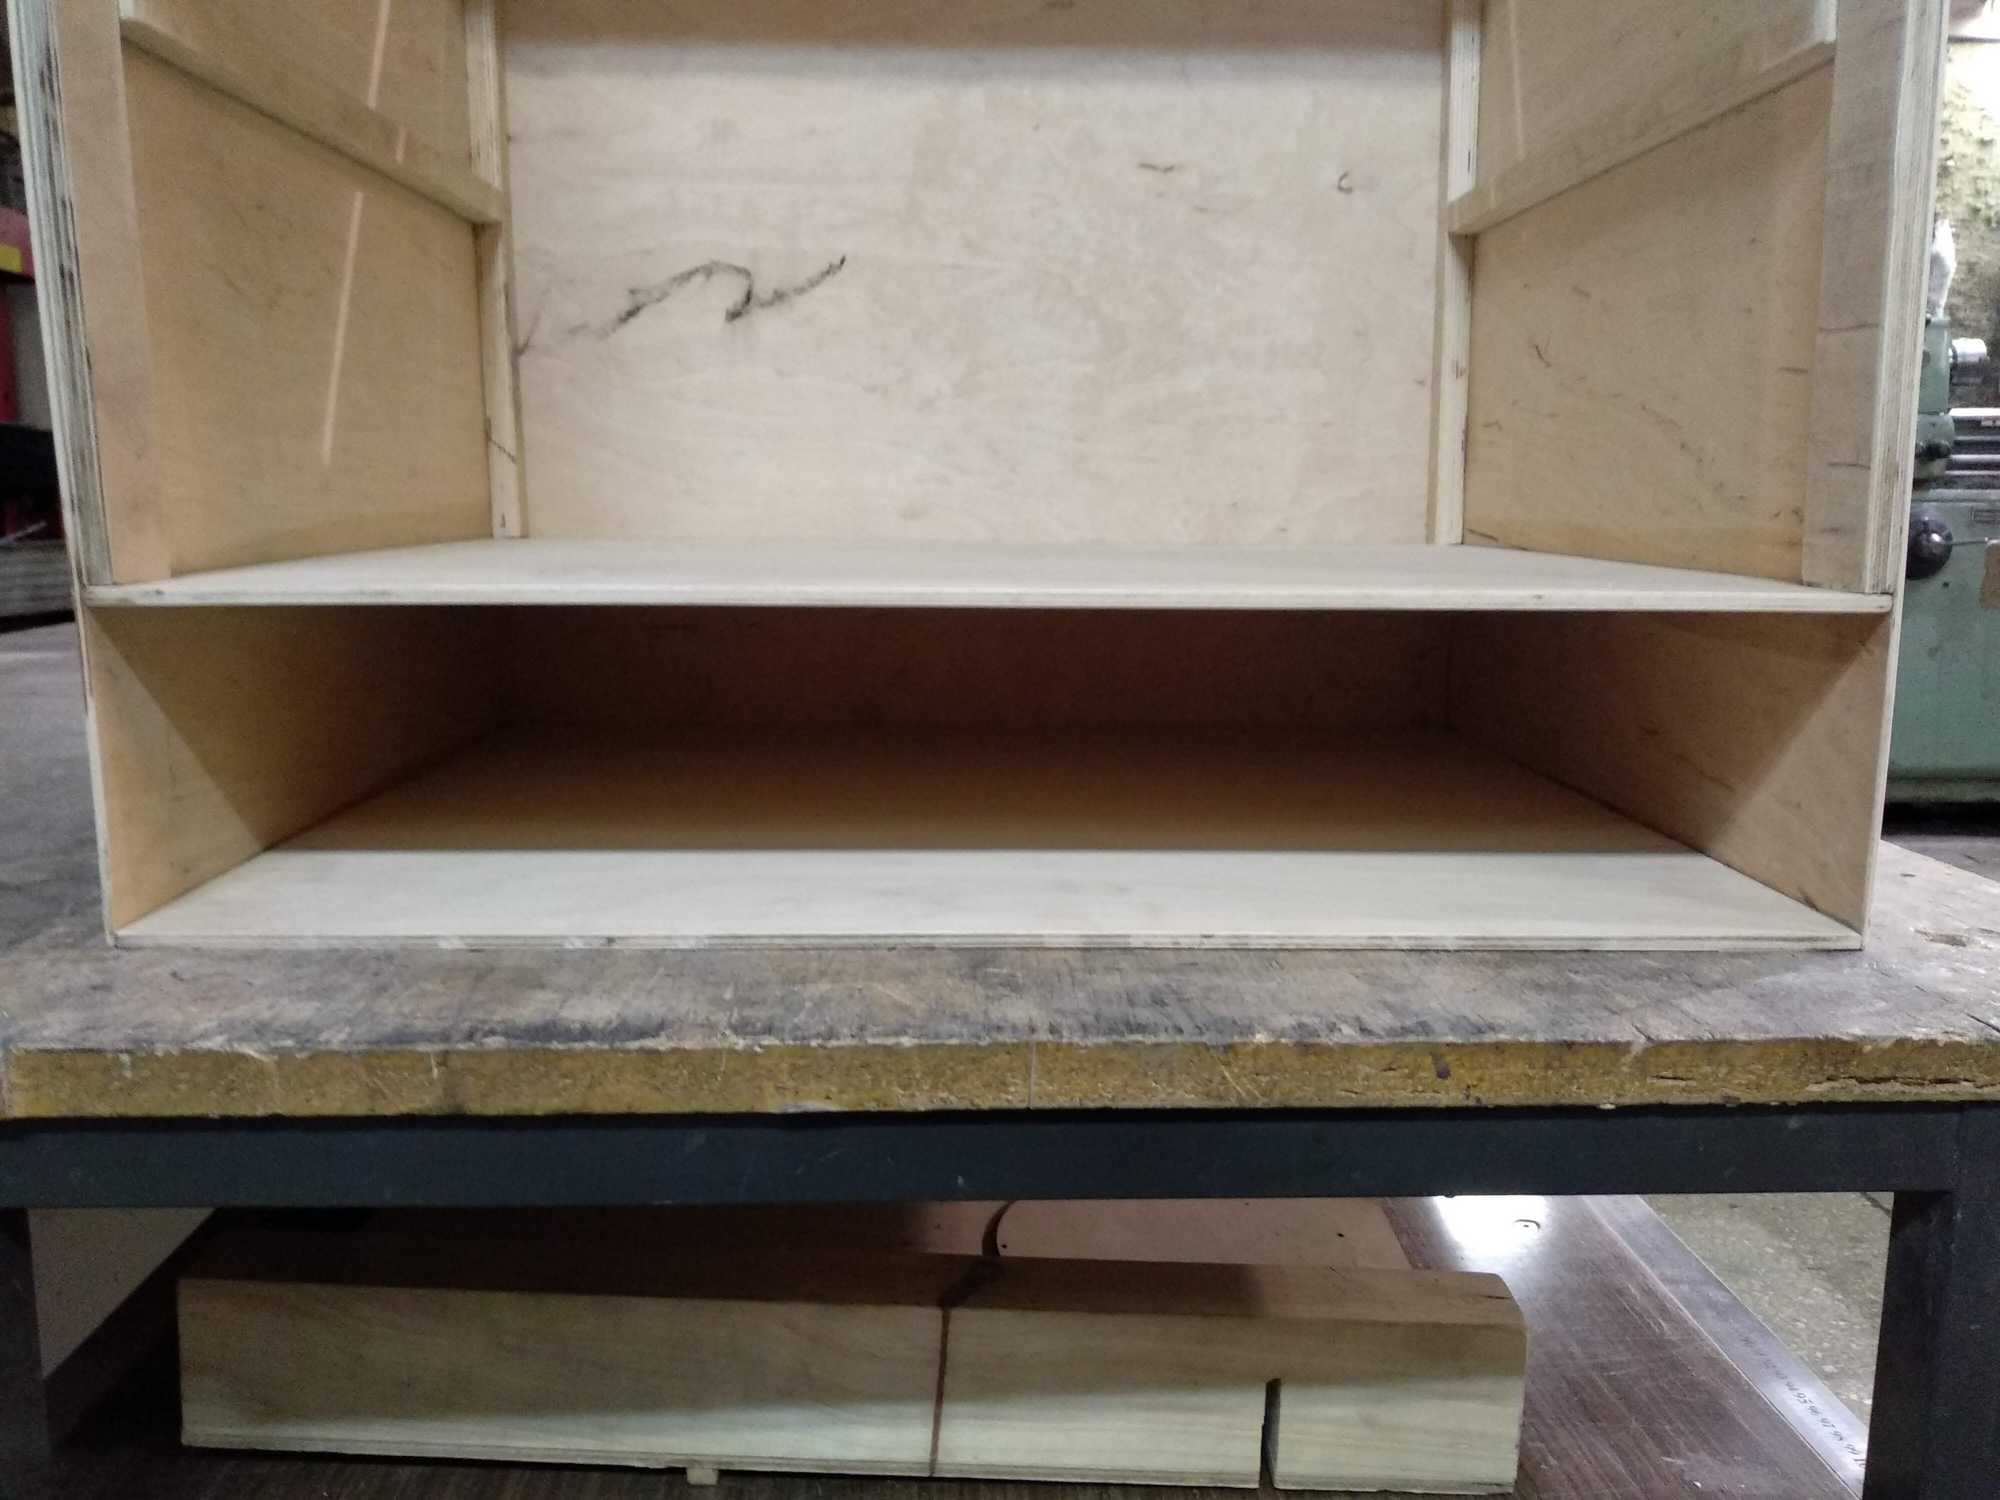
The next day, I painted the top half from inside in white. Otherwise the light bouncing from the sides would get warm tones and I only want neutral white light.

The box came out a bit quirky, but it’s still kinda rectangular :P
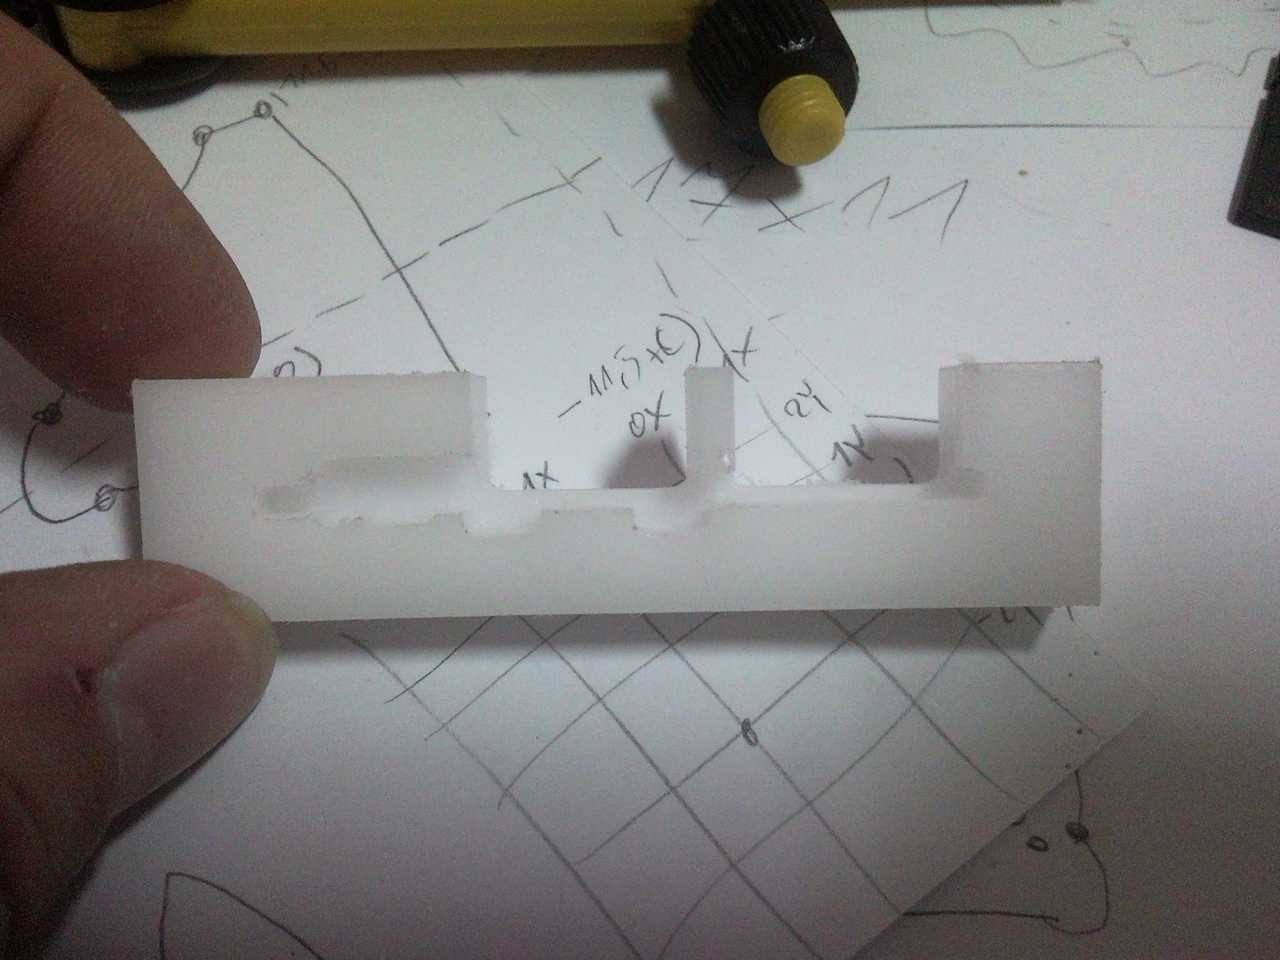
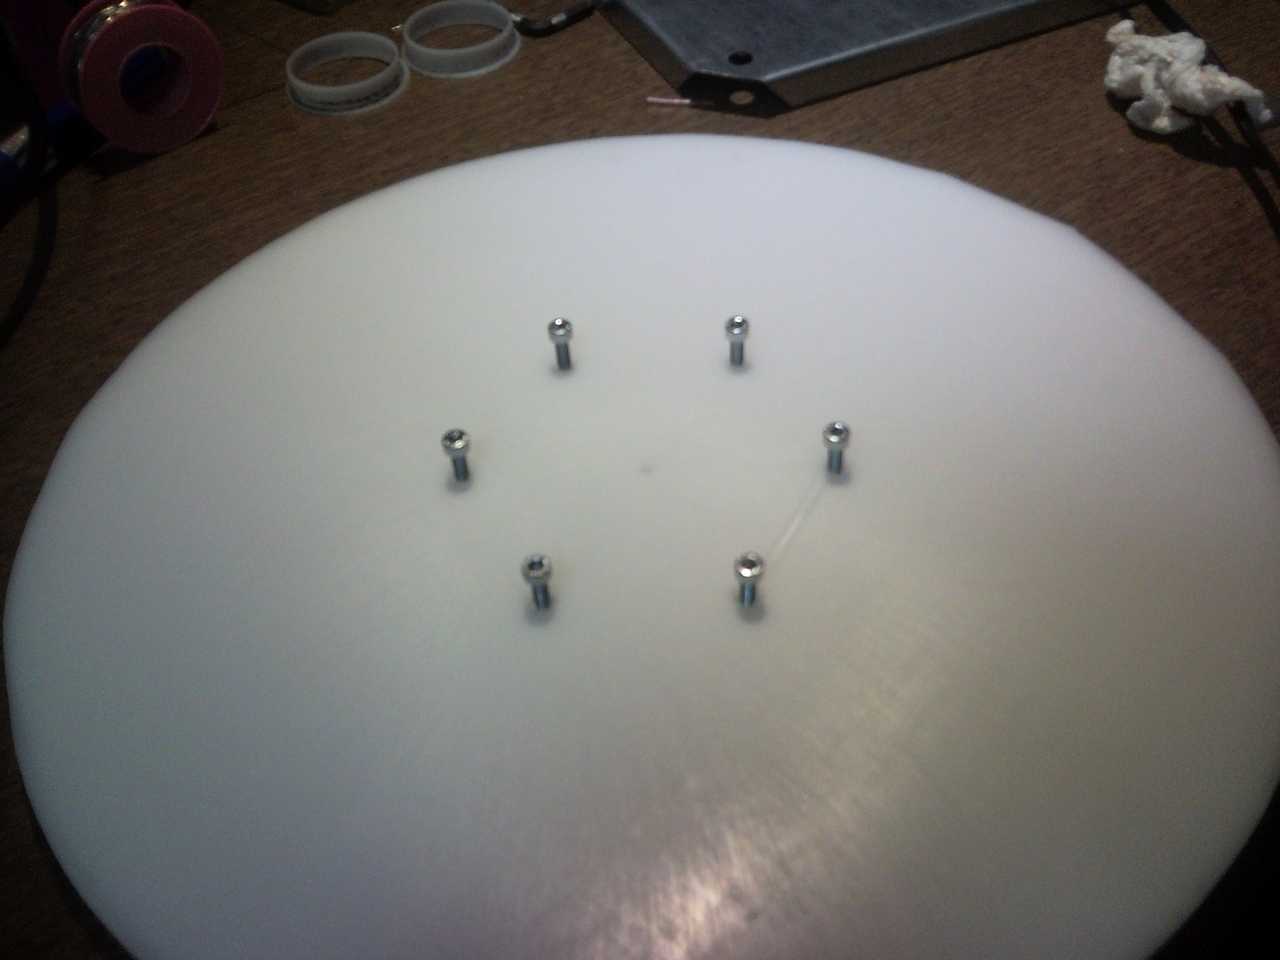
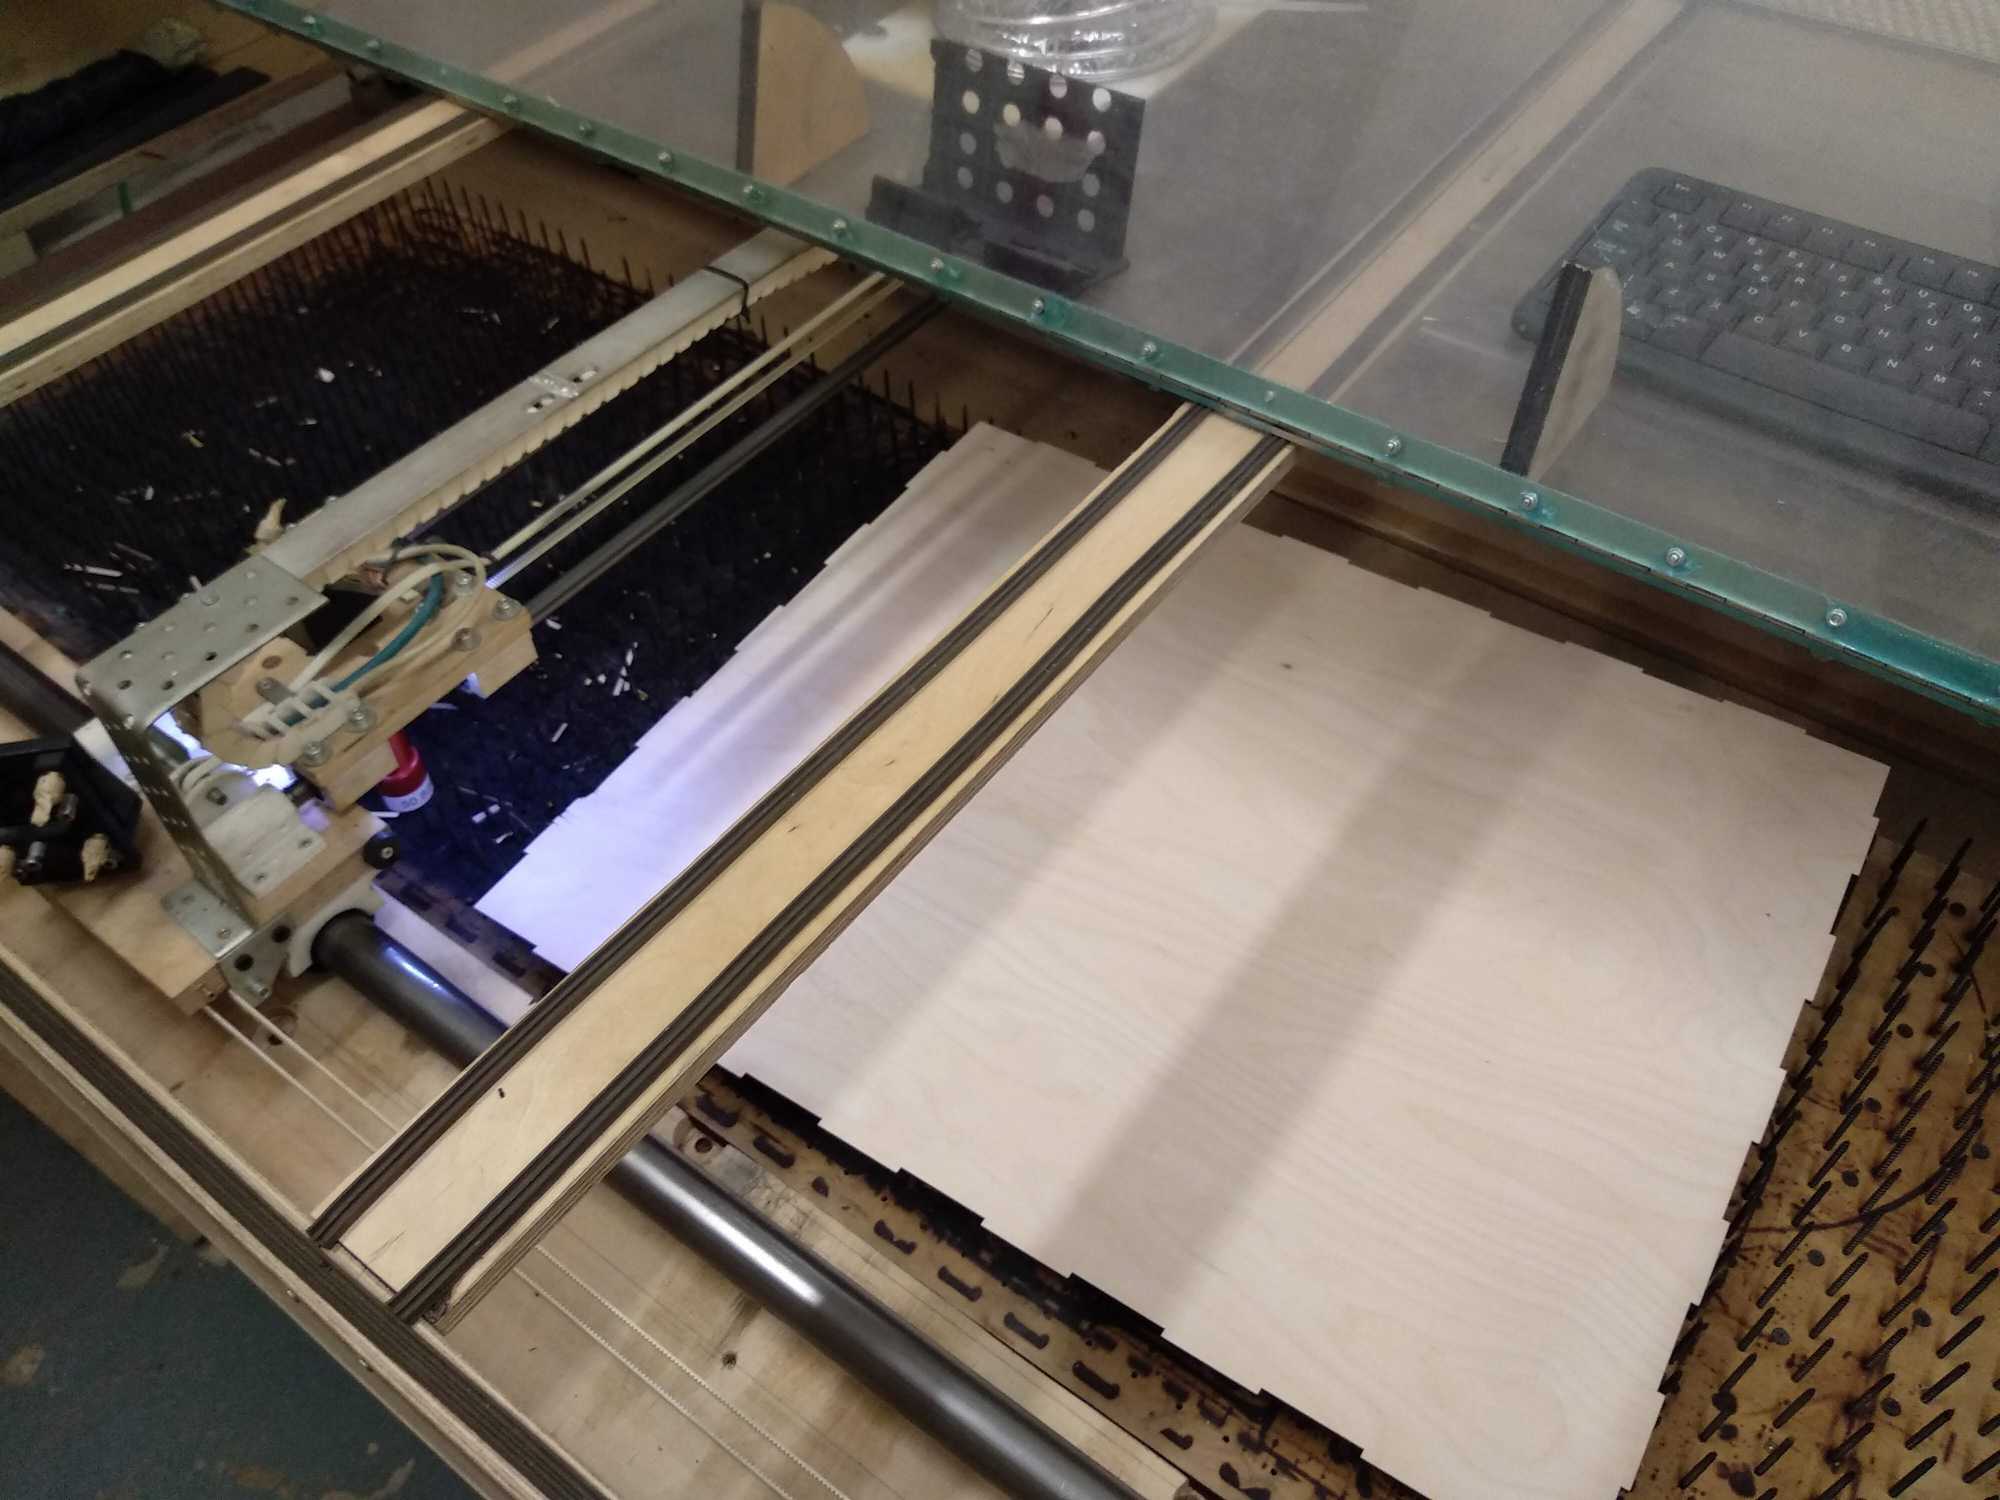
And then lasercut the part that goes on top of that 360 device.

Of course I also made a spot where that 3D device could slide in to be centered and would stay in place.


Then I also lasercut the drawer where we’d keep the camera with other stuff. The trick with making drawers is to lift the bottom a bit (I lifted it by 5mm) so it would hold more weight and be more reliable and not become all warped when glued together. Also there’s only edges rubbing against the surface when you slide it in and out.

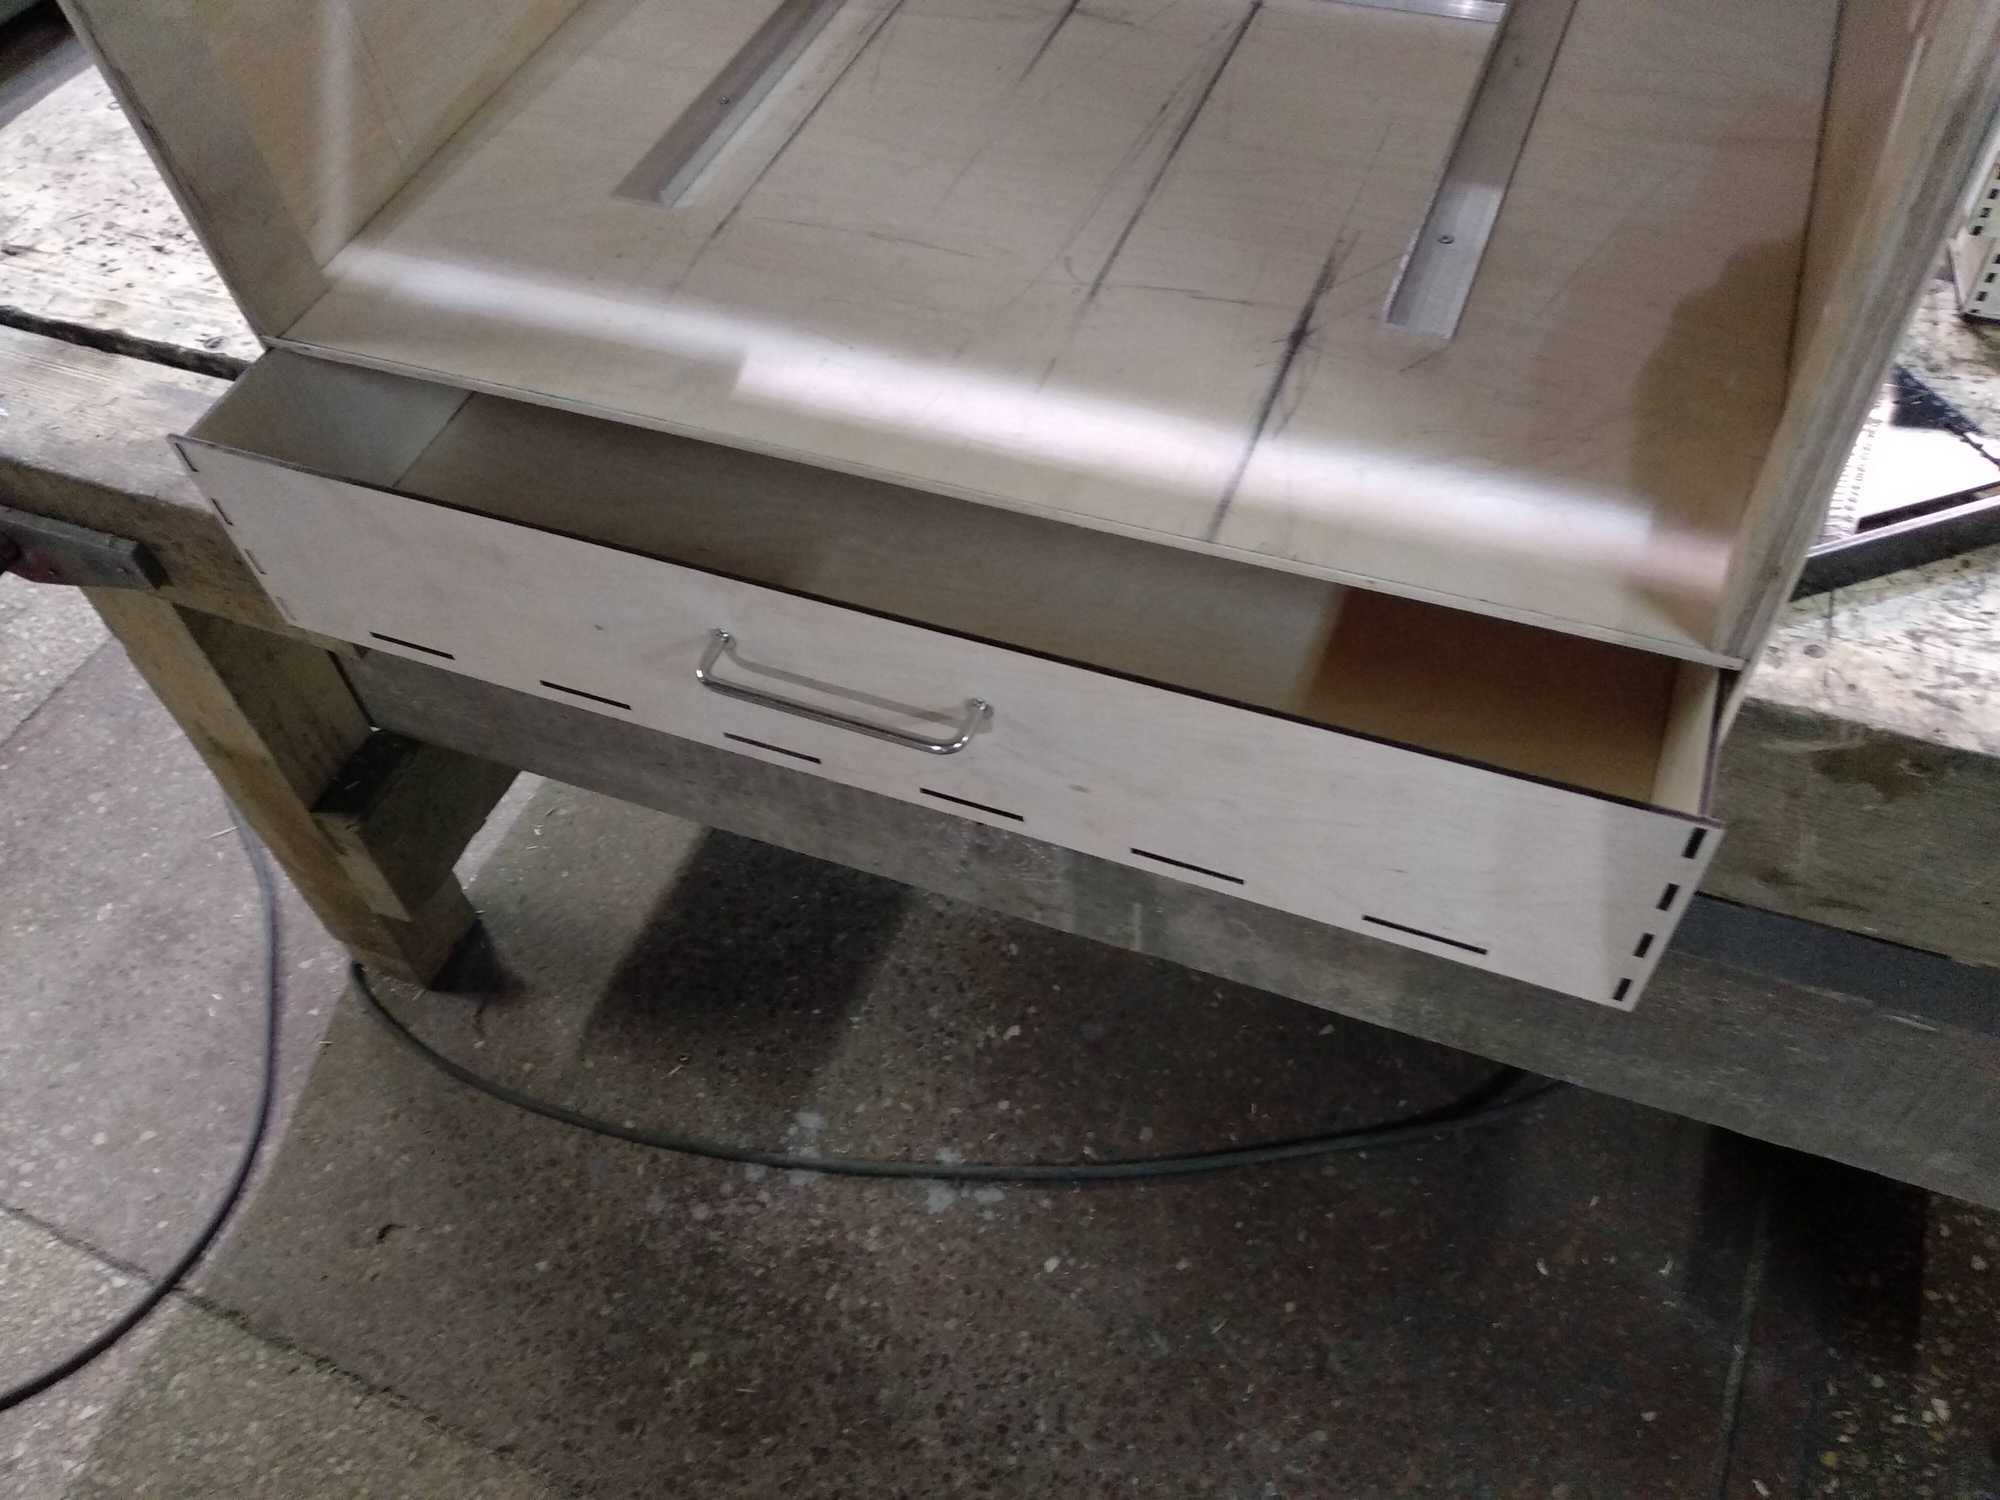

I also padded the drawer with insulation material just to prevent scratches to the gear.

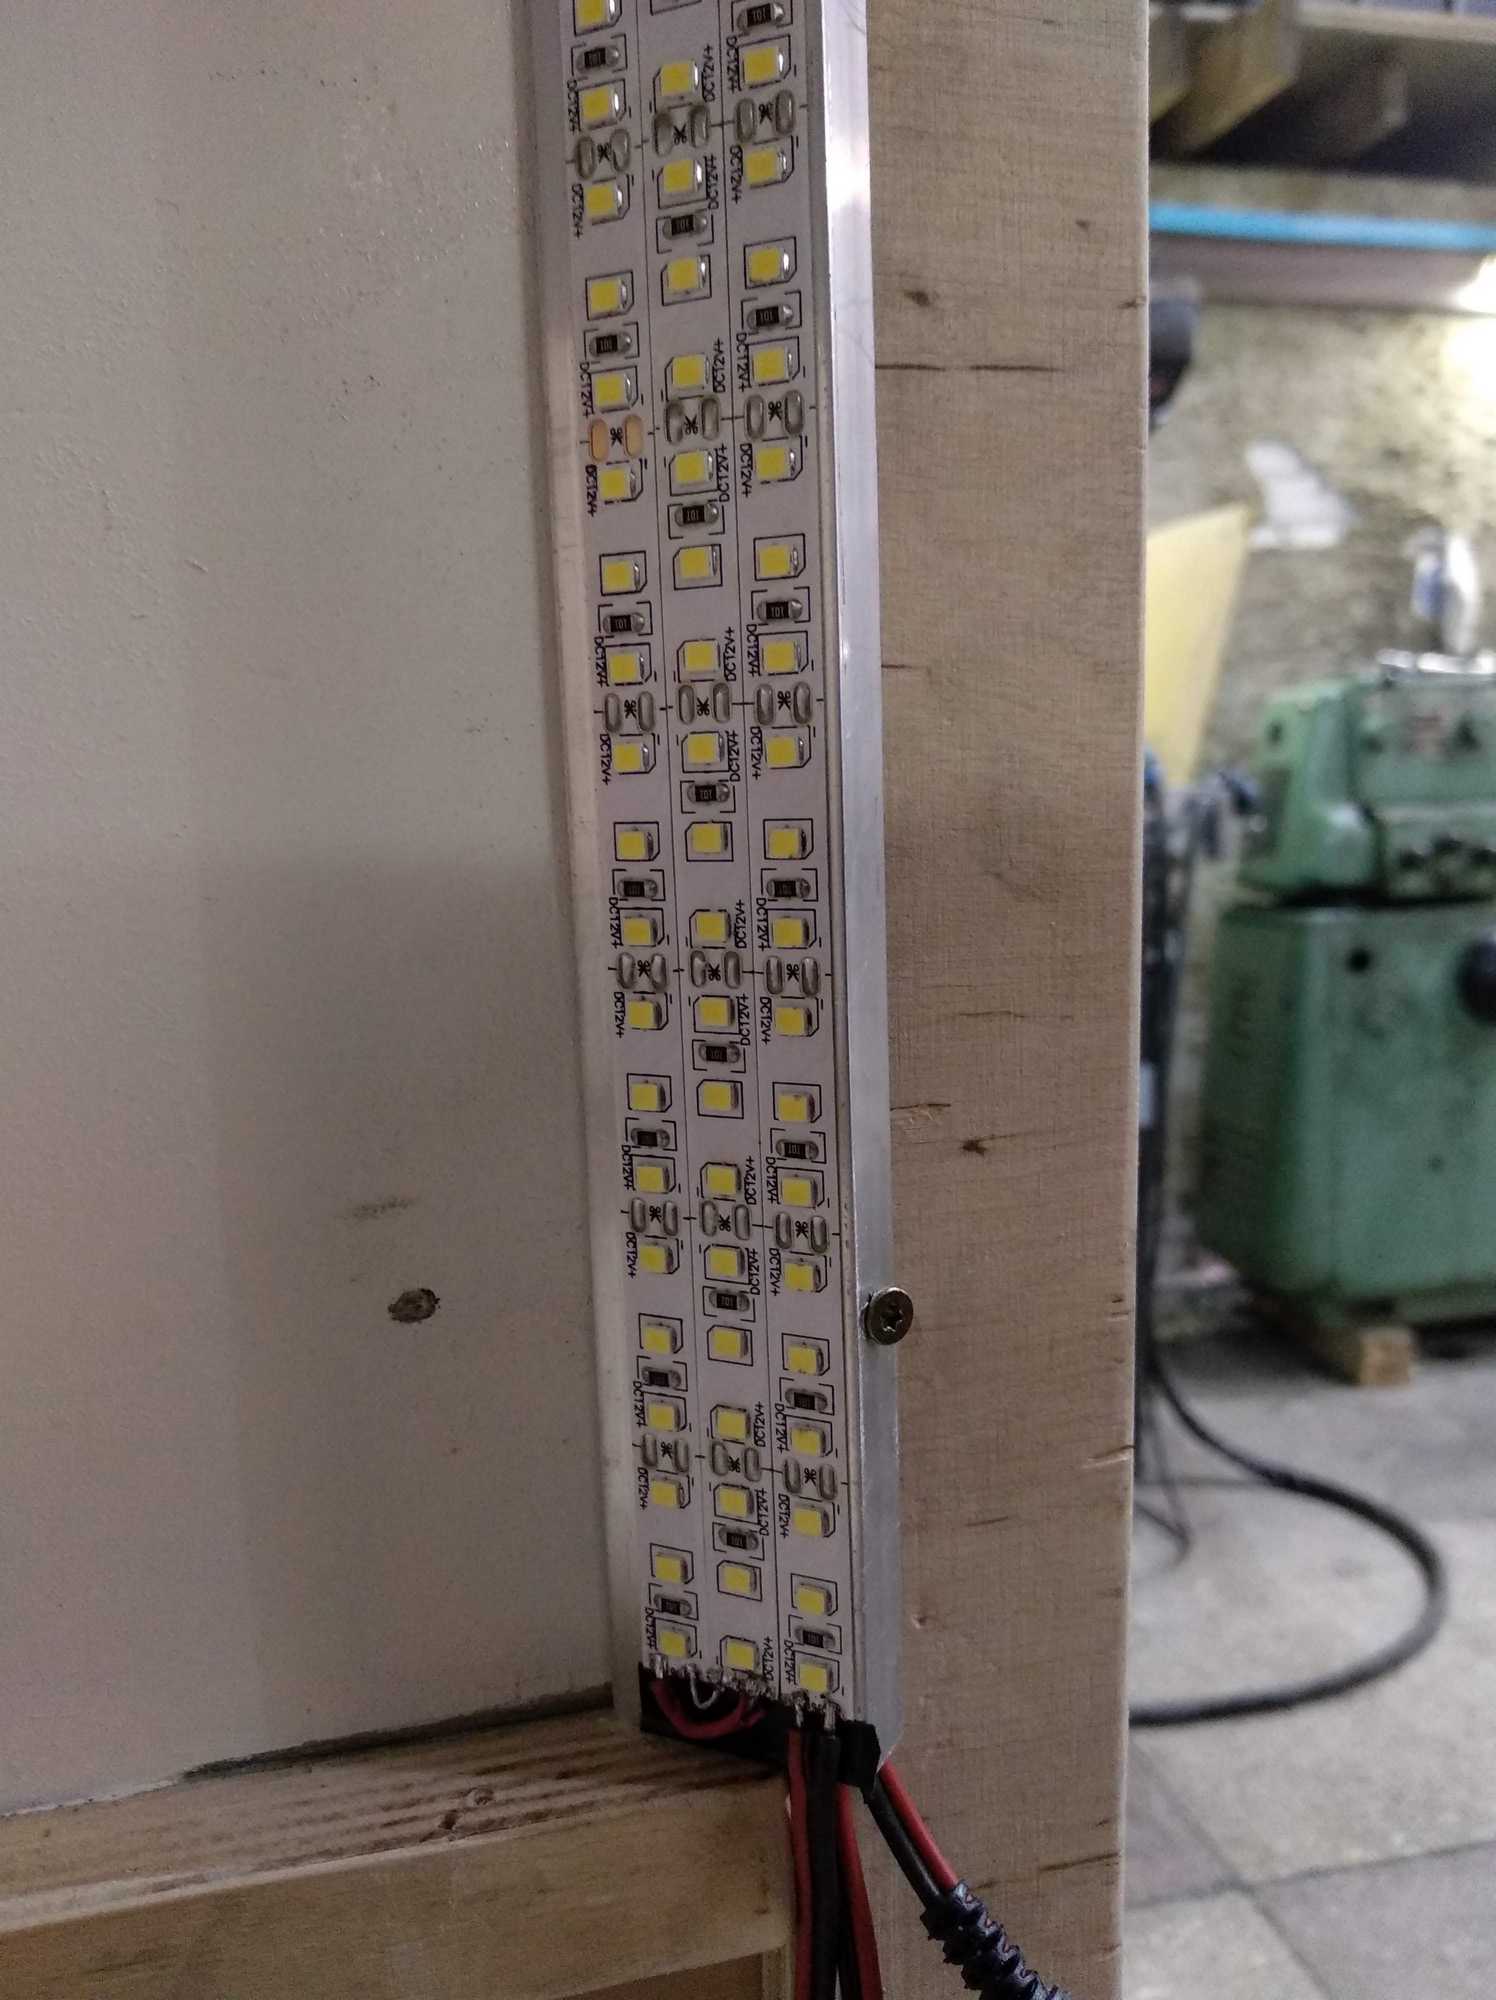
Next up I prepared the light source. I was recommended to place my lights in the front of the box aimed towards inside and add light diffusers on them. This is to scatter the light as much as possible, otherwise if I were to photograph something shiny like glass, ugly streaks of light would be seen on it and that’s definately not good.


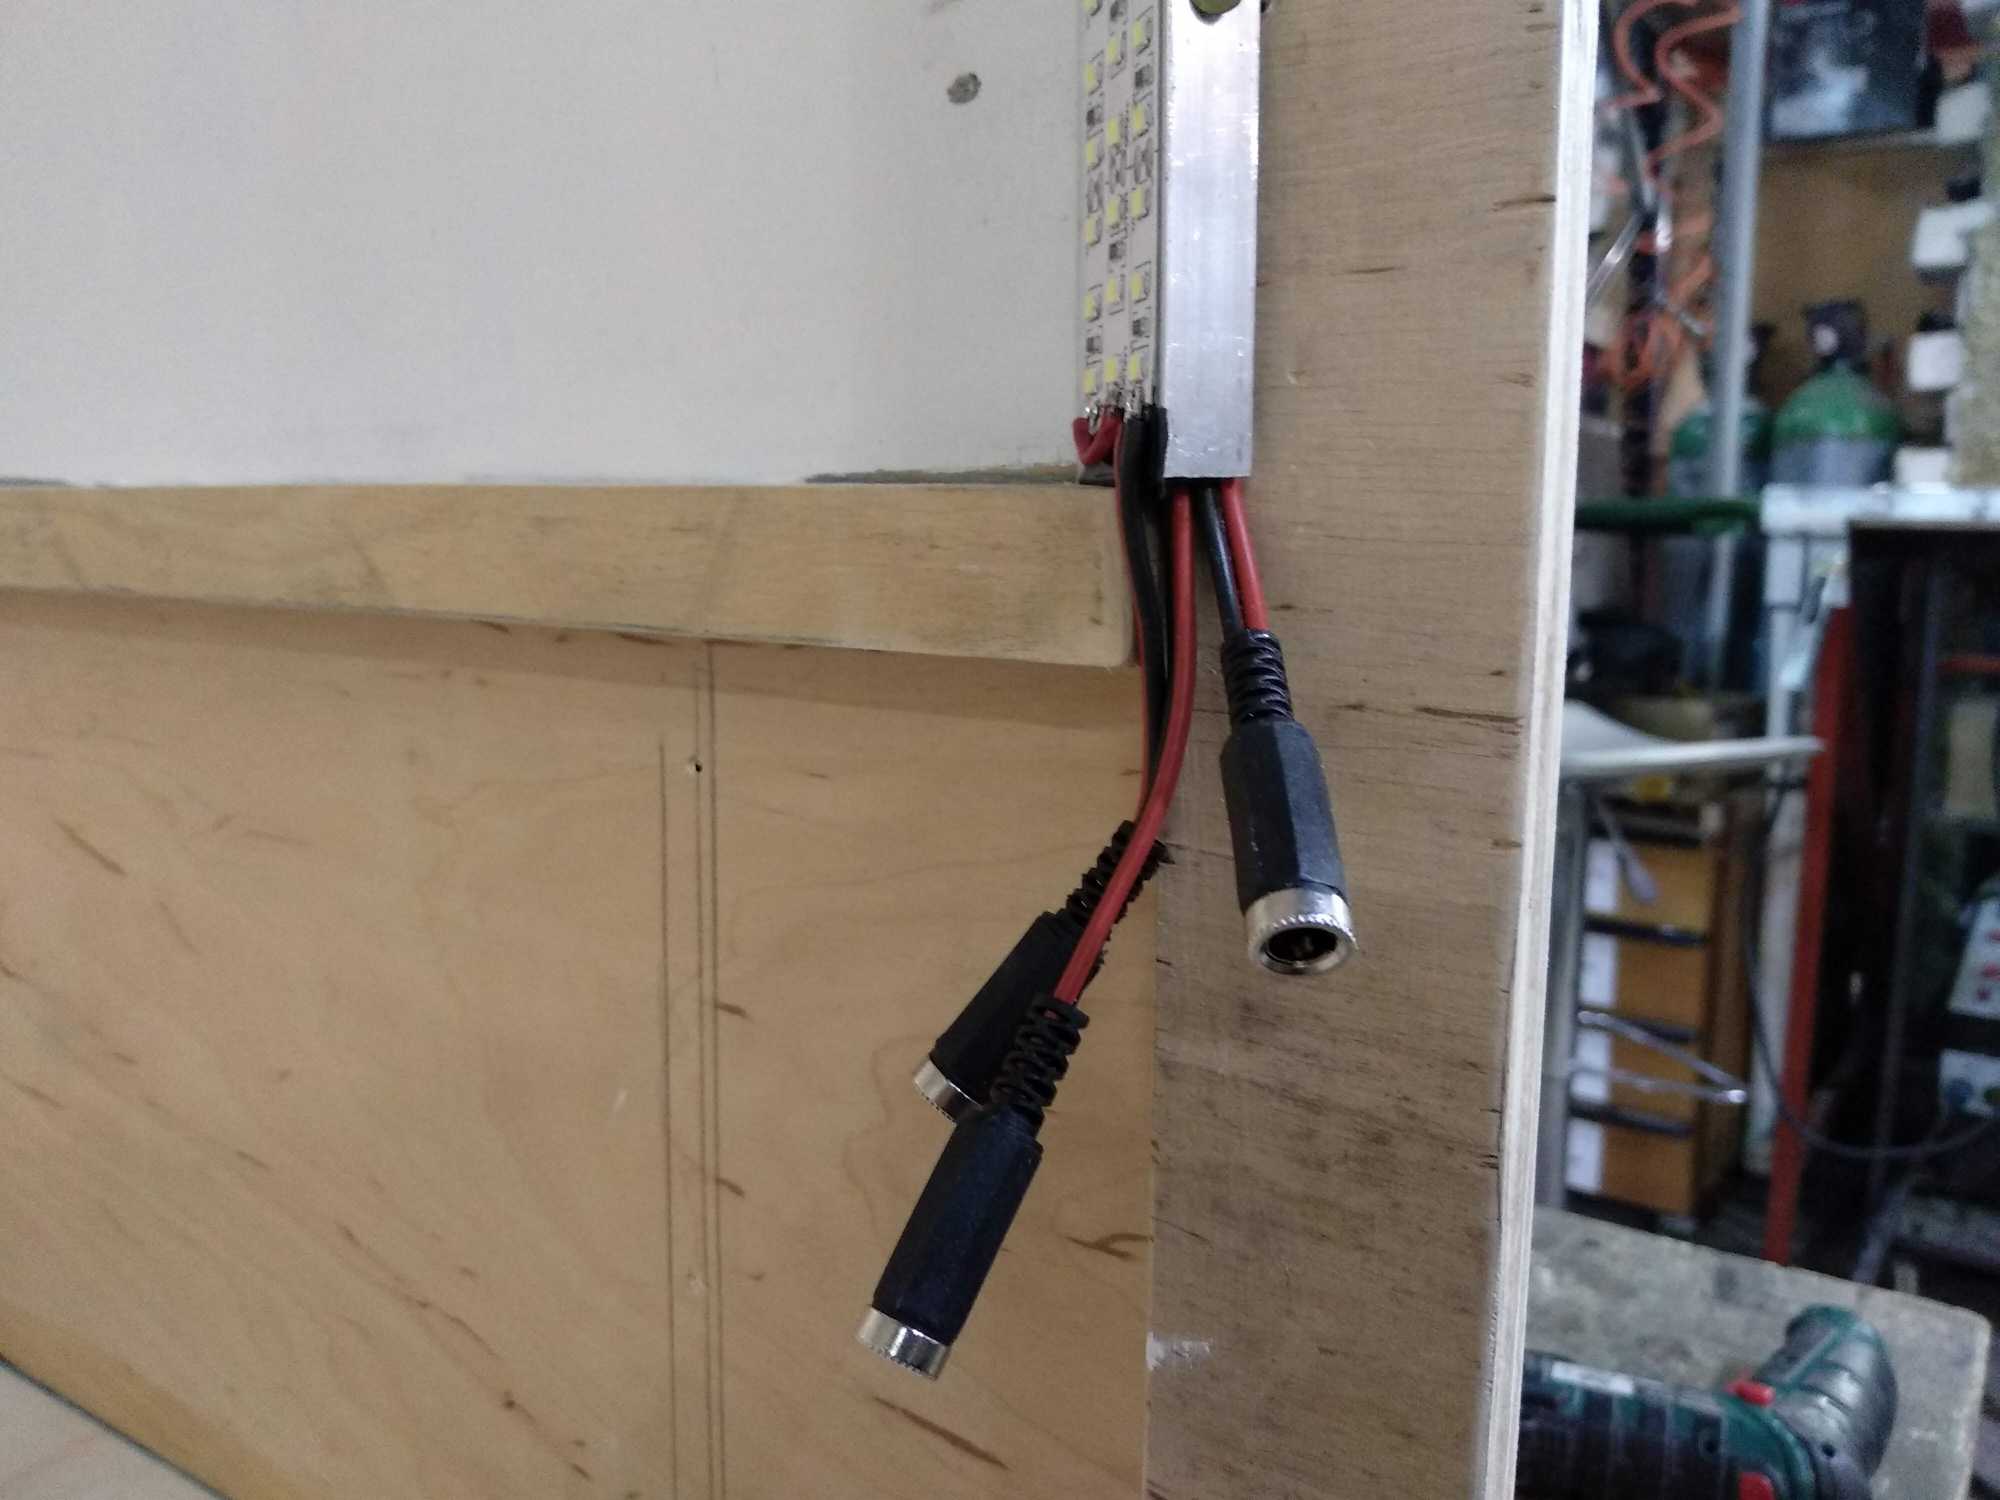
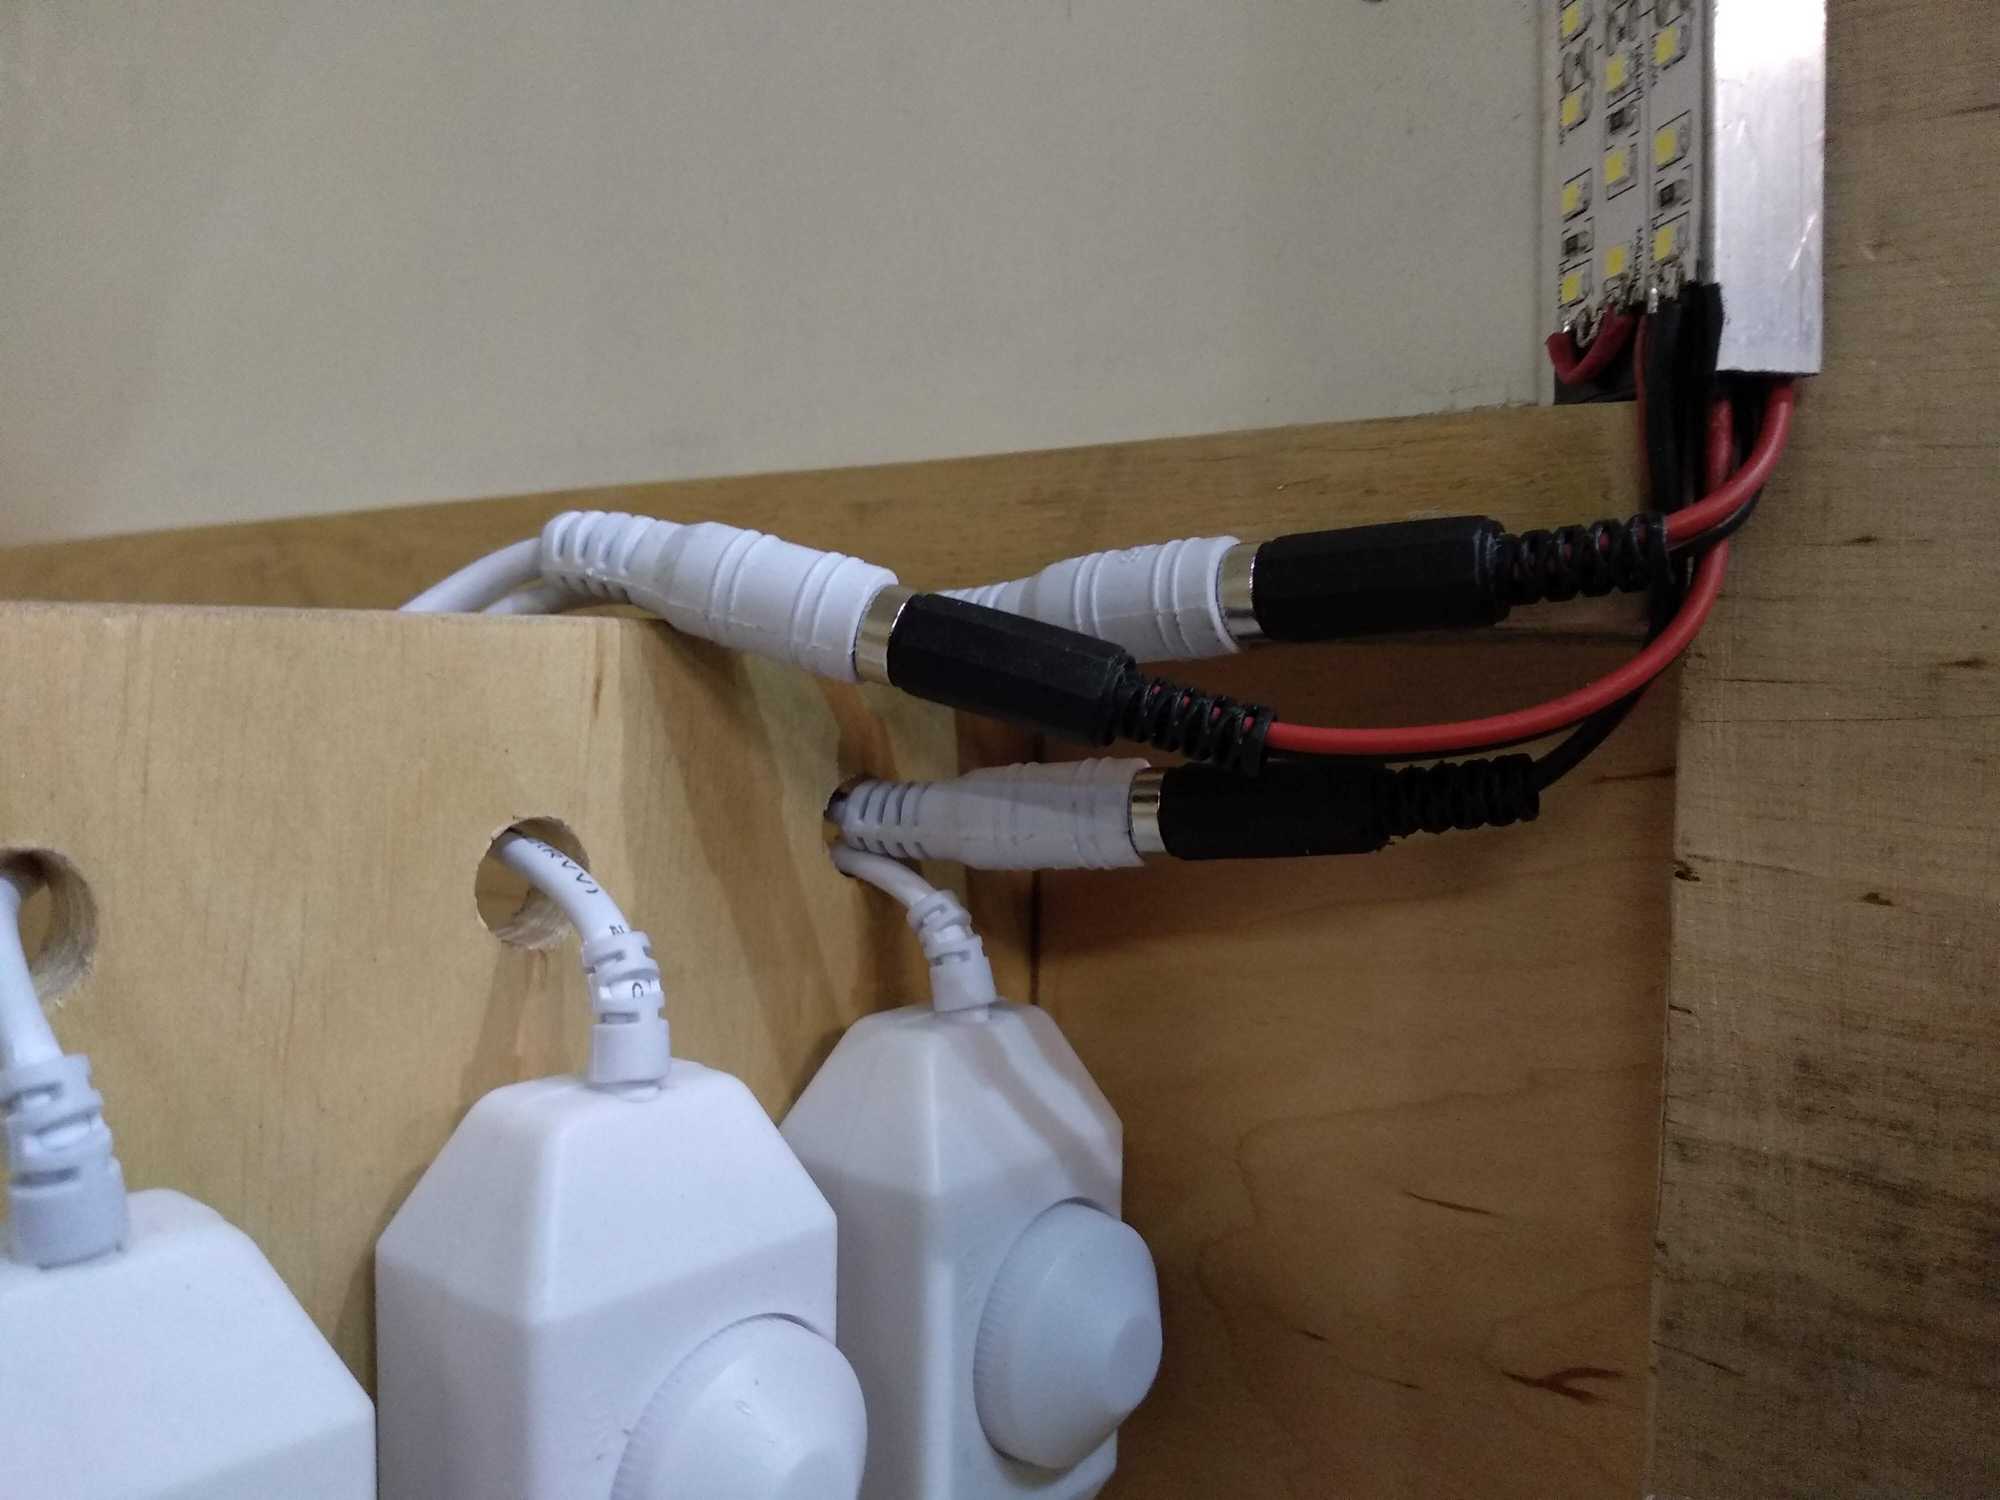
And then I connected the dimmers, added a power switch and an electricity outlet.
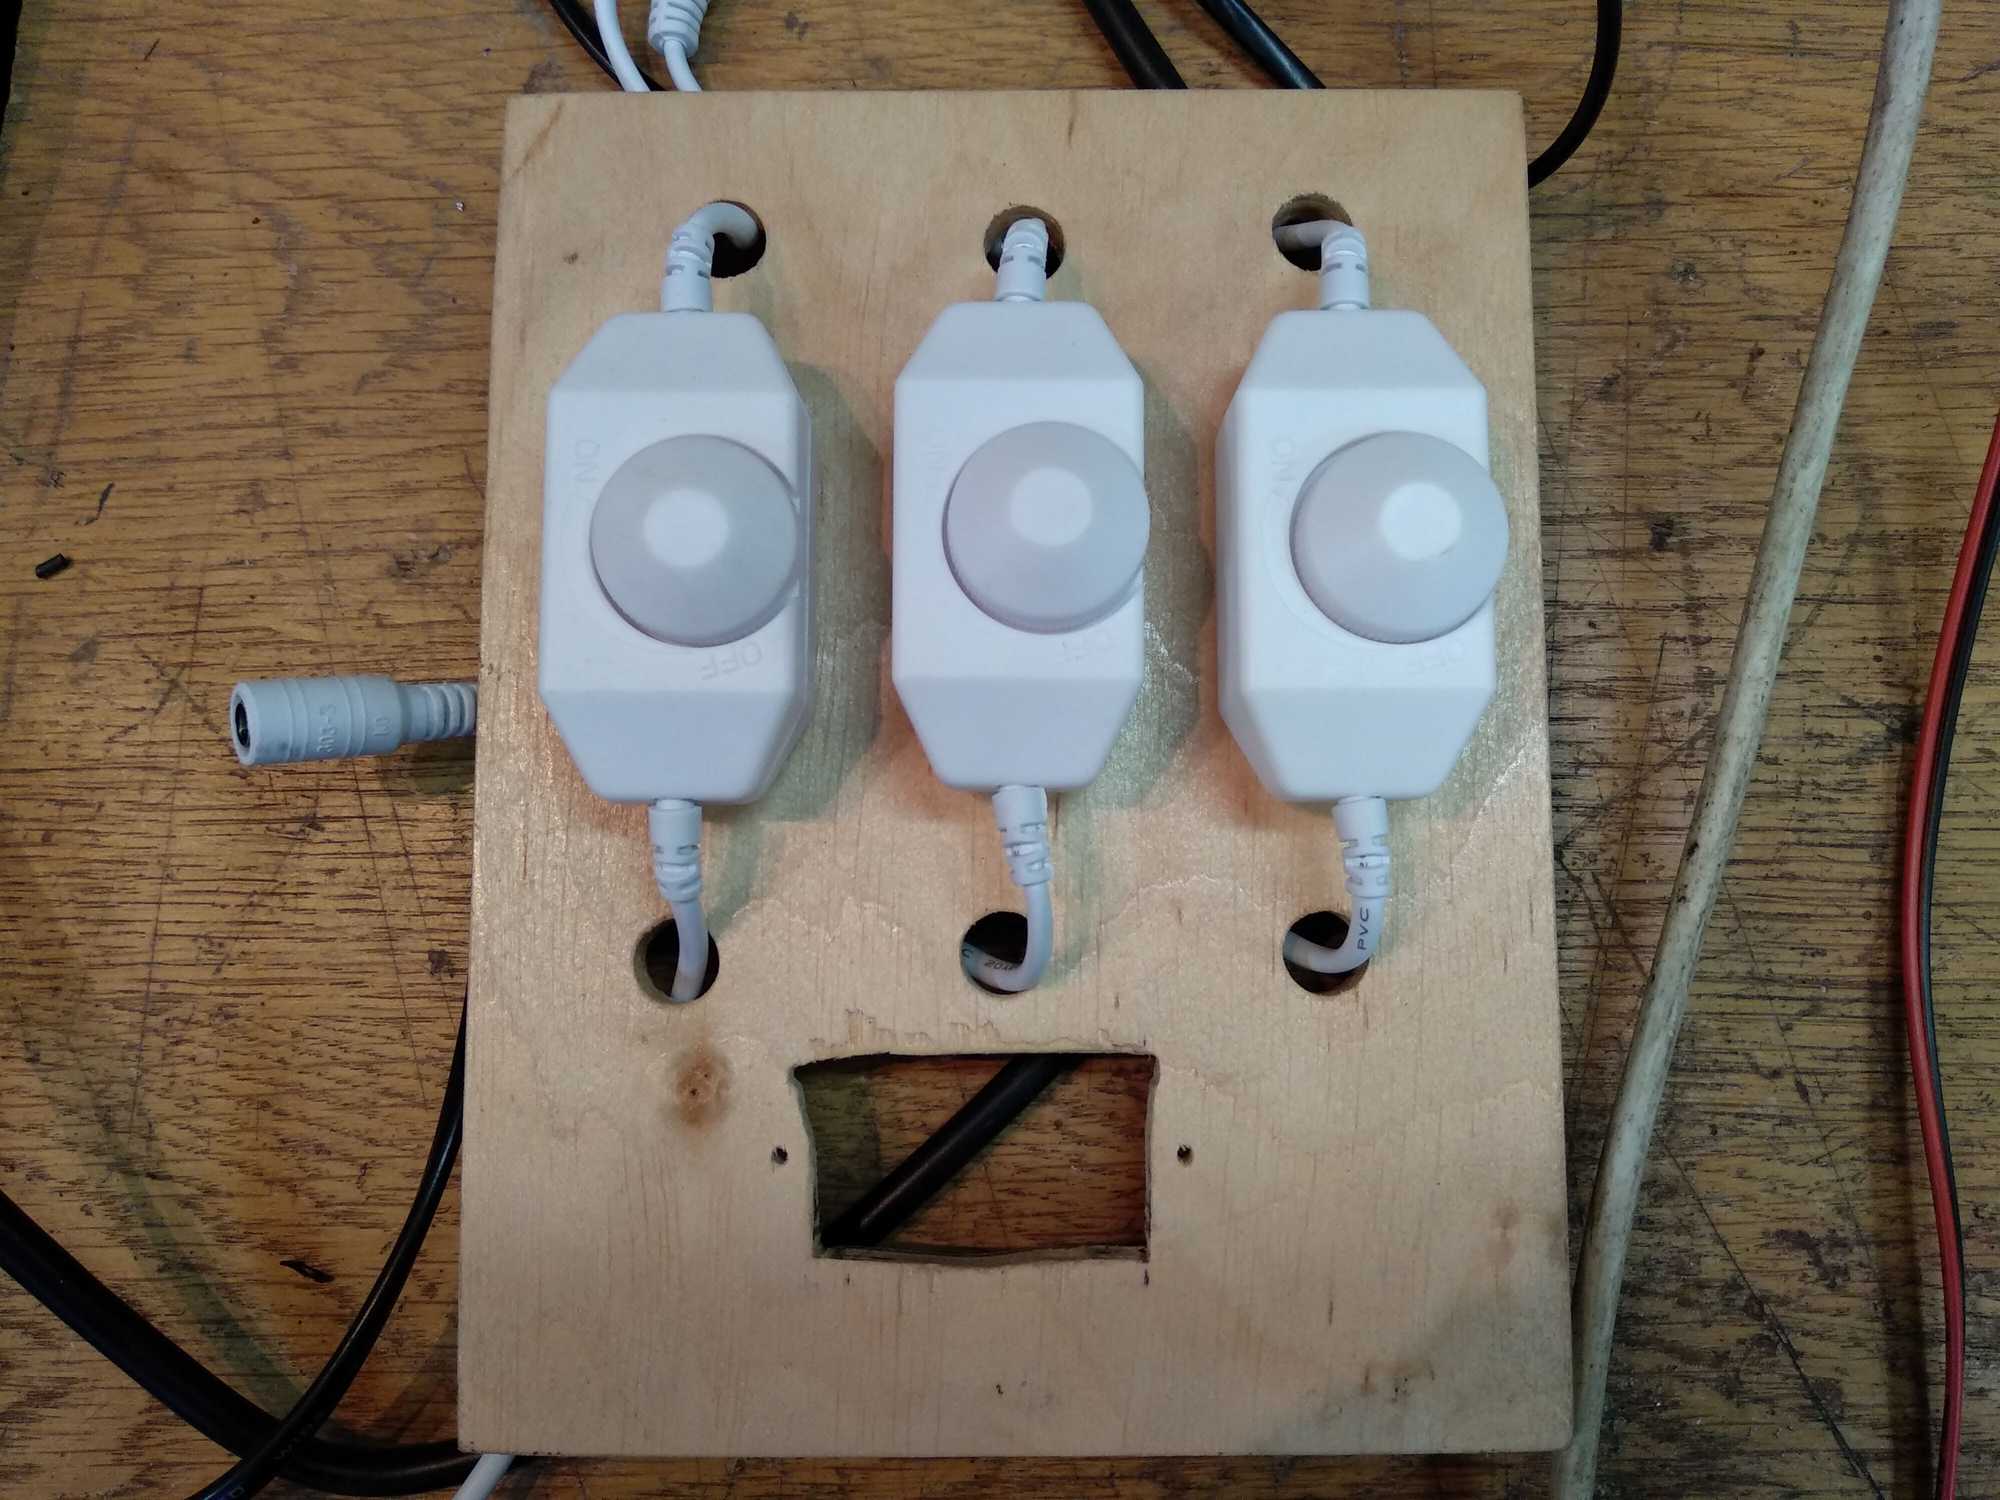


The dimmers are pretty simple though. And I noticed that some of them, when not turned up fully, makes the light strobe so much that it’s very visible and ugly. When turned up fully, strobbing stops.
Here’s a tear-down video of them:
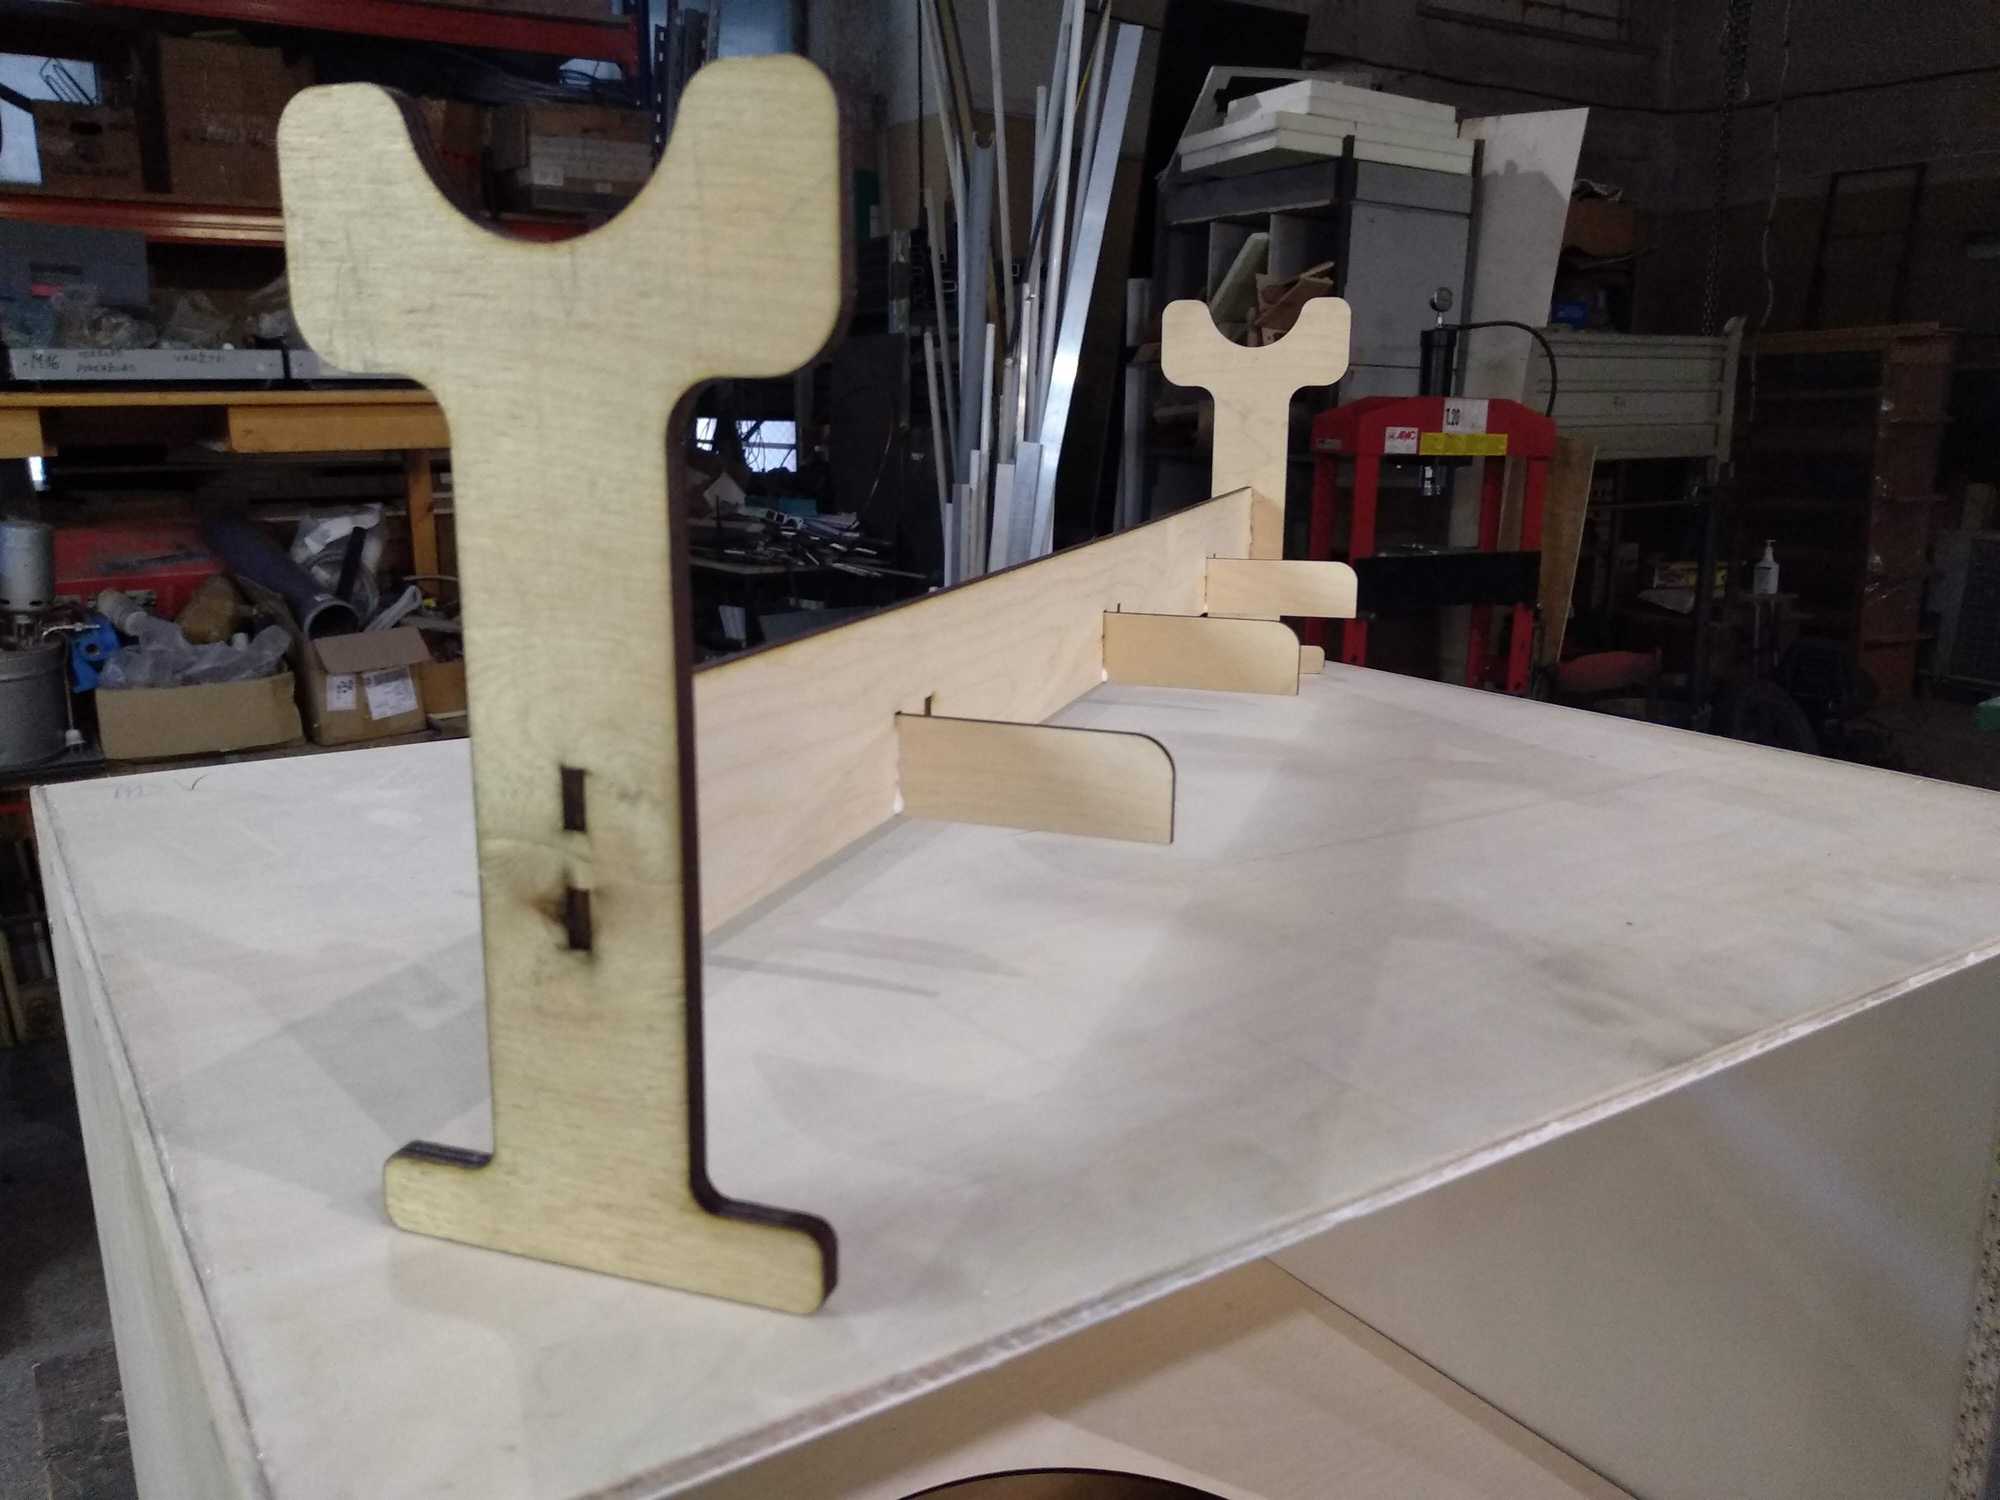
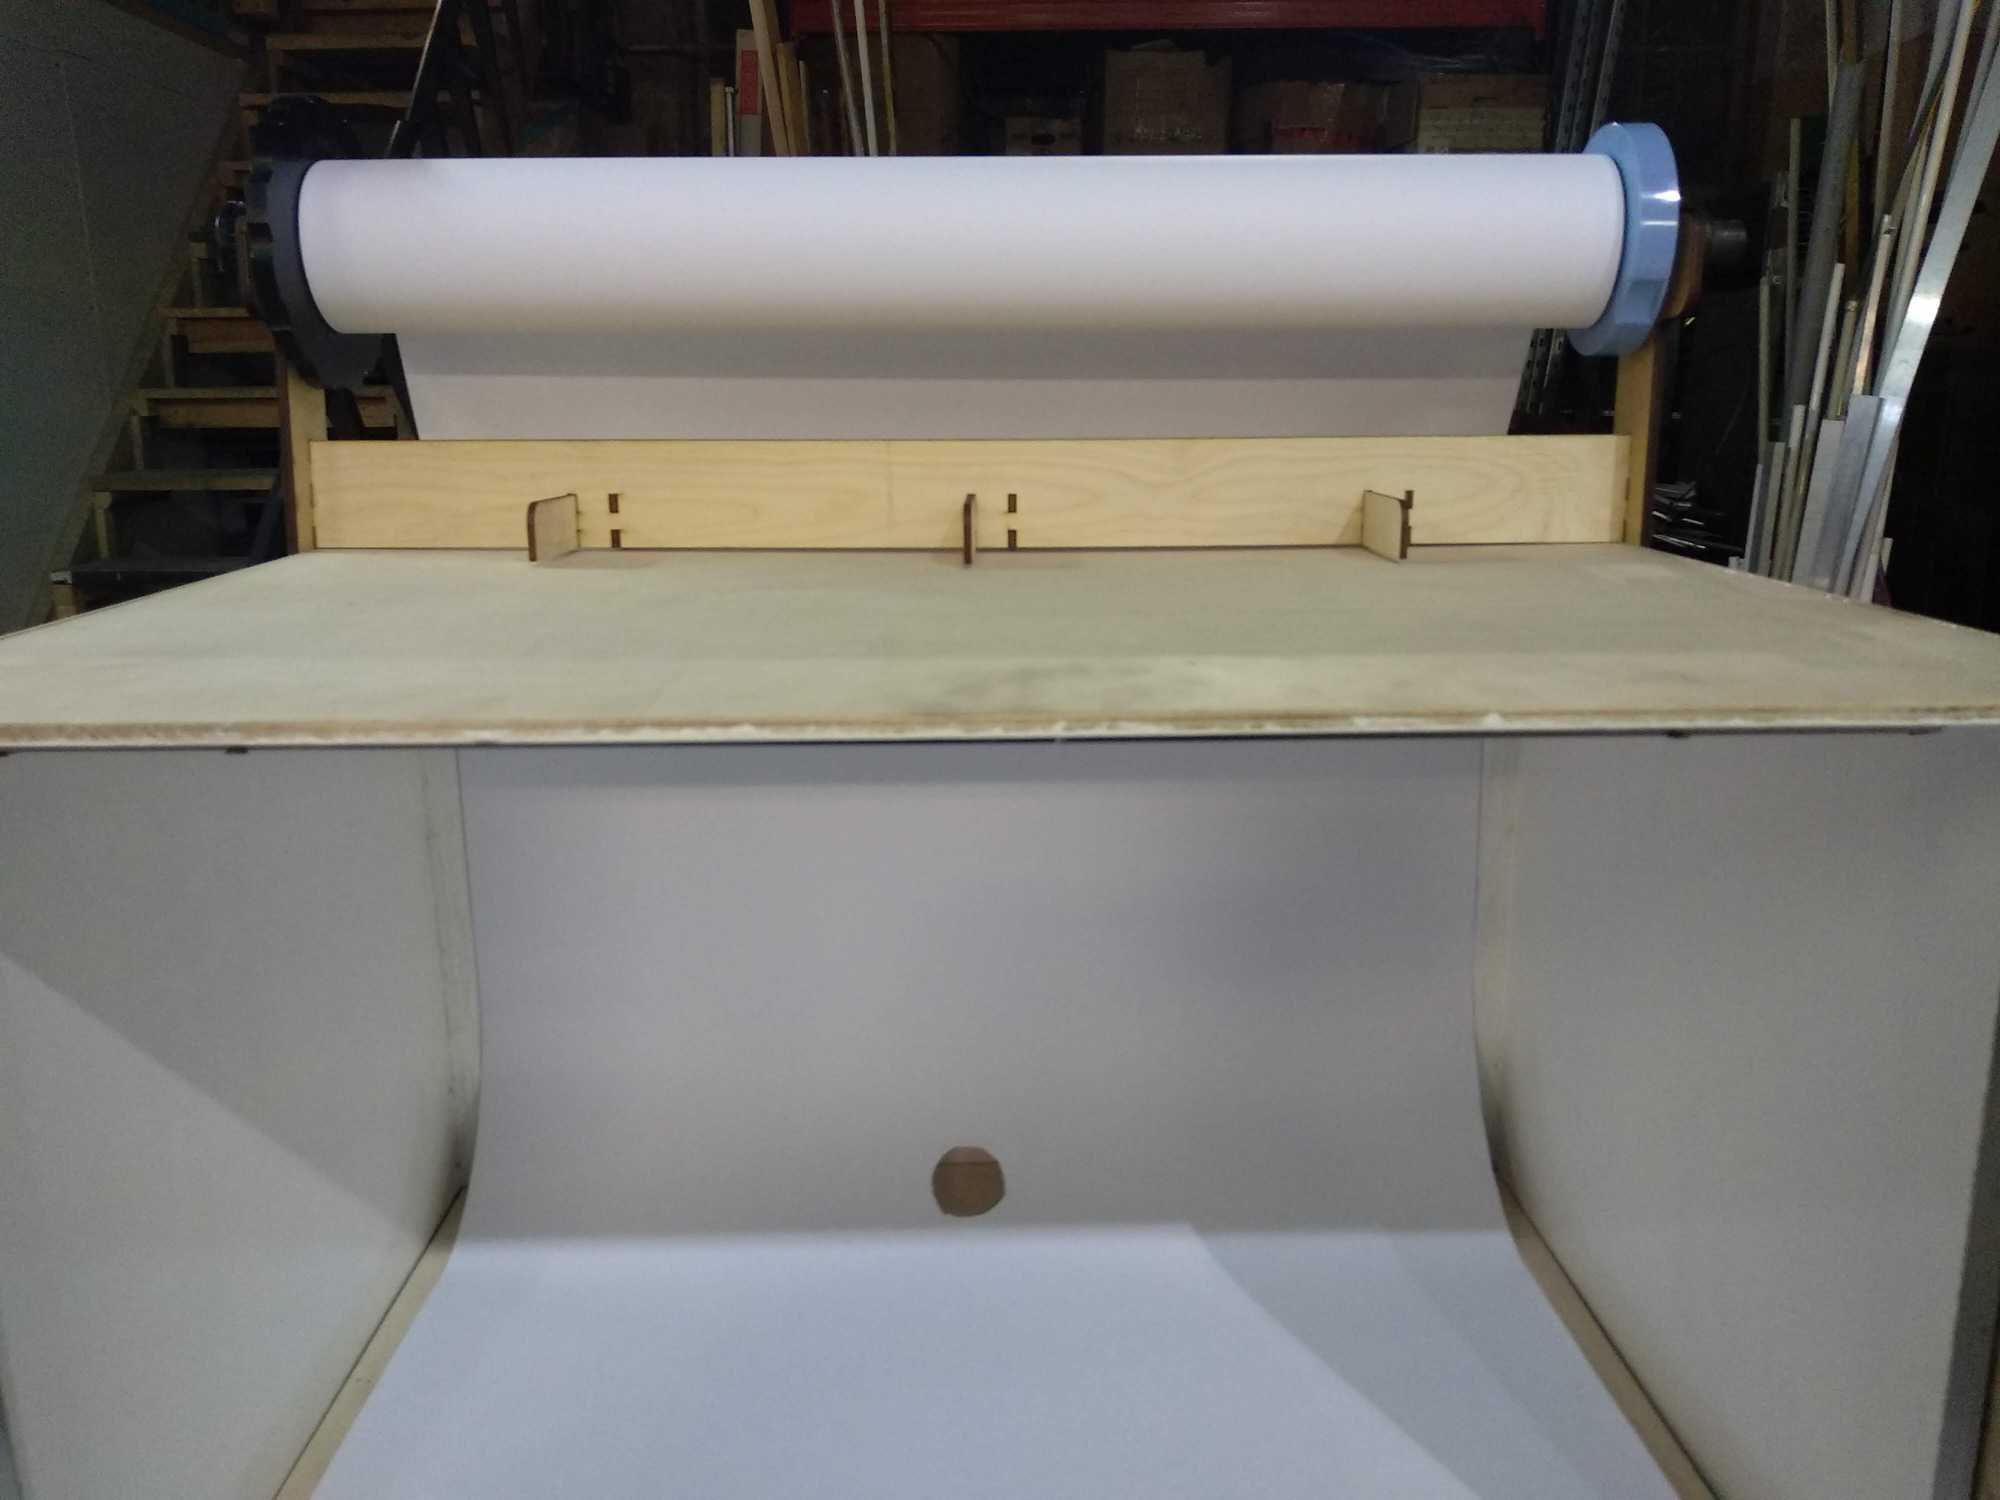
Lightboxes must have a white backdrop, so that what you photograph have a completely blank background. For mine I made the box with a cutout at the top for paper to come in and laser-cut a paper roll stand. I didn’t want to just add paper from inside, that would get dirty and needs to be replaced from time to time, especially when I won’t be the only one using this. Just pulling out new backdrop is much simplier.

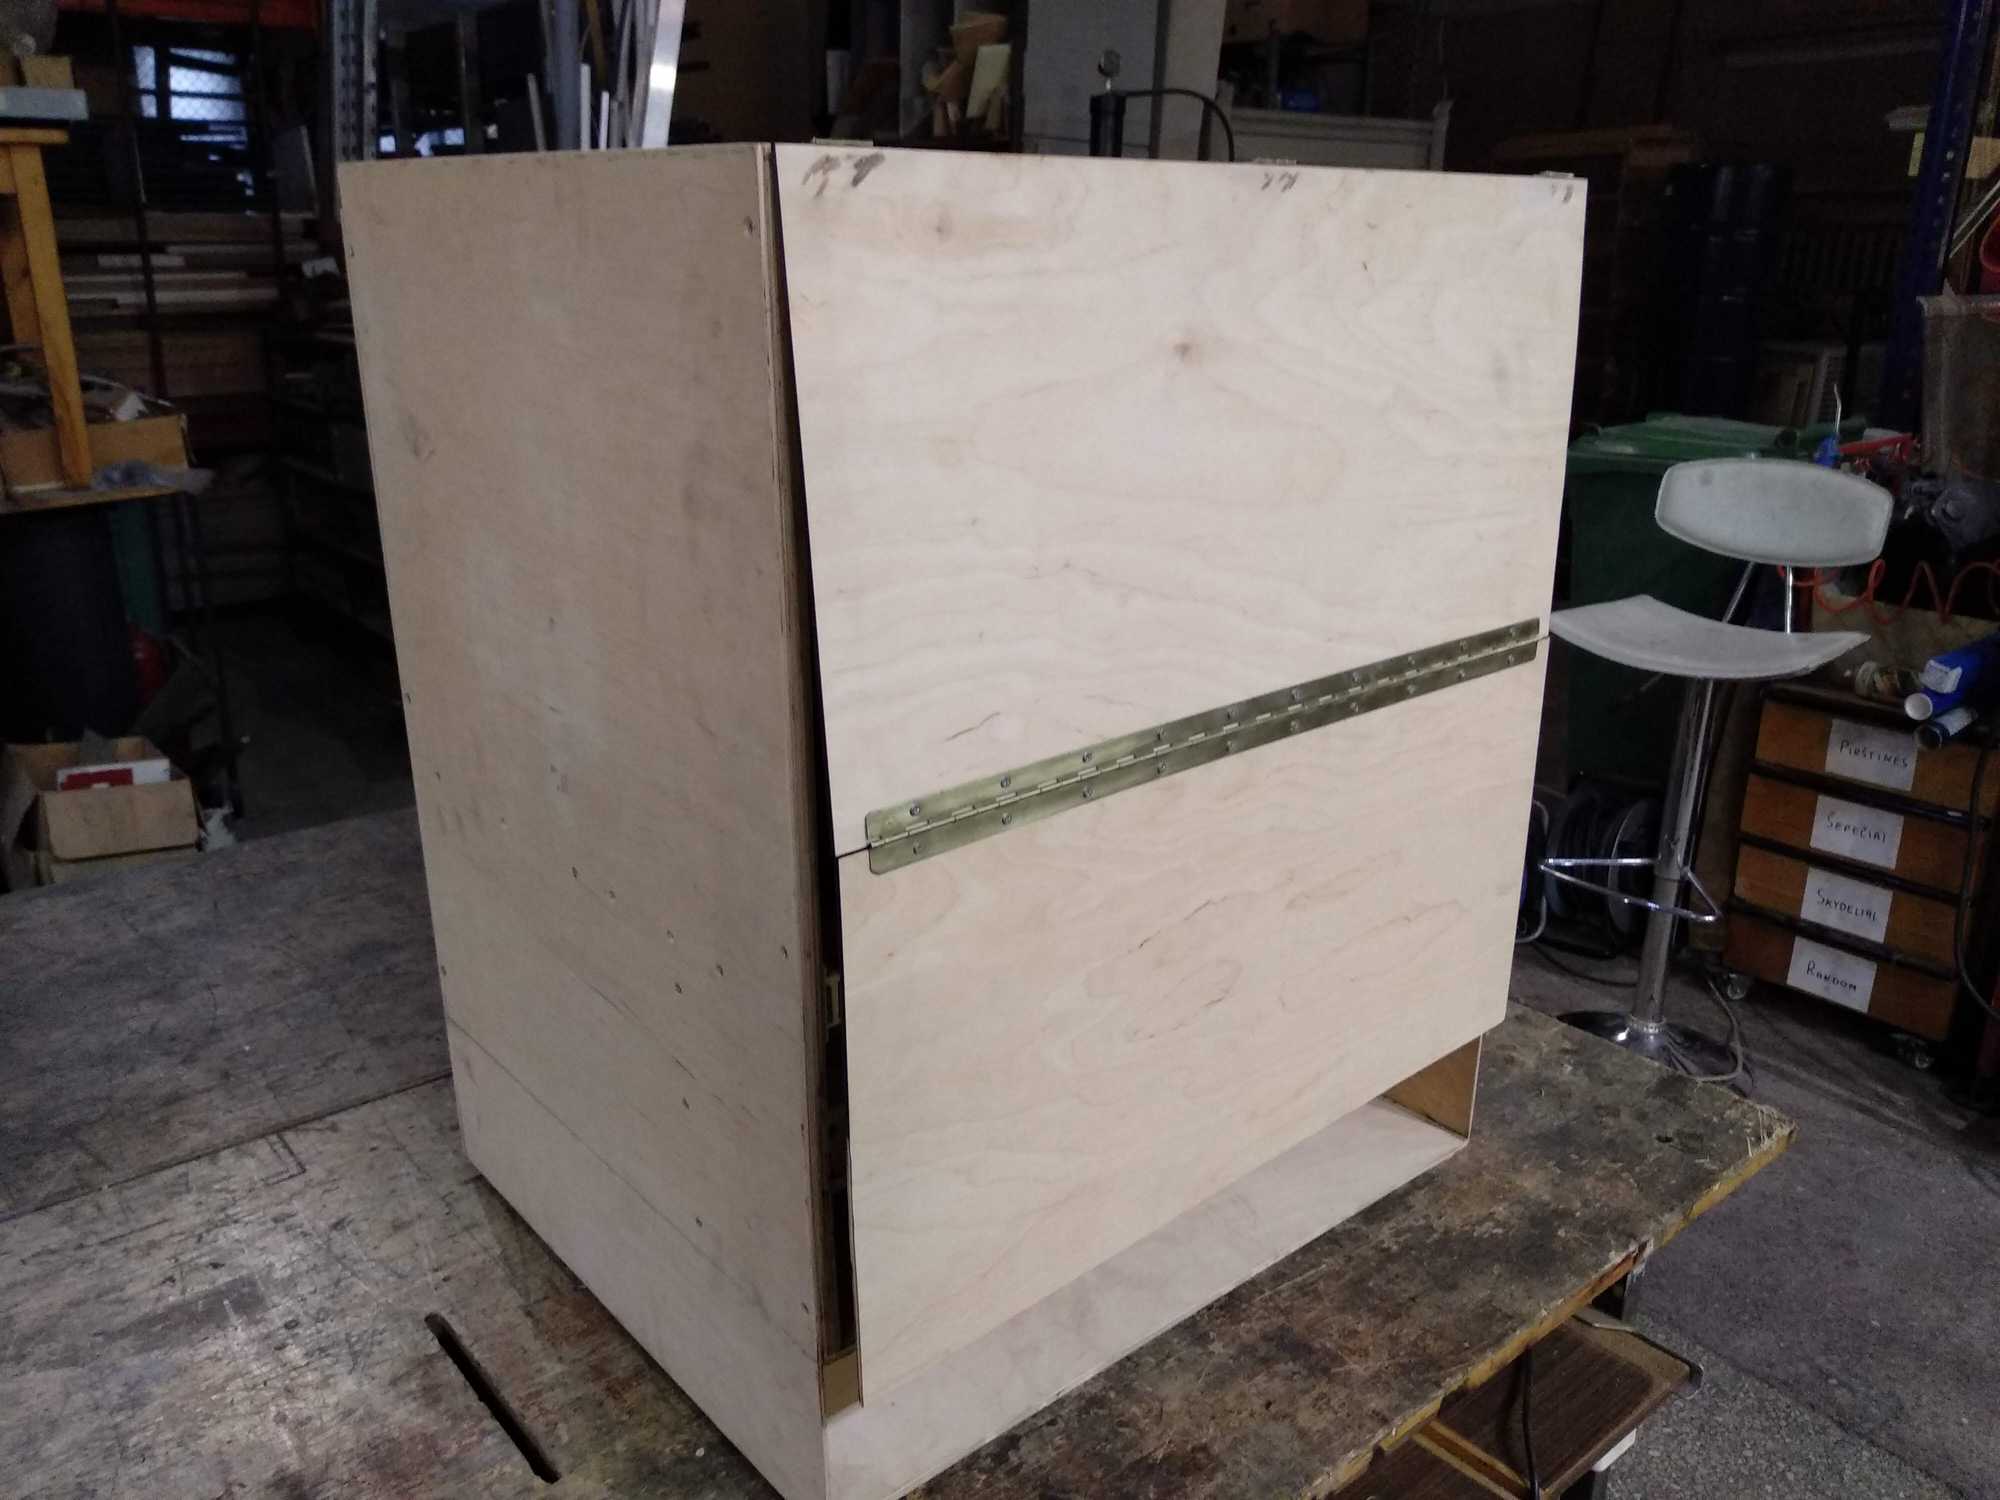
And finally I added a front cover from plywood.


Preparing for the software
I mentioned that the rotator was simple to control. But that simple is with an asterisk, meaning that you need to know how to send http requests to it, because it accepts commands what to do through a http protocol. Internally, there’s a very first RPi to accept commands and act on them, and it does it pretty well. However that’s where its capabilities end because CPU and RAM is all used up counting steps and driving steppers. And you need to connect to it through a UTP cable.
That’s not very intuitive and general users wouldn’t know what to do with this.
Thankfully I still had my old RPi B+ and used that as a control computer, with Minibian installed it boots in a few seconds.
But it needs an interface to control the rotator and I had to make one that would be served from my RPi and with that interface they’d need to communicate somehow.
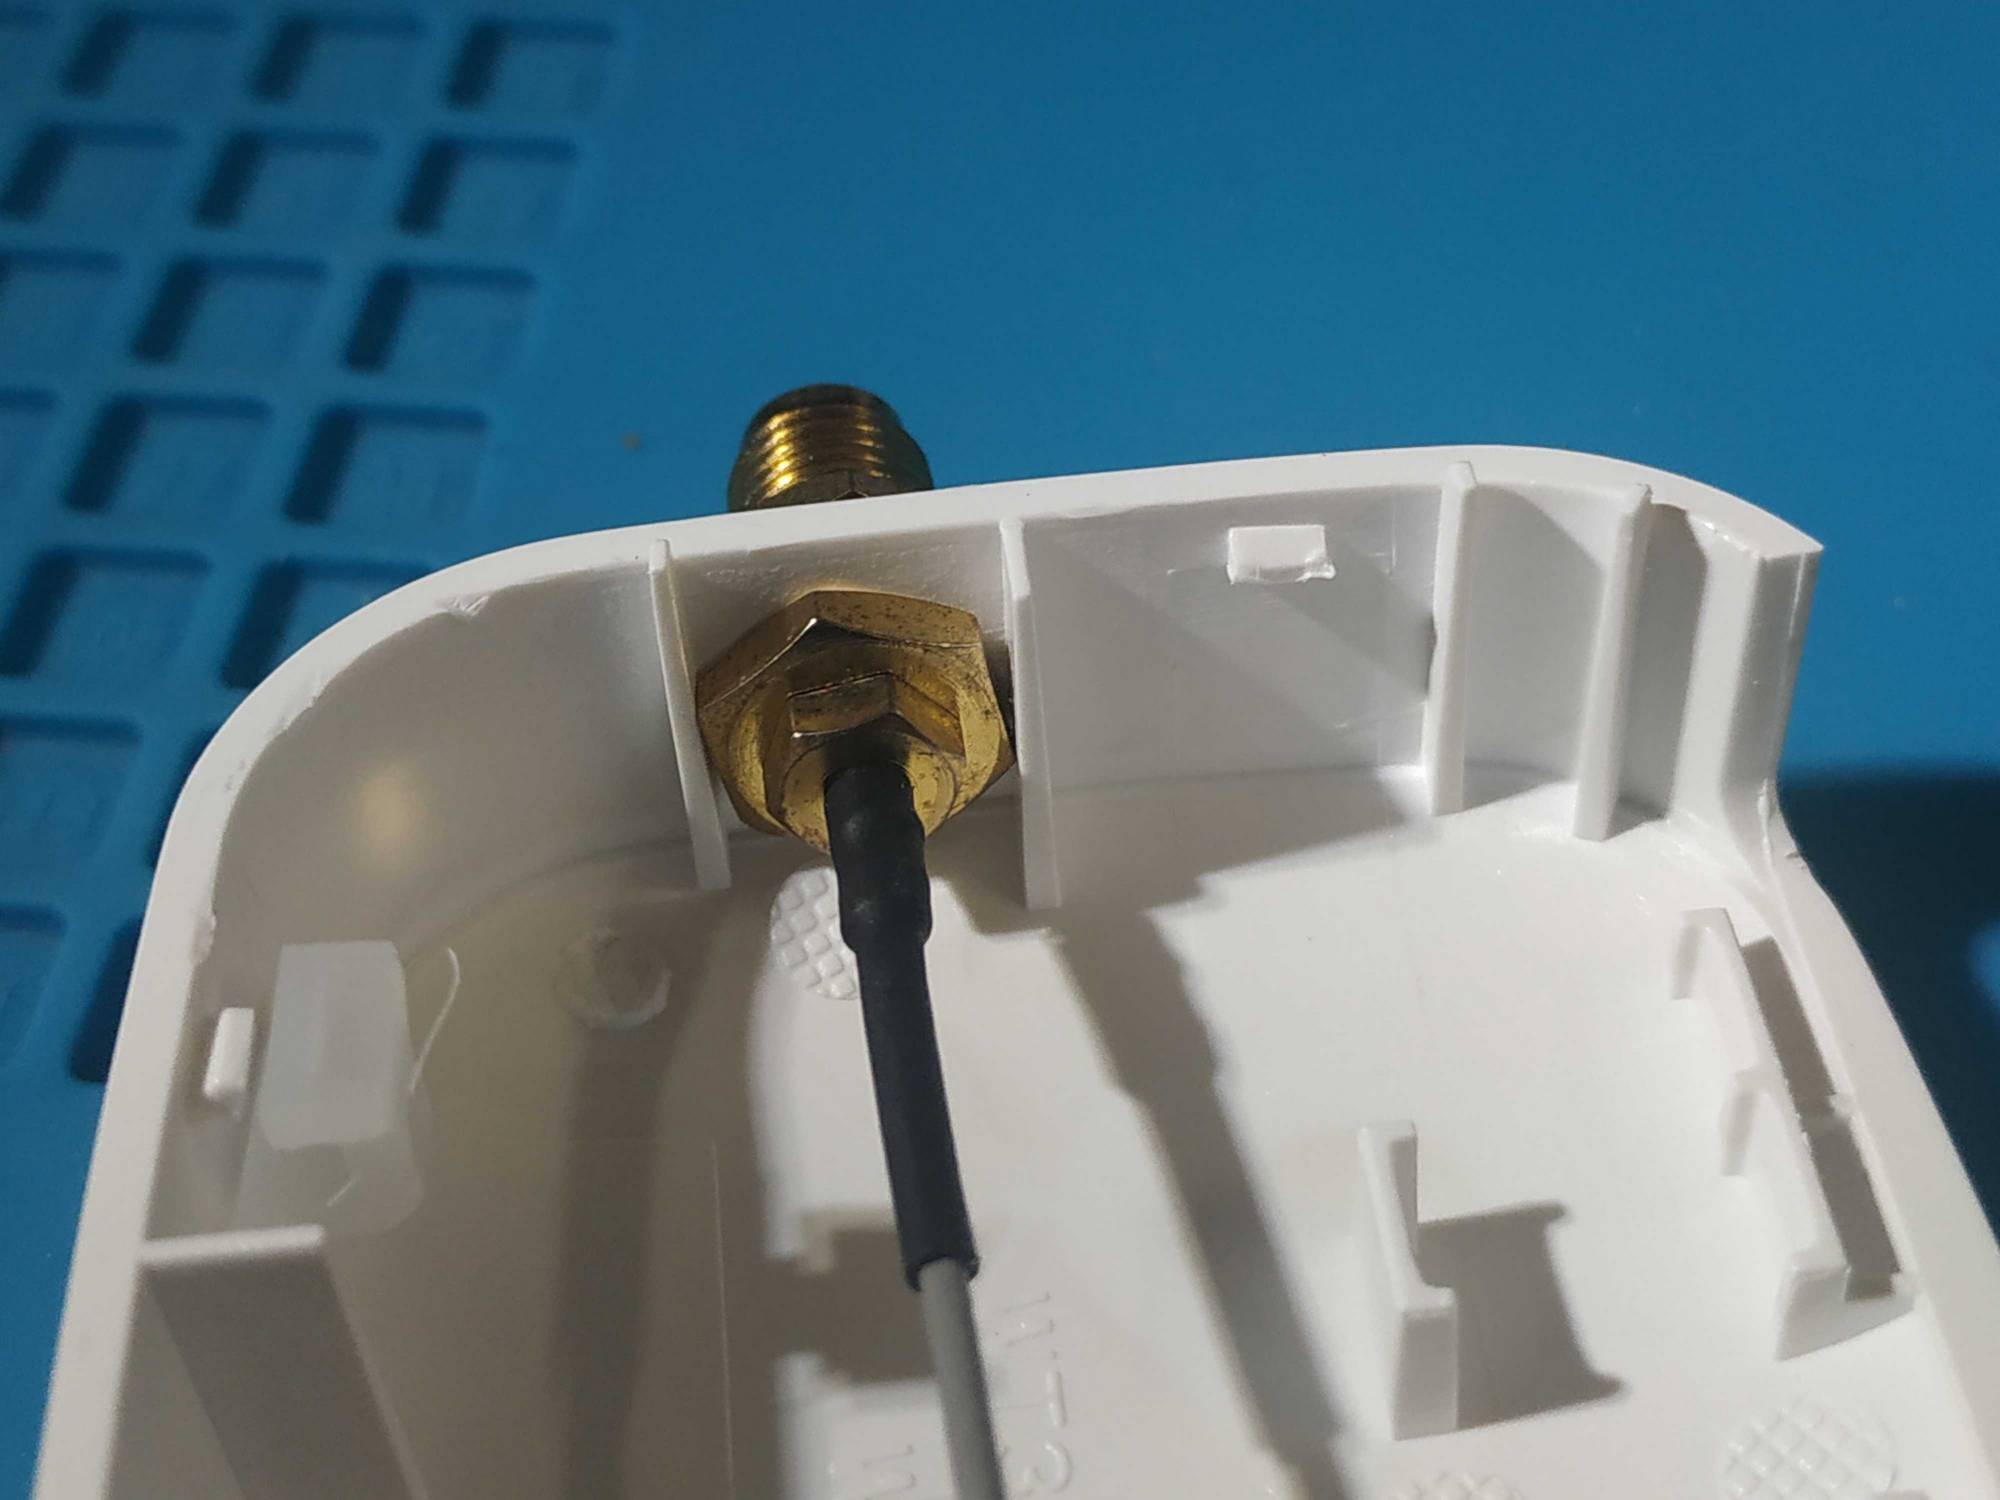
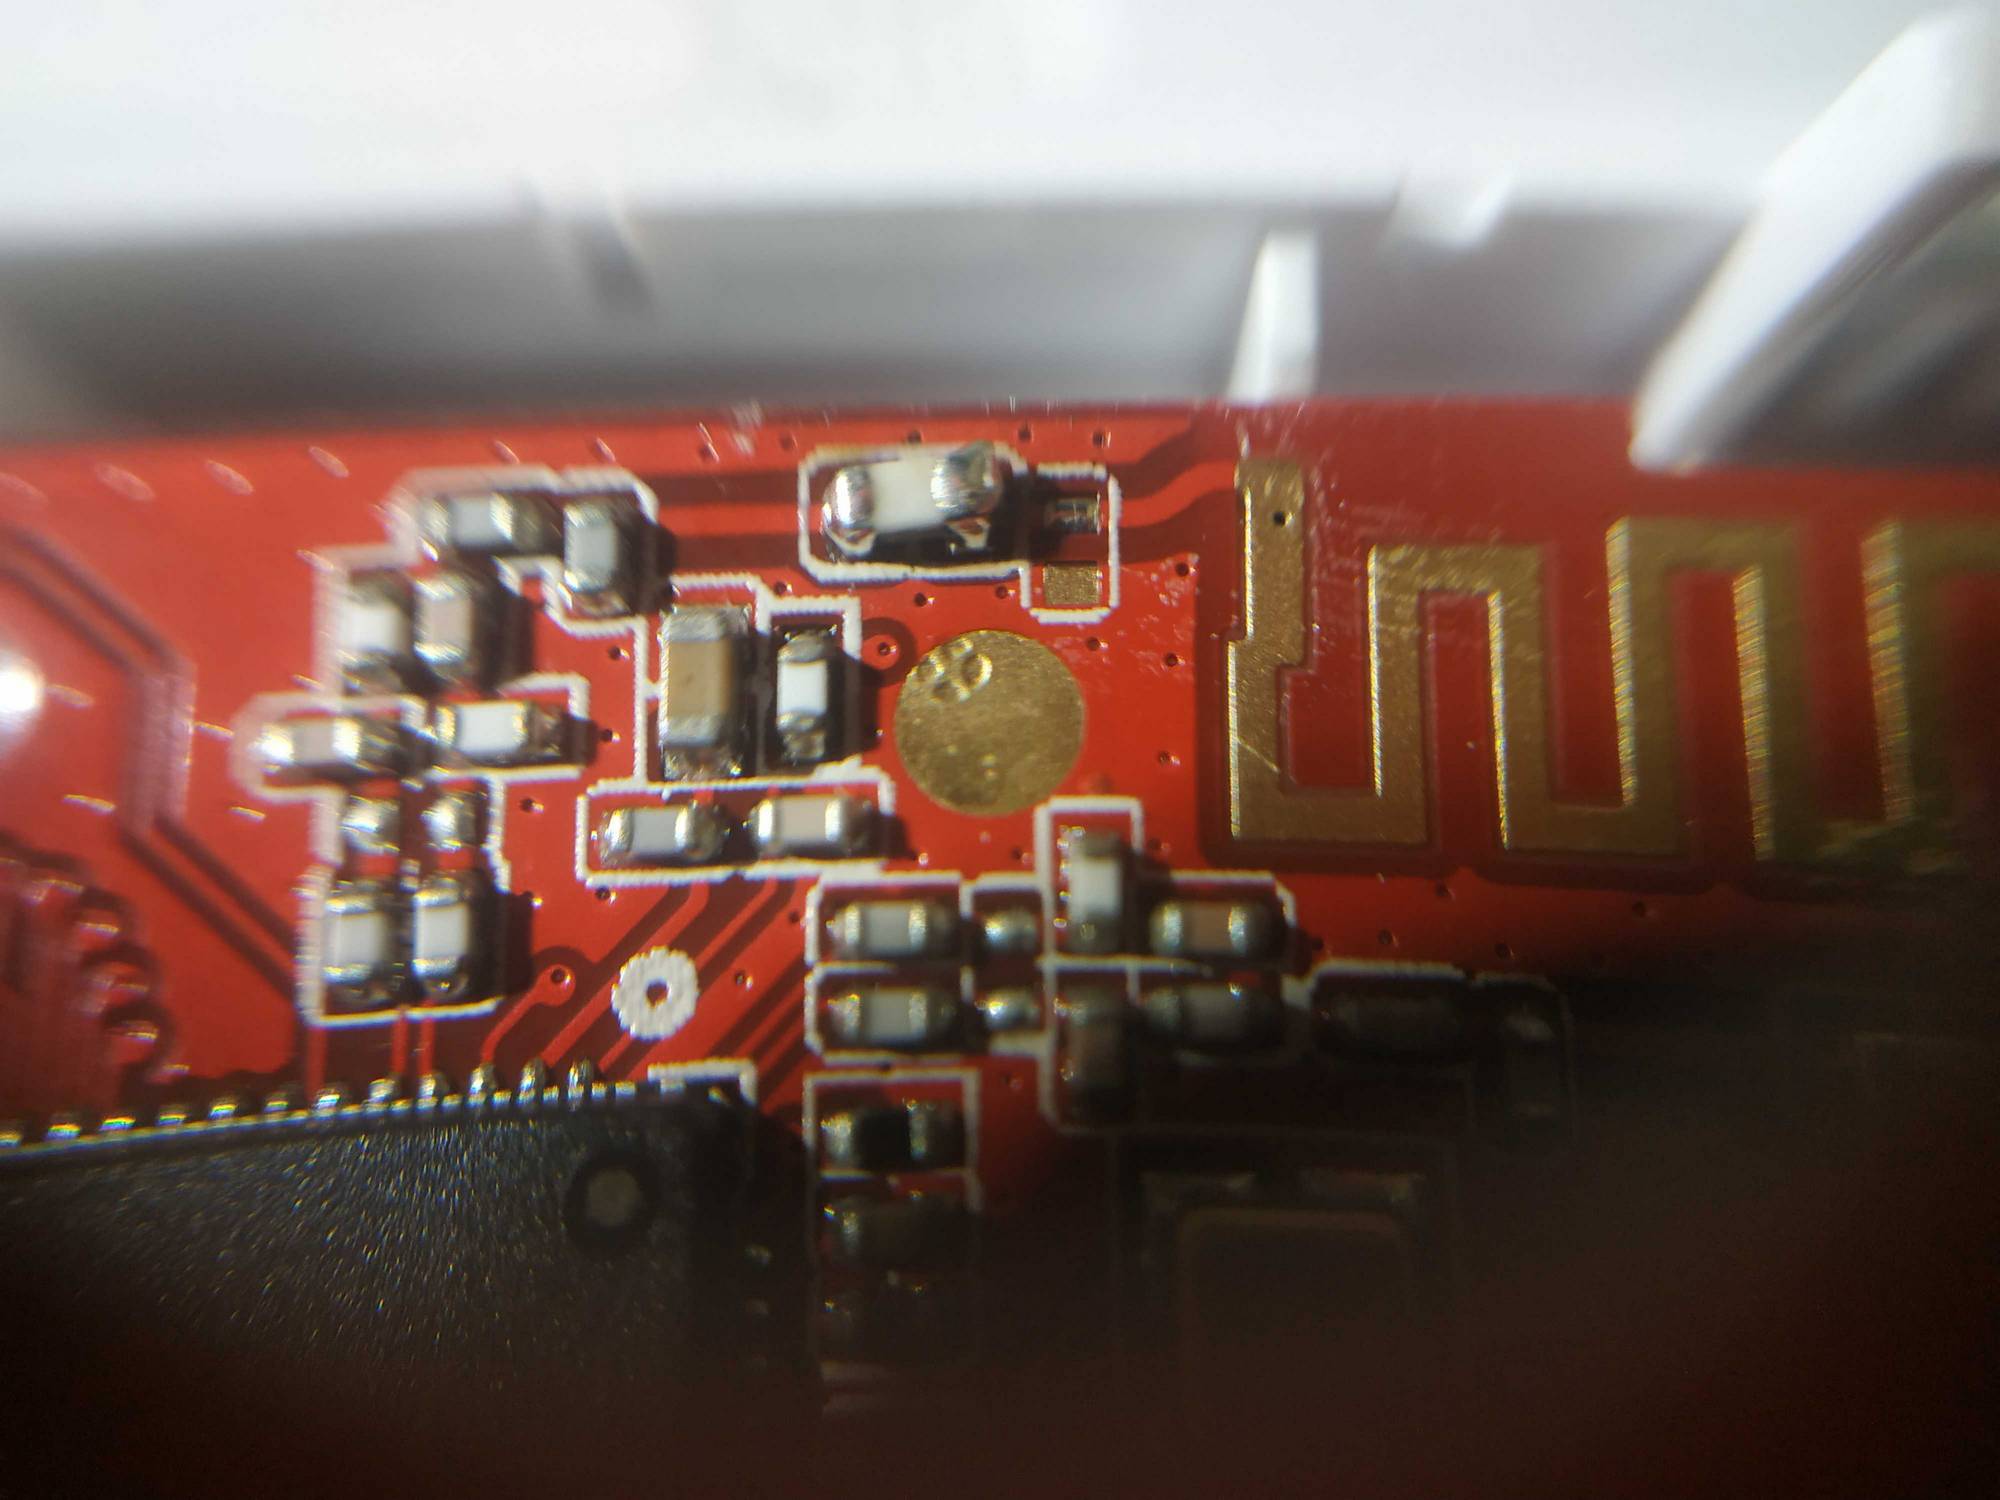
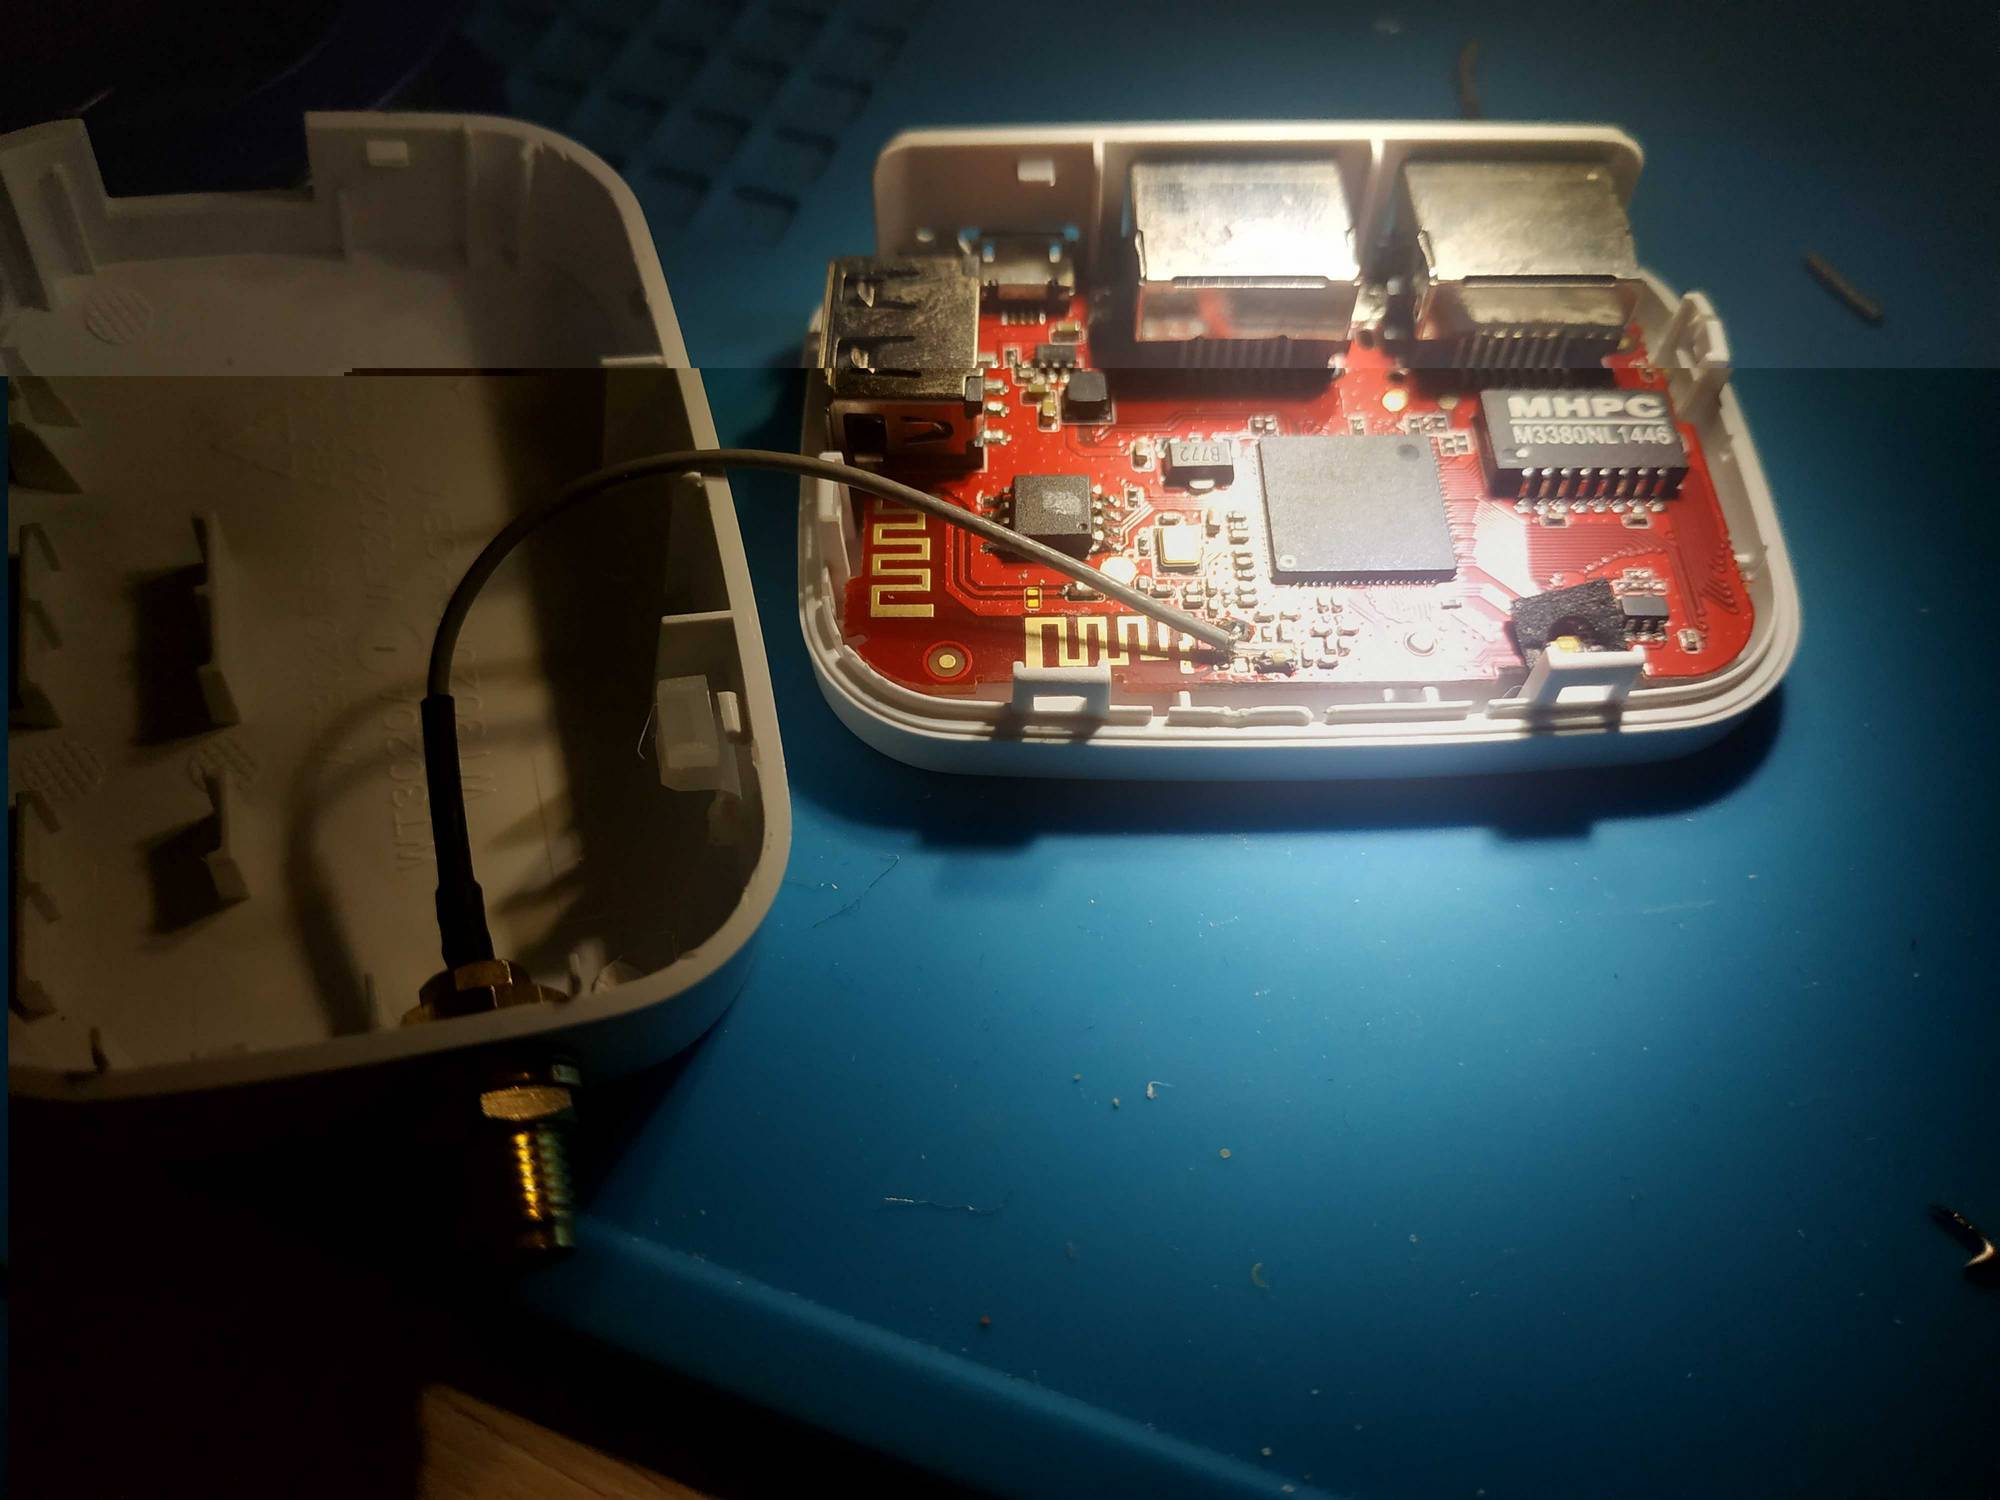
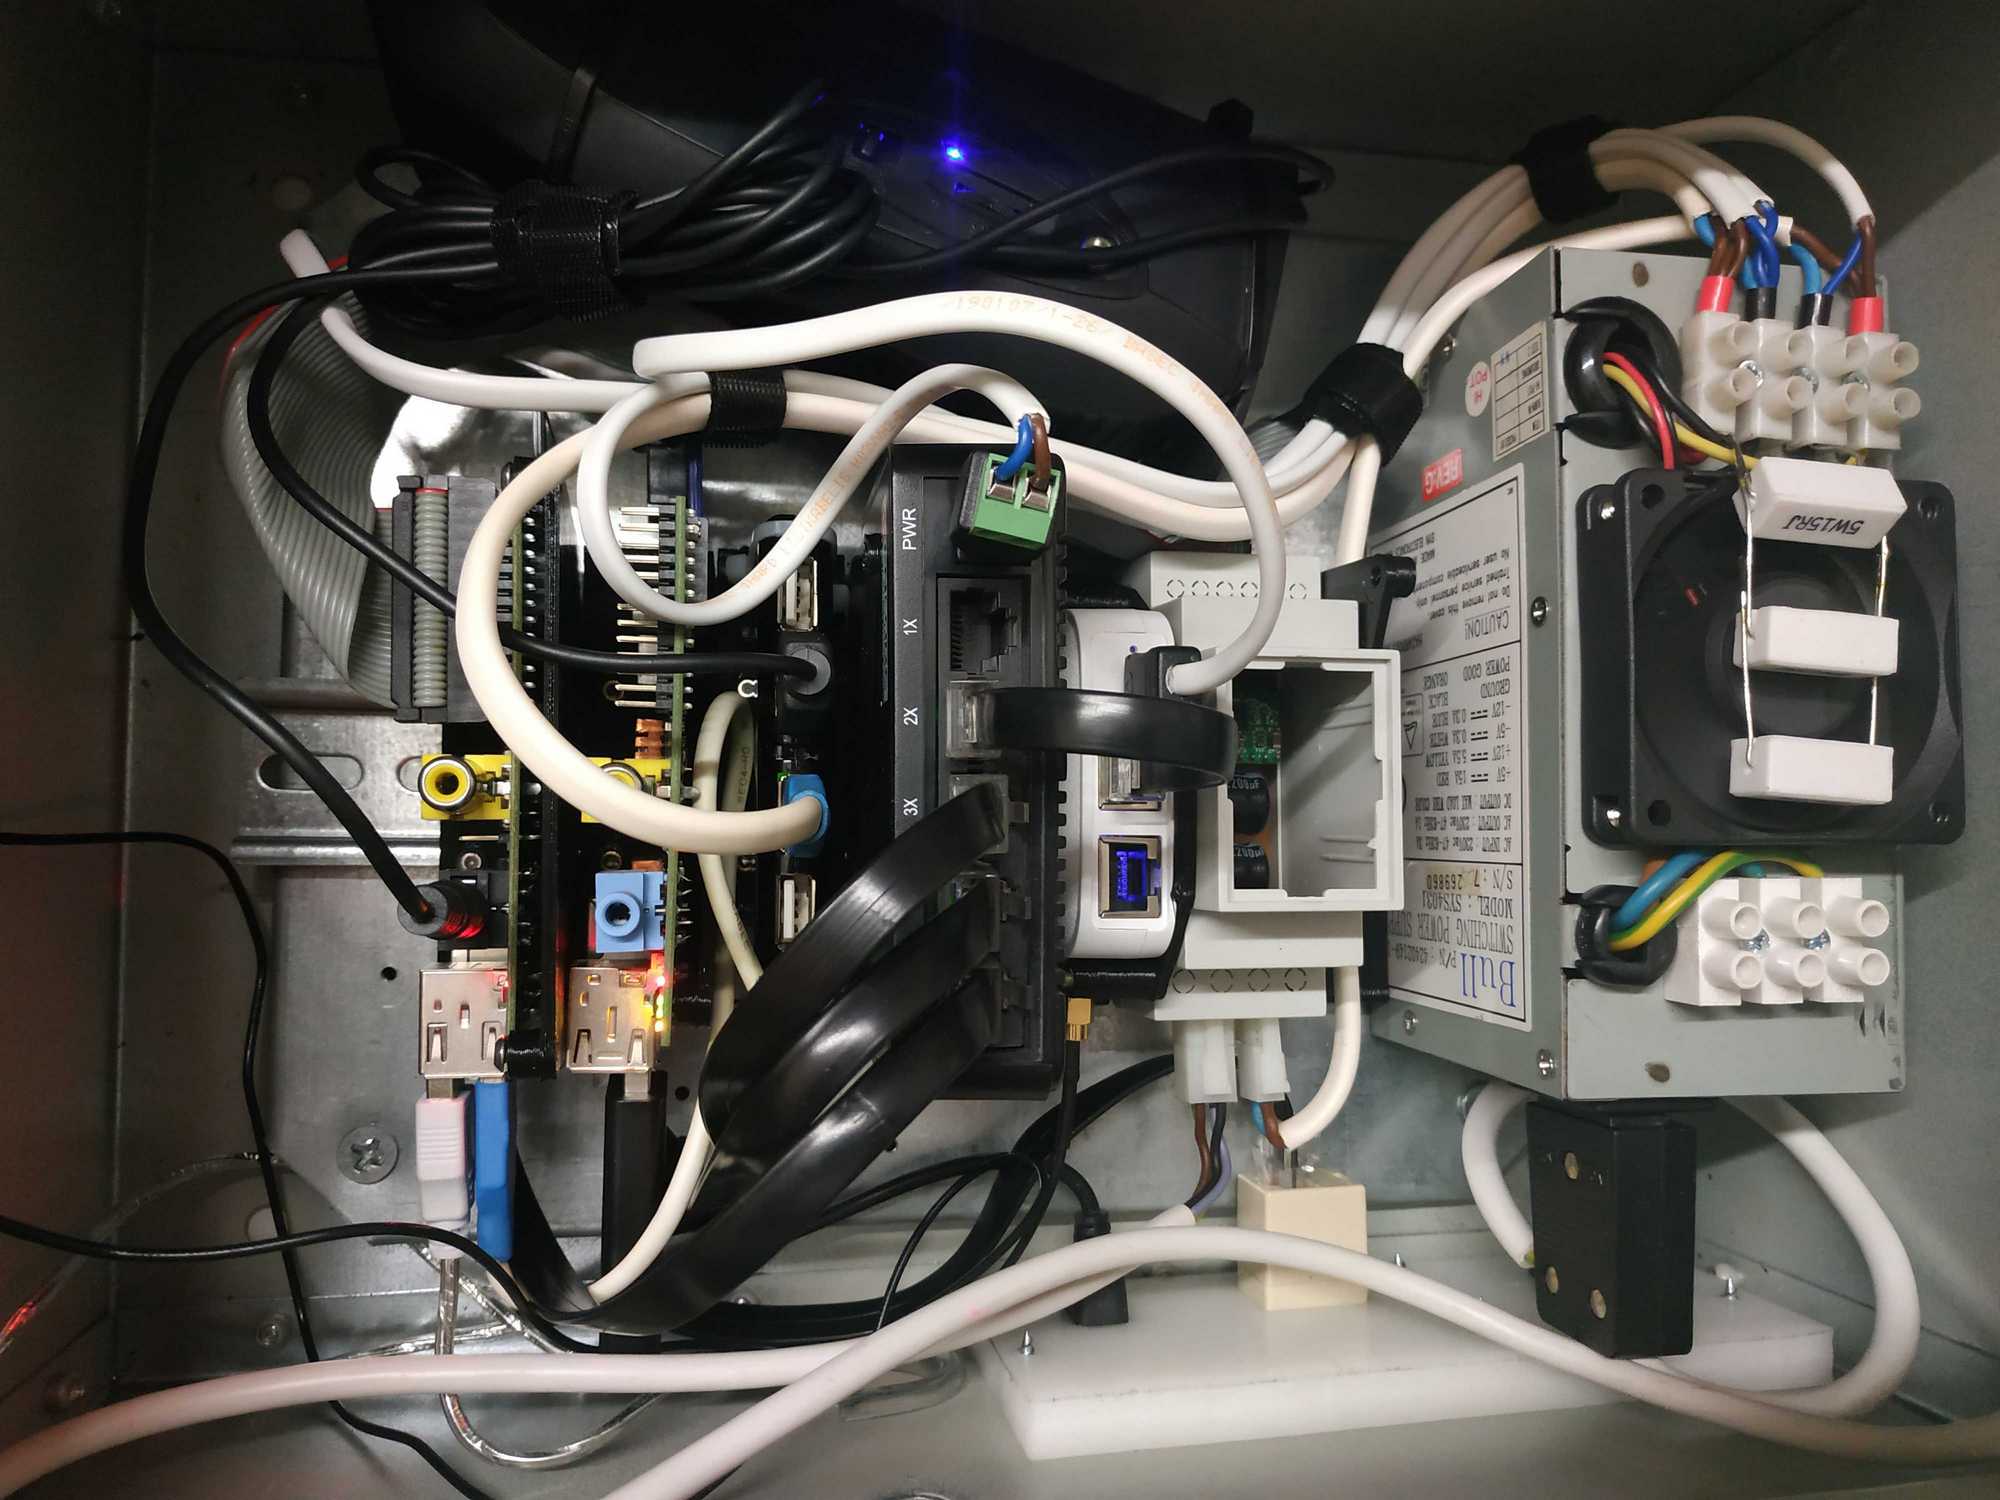
The communication part was done by throwing a small router inside sukeklis (a Nexx WT3020, those things are awesome), connecting both RPis to the router and you’d connect through its wifi to control things.
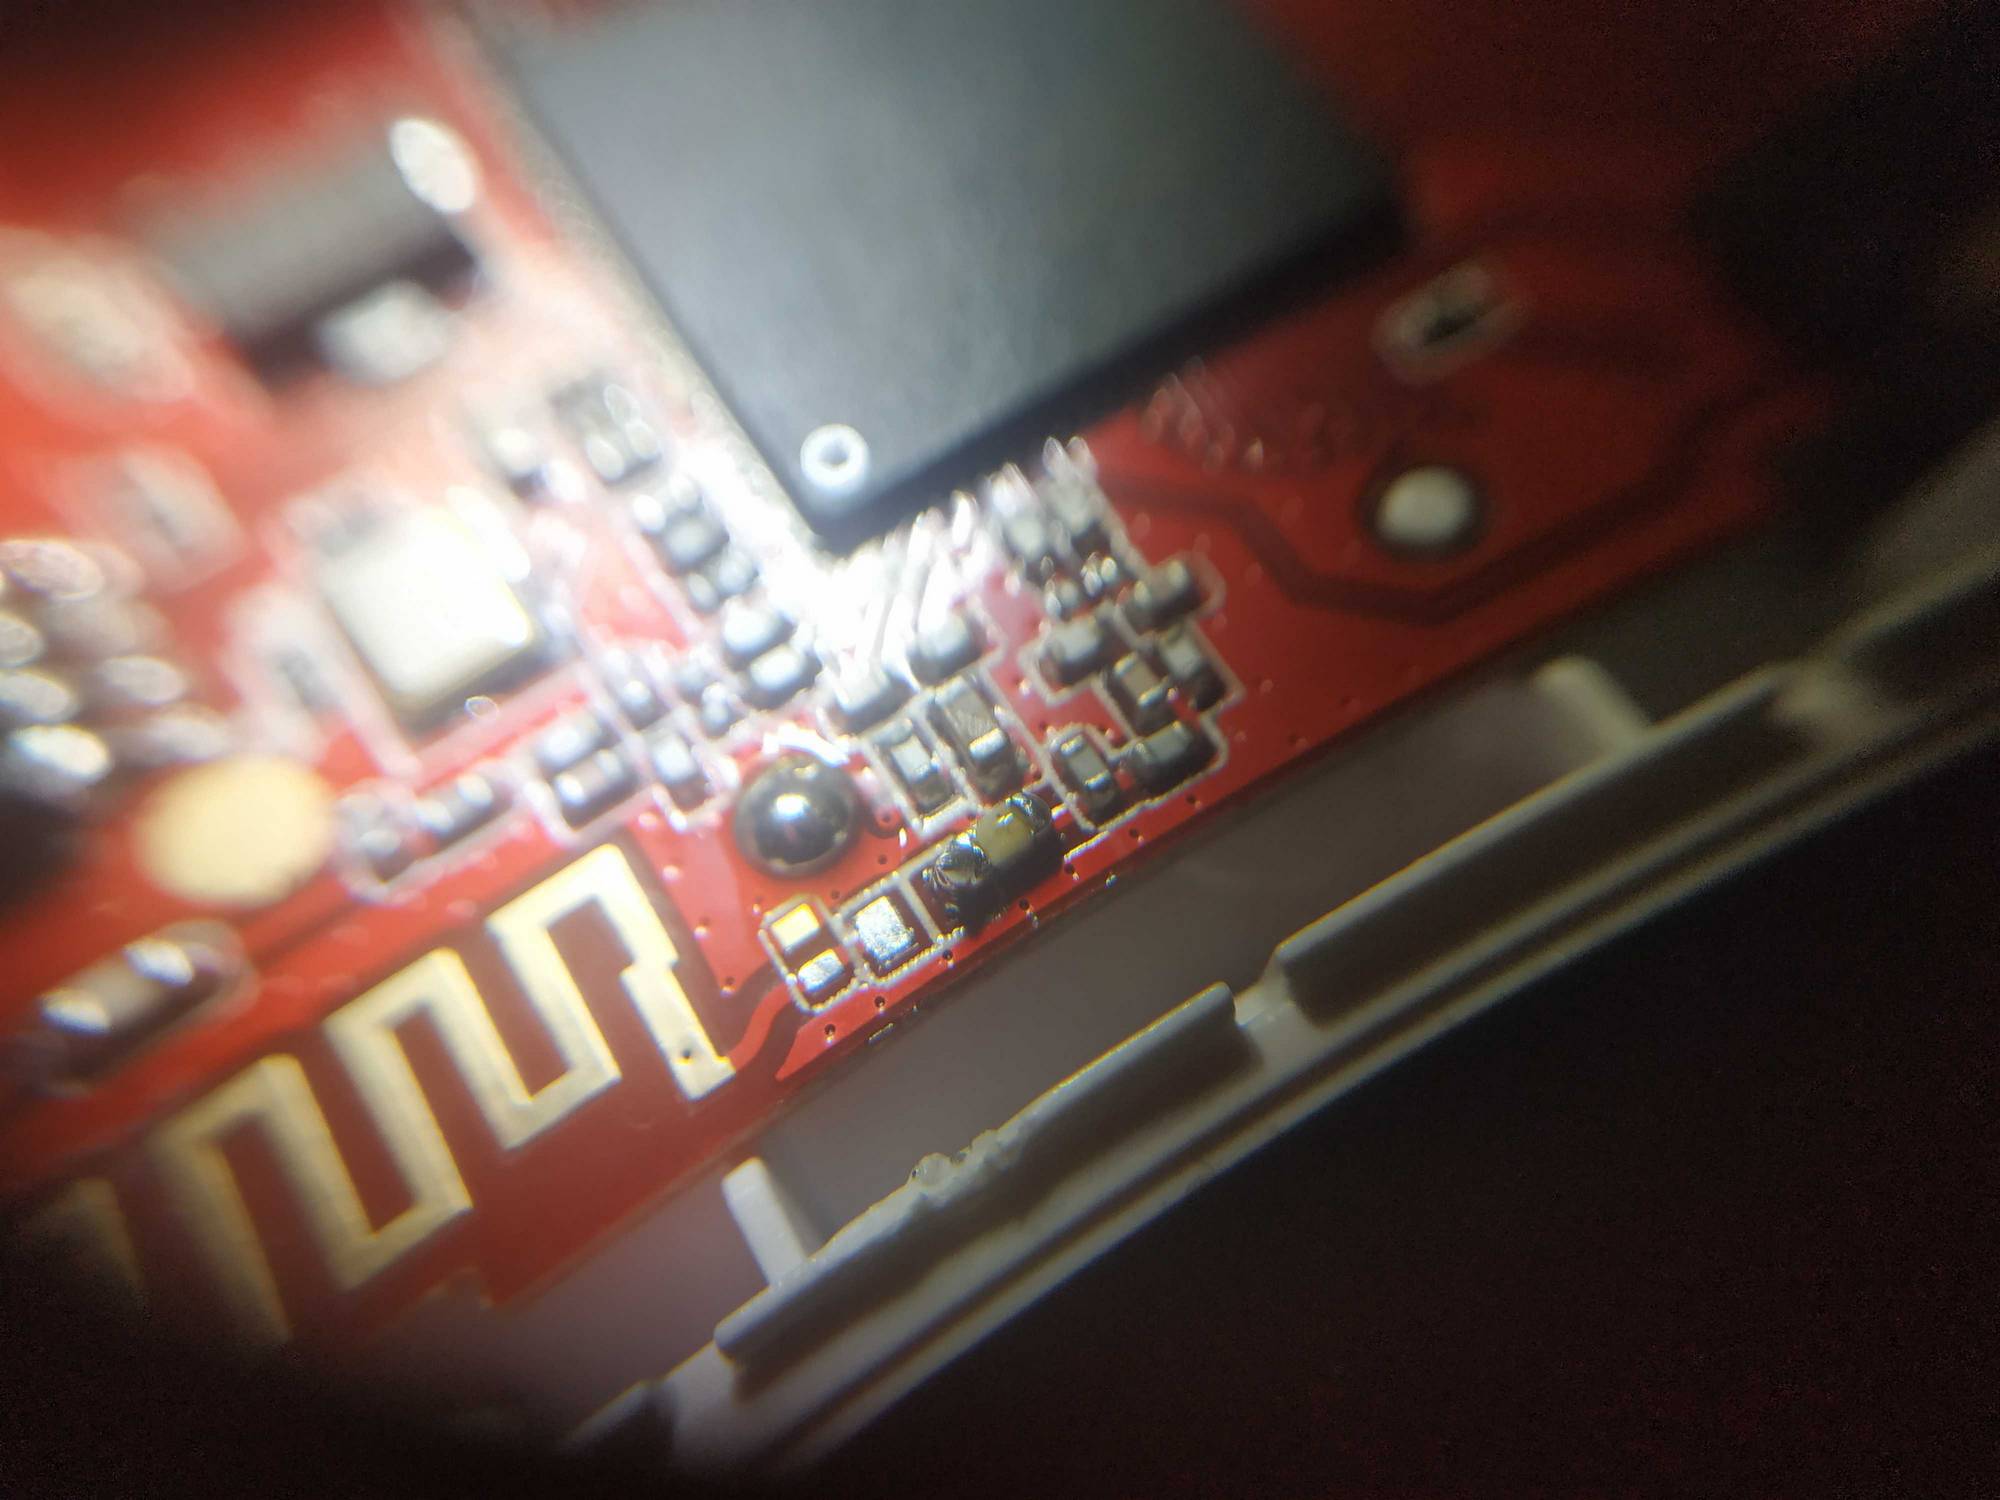
Though the Nexx router doesn’t have an external antenna, that had to be added. It was done by another Makerspace member, the one who made sukeklis those many years ago :D


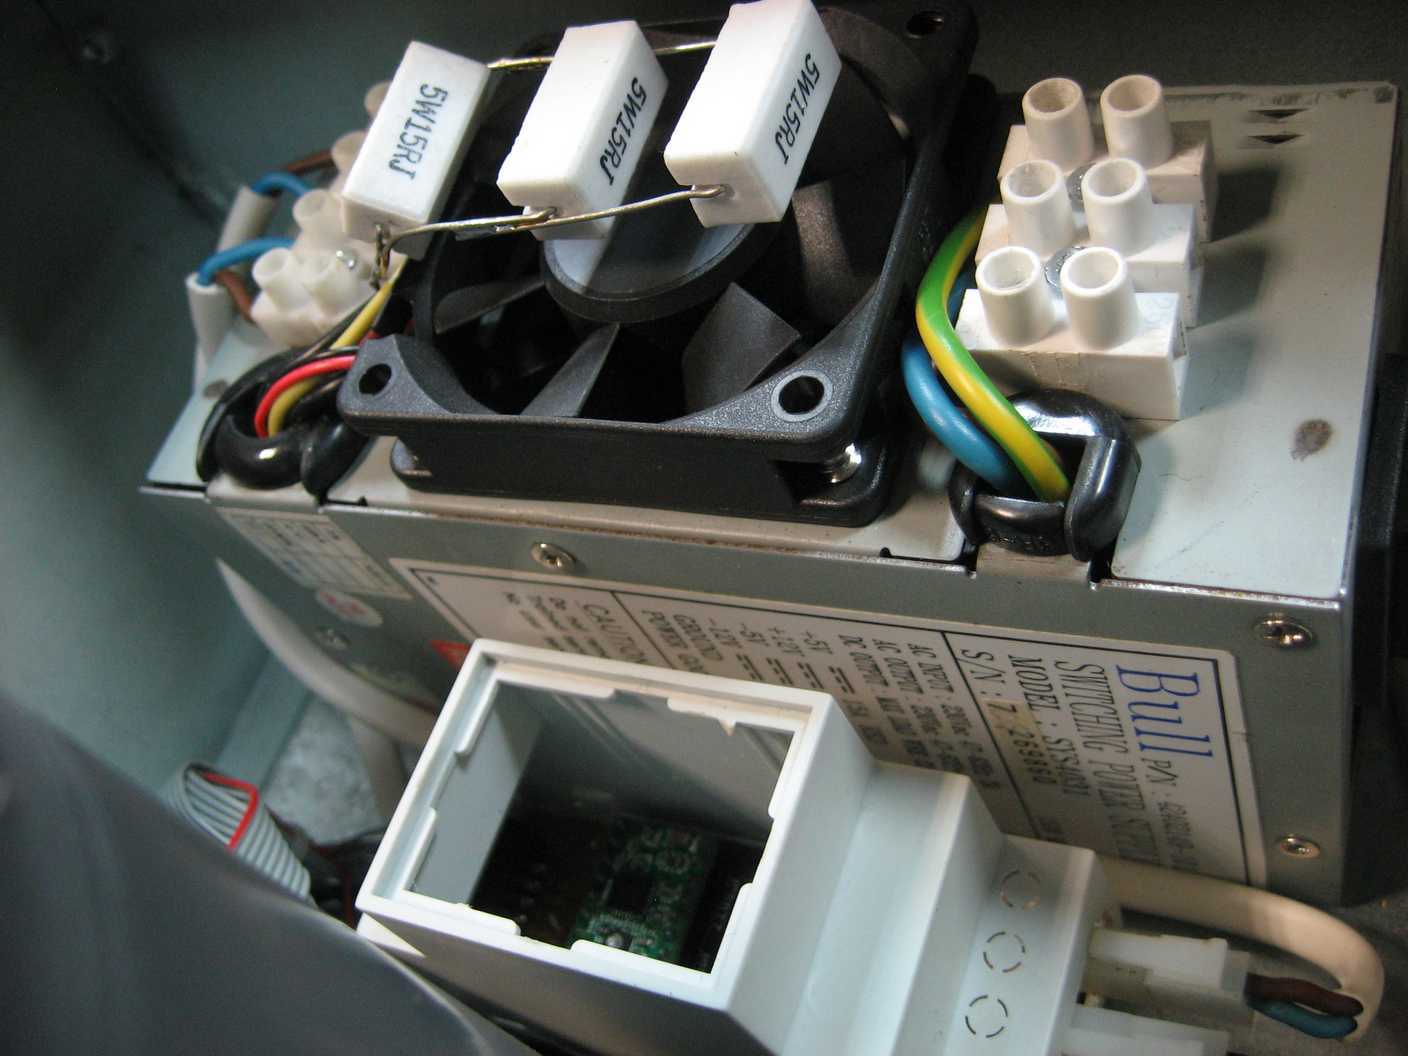
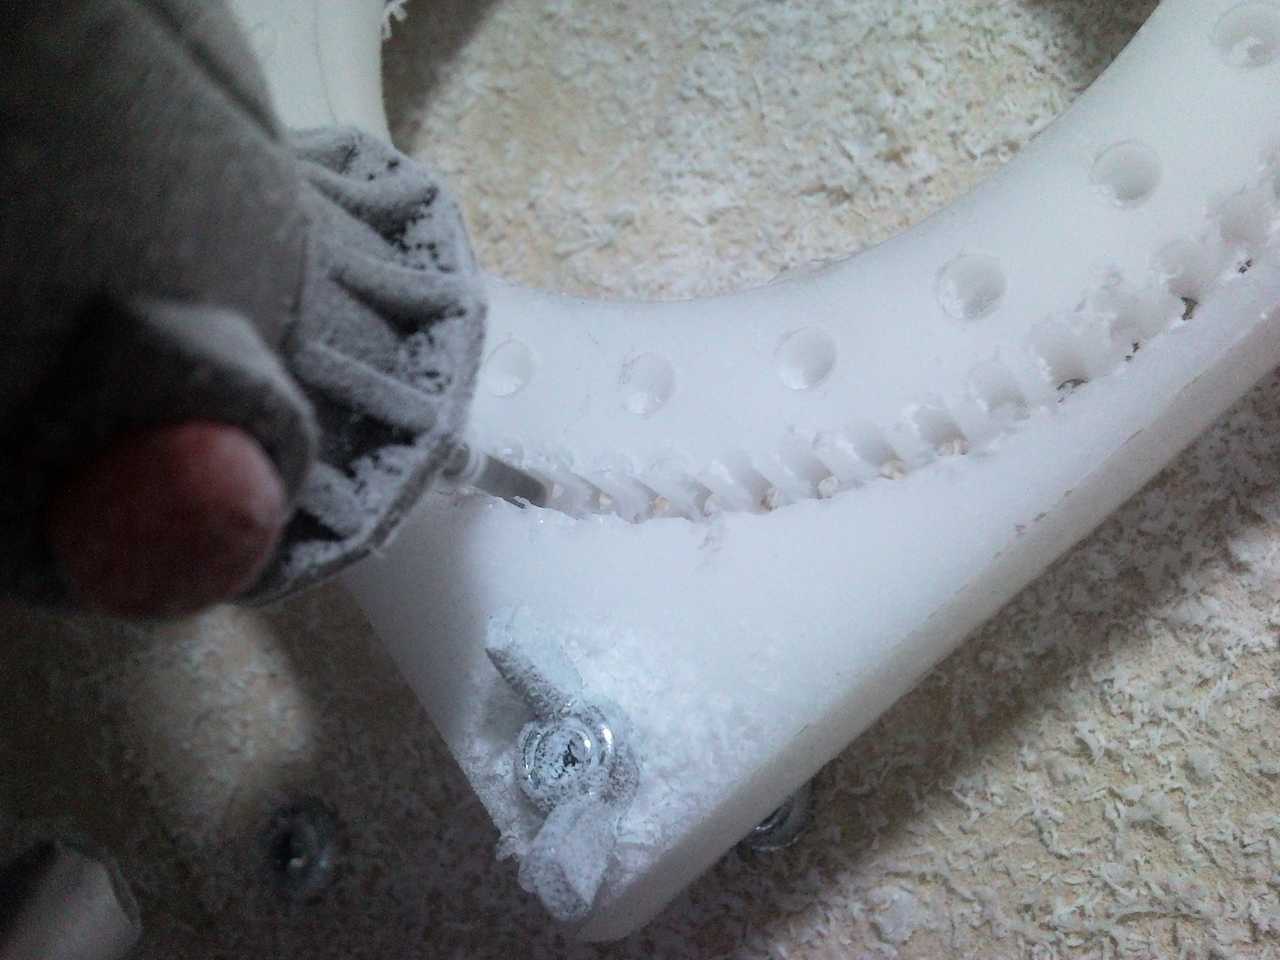
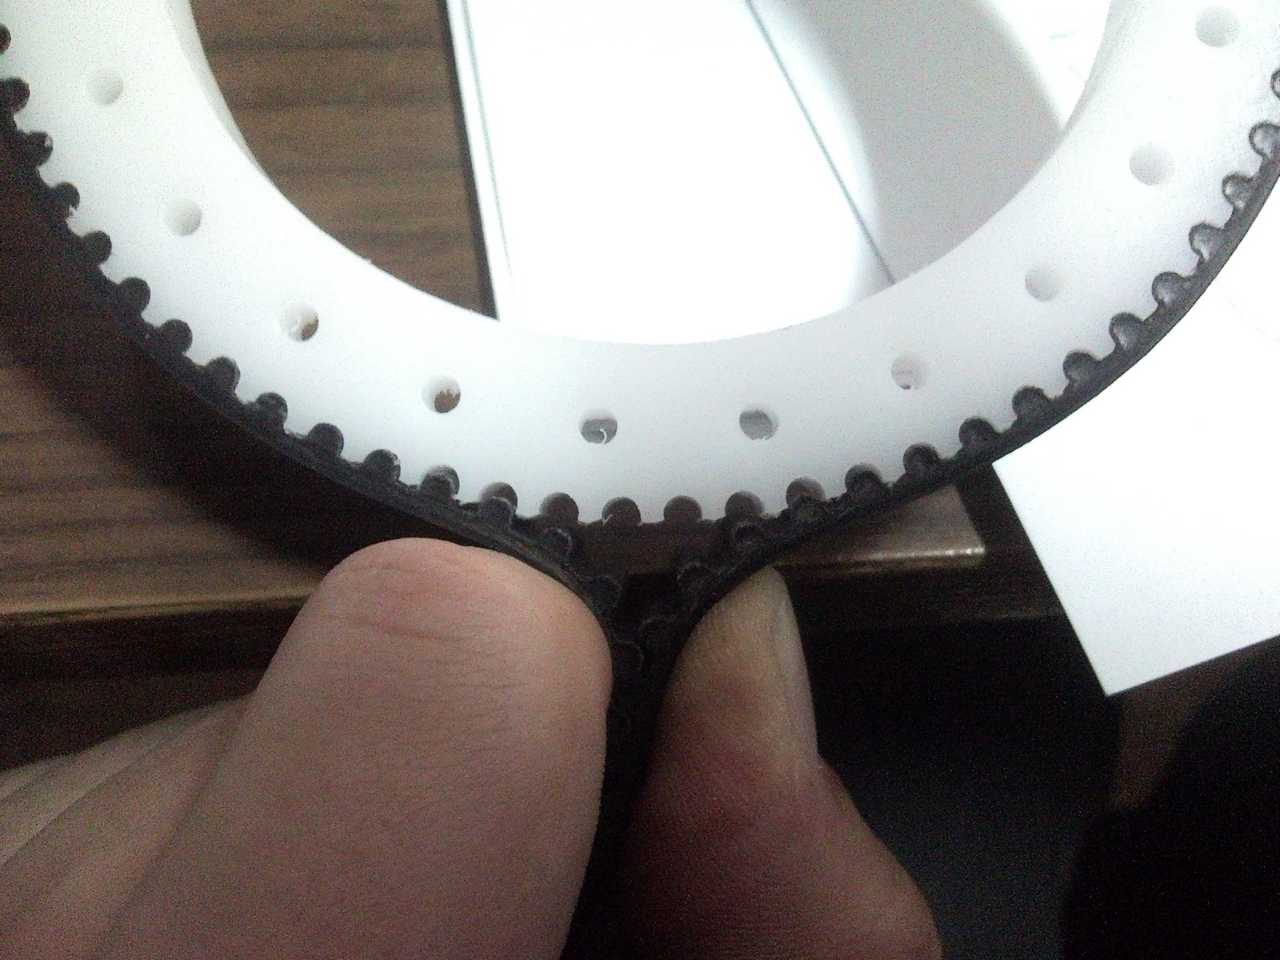
Of course the insides of sukeklis also had to be re-organized to accomodate more stuff we need to put in. If you saw its progress photos at the beginning, you might’ve noticed that there’s a pipe in the middle. That pipe had a purpose to hold up the plate and don’t allow it to bend, however the plate itself can hold a lot of kilograms and we won’t be photographing bricks. The pipe was removed and all the things aligned pretty nicely.
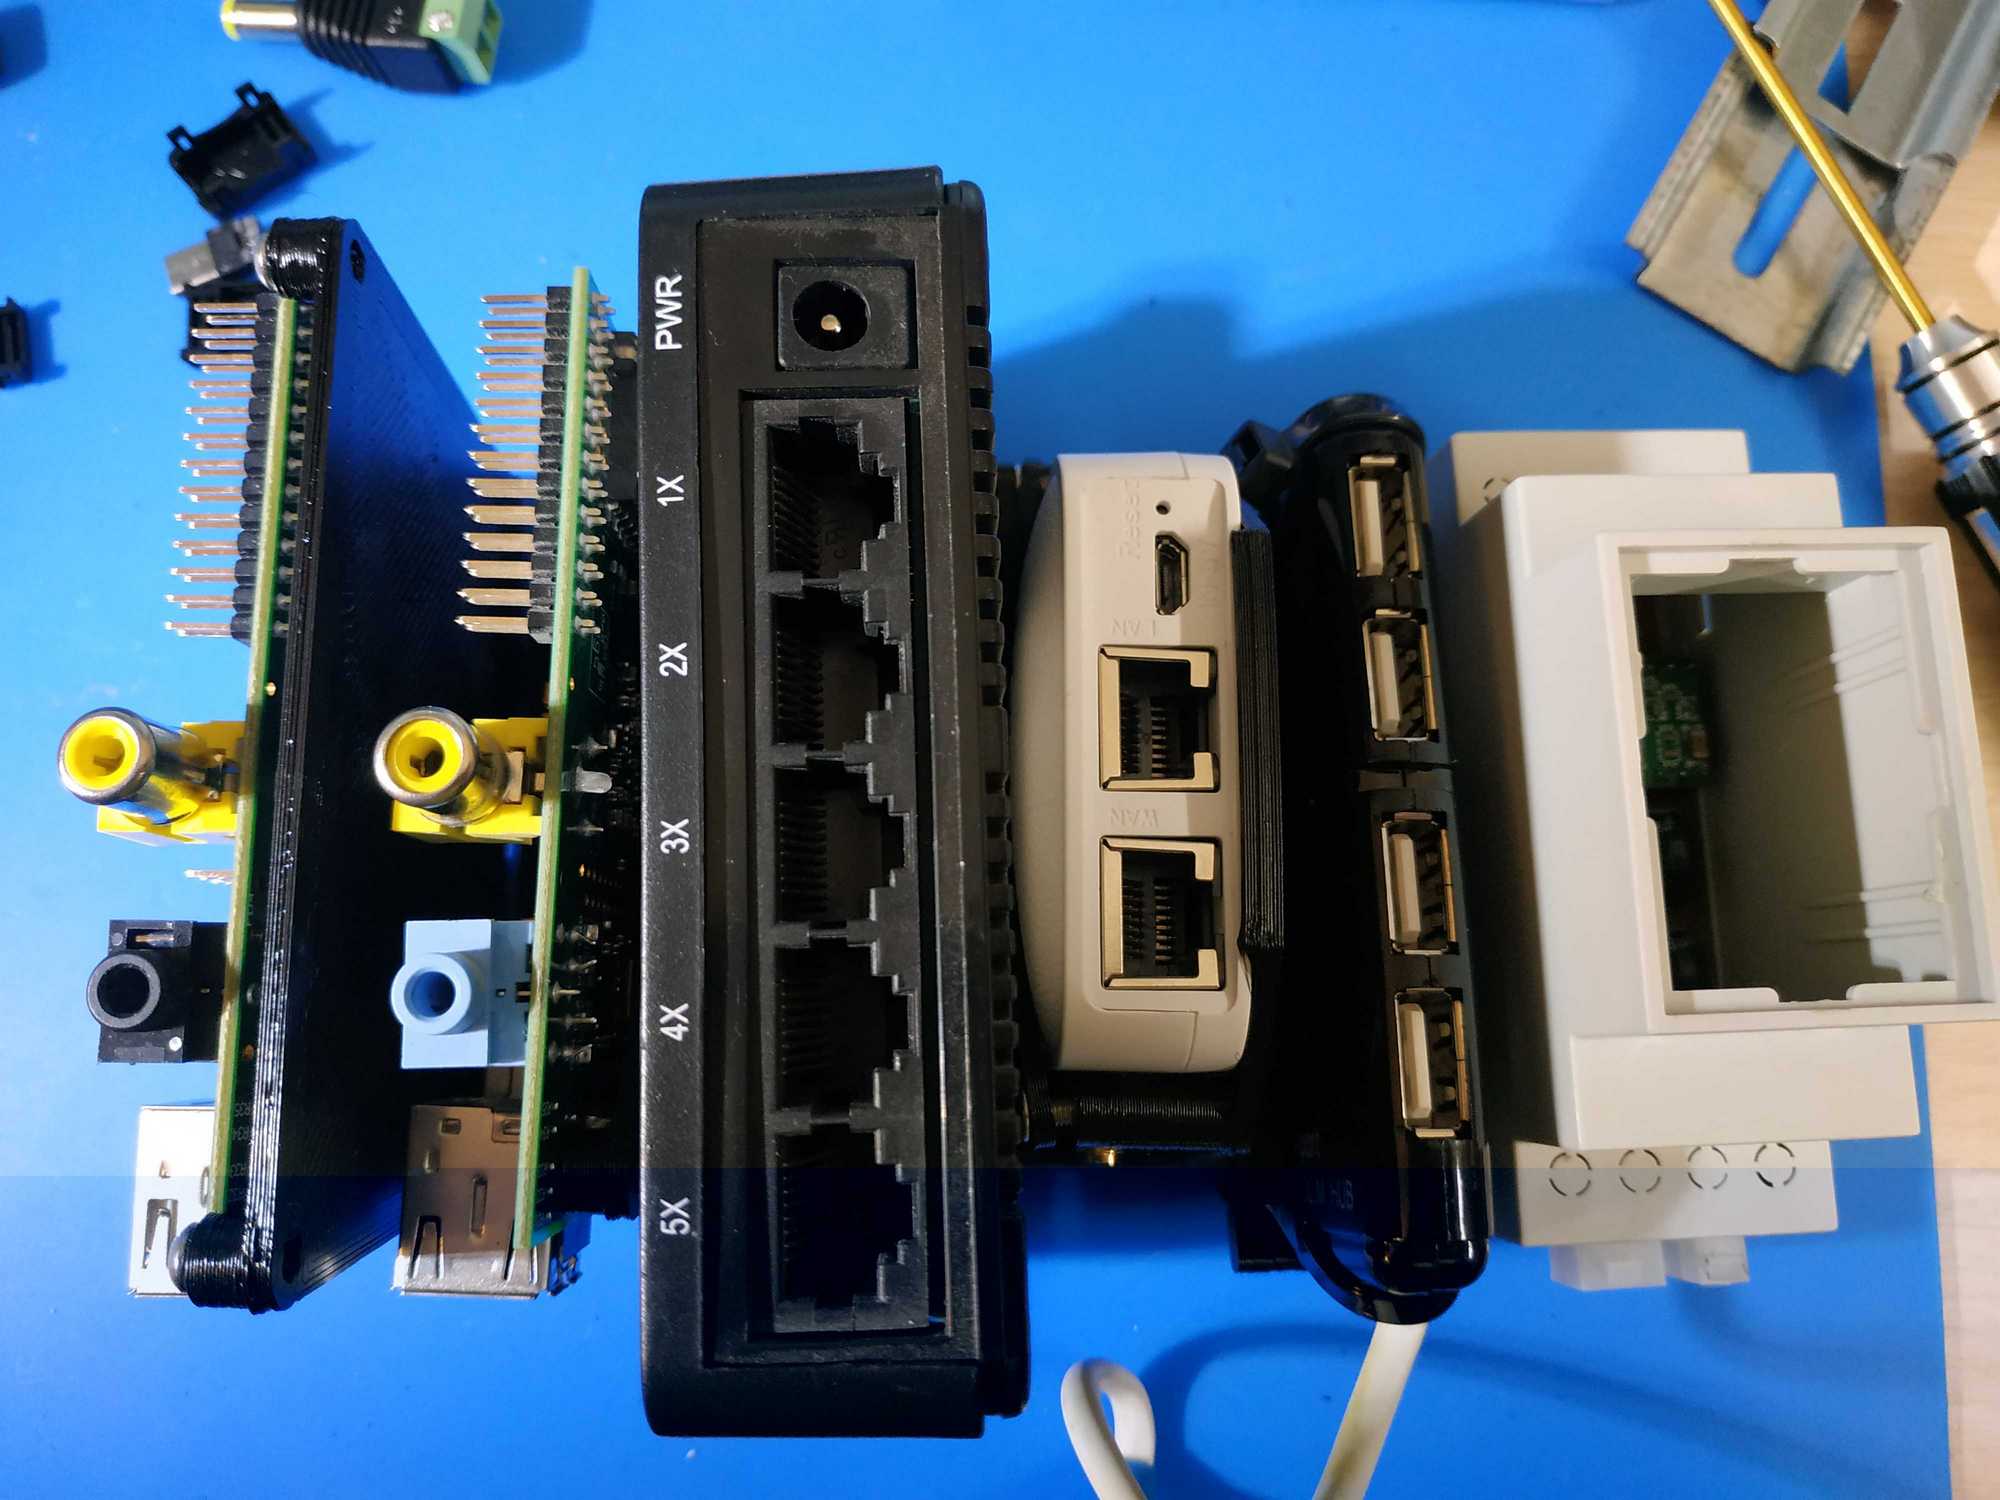
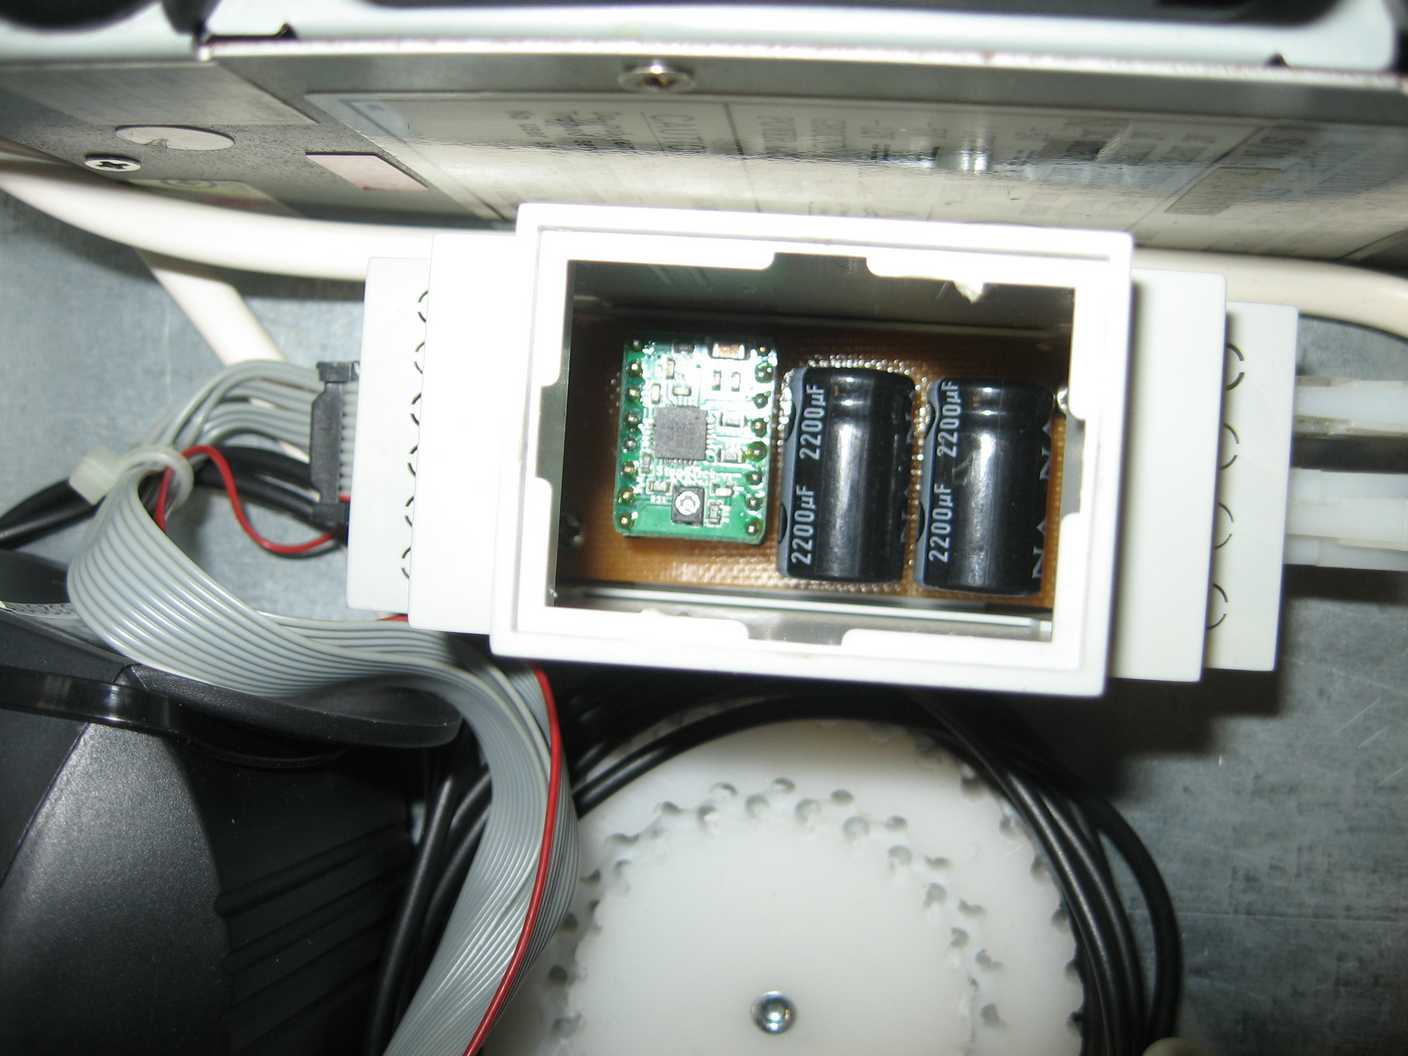
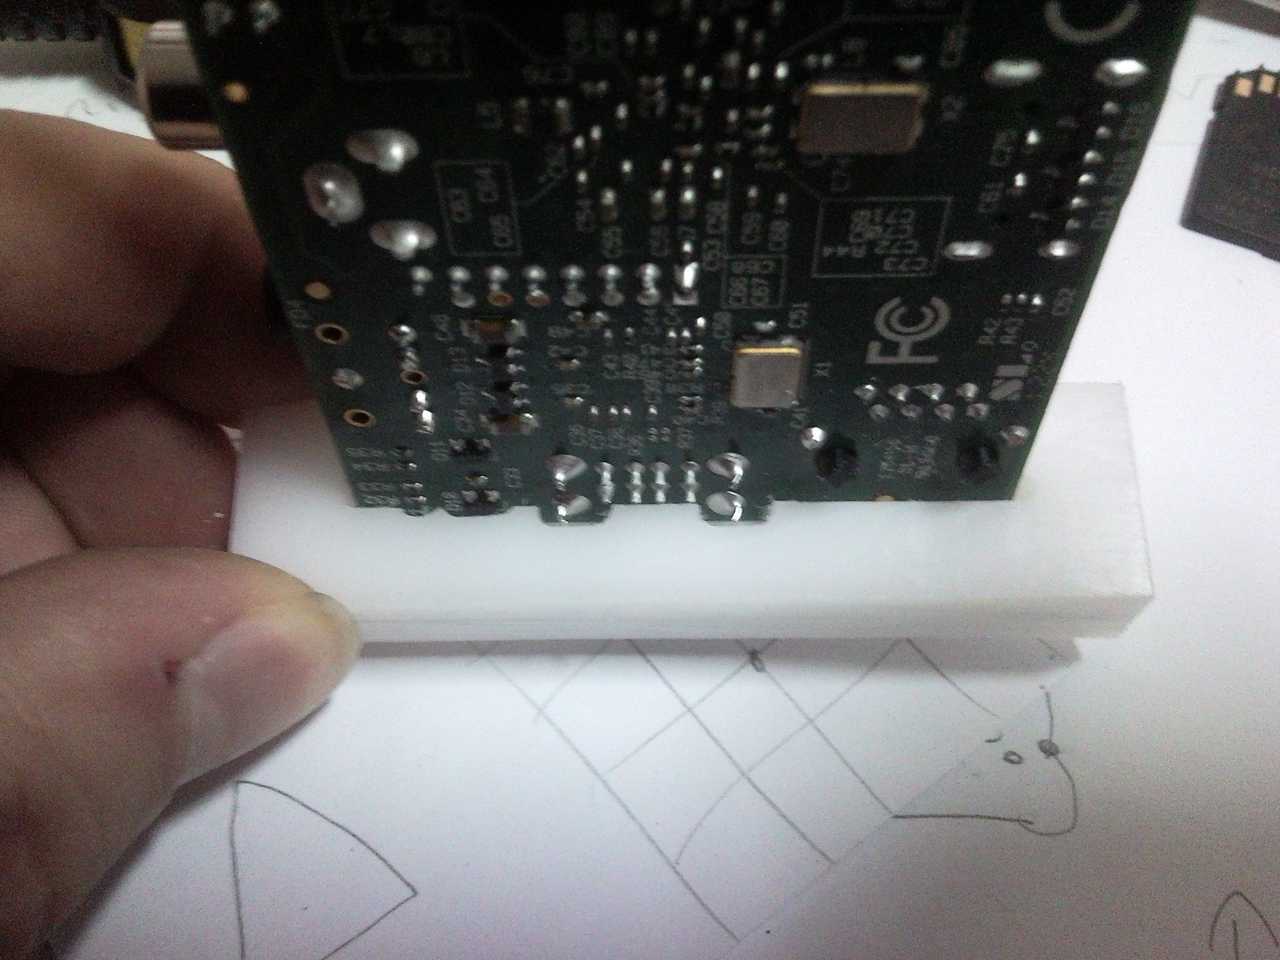
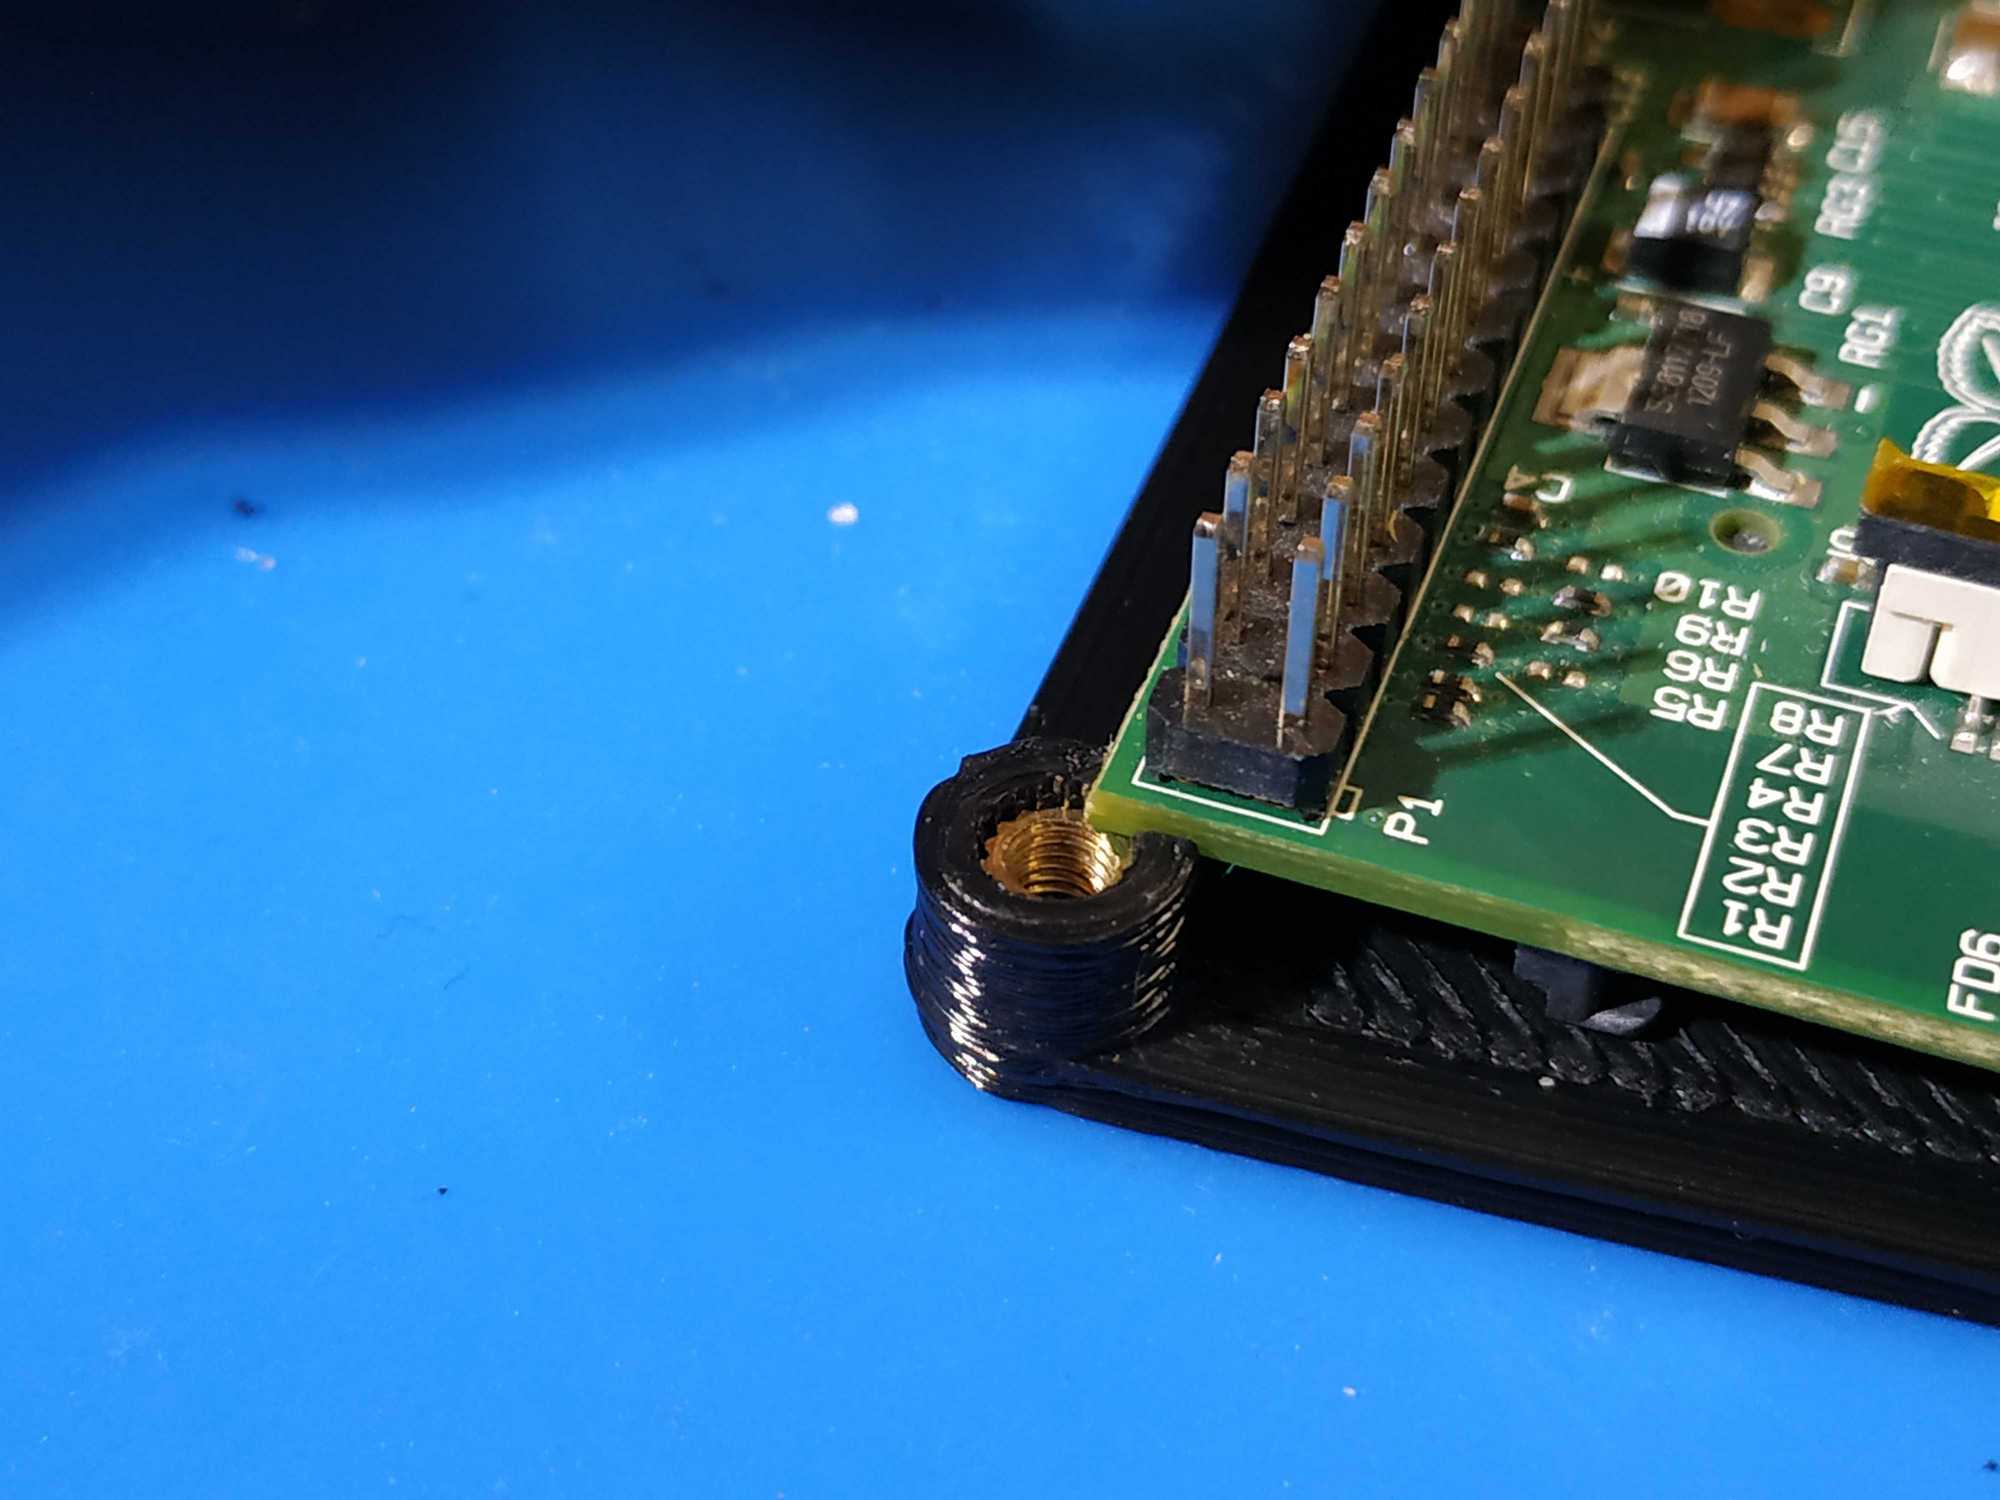
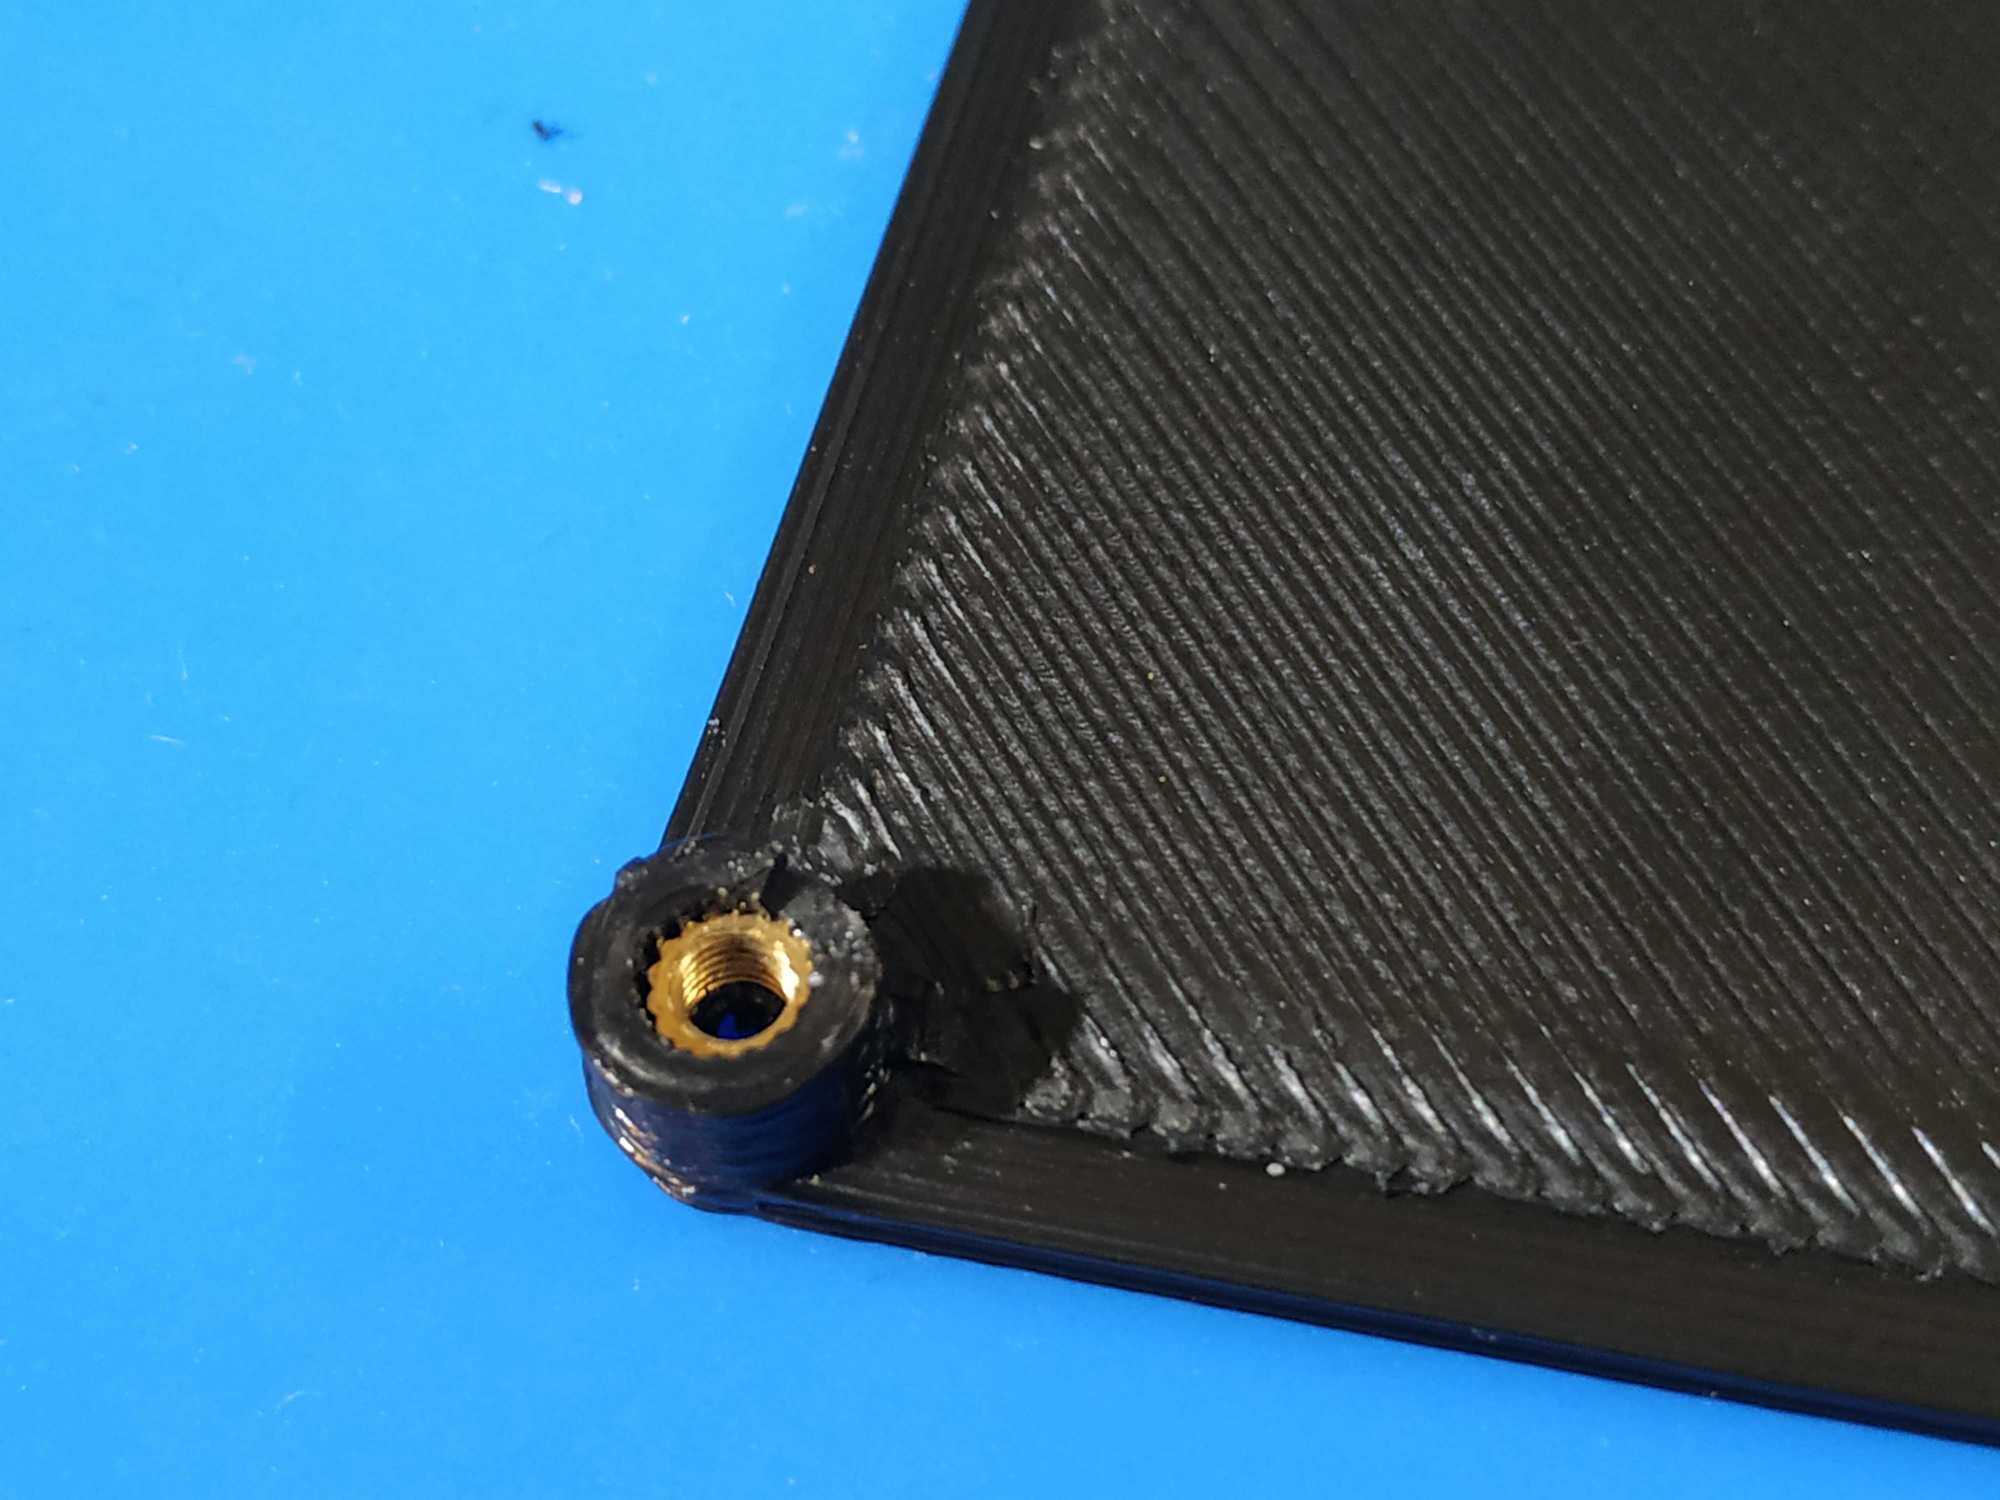
To hold things standing like this, custom brackets had to be made. Sukeklis was being controlled by the very first, original RPi and it’s just enough for this, that’s why we added another RPi to serve the interface.
Also sukeklis’s RPi doesn’t have screw-holes lol it’s weird that those only appeared in the next revision… therefore different brackets had to be made.


And then everything needs to be patched up.

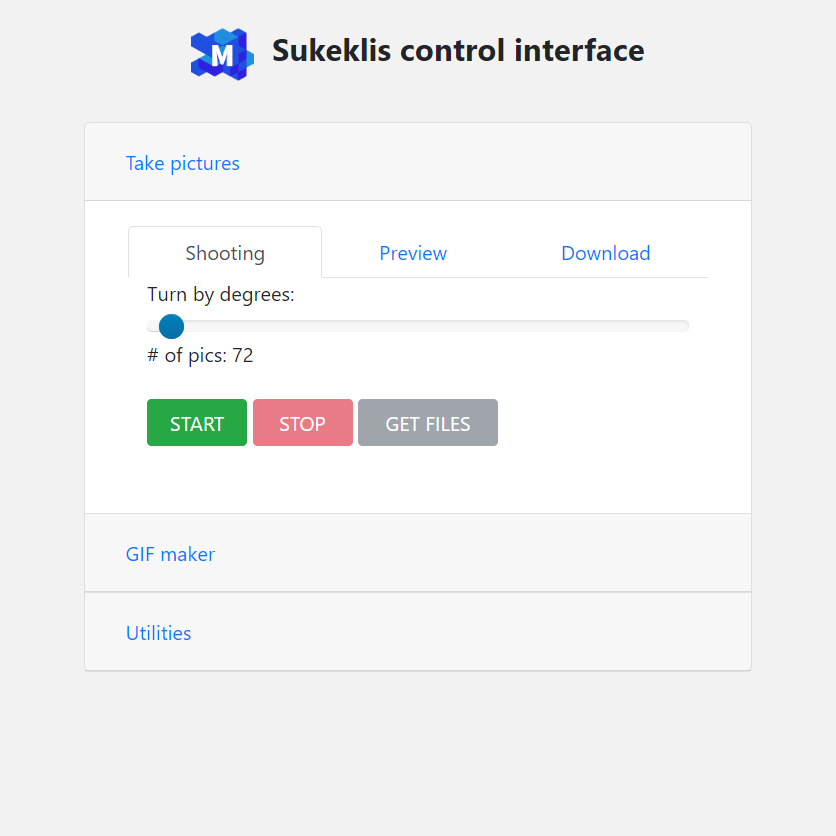
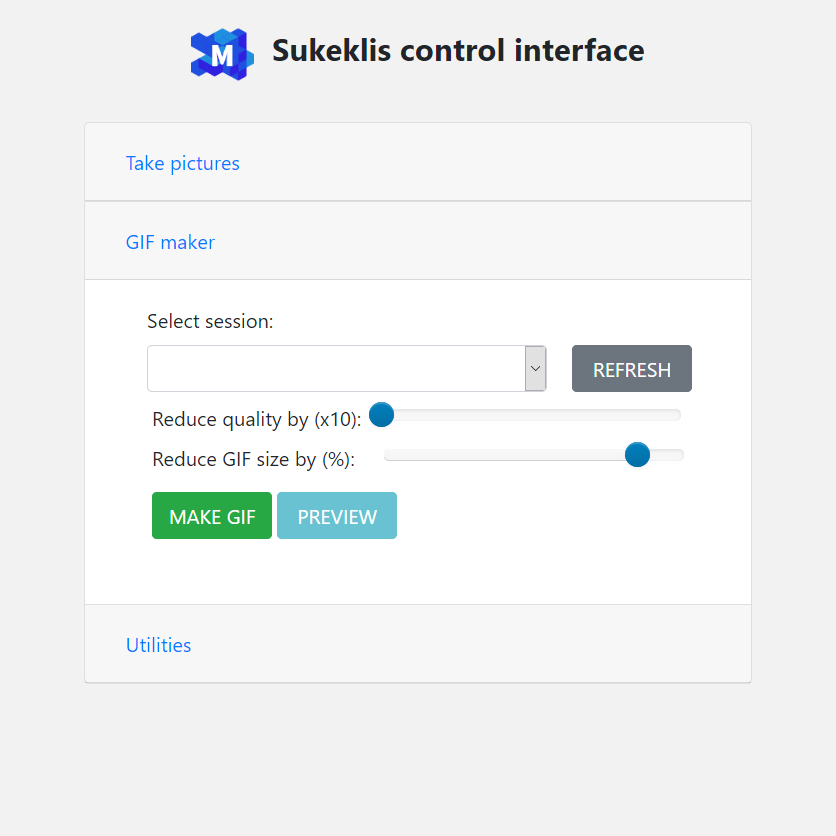
Finally the interface
So getting back to the interface. I created it with HTML and JS, and a PHP backend. Code is available on MakerSpace’s Github here.
Essentially the interface lets you shoot a session, preview what the camera sees, download selected session, produce a gif (on client’s side, so it’s only dependent on the user’s device), dry-spin the turntable (to check if your thing is aligned properly), check storage space (used a 32GB flash drive, should be plenty of space) and check if RPi can see your camera. And the camera is controlled by GPhoto2.

The final thing
And that’s it with this project. The process how to operate it can be seen below :) (obviously for awesome results you’d need to do a bit more than that :D)

