Some of my projects are born when someone wants to throw something out but that something looks still usable and cool, so I take it with me and then come up with an idea for a project. This was no exception. And this project may seem very simple, and it is to be honest, but somehow I managed to stray away from my original idea and make the whole thing more complicated on myself just to come back on track later on.
Someone wanted to throw out a trimmer engine (this thing has many names in different cultures however in Lithuania it’s commonly known as a trimmer so I’ll be referring to it like that from here on out) still in a good condition just because it wasn’t starting when all it needed was some maintenance and I wanted to make a small scooter to ride around just for fun a long time ago :D
Simple maintenance was to replace the fuel filter and clean out the carb.
And it started with no problems.
To make the project more interesting I decided to only buy parts that are really necessary and make everything from what I can find in the workshop and in the end make the whole thing look janky and that would be the beauty of it.
So I took it up and stashed it for later while in the meantime I started collecting parts for my scooter project. So the original idea was to have a platform with wheels that is powered by a trimmer engine – very simple.
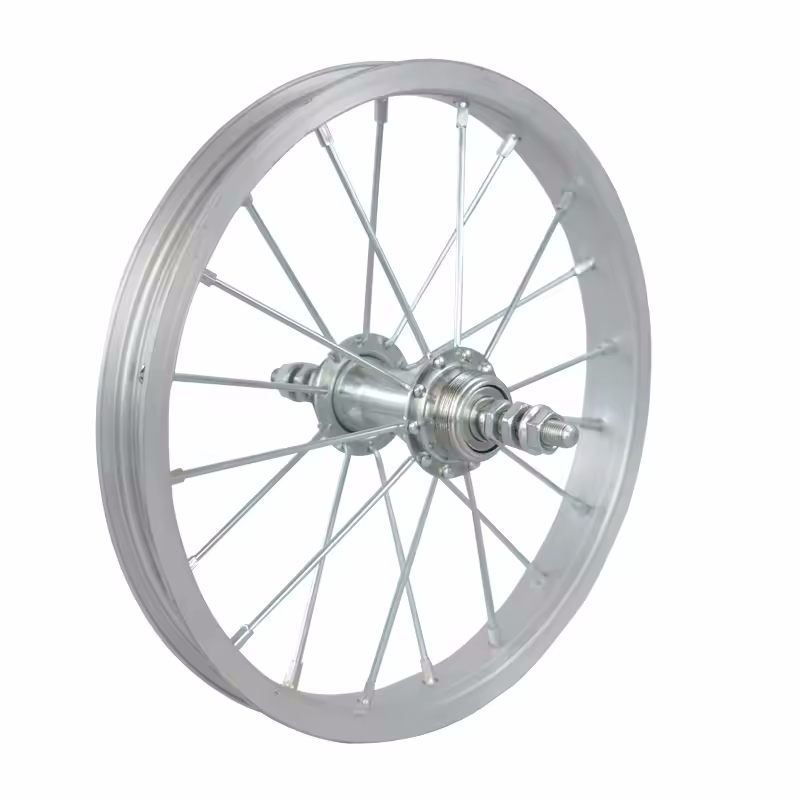
I already had bought small bike wheels with tires – simple front wheel and a special kind rear wheel that had threads on both sides so I can easily mount a break disk and a sprocket. To drive the sprocket I had began making an adapter for the original clutch bell.

After some time, before I started working on the base, a friend in the workshop started working on his pocket bike which he wanted to convert to electric so he took out the petrol engine and wanted to throw that one out too! And that’s how another engine came about that he didn’t have any plans for and then I decided to stow away the trimmer engine and use the bike engine instead because it looked cooler and you could actually reach higher RPMs. It was the decision that in the end cost me dearly.
It seems that they both have basically the same parameters just in a different configuration and the bike engine seemed easier to mount. Also it already had a ready-to-use centrifugal clutch which was in a good condition.
So yeah, that’s the beginning – might sound very familiar if you read the first part of my go-kart project because it started the same way, when a friend had an engine he didn’t know what to do with :D
Shifting from course
The first thing I did was of course inspect the bike engine and see if it’s good.
It had a broken pull-start so that had to be replaced and so off I went into a bike shop with a broken one as a sample. When I showed it to them they shrugged and said it’s the first time they see this type of pull-start. To be fair the engine was also a no-name Chinese variant.
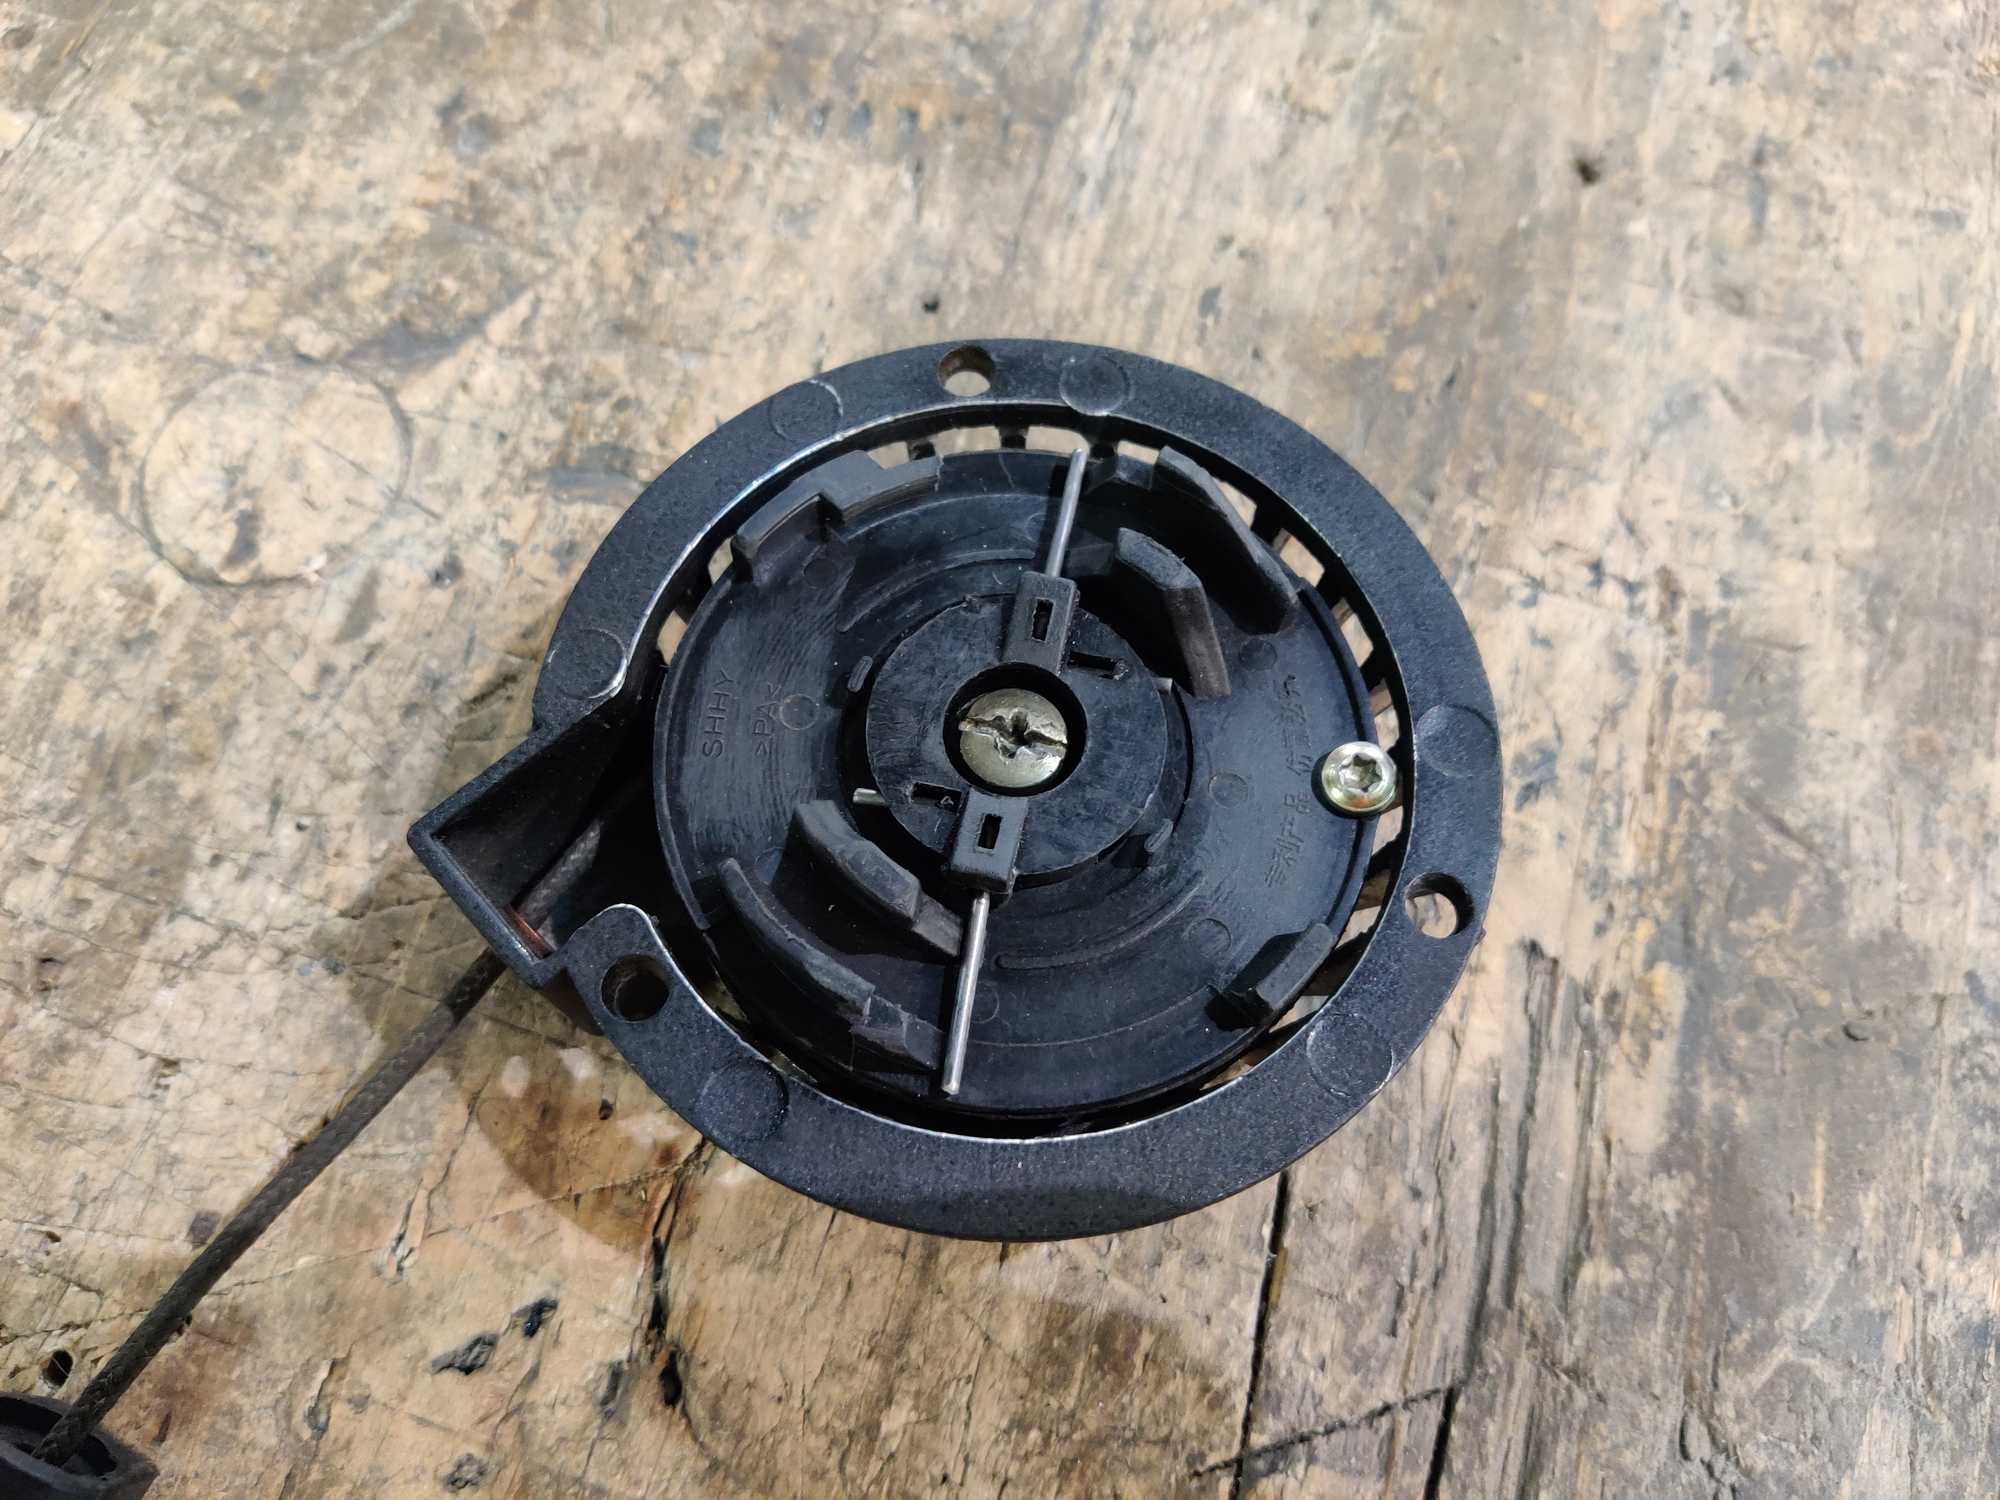

I came back to the engine to take another look and I noticed something… the factory pull-start had a some sort of adapter inside the flywheel on which the pull-start would sit and bite into when pulled. It was very weird but I was able to take it off and buy a new and compatible pull-start that connects directly to the flywheel.
These aluminum pull-starts are so bad though that during the whole time messing with this engine I had to replace 3 of them. And they always would break the same way.
After replacing the first broken pull-start I can now make a jig to hold the engine in place and fine-tune it into working again because it wasn’t running very well, but cleaning out a carburetor is always (well almost always) a solution.
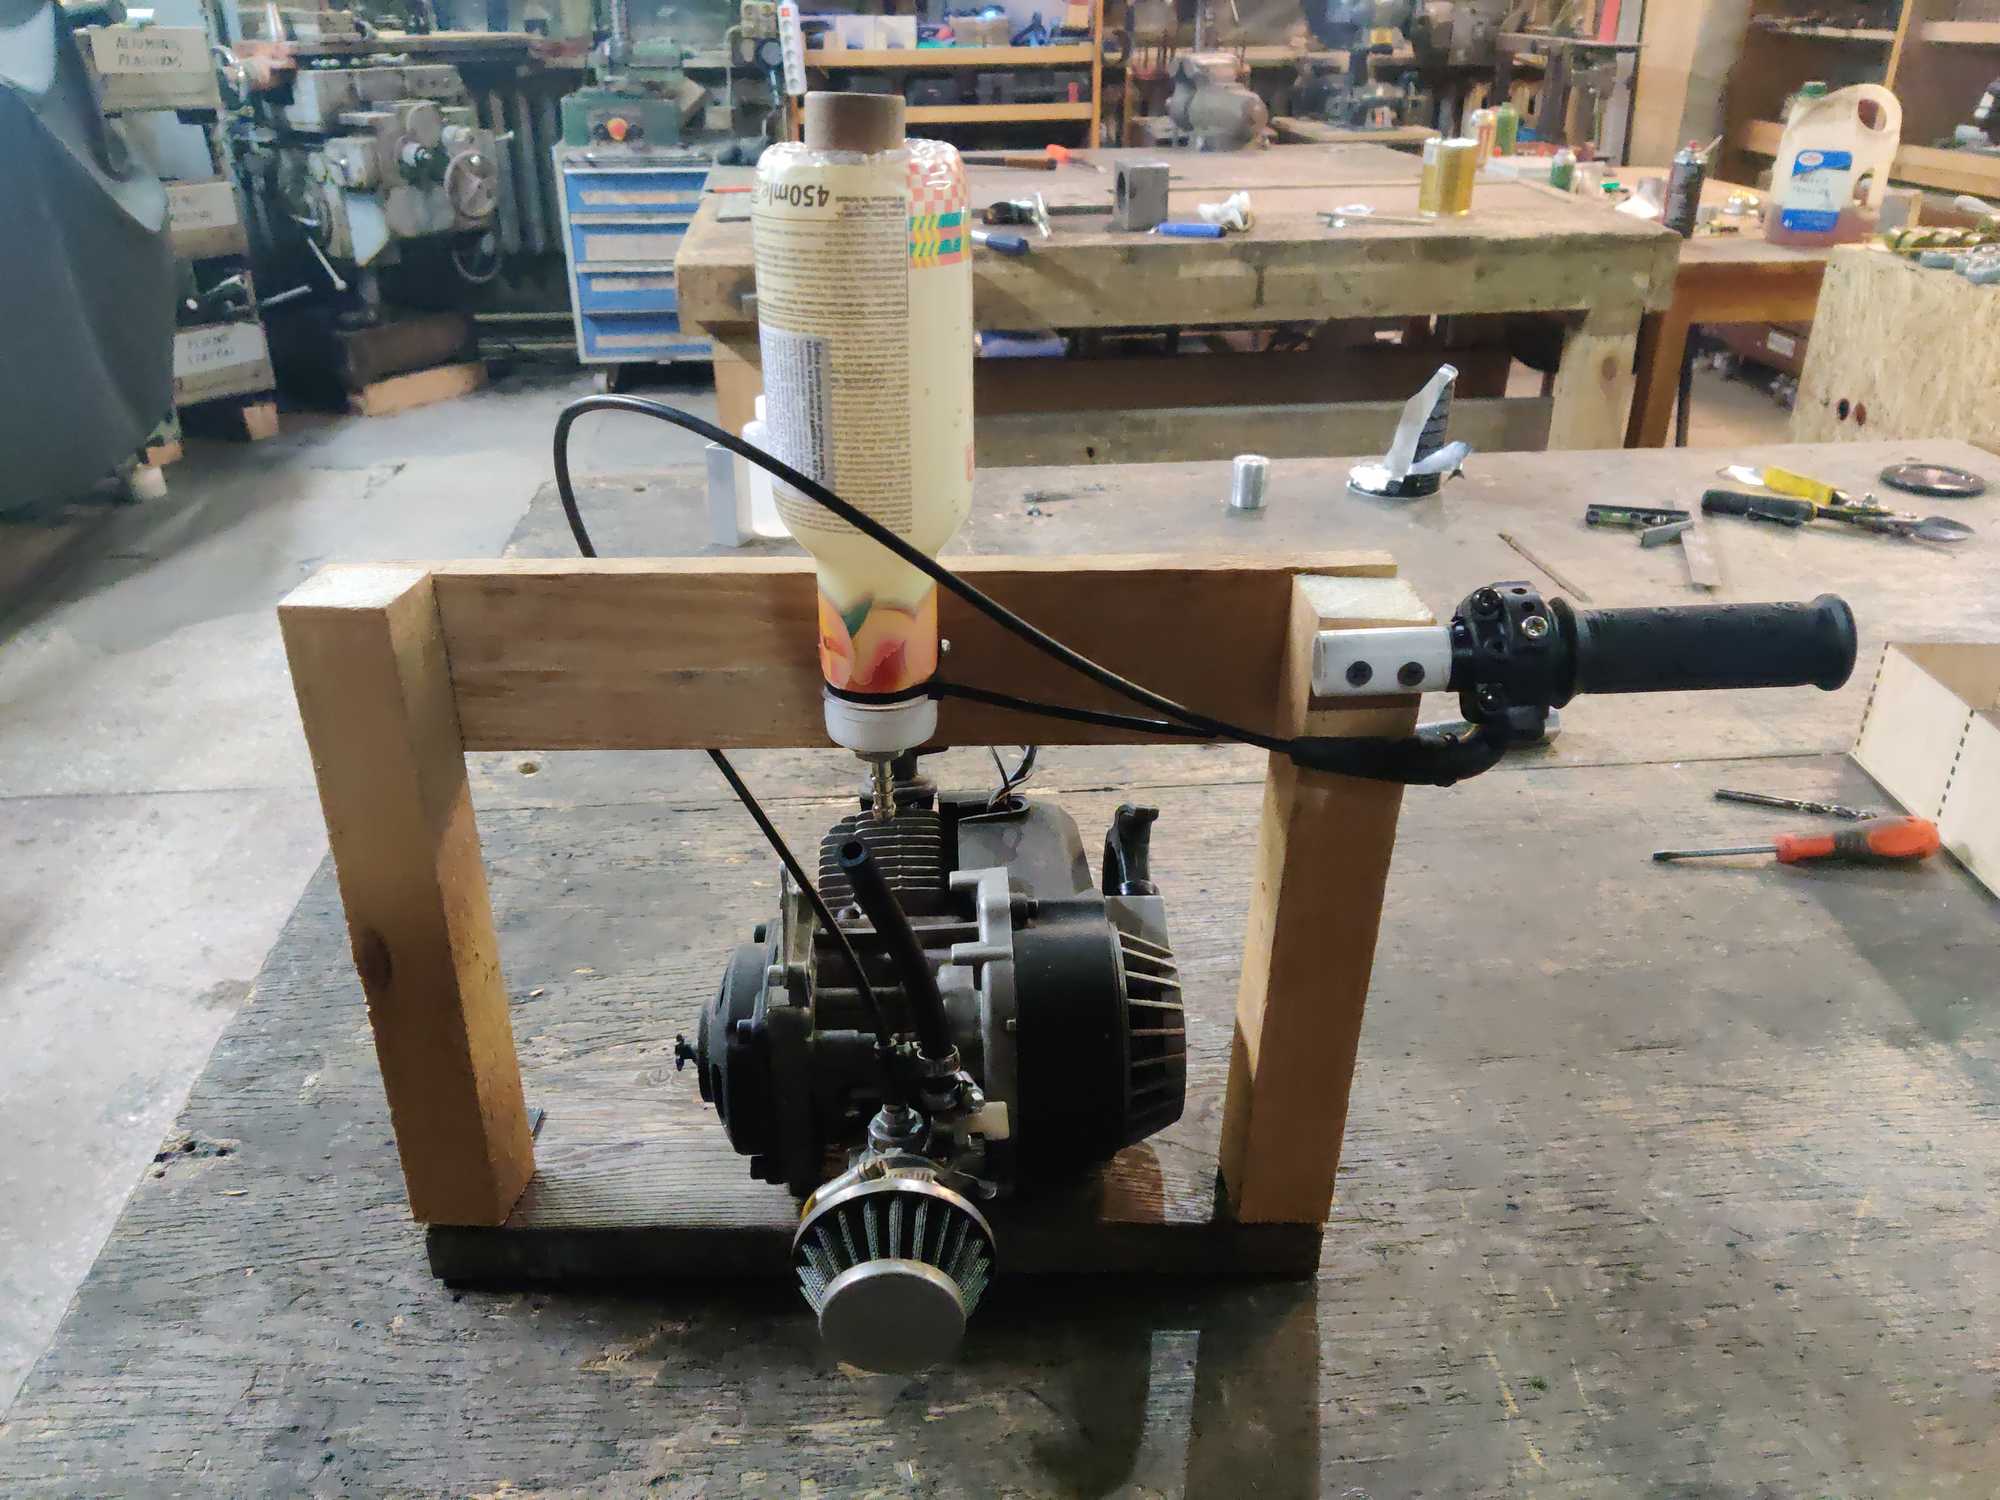
After I got the engine running smoothly I started sketching how I thought the scooter would look like and went onto the internet for some ideas. It seems that not much can be found when searching in English, but there is a ton of visual information if you search the keyword “Дырчик” and yes that is in Cyrillic because Eastern-European countries has such a contraption as parts of their culture. But if you were making a mini-bike type of thing with a go-kart engine then you’d find loads of info in English because that’s the American style :D
If you’re also searching for such ideas I very much recommend this playlist from a dude named “Moto Sancho” even if you don’t understand a word he says because he visually explains everything so well and has some really nice ideas on how to build this contraption.
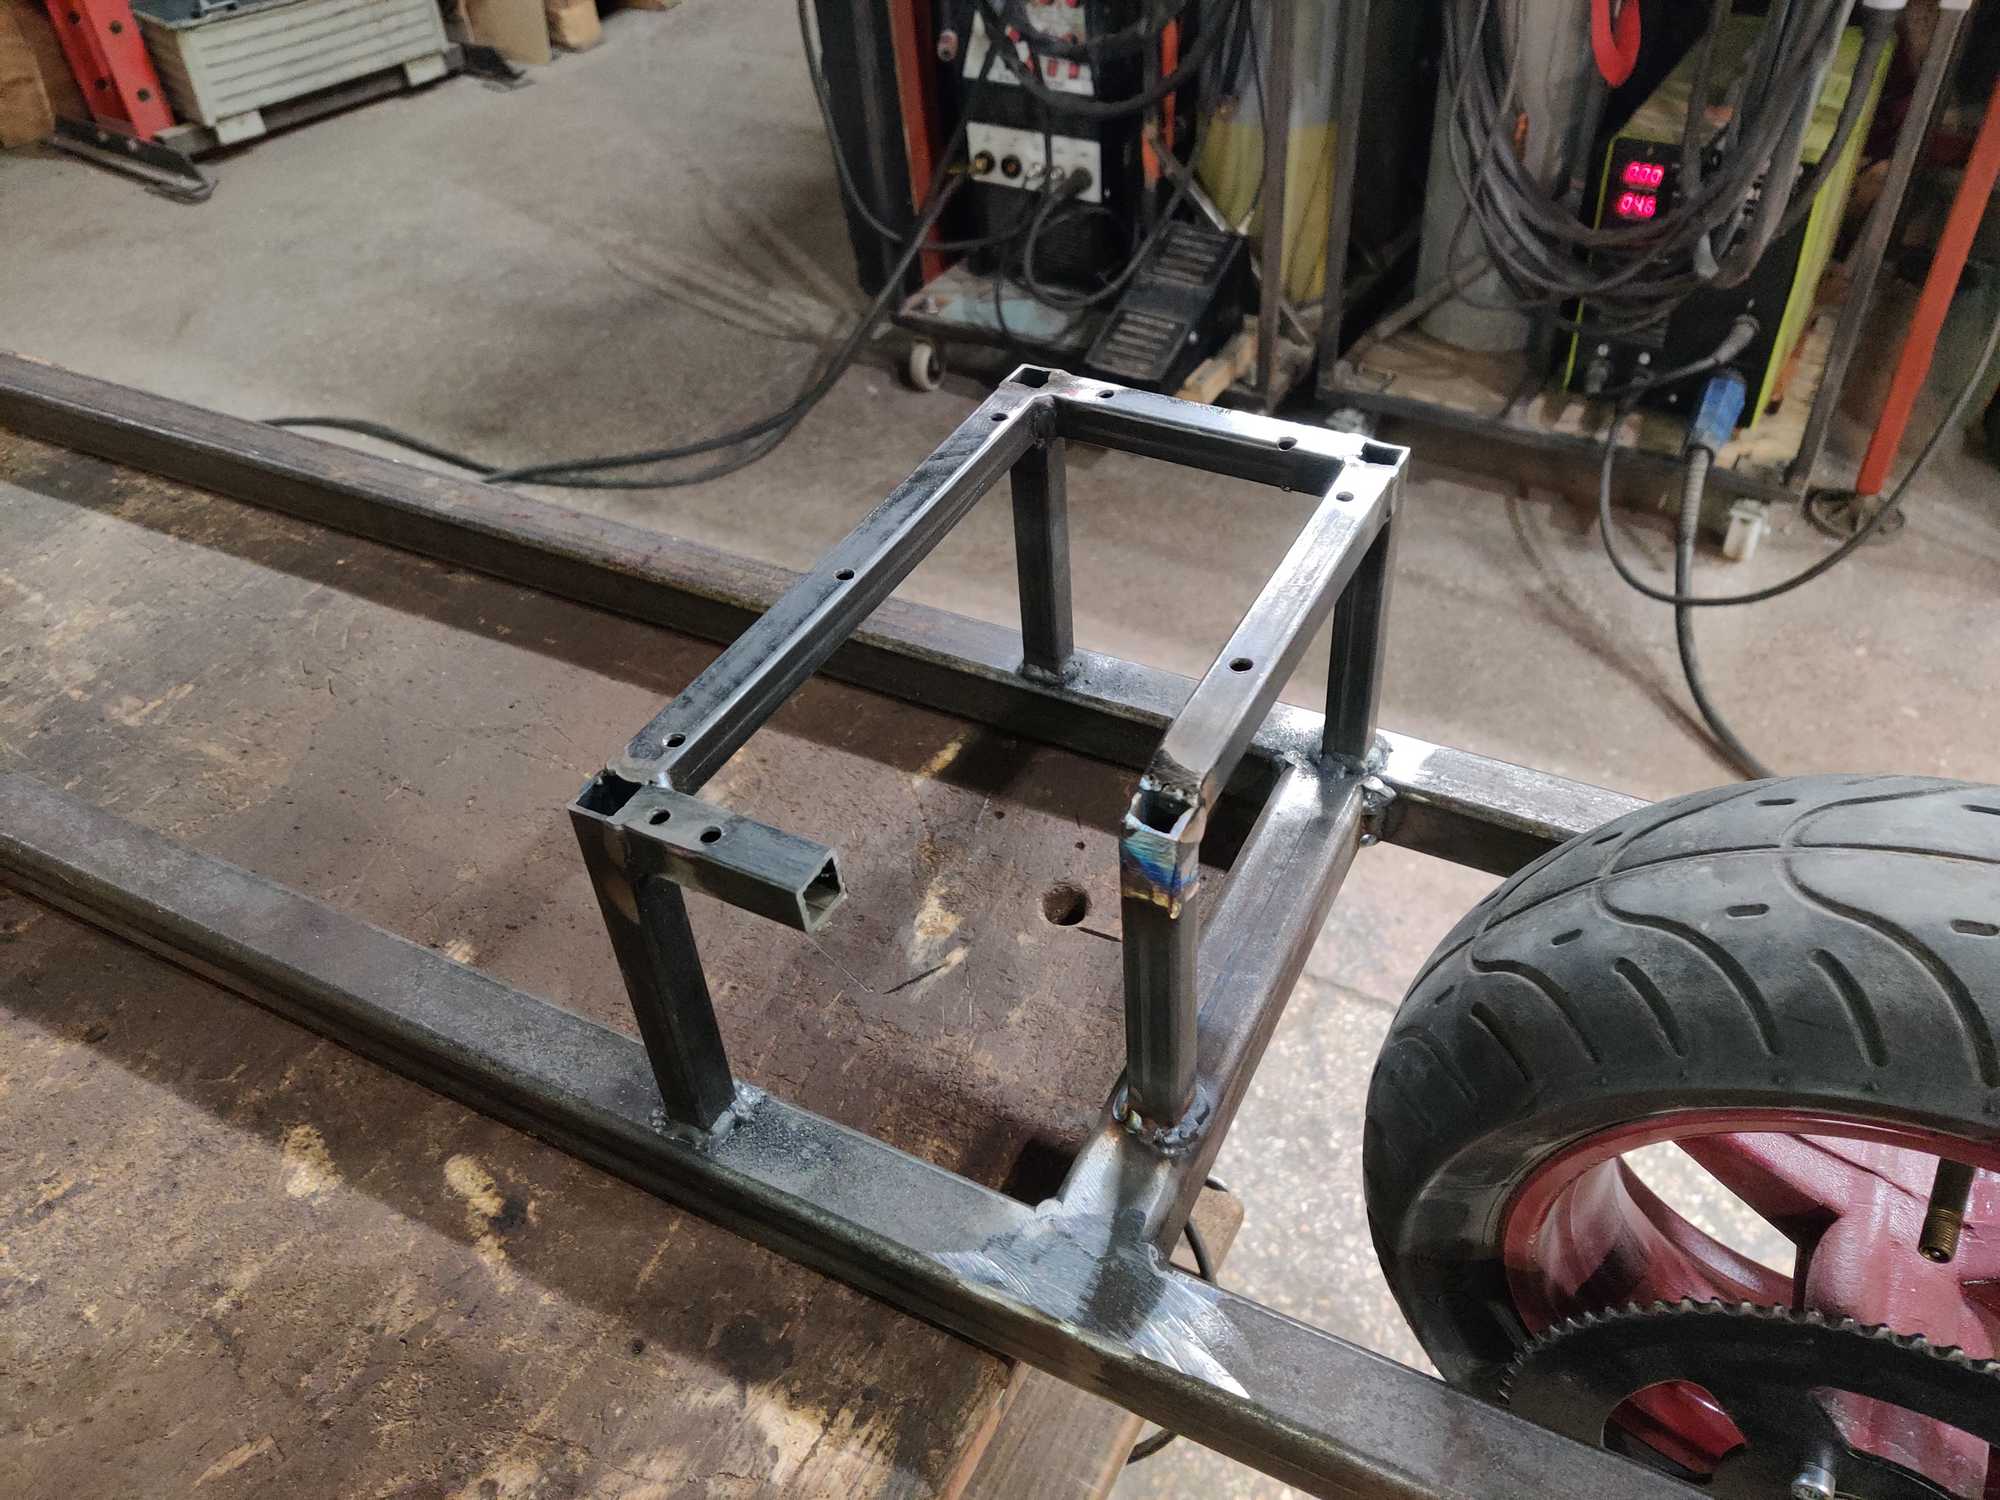
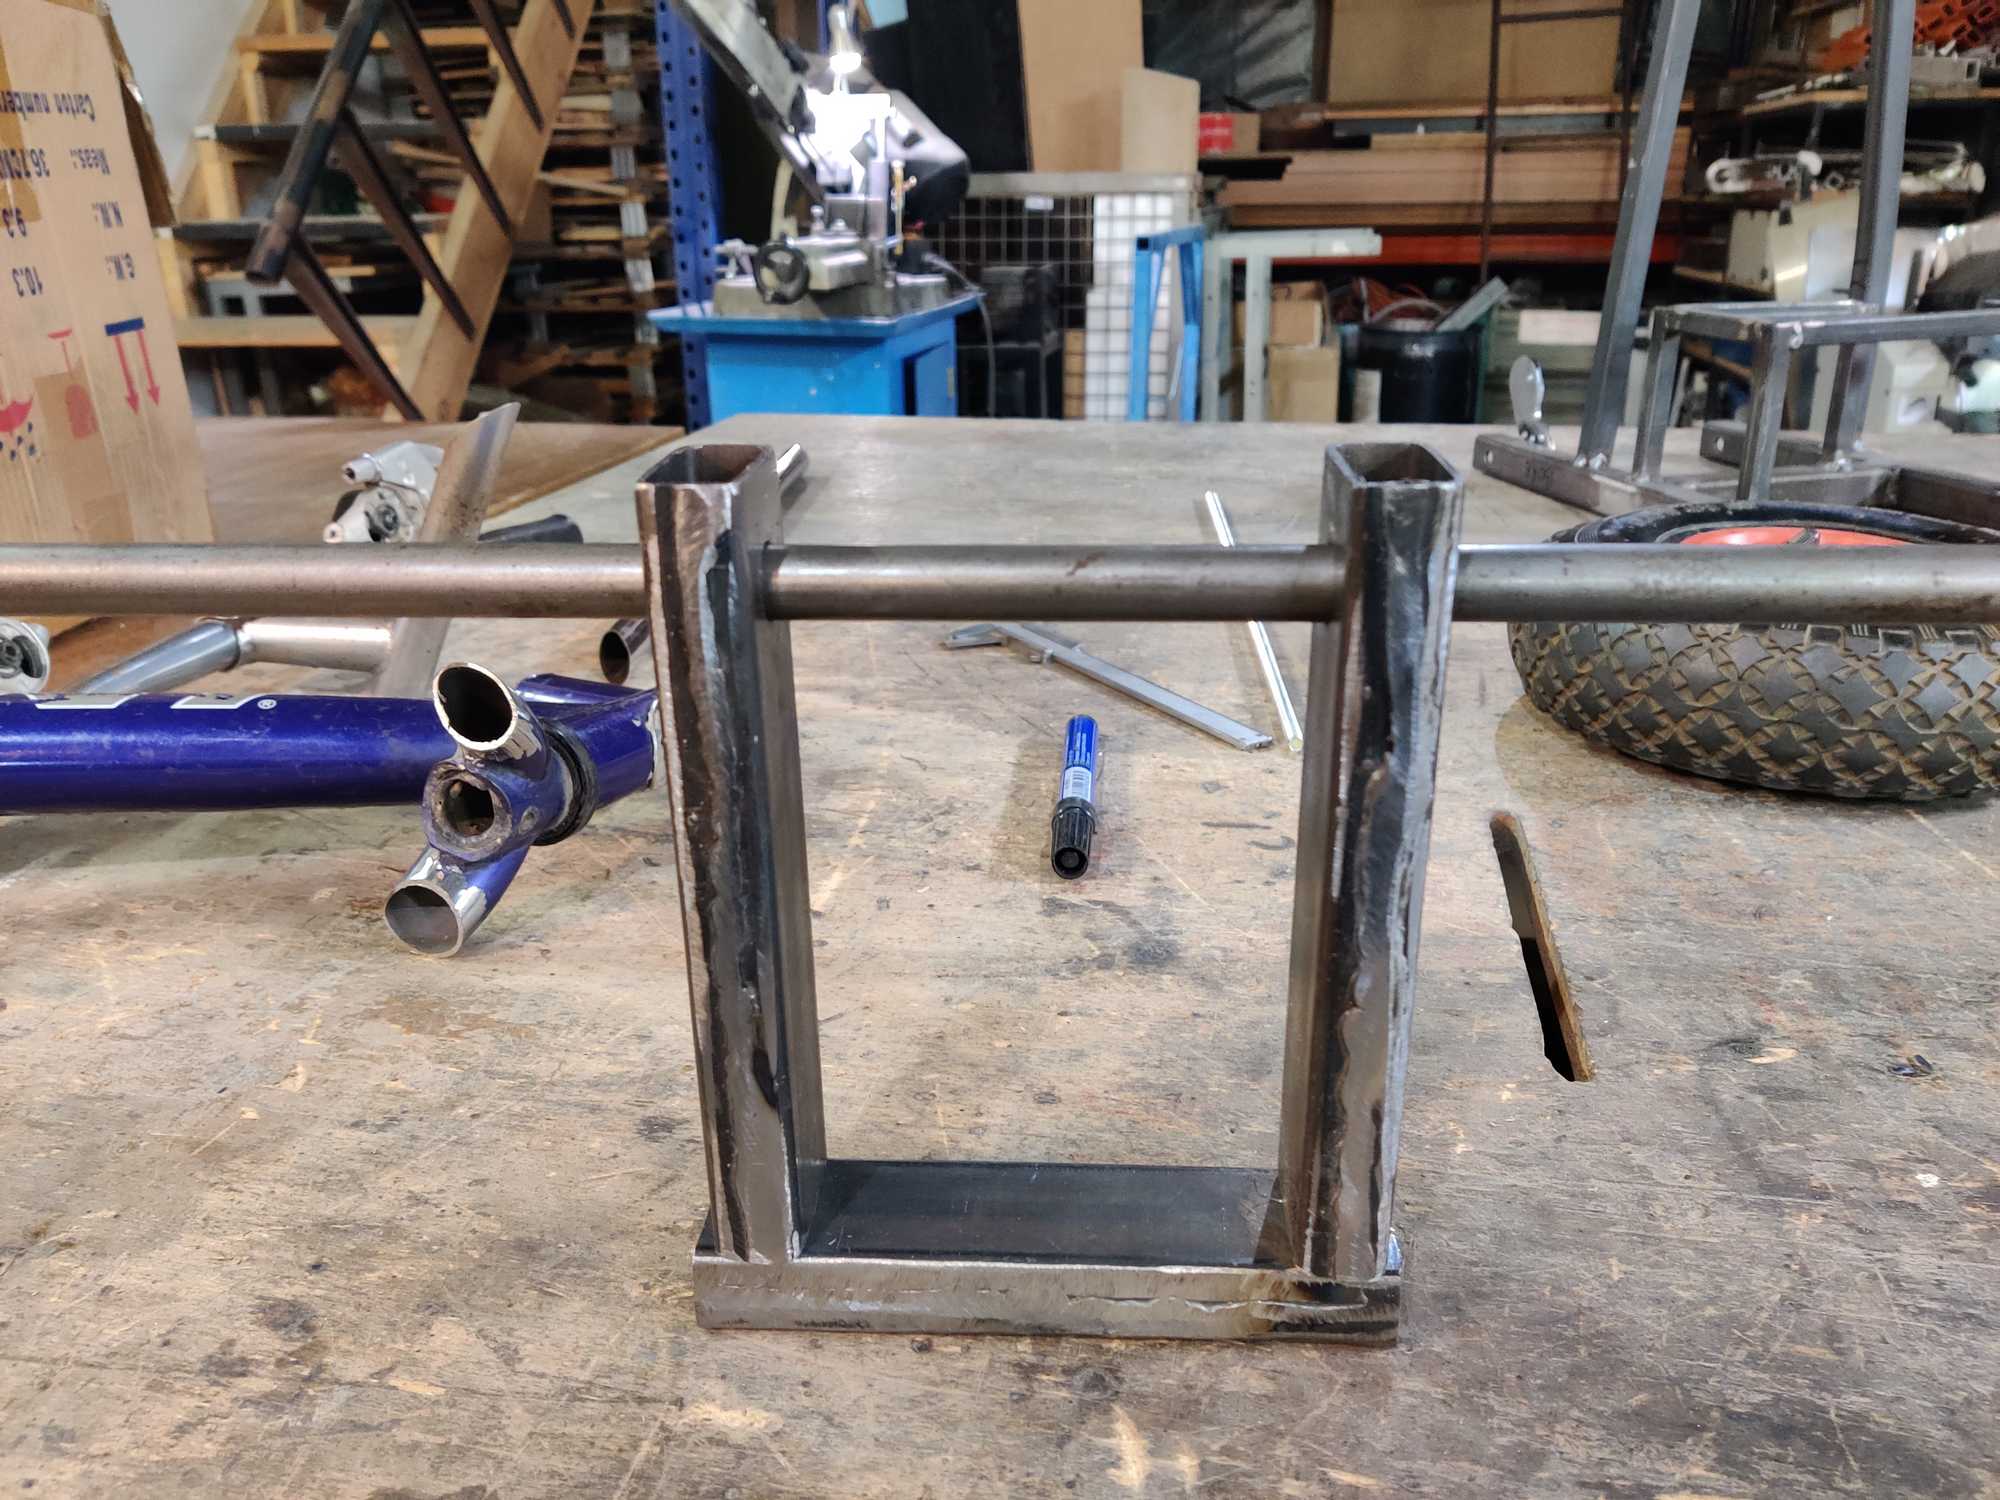
Okay, now that I cleared some design things up I started with making a frame by building it from back to front and since this project was started from trash, I wanted to also continue this by scavenging the parts from different places and only buy when necessary.
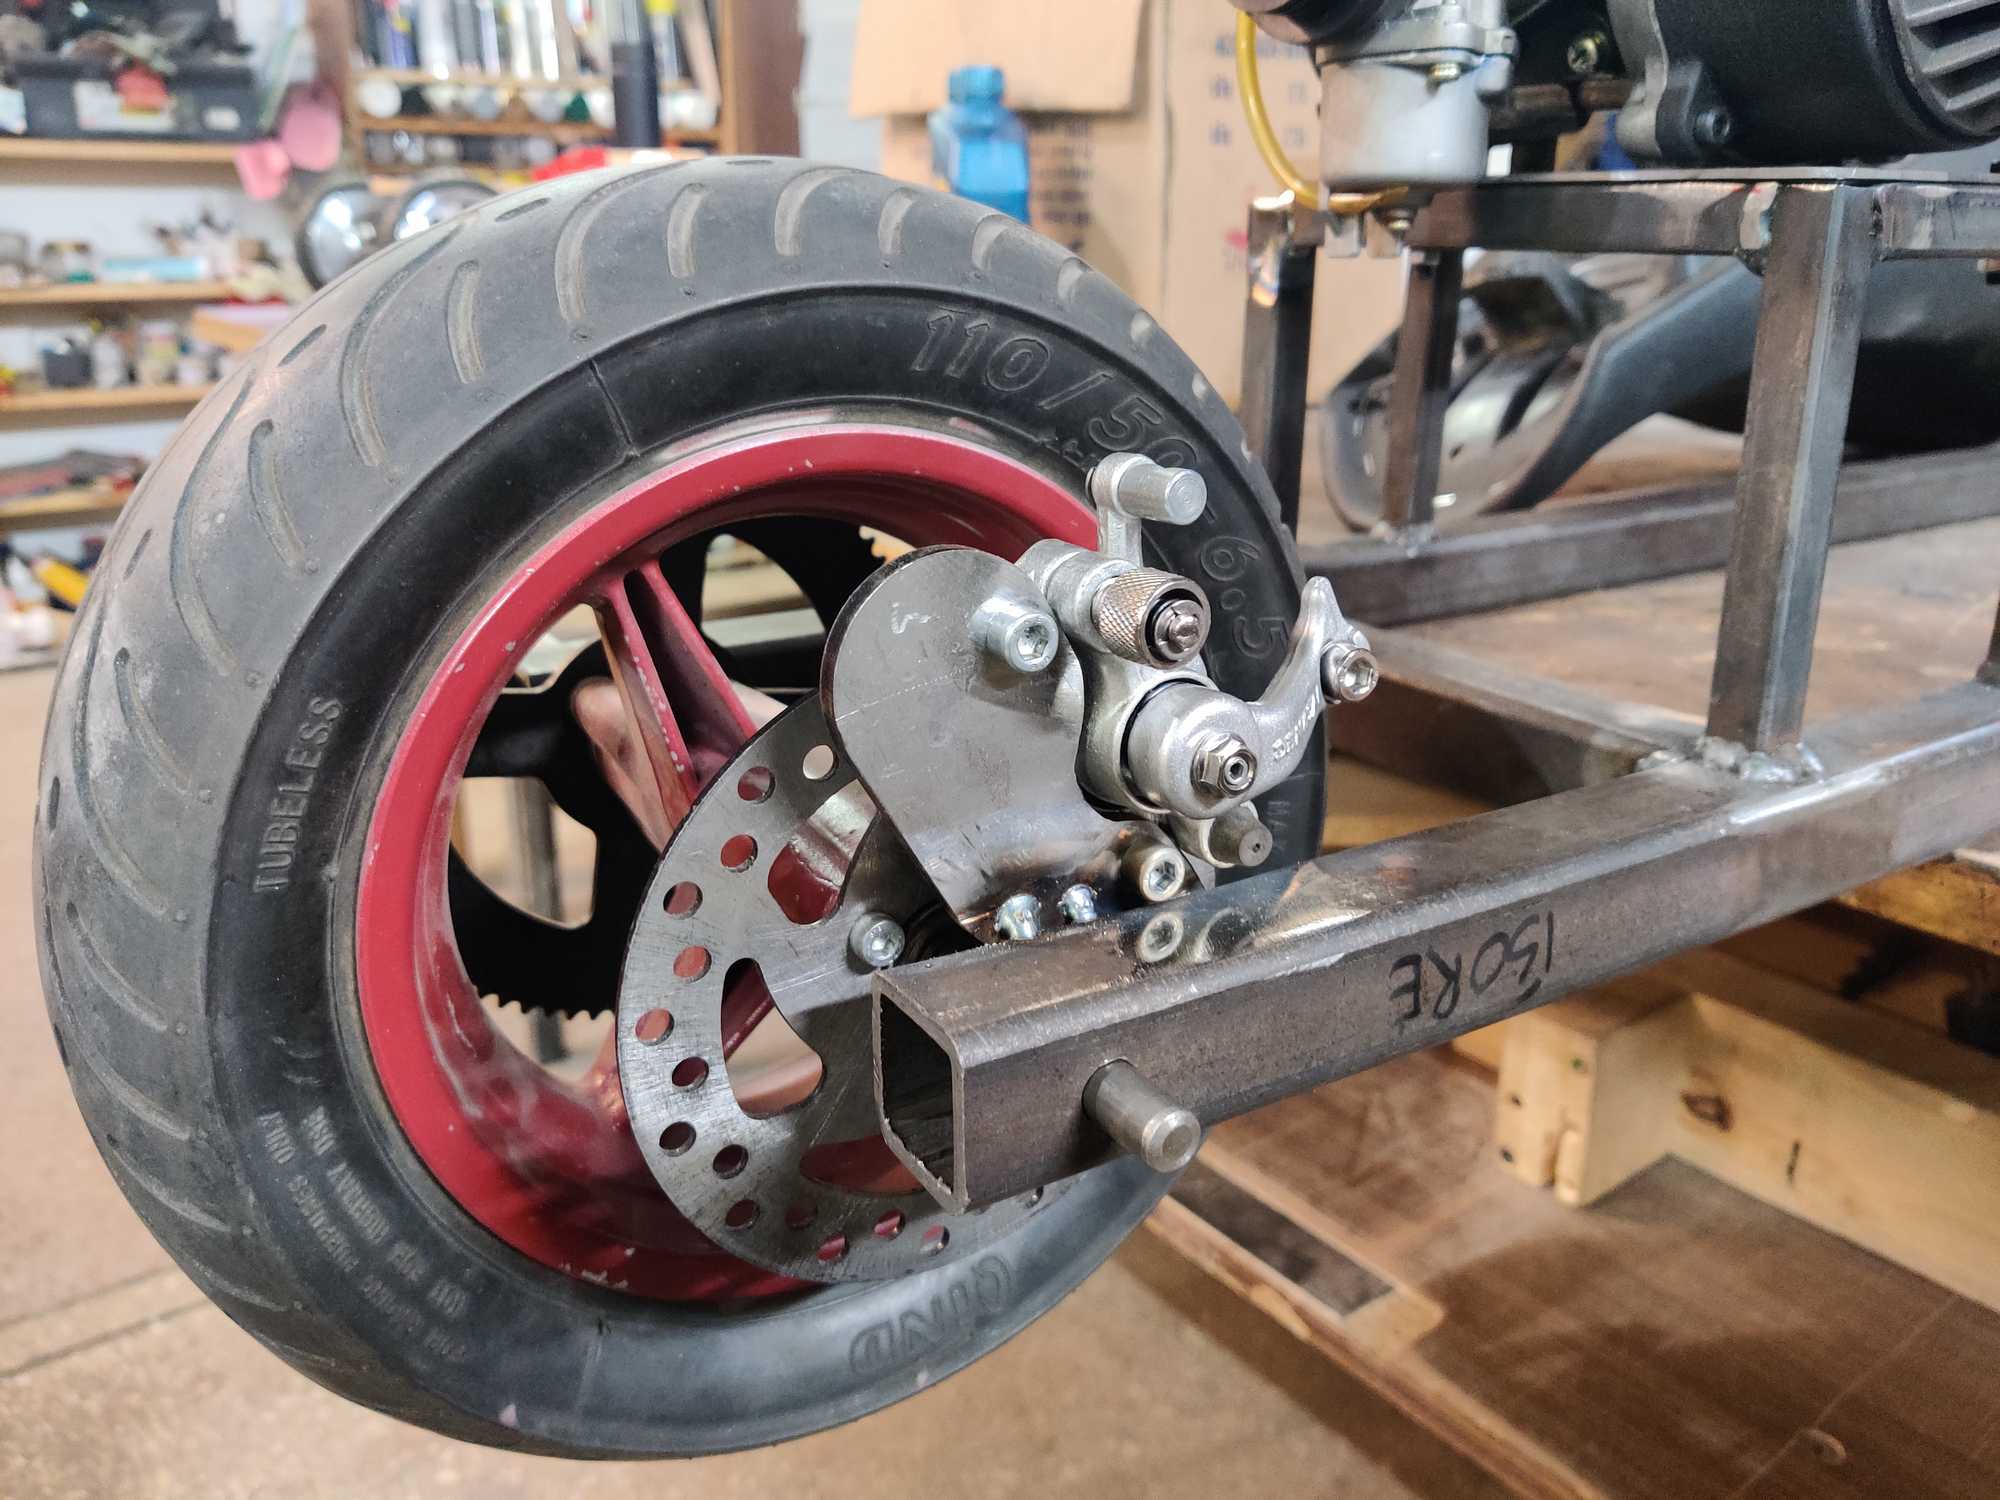
I raised the engine a bit, temporarily attached a pocket bike rear wheel that I found in the workshop with a sprocket and a break disc and attached an e-scooter break caliper (I bought this one :( ). And I say temporarily because it’s bent a little and wobbles.
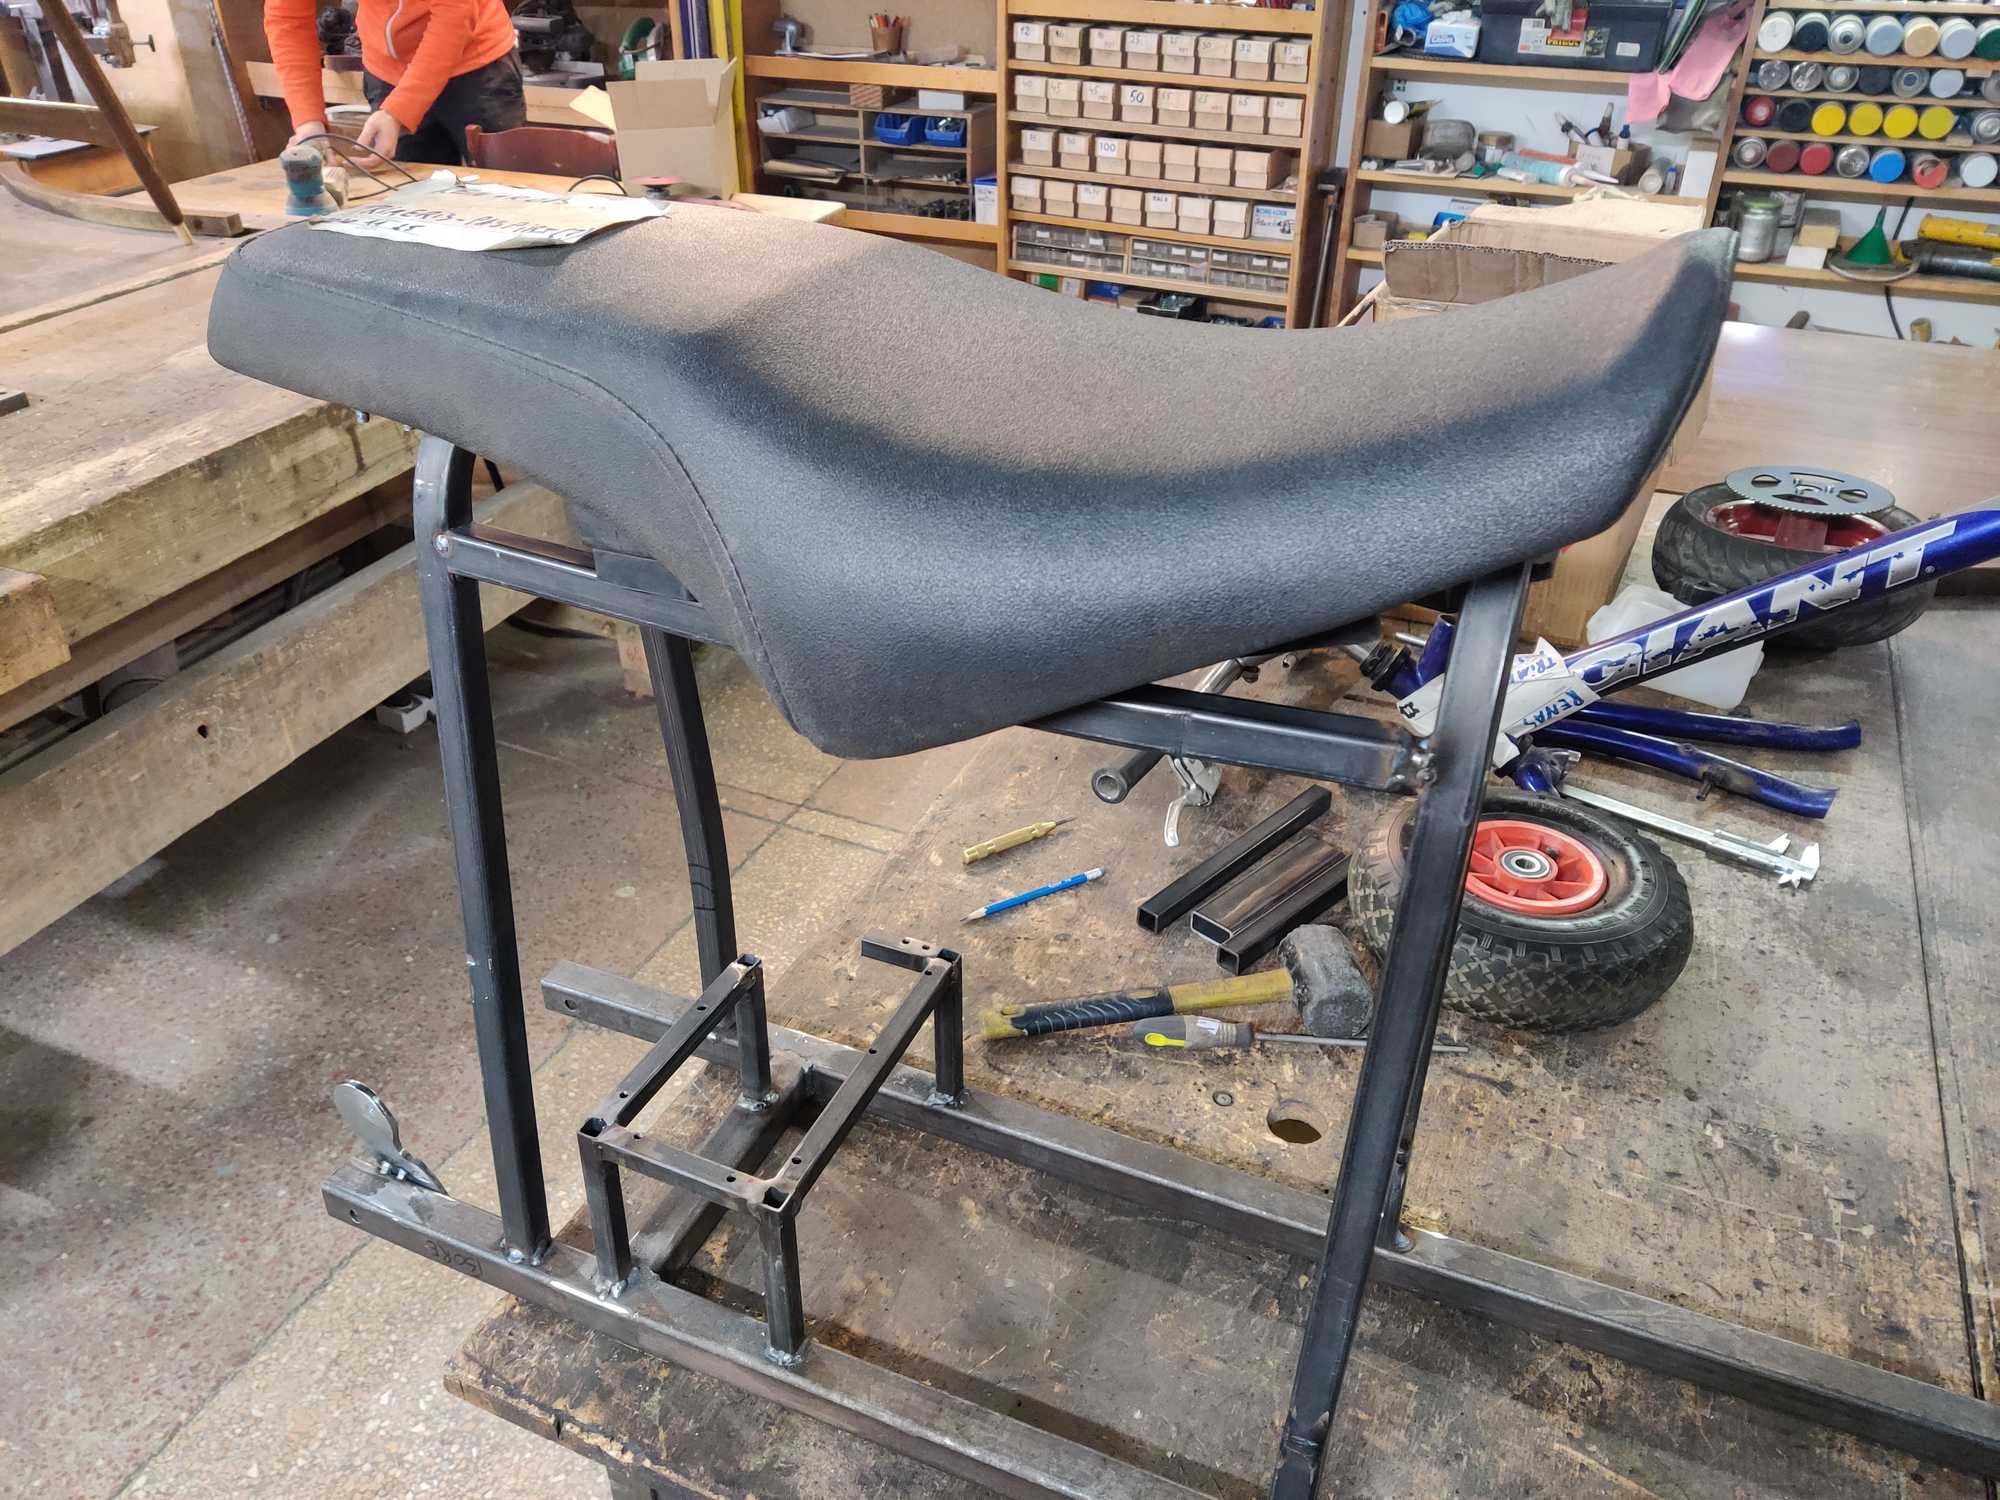
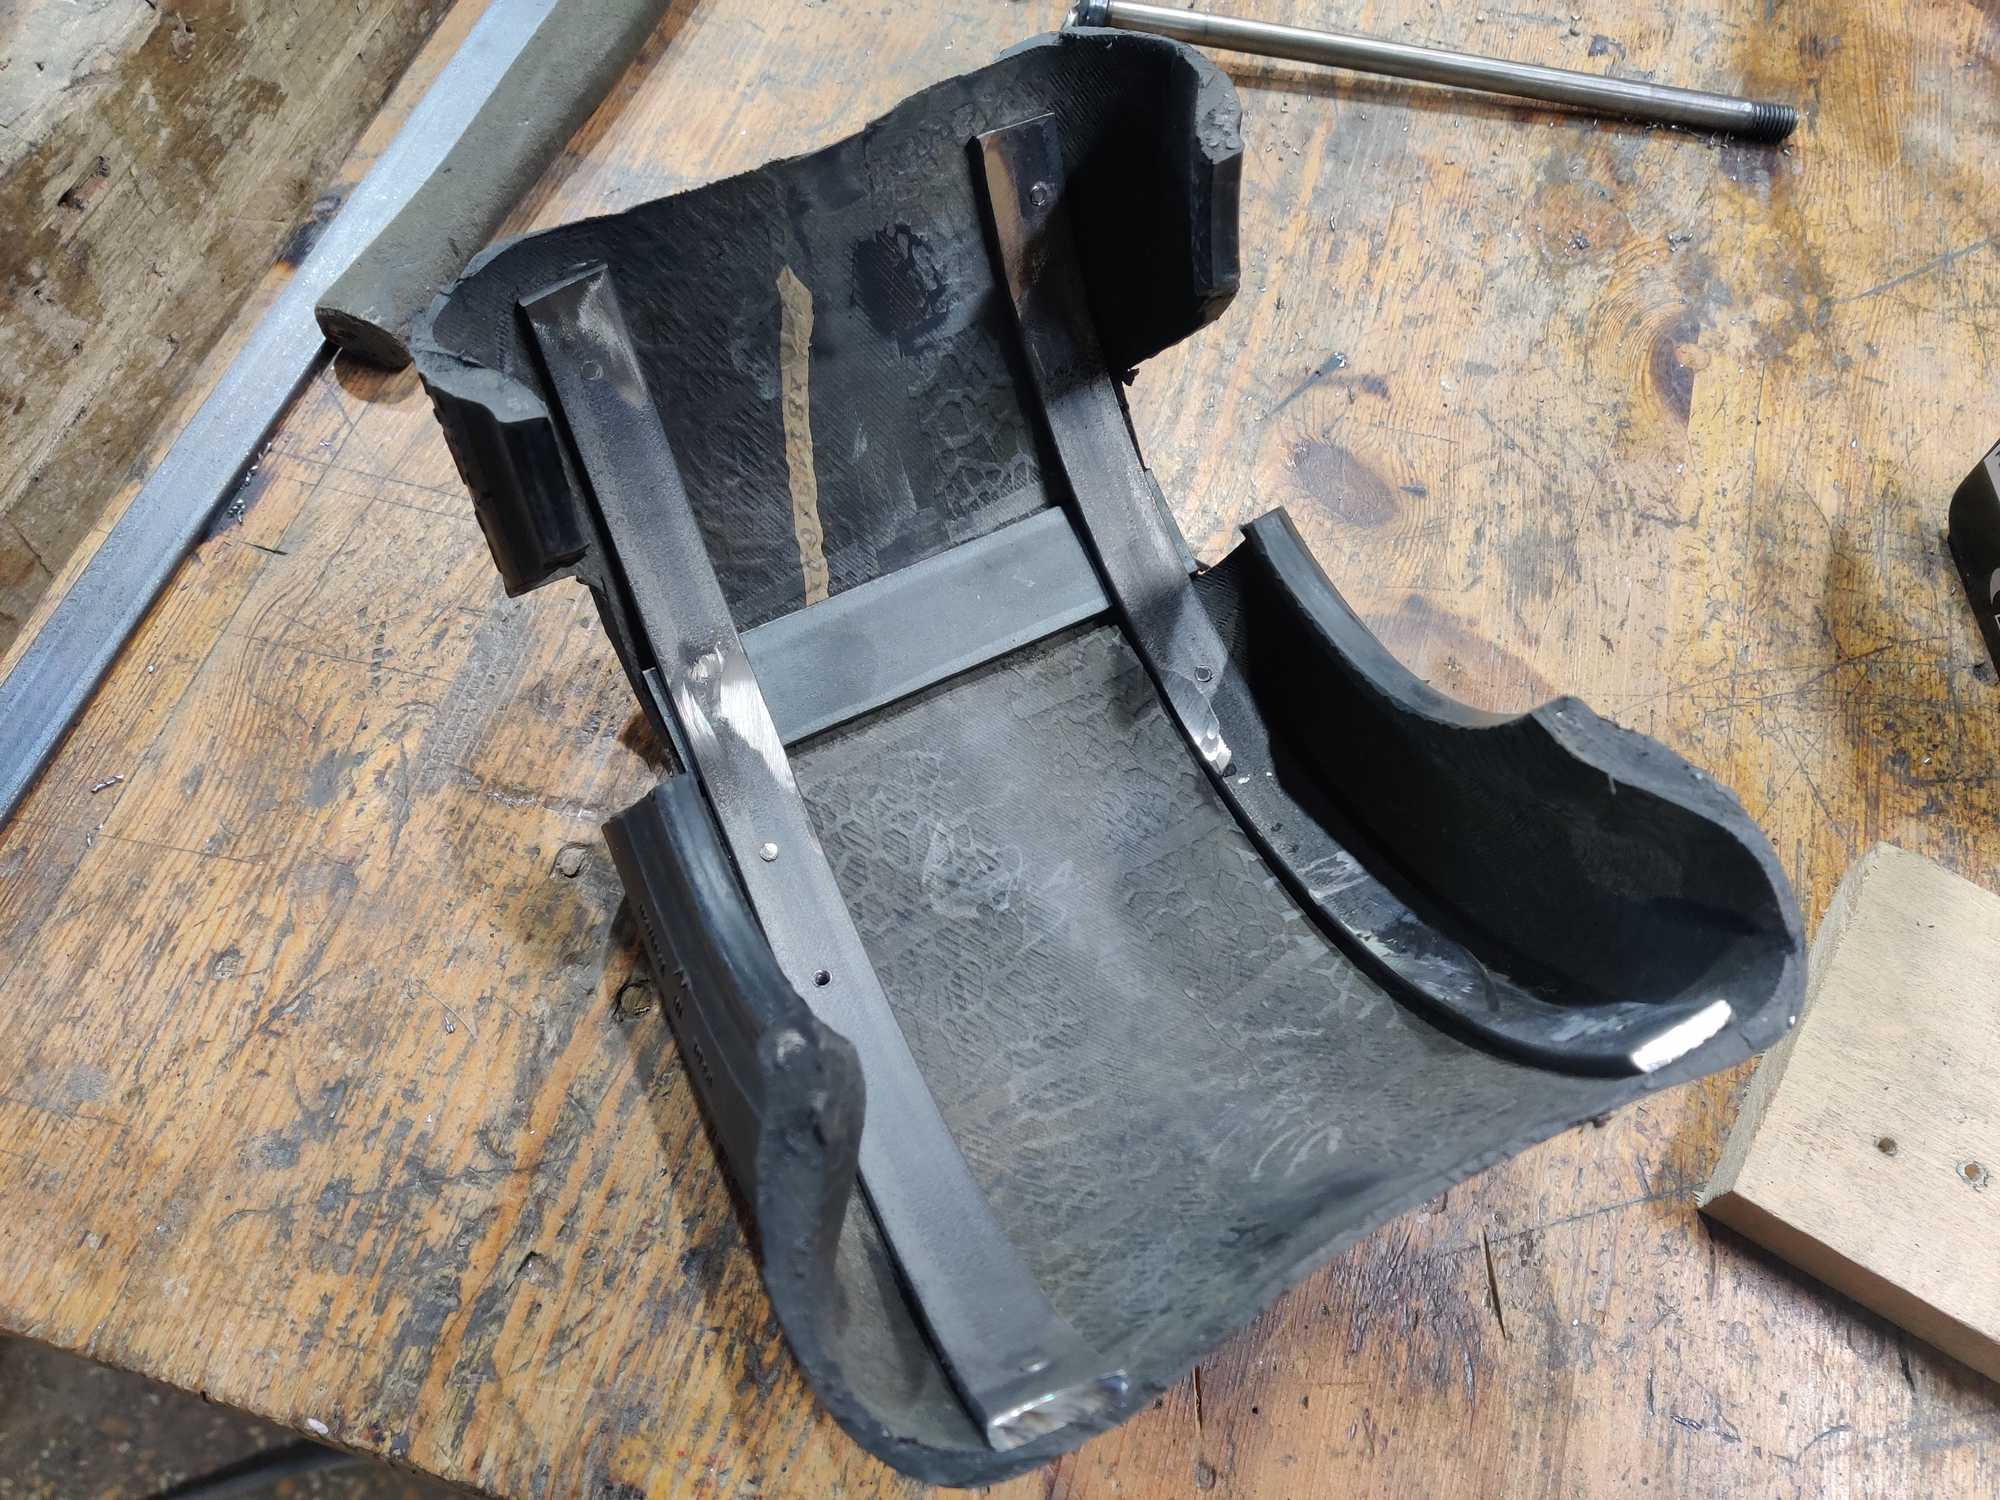
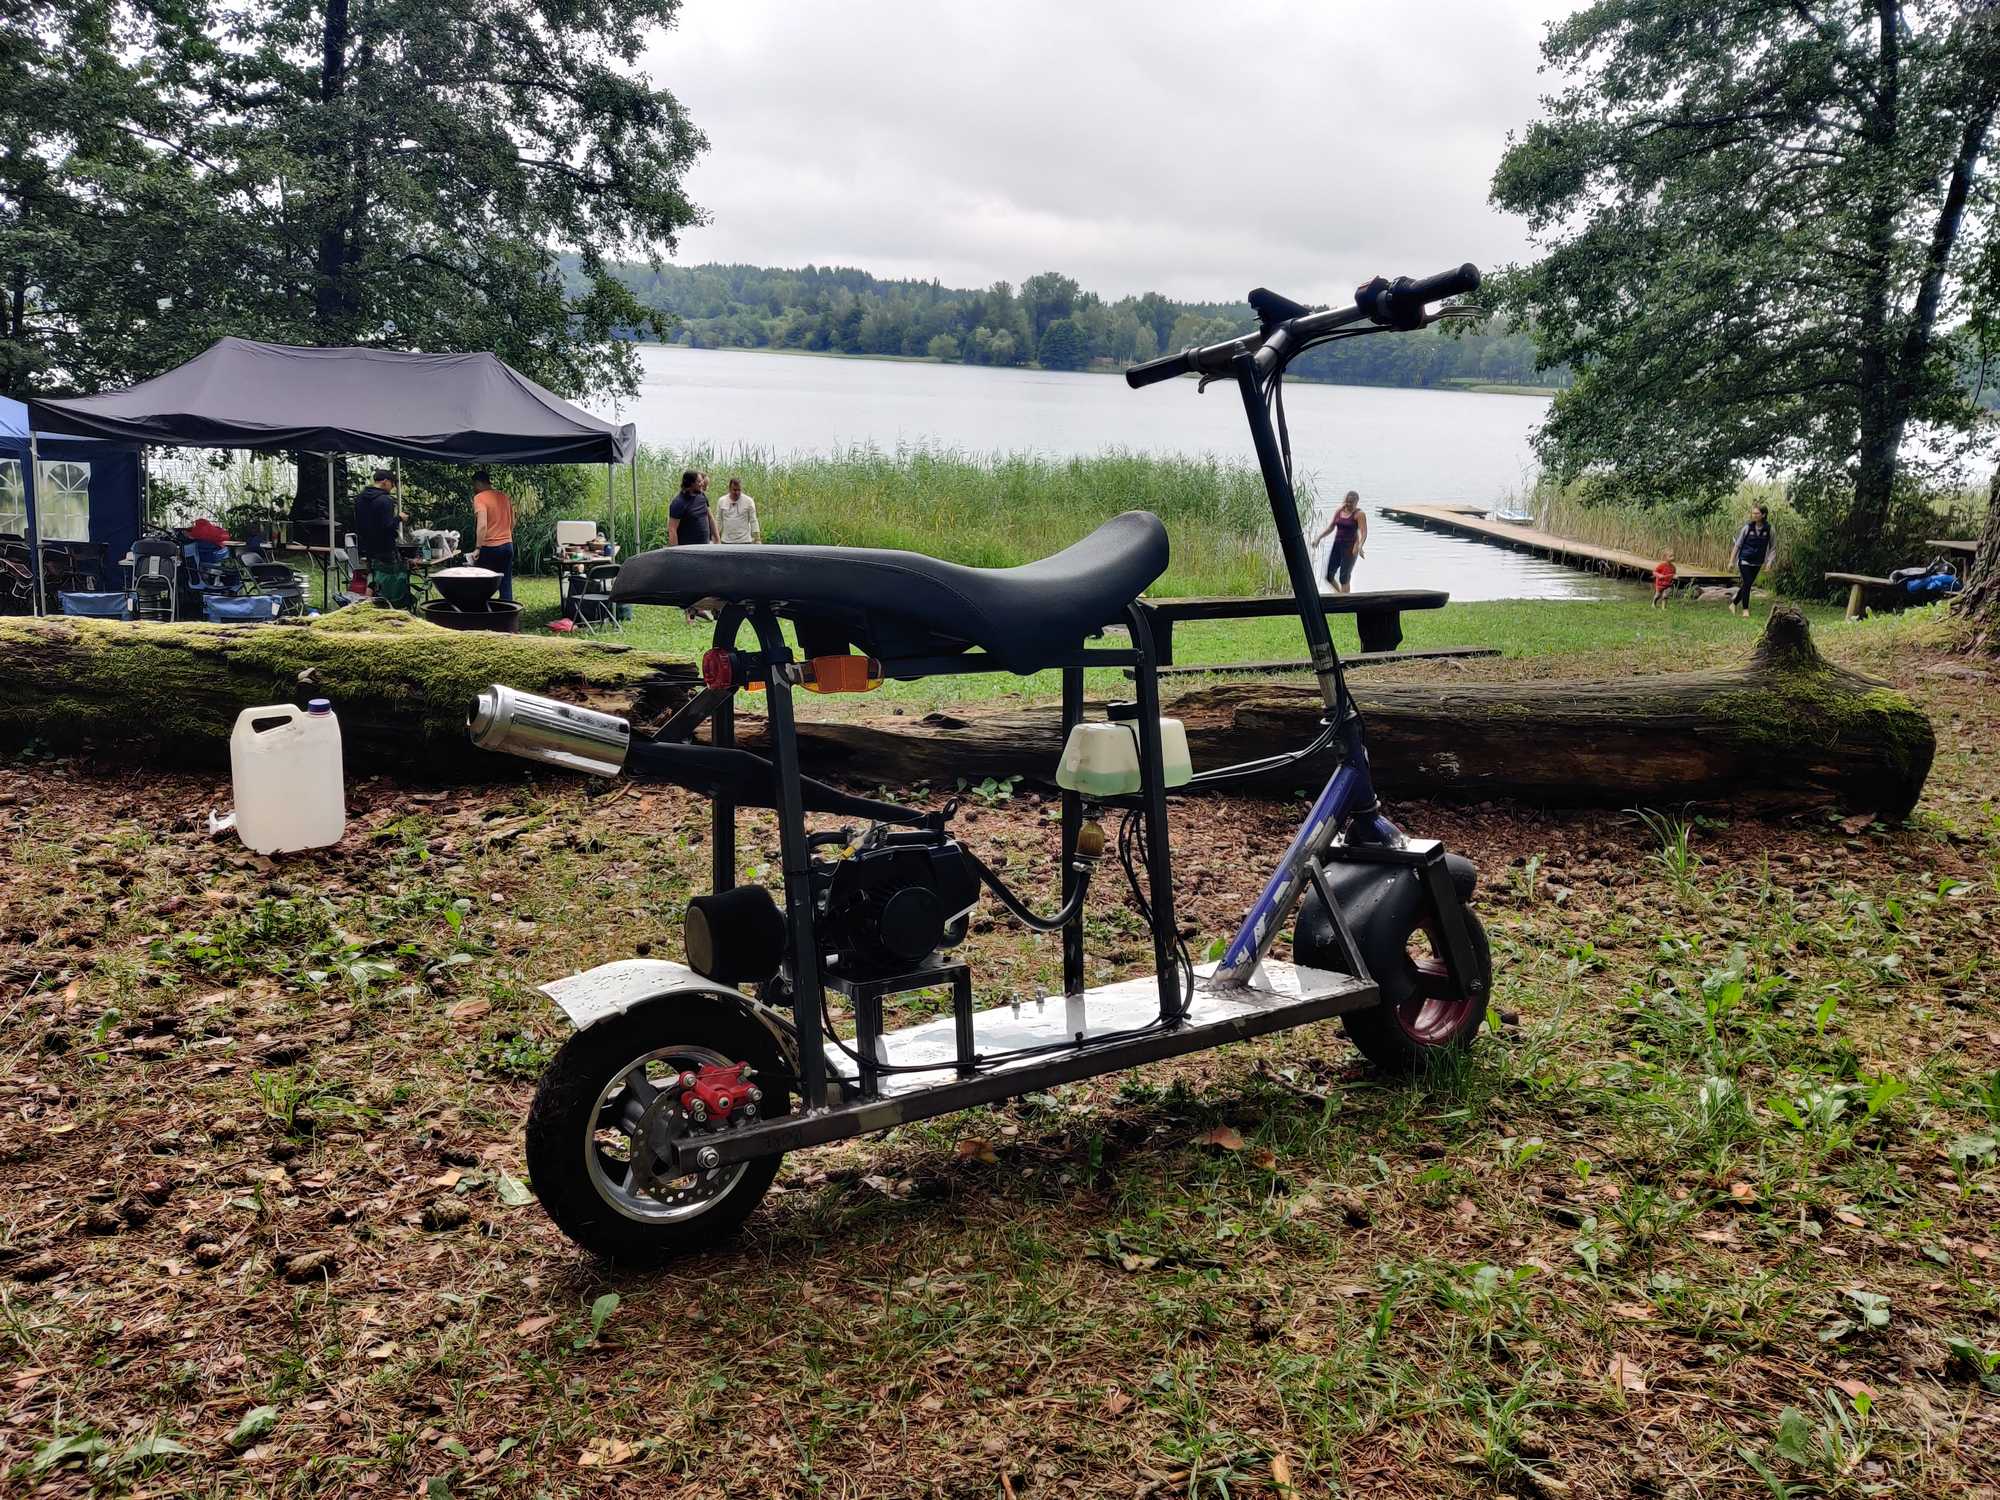
Continued to attach a motorbike seat which I also found in the trash.
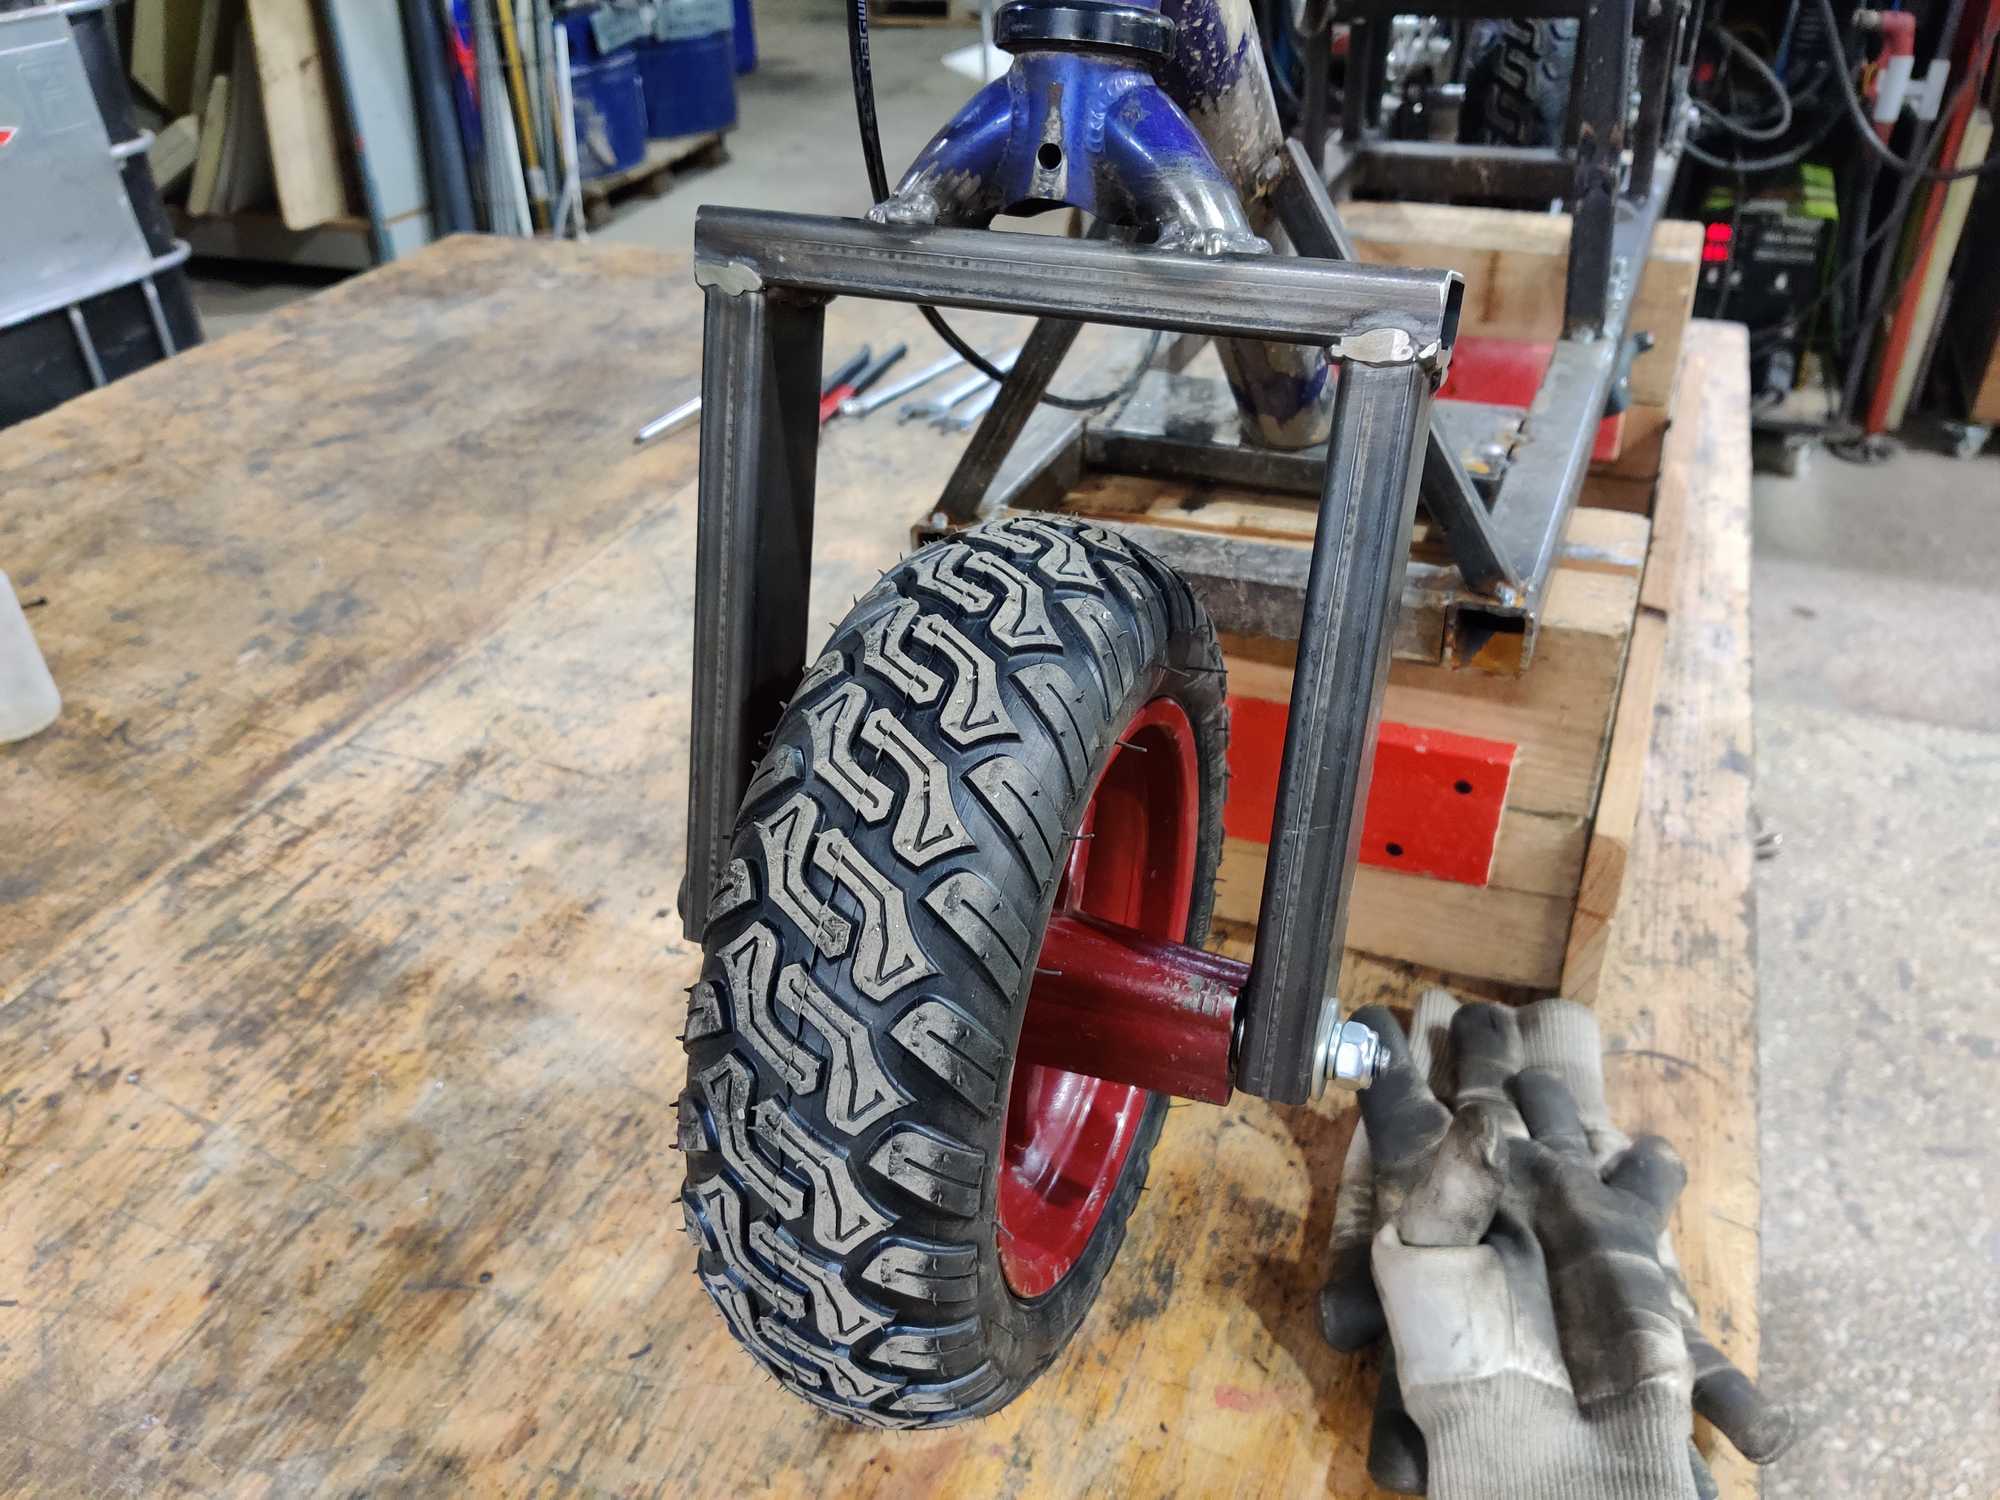
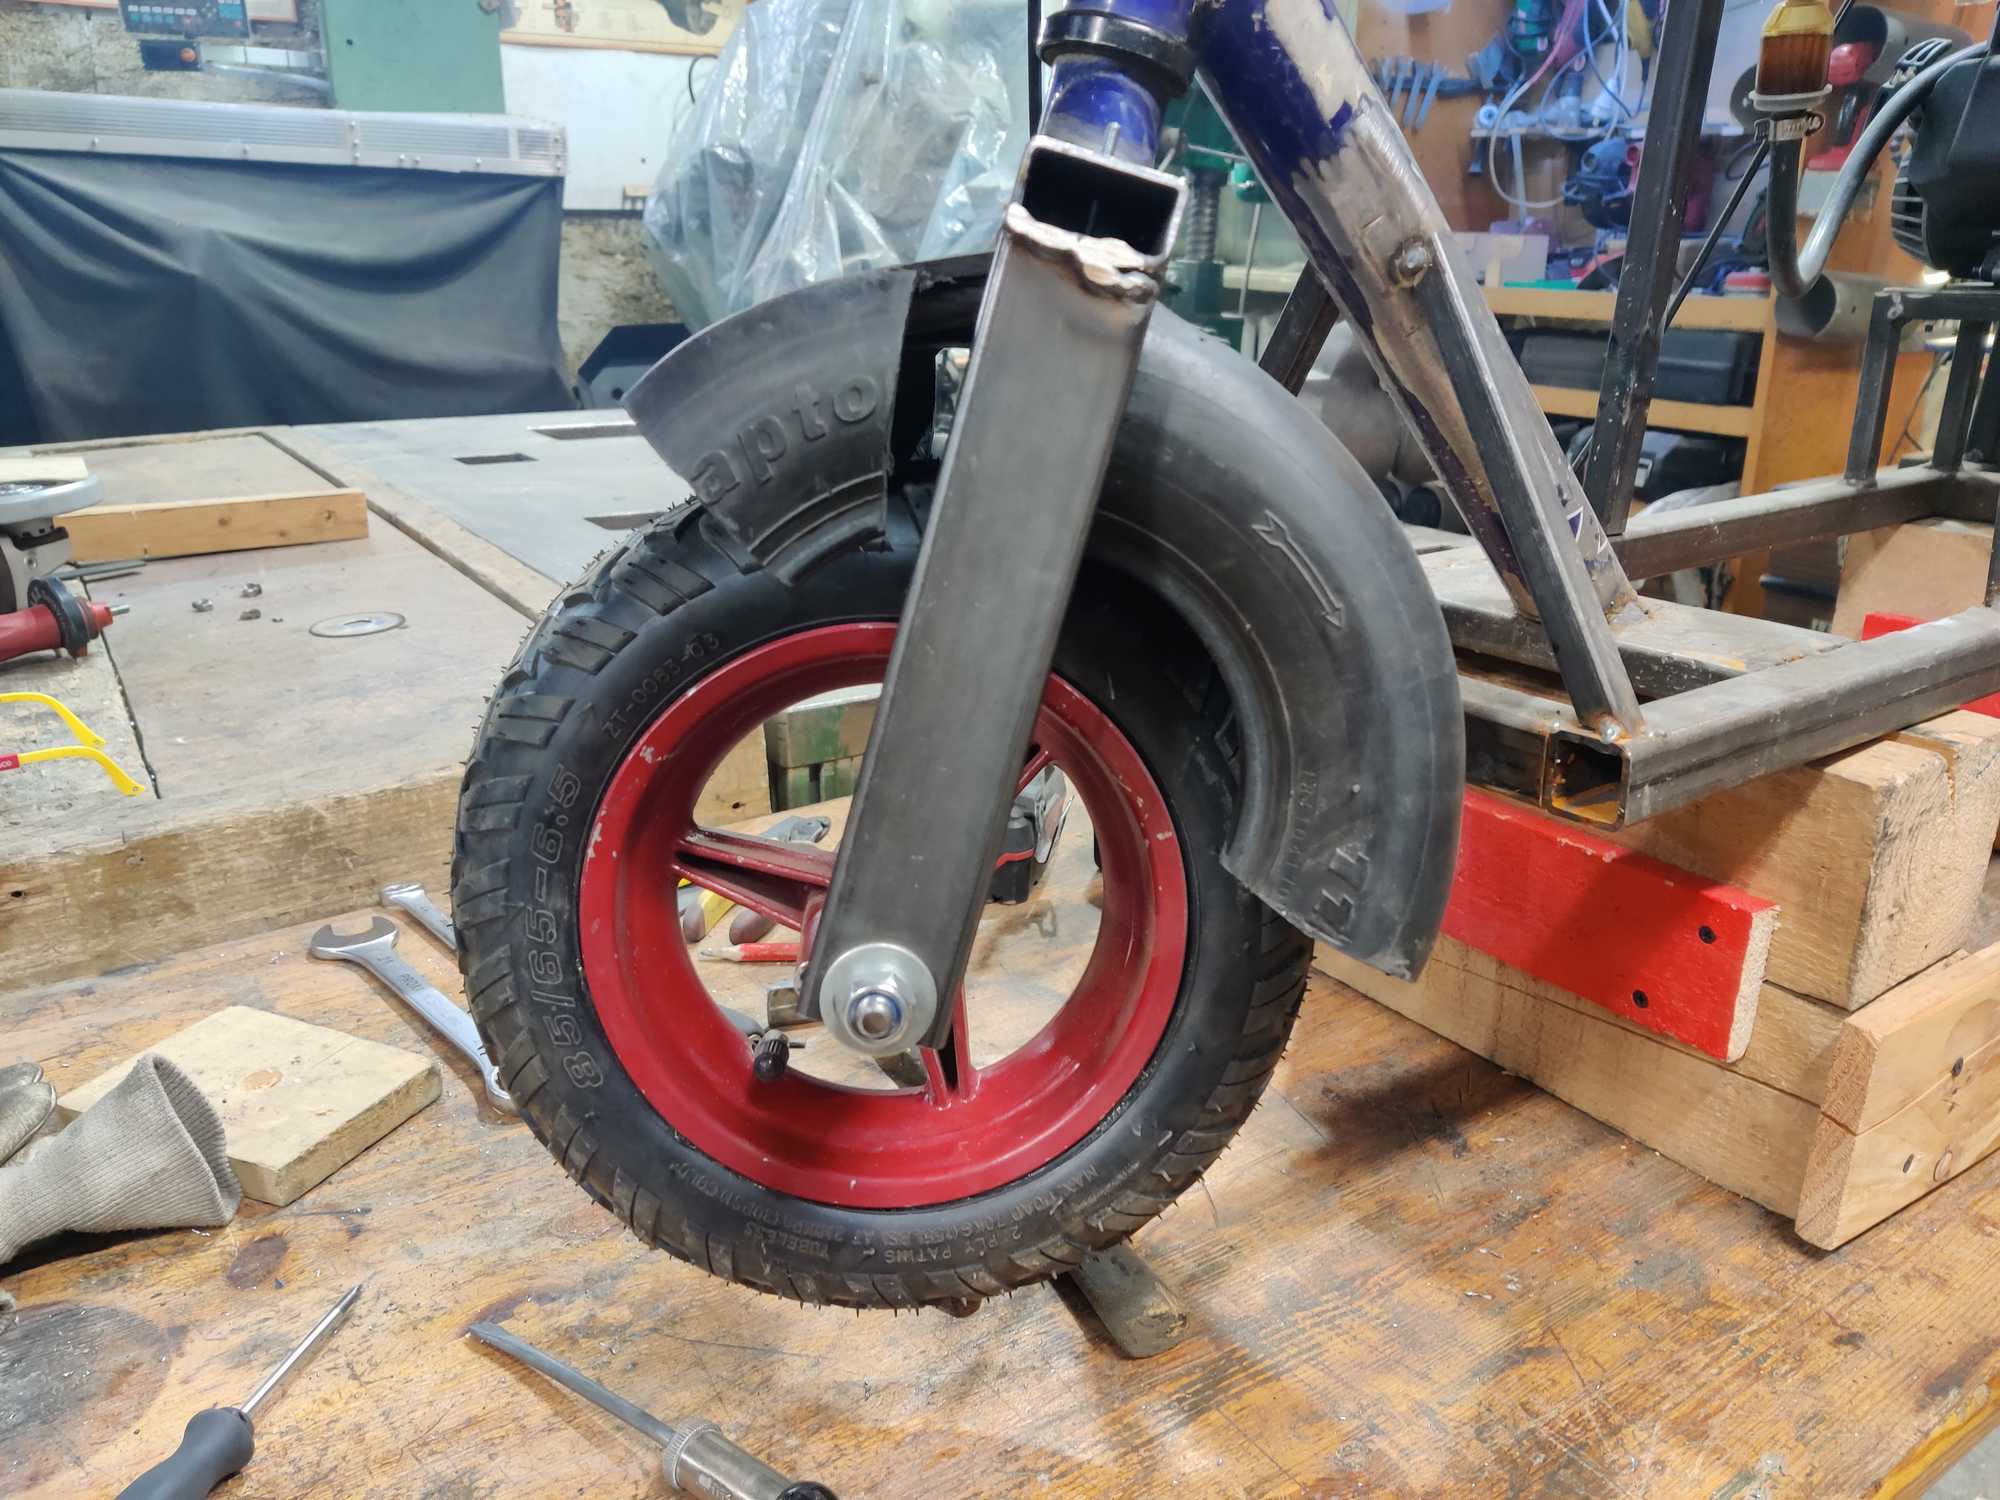
And started making the front wheel assembly. The front wheel that I found and used is from a wheelbarrow (will have to replace with a motorcycle tire) and the front wheel fork was cut off a bicycle.
Oh and you might have noticed that everything so far is tack-welded. That’s to keep parts in place but only a bit so that I can easily make corrections in the future. Don’t worry – I’ll weld everything properly later ;)
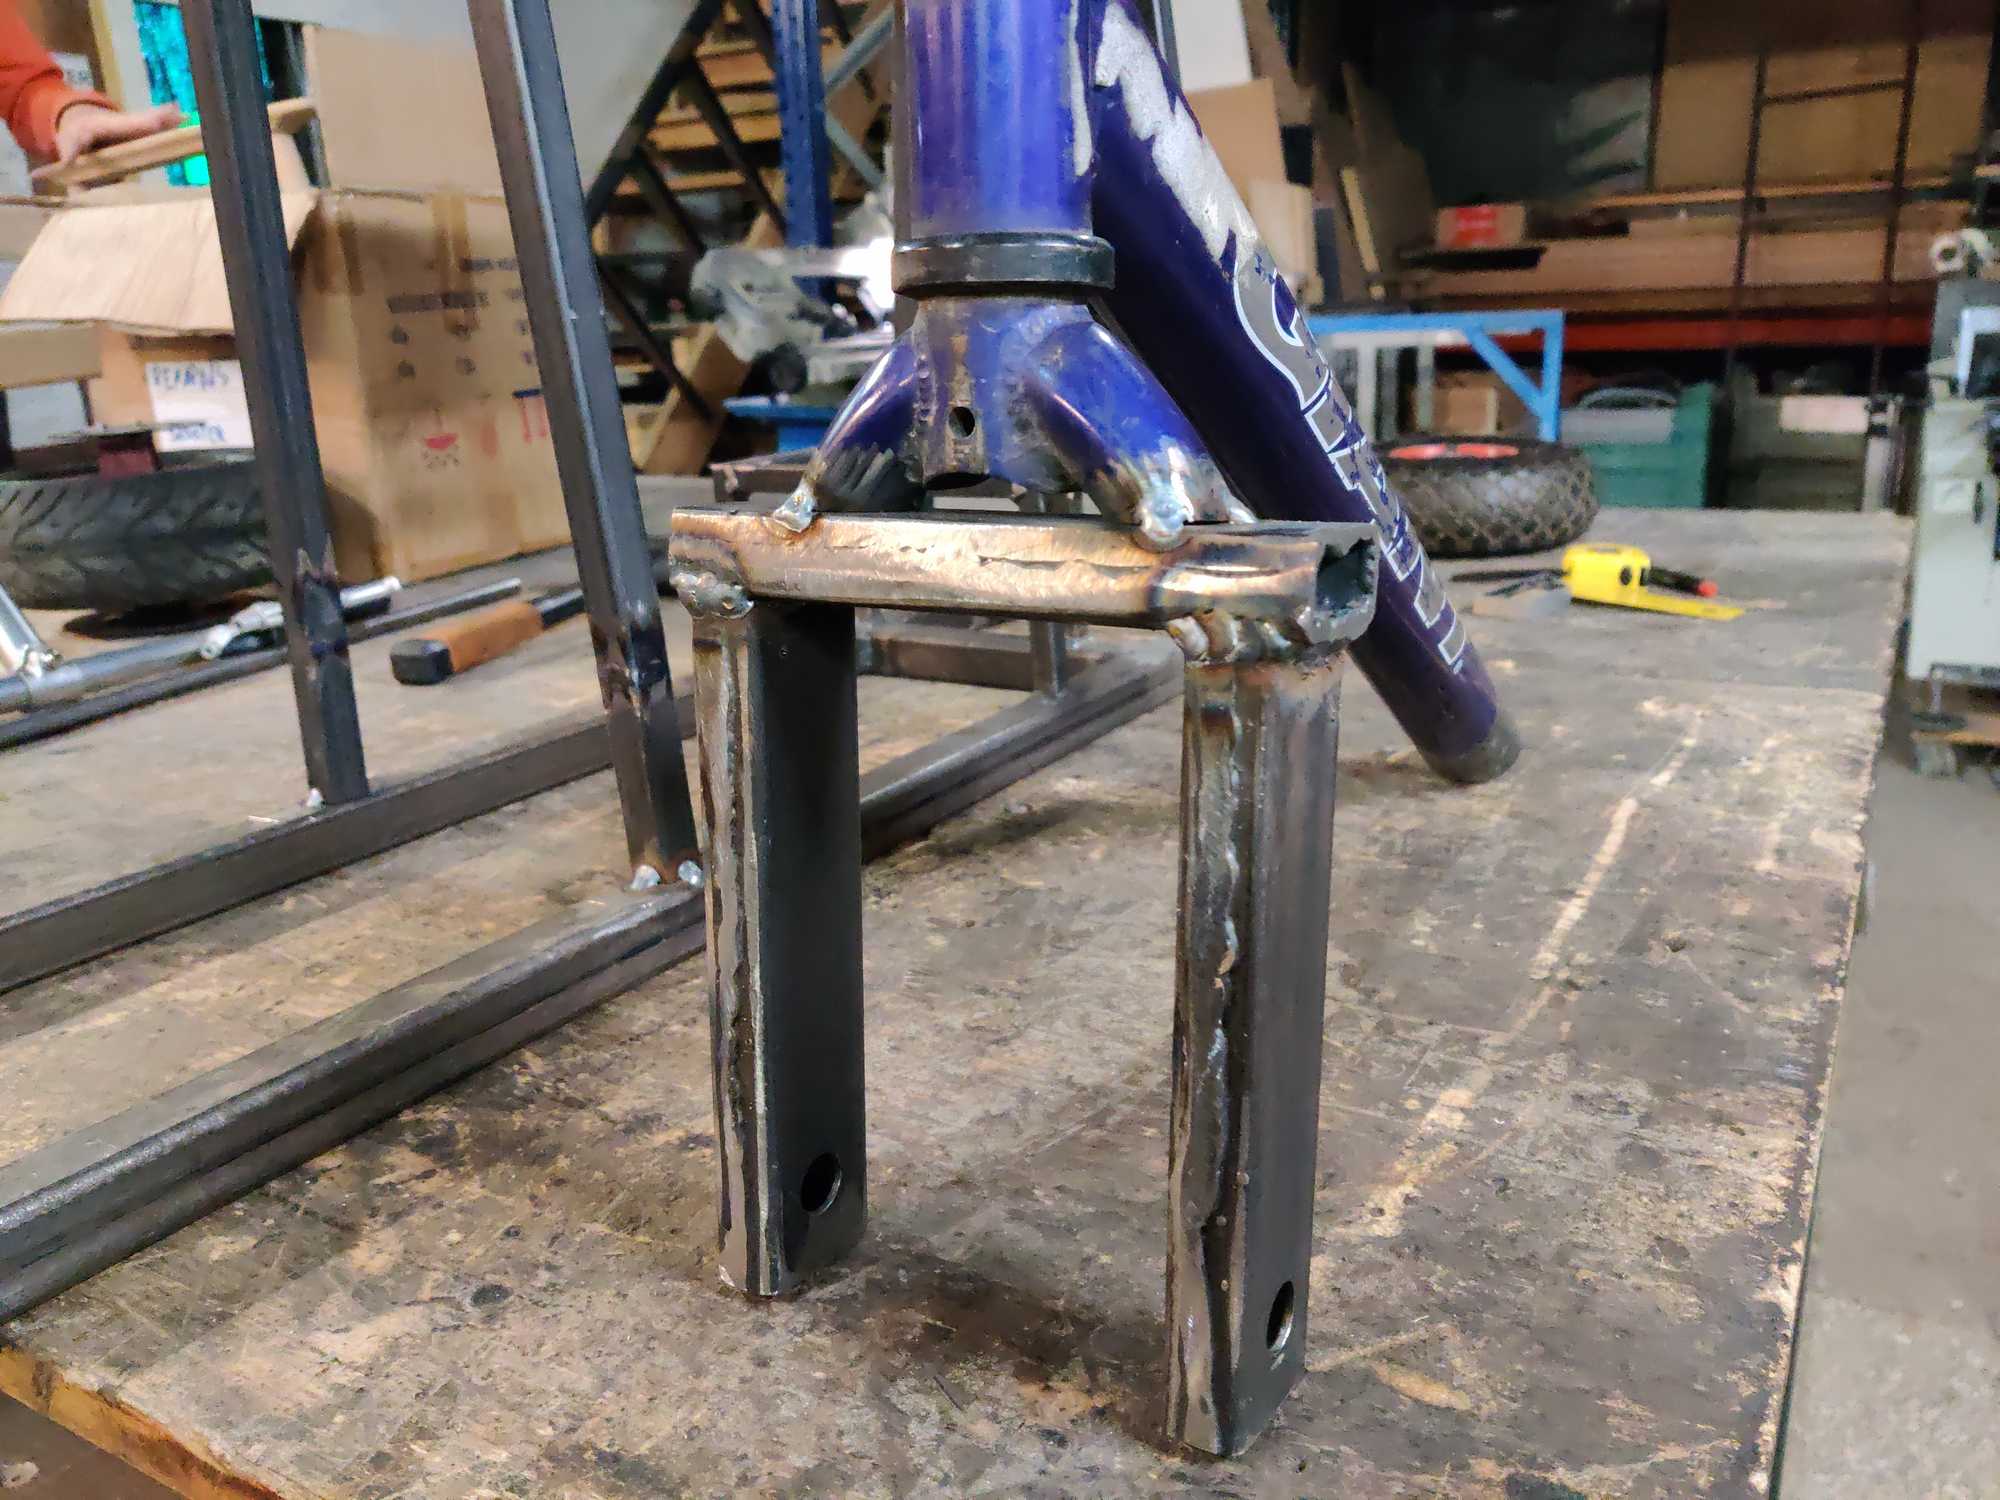
The front fork is now in place. It’s missing a handlebar now, so let’s do that.
Obviously the stock handlebar is too low now. I need to extend it with a metal pipe but to connect said pipe to the handlebar I need to make an adapter to hold them together and then weld them. Since at the Kaunas Makerspace we have an awesome lathe, I used that and then did a poor job at welding these pieces together with a TIG, but it’ll hold.

After that I added some more support for the front and welded the handlebar on top of the extension.

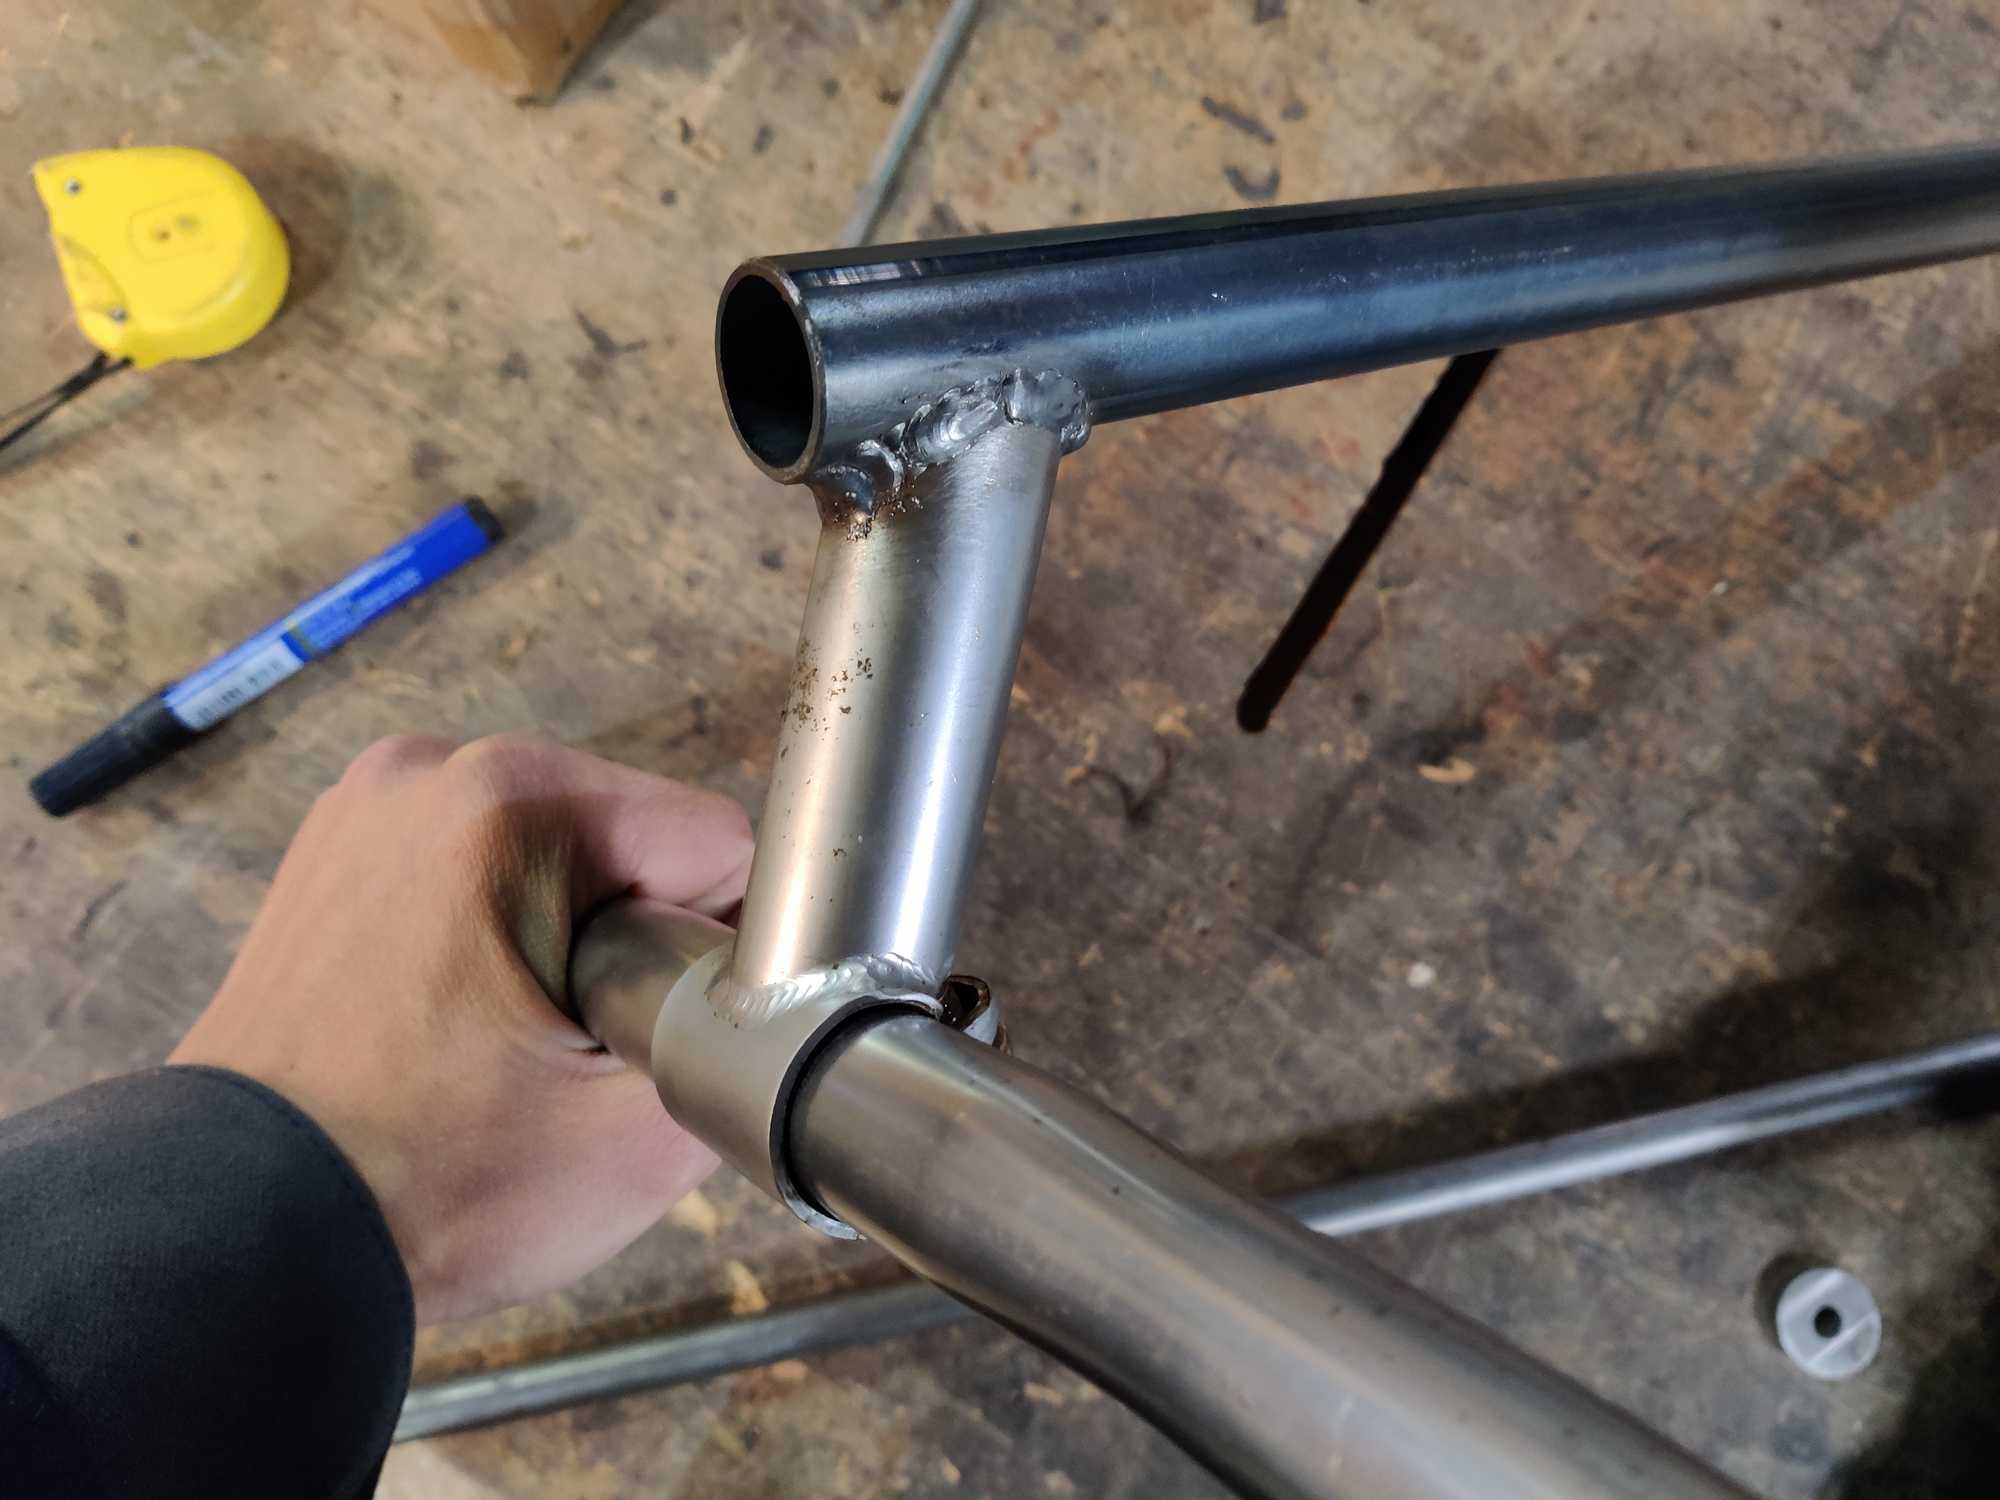
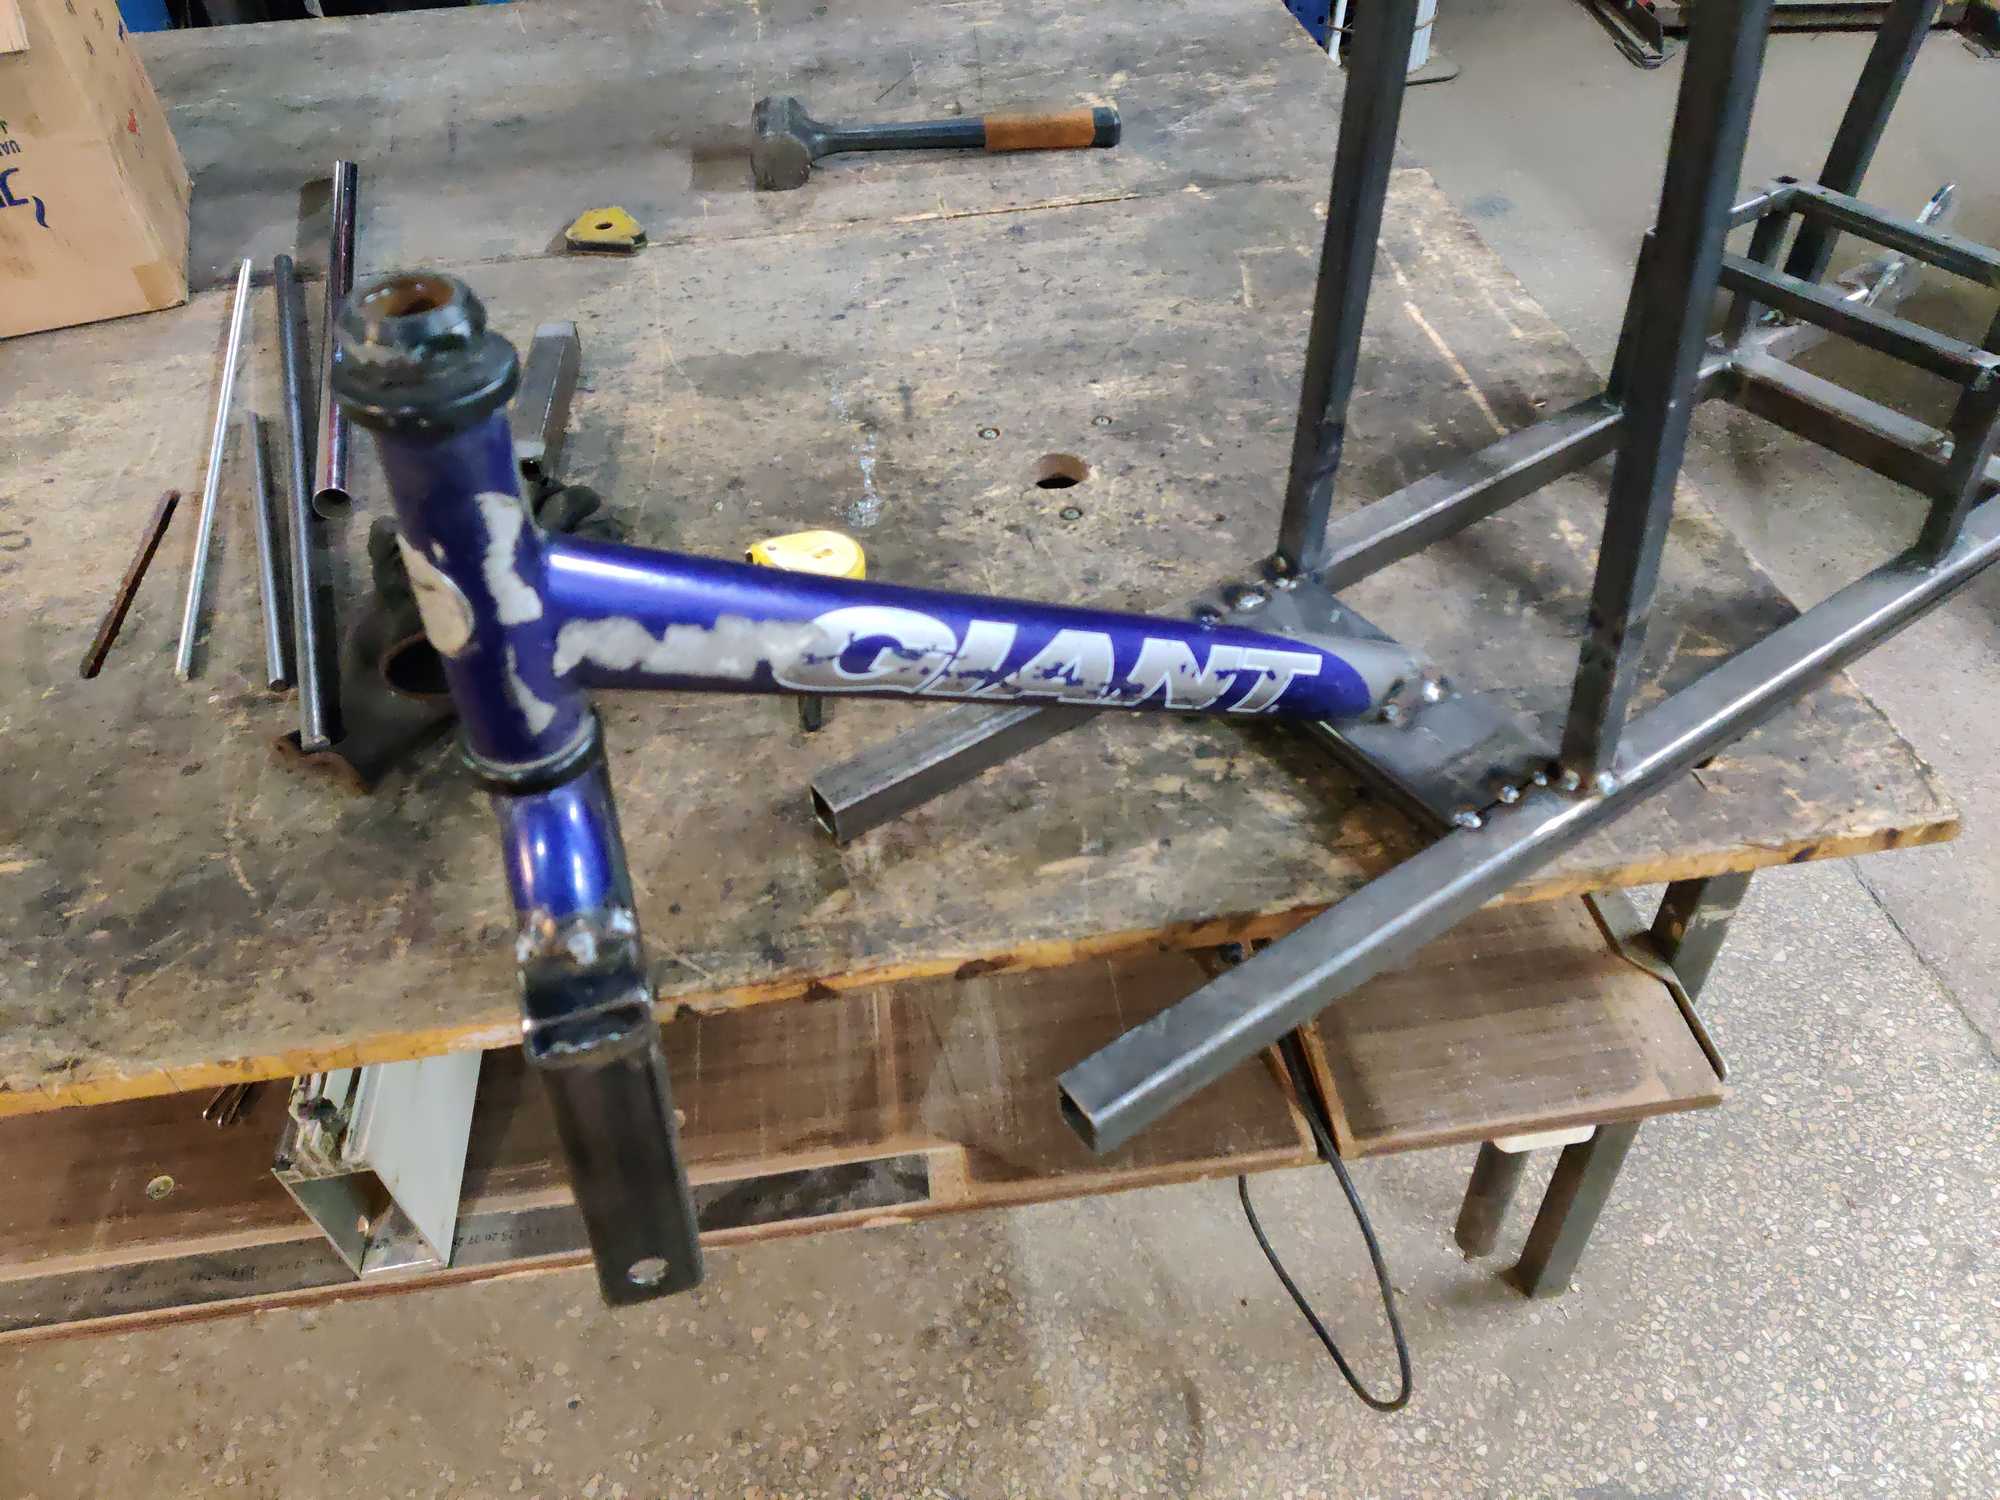
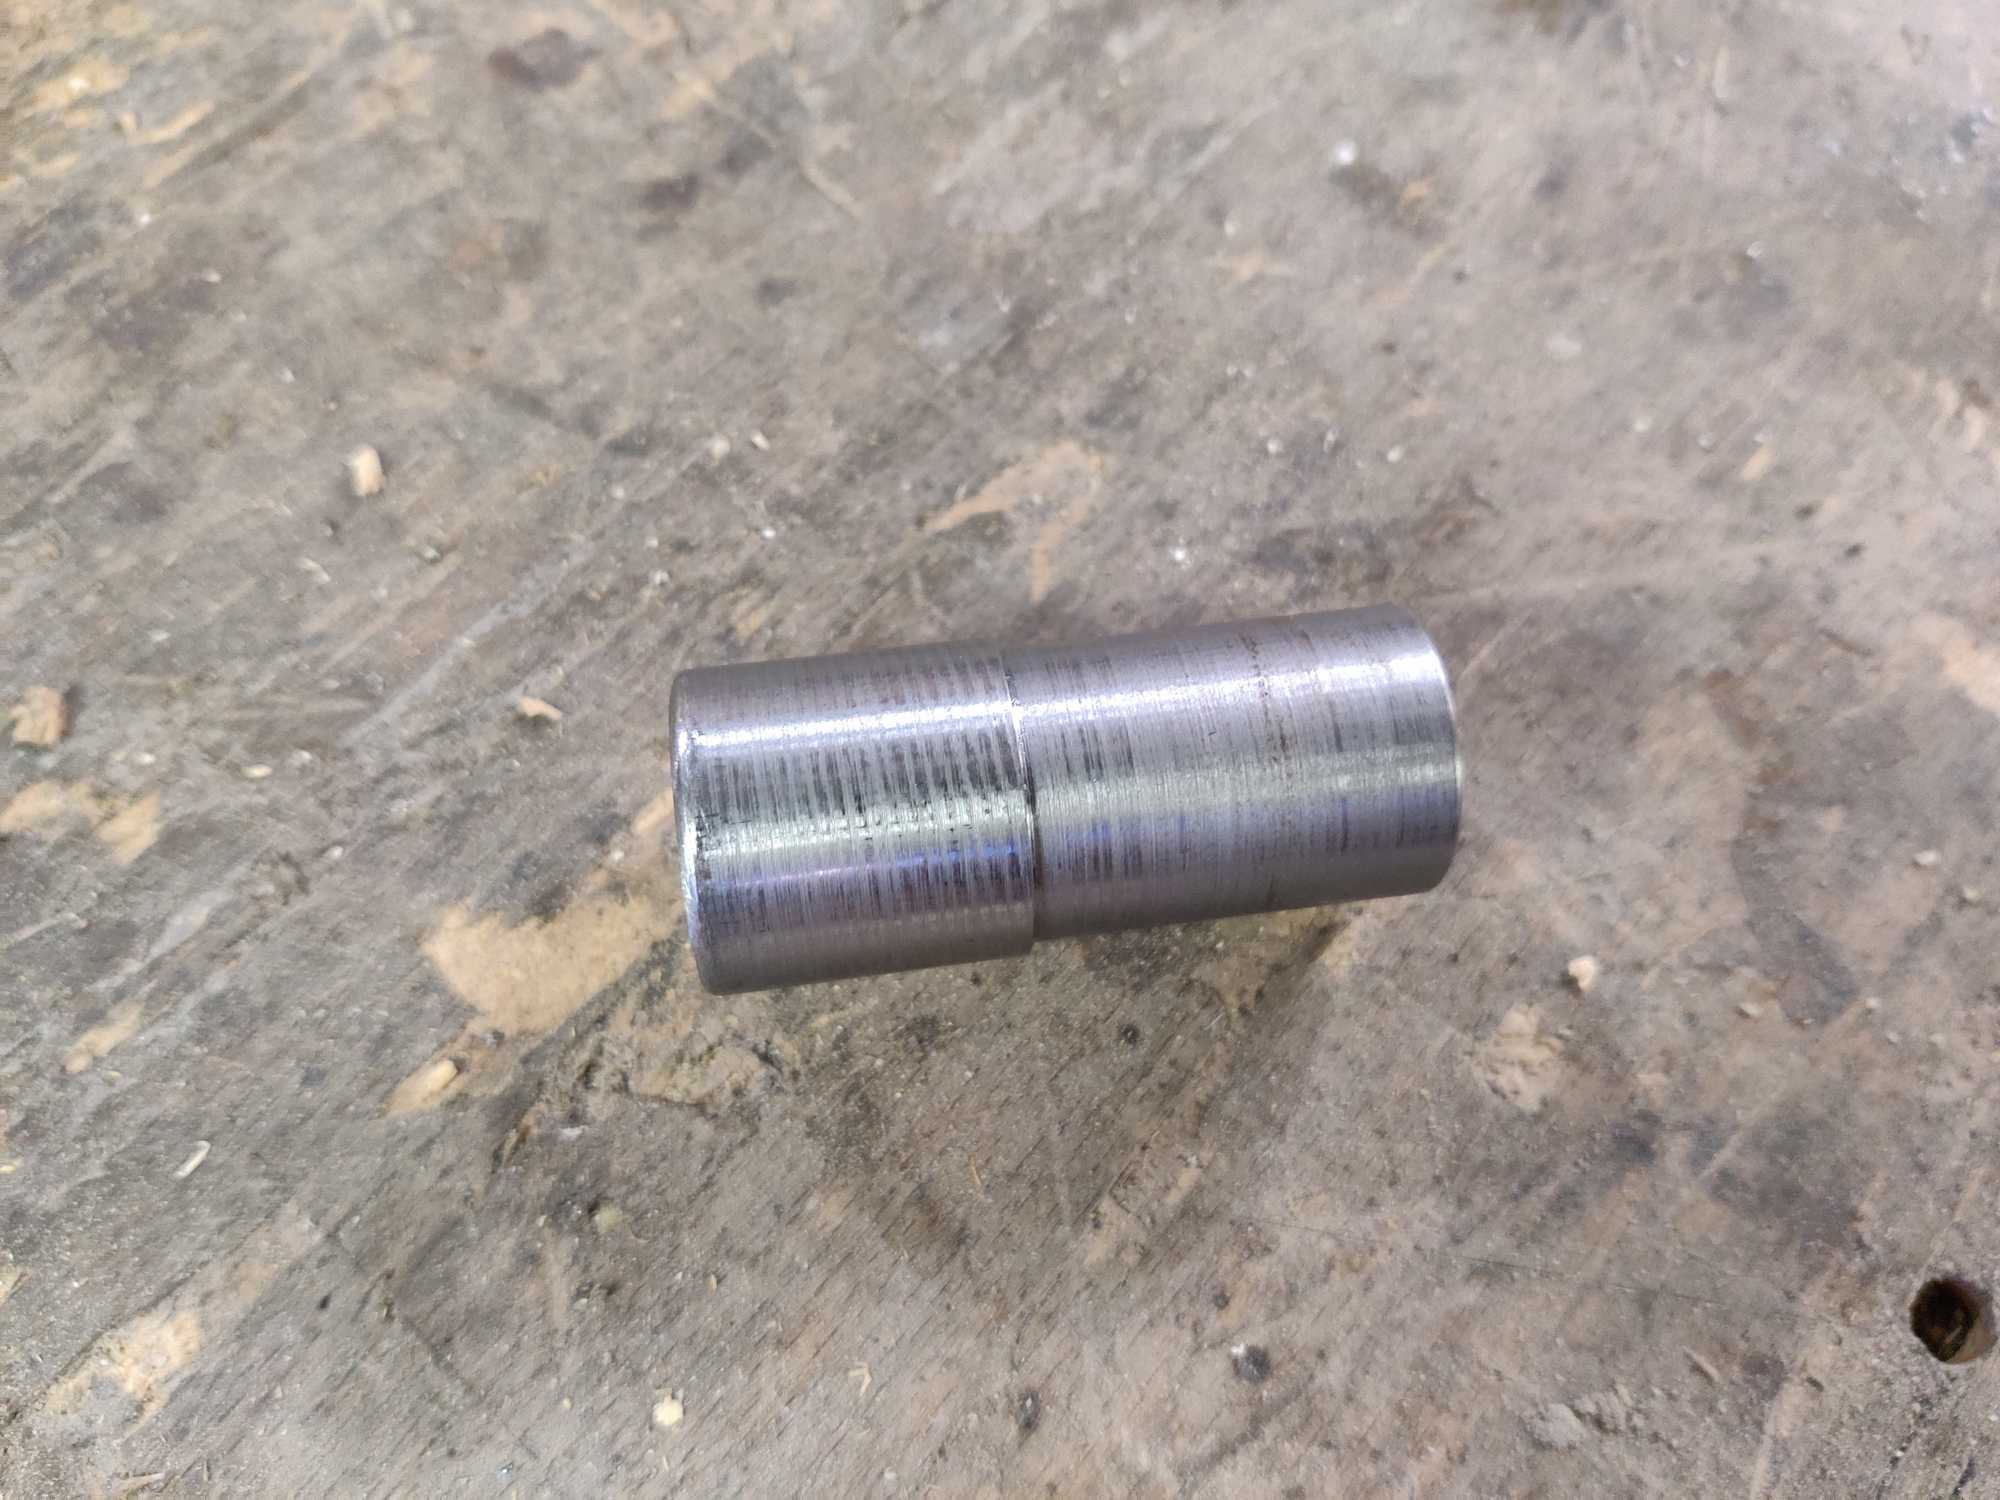
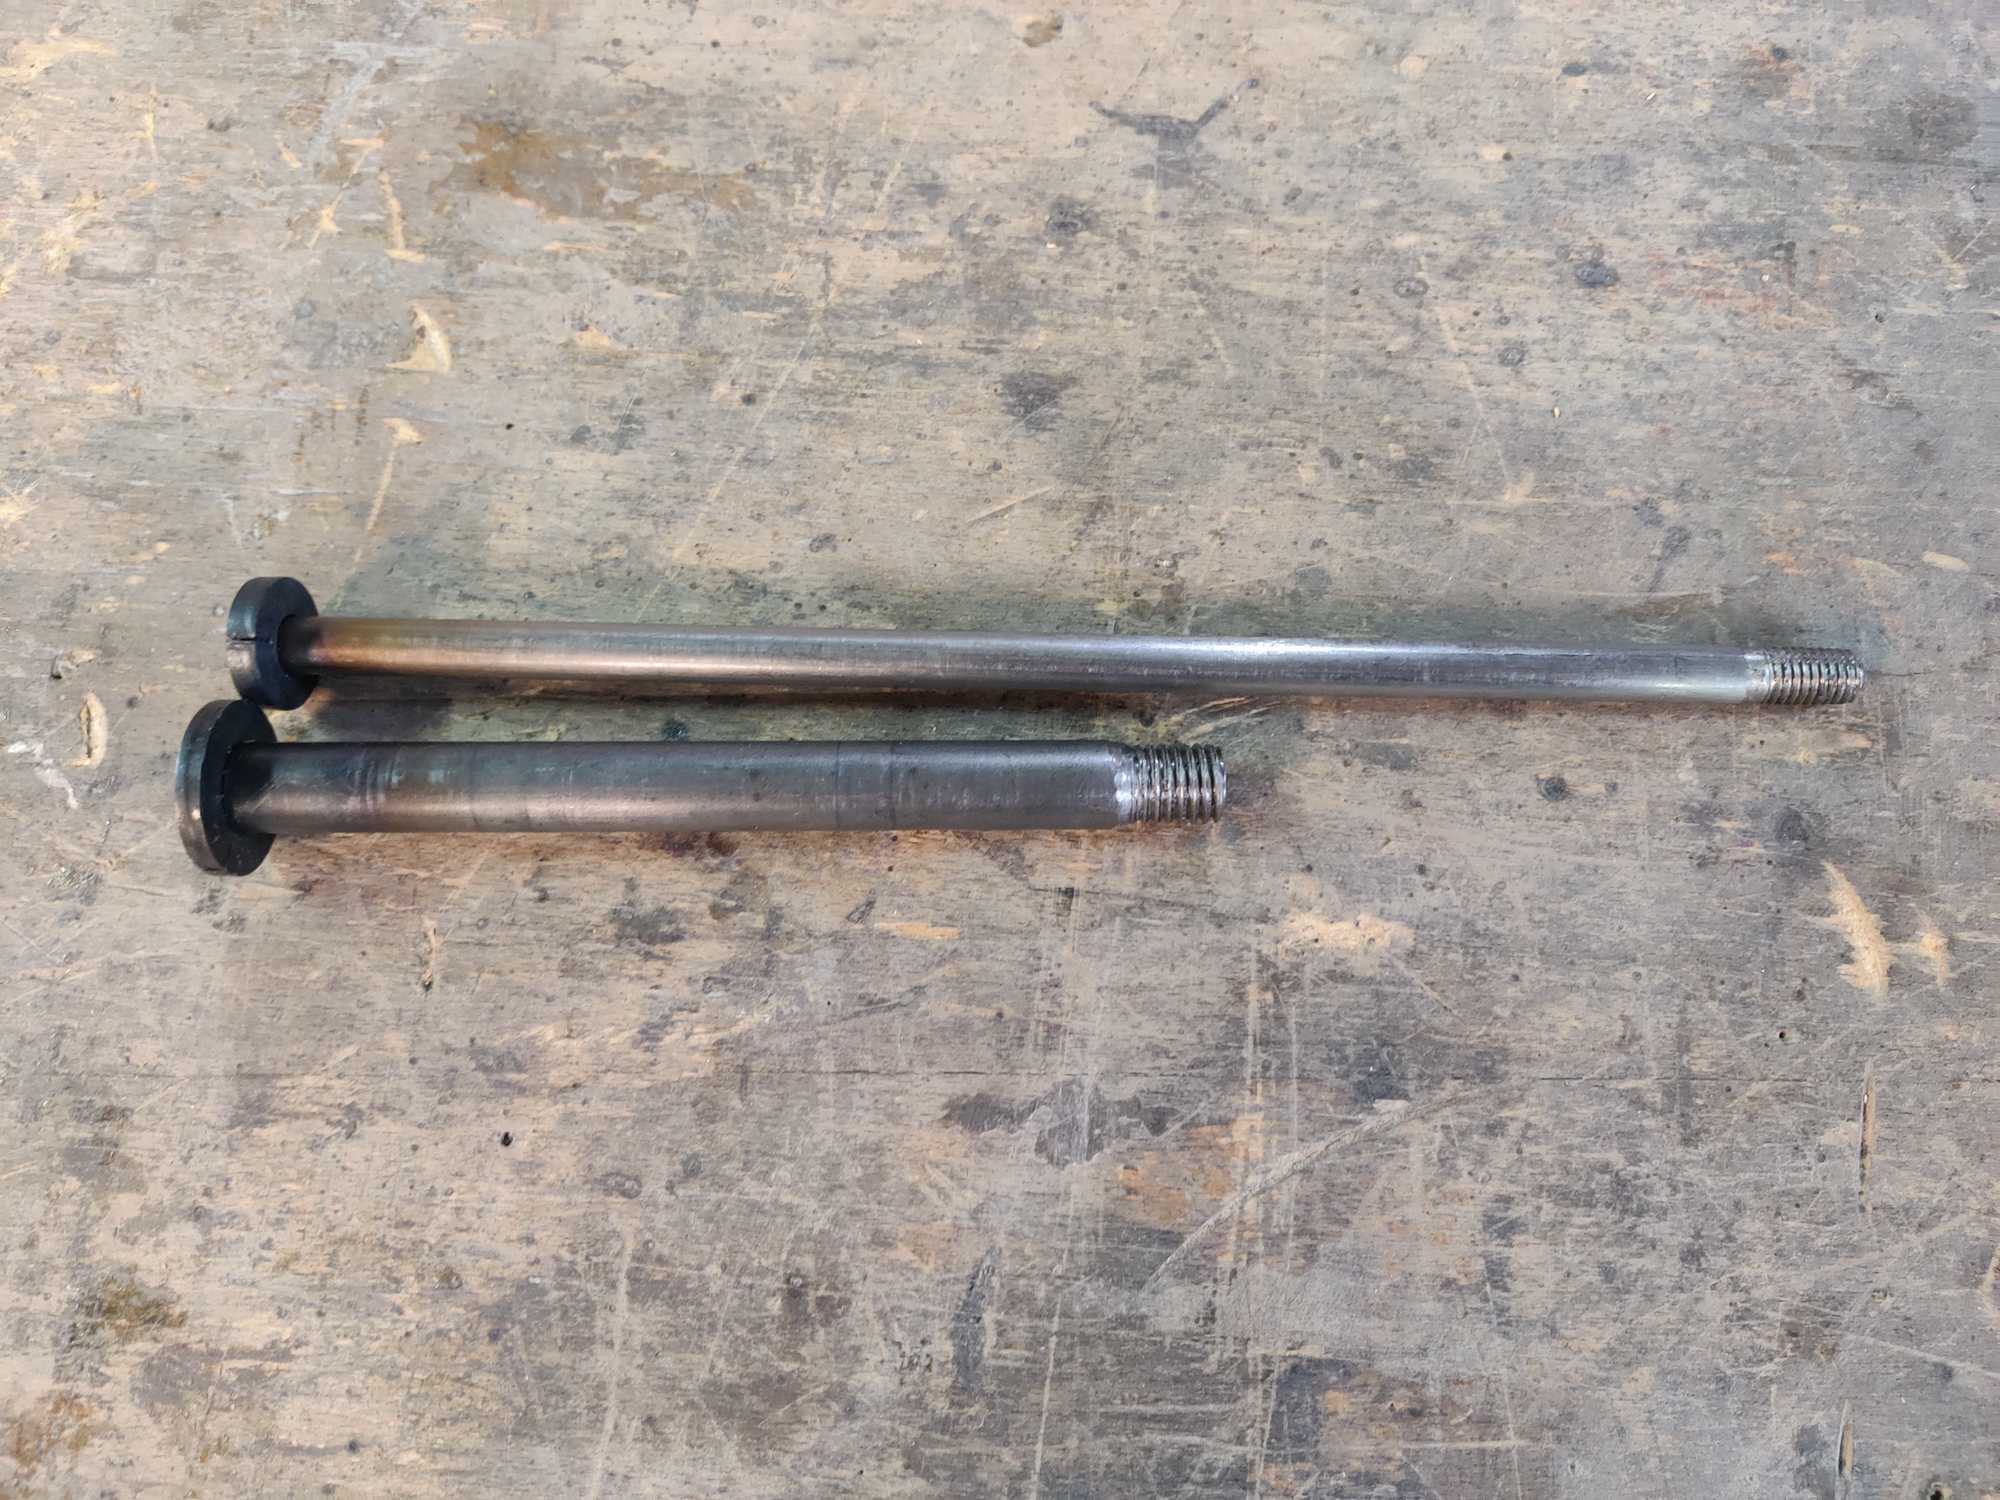
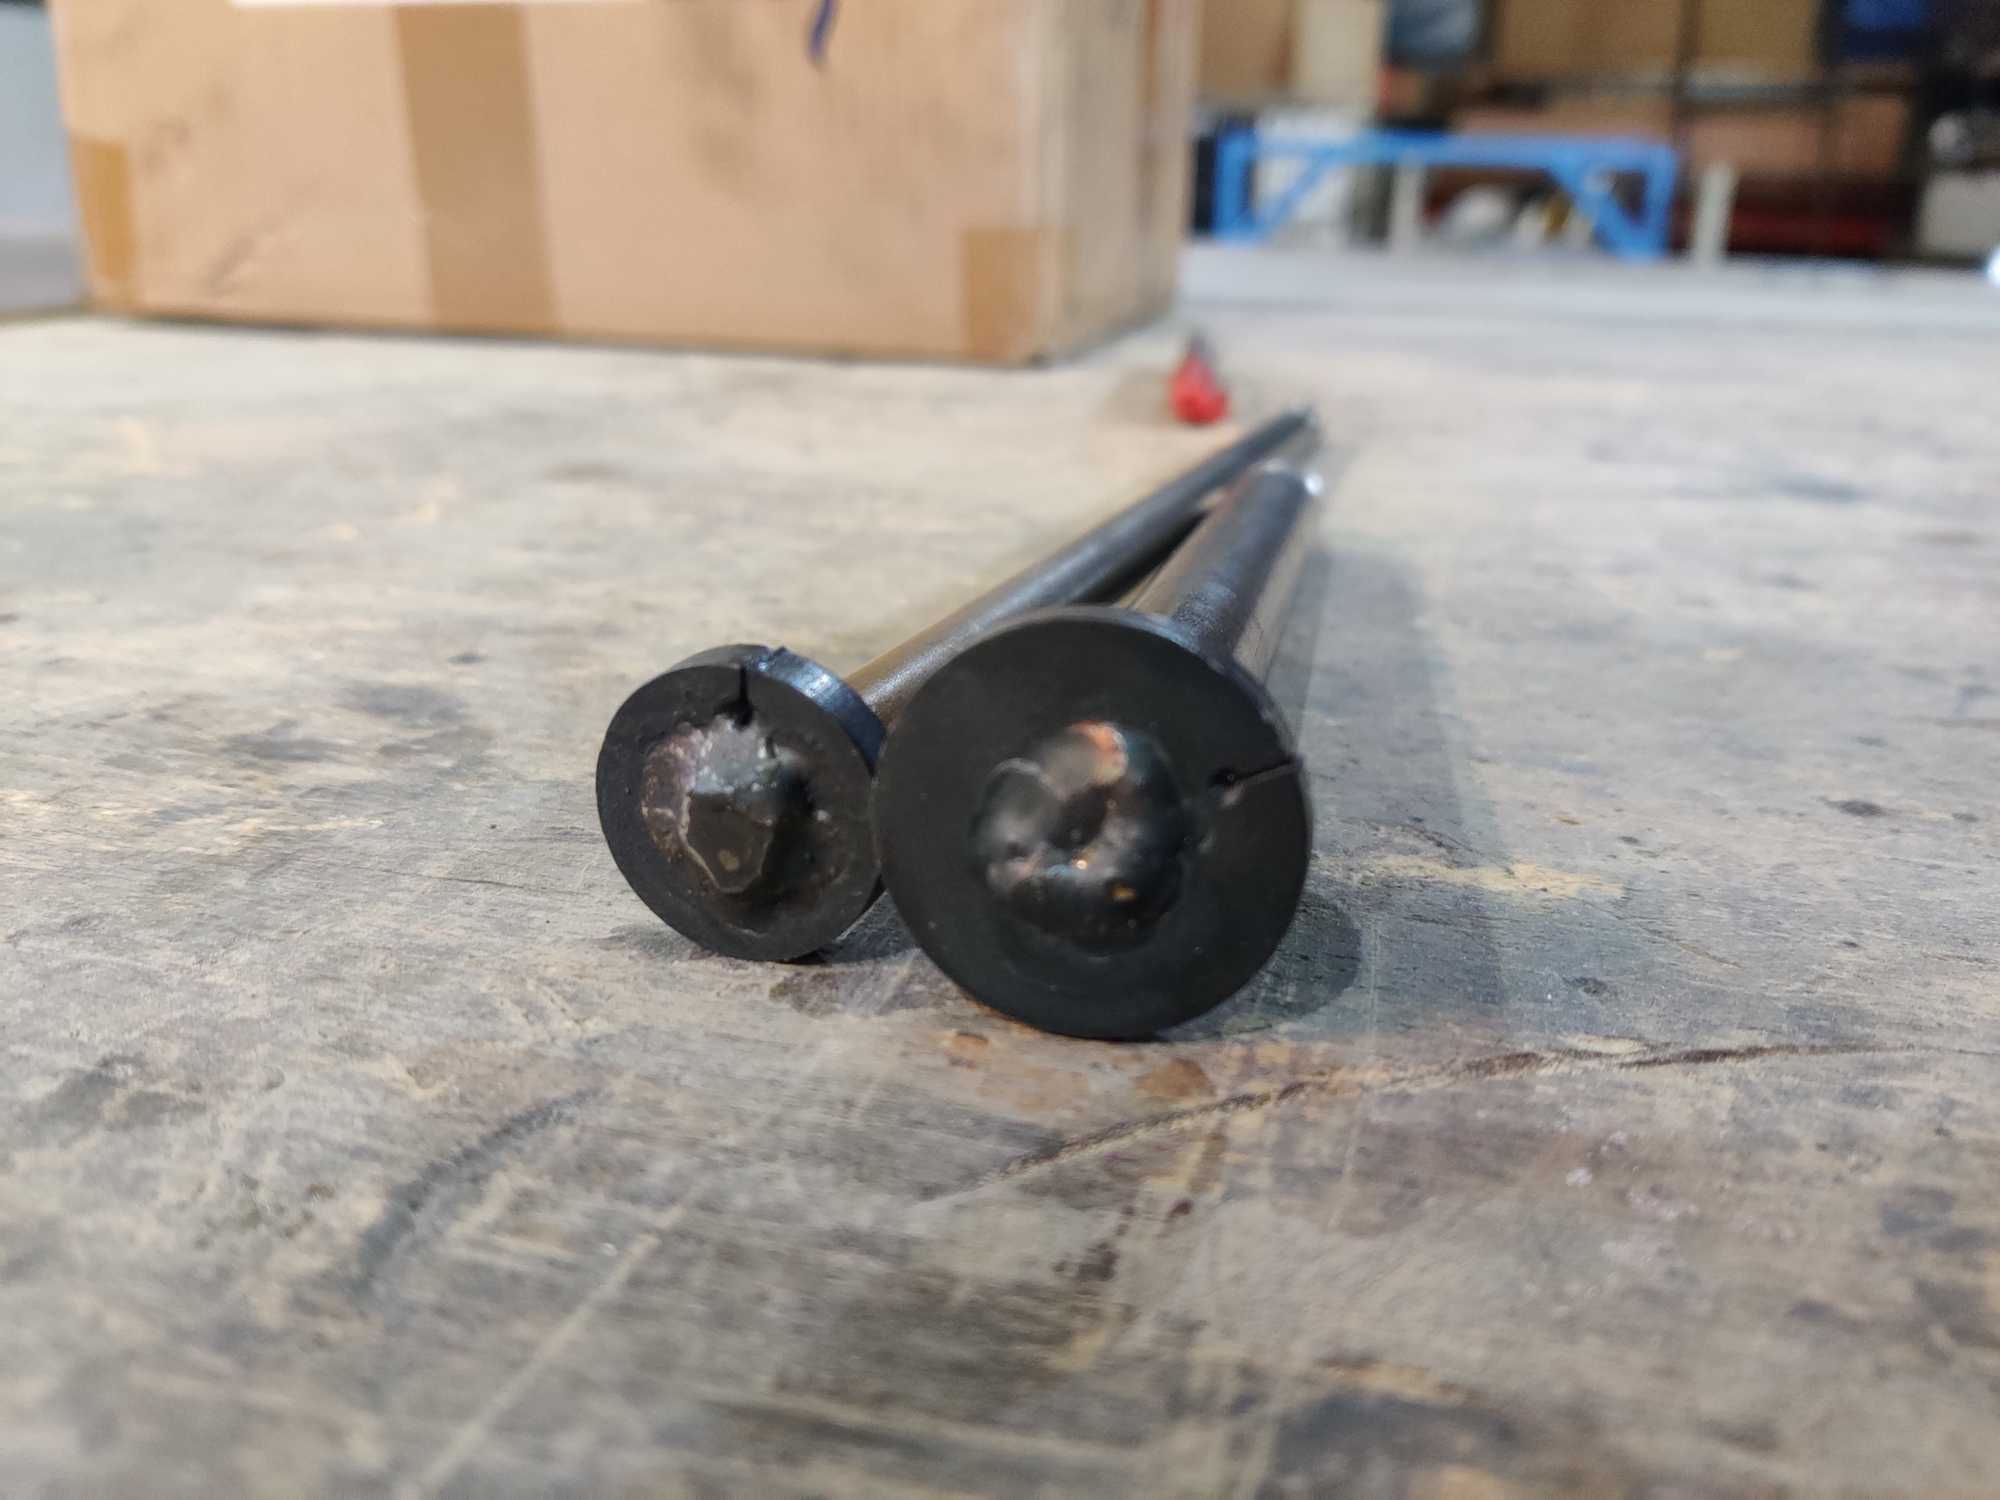
At this point the steering part is done. I moved onto mounting the wheels next by cutting the rods that happens to be of perfect diameter for the wheel bearing, welding one side shut and making a thread on the other side.
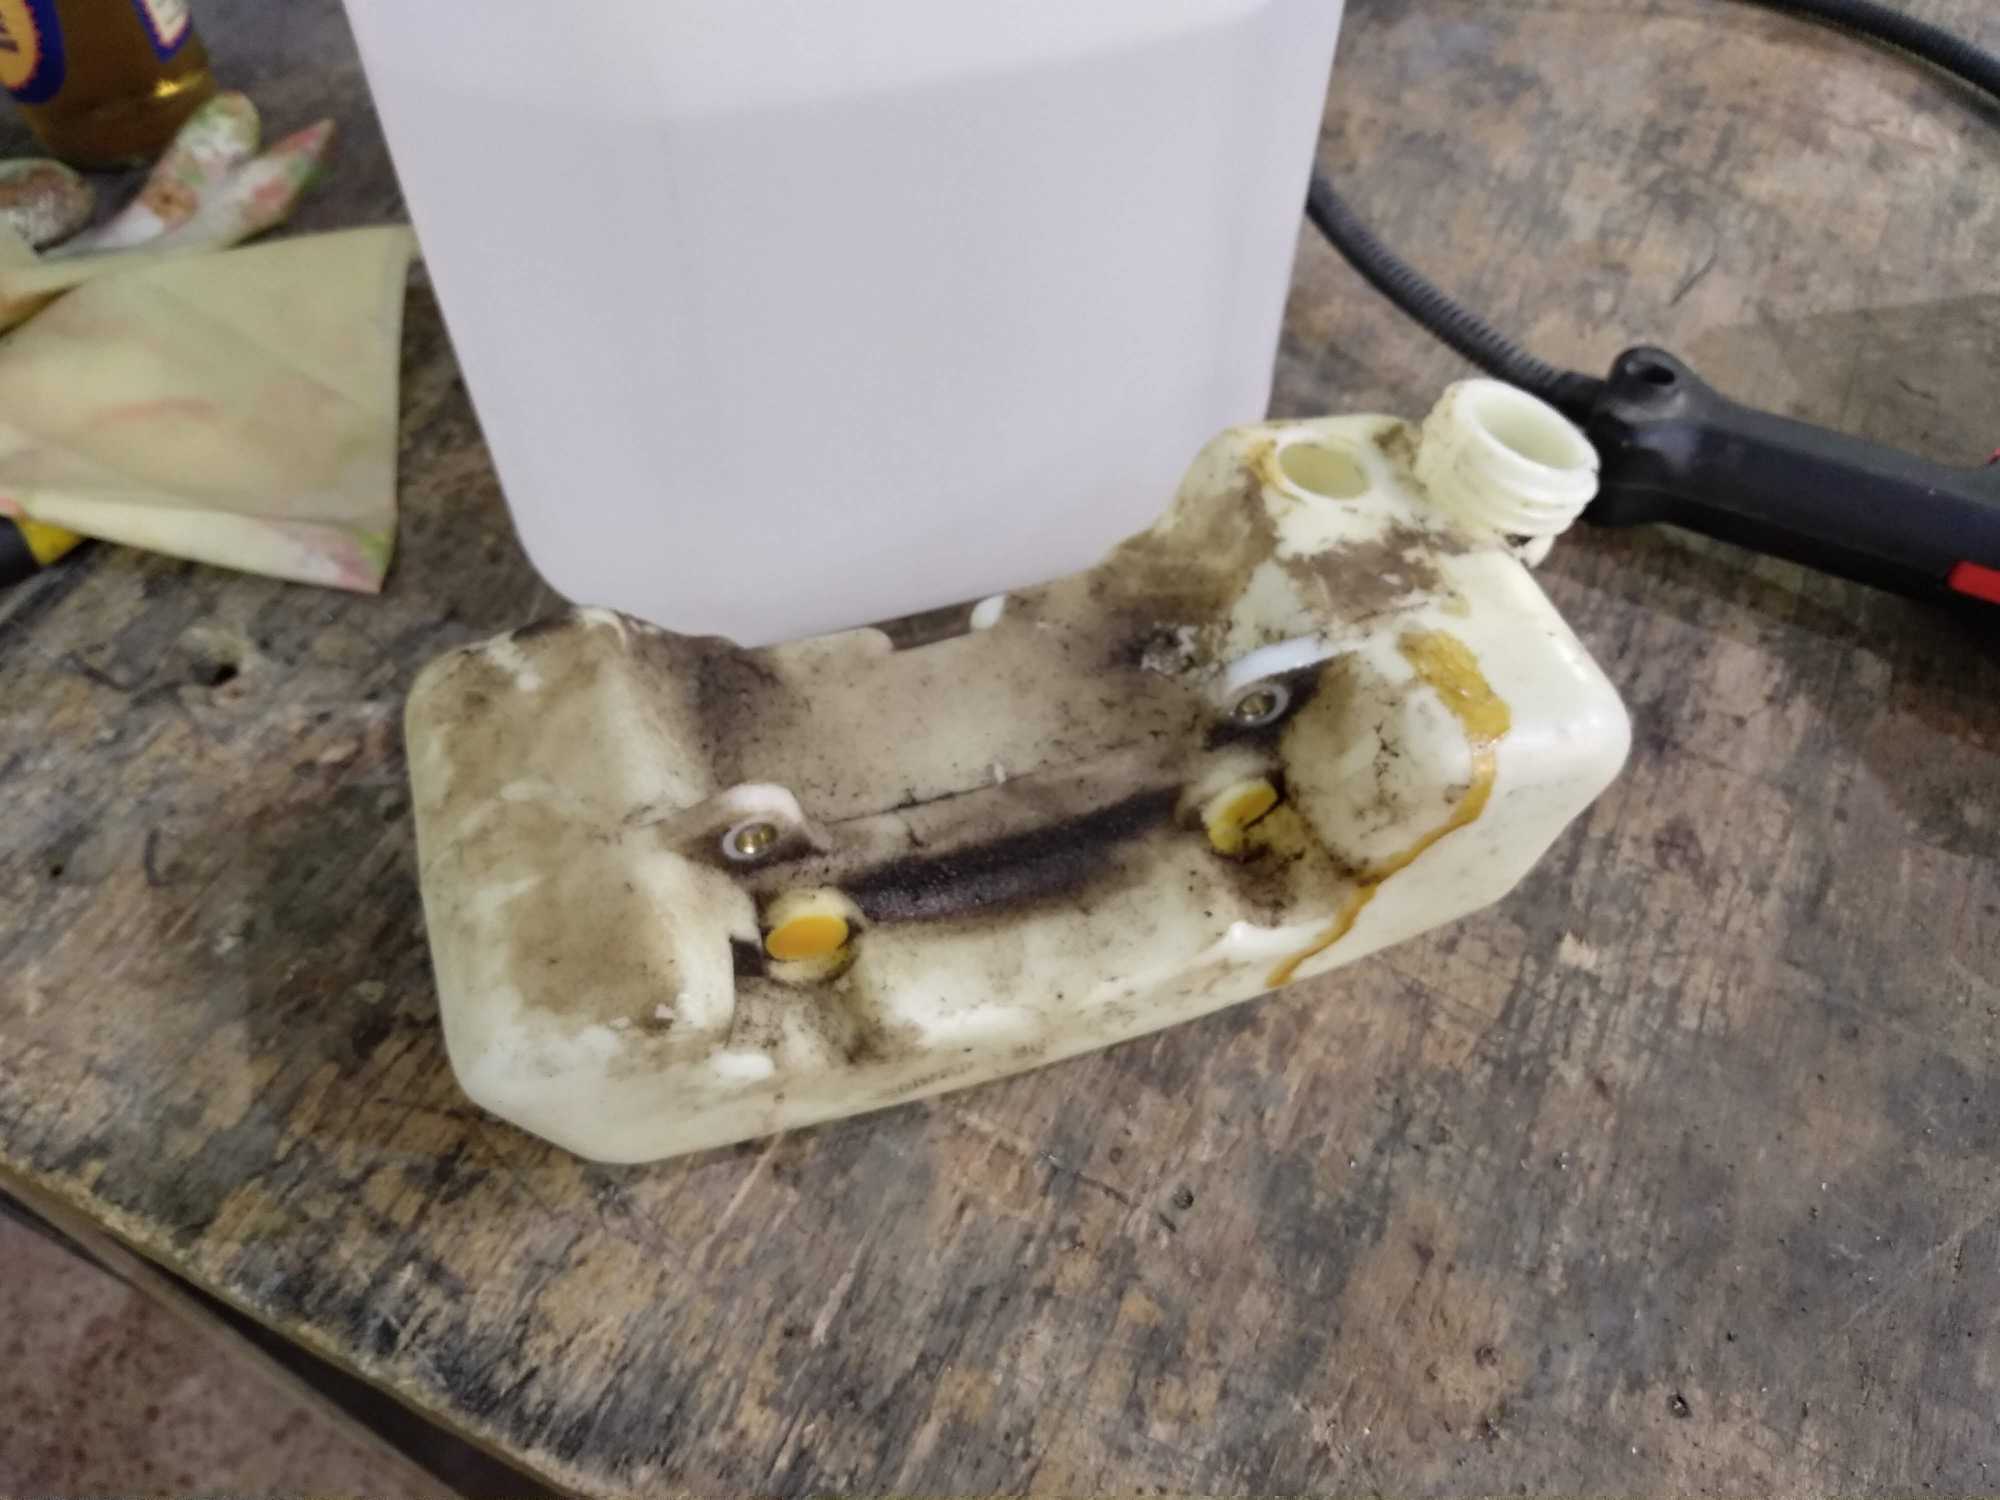
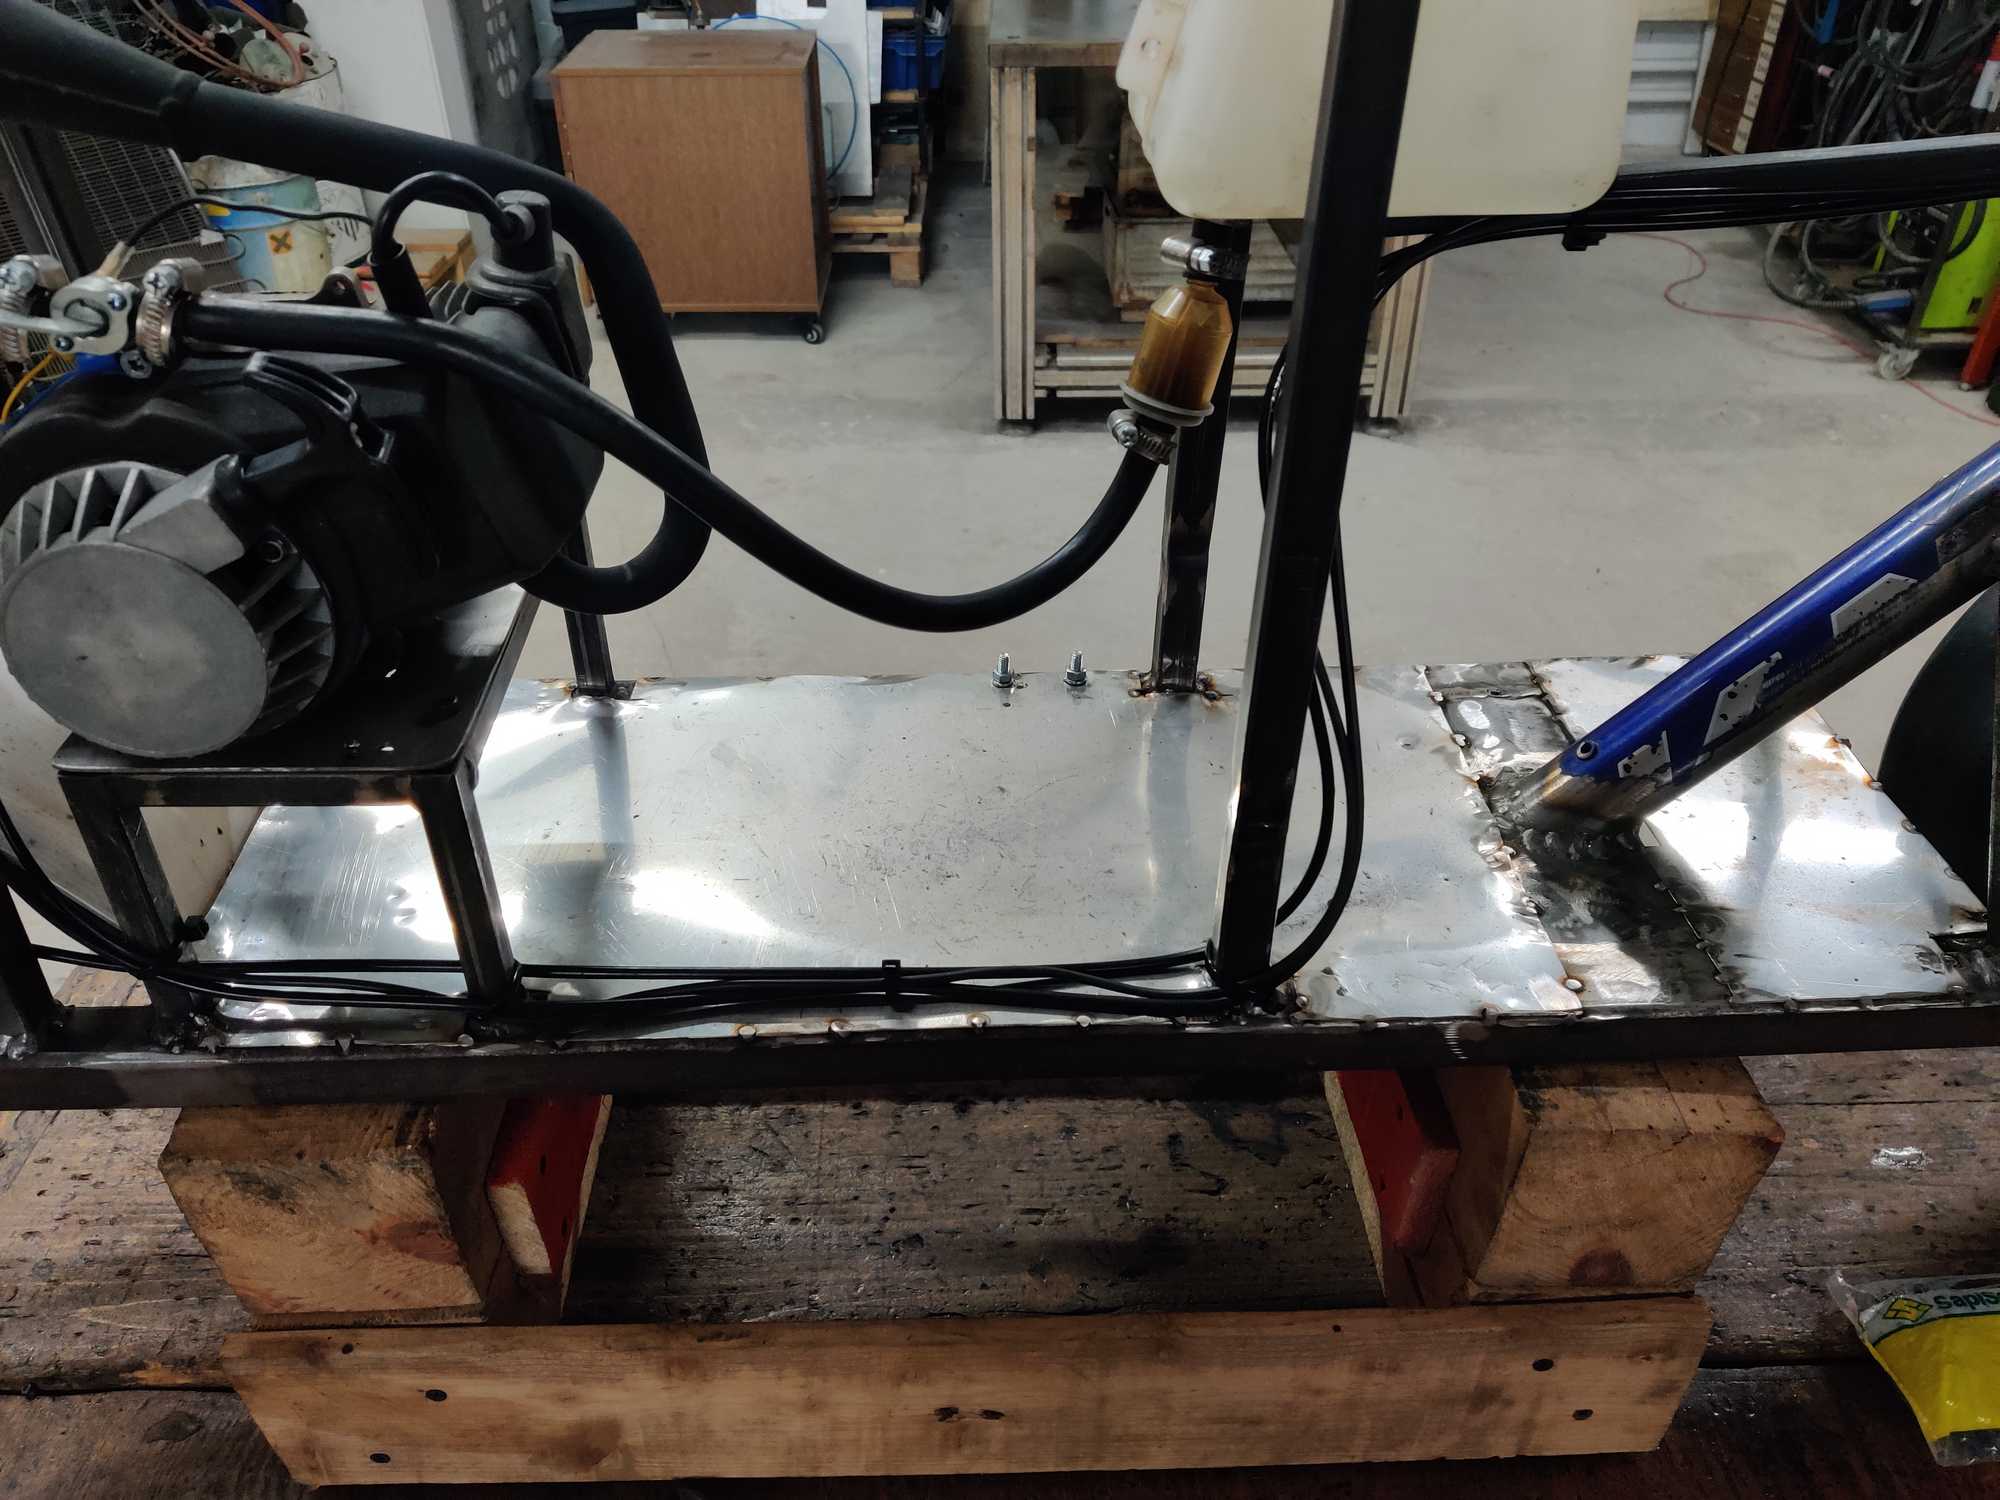
Added a mini-atv gasoline tank and so far the scooter looks pretty ridiculous :D

It’s now ready for a simple test run in the yard and it was at this moment that I understood that the bicycle steering geometry is a serious thing. With the wheel attached at a steep angle like mine it’s almost impossible to not fall over – you can’t just attach it at a 90 degree angle and call it a day :D
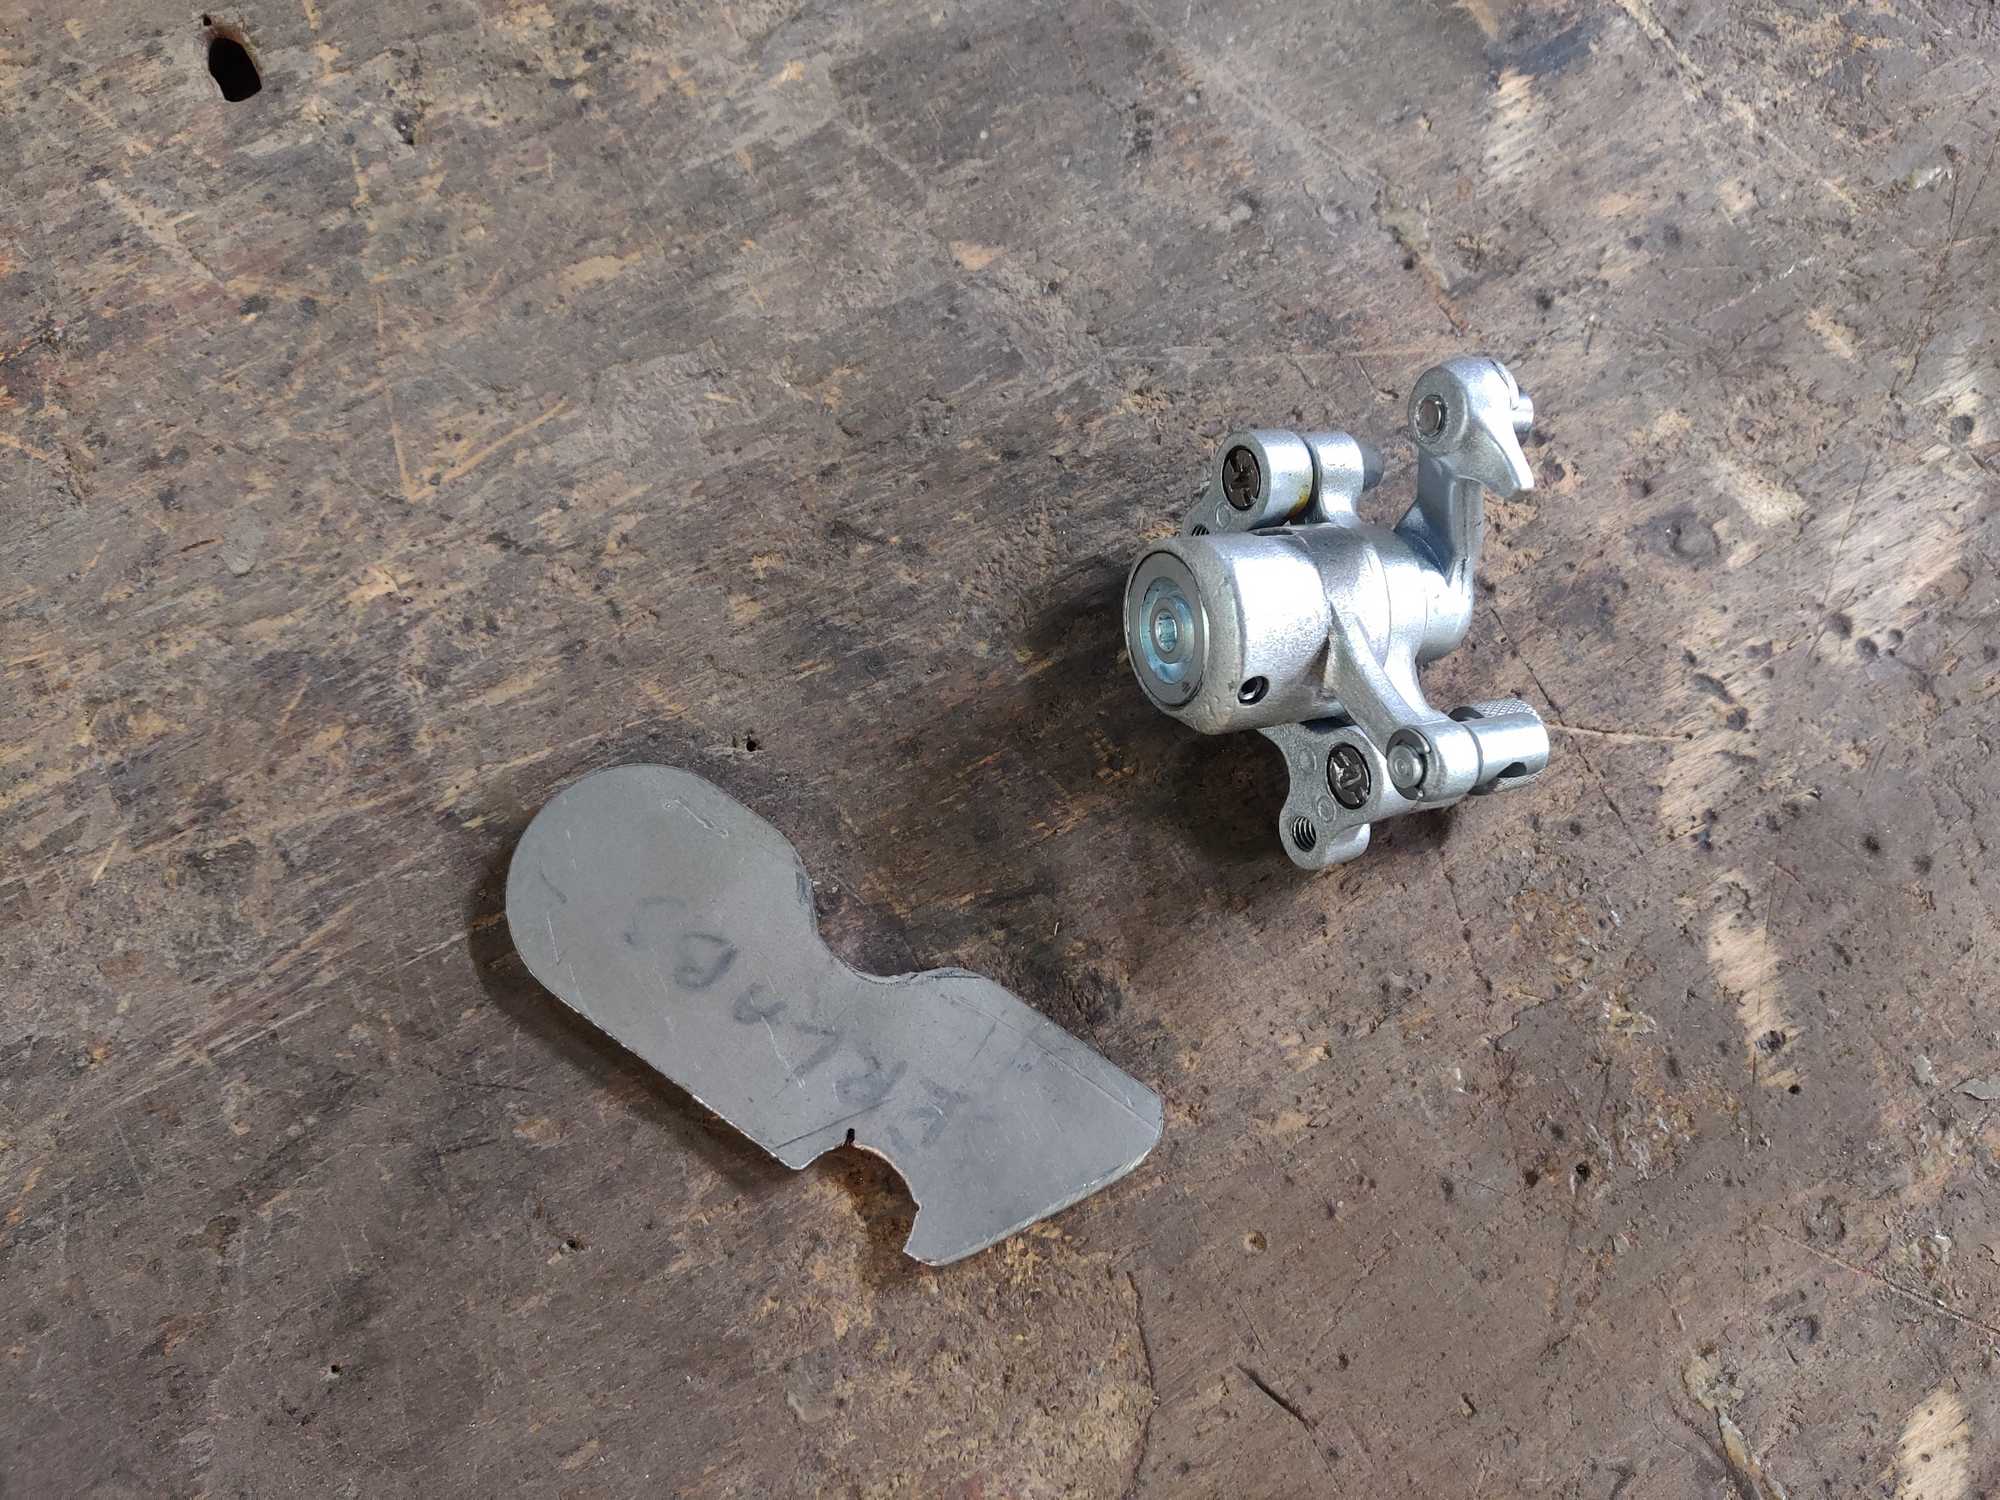
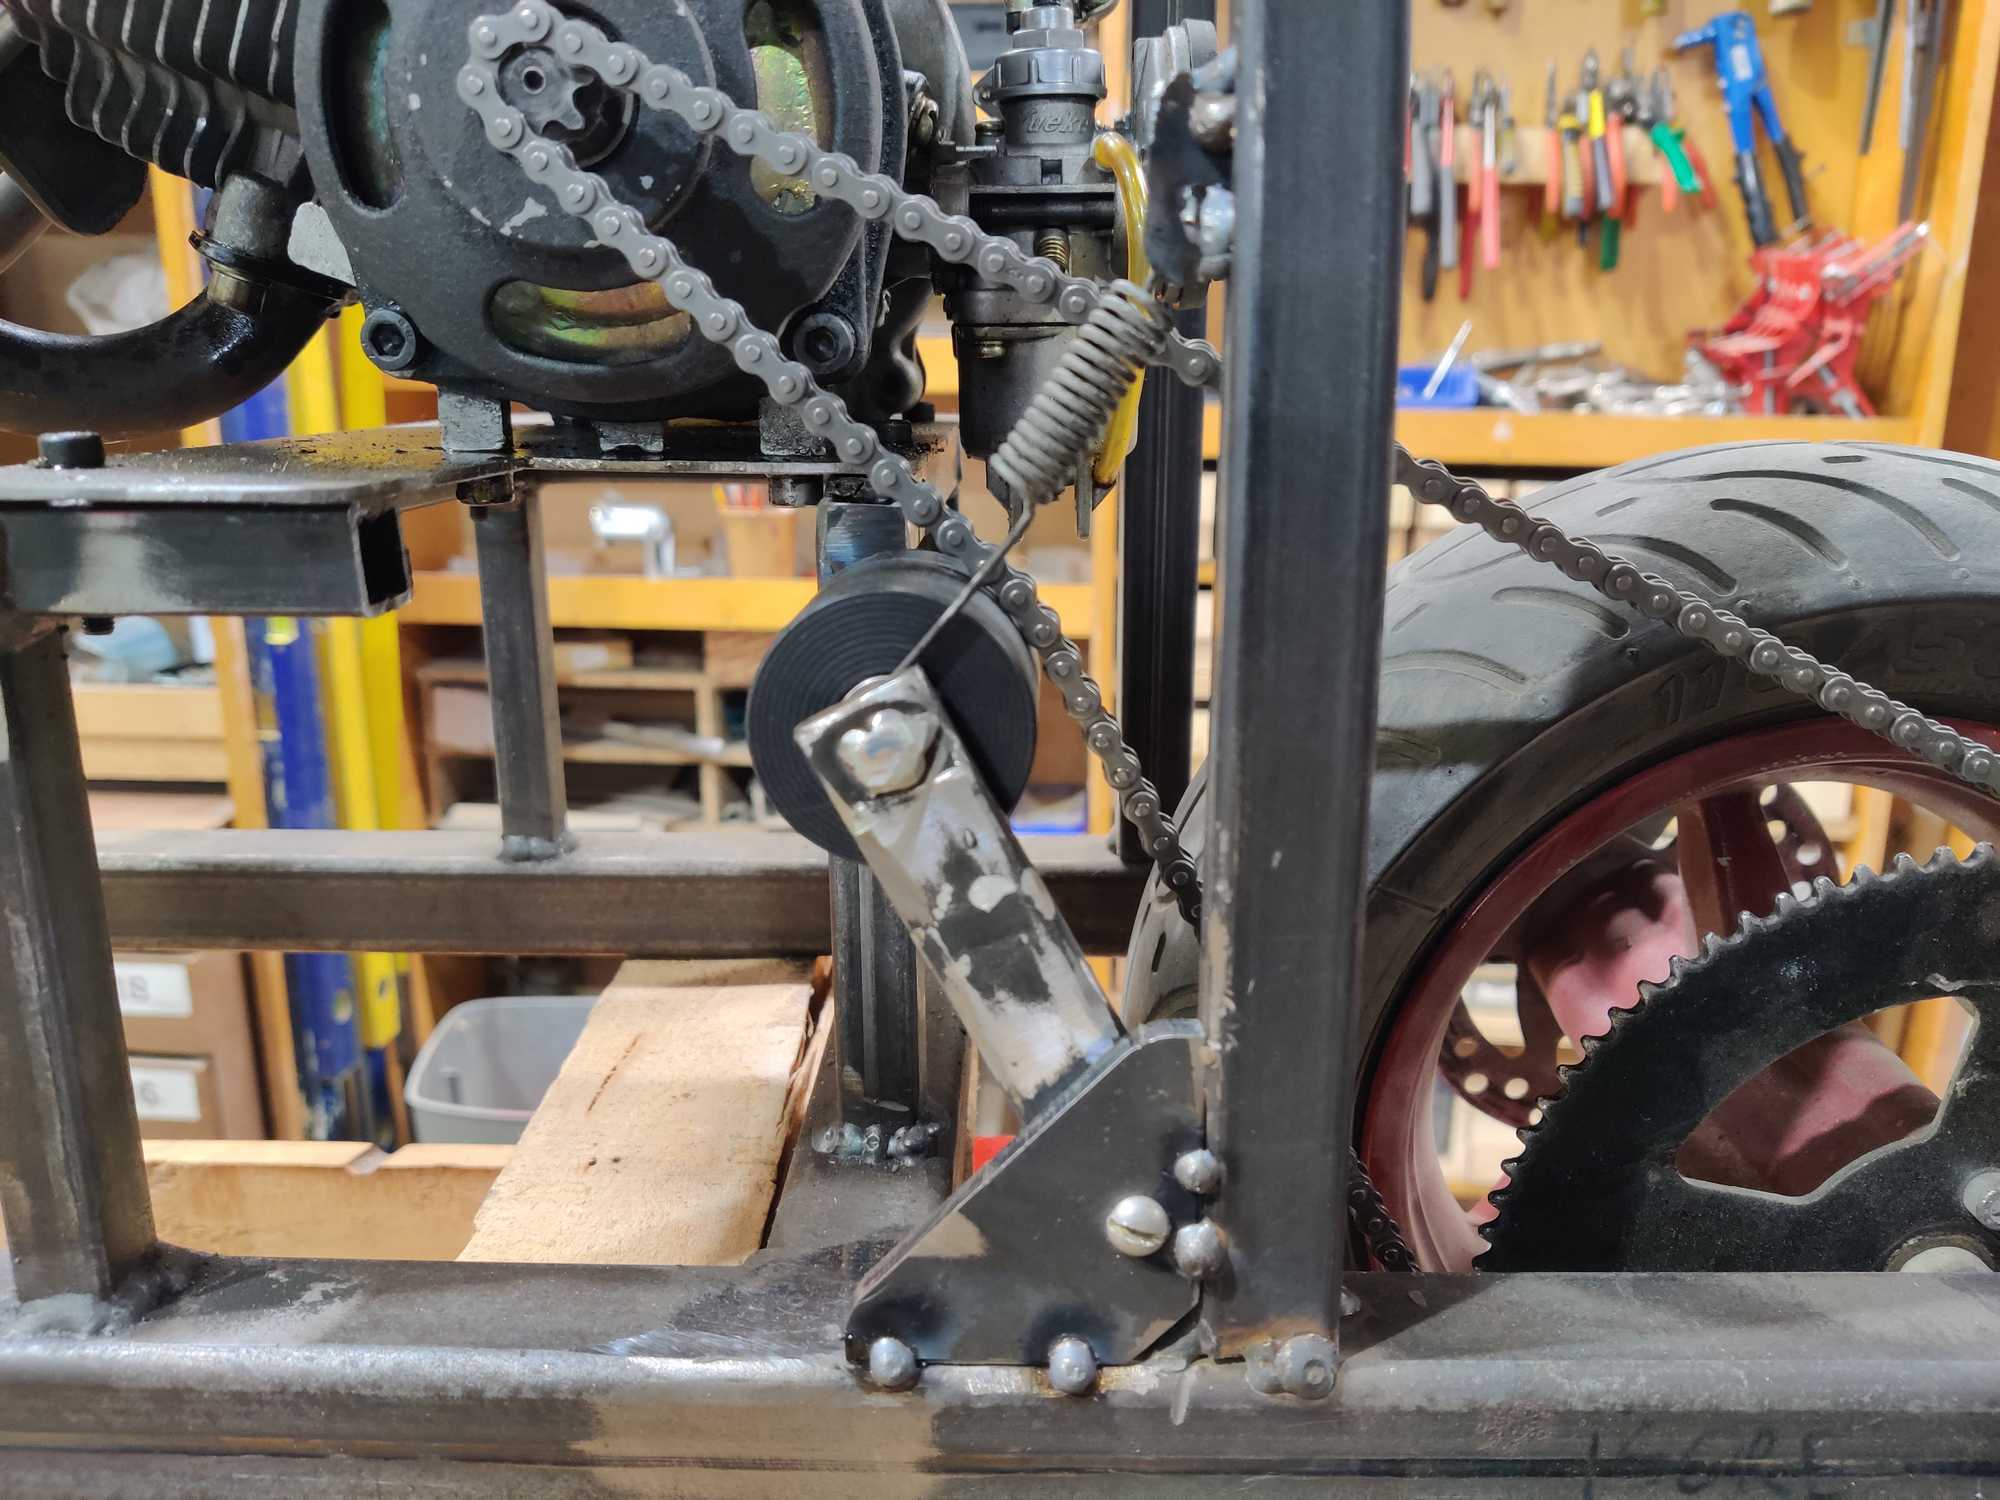
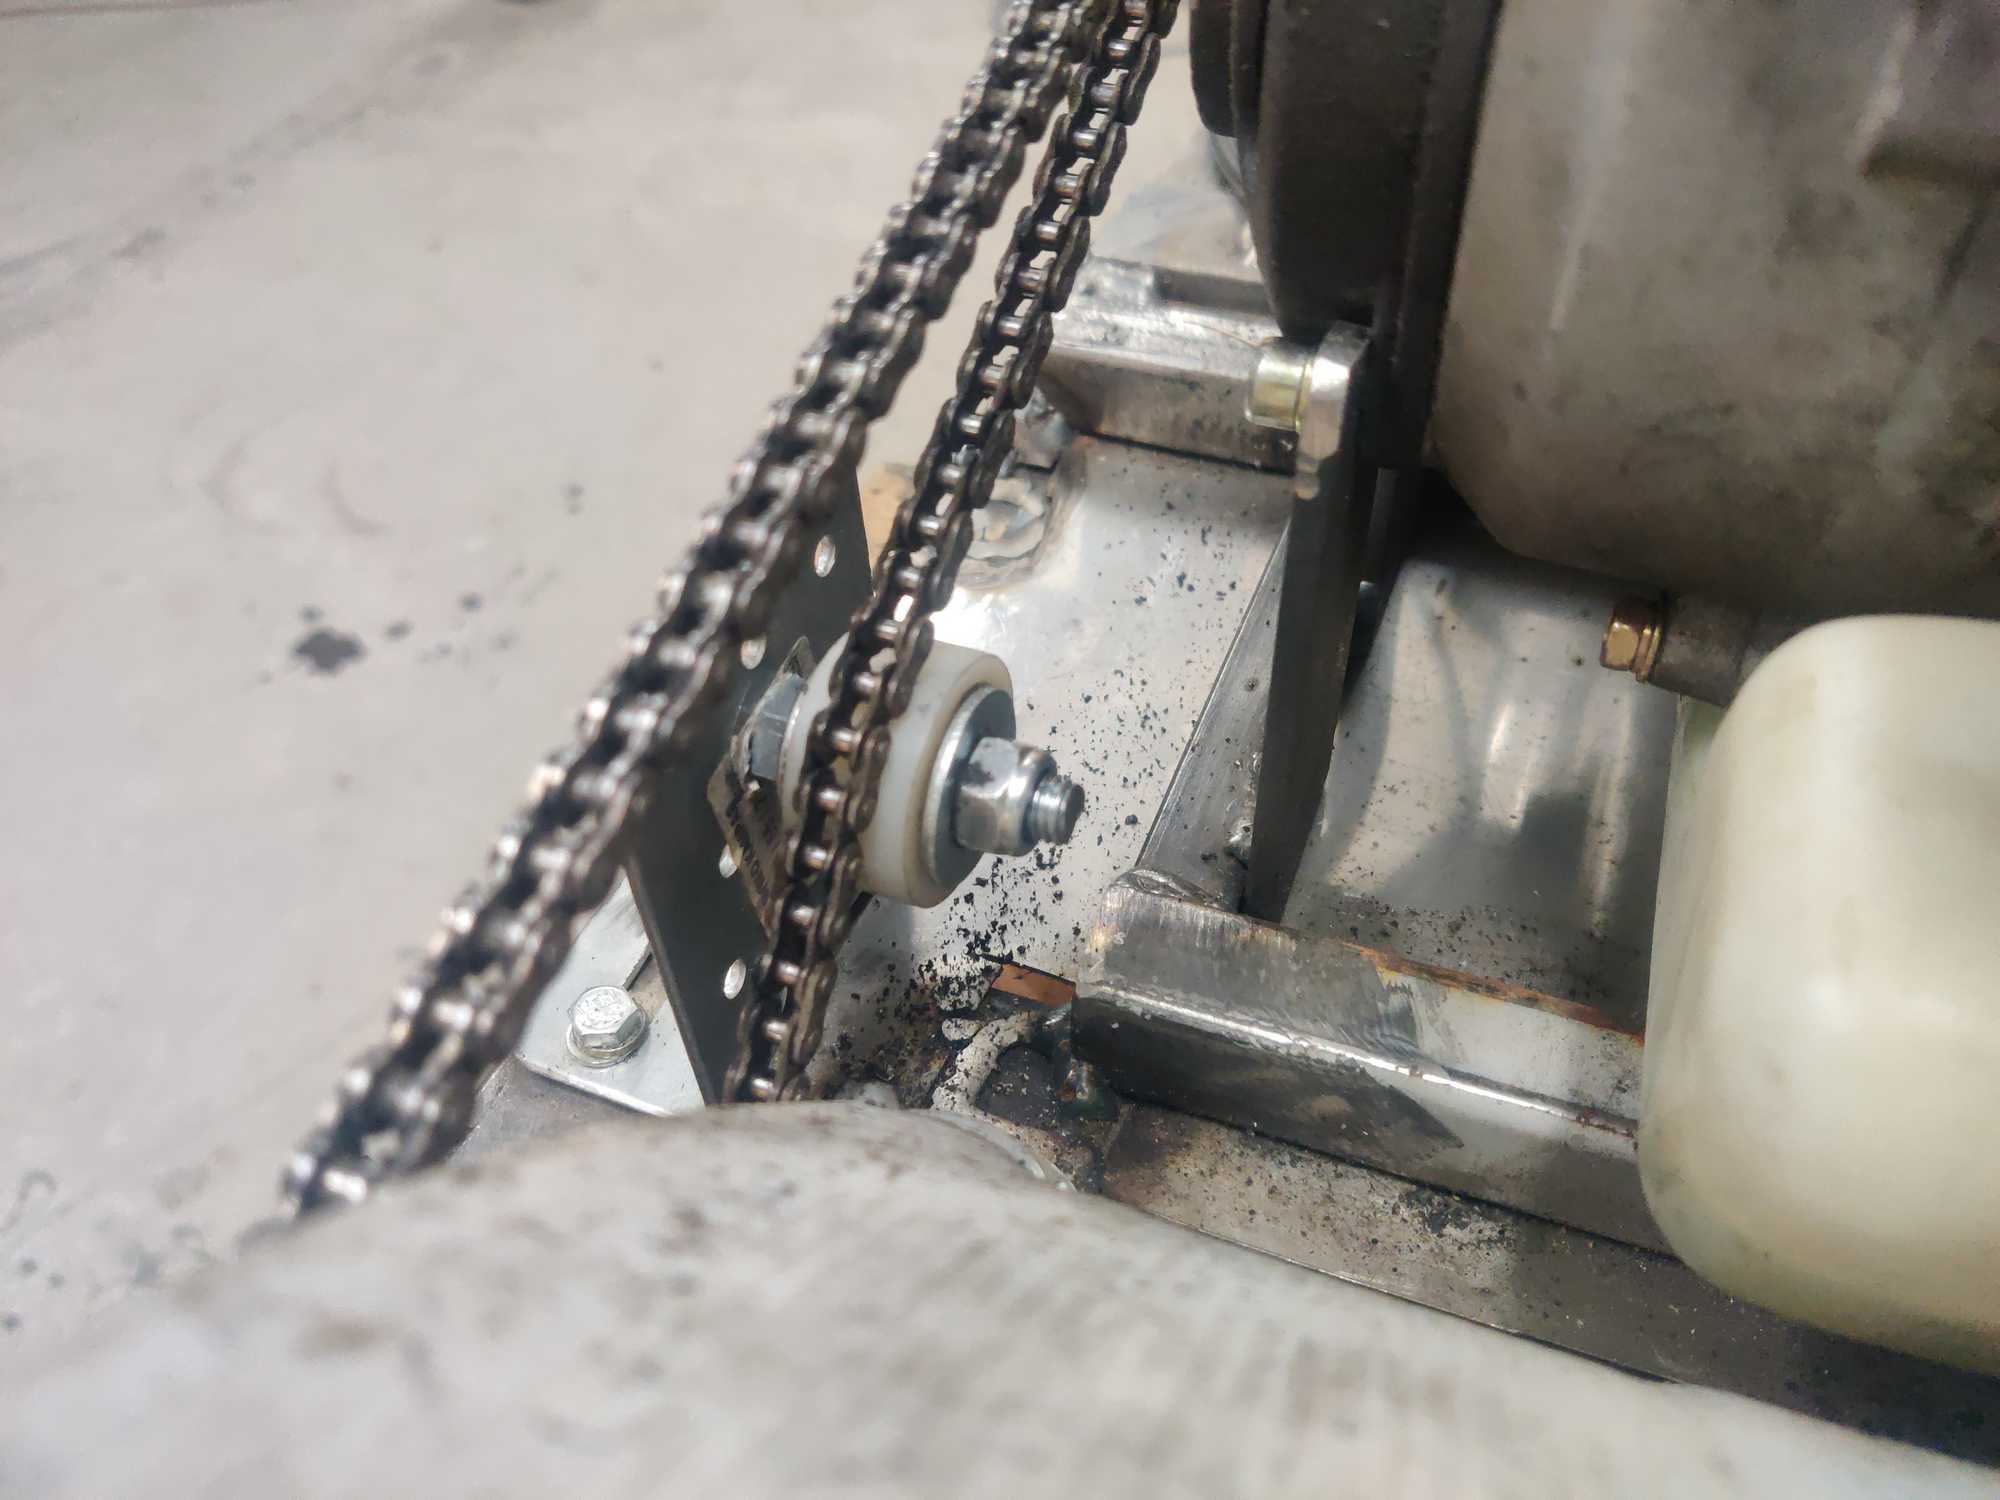
To try and describe what it’s like – when speeding up the front wheel becomes wobbly, there’s no way to lean into a corner and turning the wheel is too sudden. So I cut it off and welded at some angle (I didn’t measure :P) and that did the trick – the steering was good, but while I was trying it out the chain kept falling off therefore a tensioner was needed and I made one from a piece of some plastic that I found with bearing slots on either side. Then I looked at the random bearings box and found two that fit – what luck. Welded holders and added a spring.
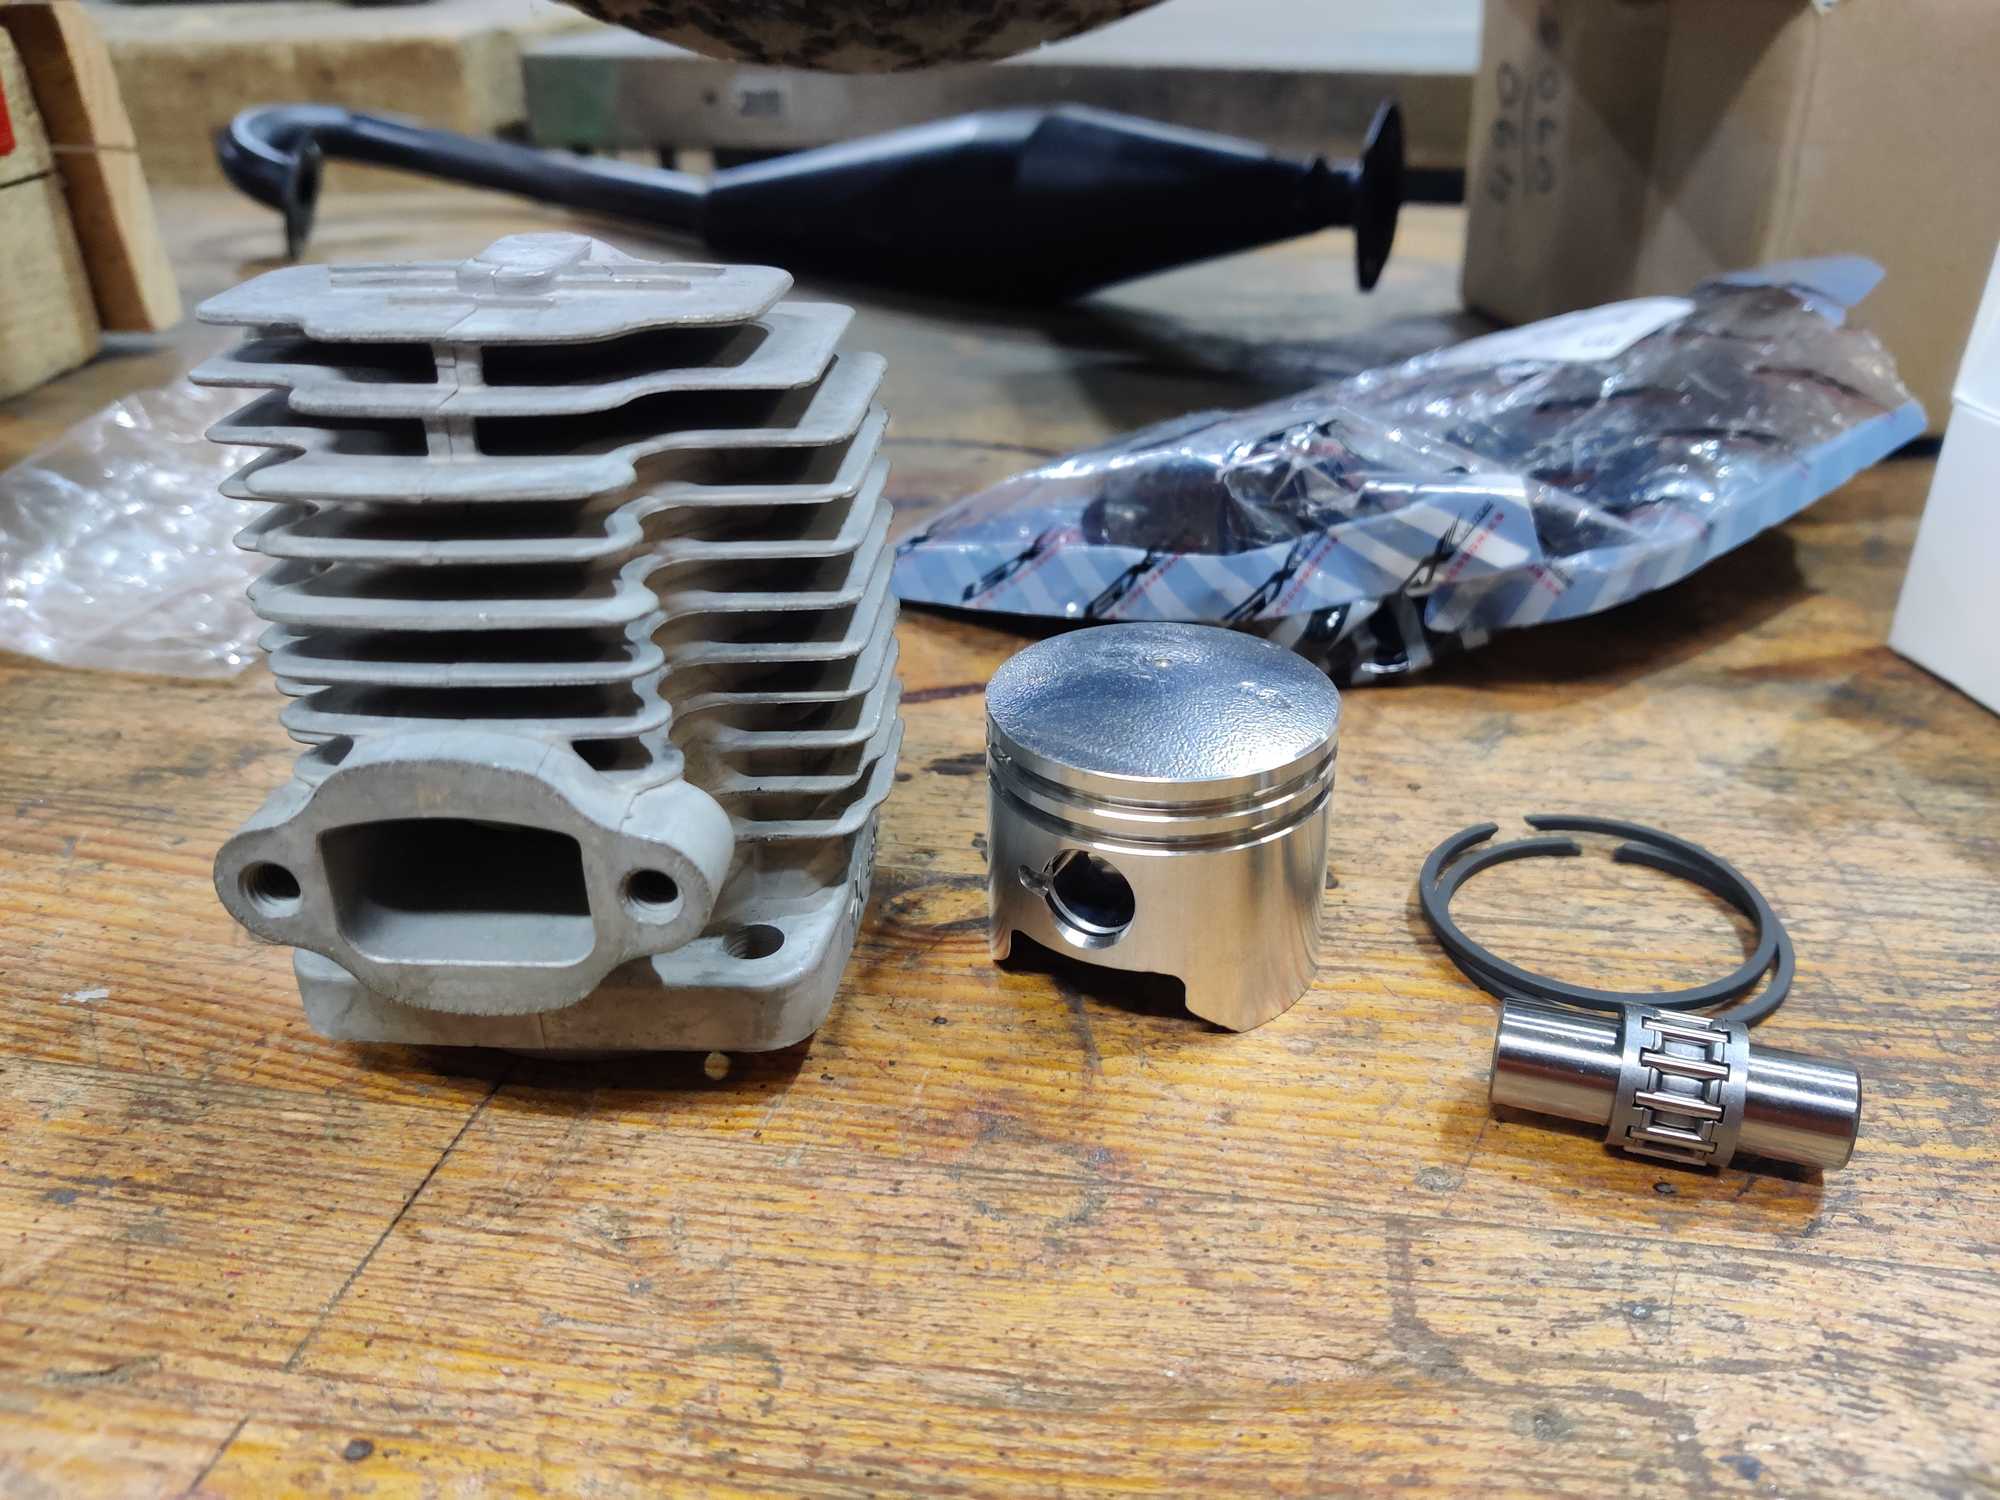
But now I had another problem – the engine wouldn’t start no matter what and I have no idea Trying various things to make it start we made sure that everything was correct but finally the spark plug socket thread gave out and I couldn’t get the spark plug to tighten anymore. Had to get a kit and replace the whole assembly.
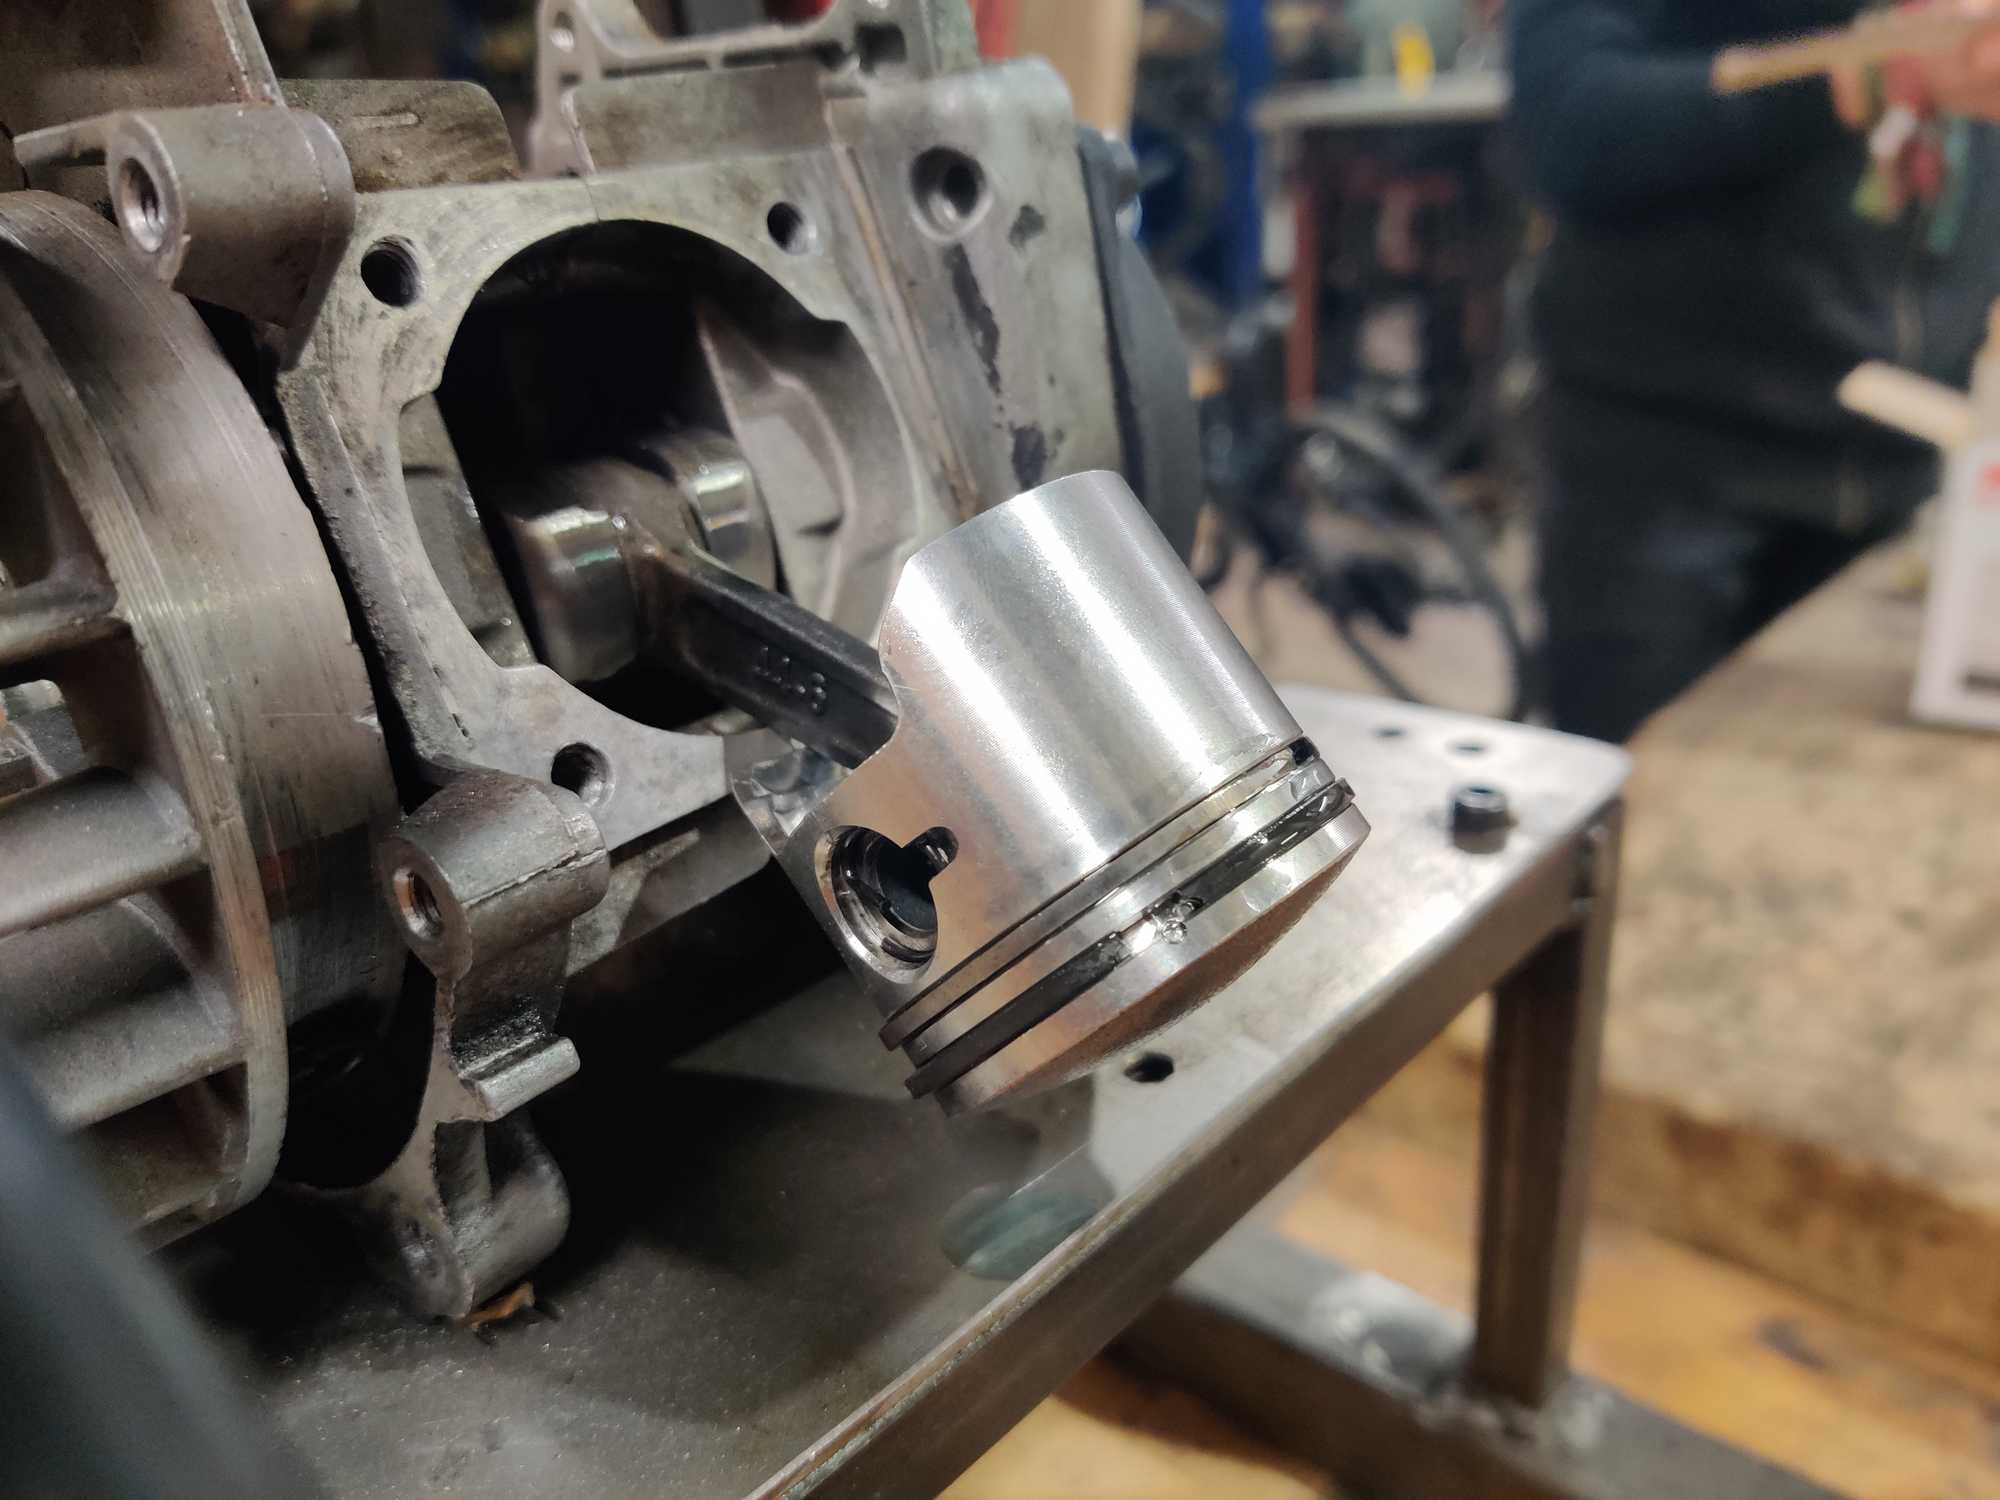
When I disassembled the head with the piston I noticed that someone had fiddling with the engine before and didn’t assemble it properly because first of all there was no gasket between the head and the block, one of the previous owners used silicone instead. Next the piston was put upside down and that could have made the engine blow up one day. Furthermore the clutch was also somehow made fit with an angle grinder for some reason :D At this moment it was obvious that someone had been messing around with the engine without knowing what they are doing.
When I came back to the bike shop the consultant advised me to stay away from these engines because they are so bad. They are bad because they are cheap. How cheap? well in here you can get one brand-new with a clutch for 70 euros. Because of that they are brittle and you’ll see how later on.
For the same amount of money here you can buy a very decent trimmer engine that has much better parts in it.
Never the less I still bought the assembly kit in disbelief and went back to my workshop where I installed the new head assembly and it only took a few pulls for it to start and it was working perfectly.
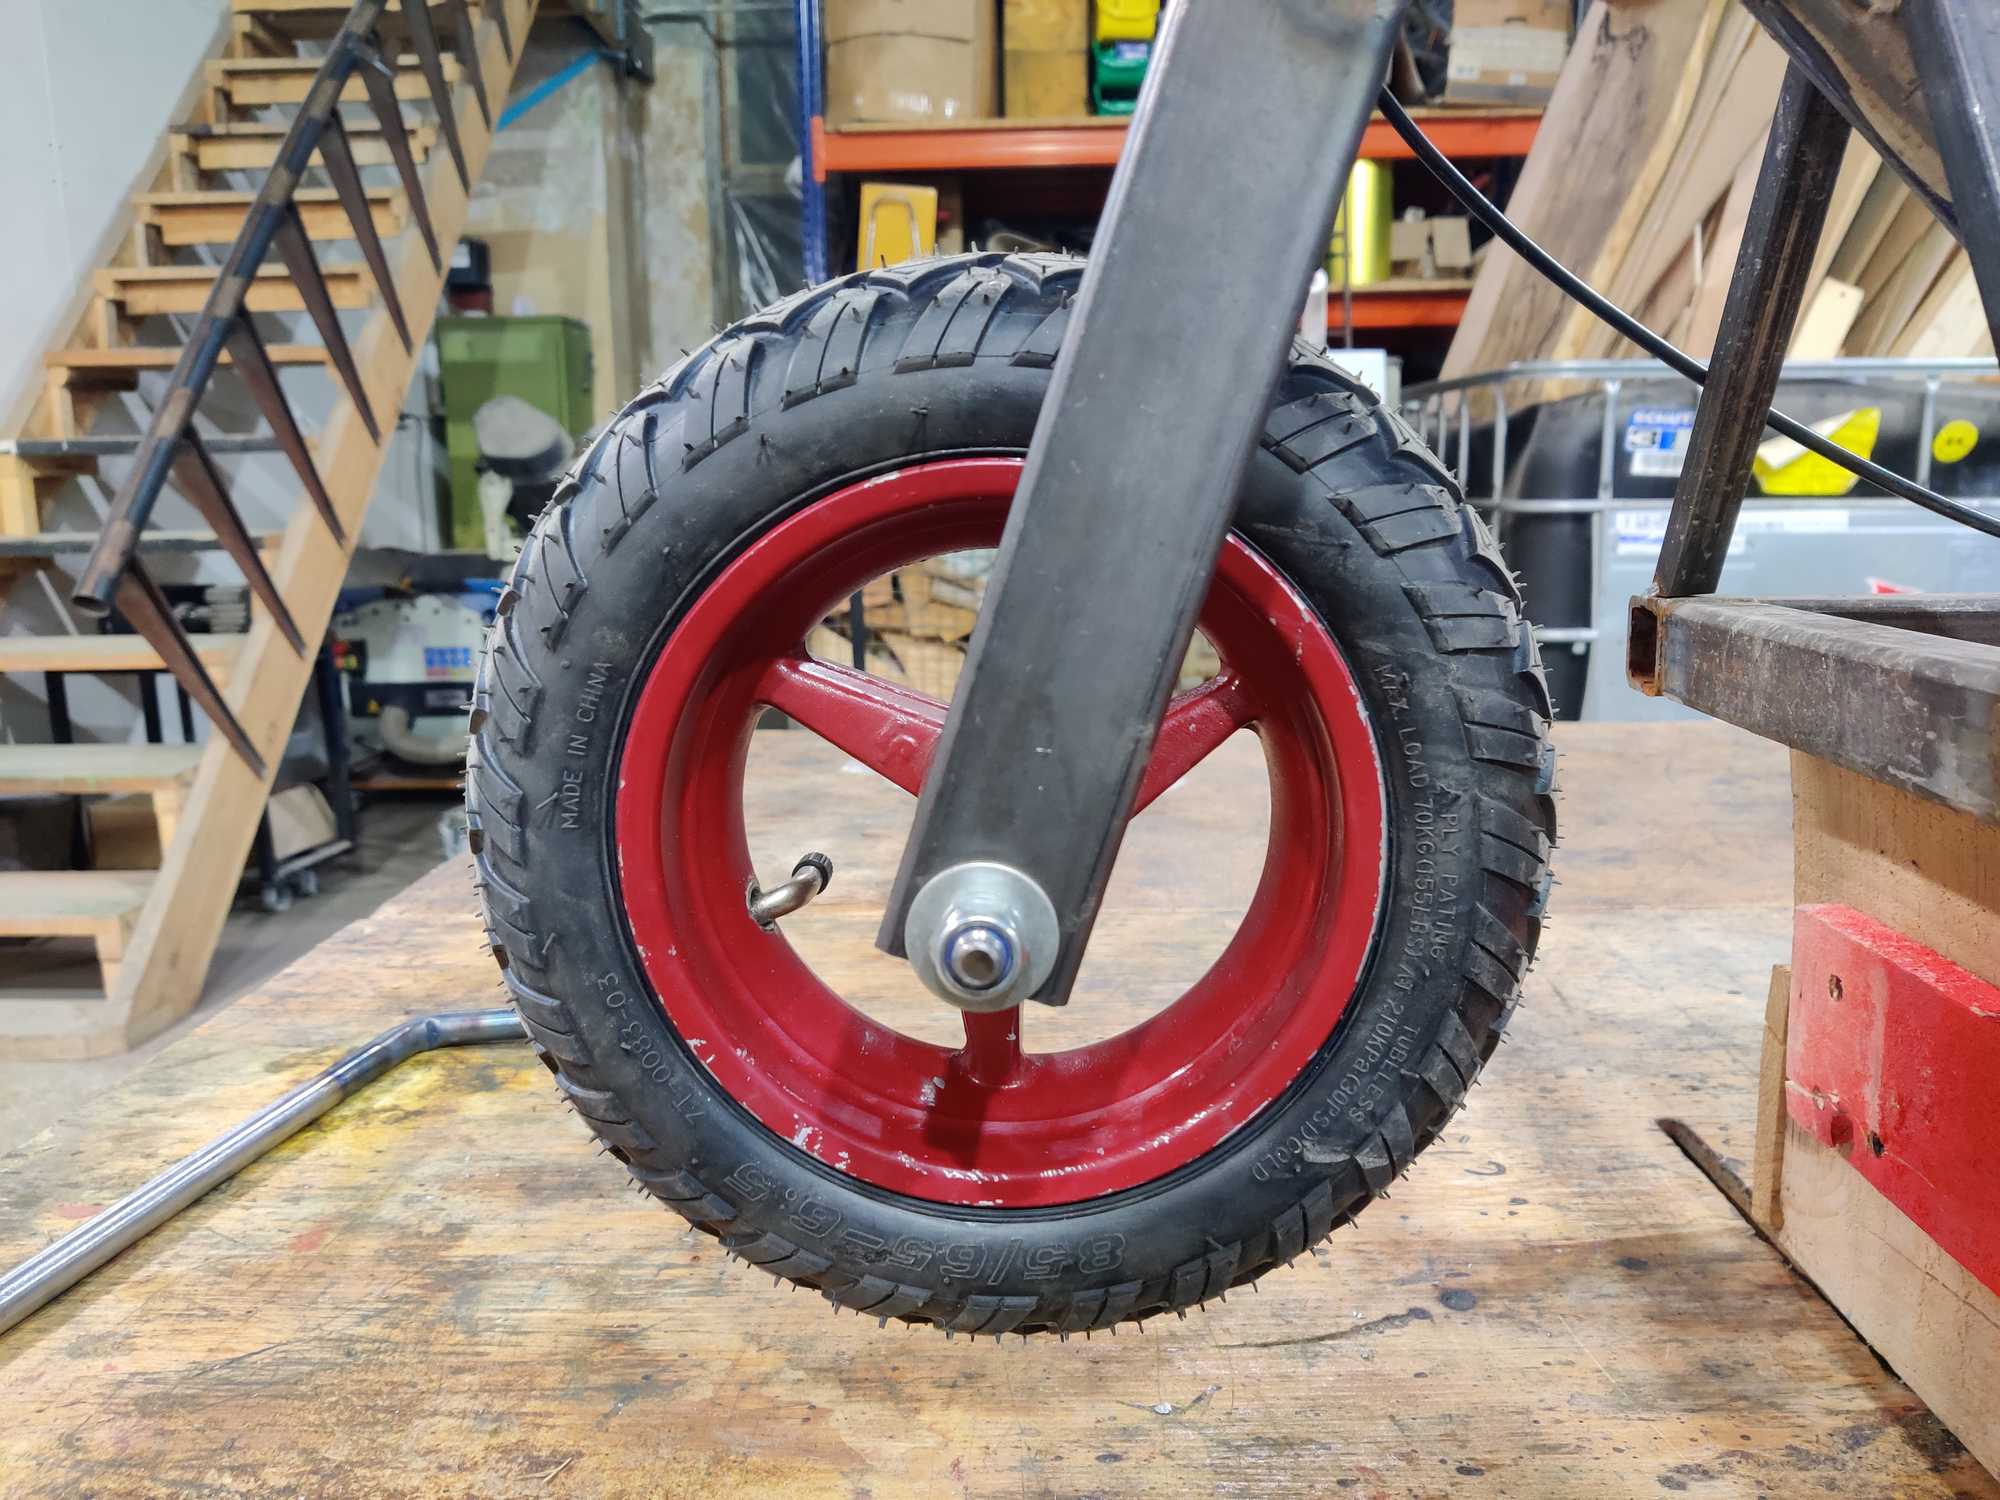
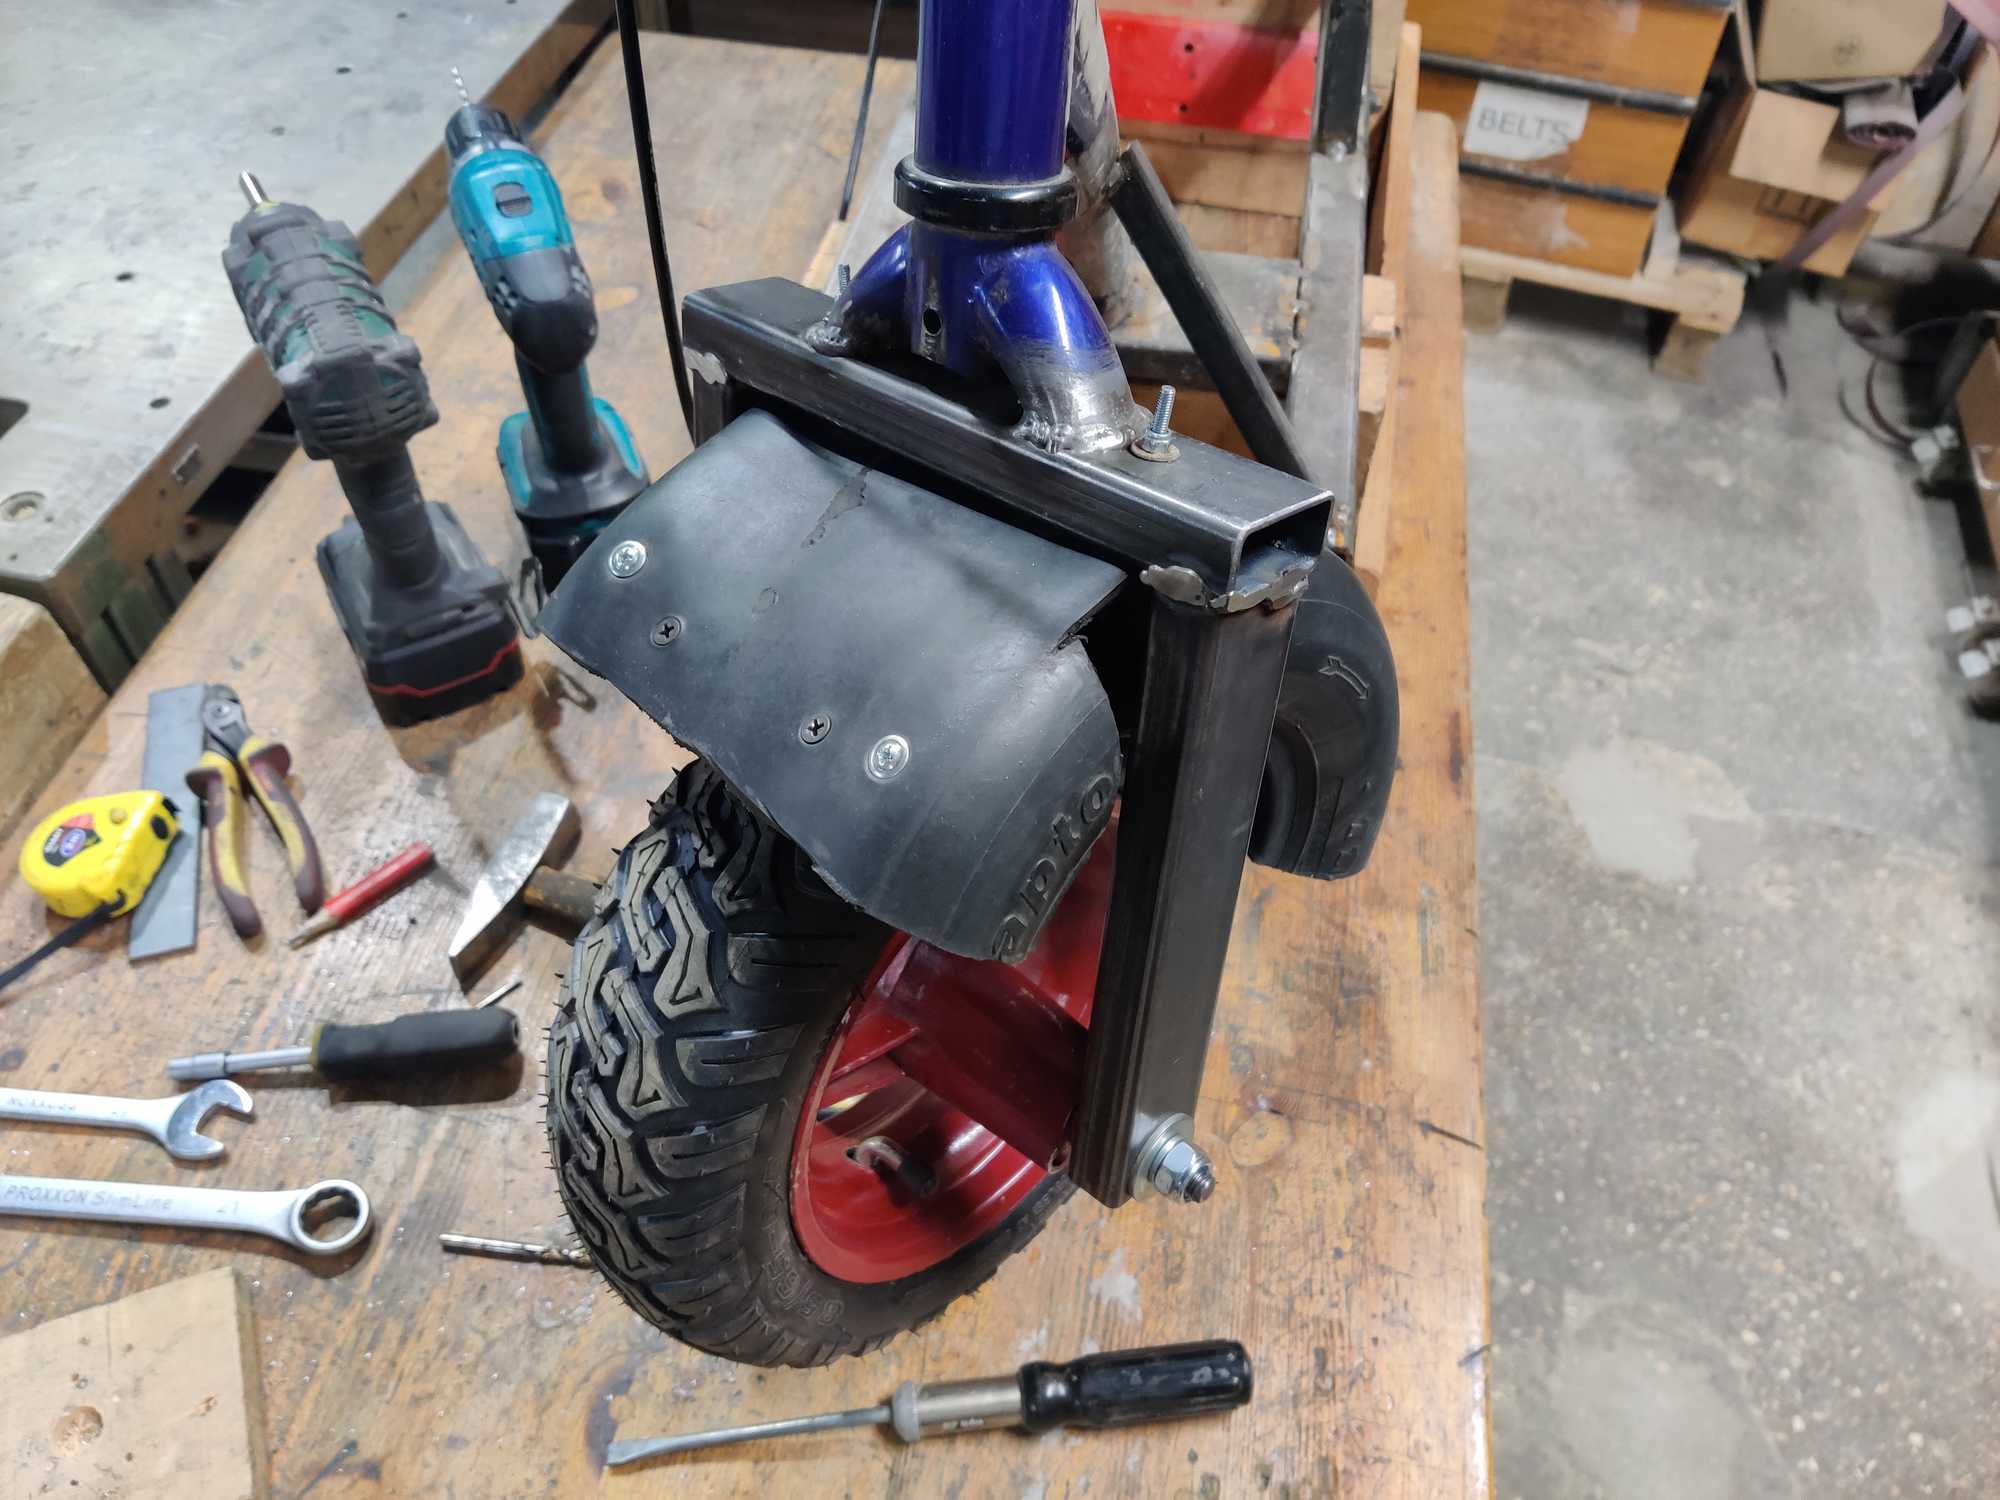
Now that I know the engine is in a good working condition I wanted to replace the tires. I ditched the wheelbarrow wheel on the front and used the pocketbike wheel that I found in the workshop instead, though I had to make a new front fork as the old one wasn’t wide enough. At the time I made the front fork I didn’t know how bad are wheelbarrow tires for this application and only later I learned that they degrade very fast since they are made of some rubber and plastic composite.
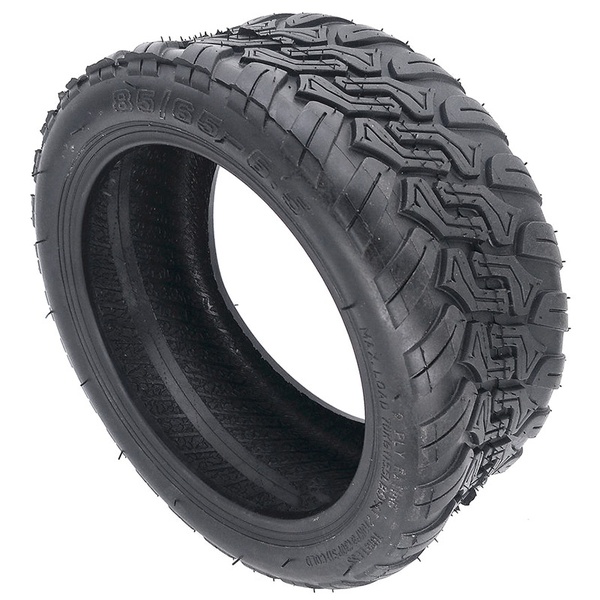
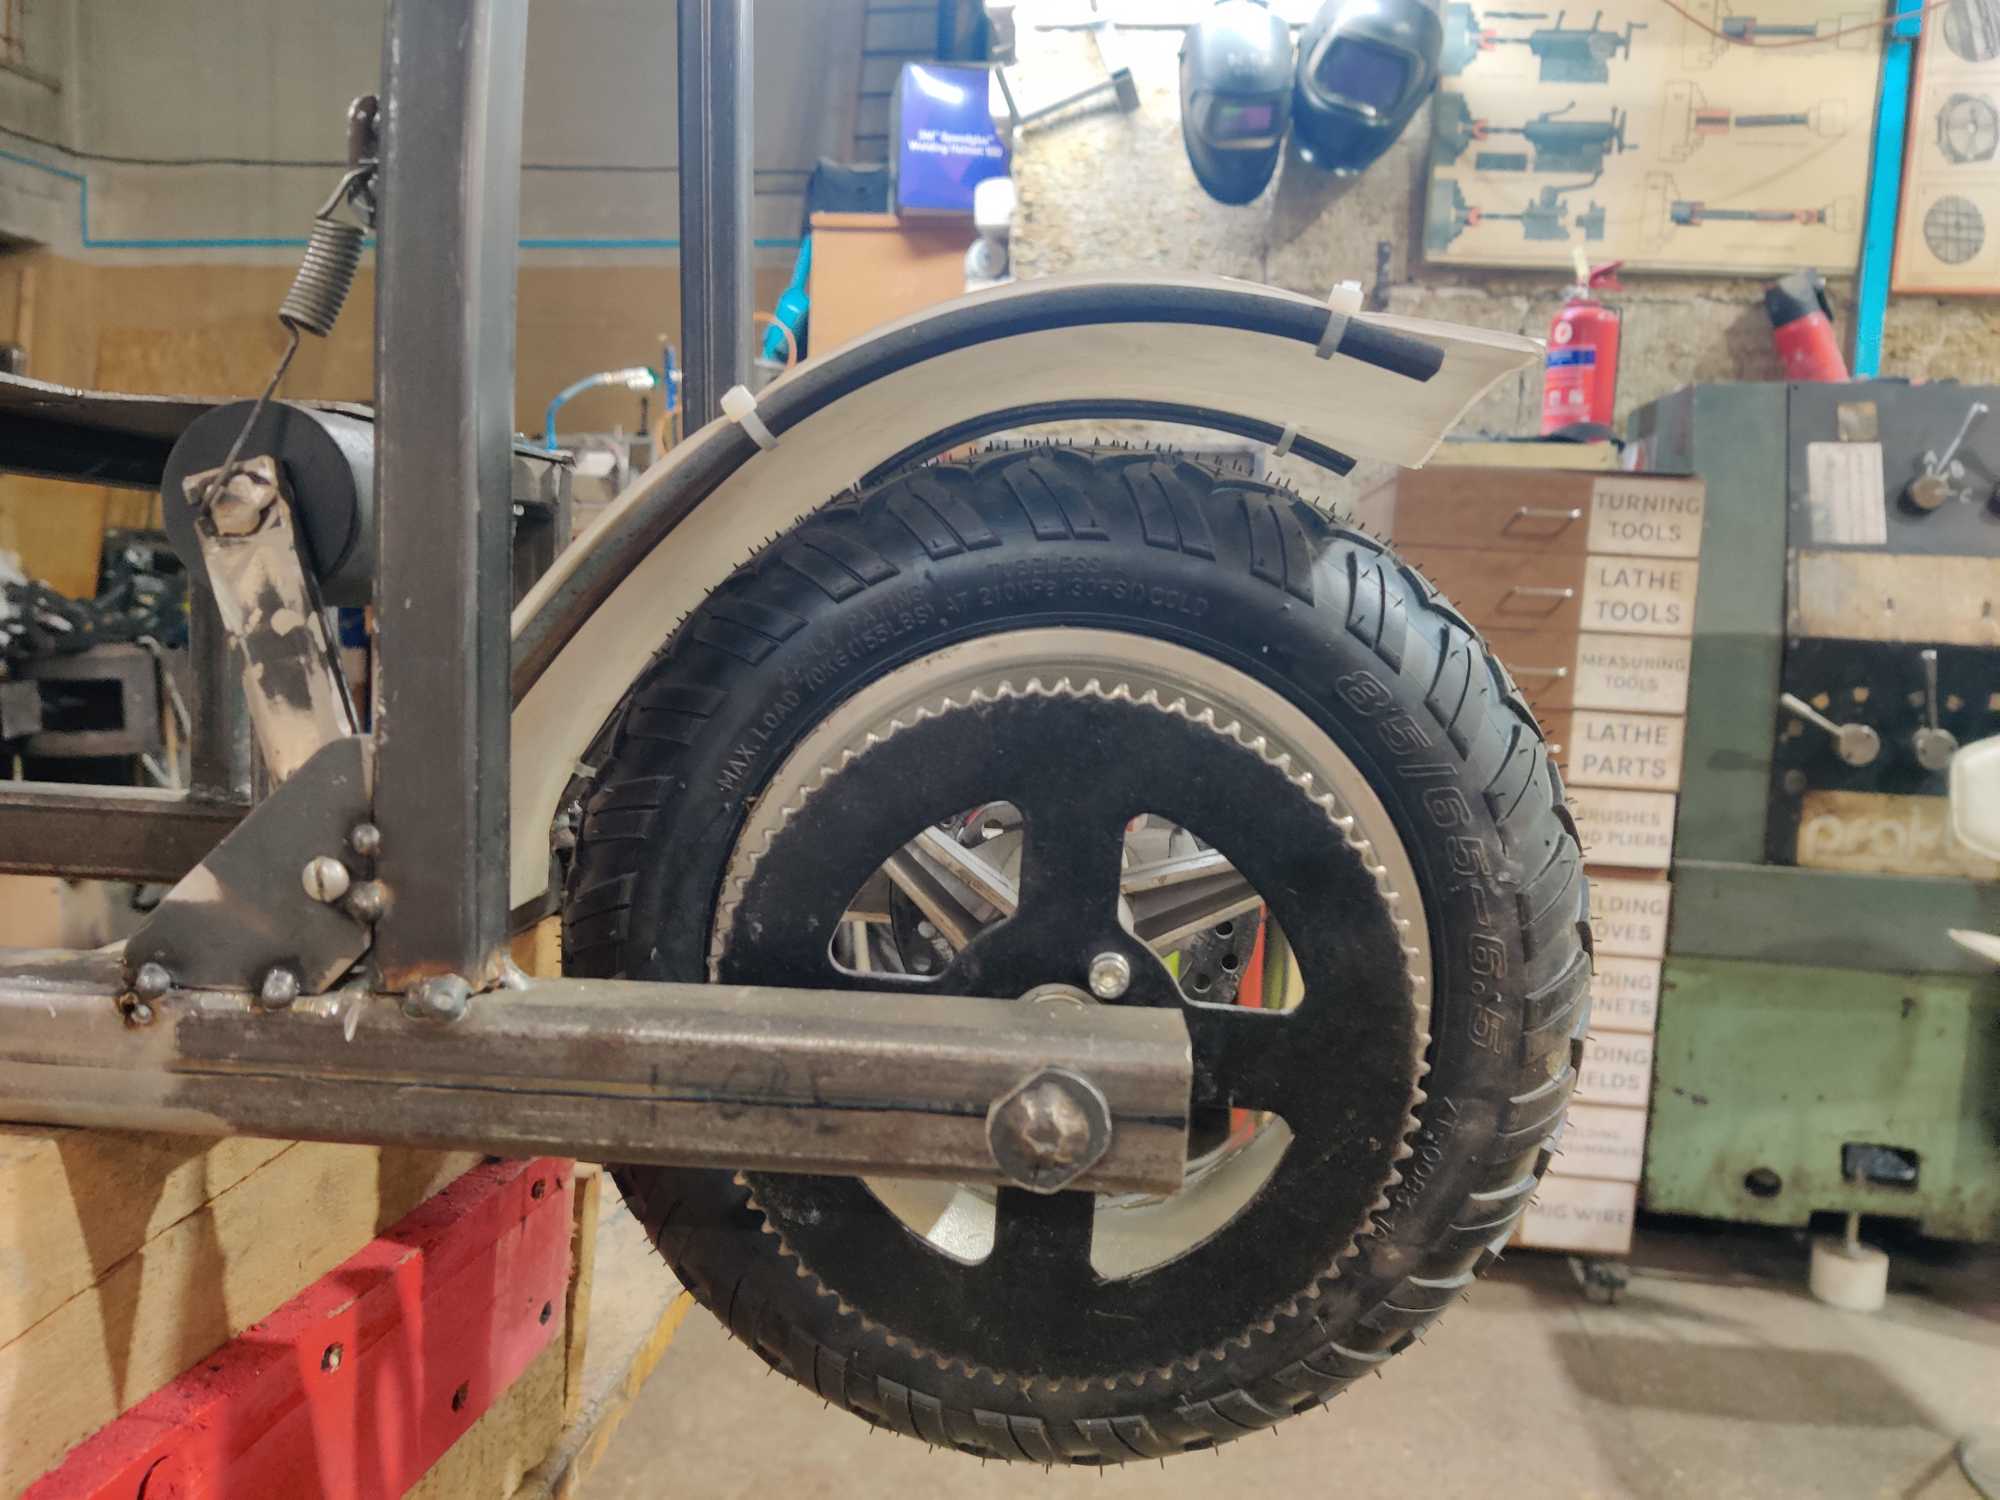
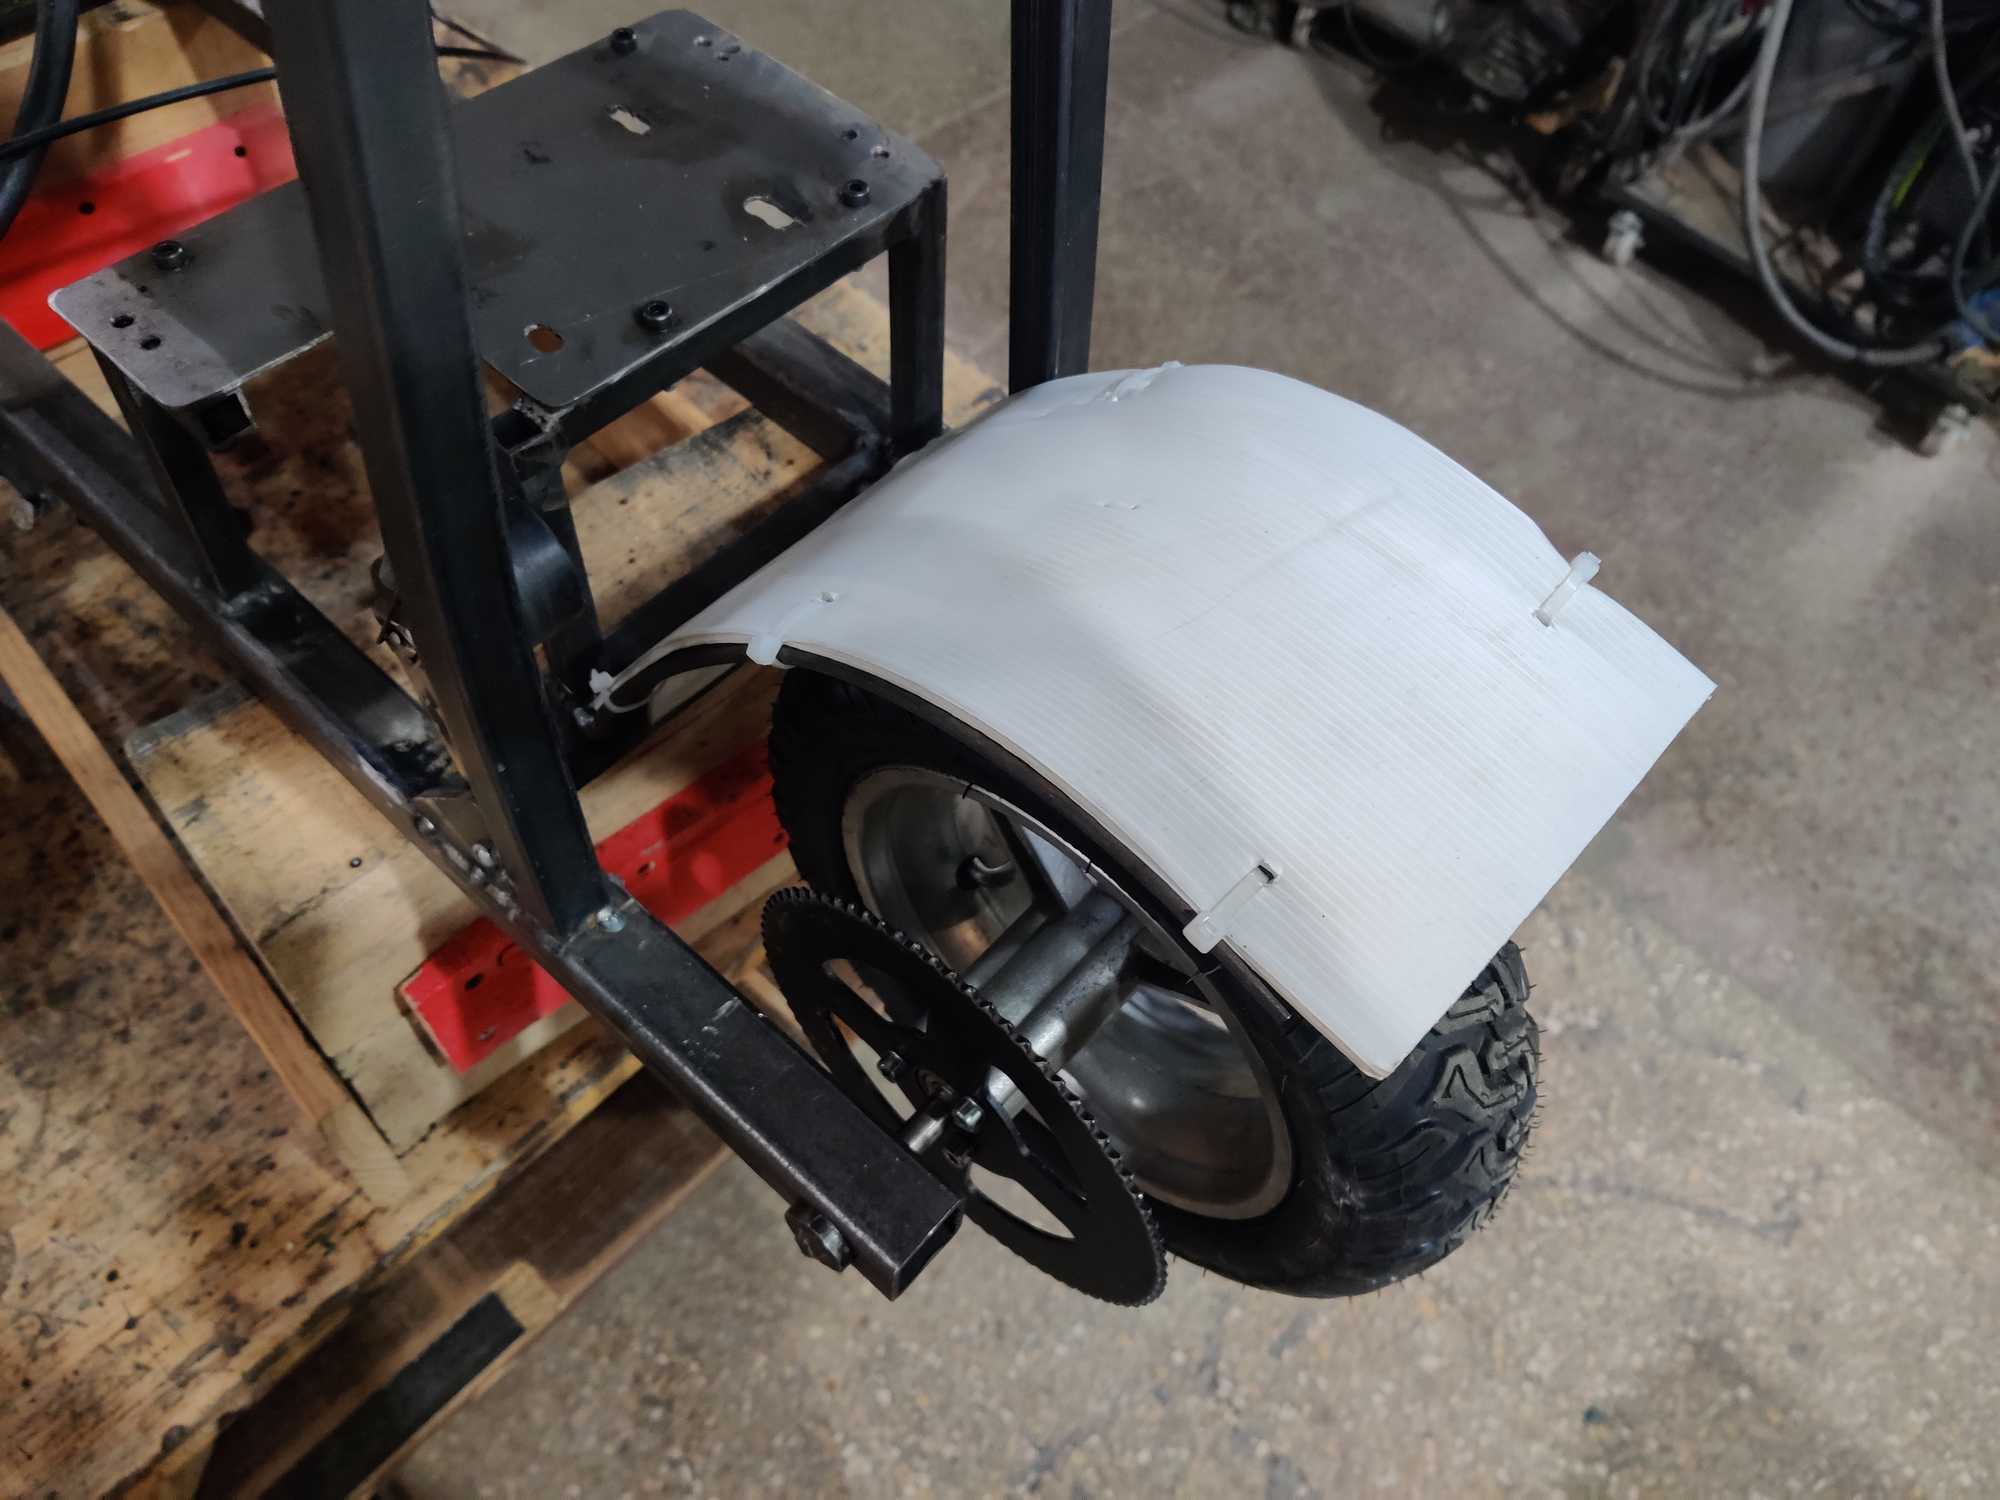
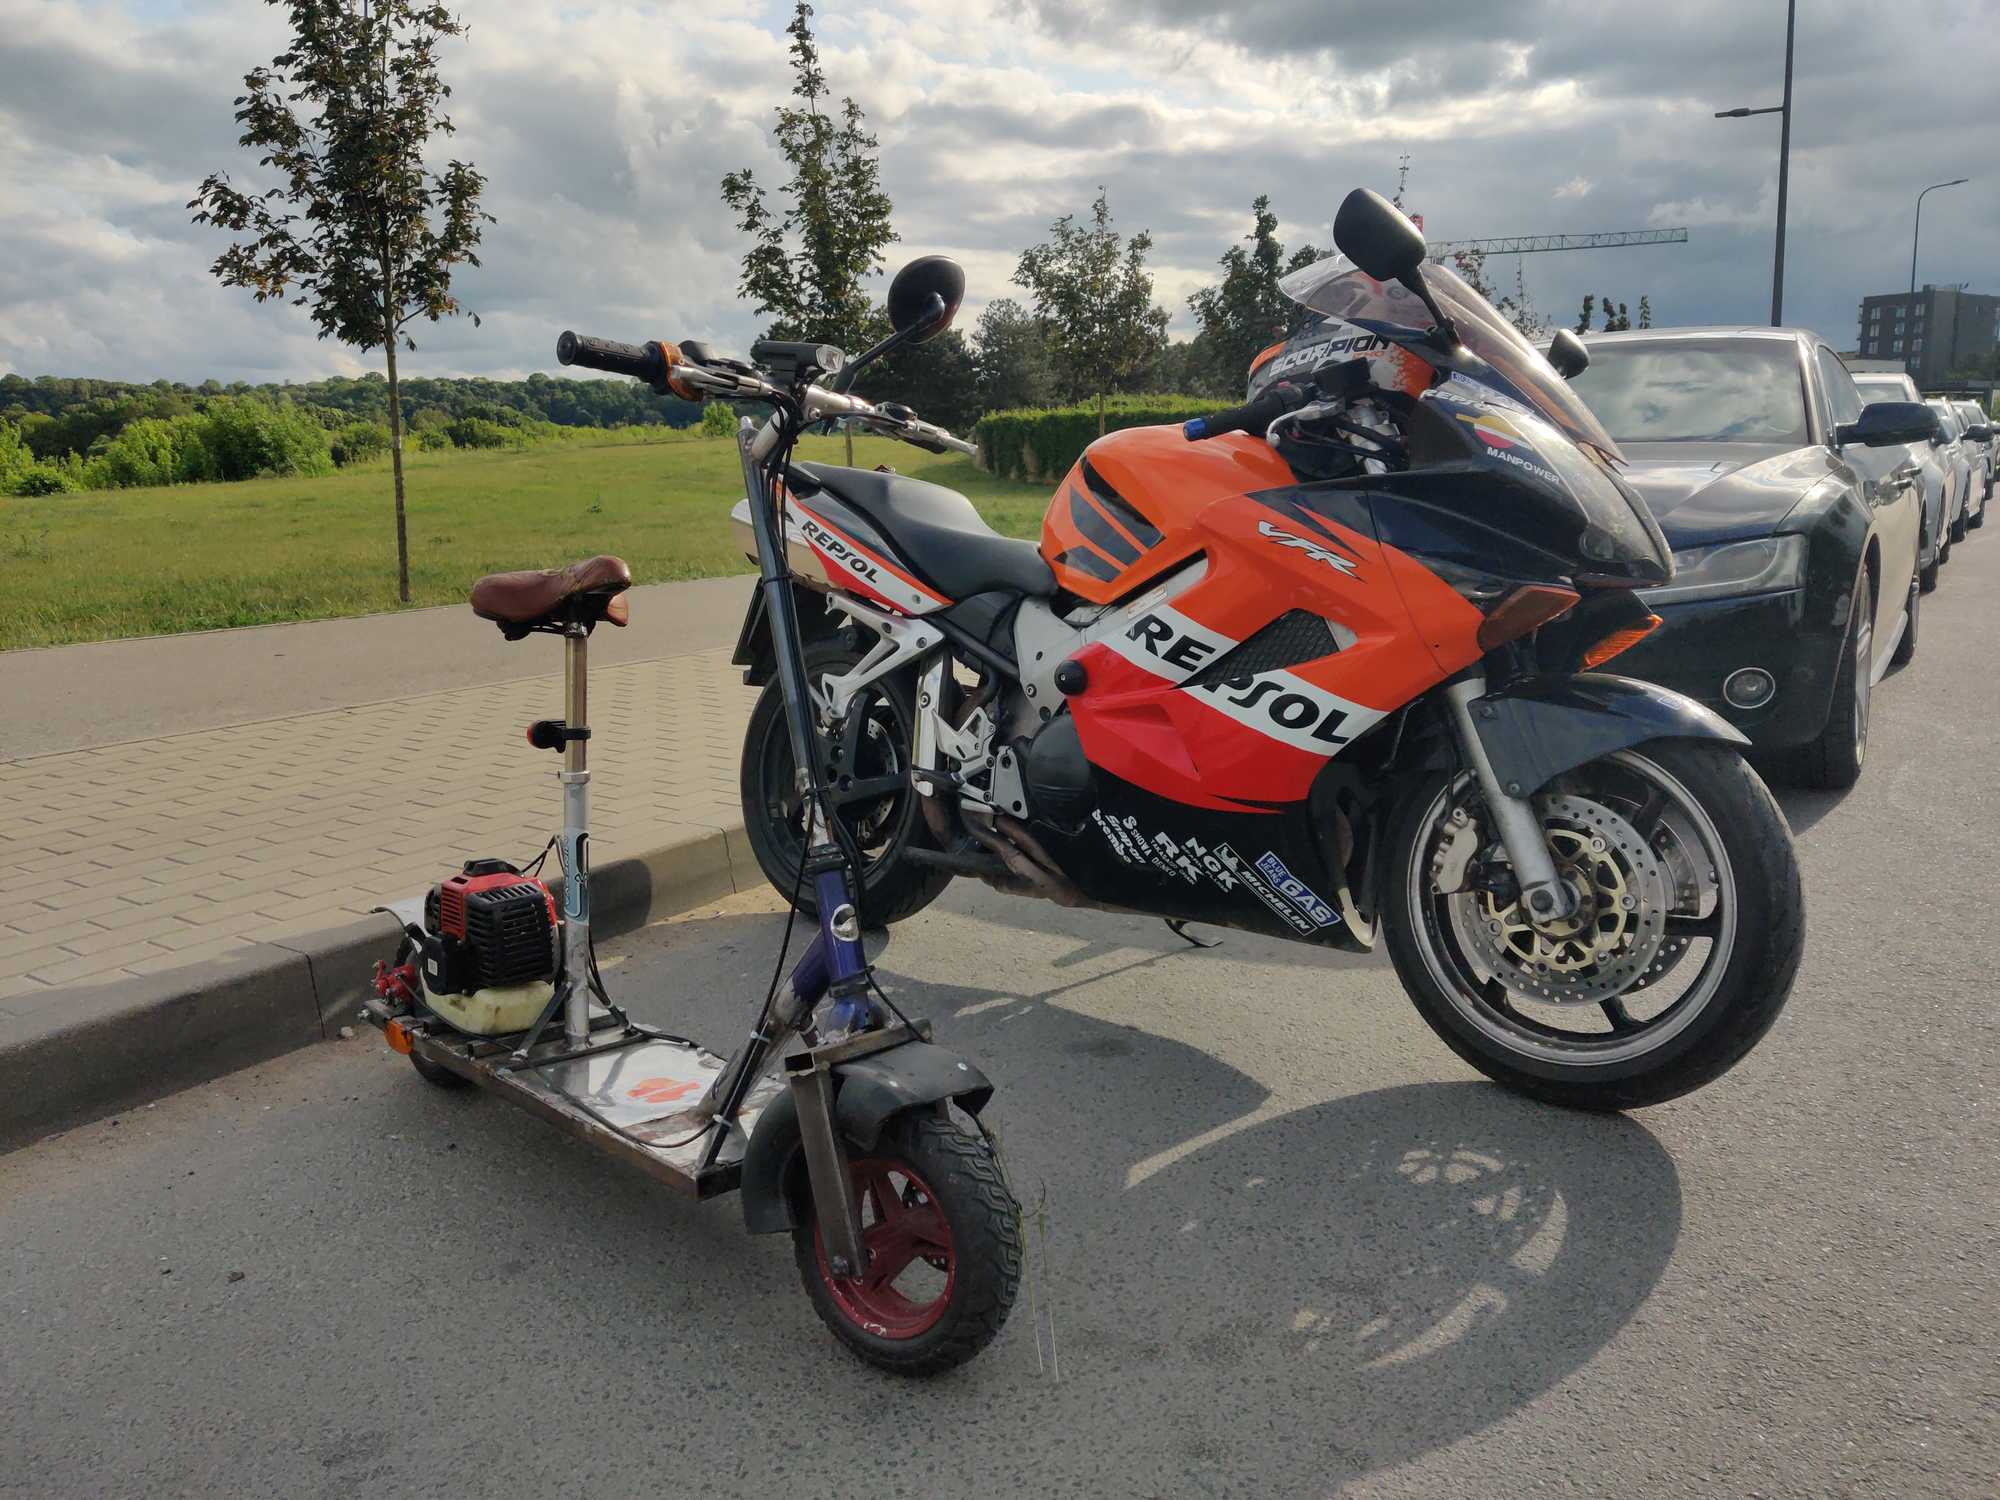
As for the tires – I found some that are sold for e-scooters as offroad, I ordered those and had them fitted onto my wheels with an inner tube. Notice that in the photo the tire looks like it has a flat surface but once mounted onto a wheel and inflated it changed its shape.
Wheels are missing mudguards. Let’s make those now.
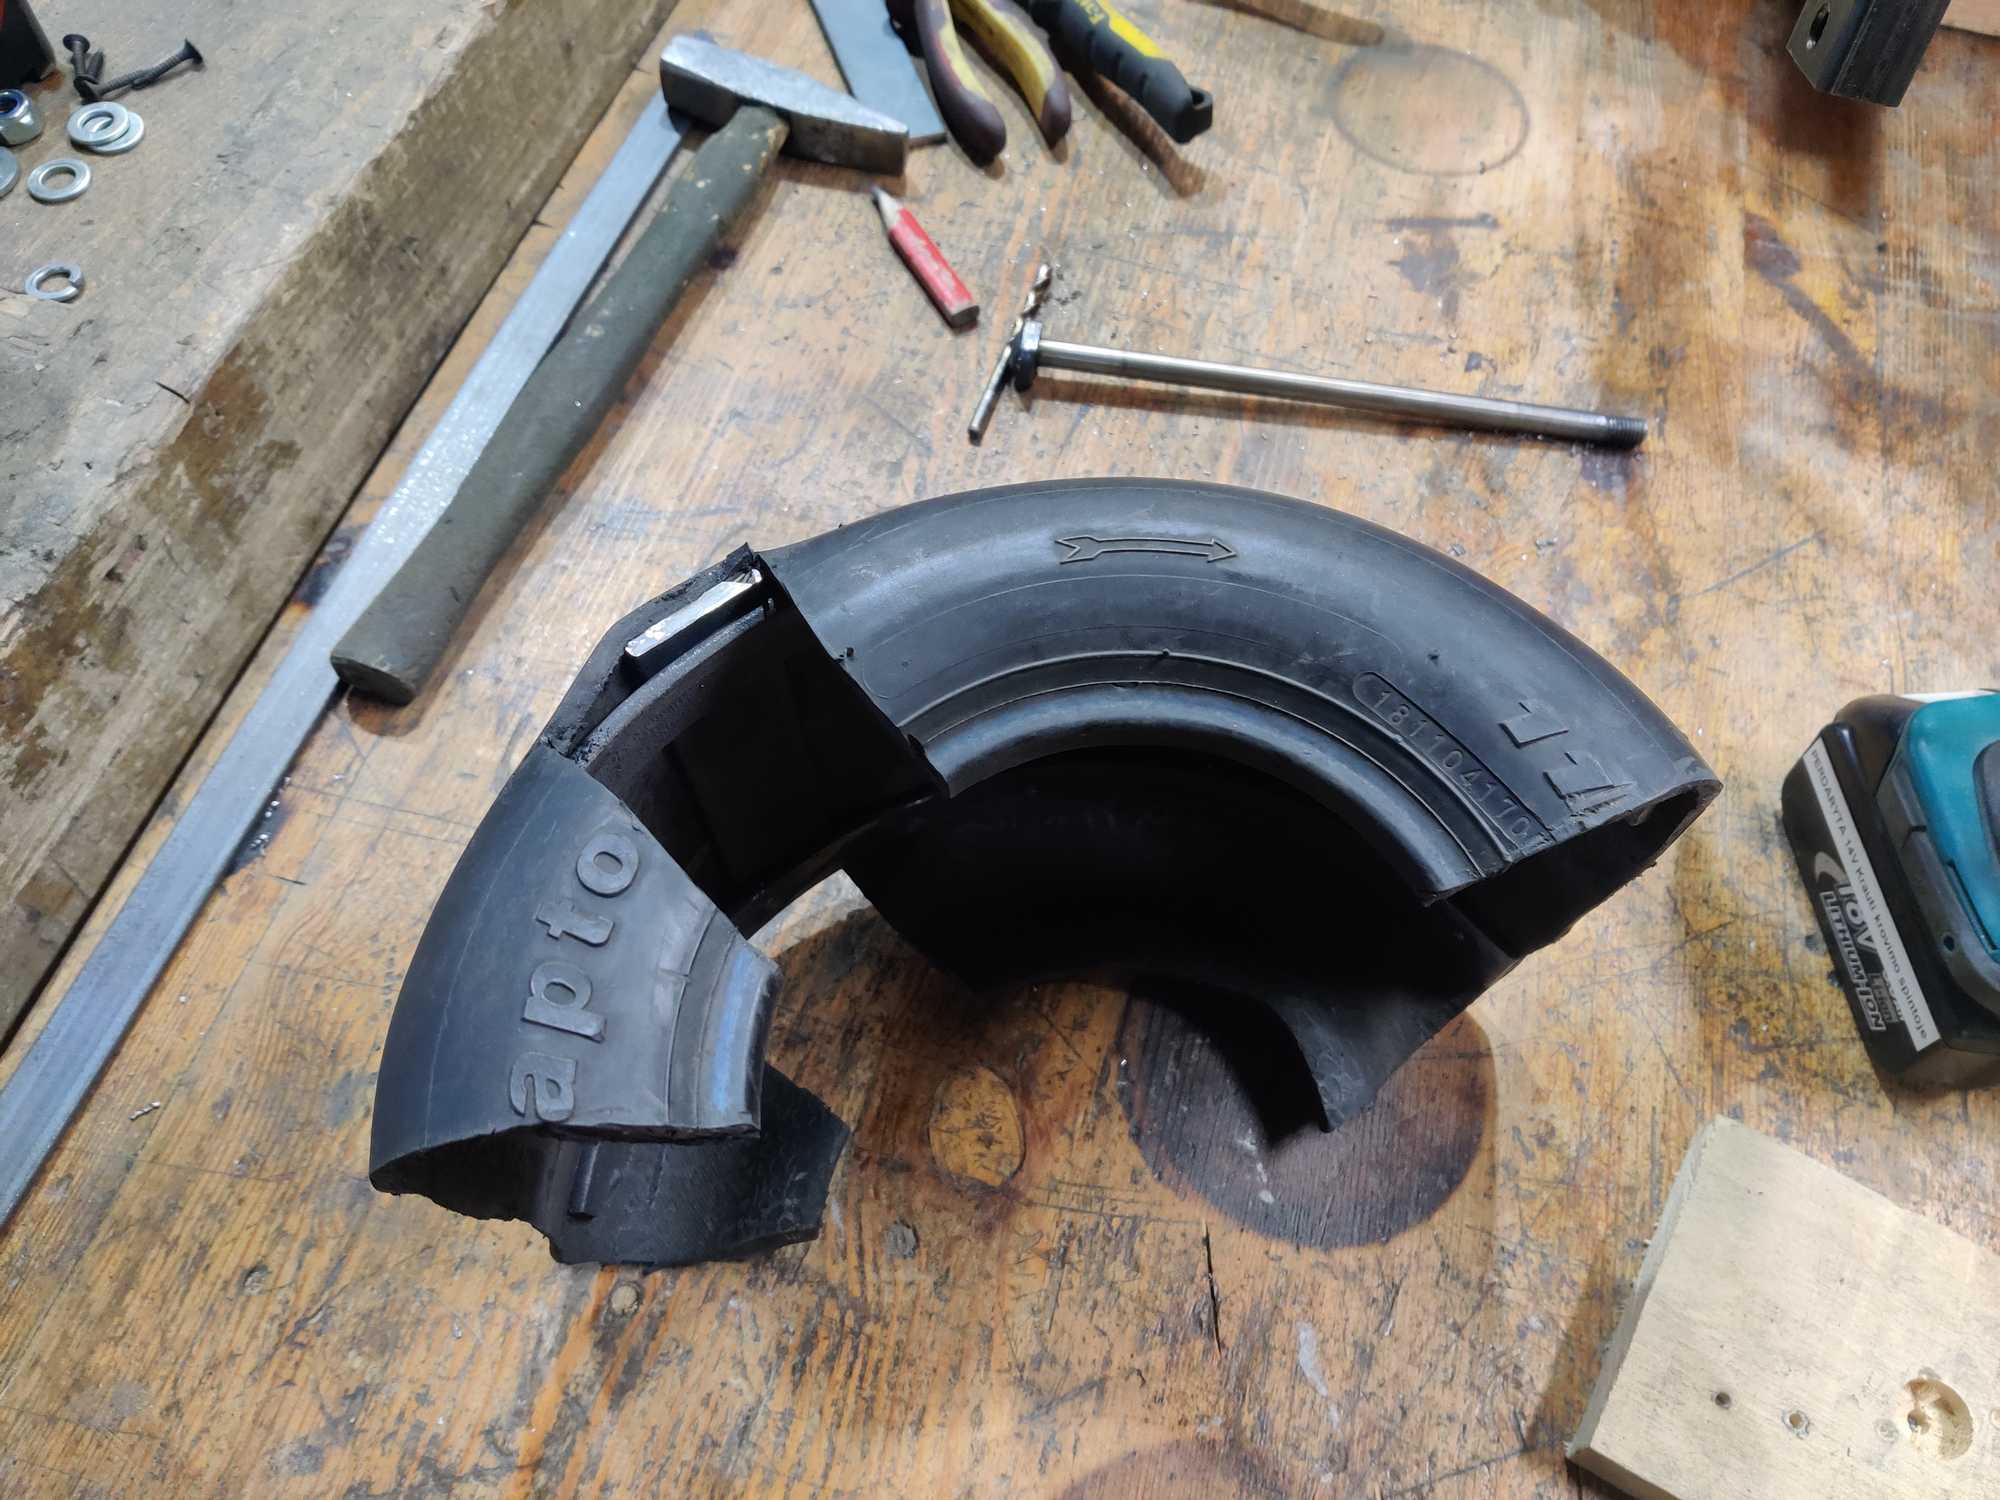
Front mudguard was made from a retired go-kart tire that I just found laying around also in the workshop. I cut it up and made a metal frame for rigidity. Makes this thing look like a chopper :D
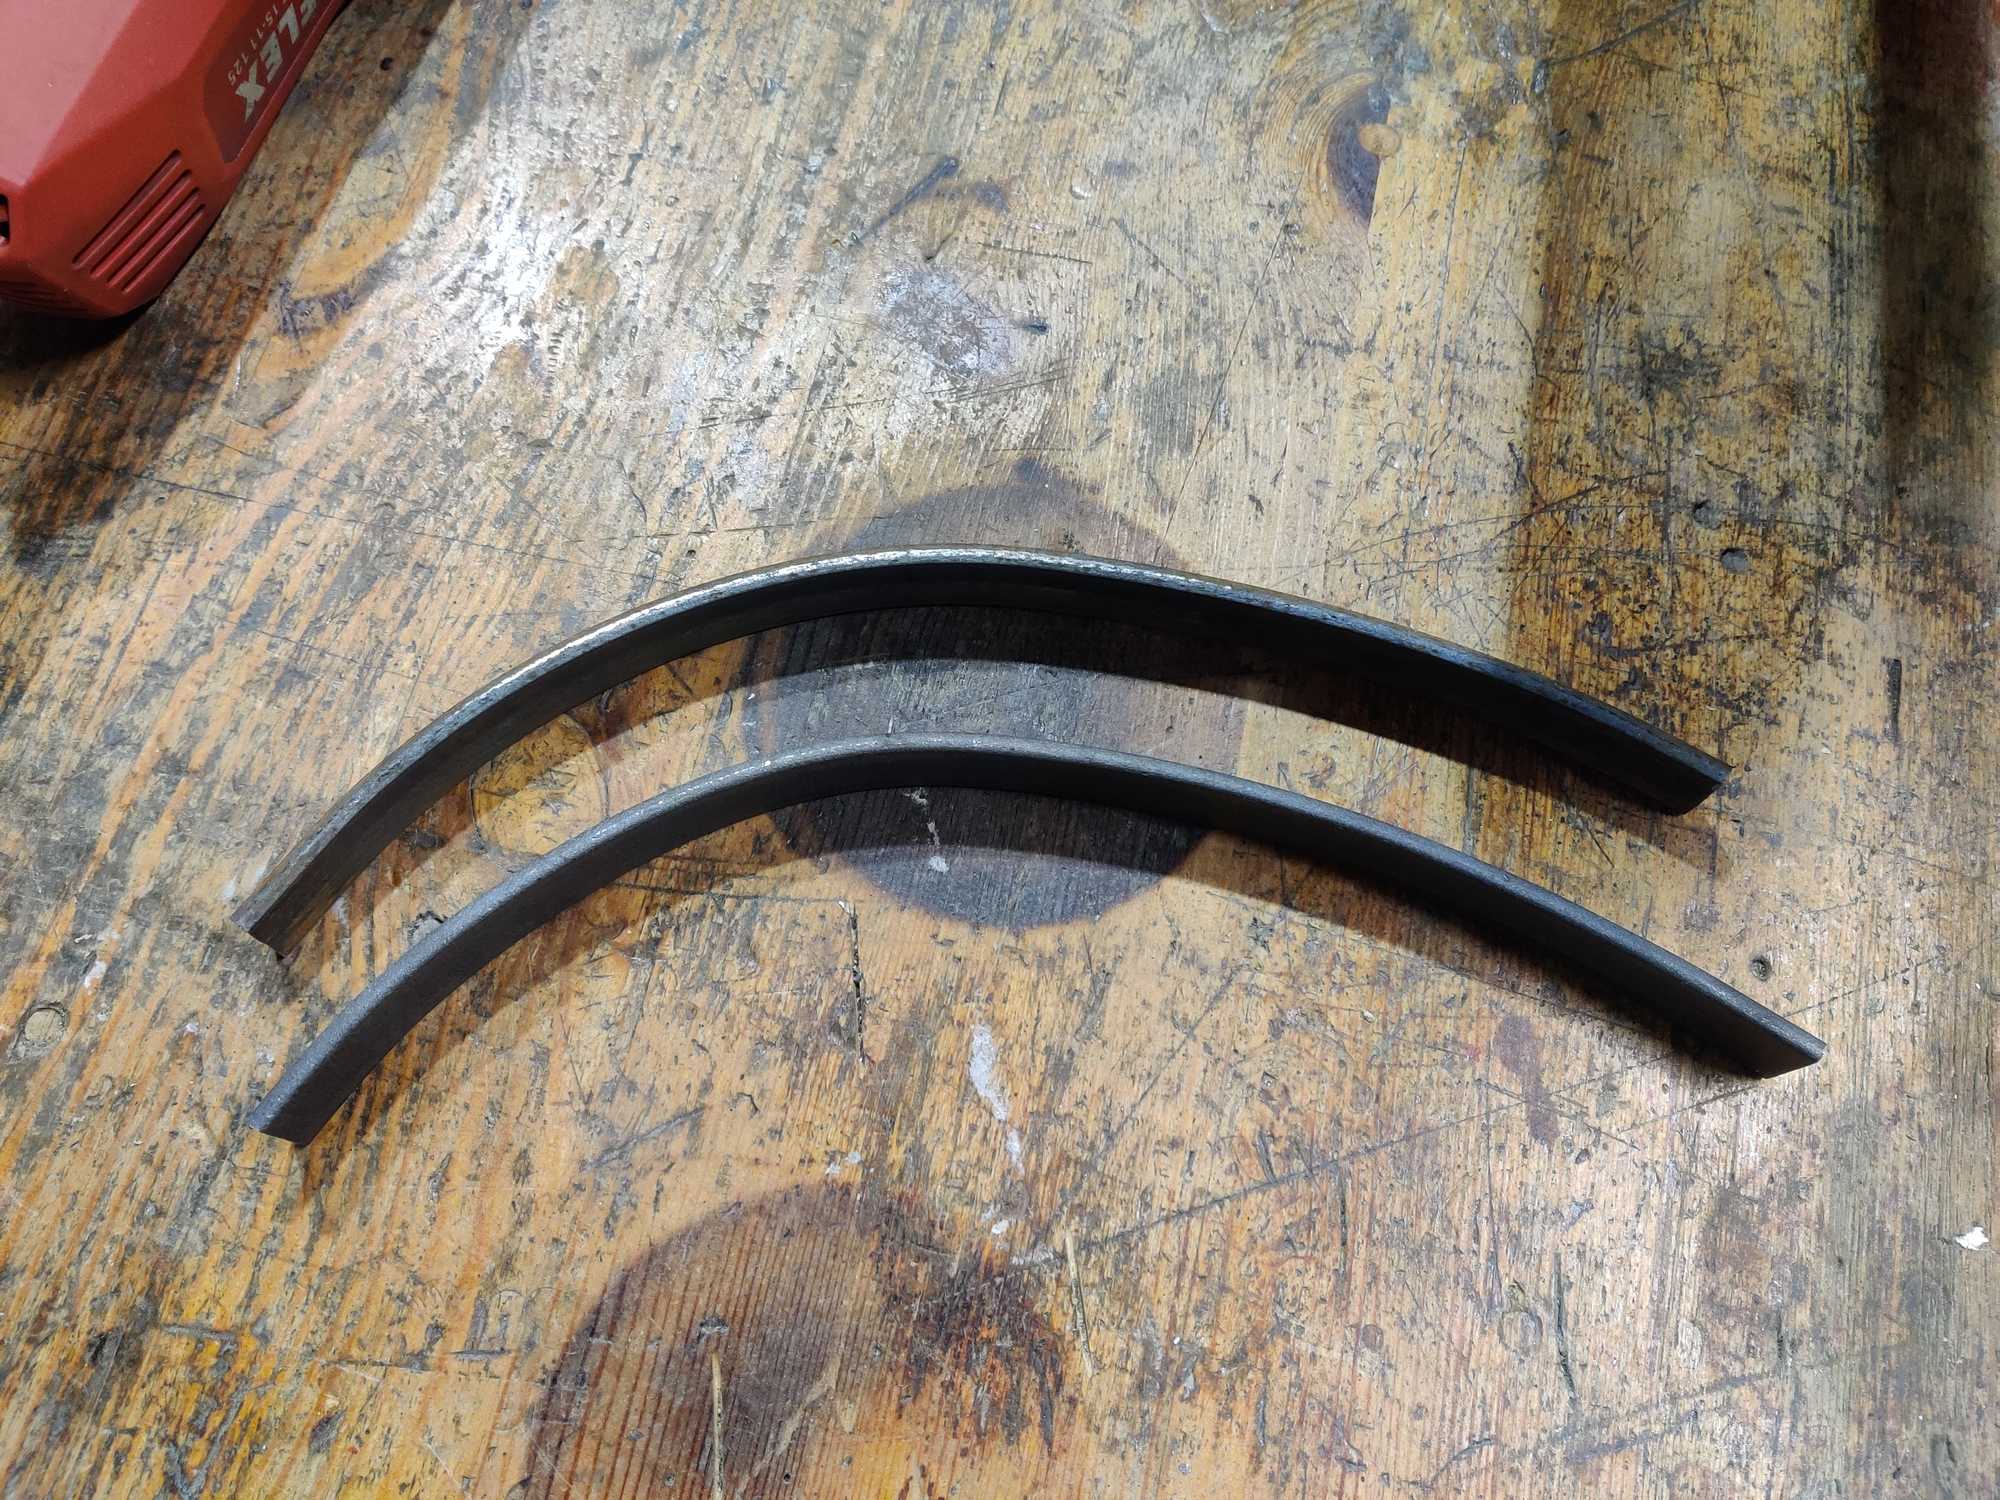
And for the rear wheel I bent two pieces of a metal strip, welded those on and added some plastic fastened with zip-ties.
All is left for the first proper test run is to connect up the brakes and ride around the yard.
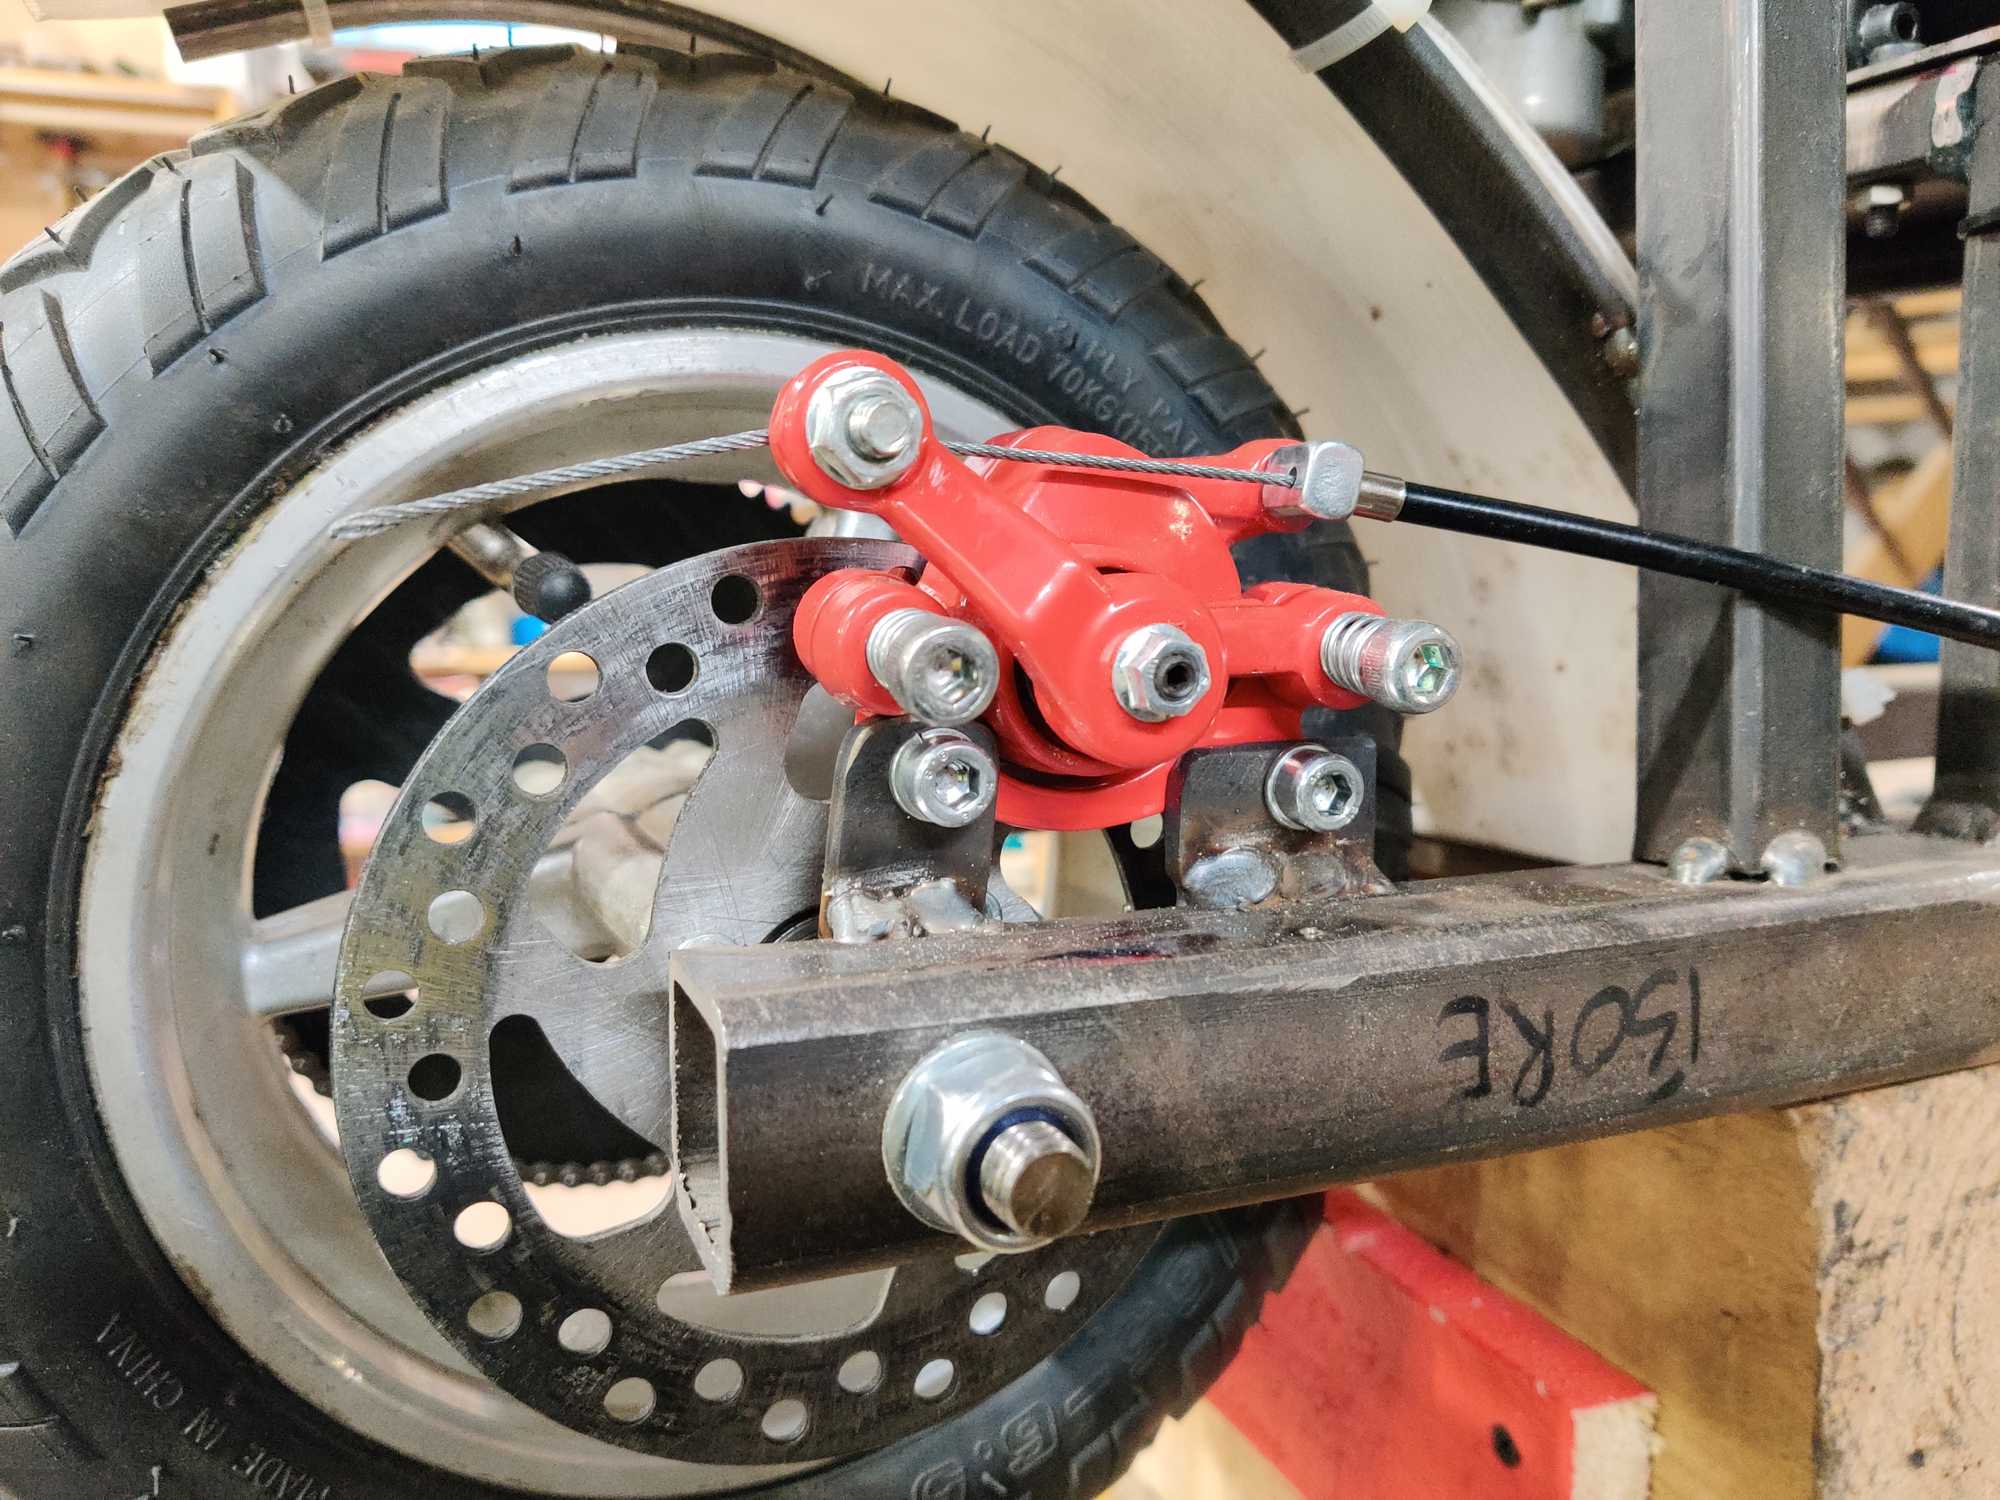
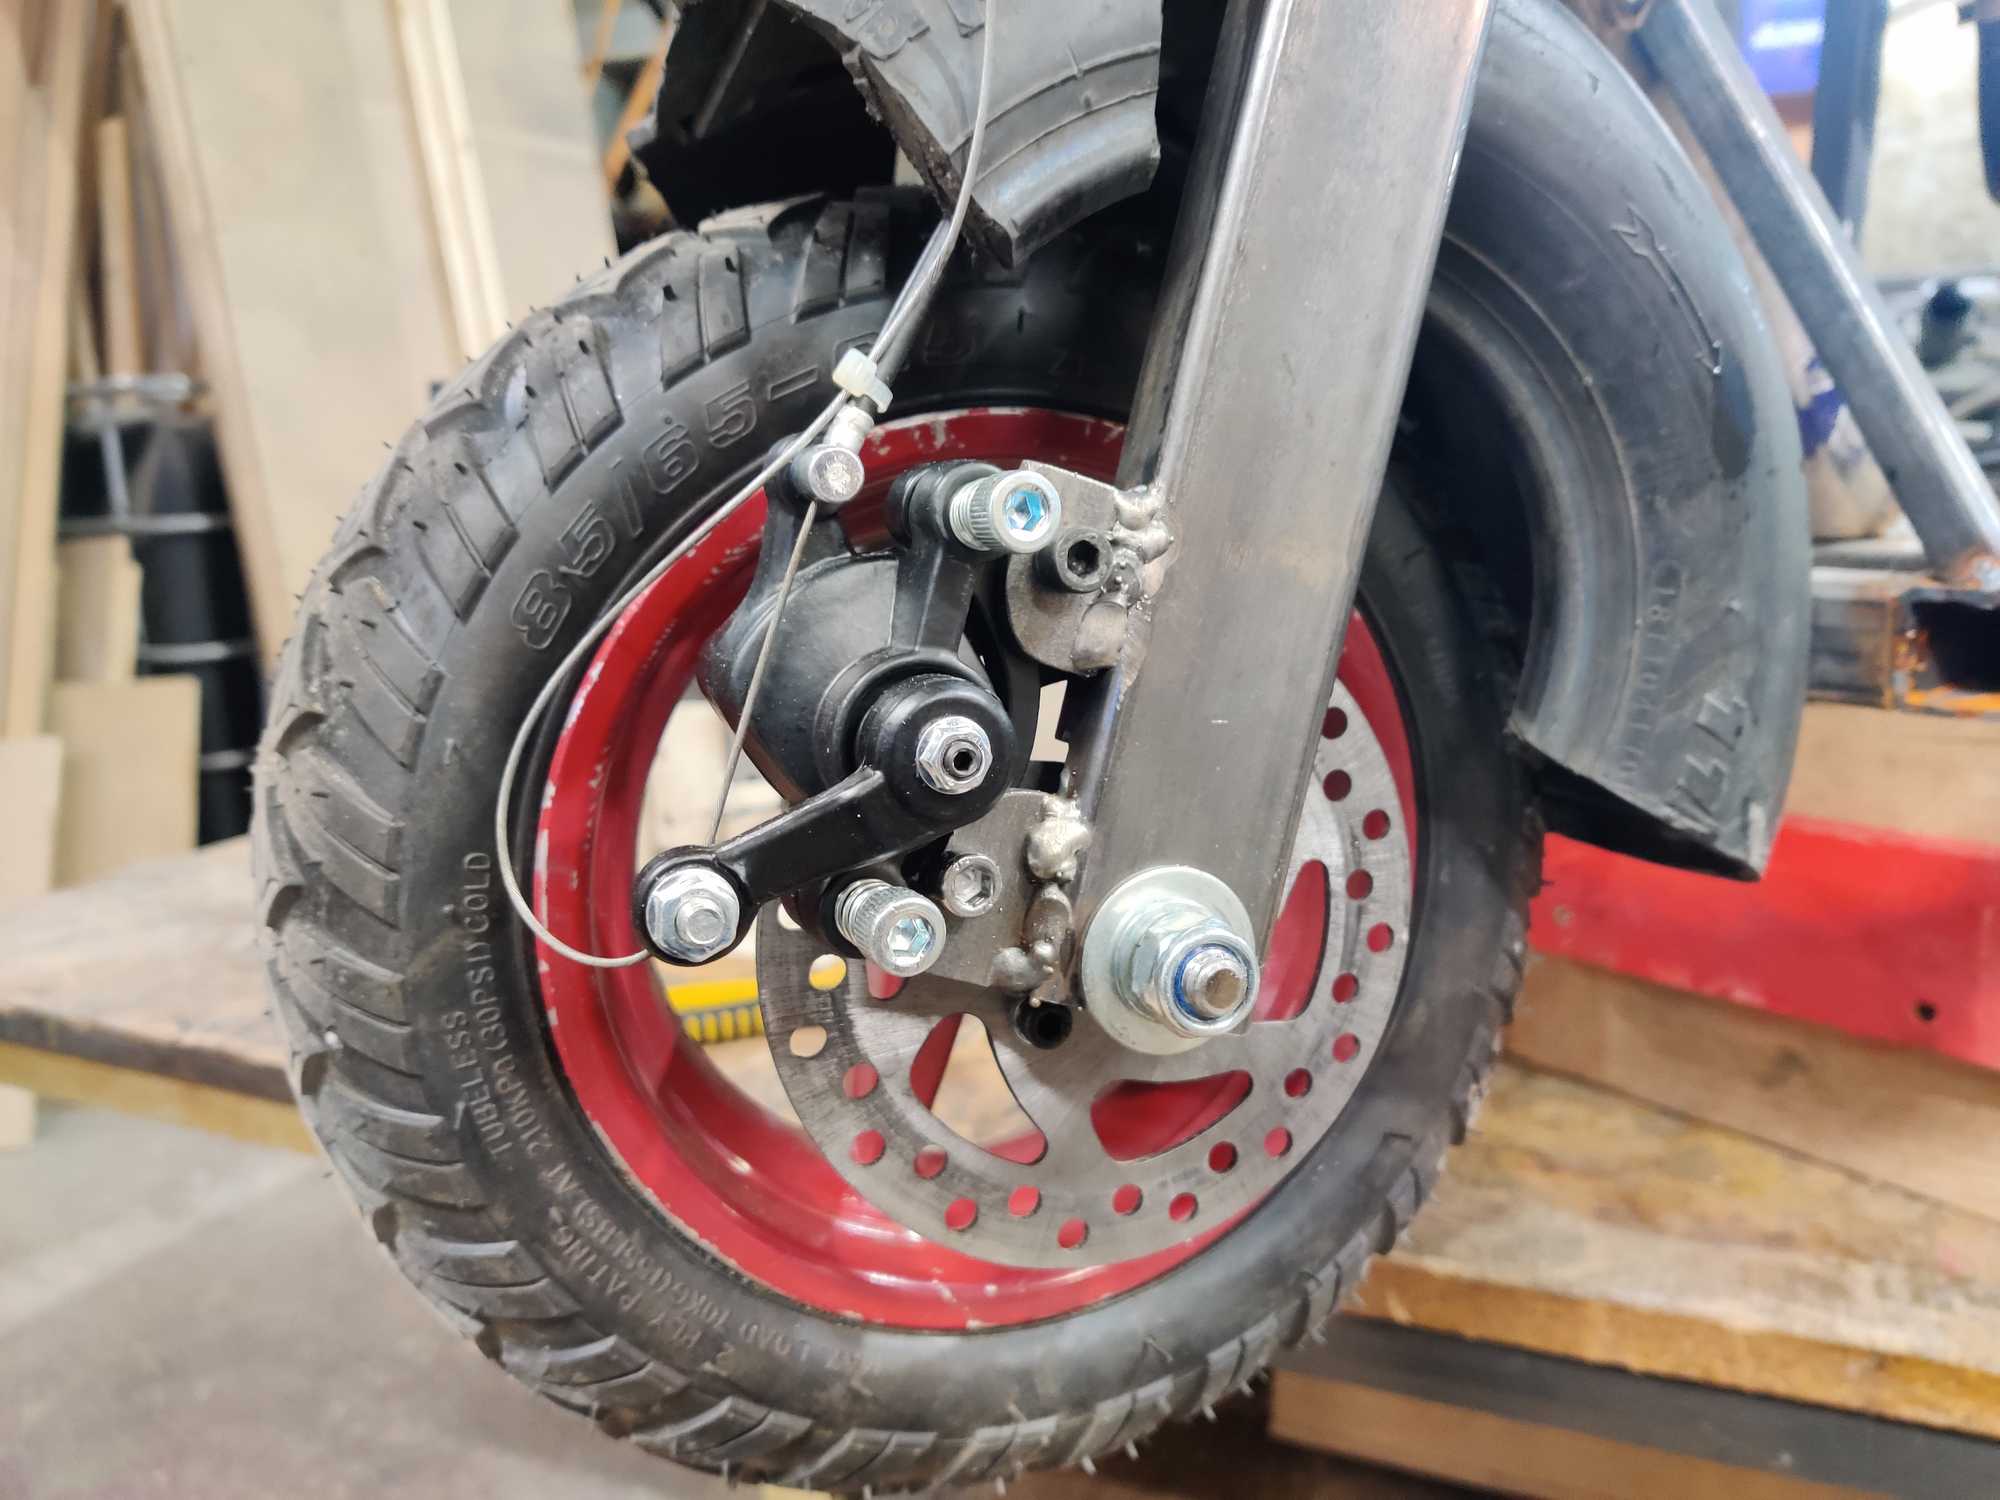
After doing so it was painfully clear that the small scooter brake caliper that I got is much too weak and later that day I ordered two brake calipers intended for mini bikes. They are much much better. I replaced the rear one and put an additional one on the front too because honestly there wasn’t enough stopping force from just one.
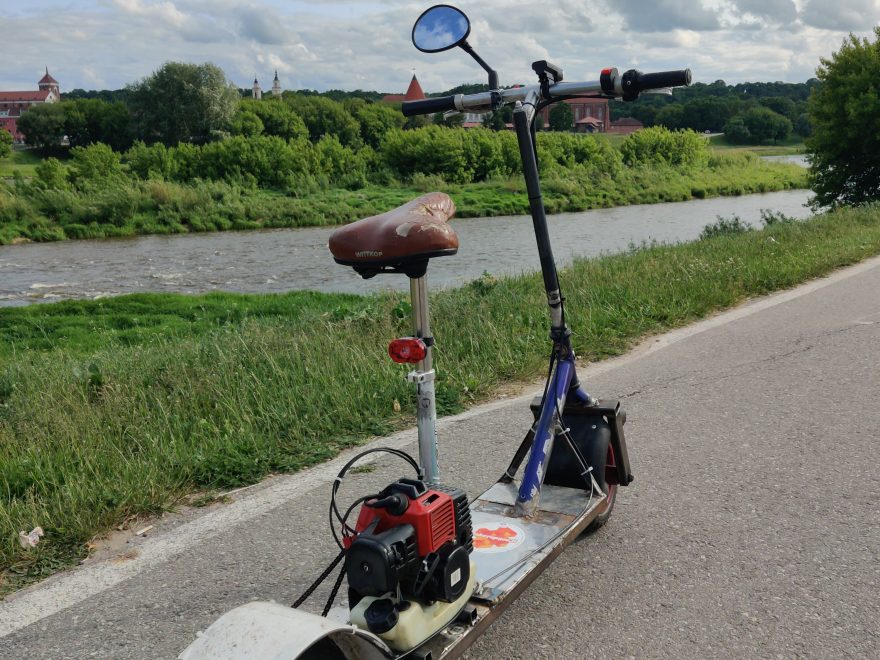
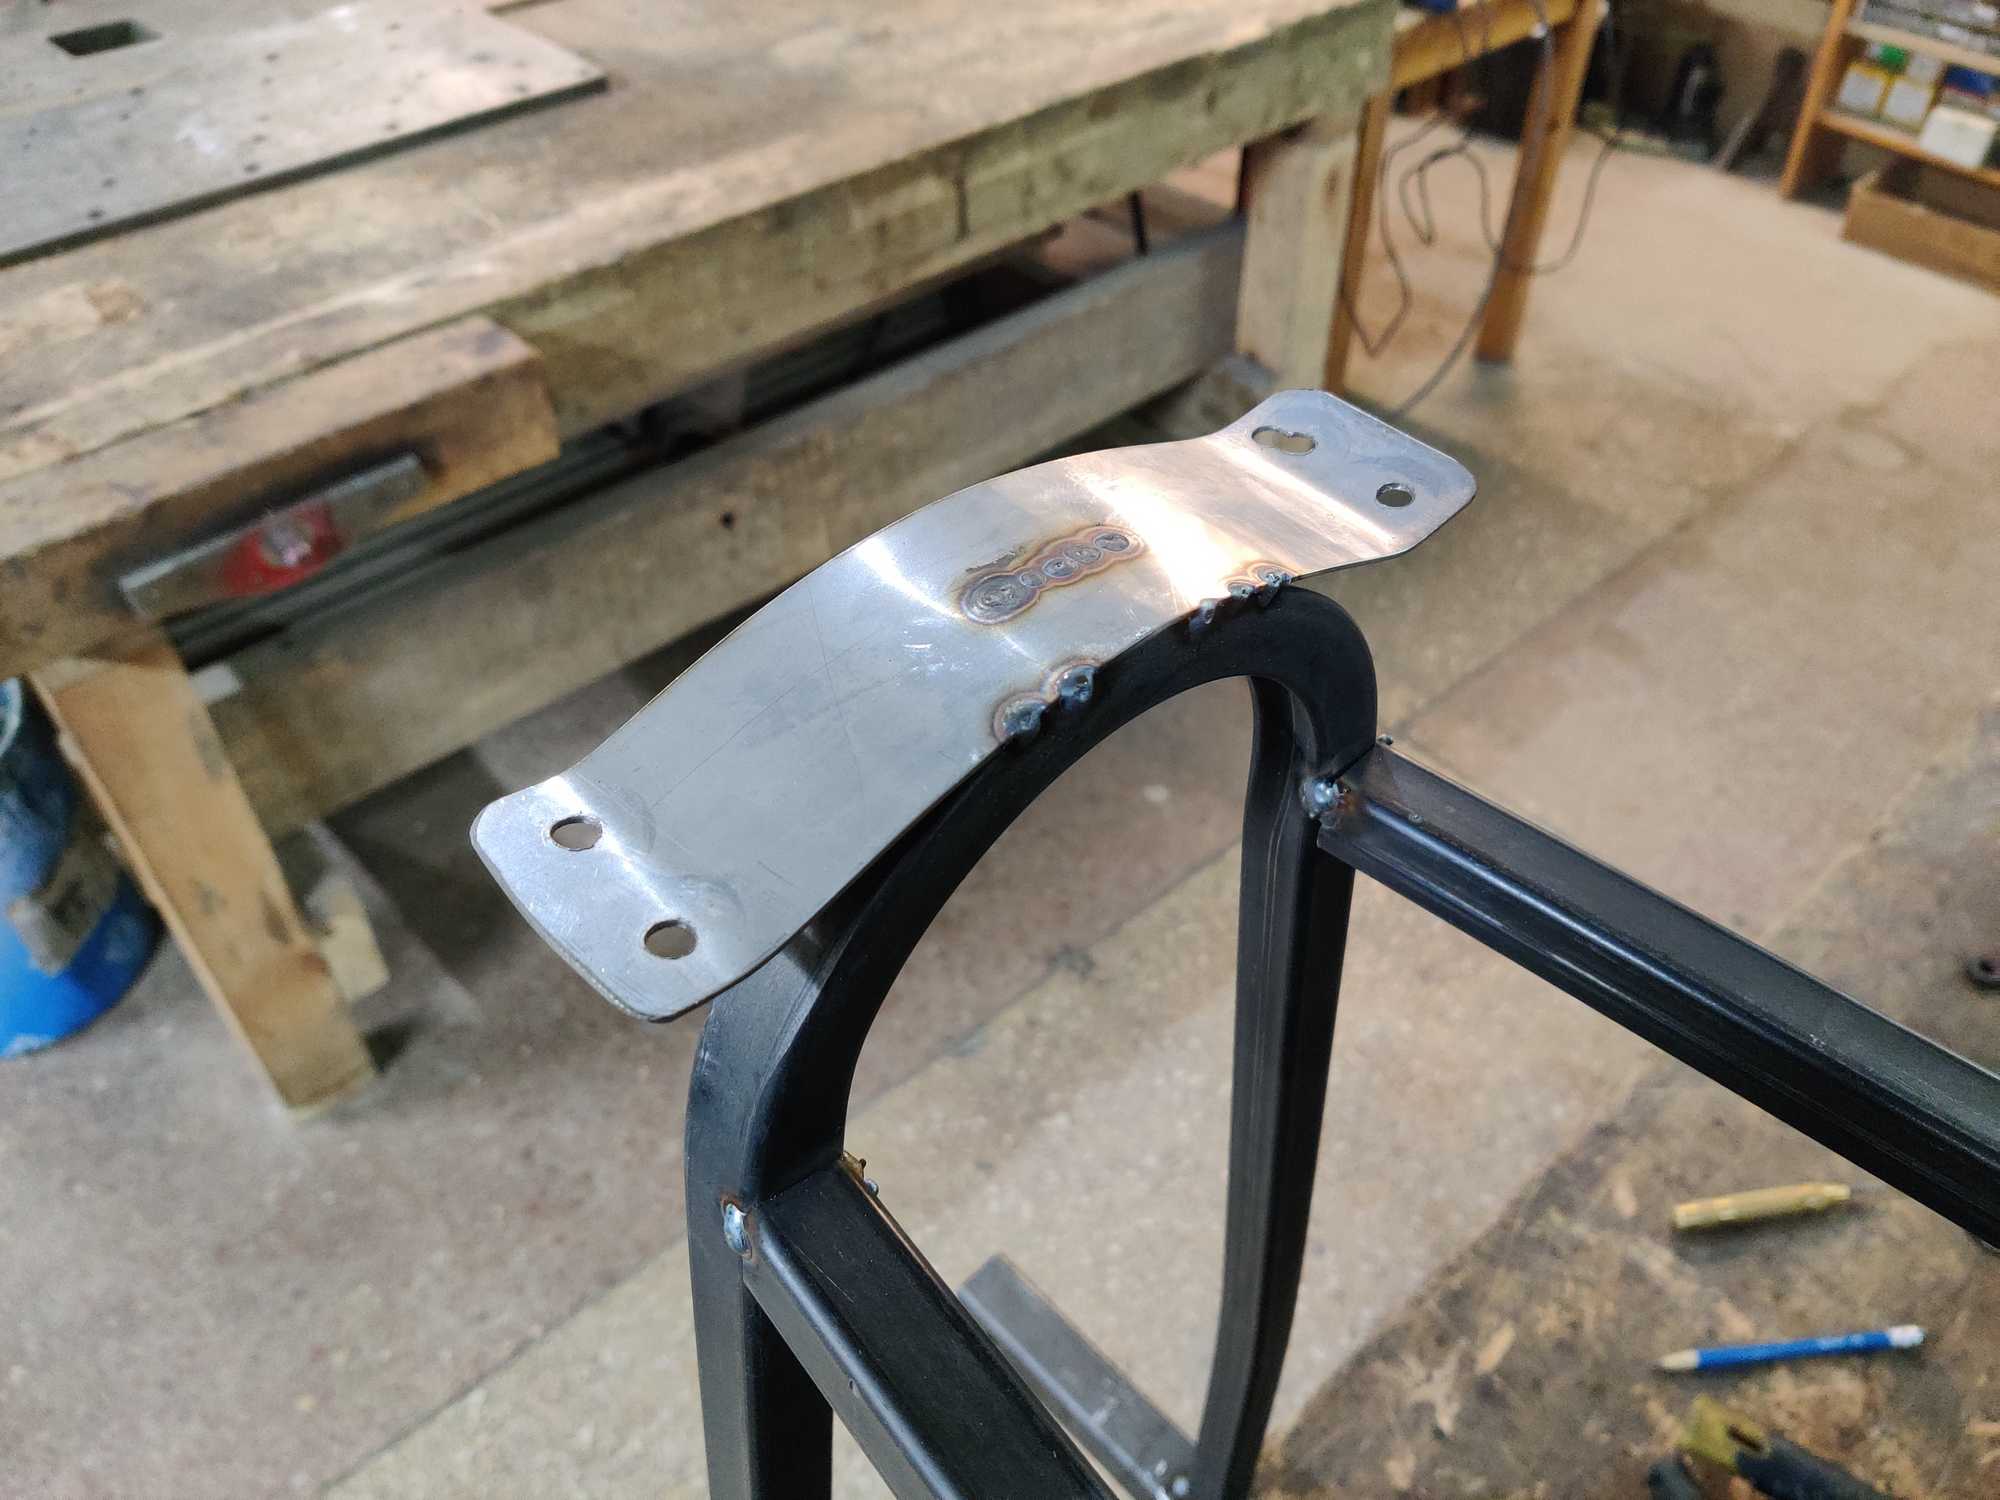
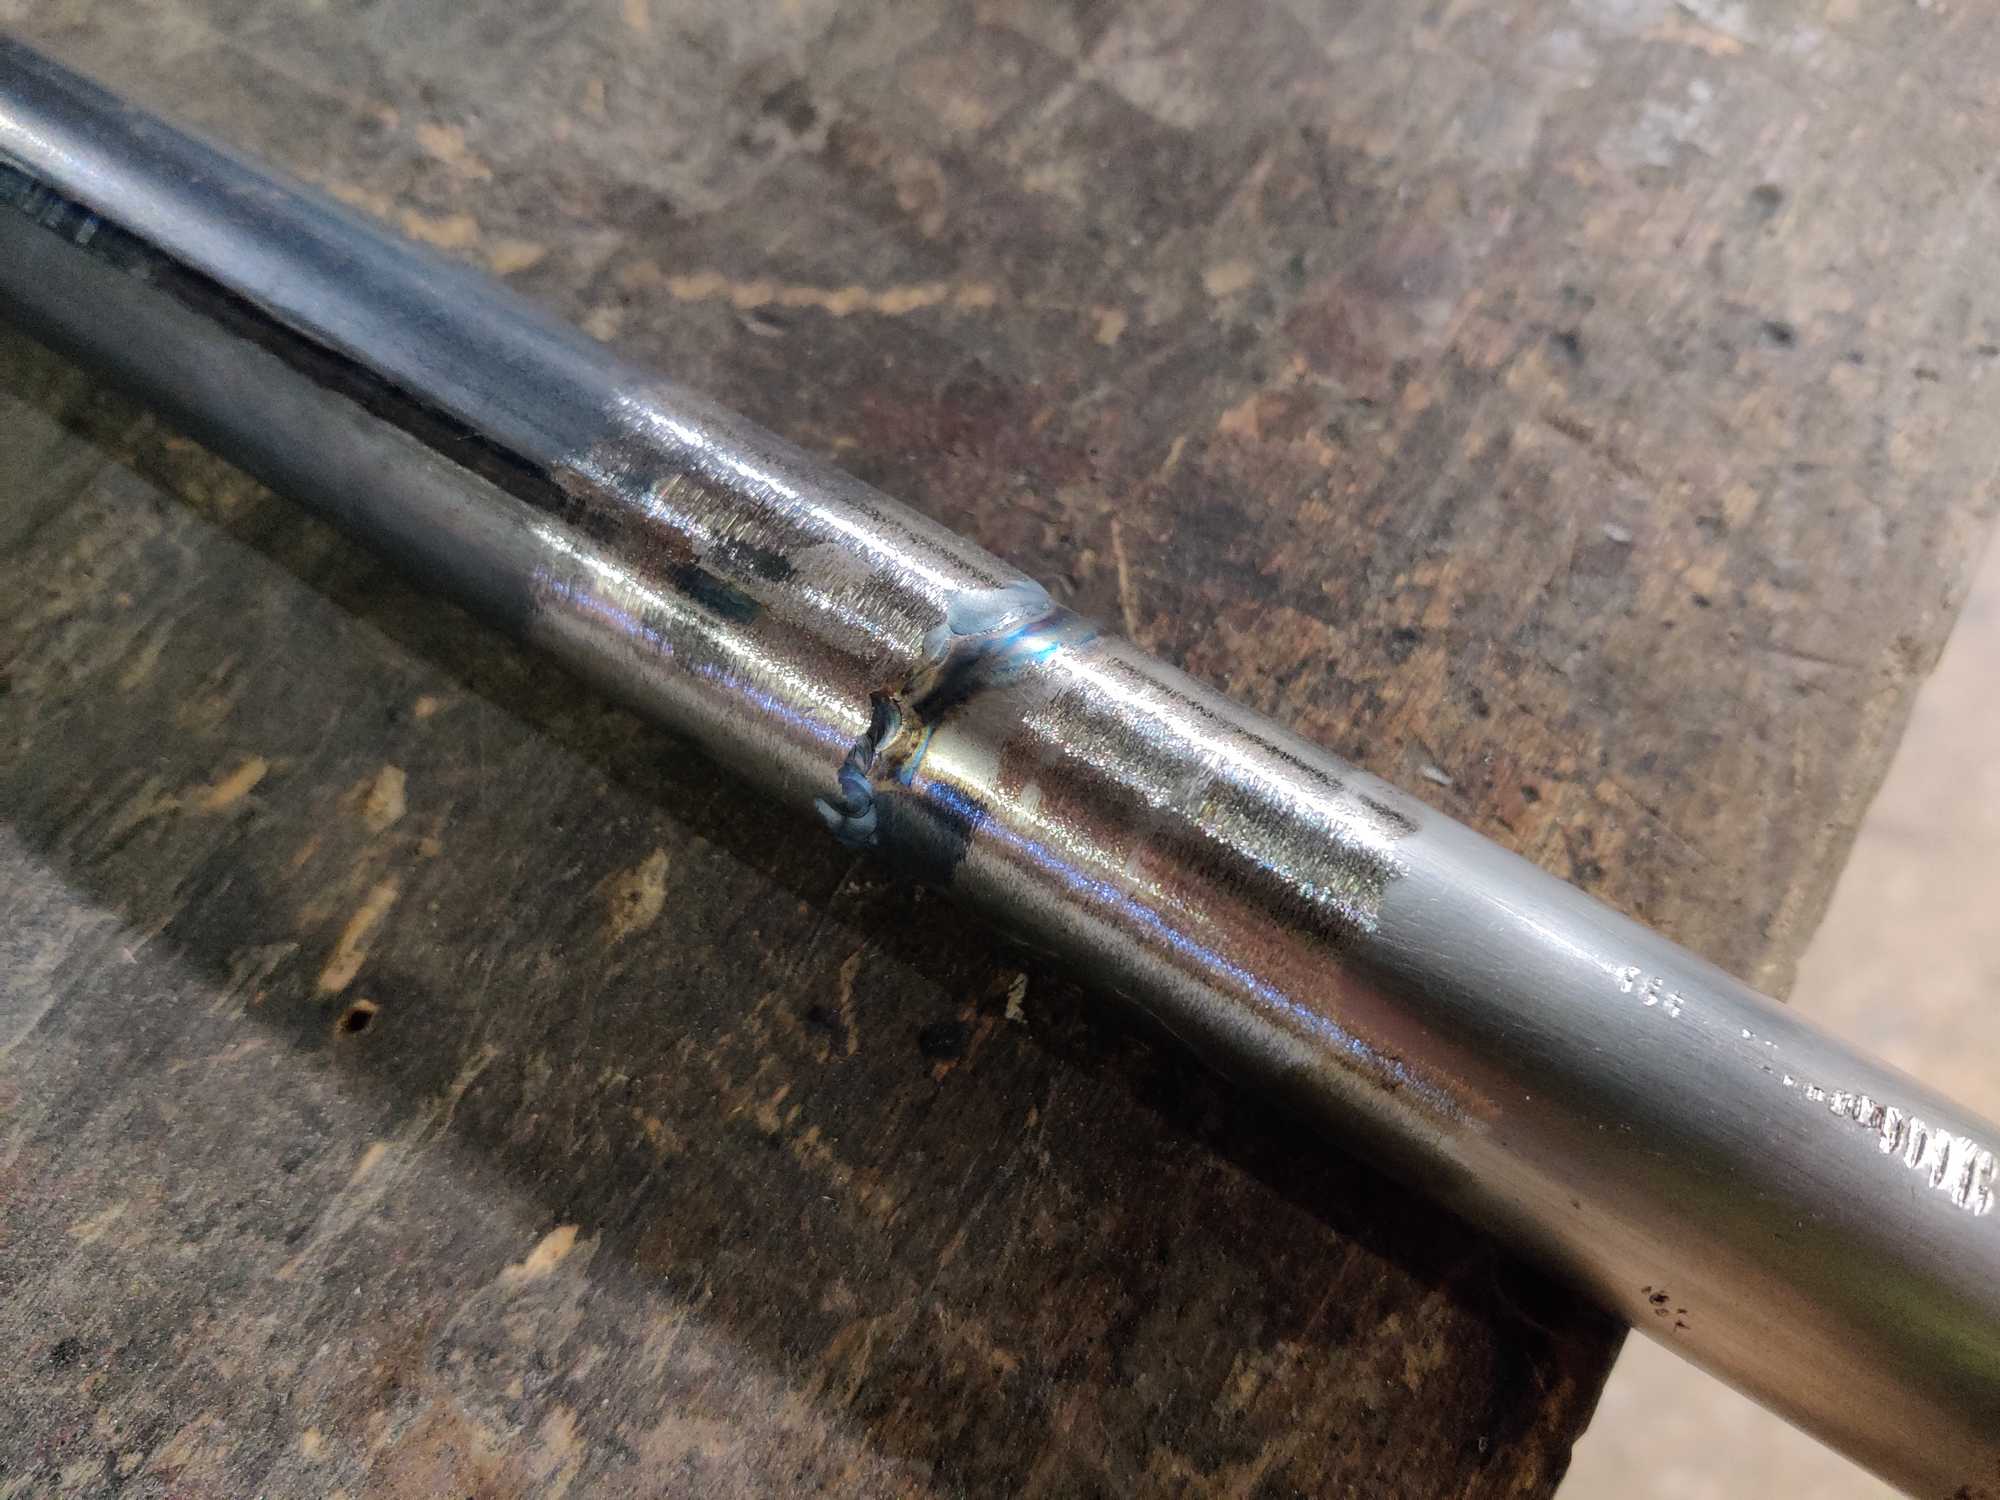
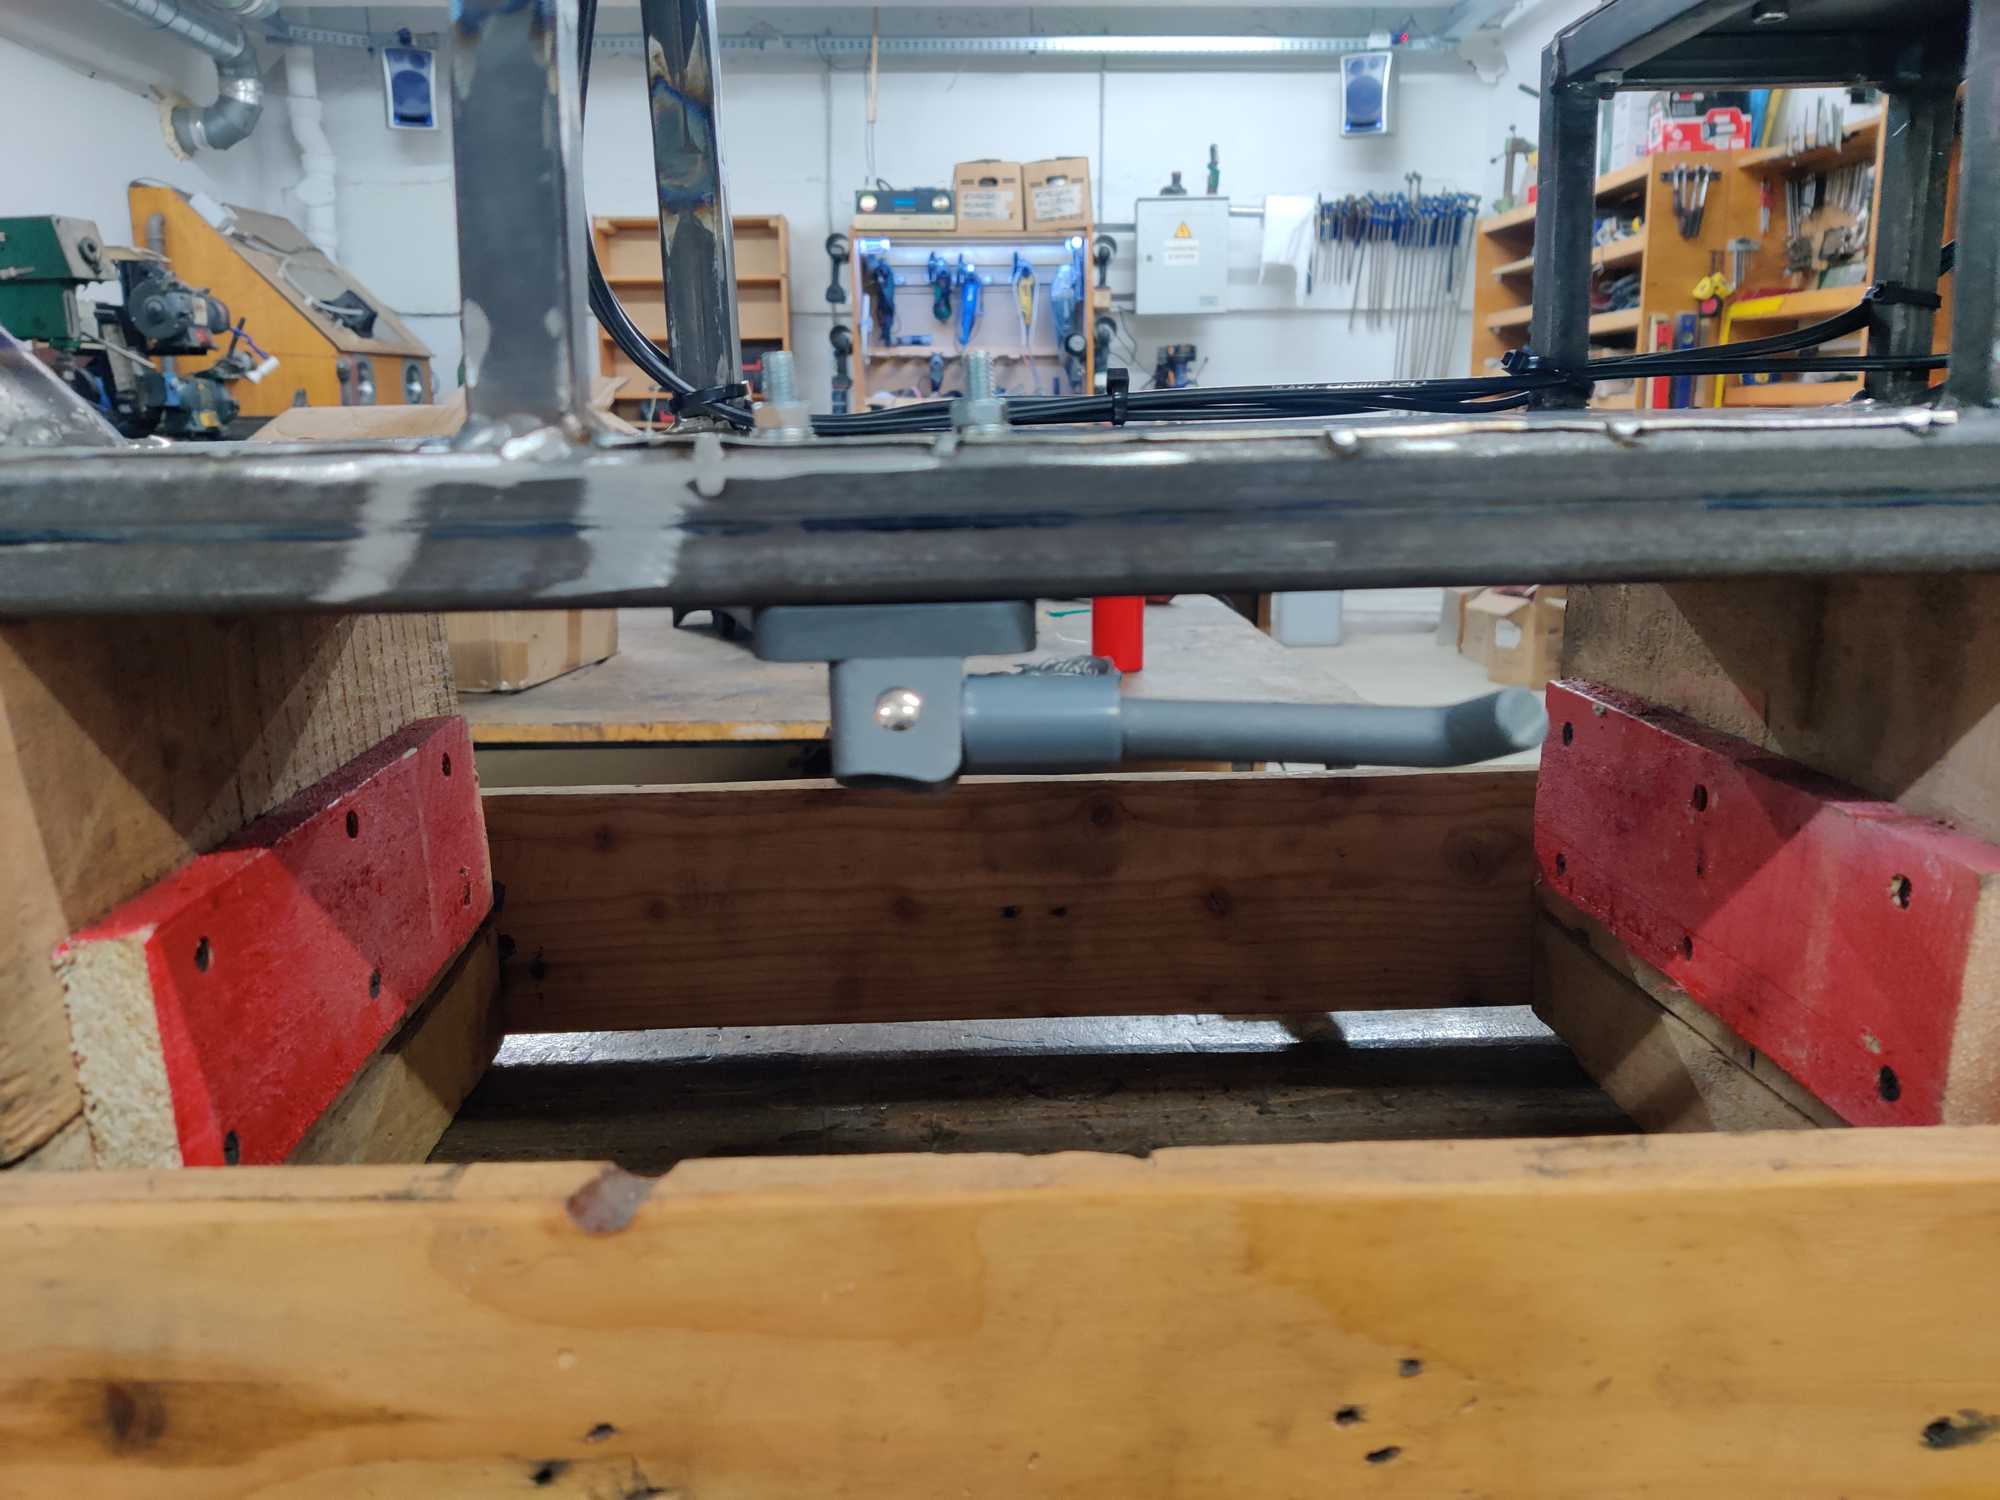
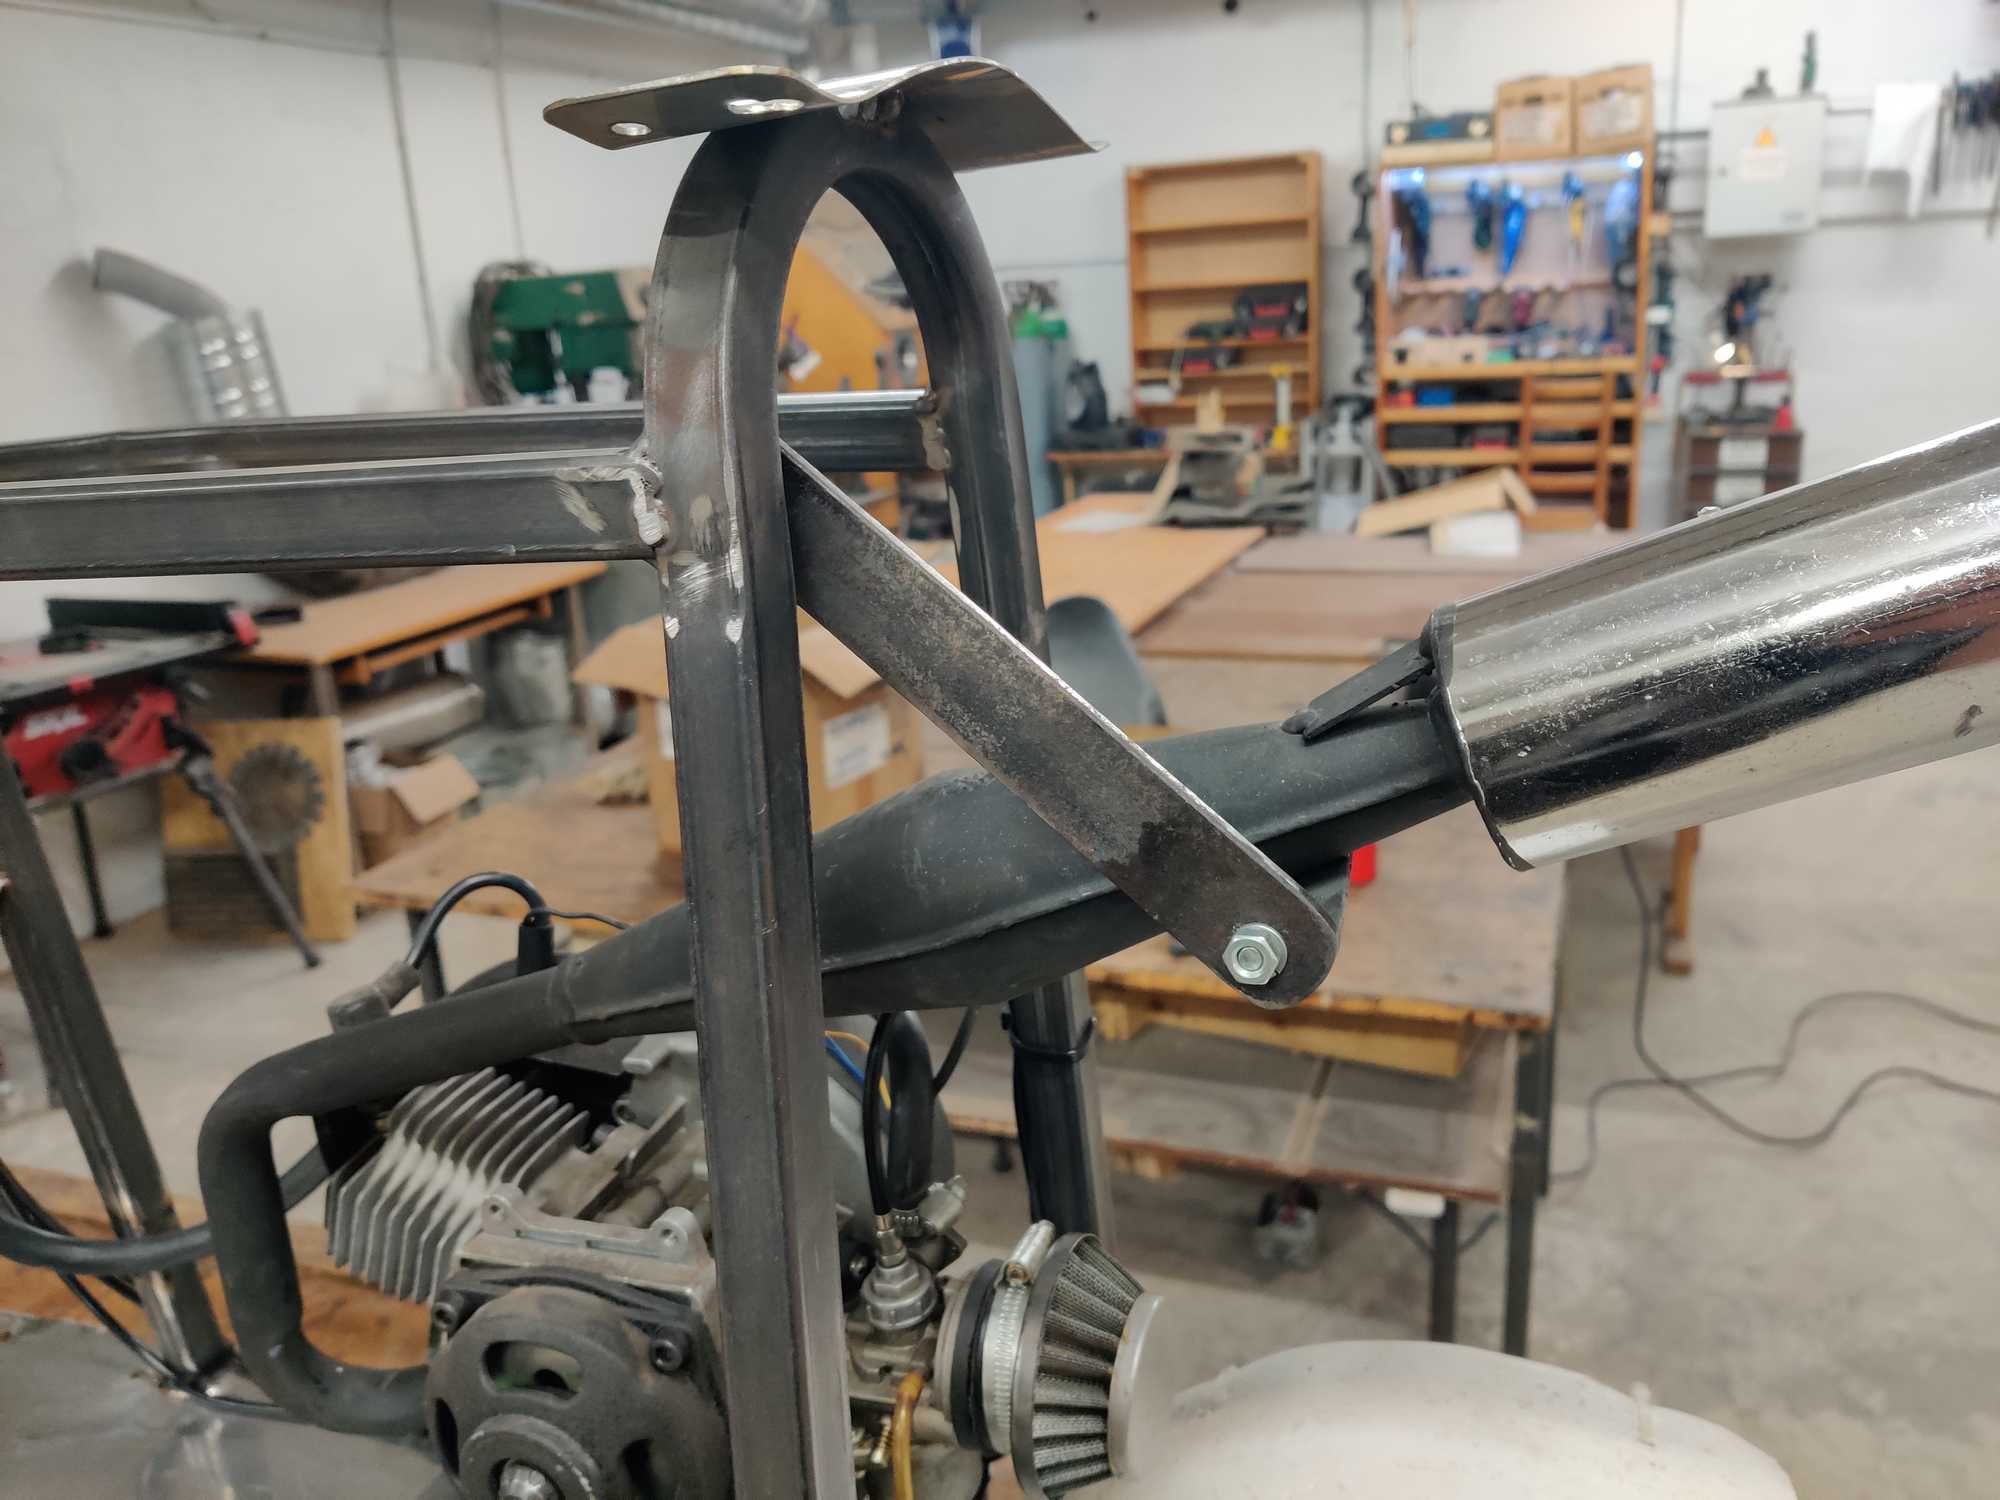
After riding around a bit I was satisfied with how it looks and handles and then welded everything properly, then I added a bottom made from very thin sheet metal, a stand, reinforced the front fork and also added support for the exhaust.

I realize that the stock exhaust is pretty shit and you could increase performance by making a simple modification like explained here: https://www.pocketbikeplanet.com/threads/how-to-mod-your-stock-exhaust.24043/ but thank goodness I didn’t start making my own.
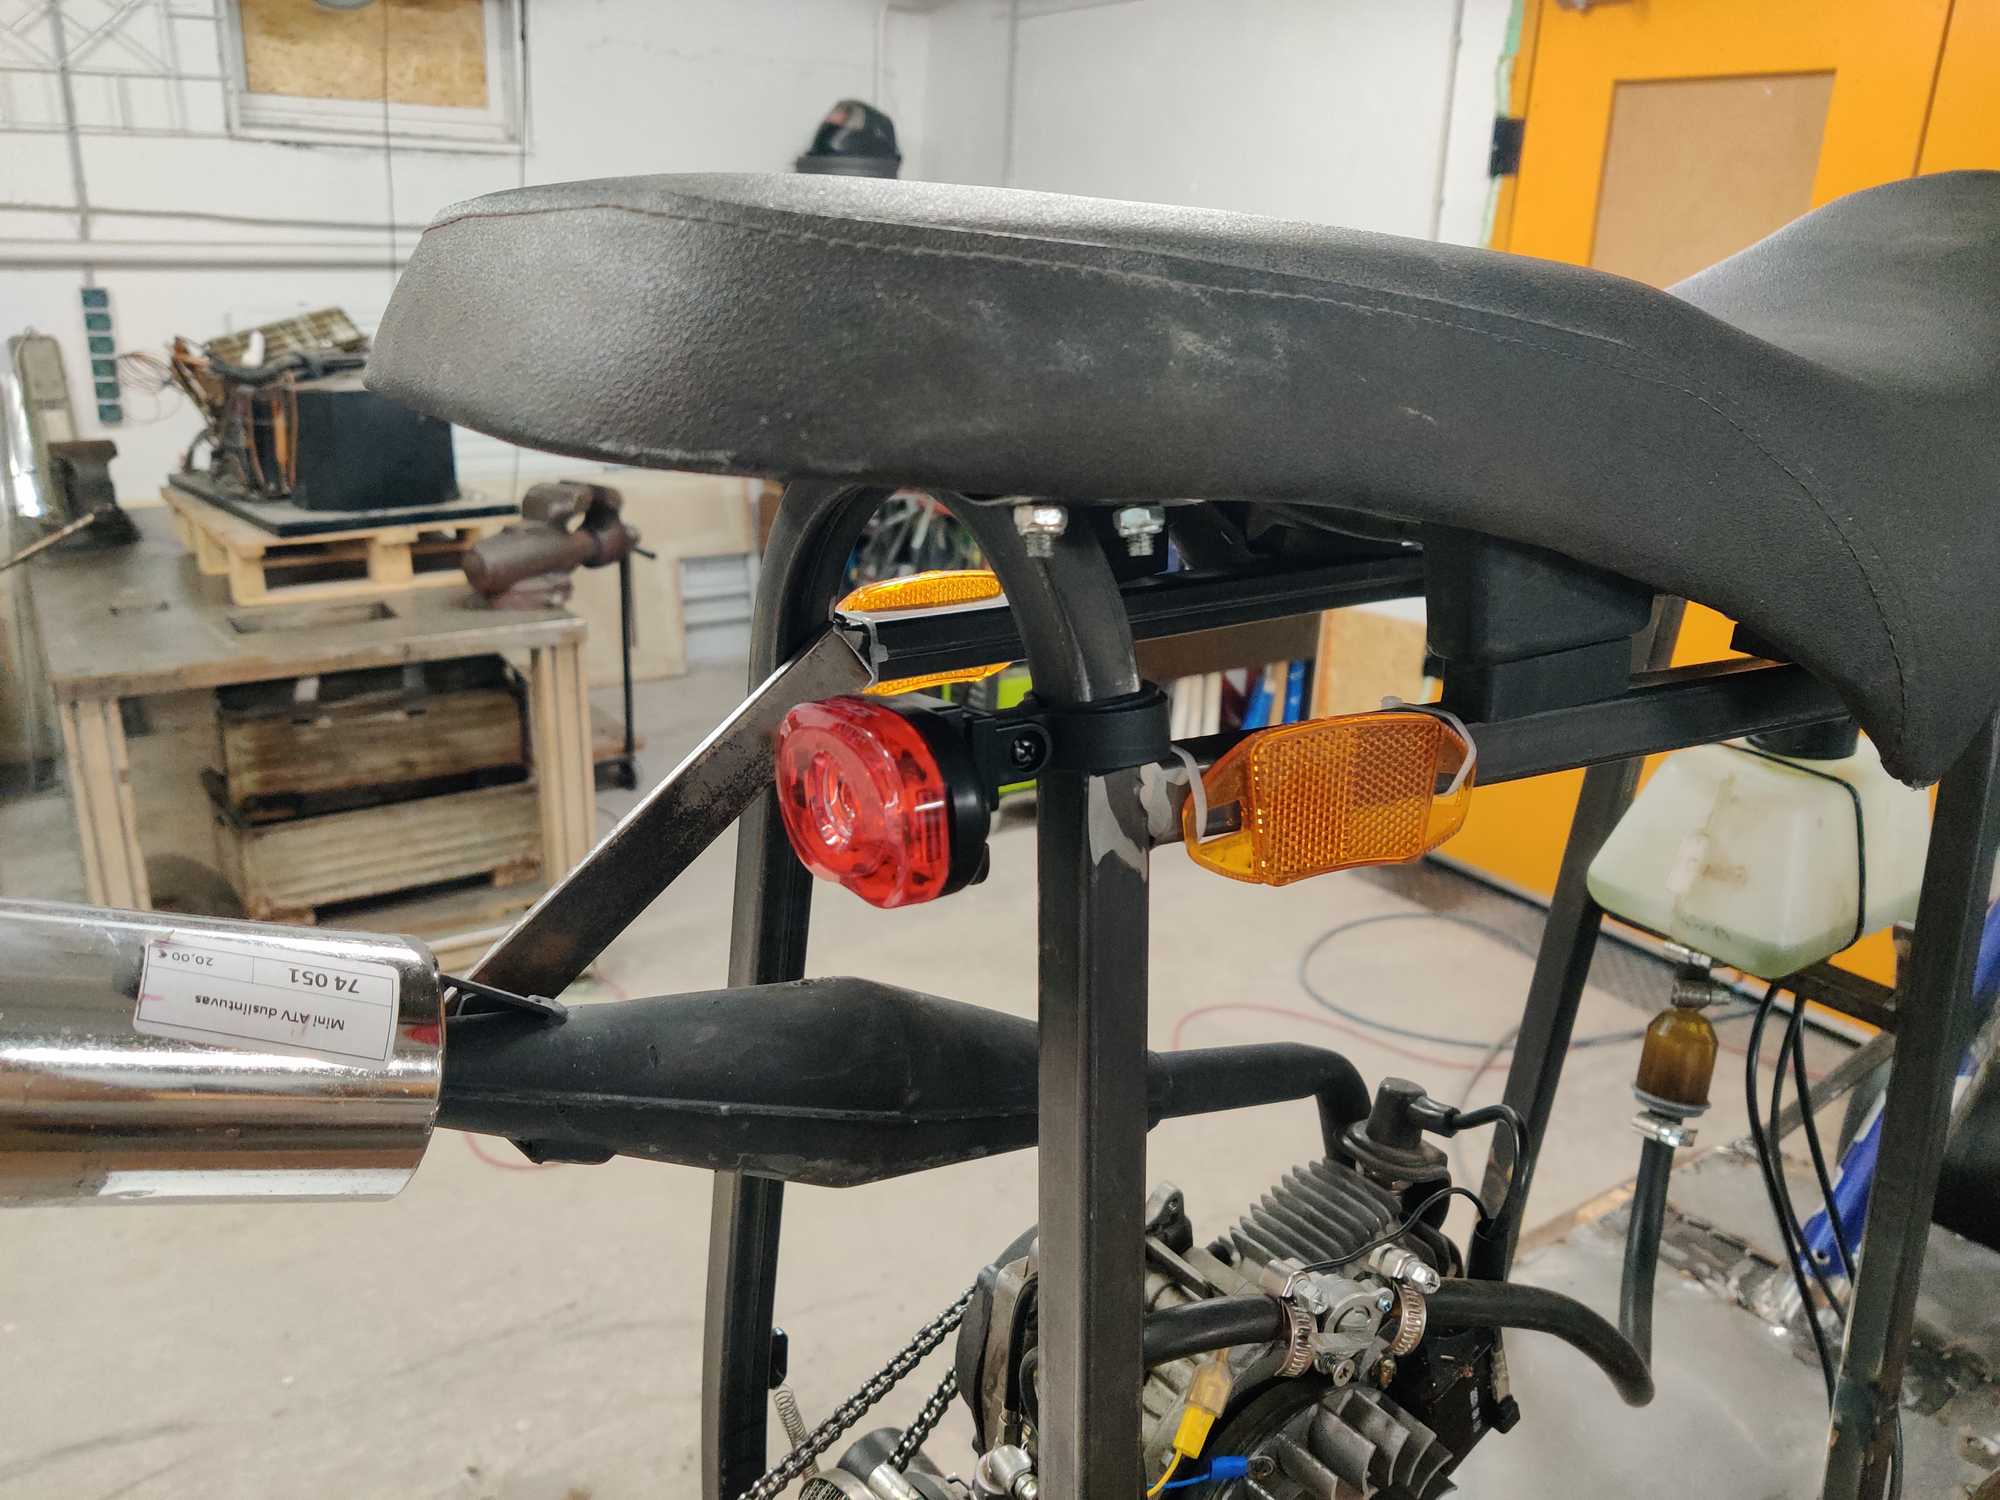
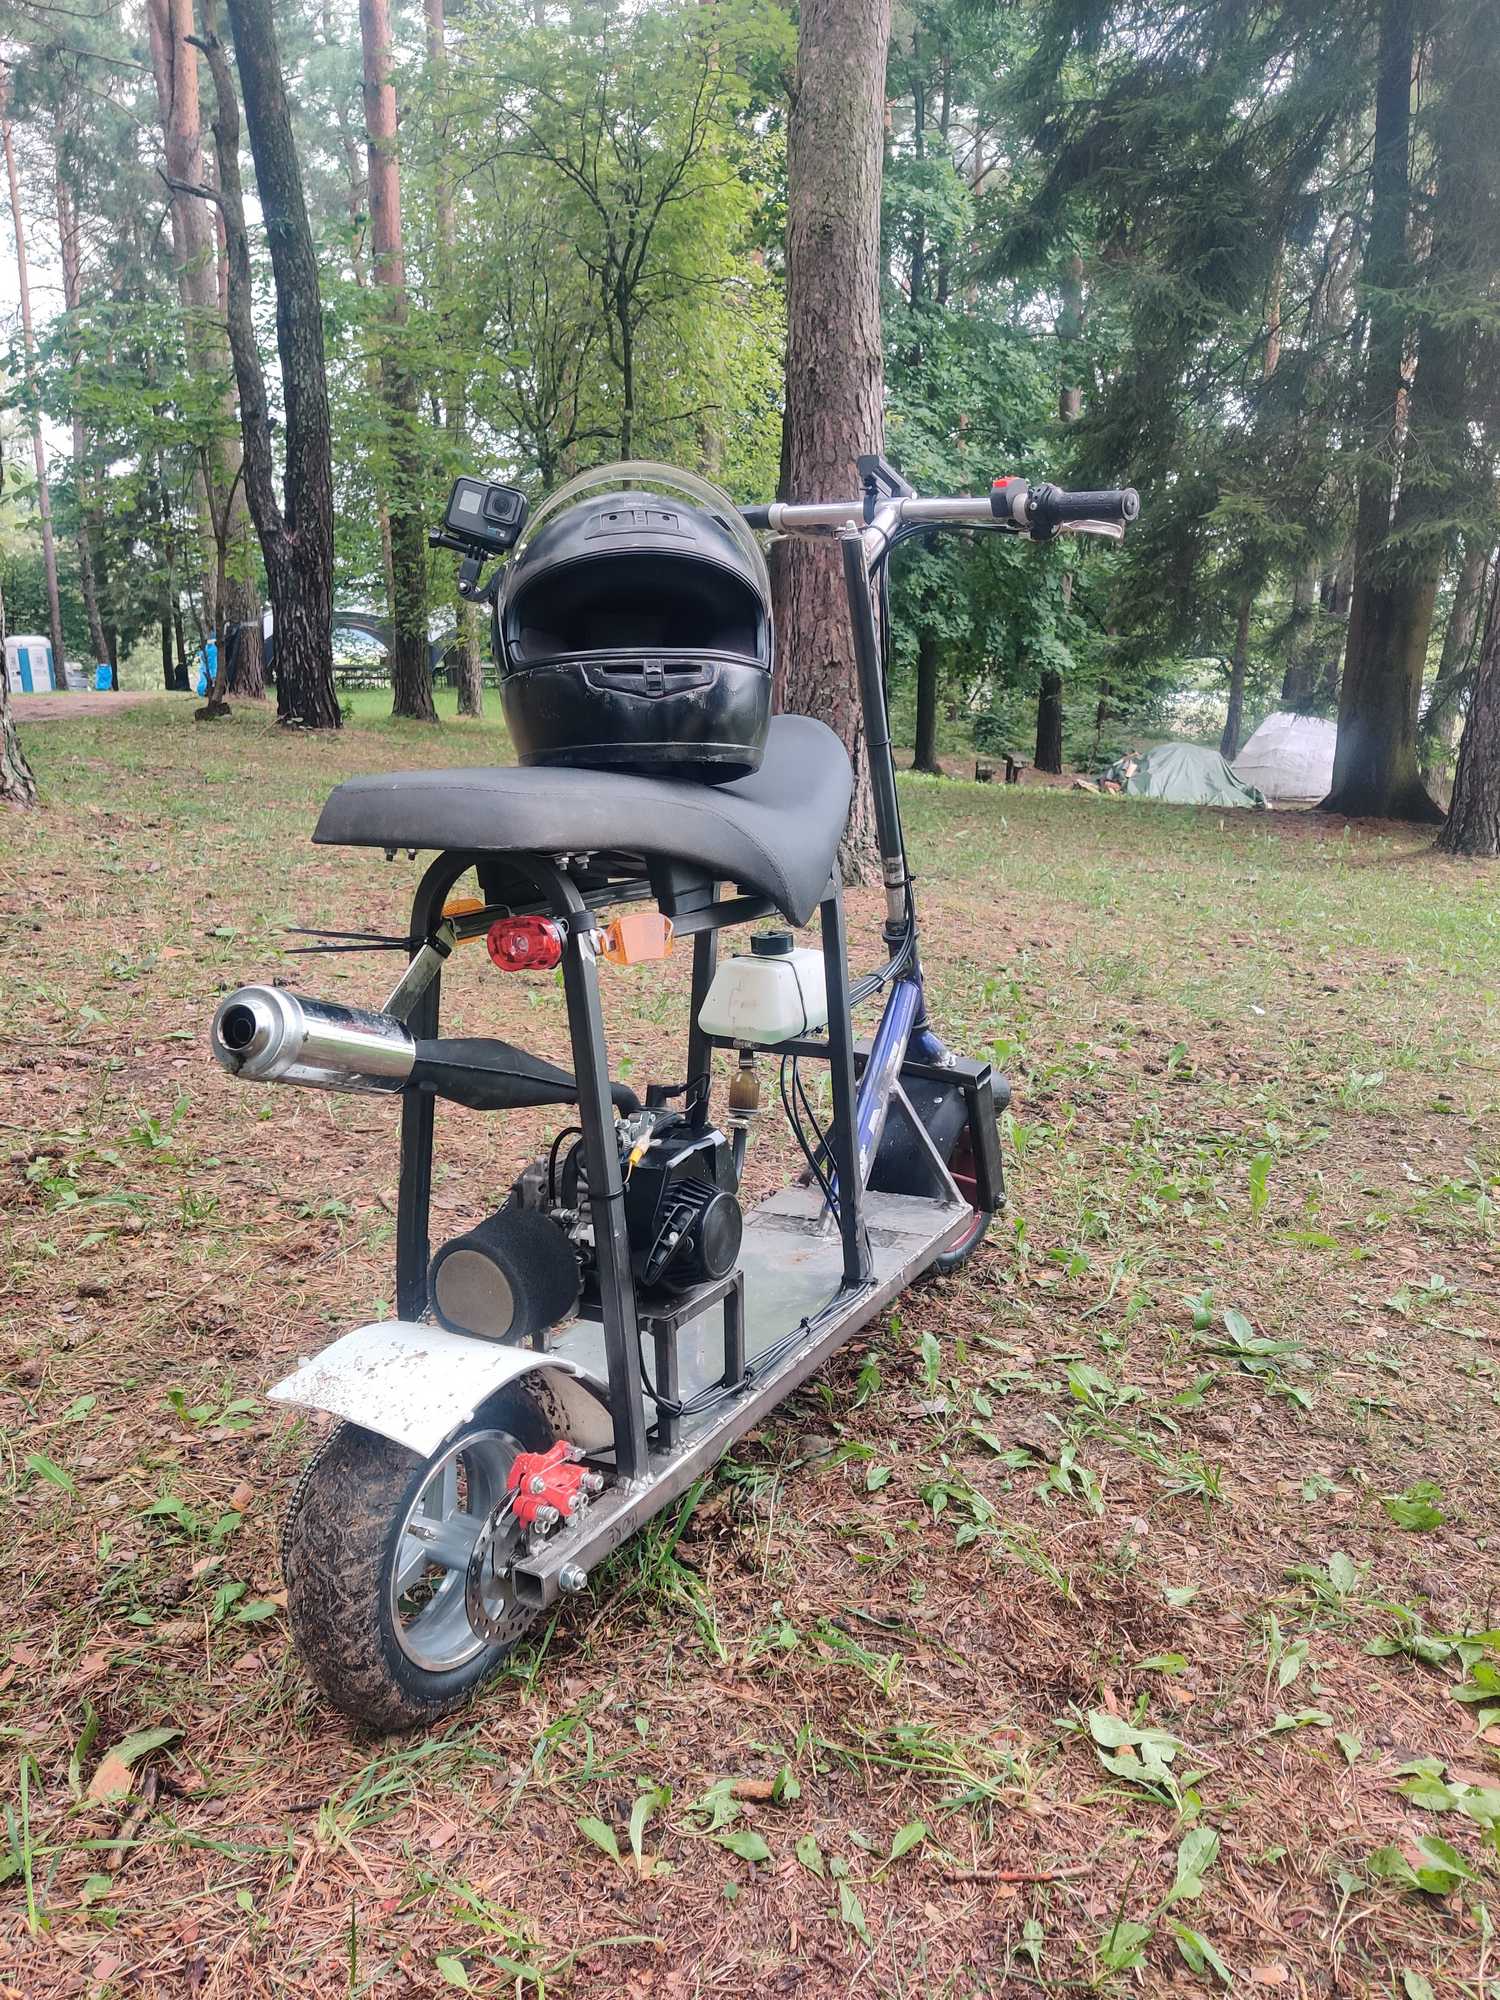
Luckily I kinda finished it just in time for the annual hacker-camp and brought it there for a stress-test by adding an exhaust bracket and making it street-legal with the lights. It’s even more fun because I didn’t properly ride it myself so I don’t know what might break :D
If you remember my last blog entry about the go-kart I was building, I didn’t post about how it broke down but it happened at the same event last year :D the go kart made a lot of laps when eventually kissed a tree a couple of times.
I finished assembling it just the night before the event because pull-start broke and the replacement was sent out very late. I ordered a different one this time – made entirely from plastic though I didn’t have much hope that it will last and surely it didn’t…
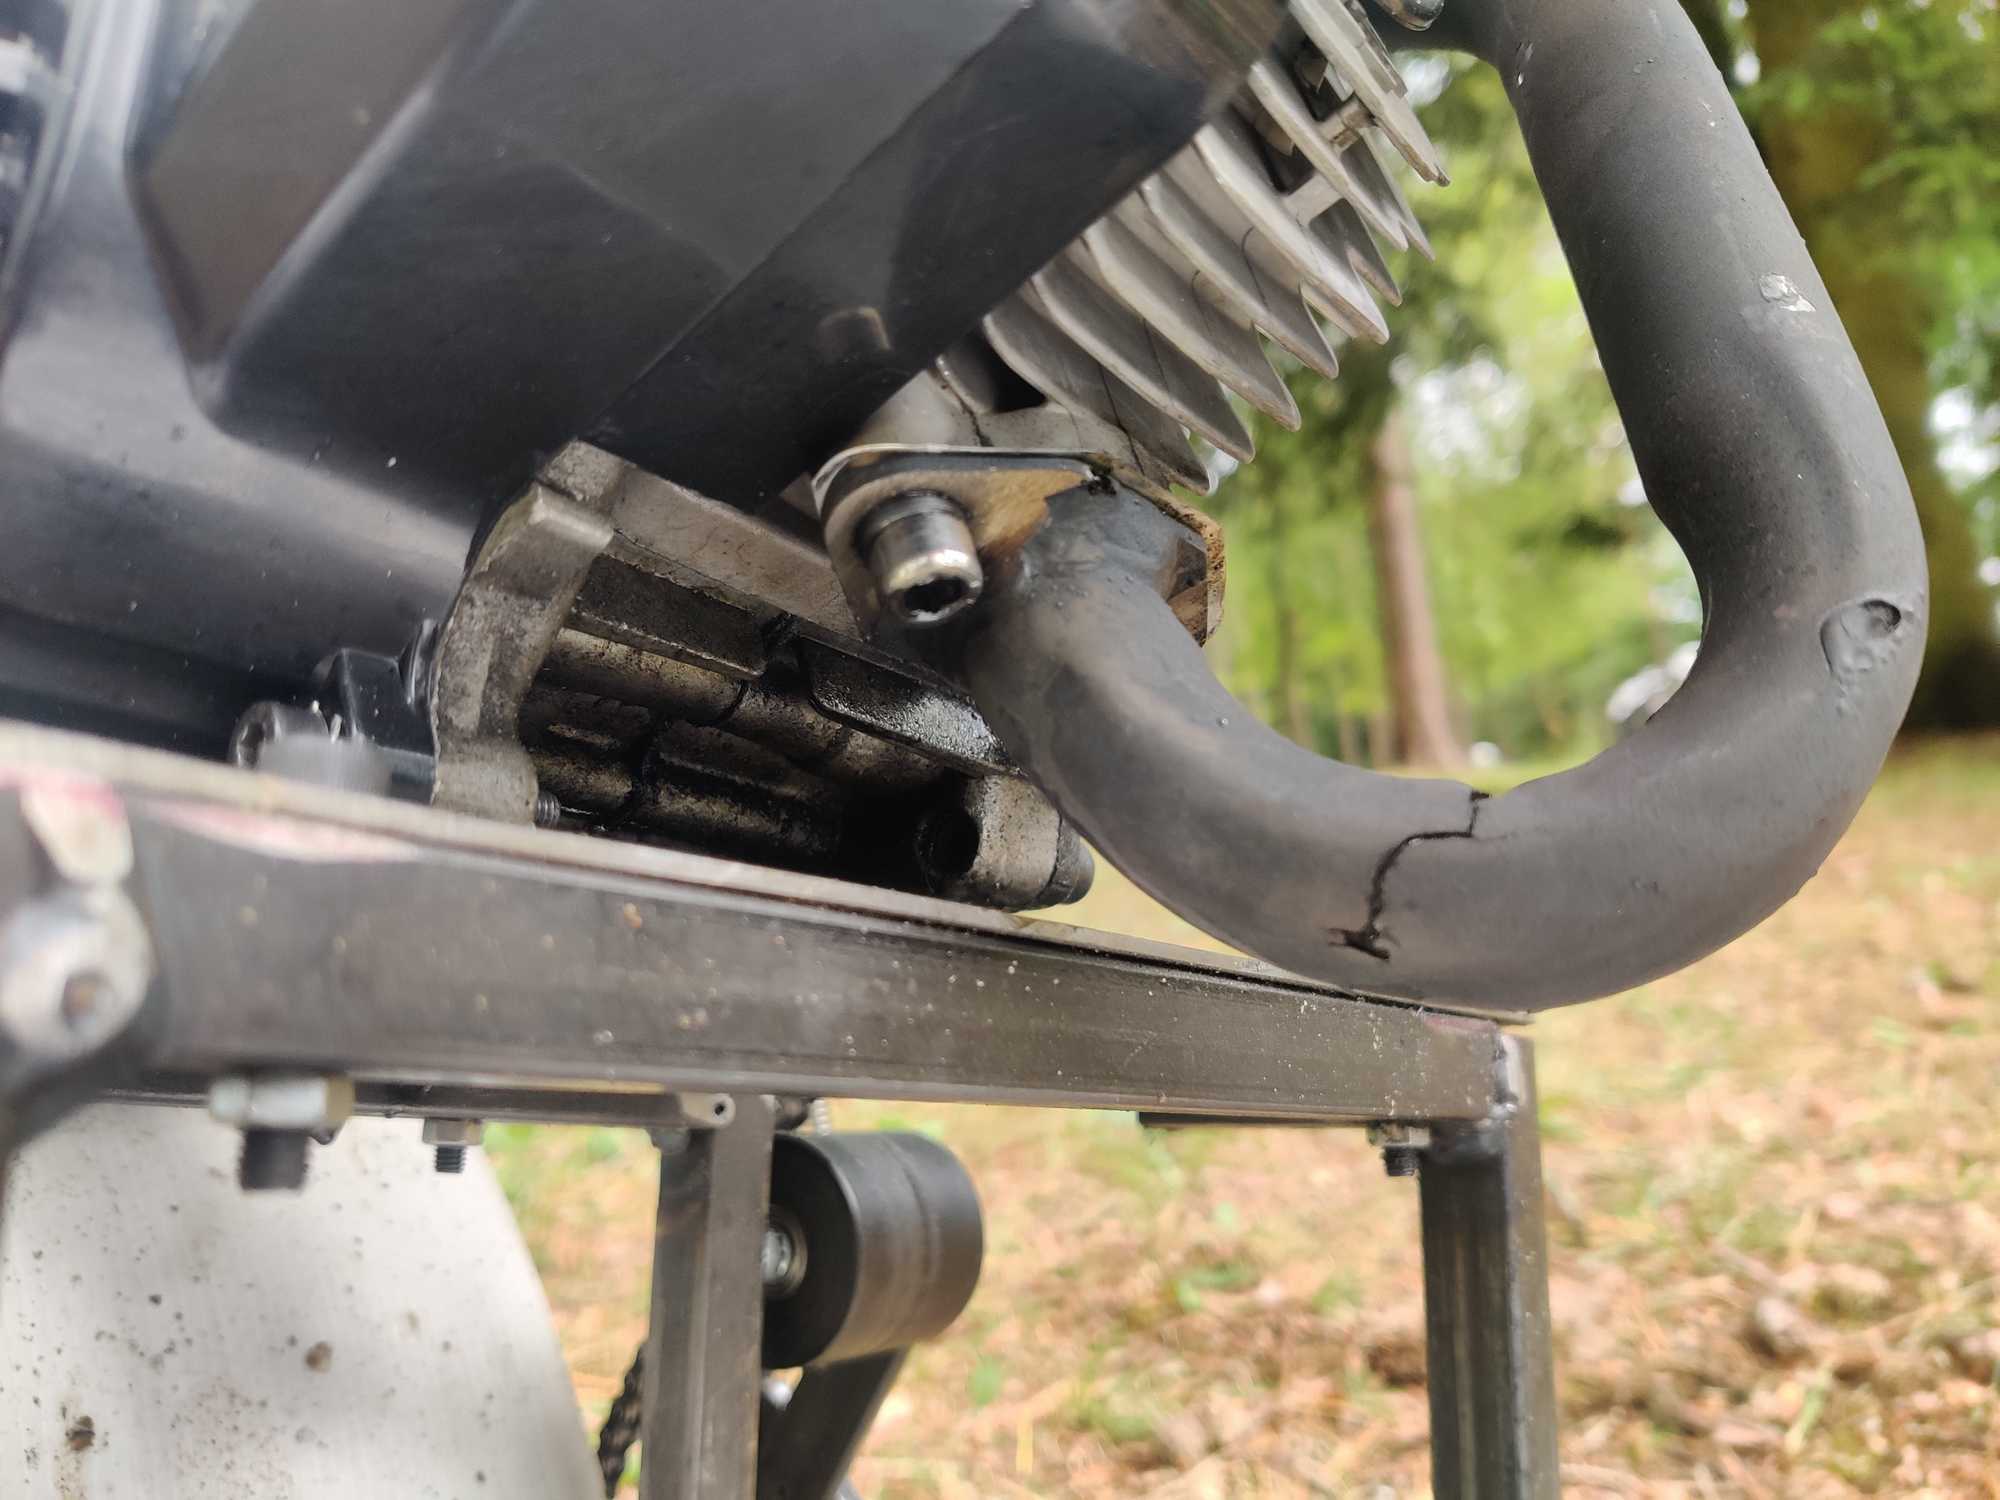
Riding into the second day the exhaust bracket broke off, shortly after it fell off completely and the exhaust cracked near the cylinder… lesson learned here that the exhaust had to be bolted to the frame by a rubber to absorb vibrations. Also up until then I realized that those exhausts are even more shit because the engine was running so bad – it was lacking power and burning fuel like crazy. Luckily I had a spare exhaust which was brought to me from the makerspace by another member coming into the event. That exhaust was with the engine when I got it. It looks a bit better and there’s an obvious difference how the engine performs and it performs much better. Will need to add a muffler at the end though.
Here’s a short video of me riding it for a little while during the event:
During that ride a chain came off, wrapped around the wheel and deformed. That was basically the end of it for that event :D
Now after the event I had to smooth out some minor issues that came up and take it for a longer ride hoping that it won’t break down :D
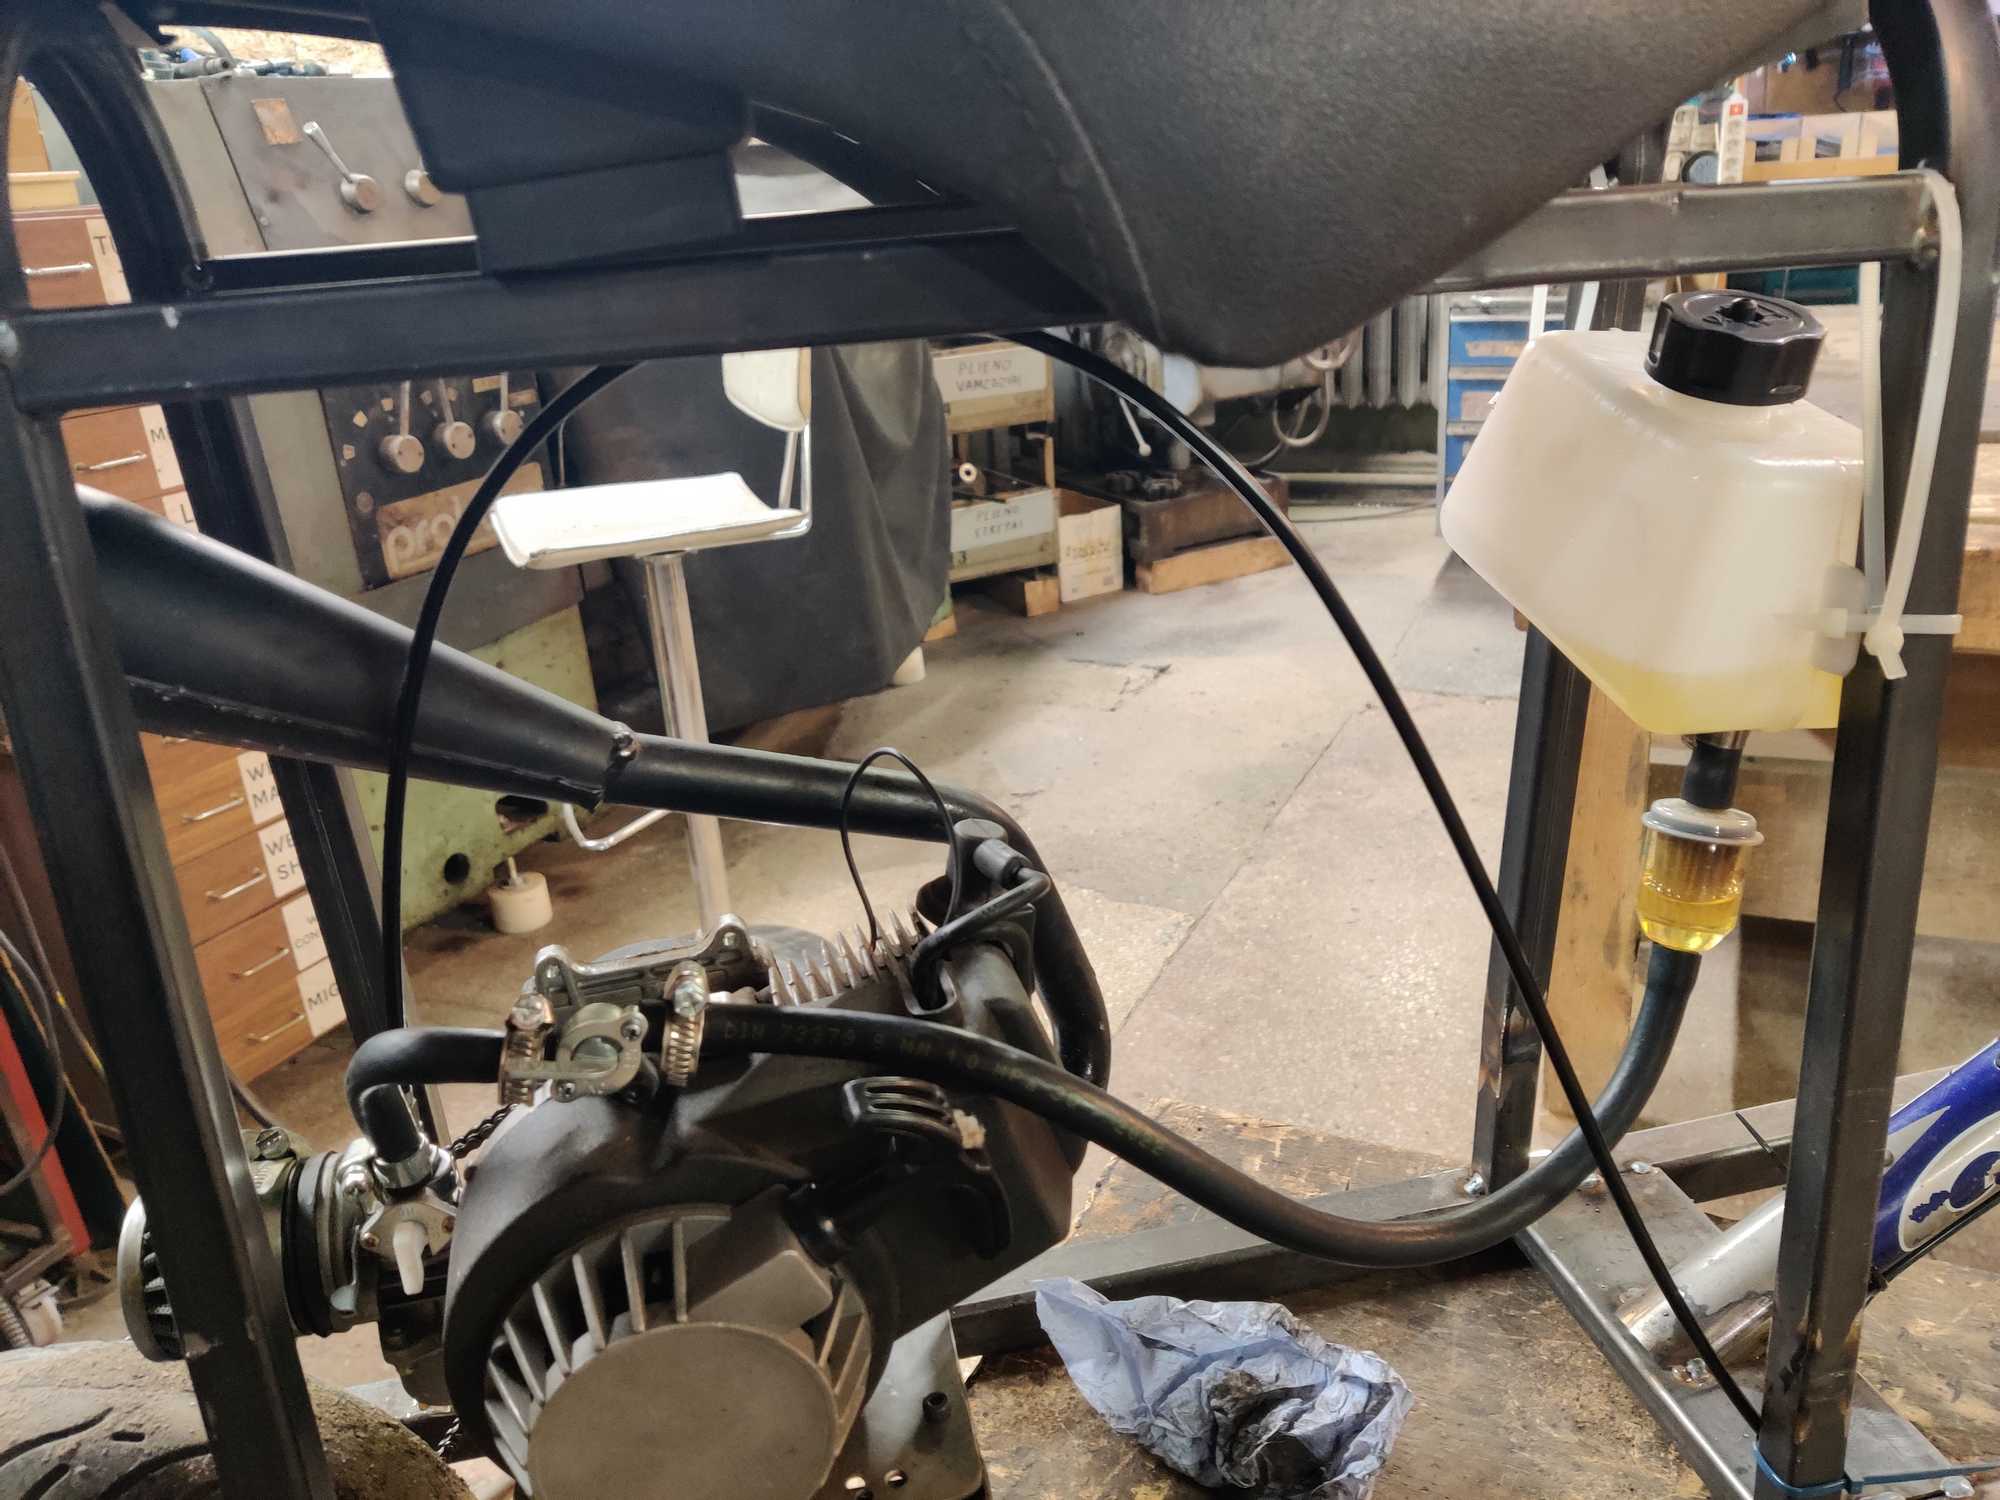
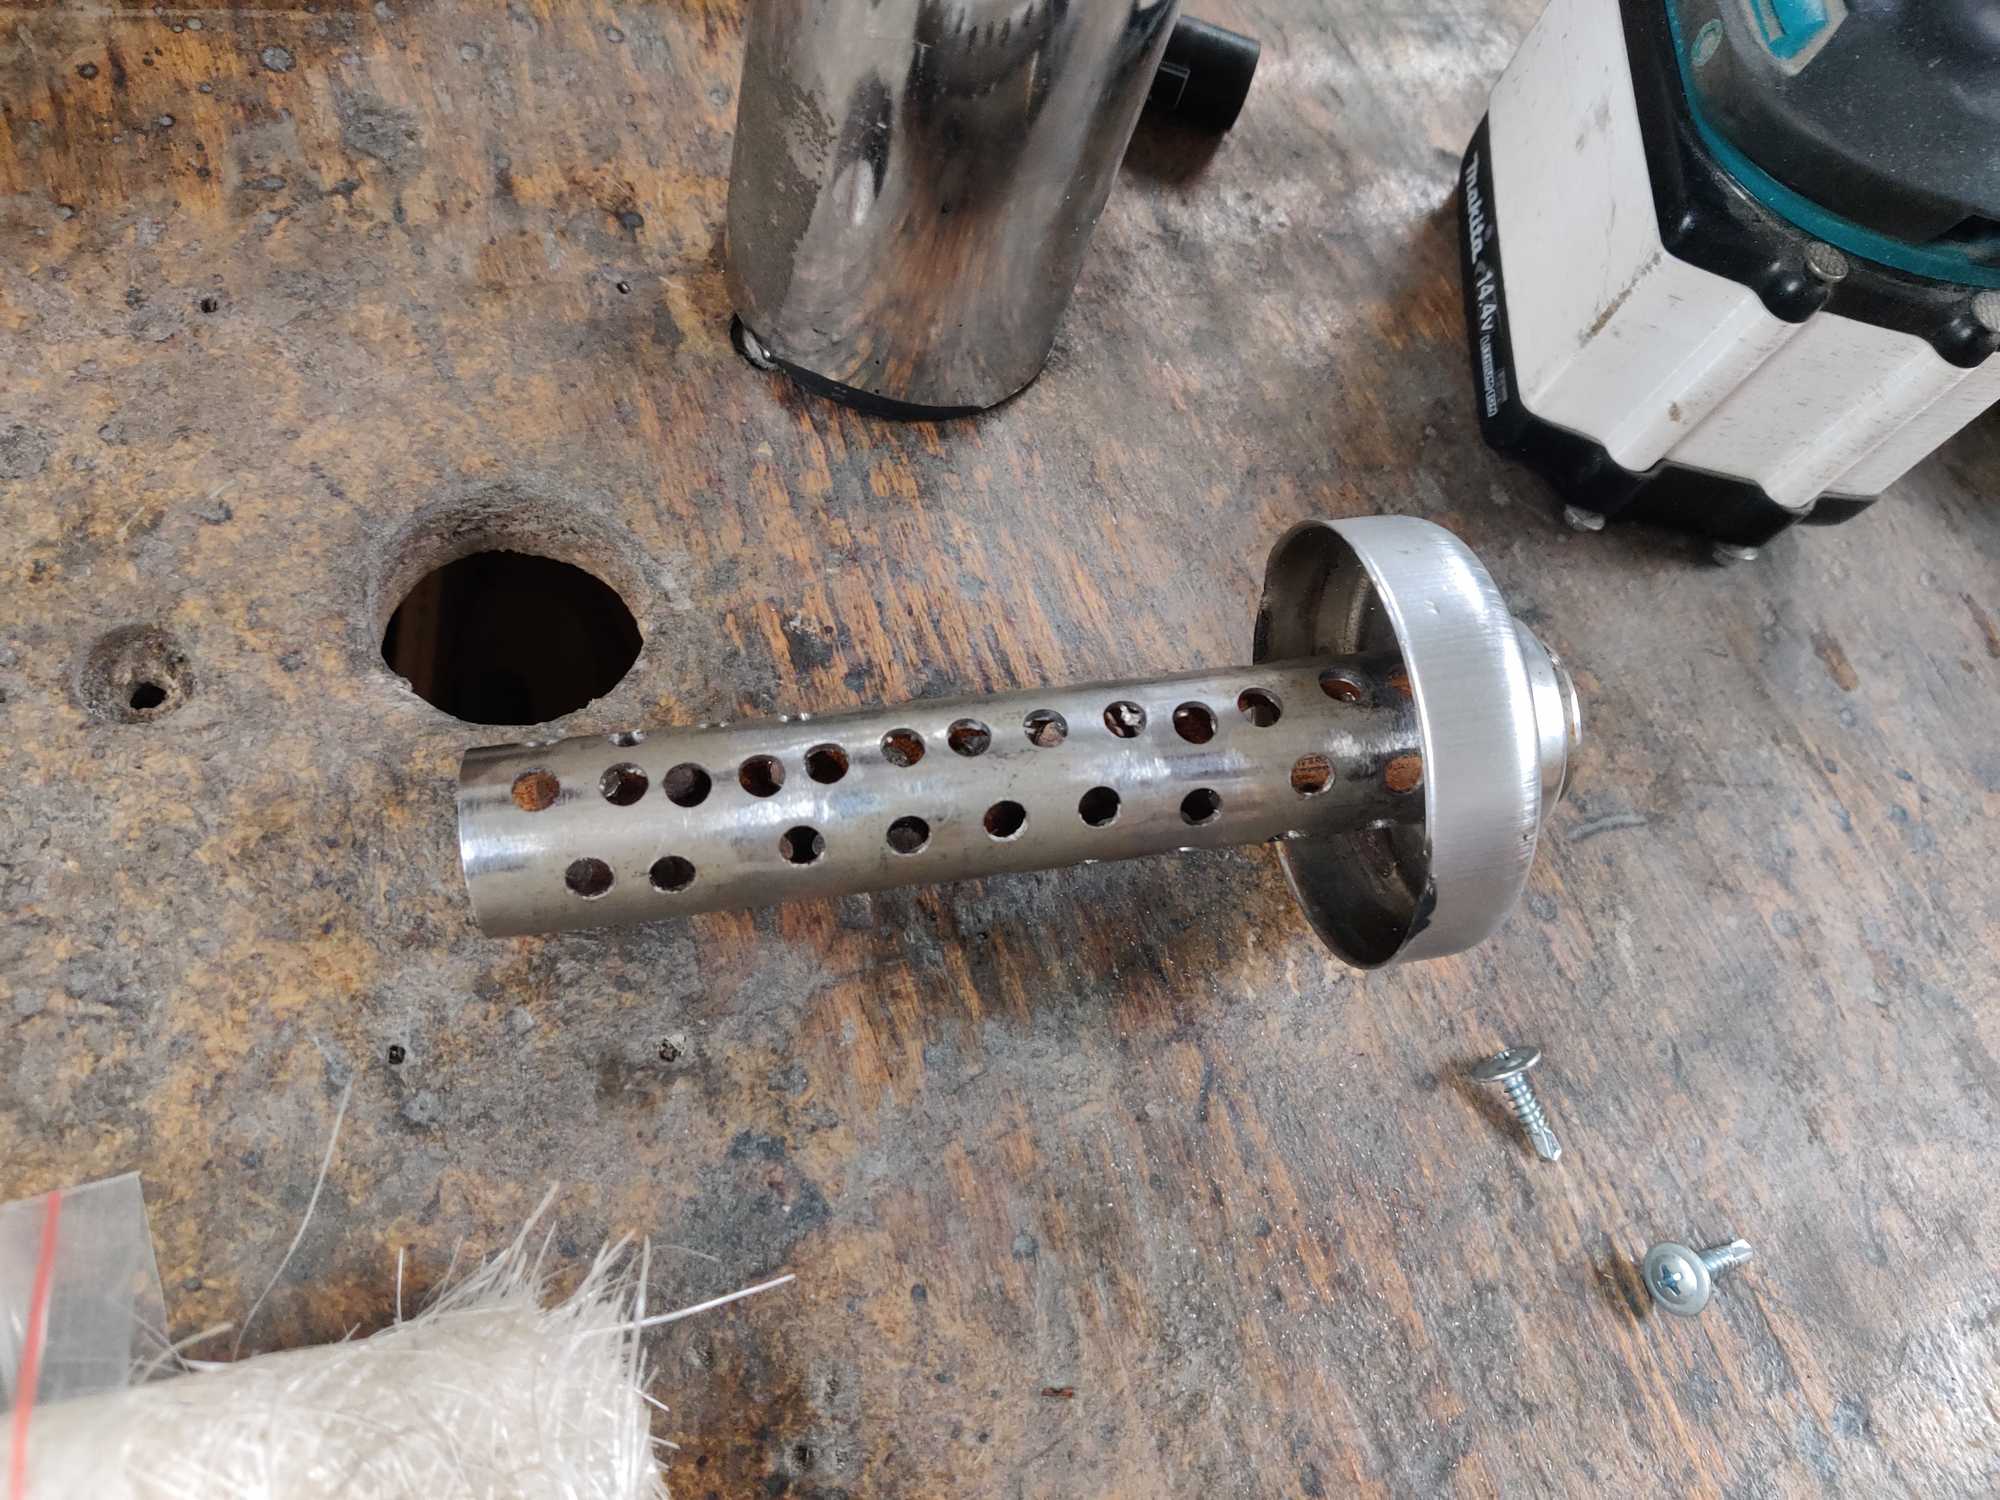
First I replaced the exhaust pipe with the old one that I had from before and re-used the muffler off the broken exhaust. But before mounting it I made it actually muffle the sound by adding a pipe with lotsa holes and glassfiber insulation.
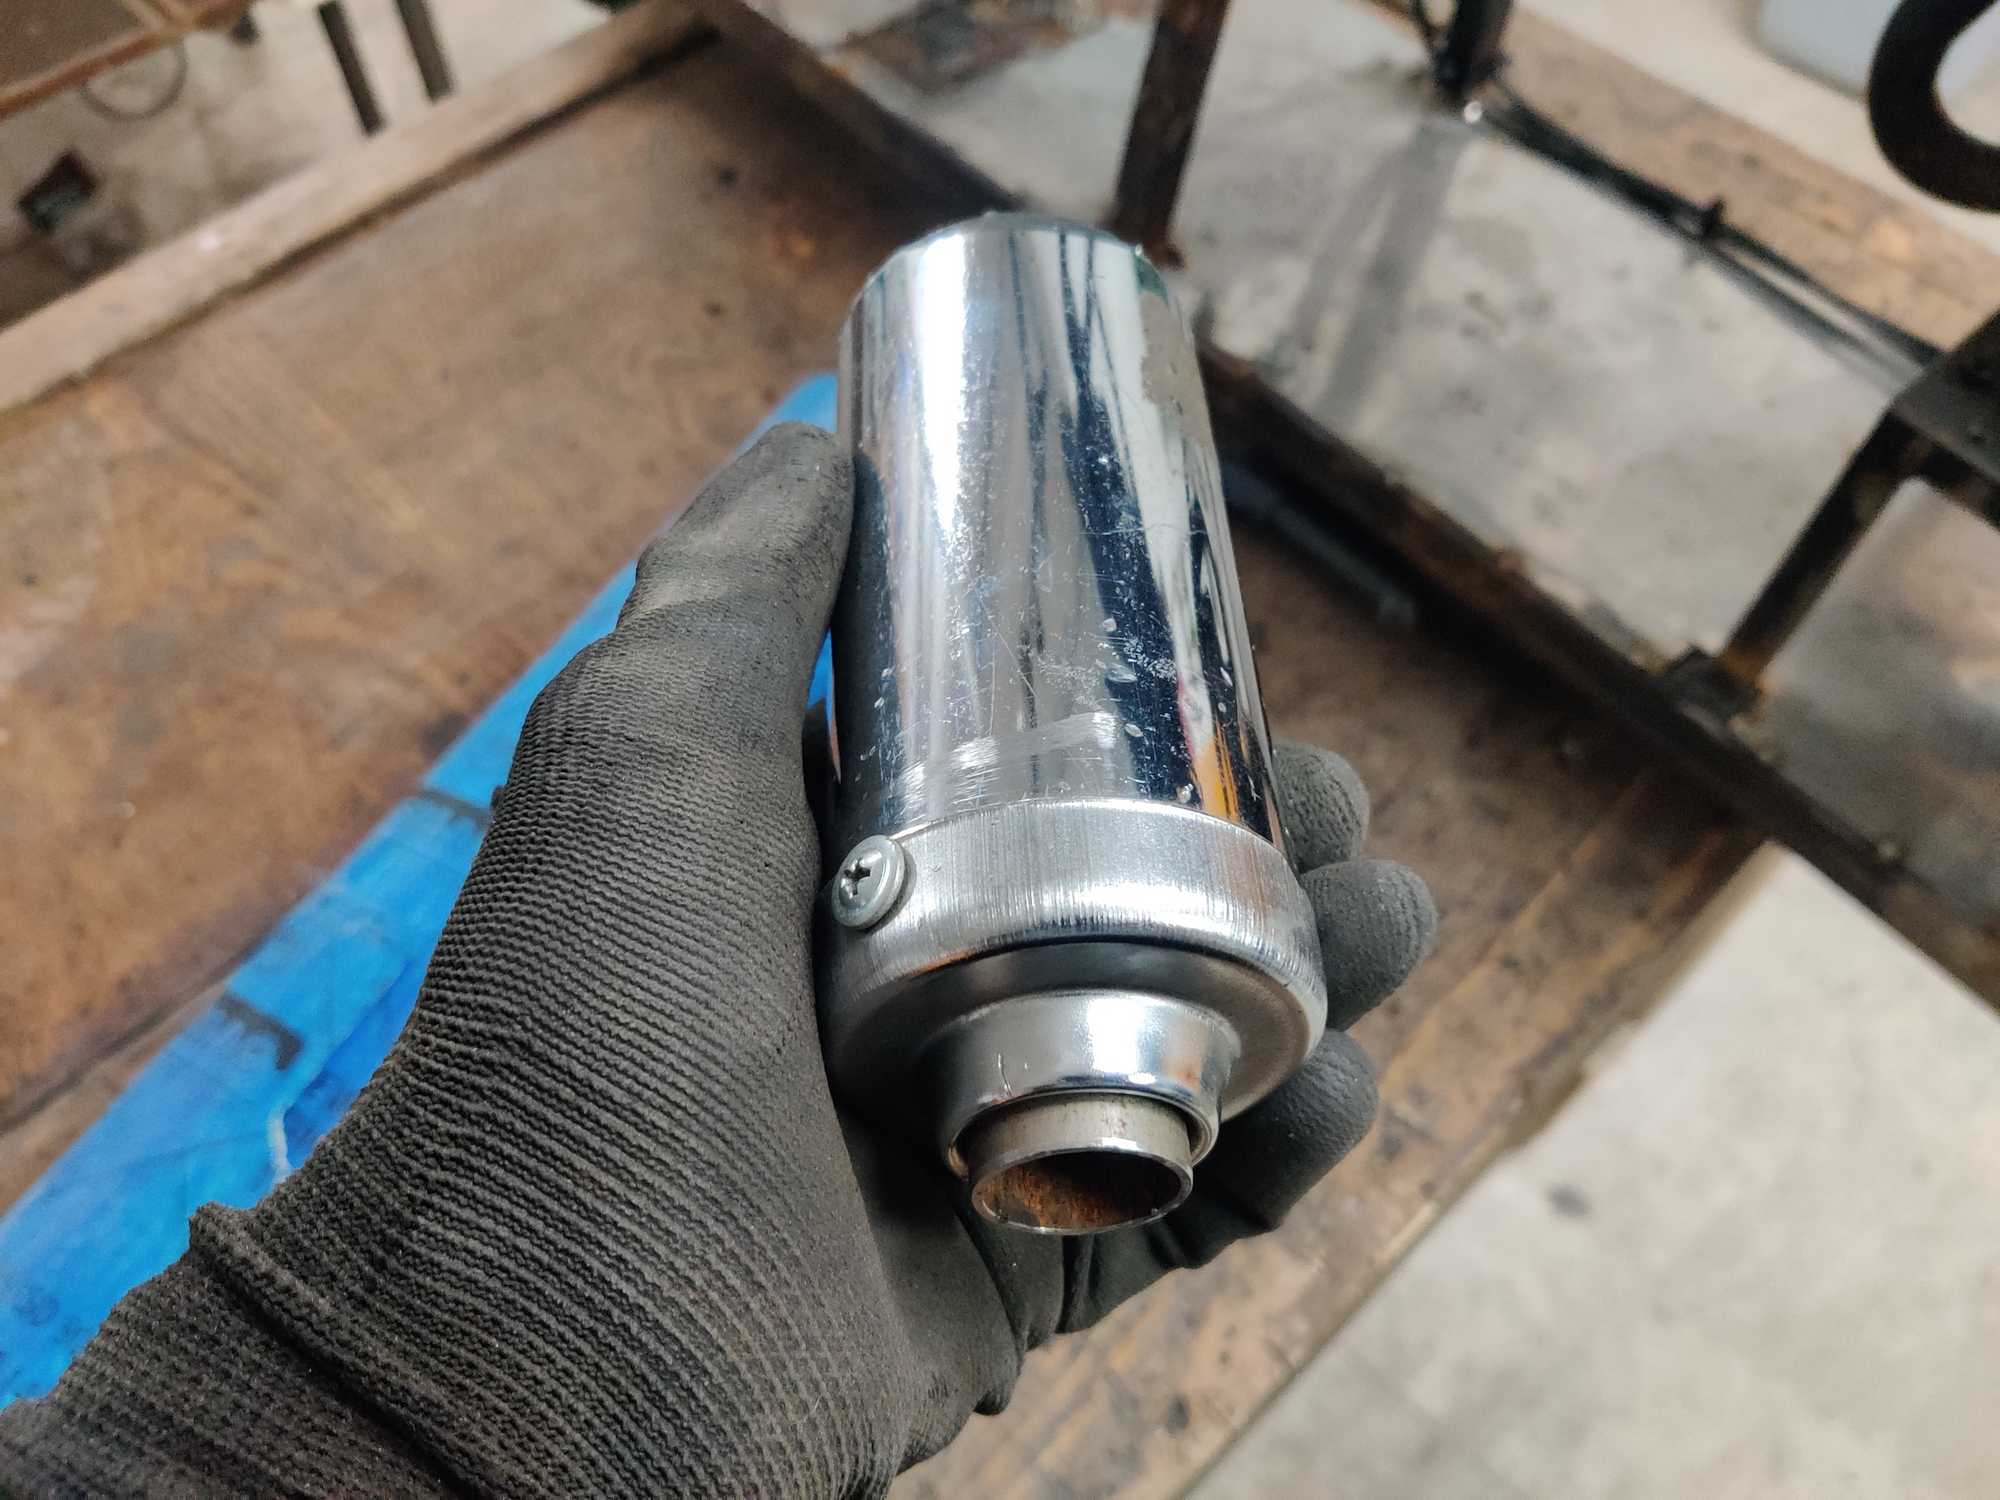
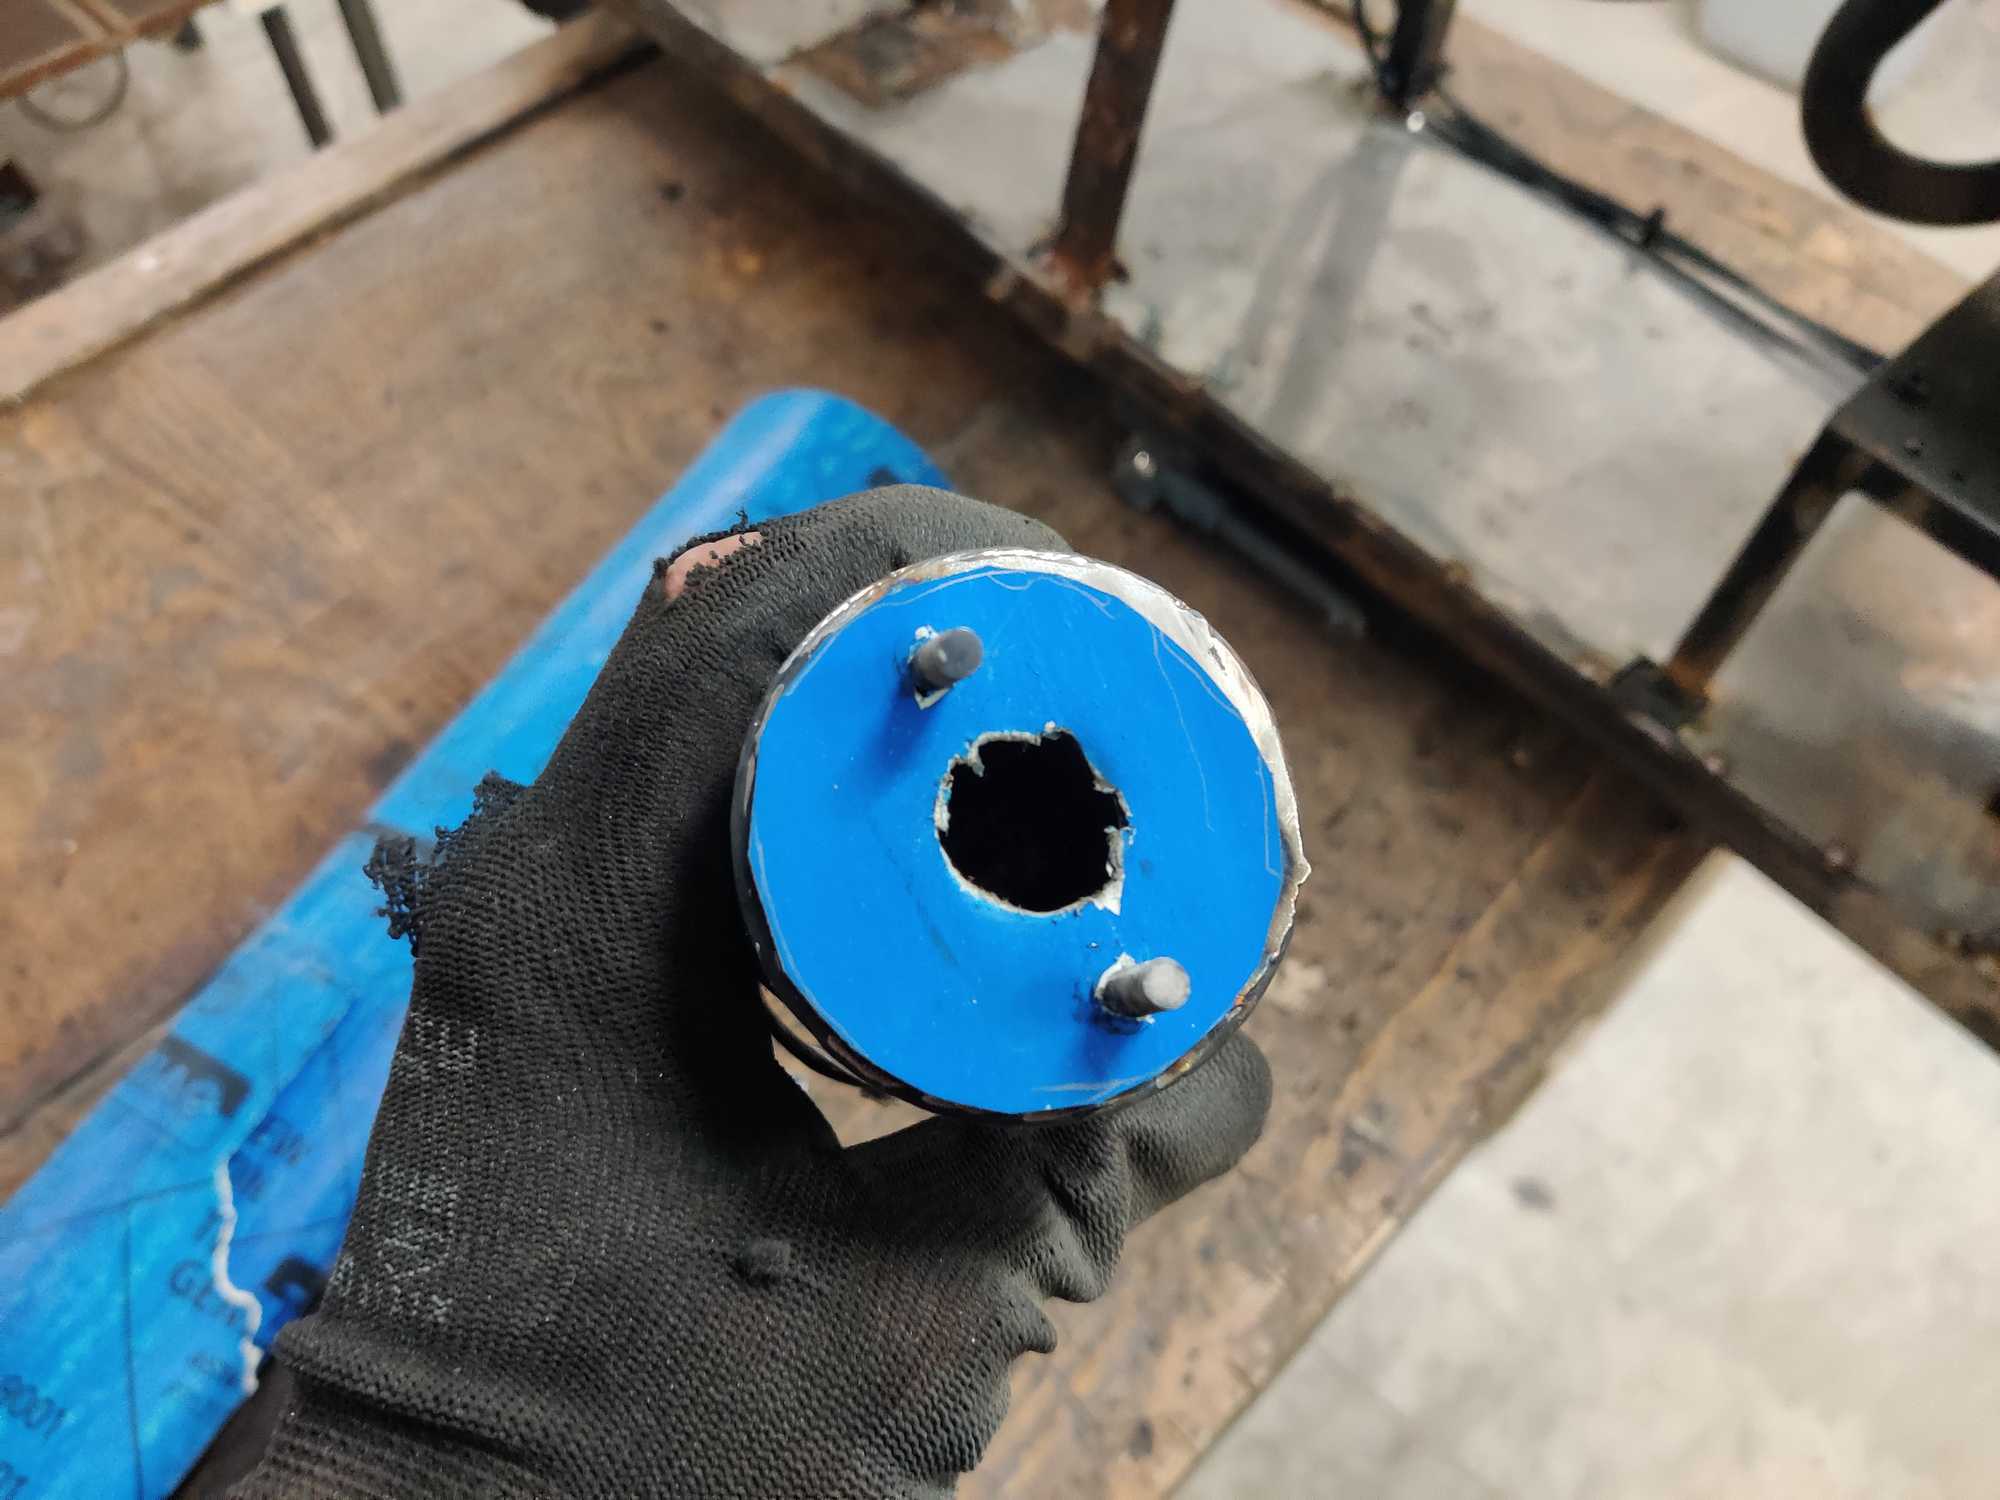
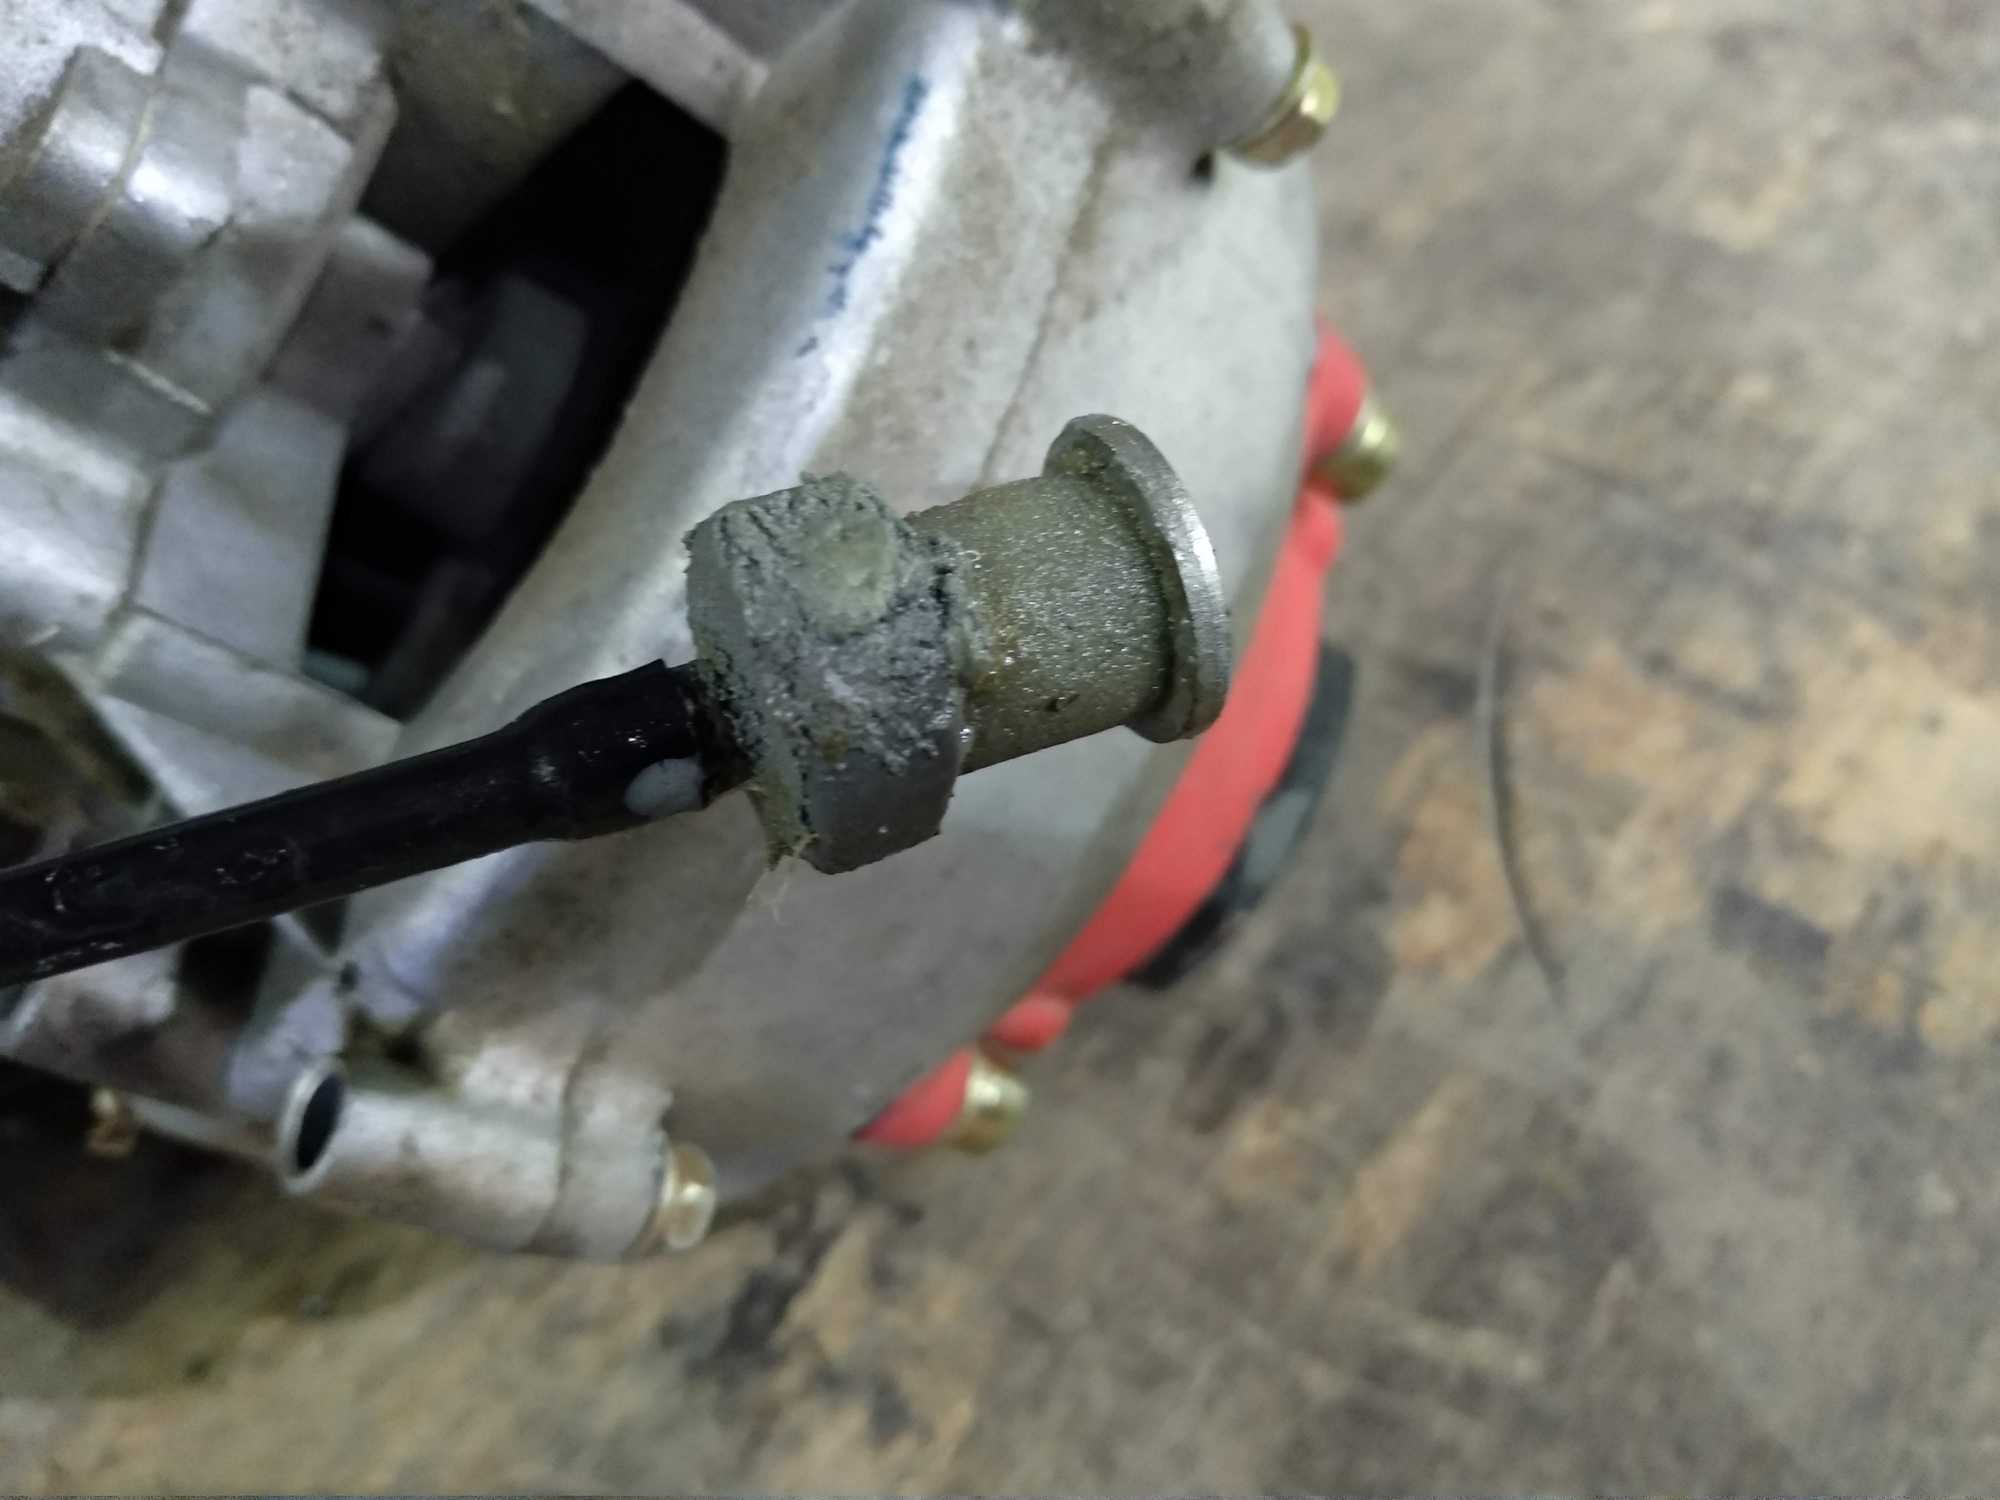
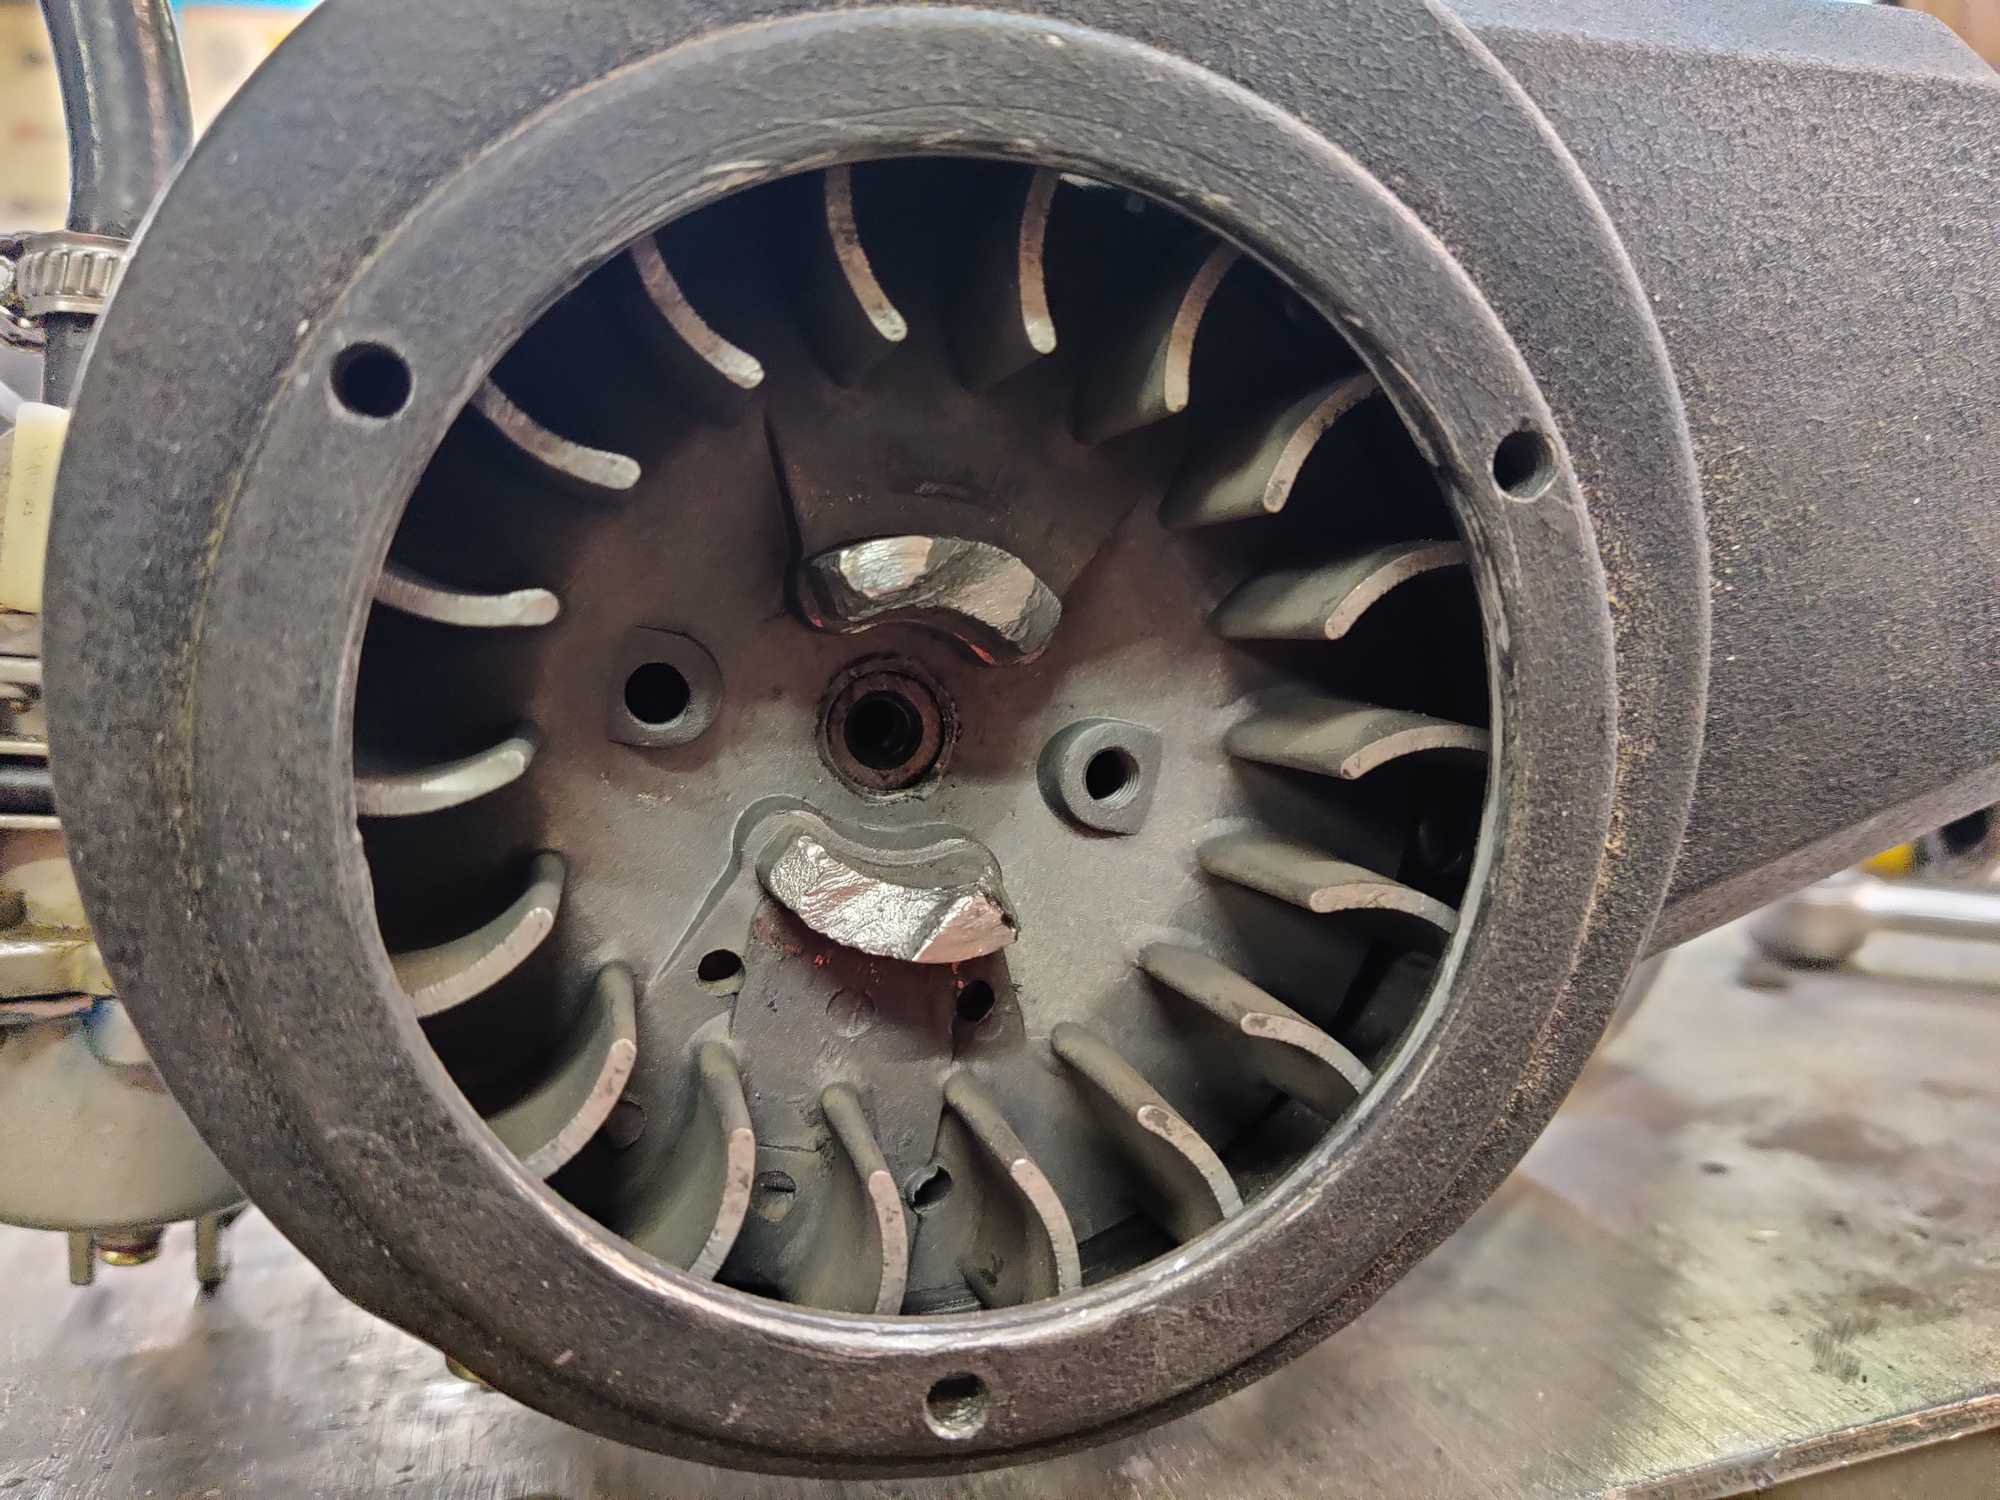
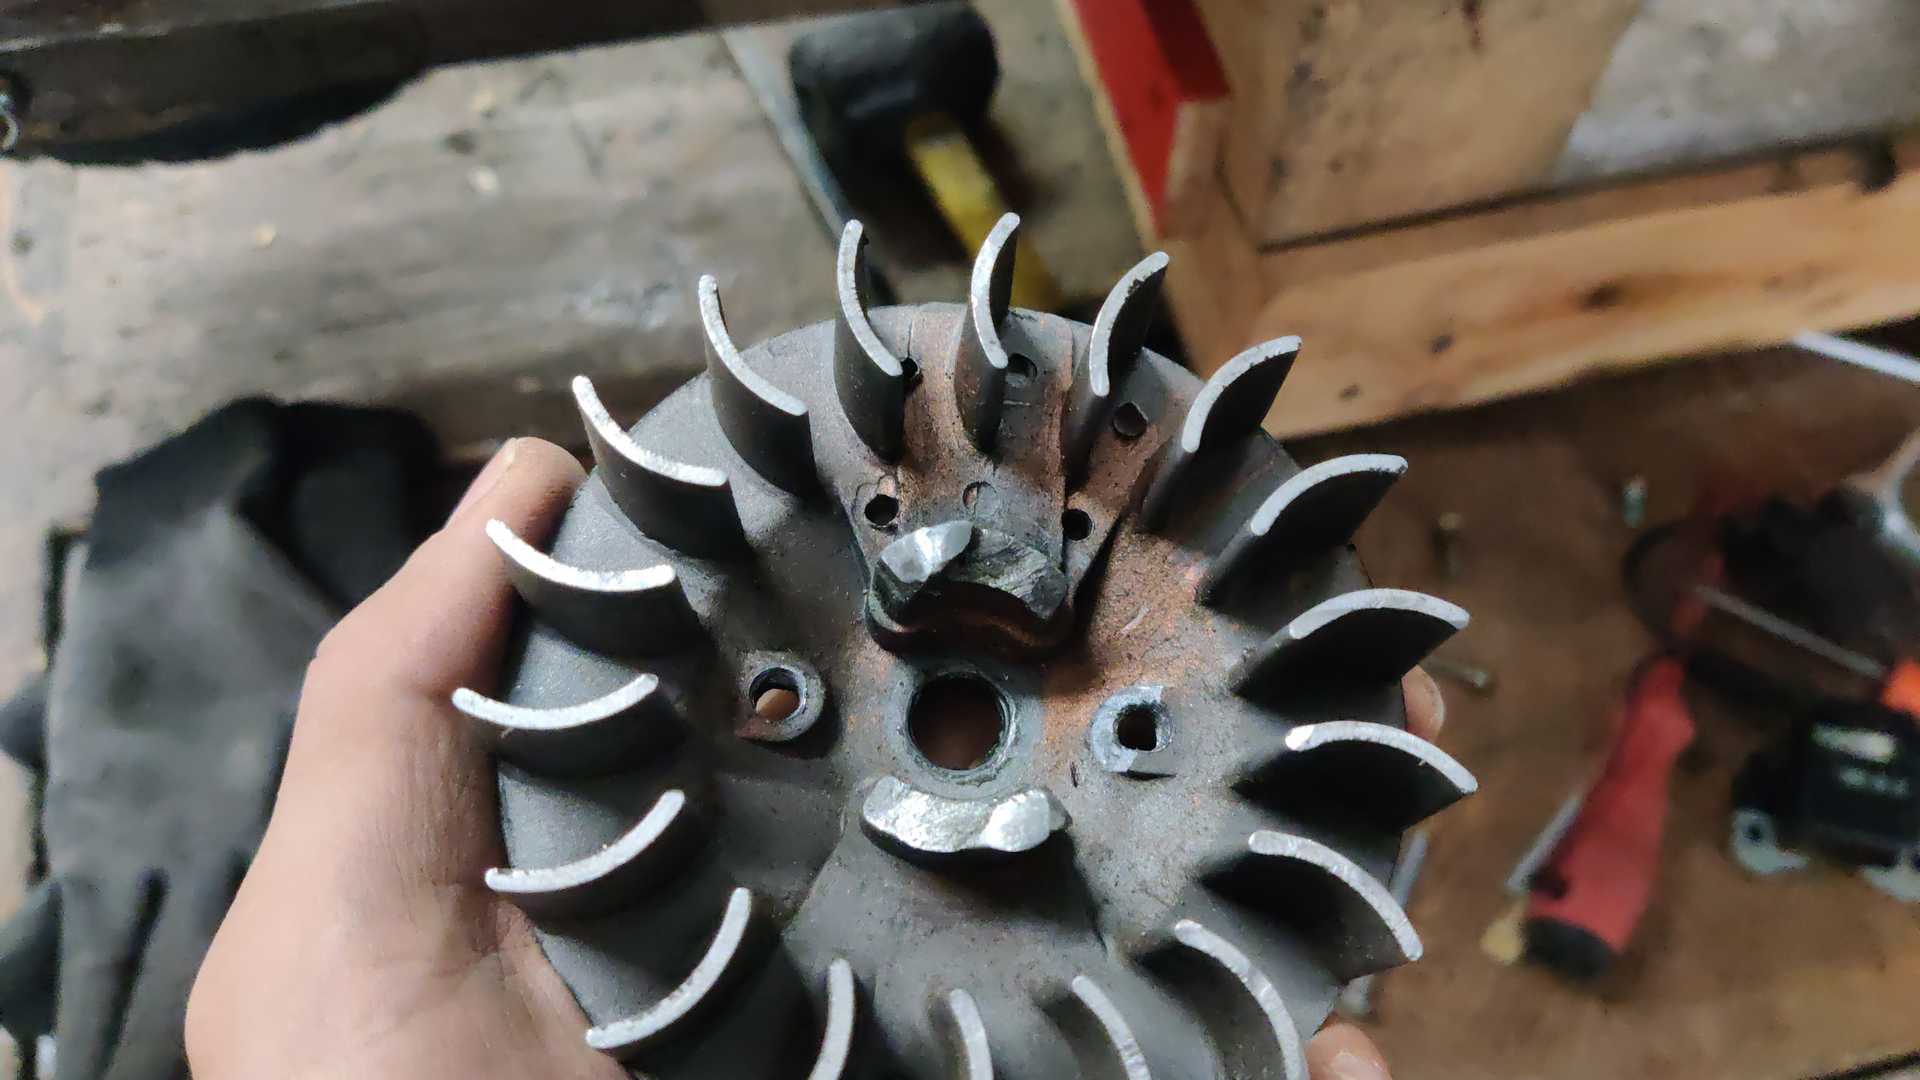
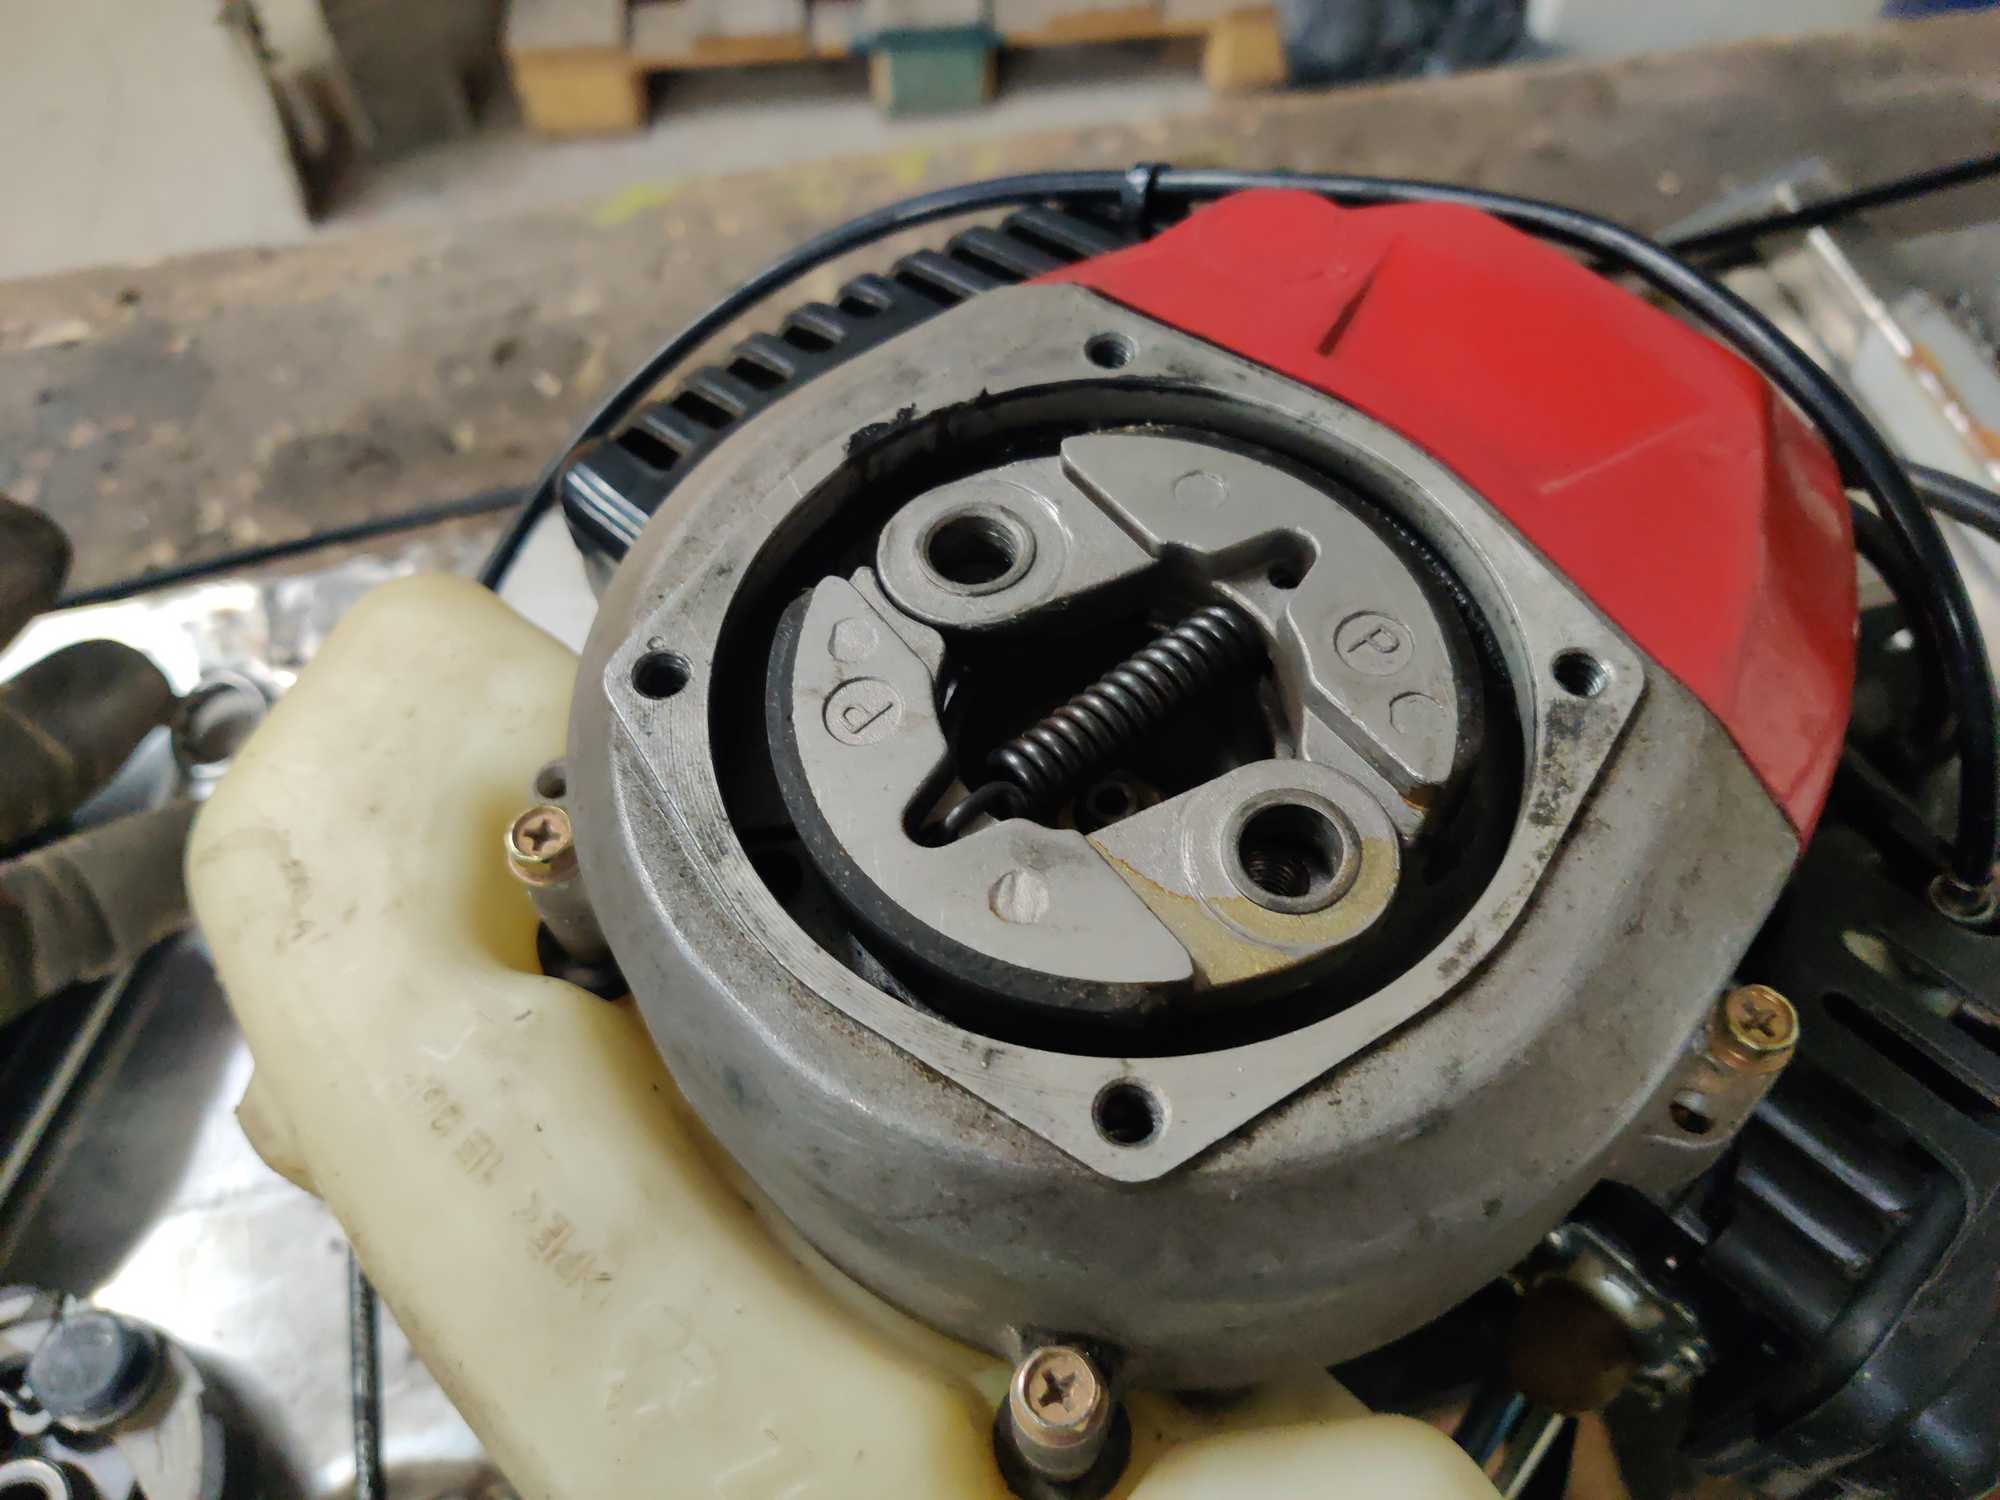
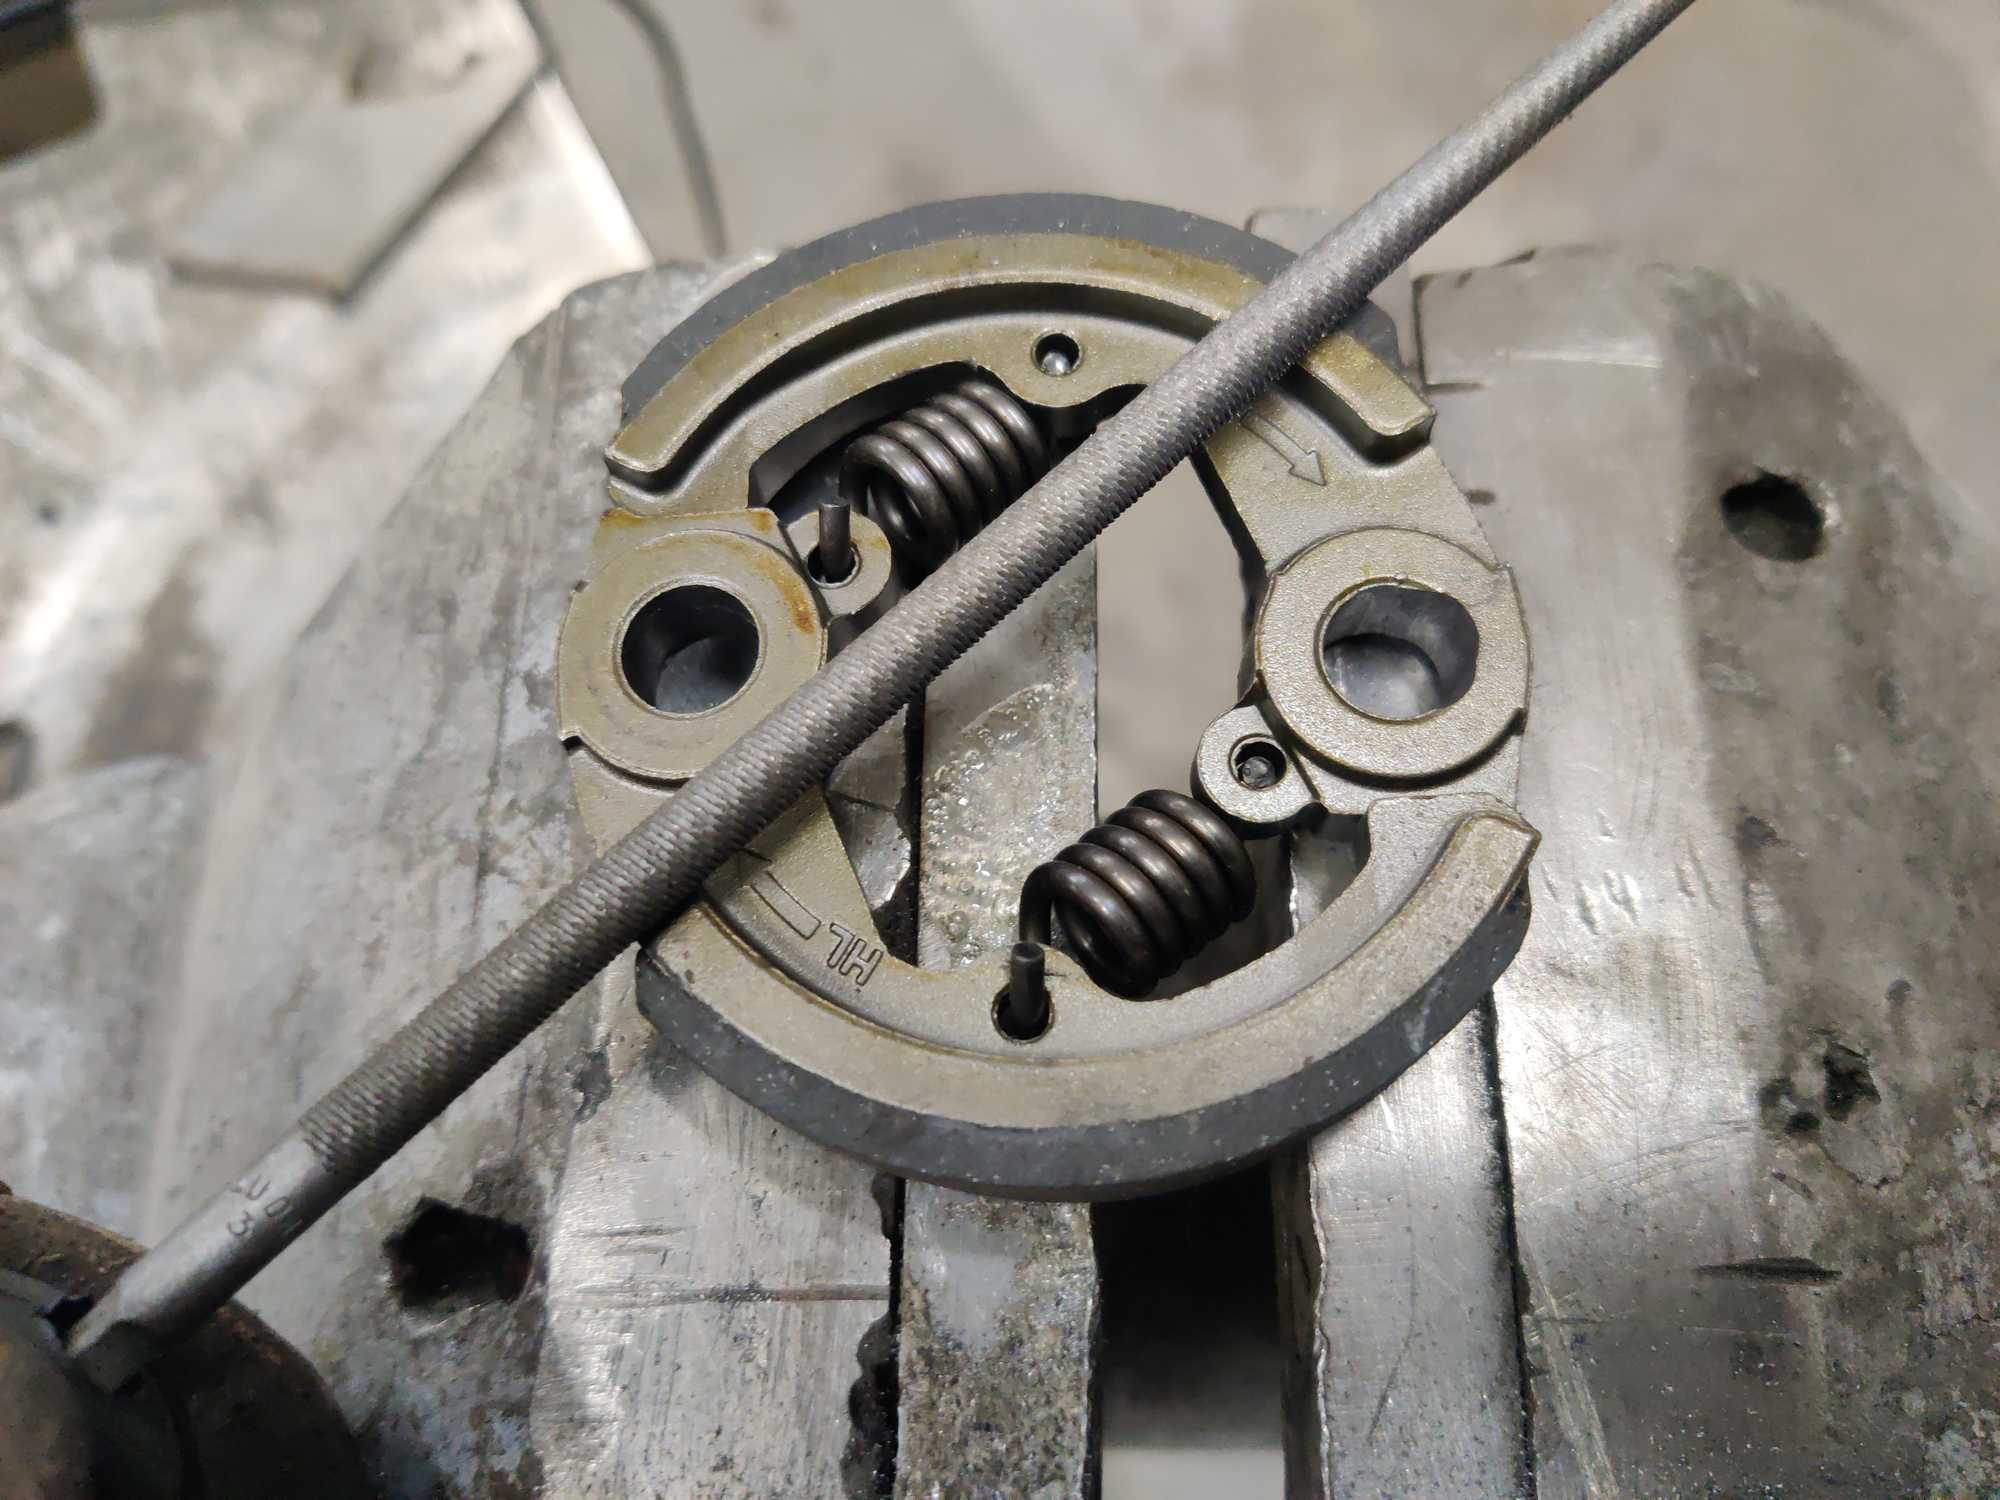
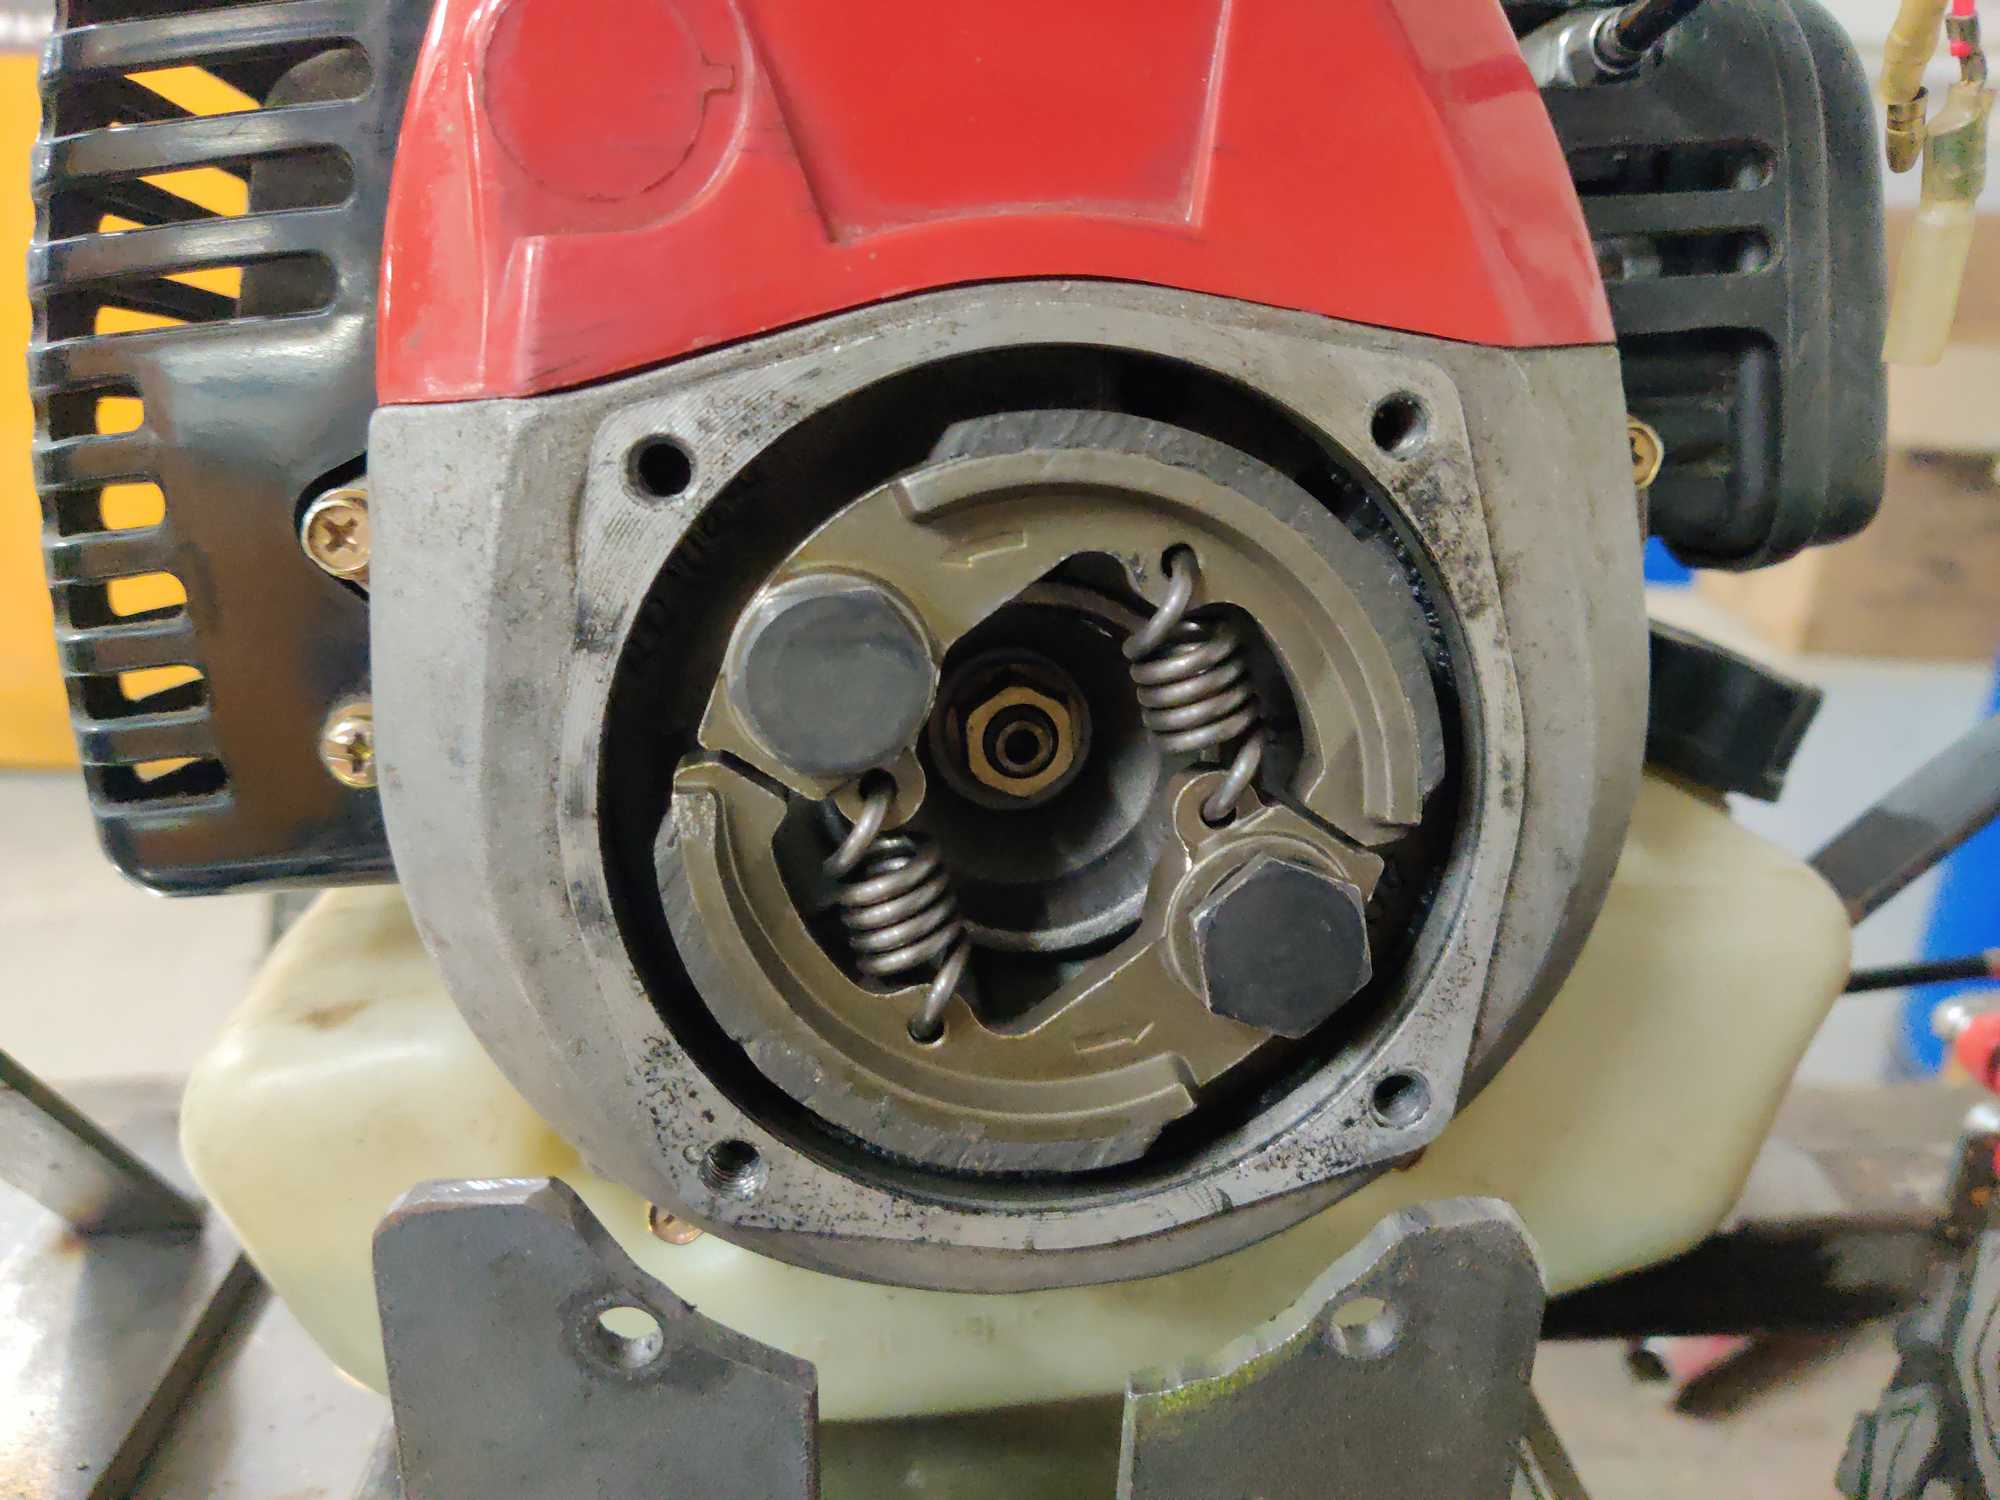
Before I mounted this awesome muffler I got an idea to remove the flywheel (can’t remember why…, maybe to see what’s behind?). Notice there are two screwholes that are meant for removing this part. You put in screws and turn them equally until the flywheel comes off.
For me it was the demise of this engine (finally). Remember when I said that it is very brittle? When turning the scews they simply, without any resistance, went straight into the block and made a hole.
This meant that the engine was totaled. At that moment I felt a relief that it happened this way and decided to finally get away from it because I was getting really tired from constant fixing. After that I put the whole thing away for some time to come back later with fresh enthusiasm :D
Getting back on track
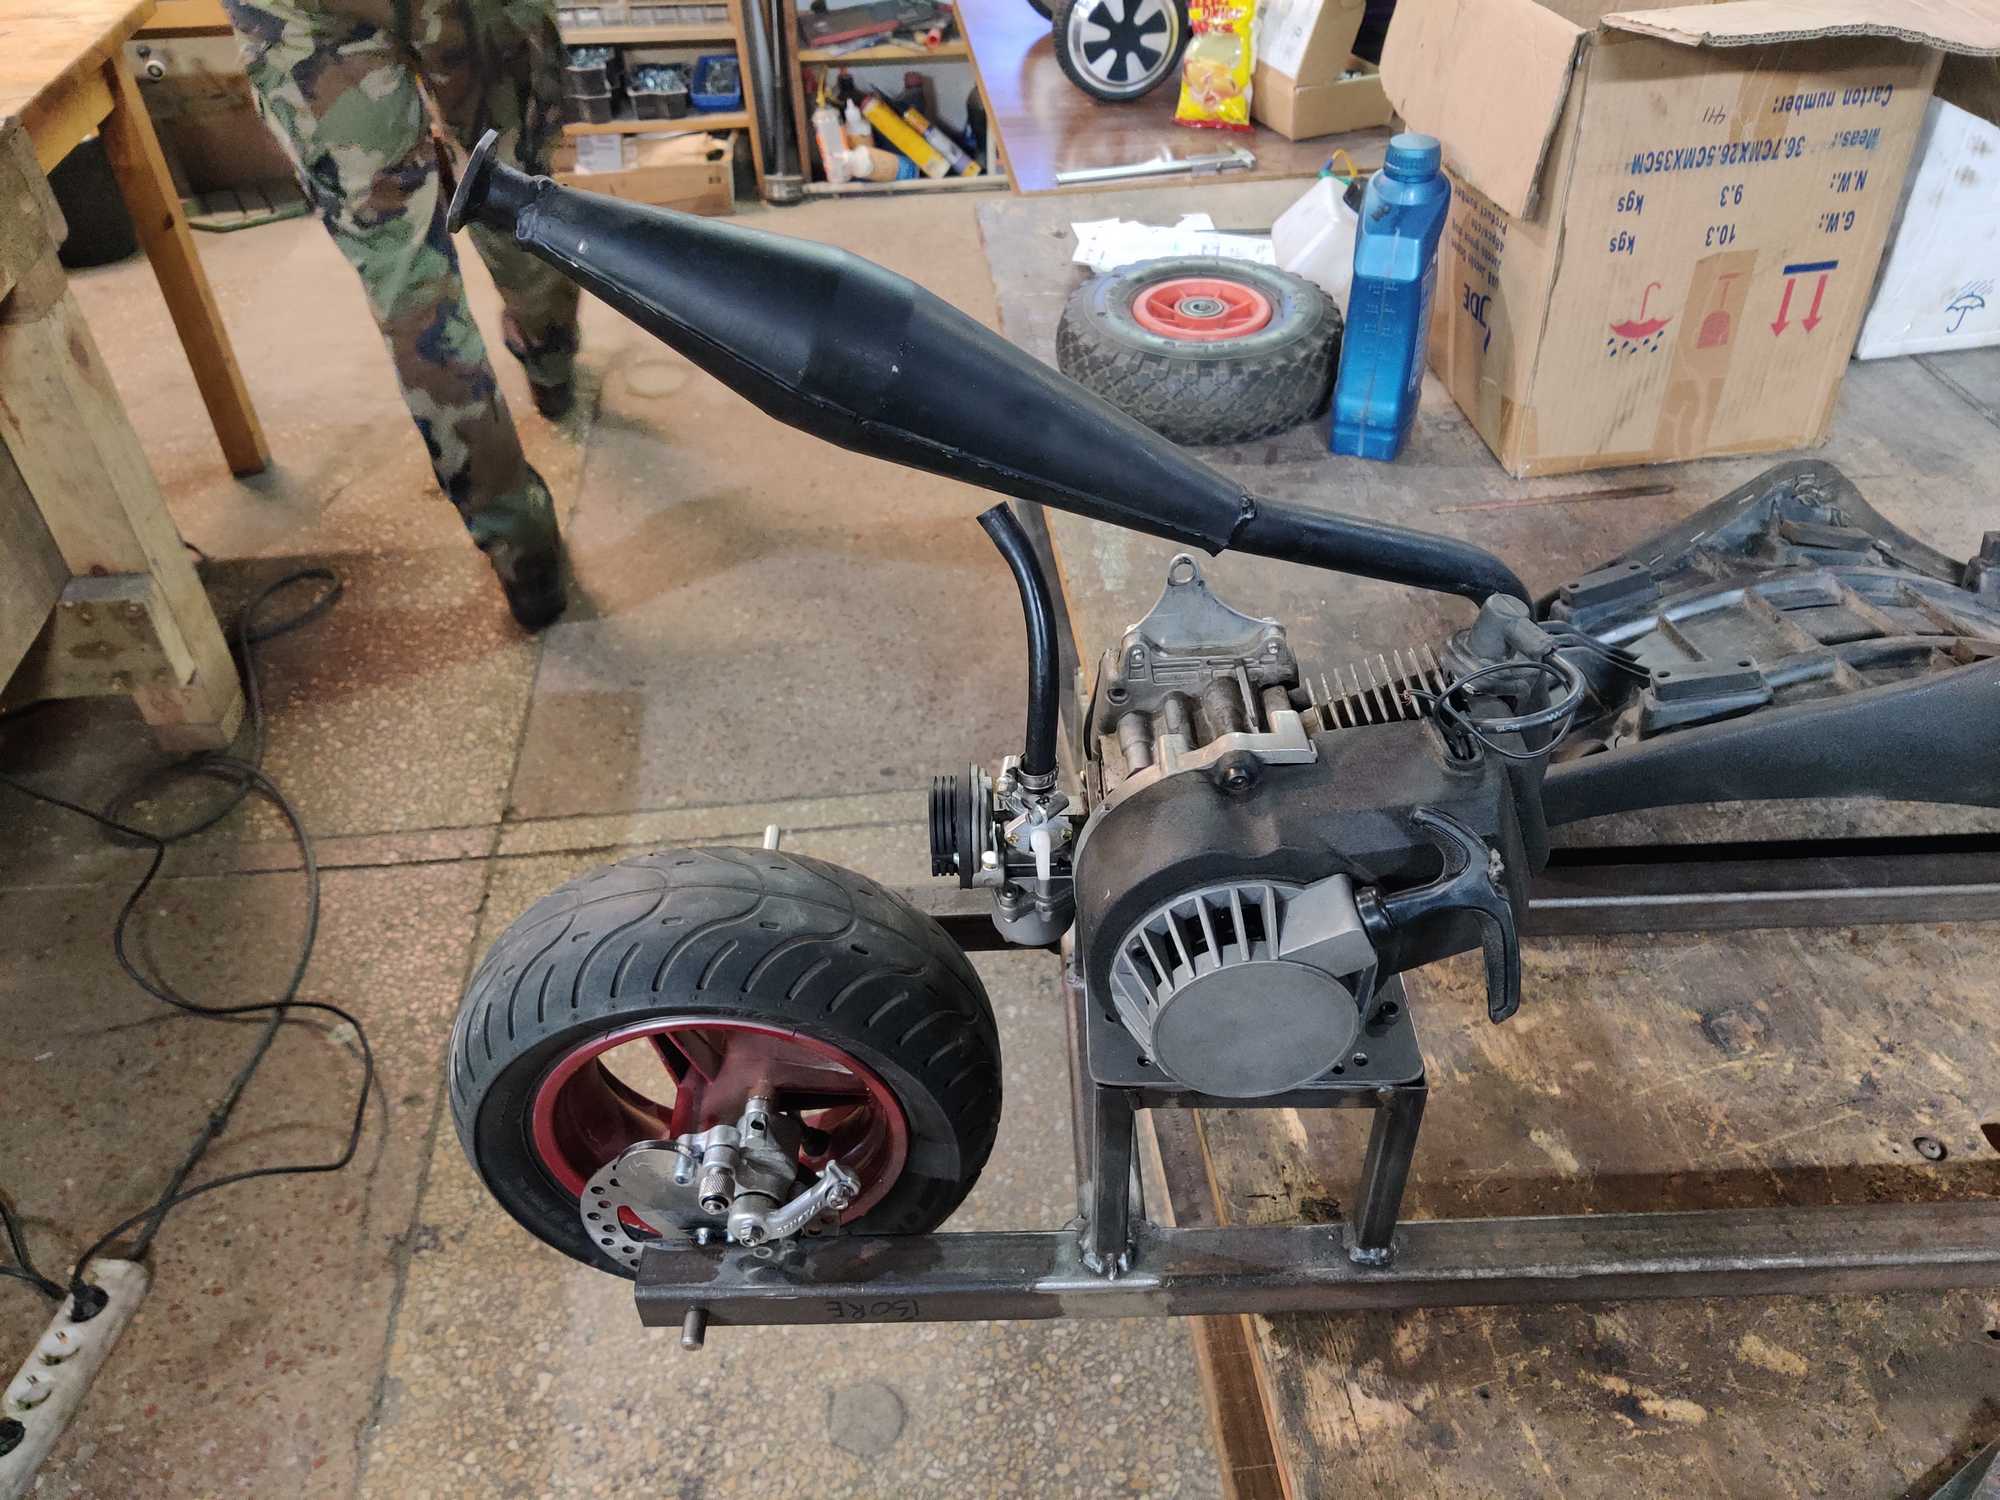
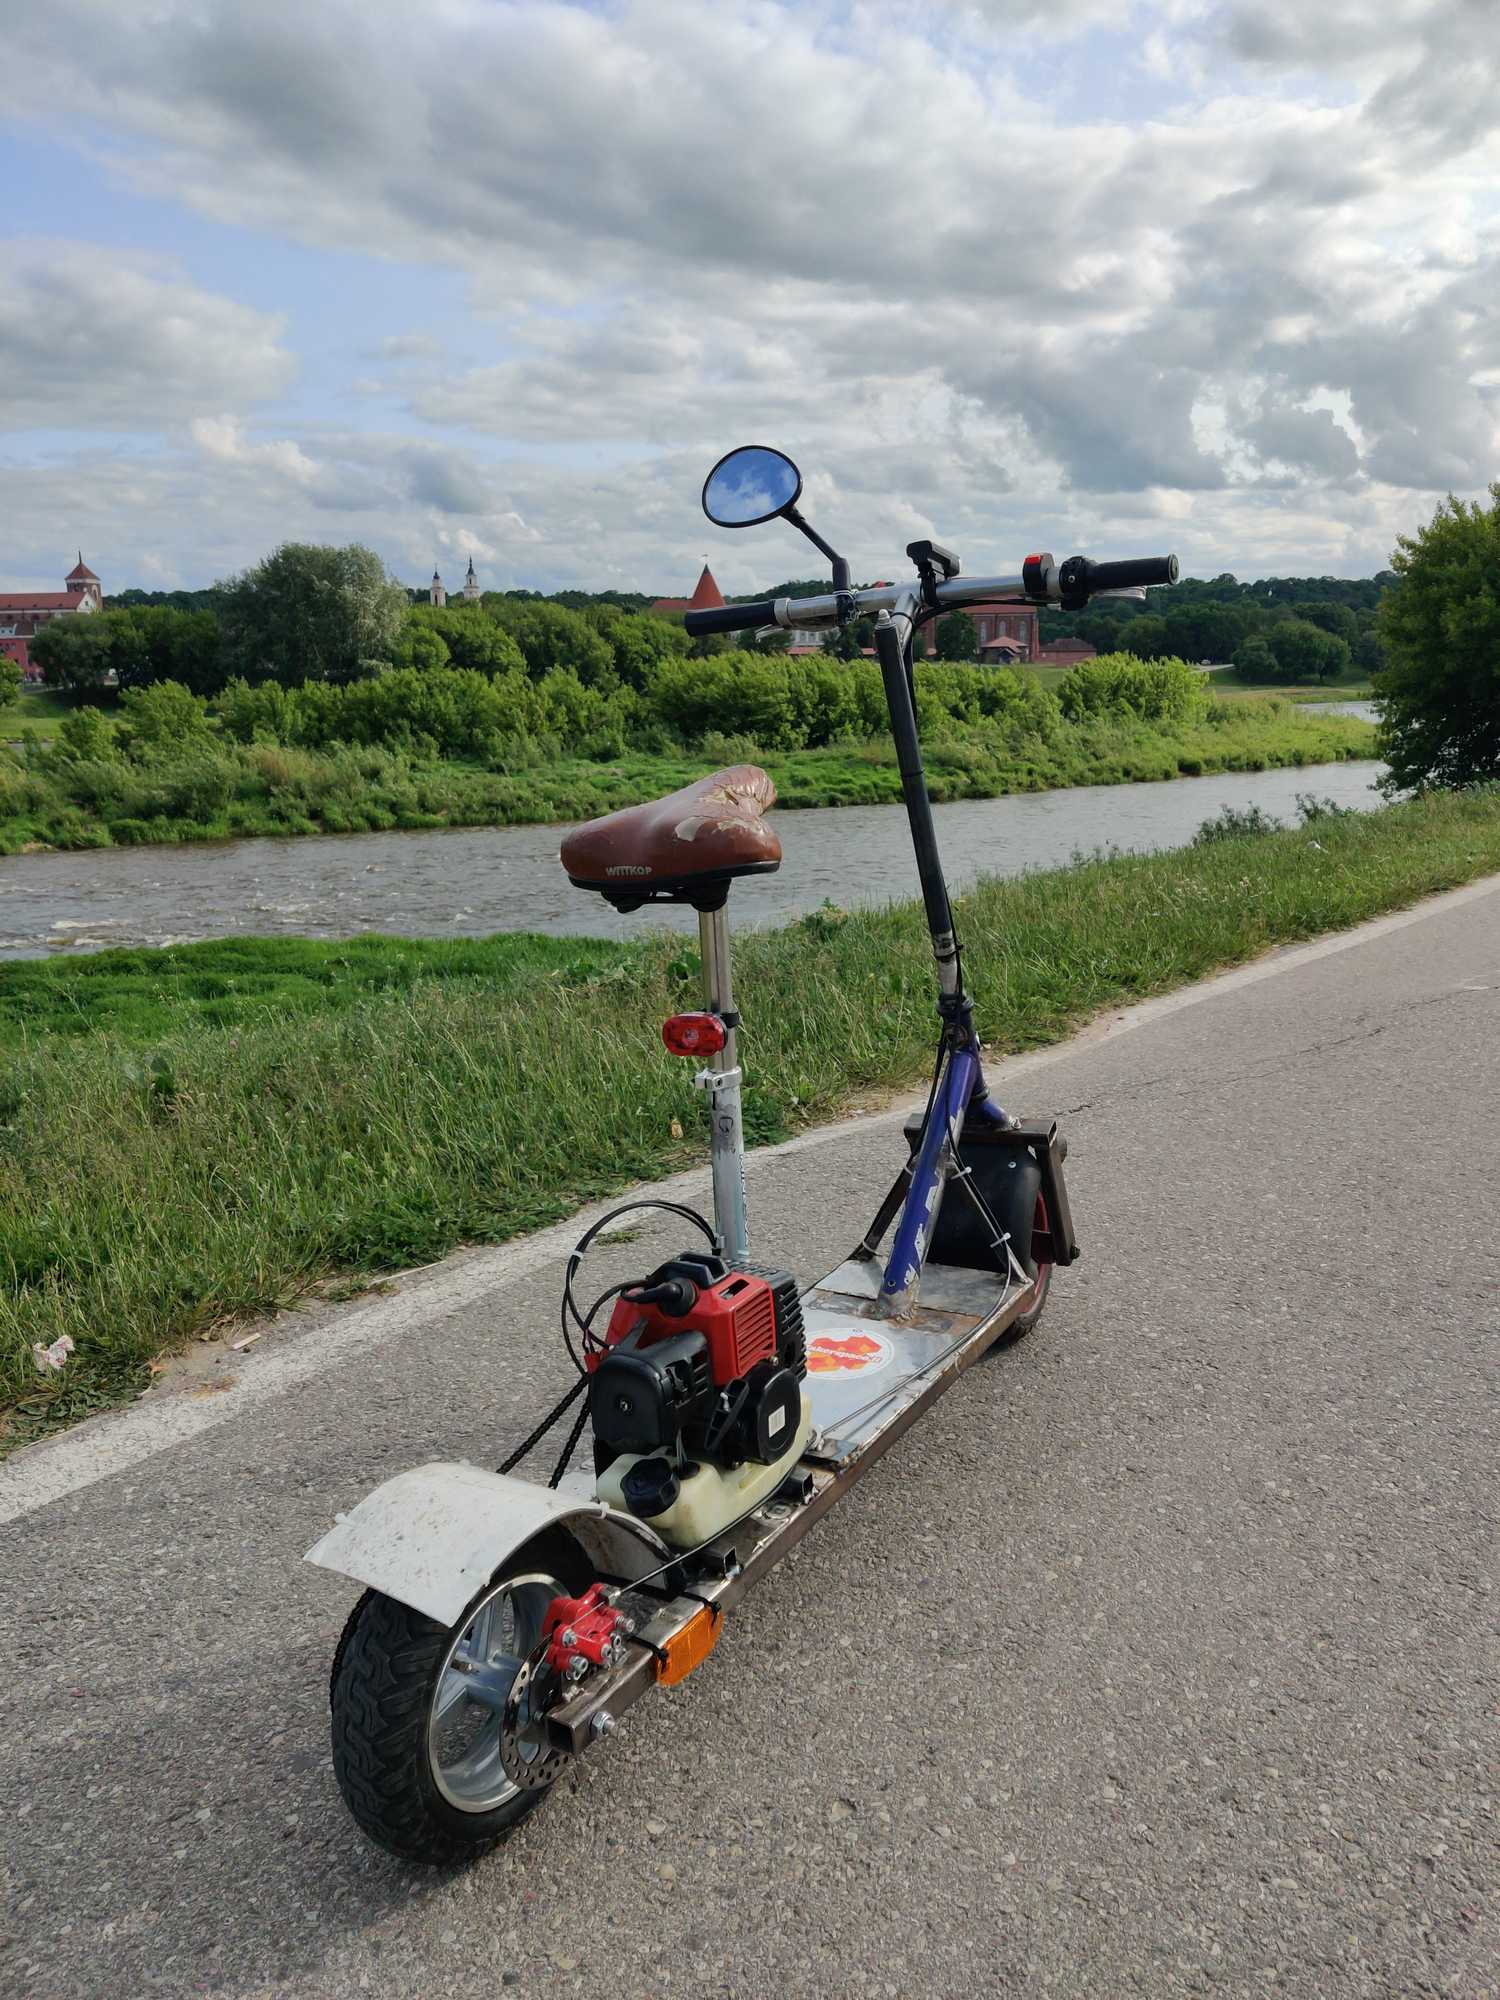
When I came back to work on it I could re-use what was made already. Only the old engine mount had to be removed to make a new one for the trimmer and replace the seat with a simpler one, like from a bicycle. All those parts I again found in the workshop.
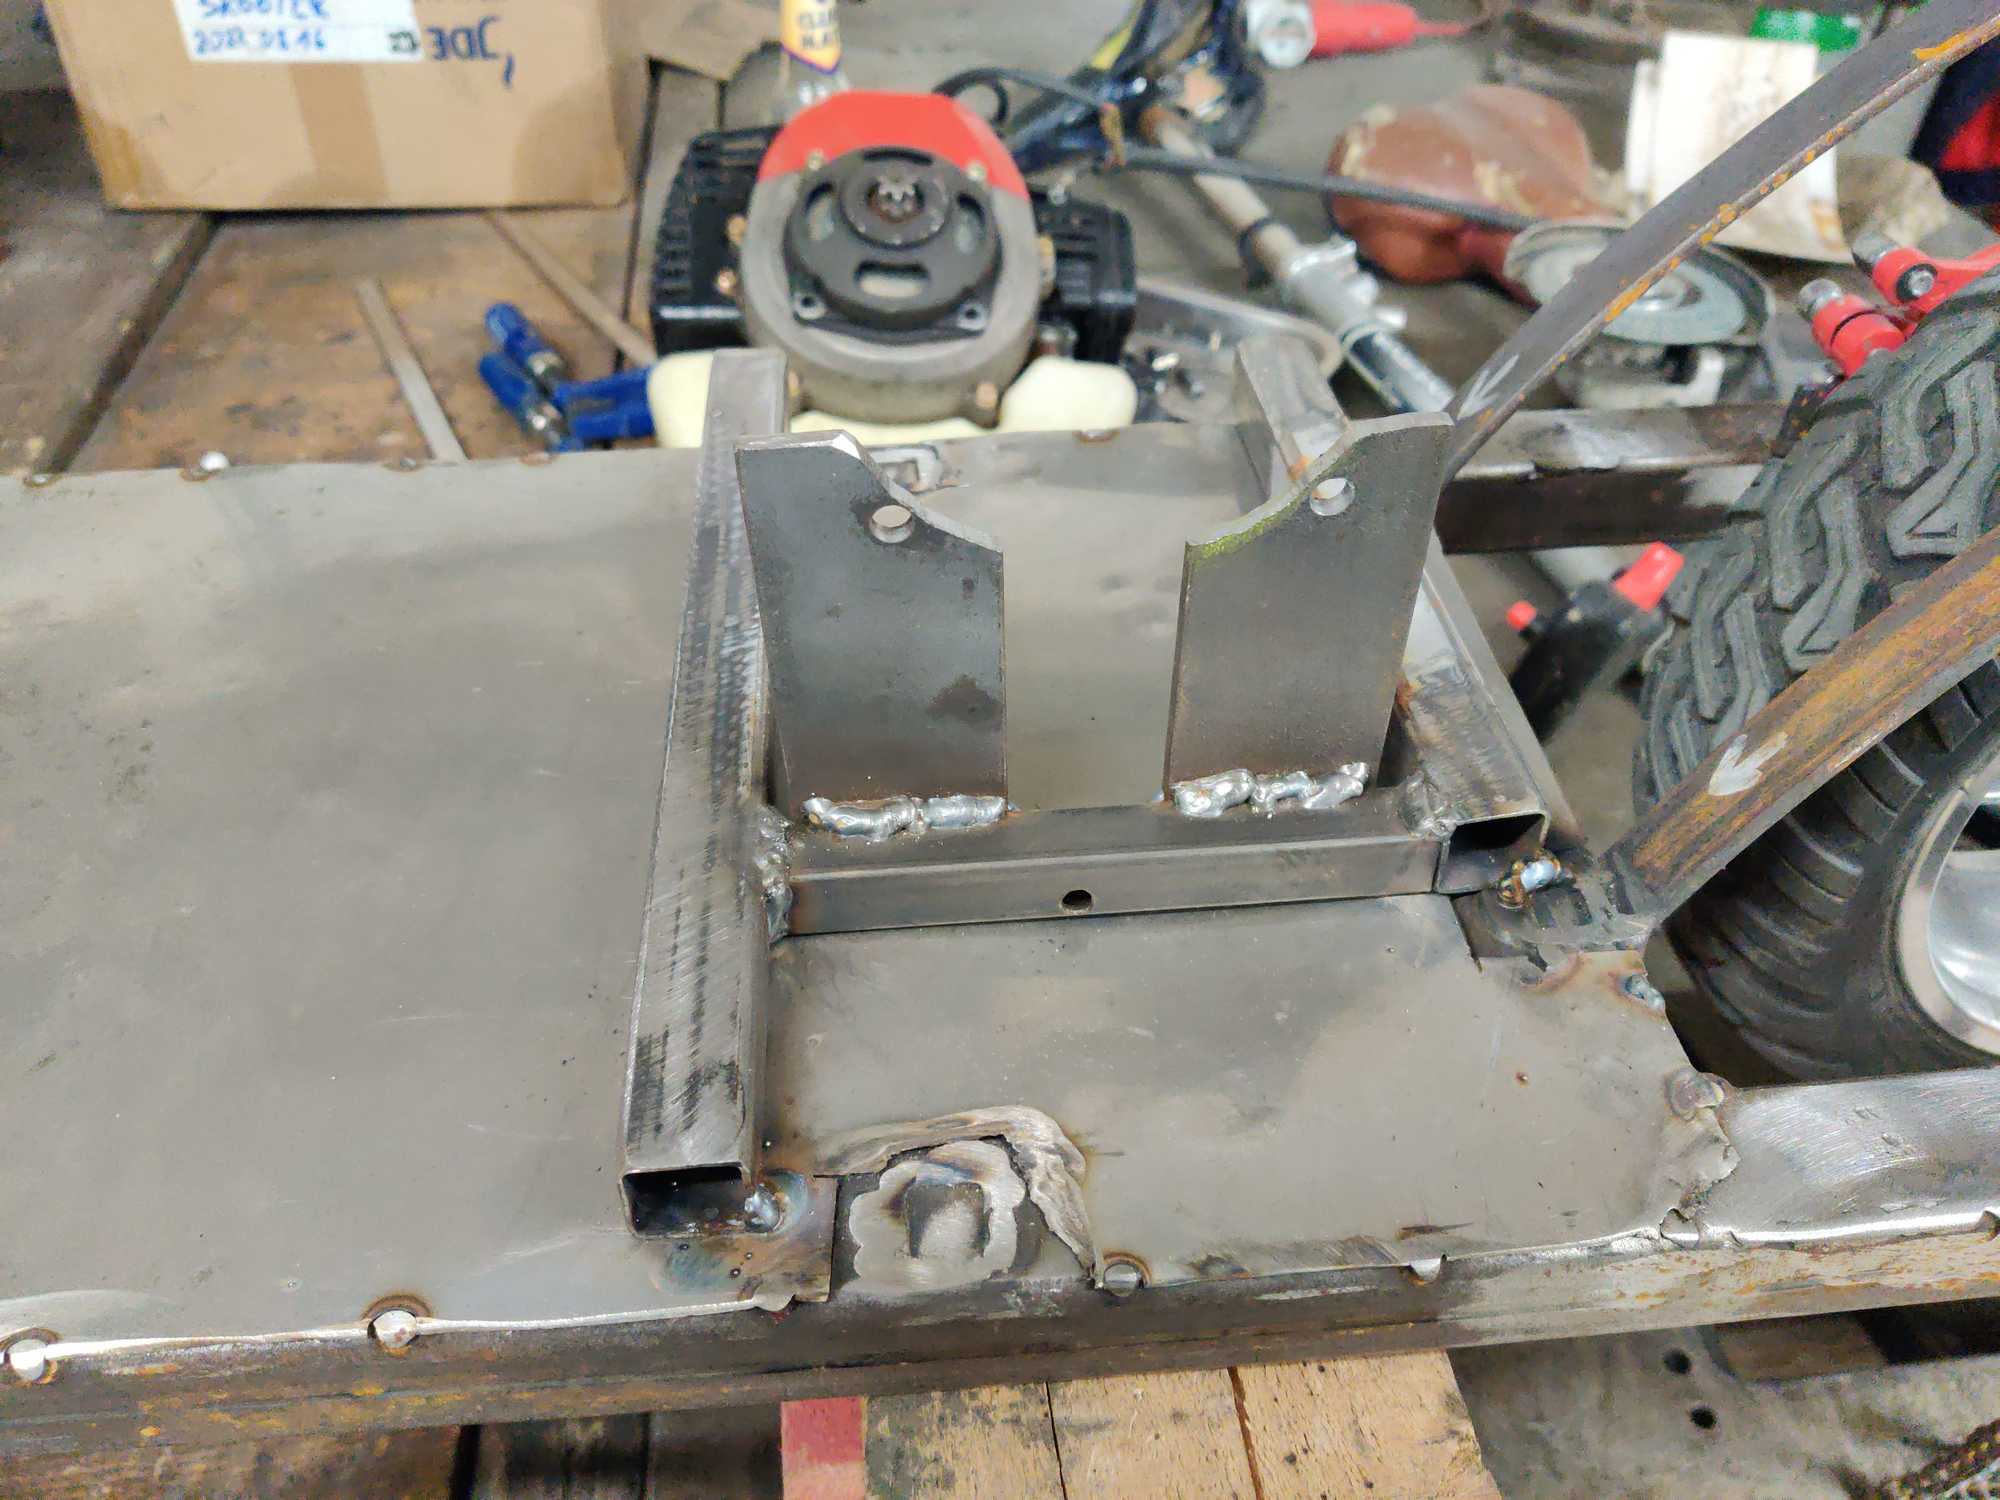
Having the engine mounted I drove around a bit to realize that the cluch was worn out because the acceleration was very slow and top speed suffered as well.
I had bought a new clutch for the previous engine that I haven’t used so I tried mounting it on the trimmer engine. To my surprise the new cluch was about 1-2 mm smaller so the screw holes didn’t align! with a file I made it fit.
After mounting it on I drove around a bit more to realize that this cluch is likely made for higher rpms since the pocket bike engine was producing much much higher rpms so this one was of no use to me.
I tried to salvage the old cluch by loosening the spring a bit and it worked kinda, gained better acceleration but I wasn’t satisfied still, so the next day I went out to the marketplace and bough a new clutch for 4 euros, installed it and it was great.
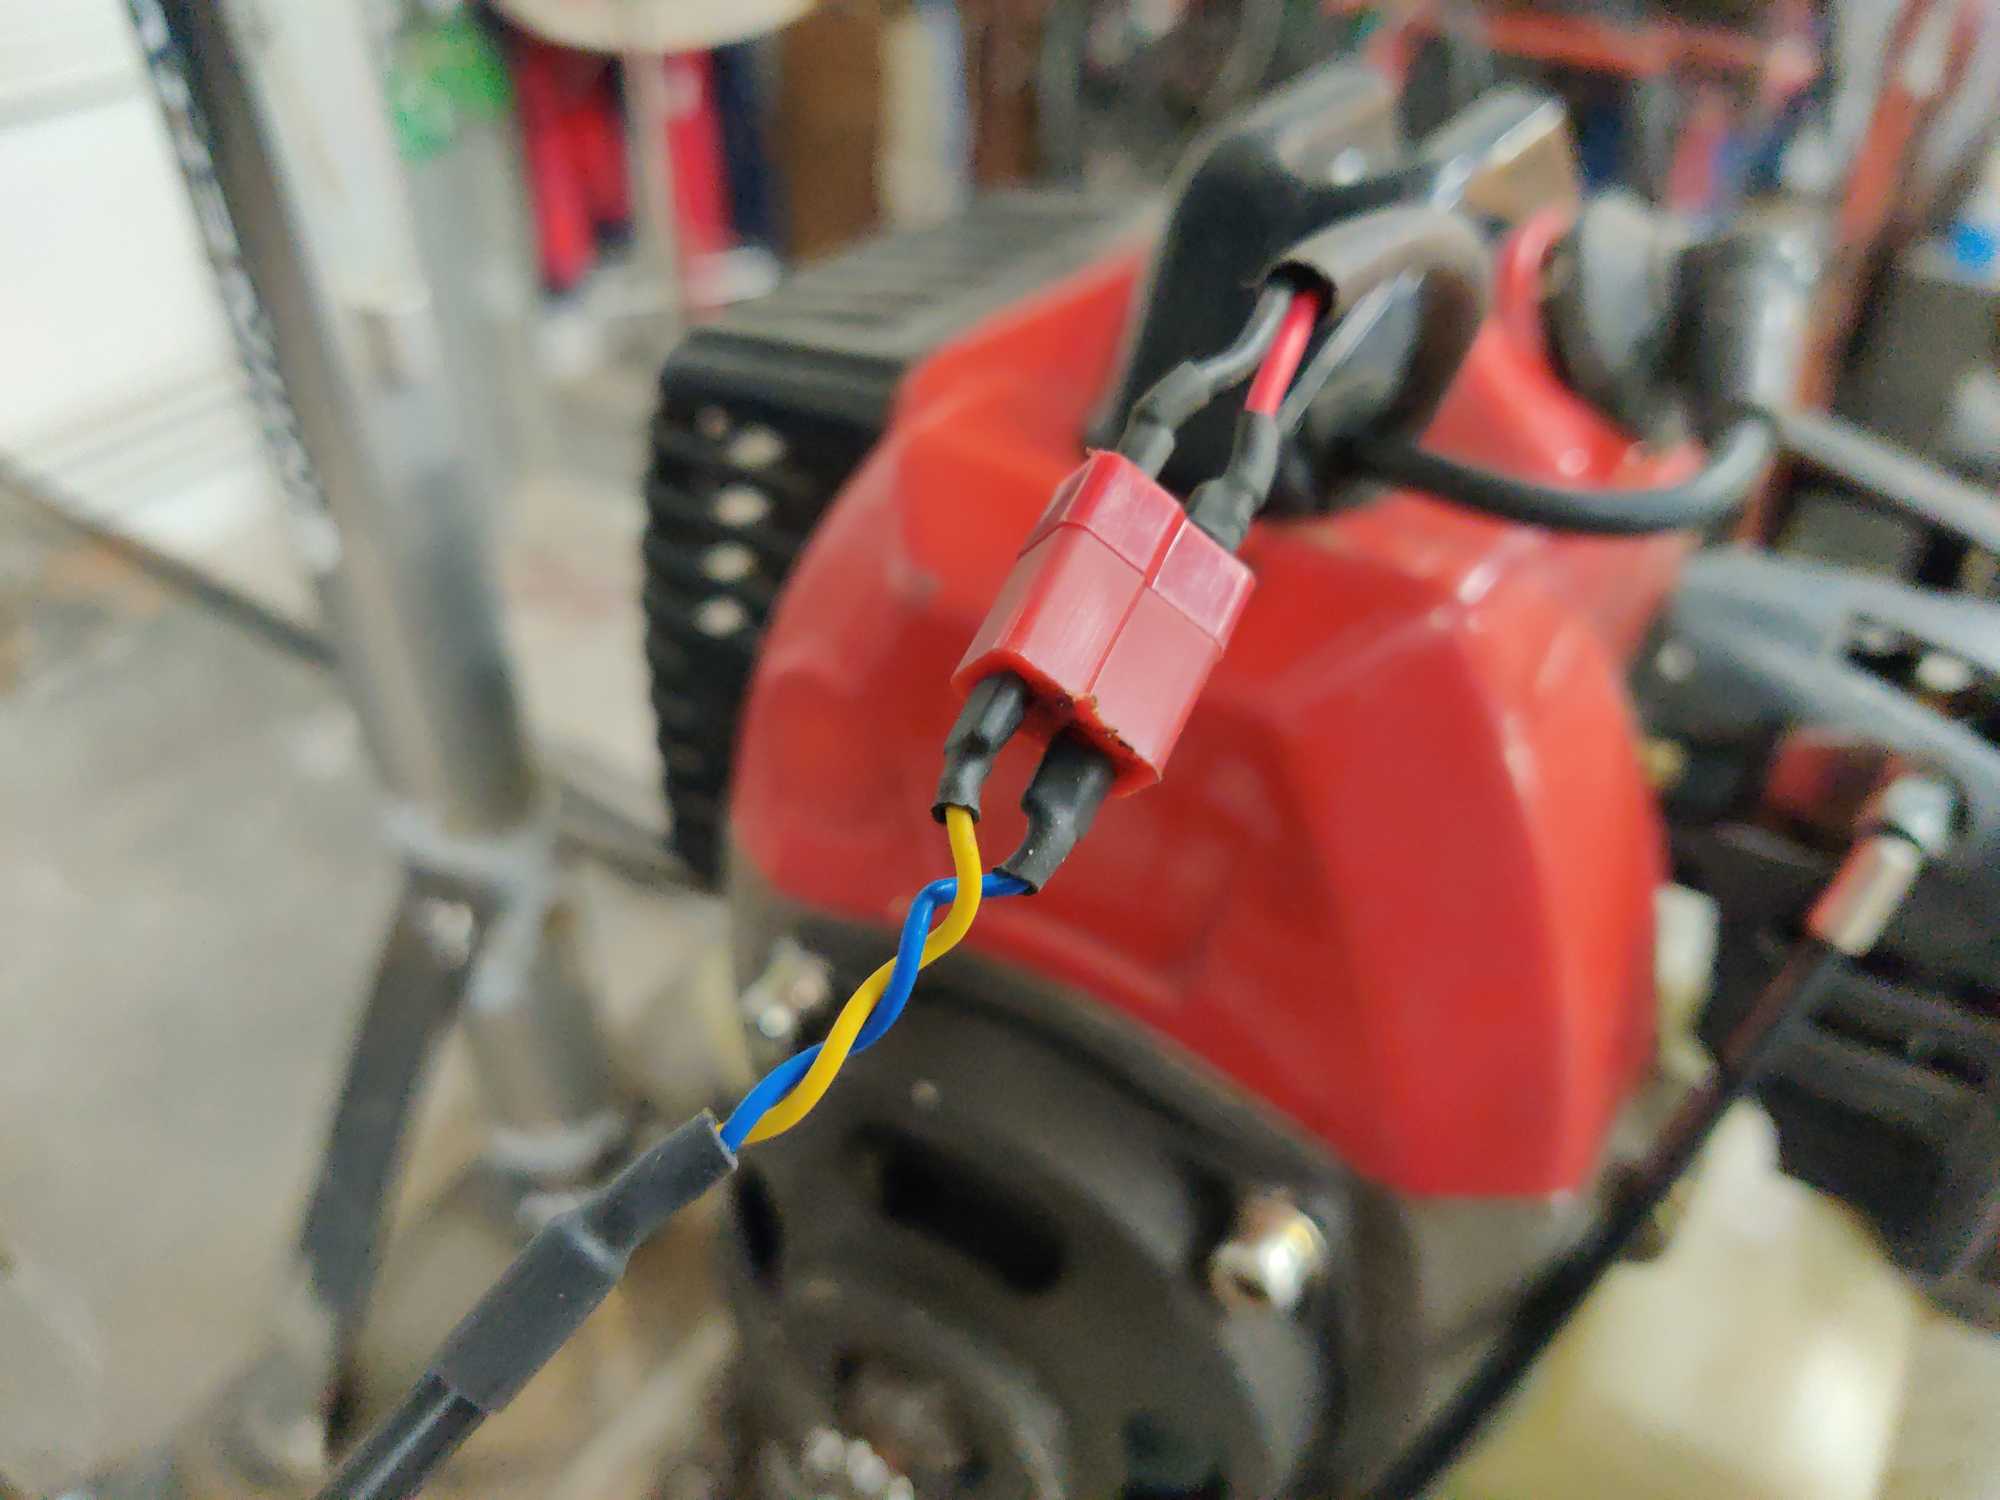
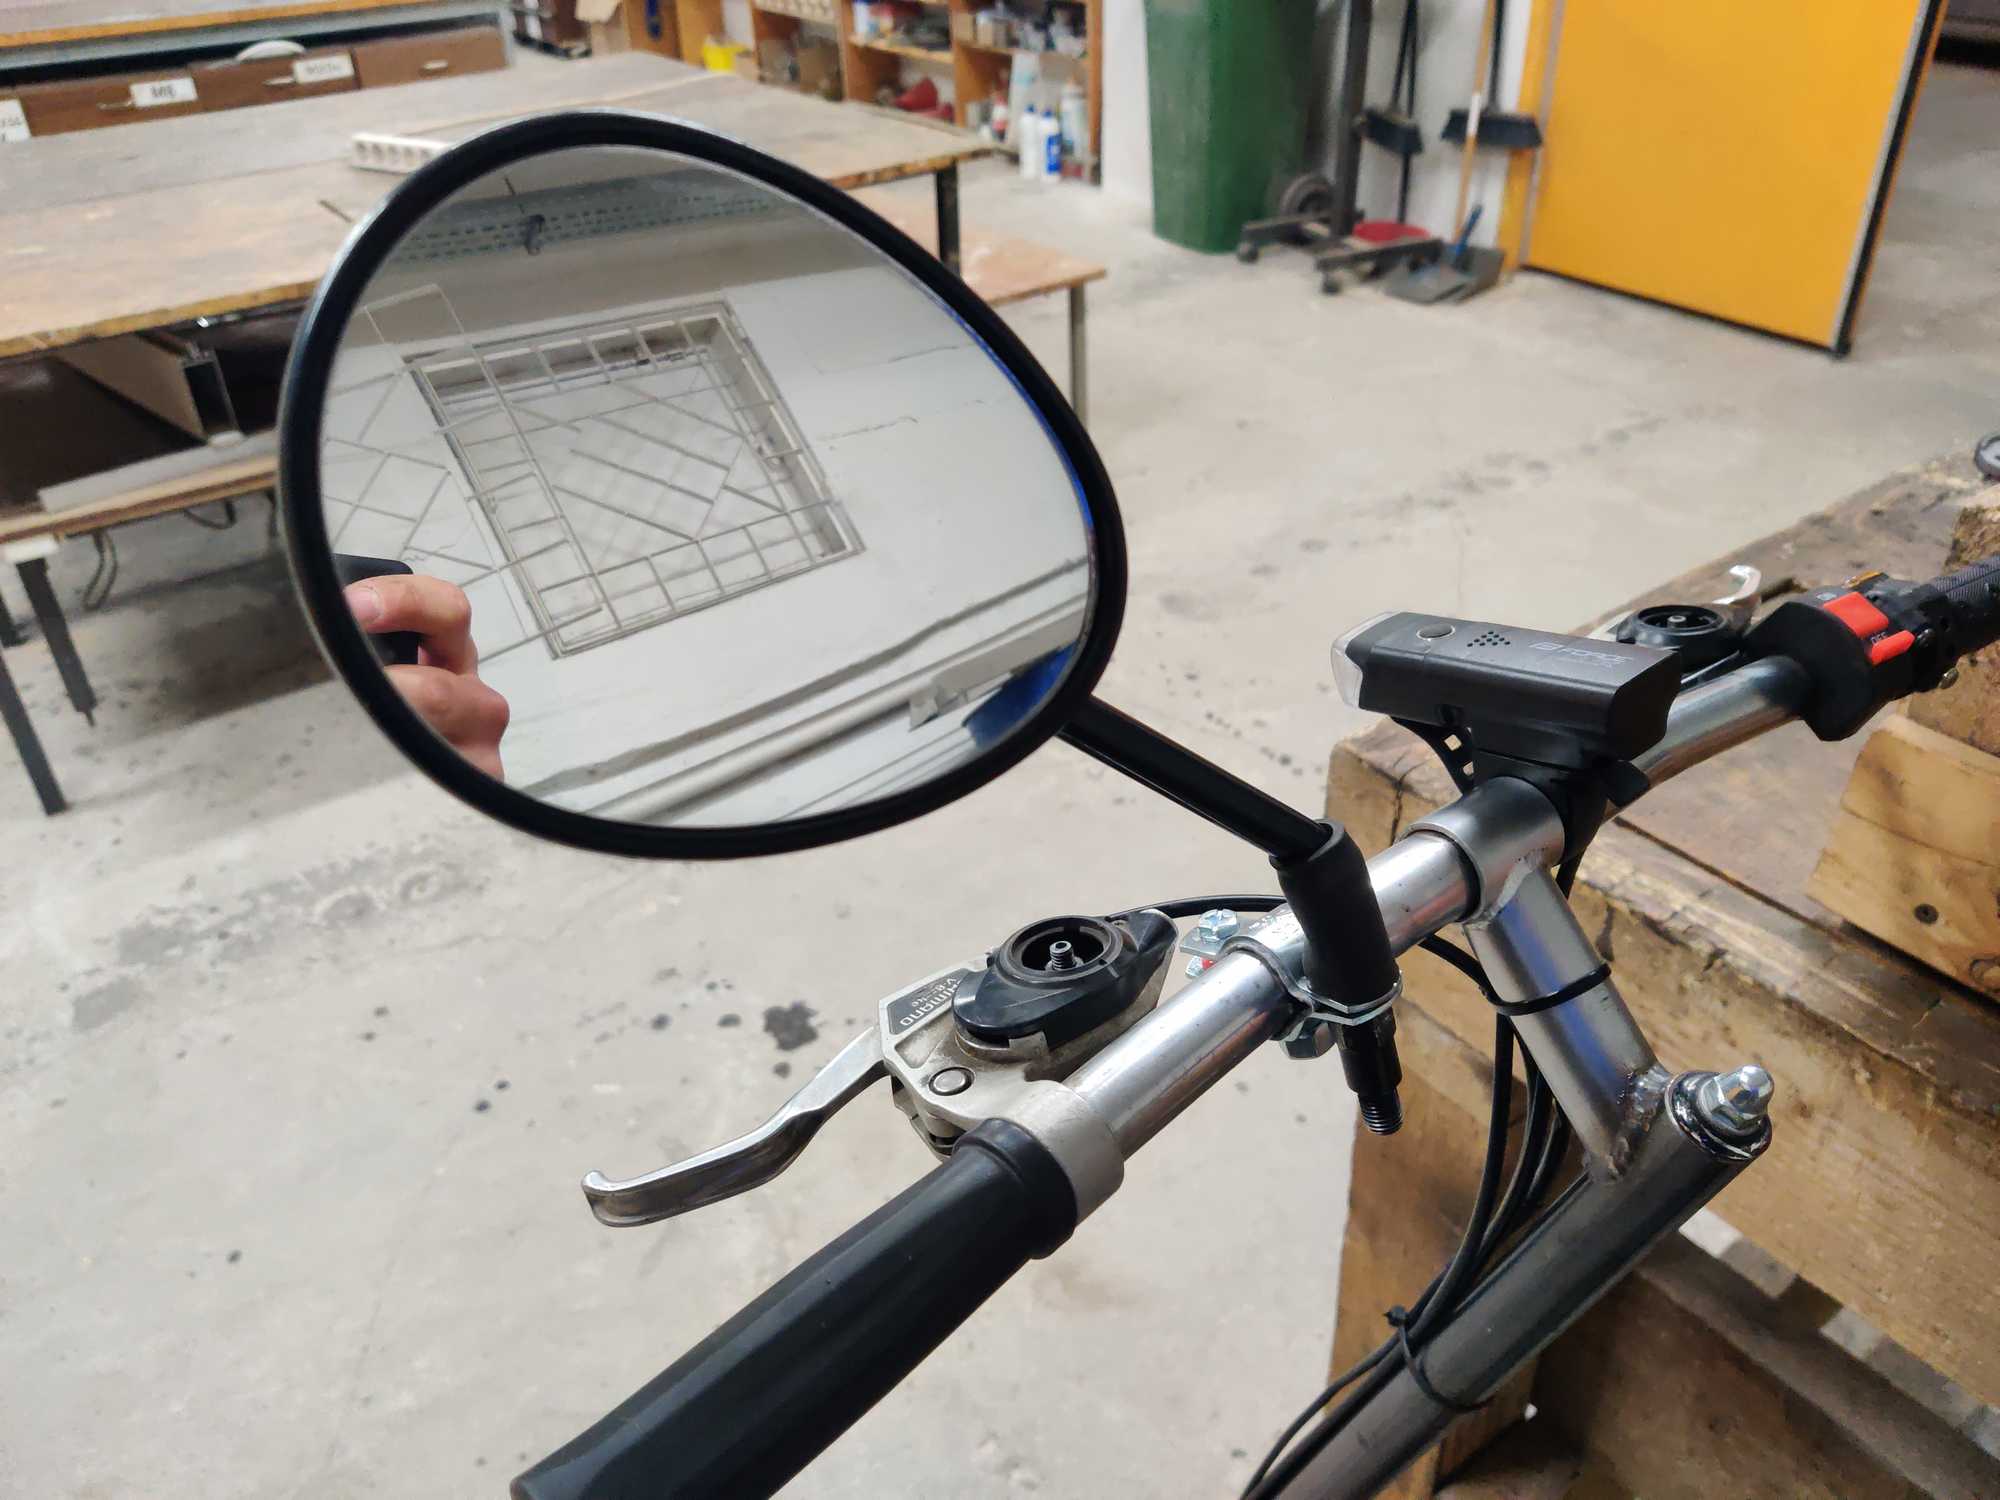
Later on I re-wired the kill switch, installed a mirror, added reflectors with lights and went out for a test drive. Drove for about 5 km and had absolutely no problems.
I really want to make a bigger trip with this and I believe that this time I feel confident that it will last longer :D

The bigger trip
After riding around a bit I felt confident that this scooter along with its engine will hold for bigger trips so on a nice and warm saturday morning I jumped on it and went for a trip to visit my parents. I estimated the fuel consumption and planned accordingly, took with me some tools and hoped to reach my goal. The total distance was 40 km.
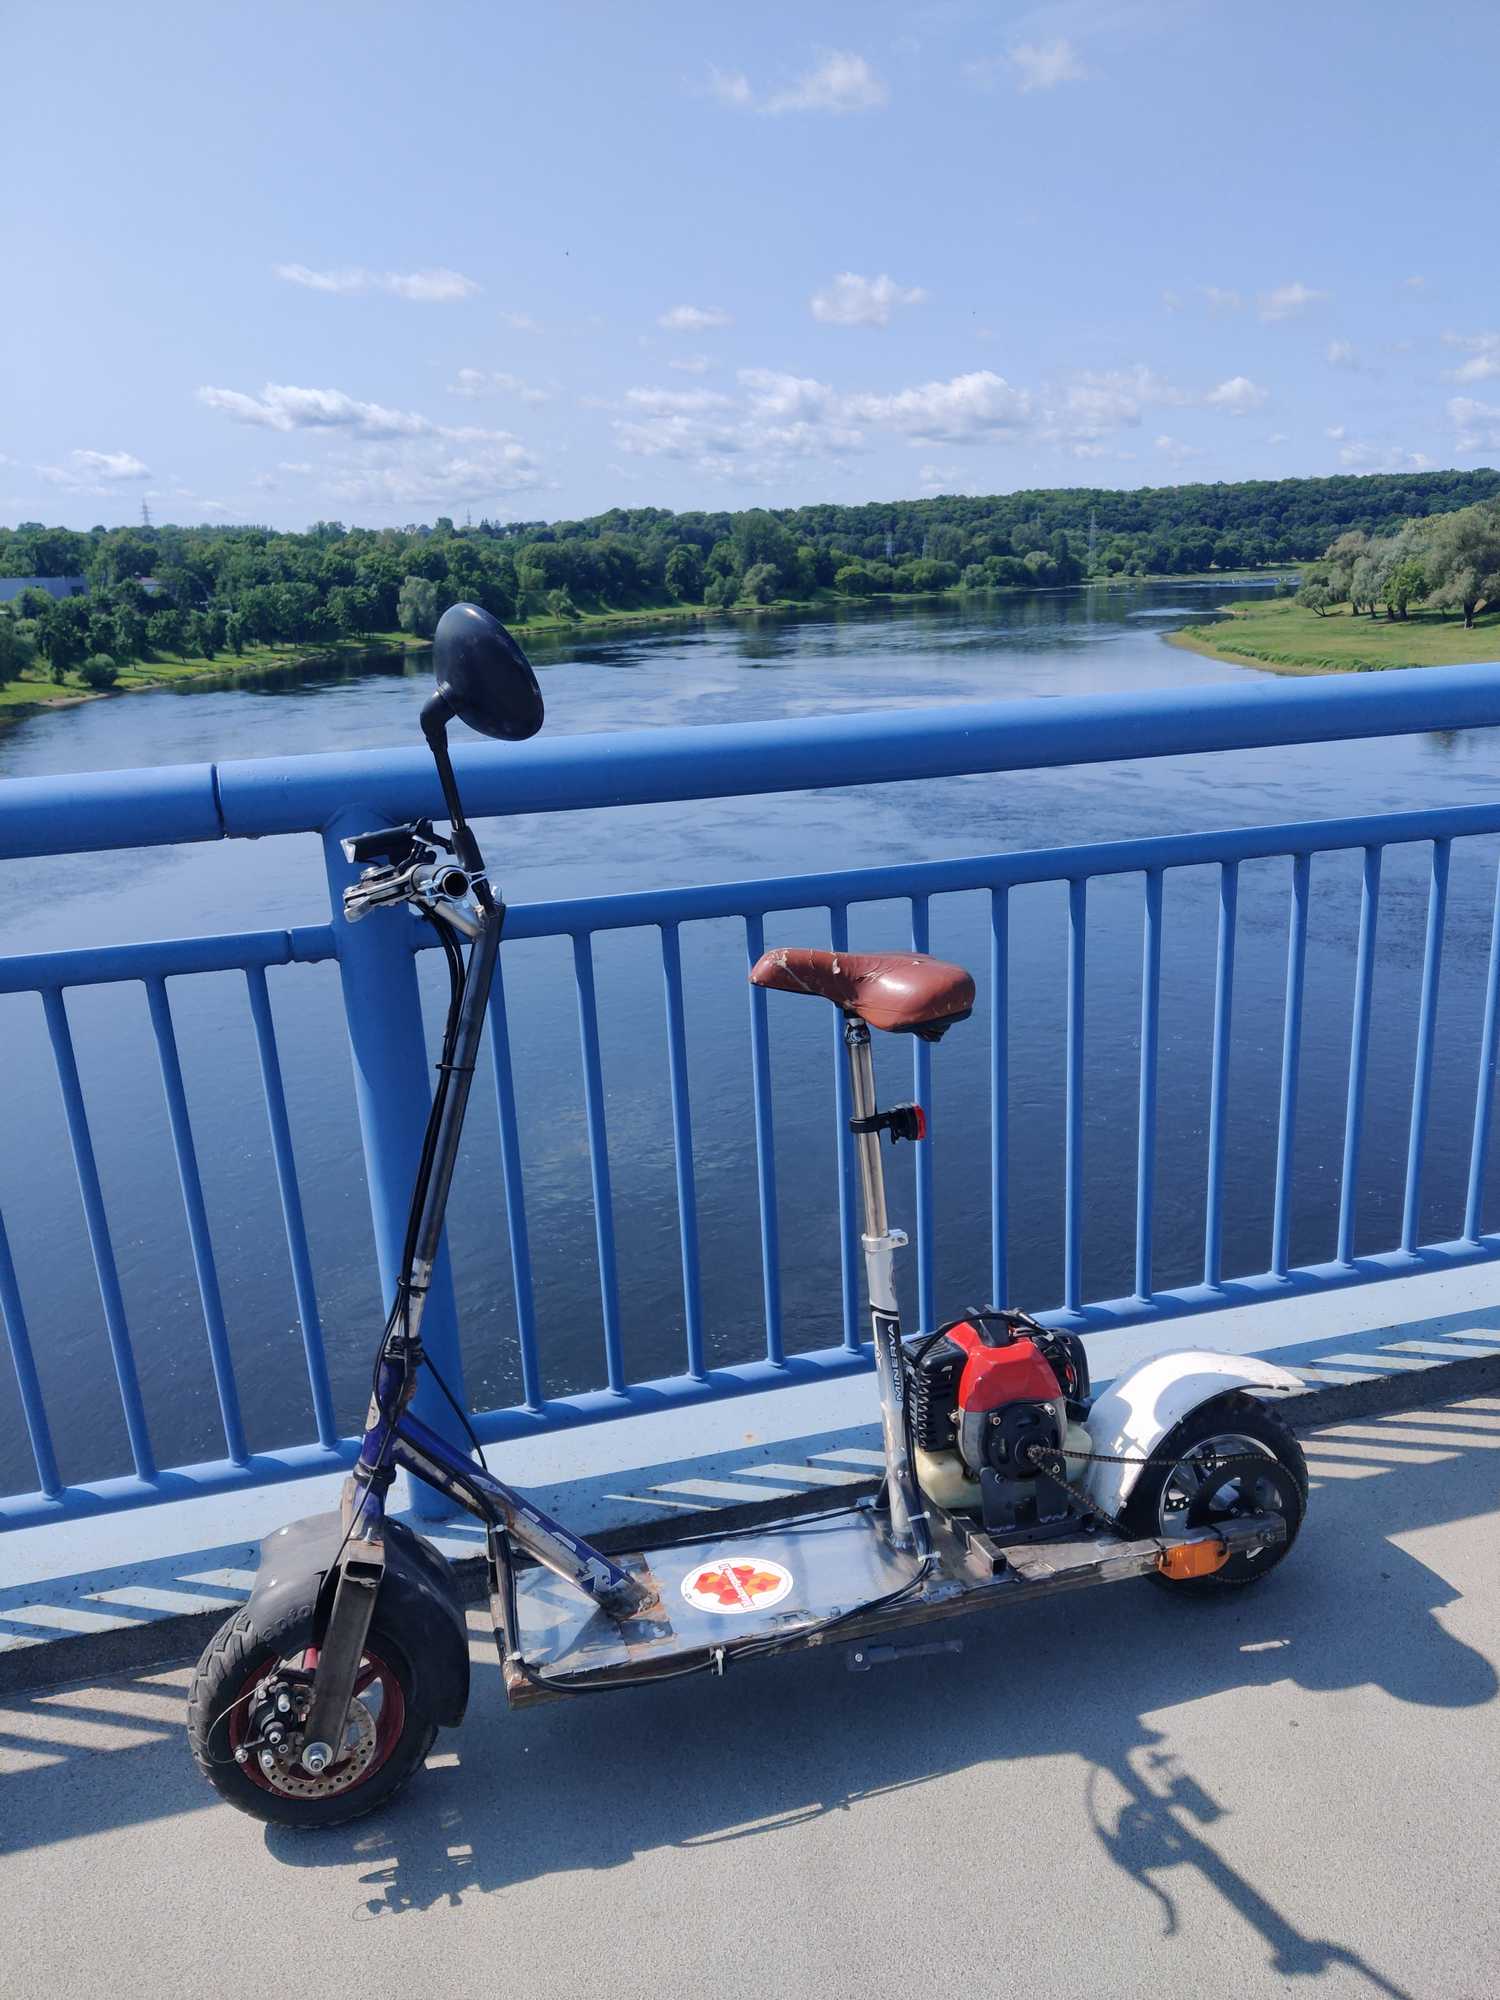
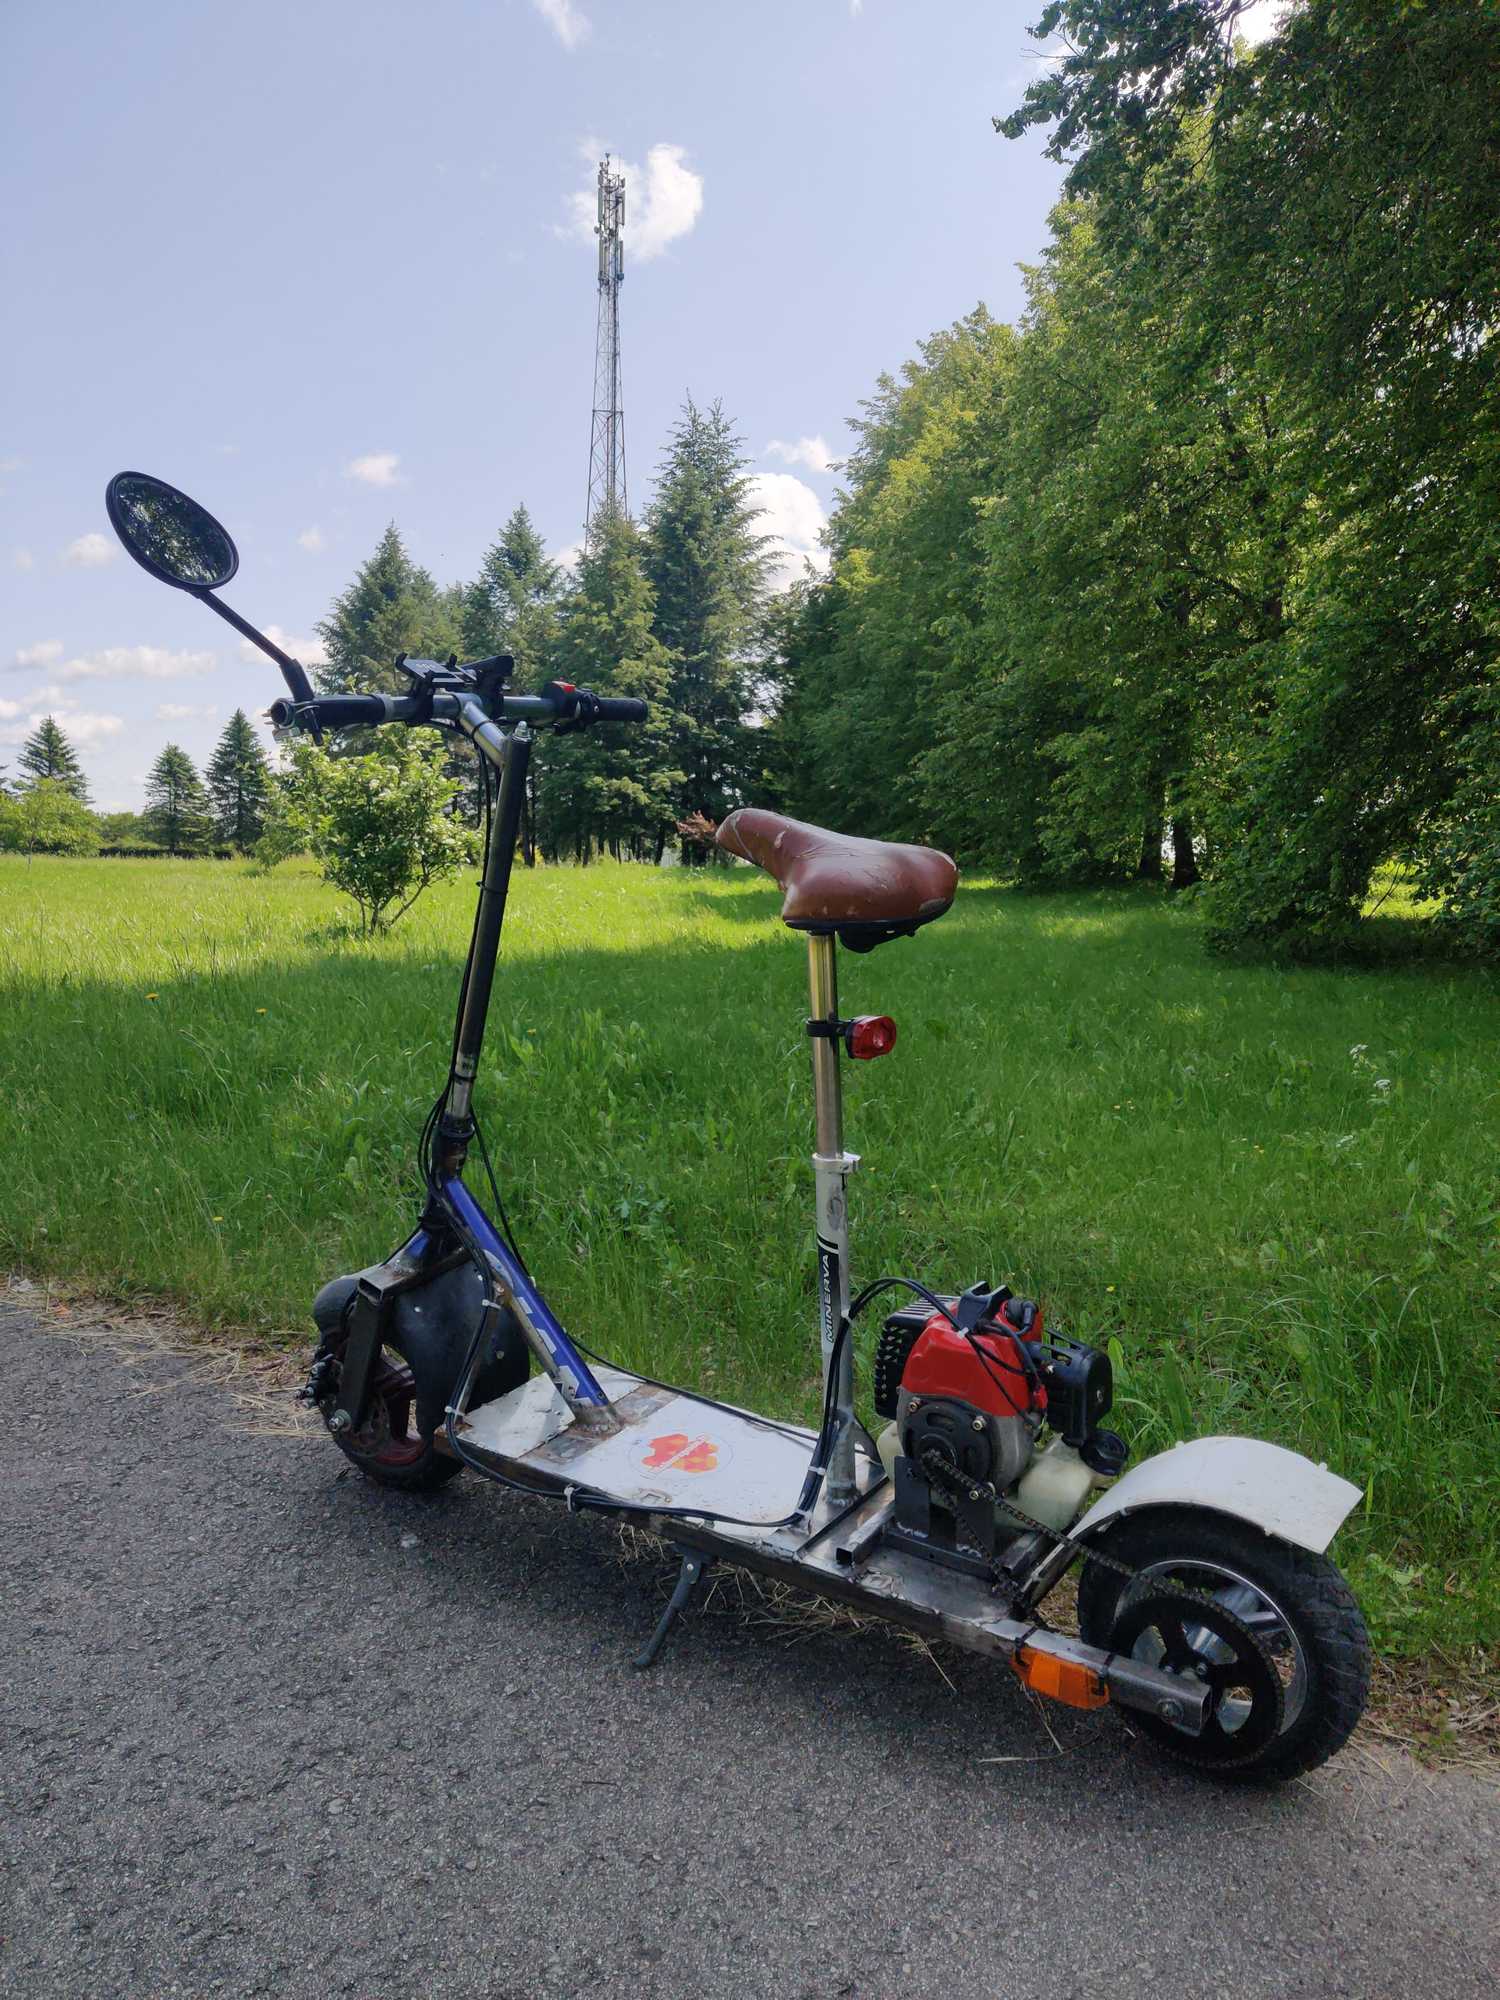
It was really cool to ride my scooter :D If I keep a steady 25 km/h speed it performs very well, the fuel consumption was 2l / 40 km, I drove off with a full tank and had 2l more in my backpack.
When riding to my destination the chain became loose and kept falling off from time to time but I eventually reached my destination. When I did we made a simple tensioner with a rubber roller.
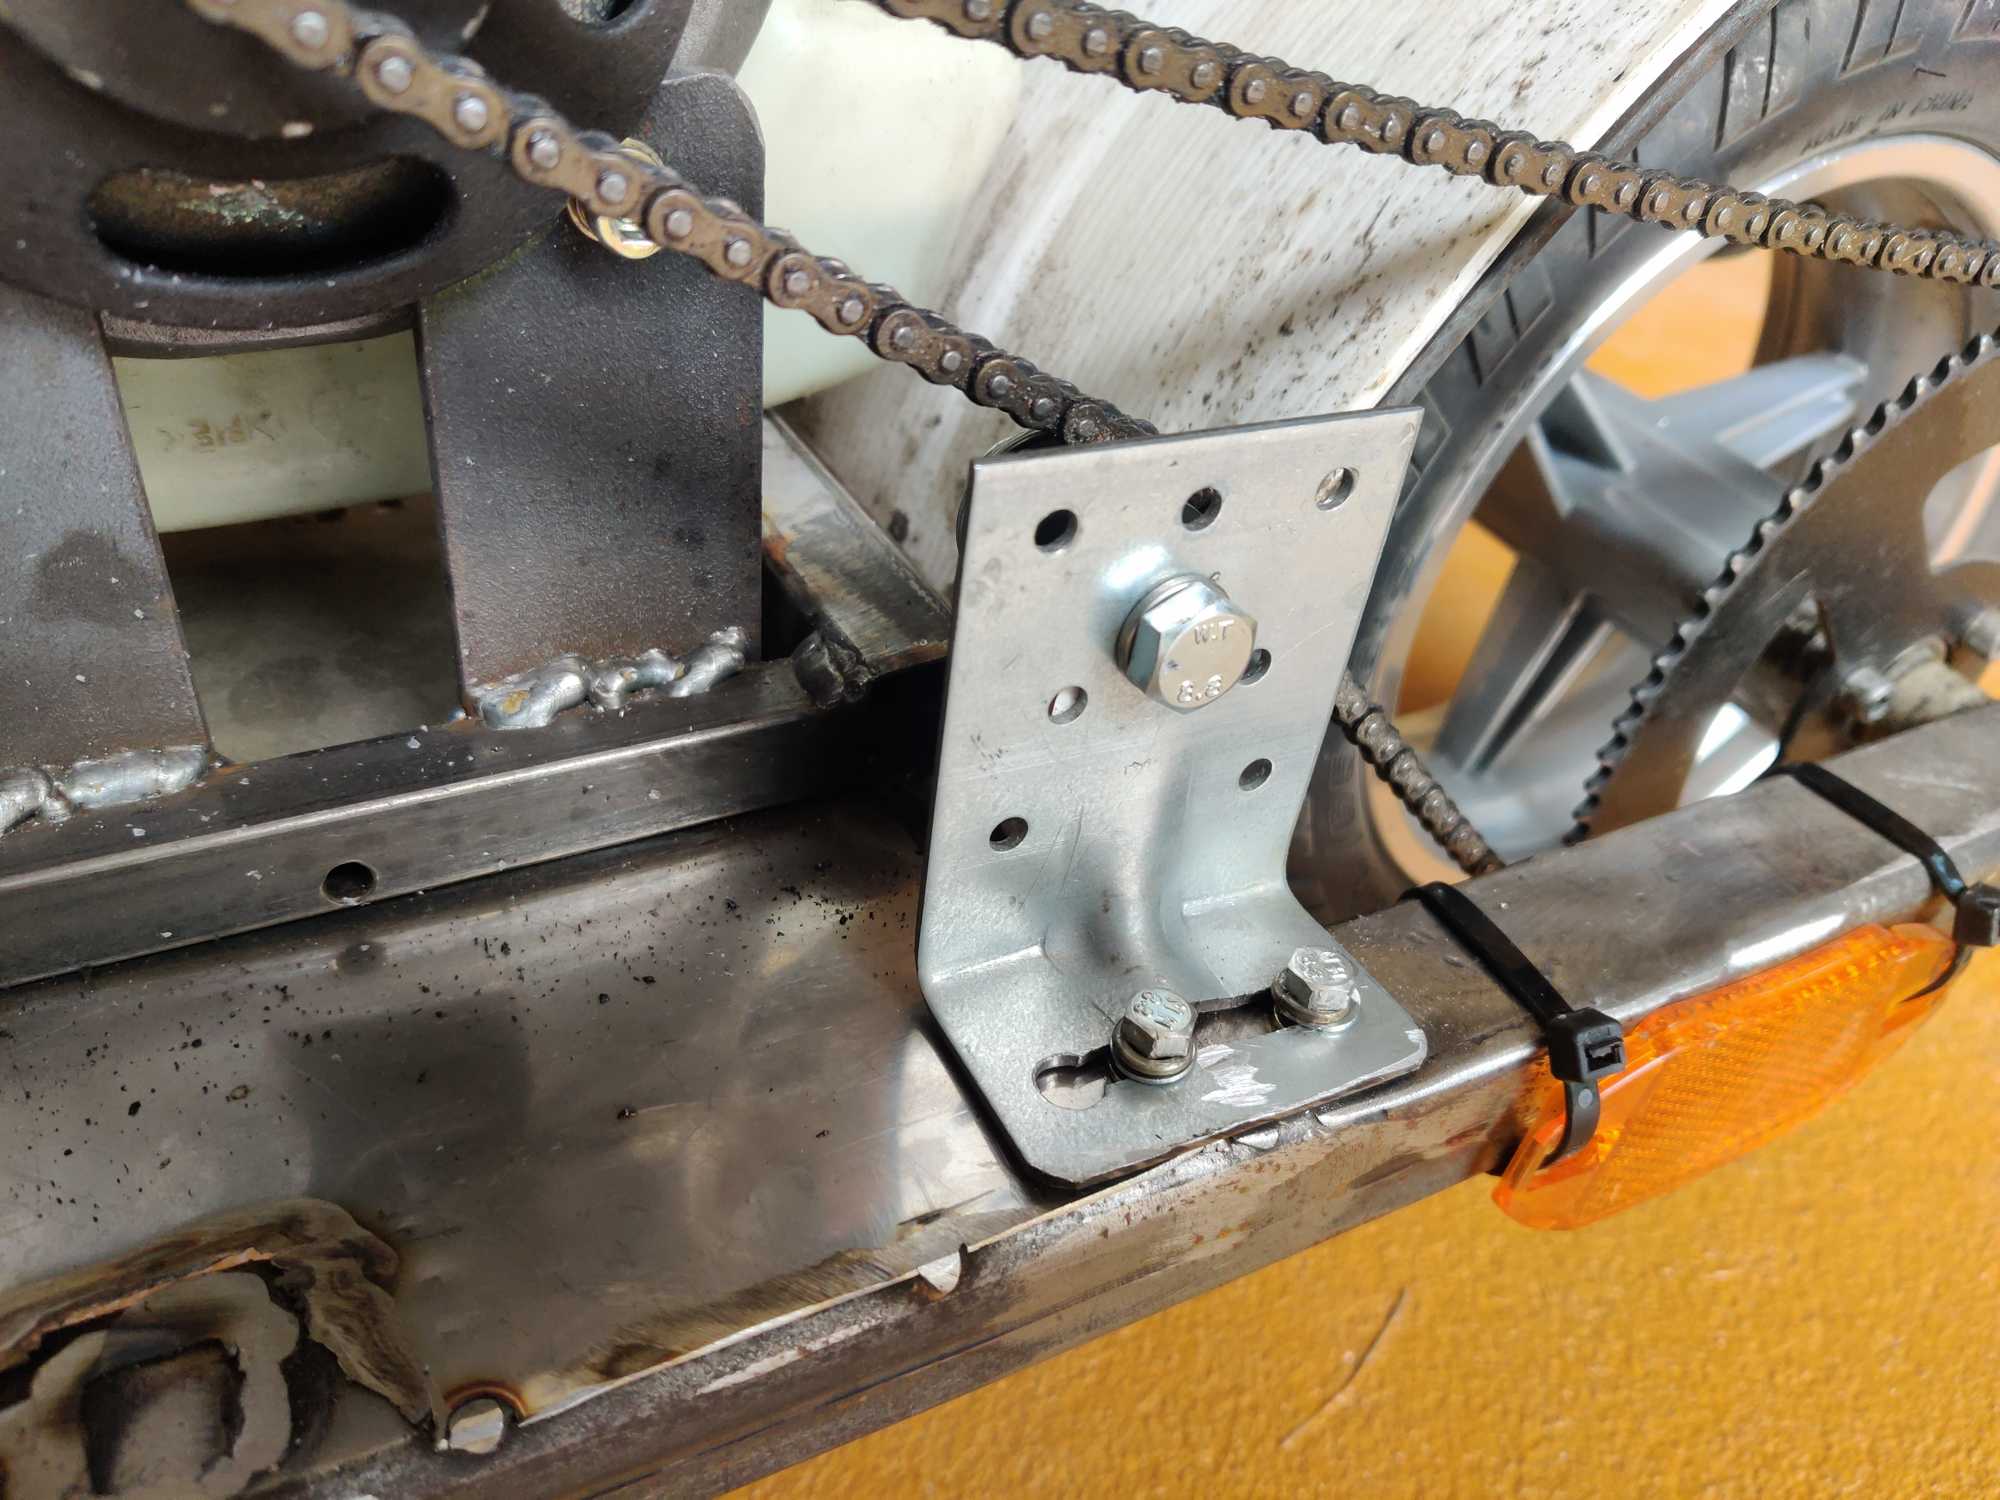
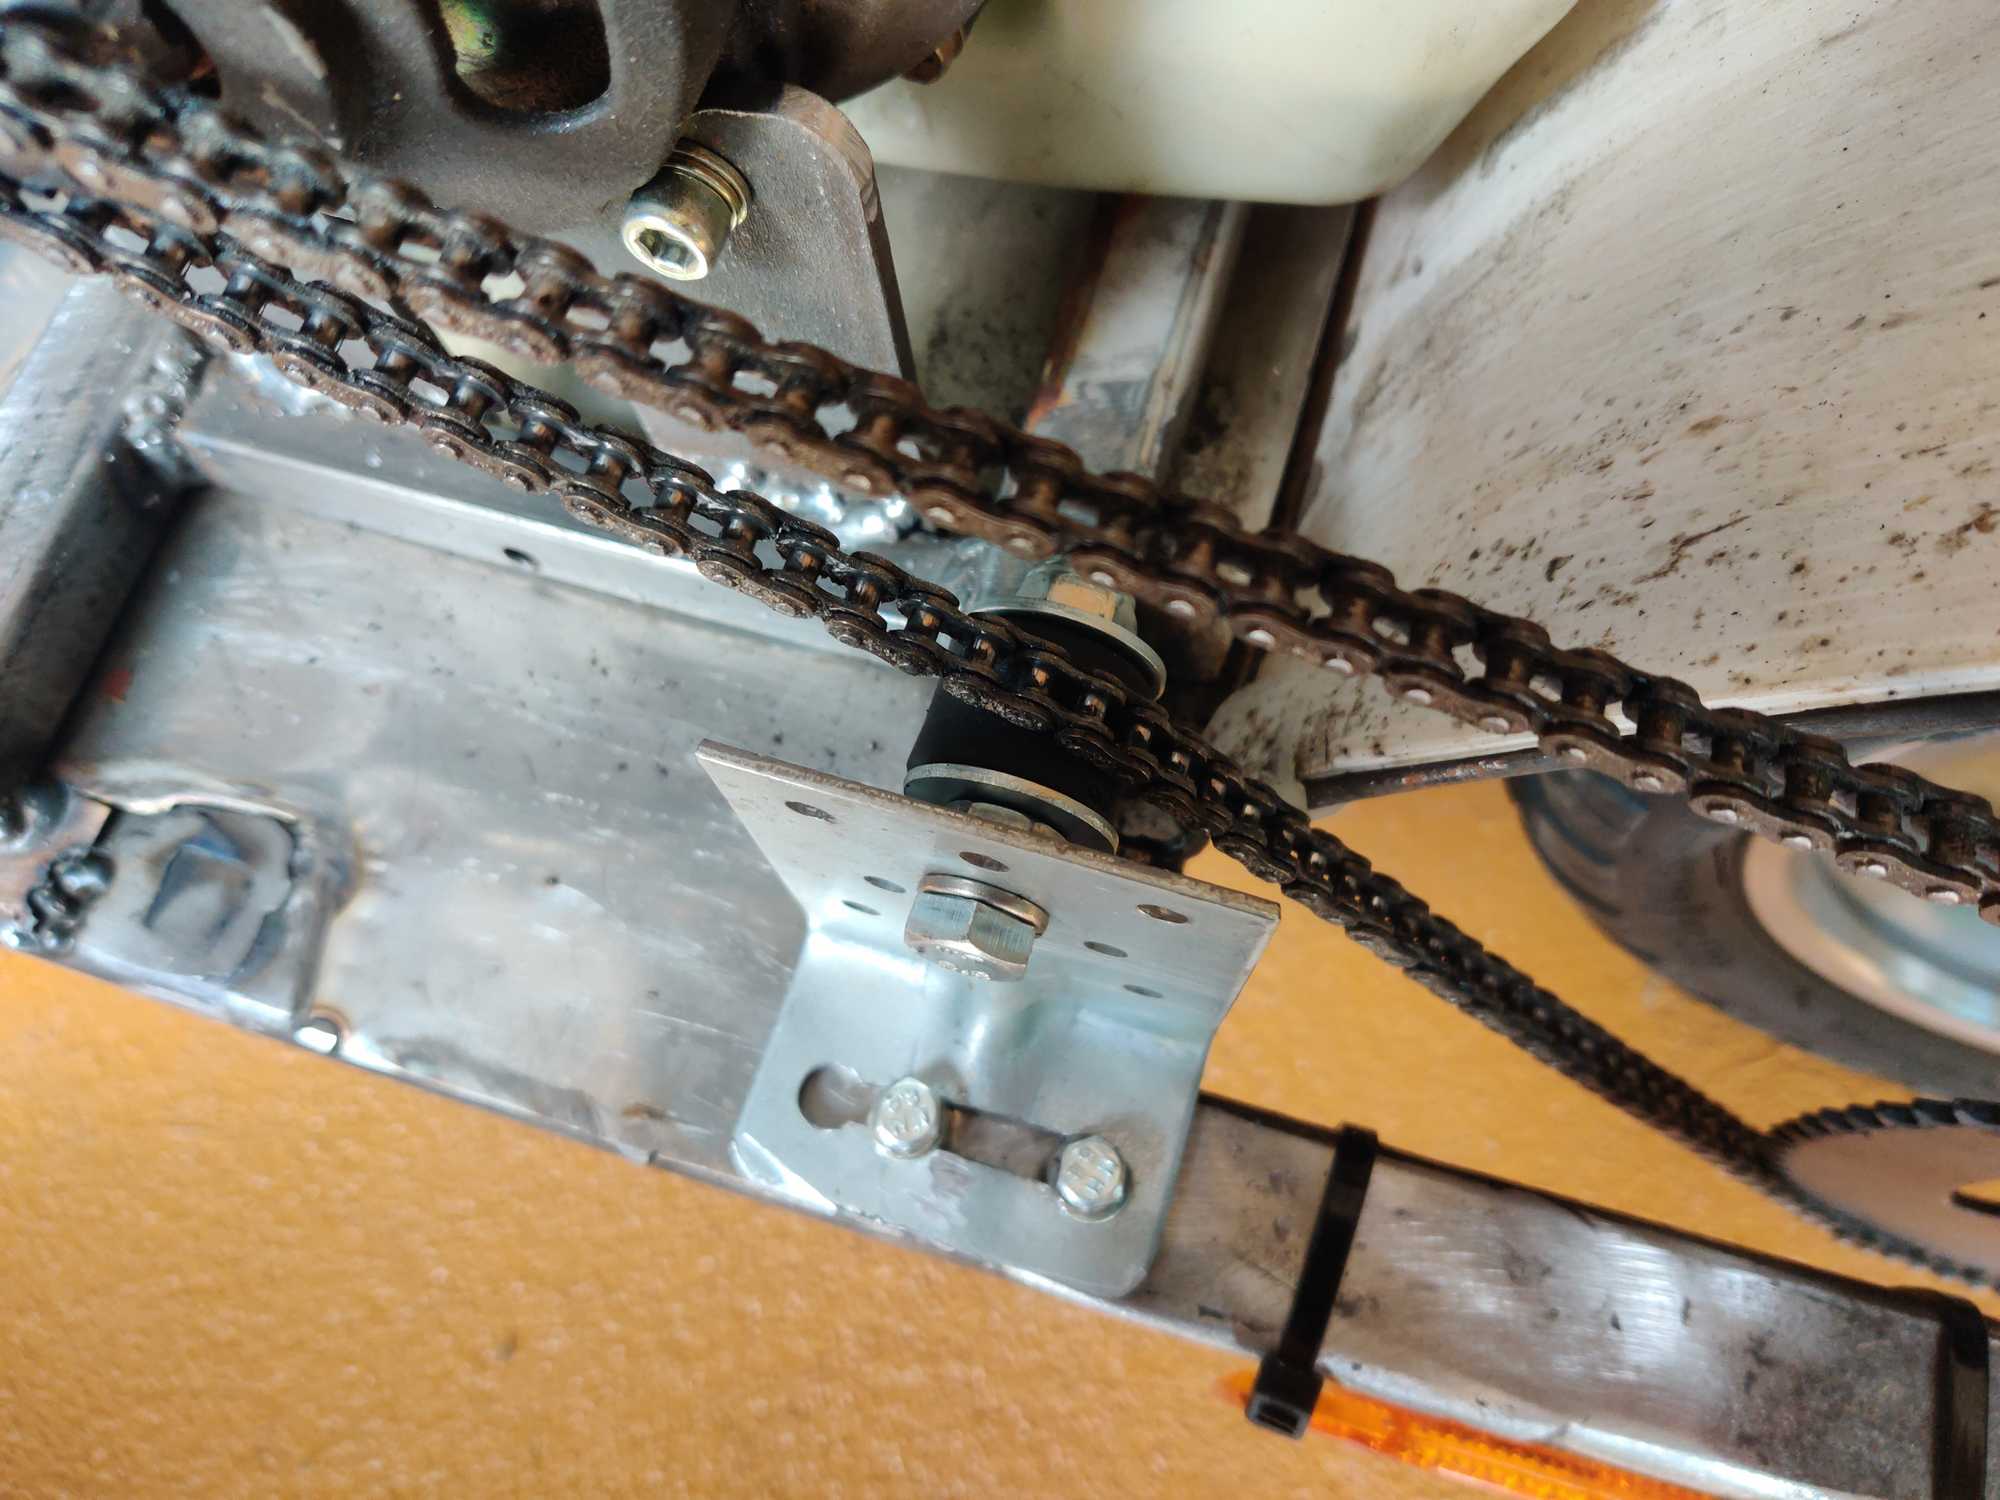
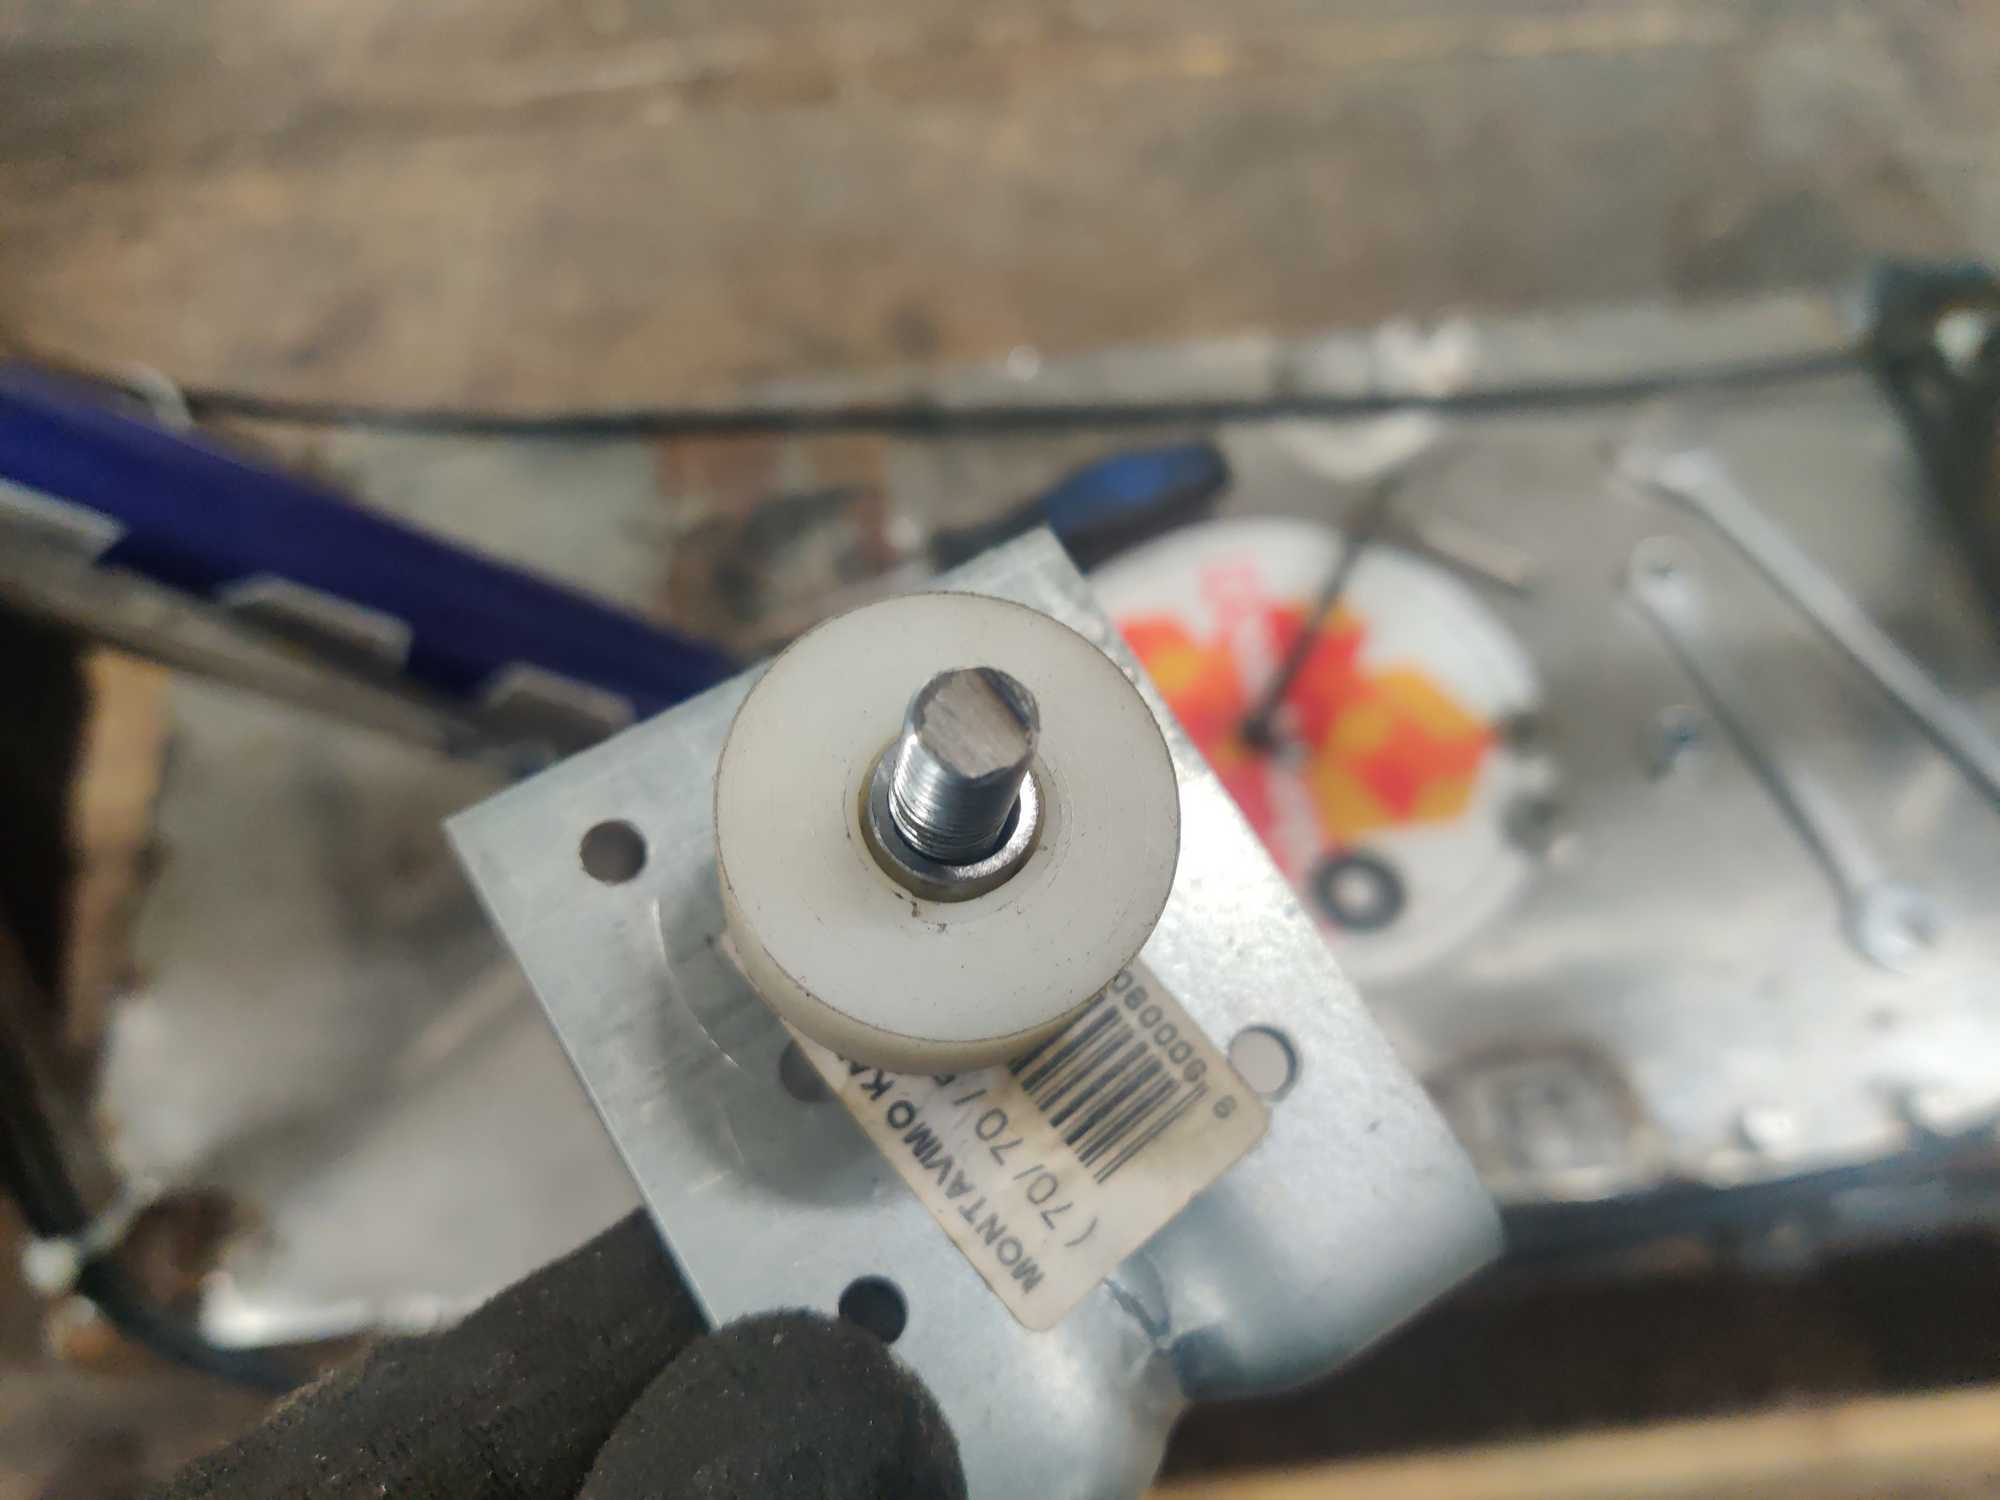
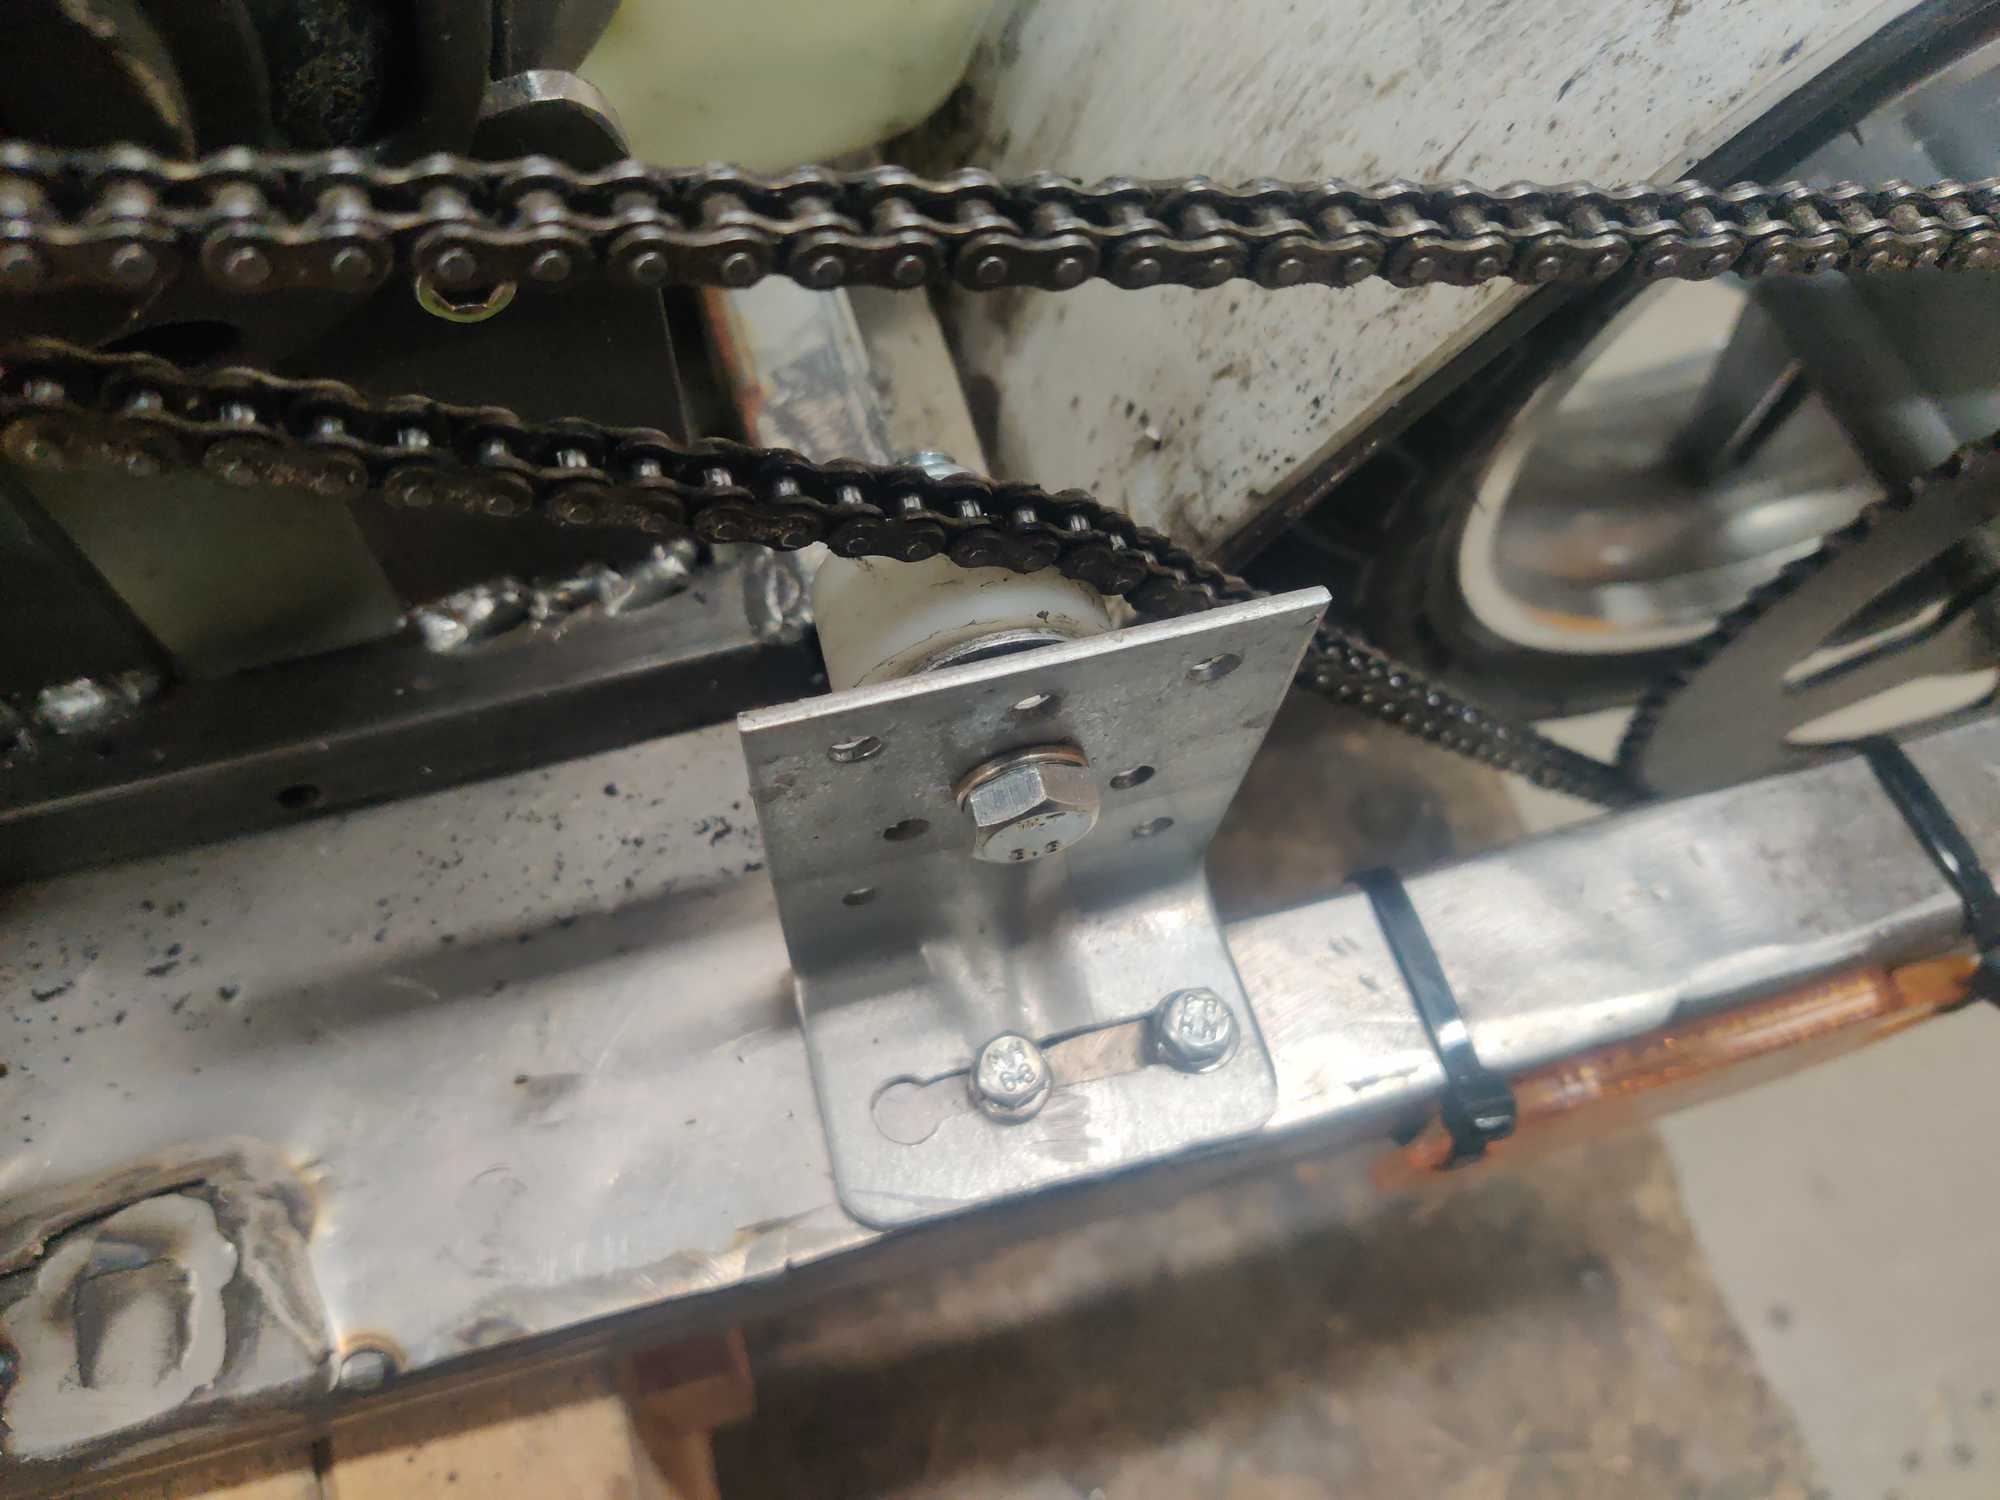
Which I replaced when I got back with a proper plastic roller.
The engine seems pretty durable and if something breaks I can easily get replacement parts for it. And if the engine becomes fubar it won’t be very expensive to replace.