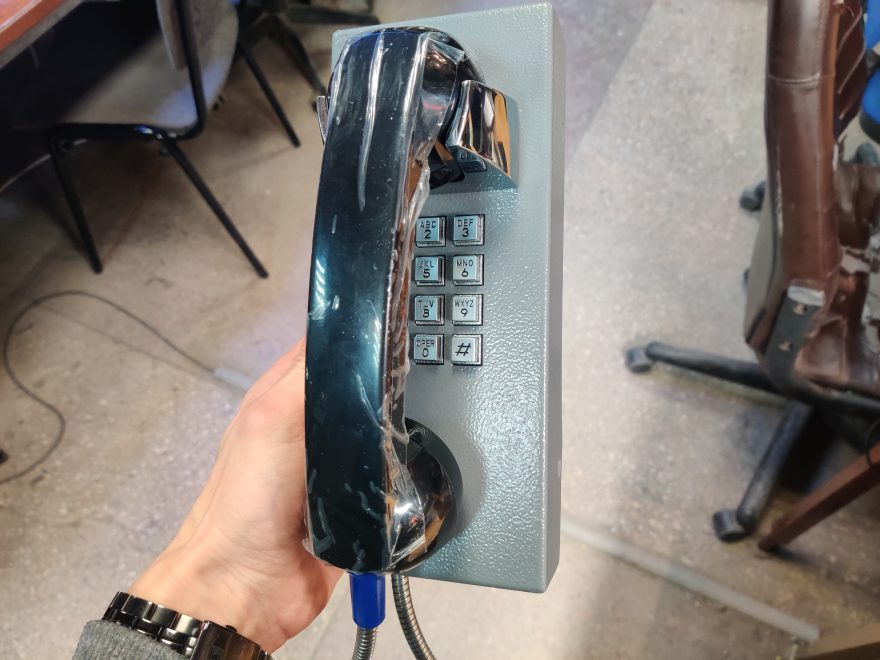
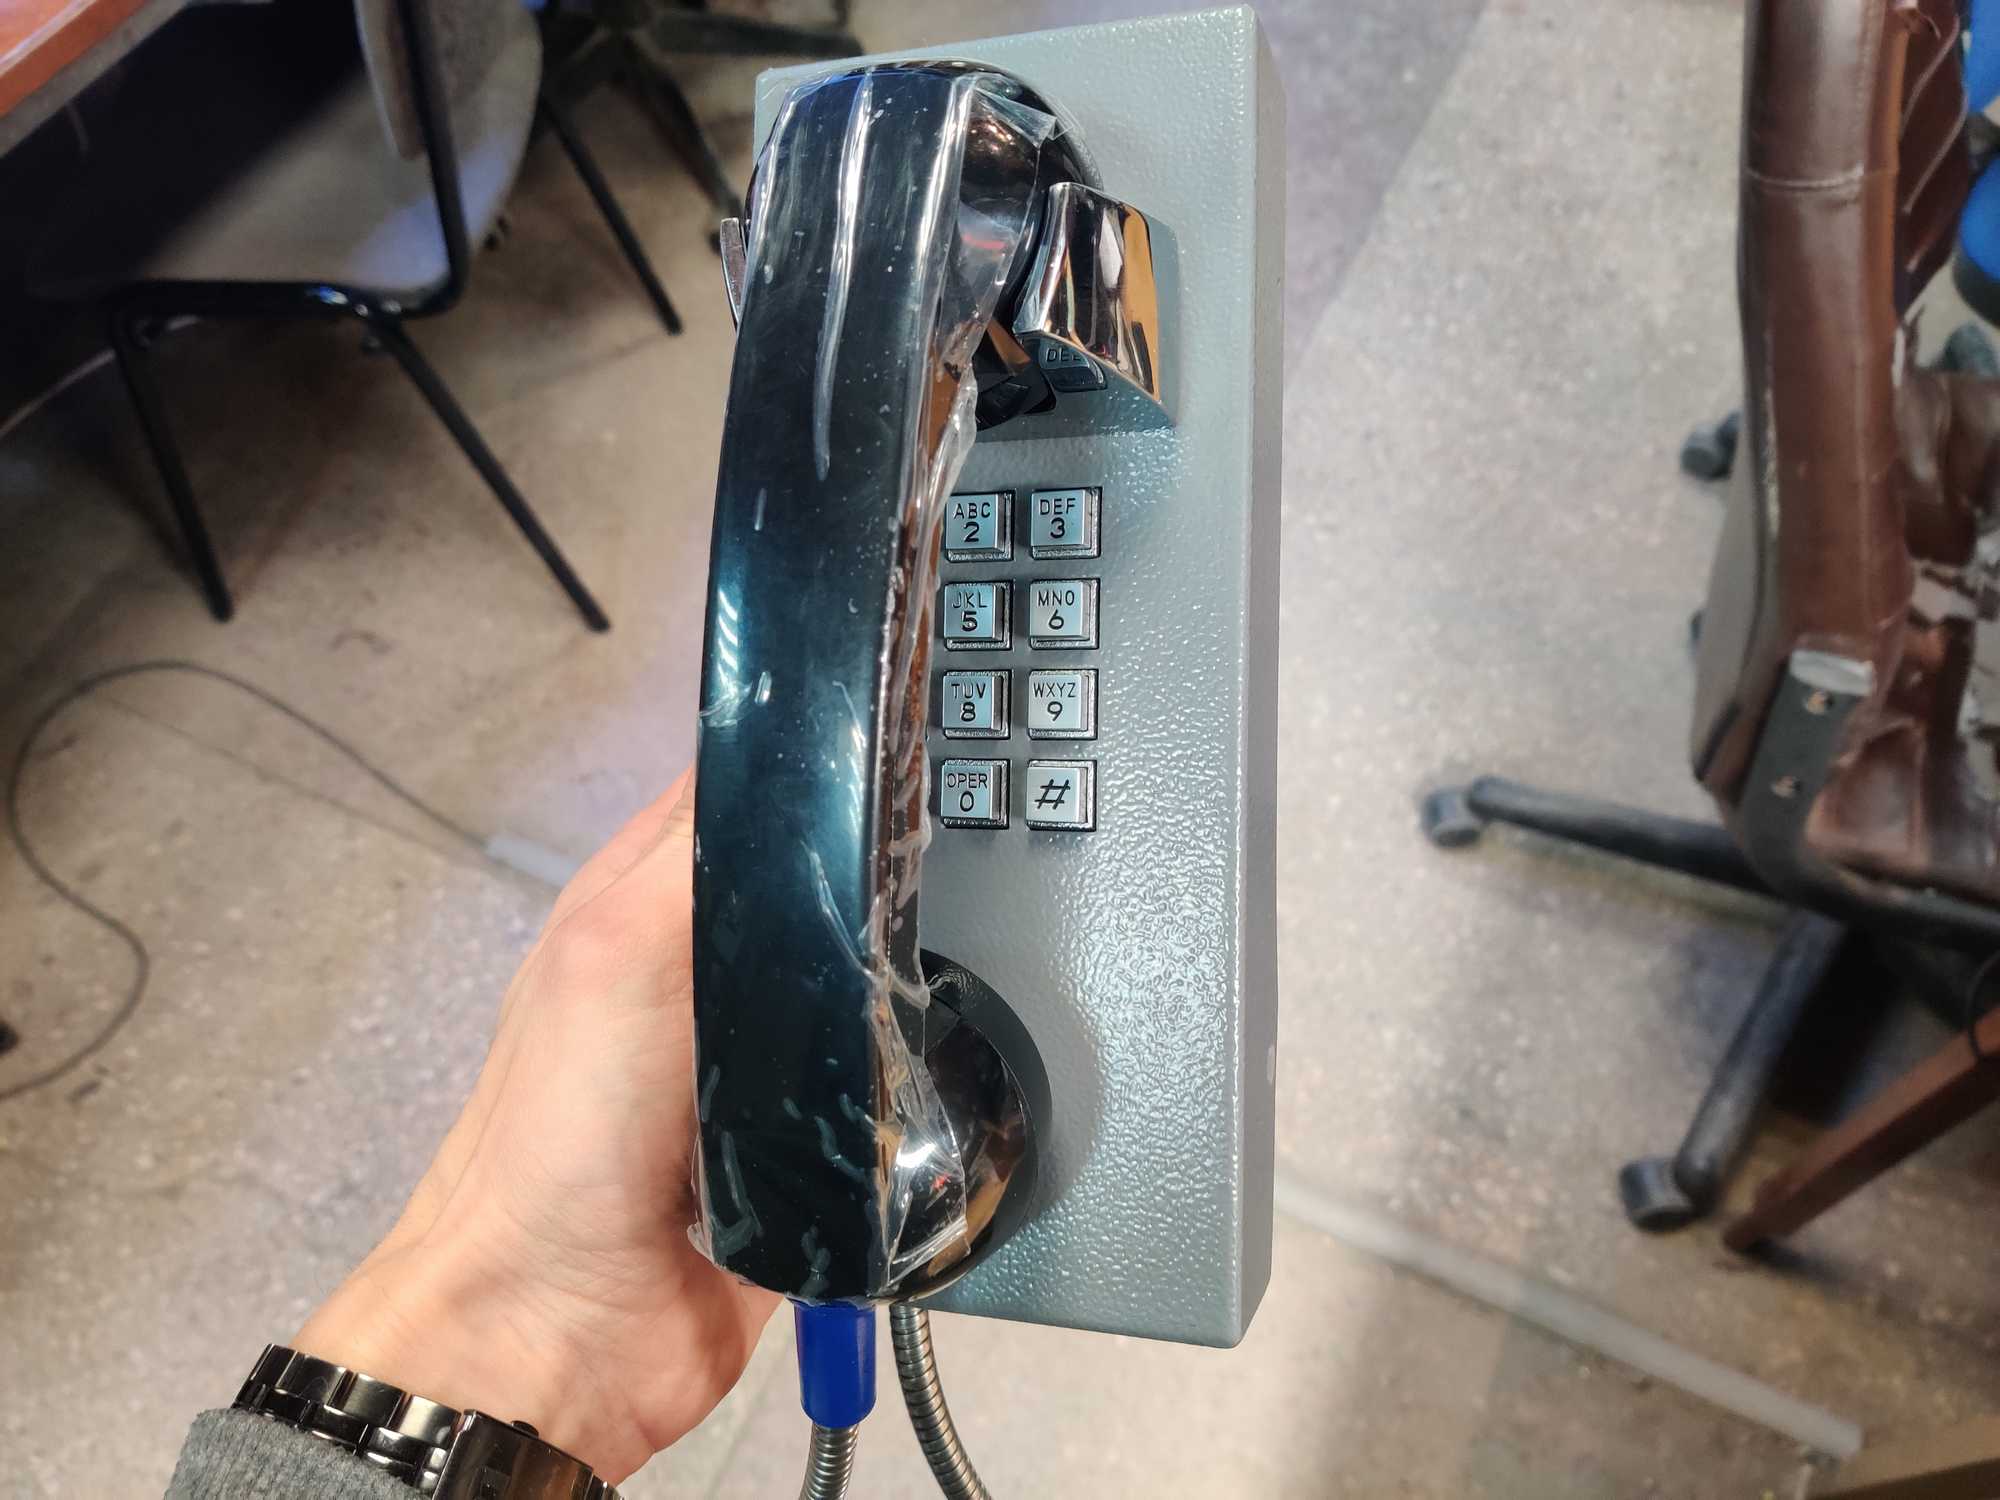
Okay the title is a little misleading. I didn’t make an actual payphone as one would expect. But the phone I made is really coin-operated and here’s why.
Recently I was asked to make a prop from a phone and was given one to work with. The phone itself is of anti-vandal sorts so it’s made to be robust without any holes either. The prop needed to have a coin slot and when the coin was deposited a some sort of a sound would start looping on the earphone. It shouldn’t matter what coin was inserted, it could be a coin-shaped token of some sort. Having that requirement in mind I used an IR photomicrosensor along with an Arduino Nano to see when the coin was inserted.
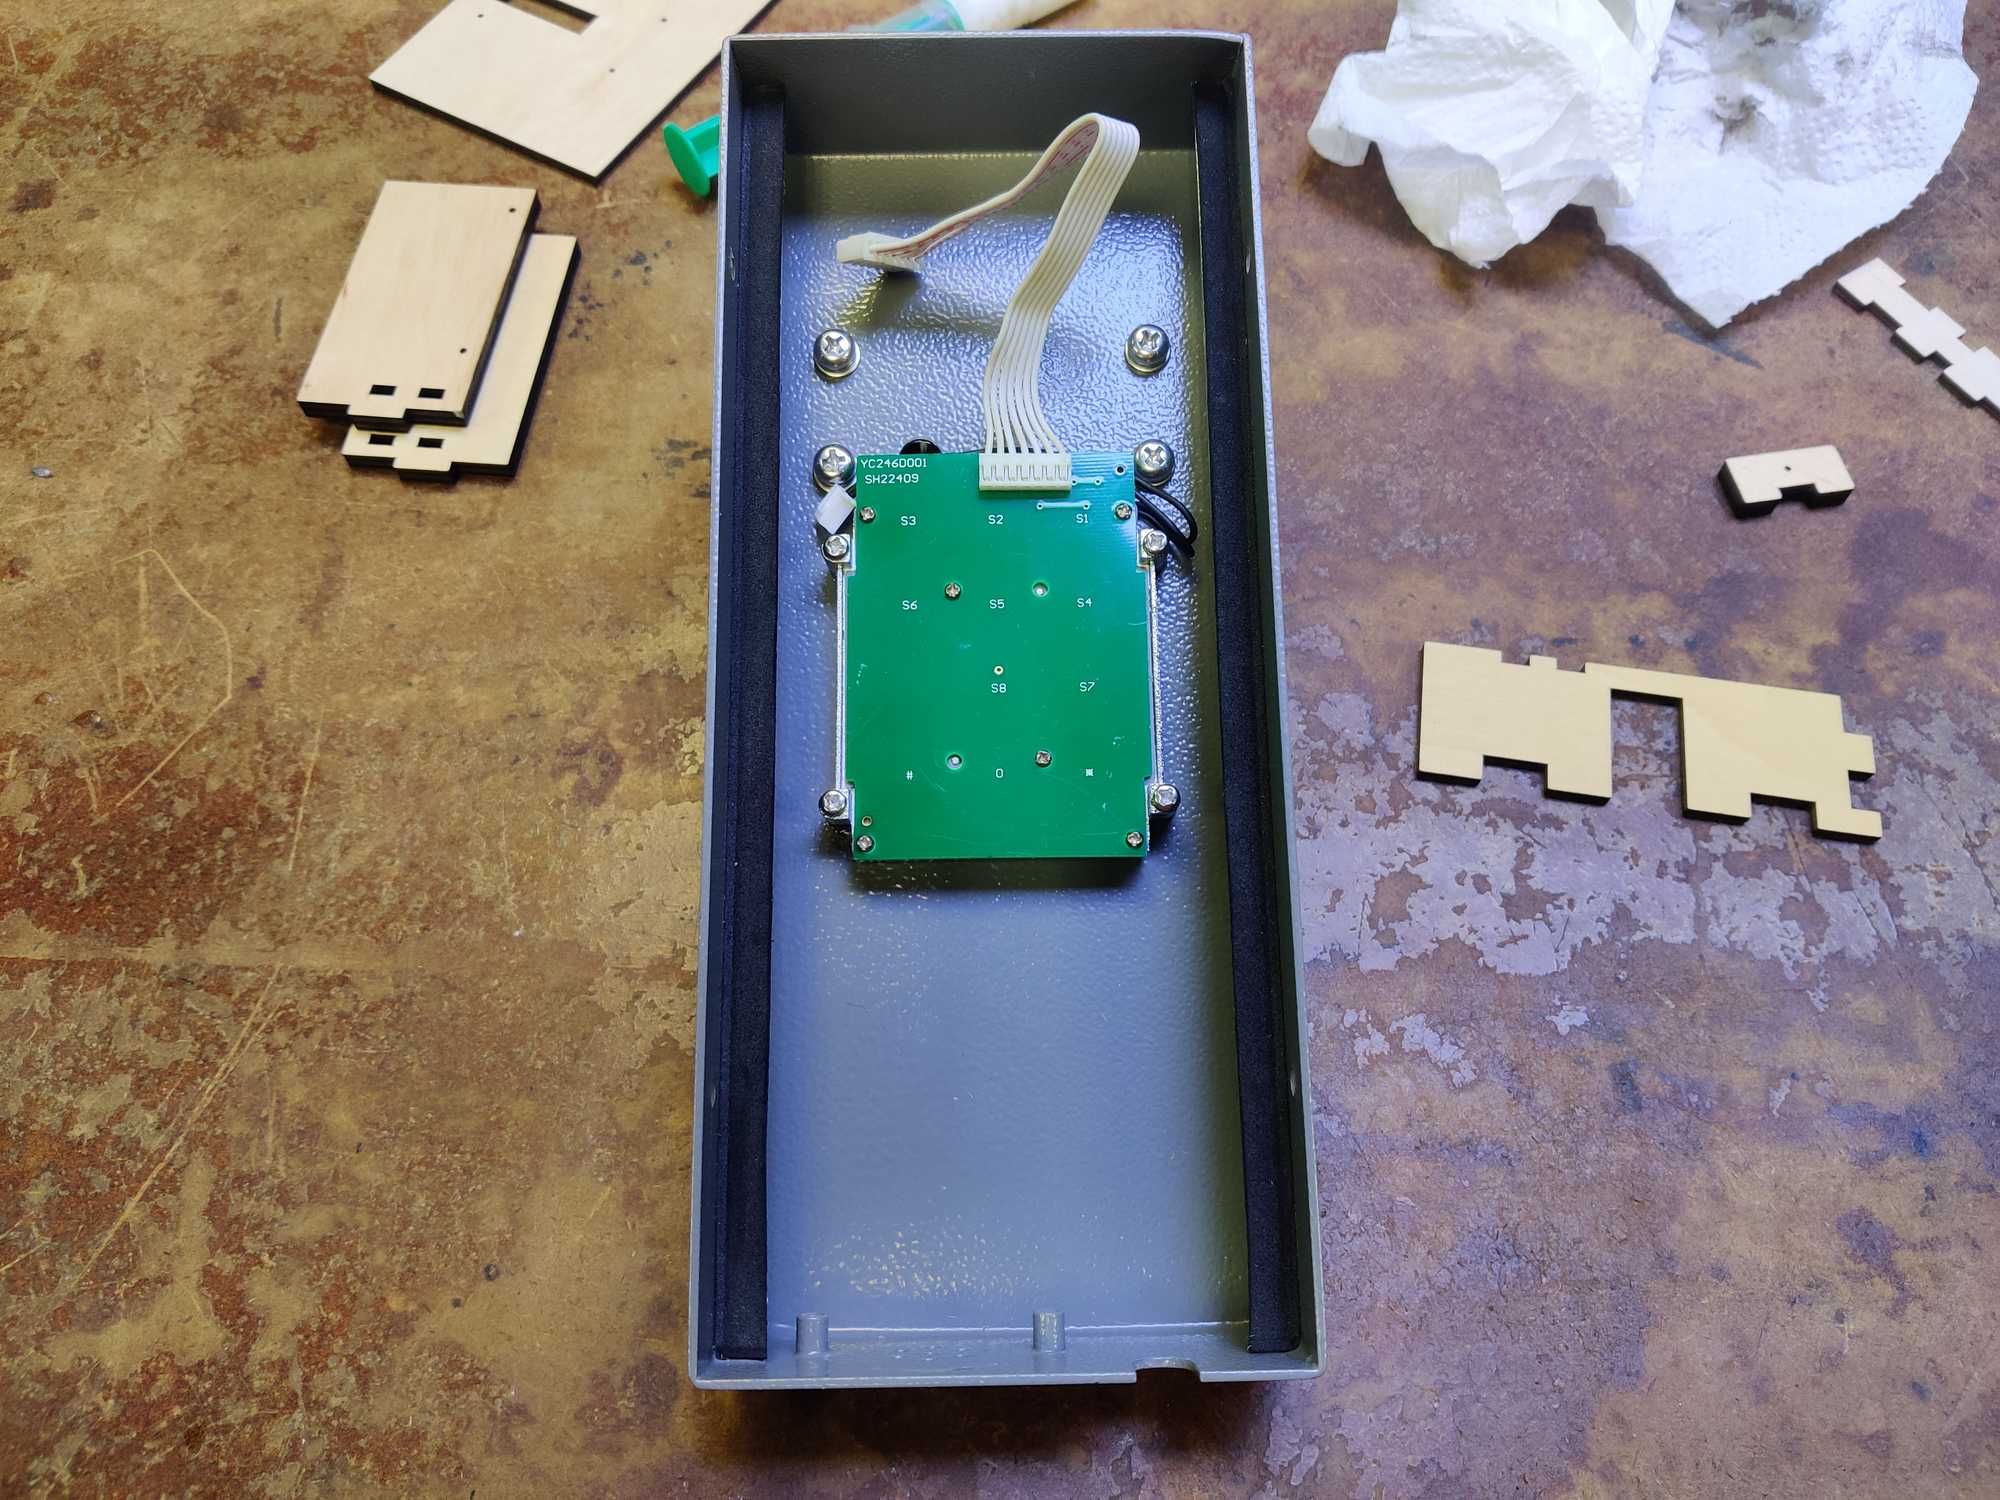
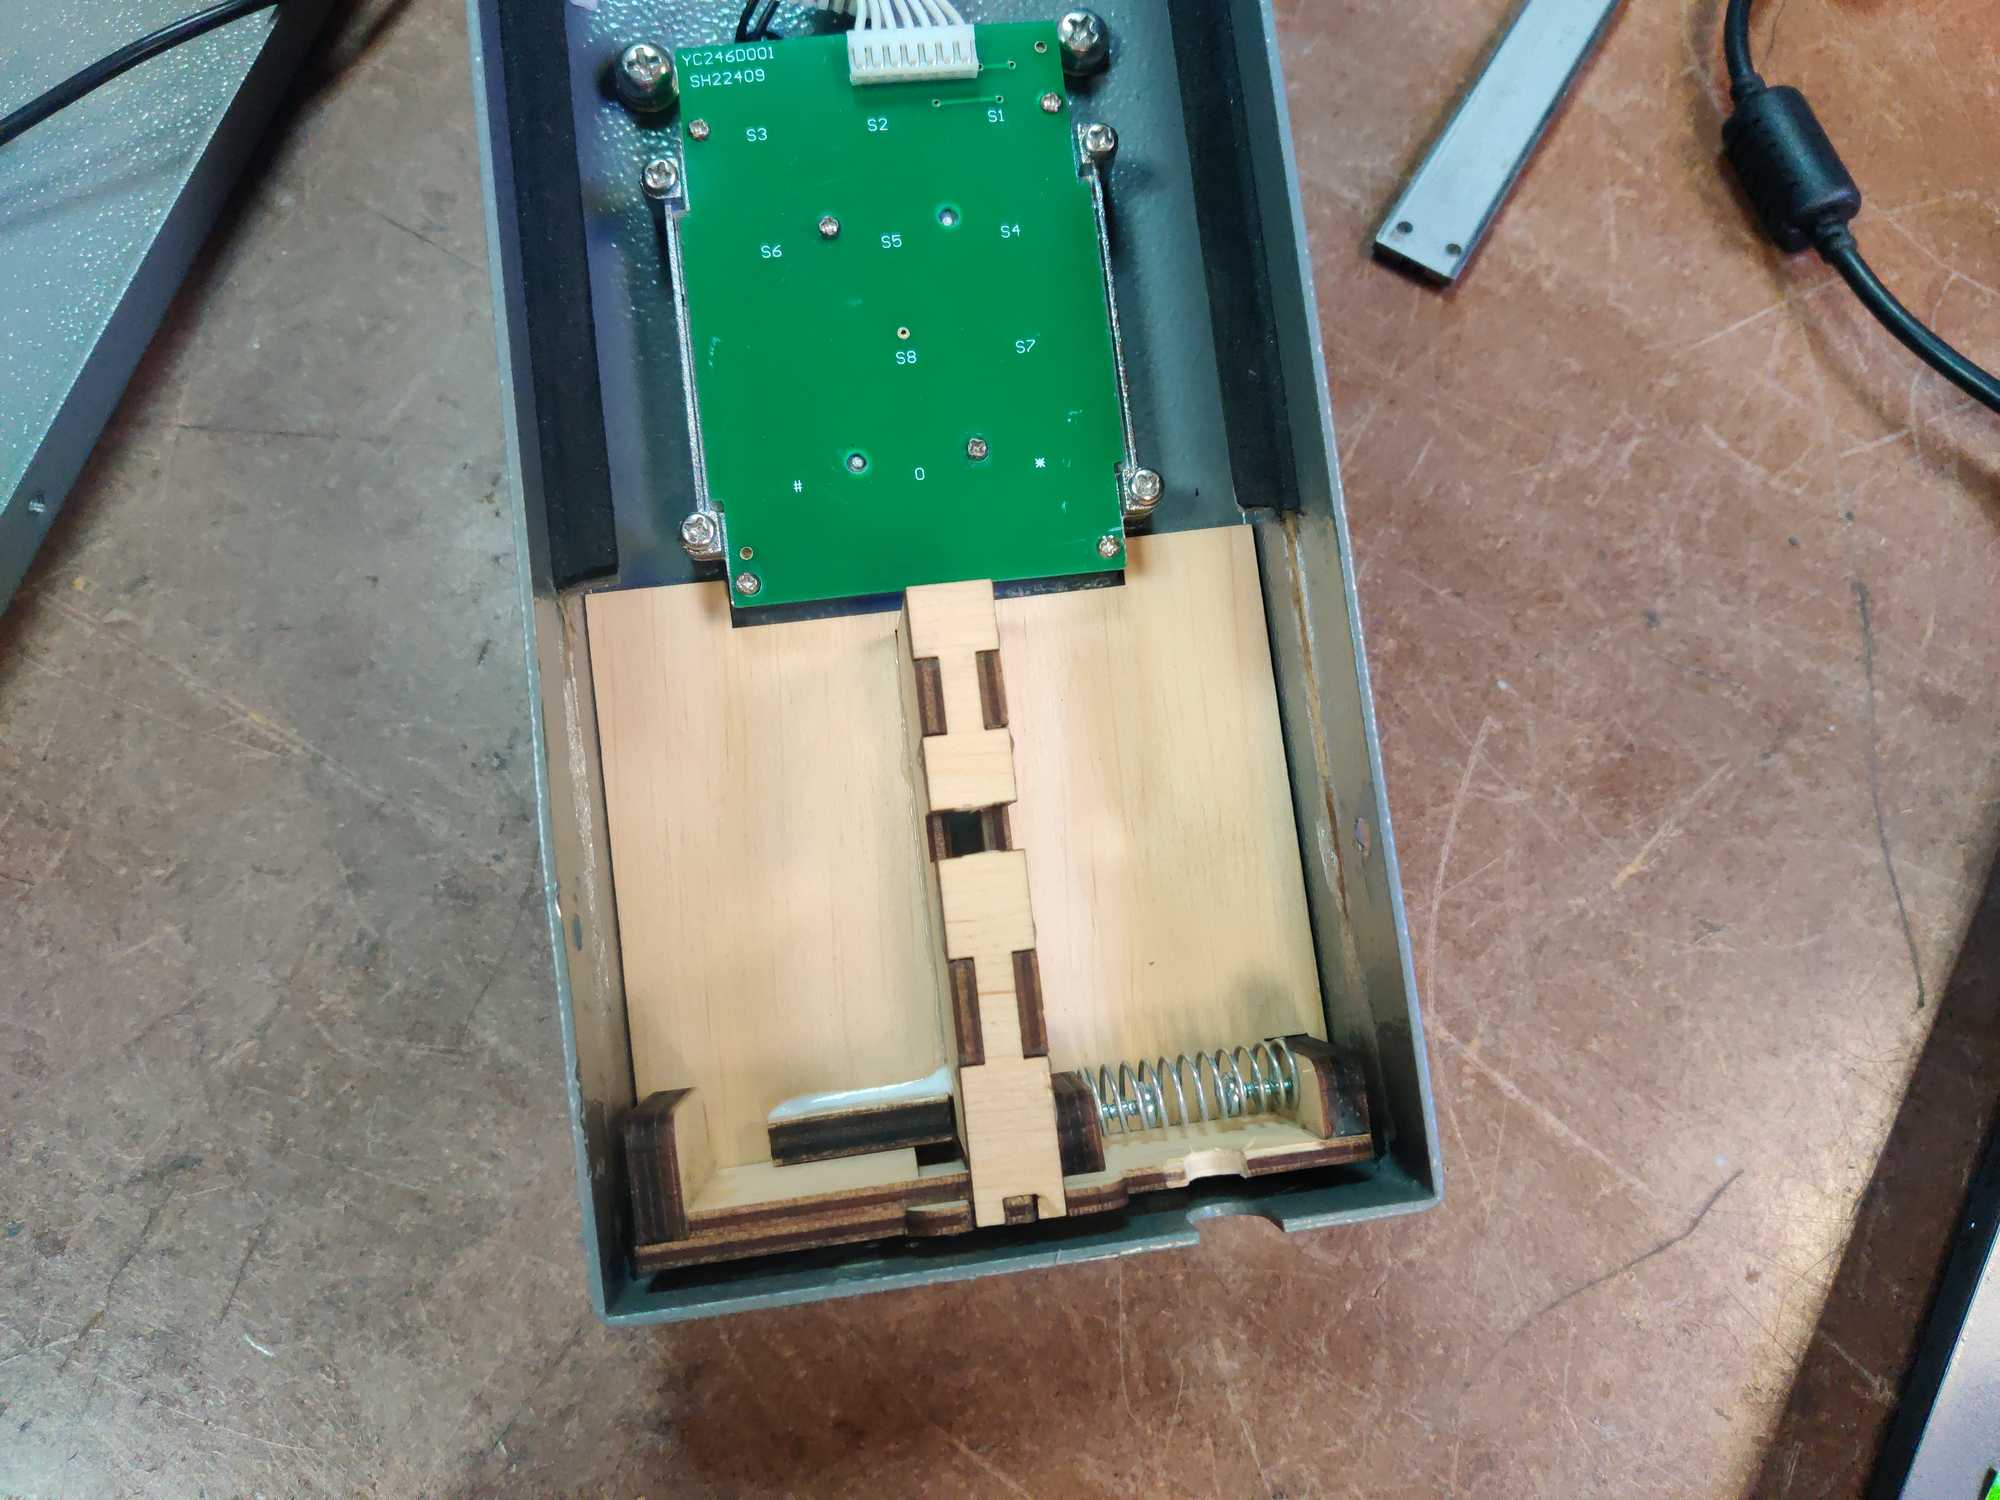
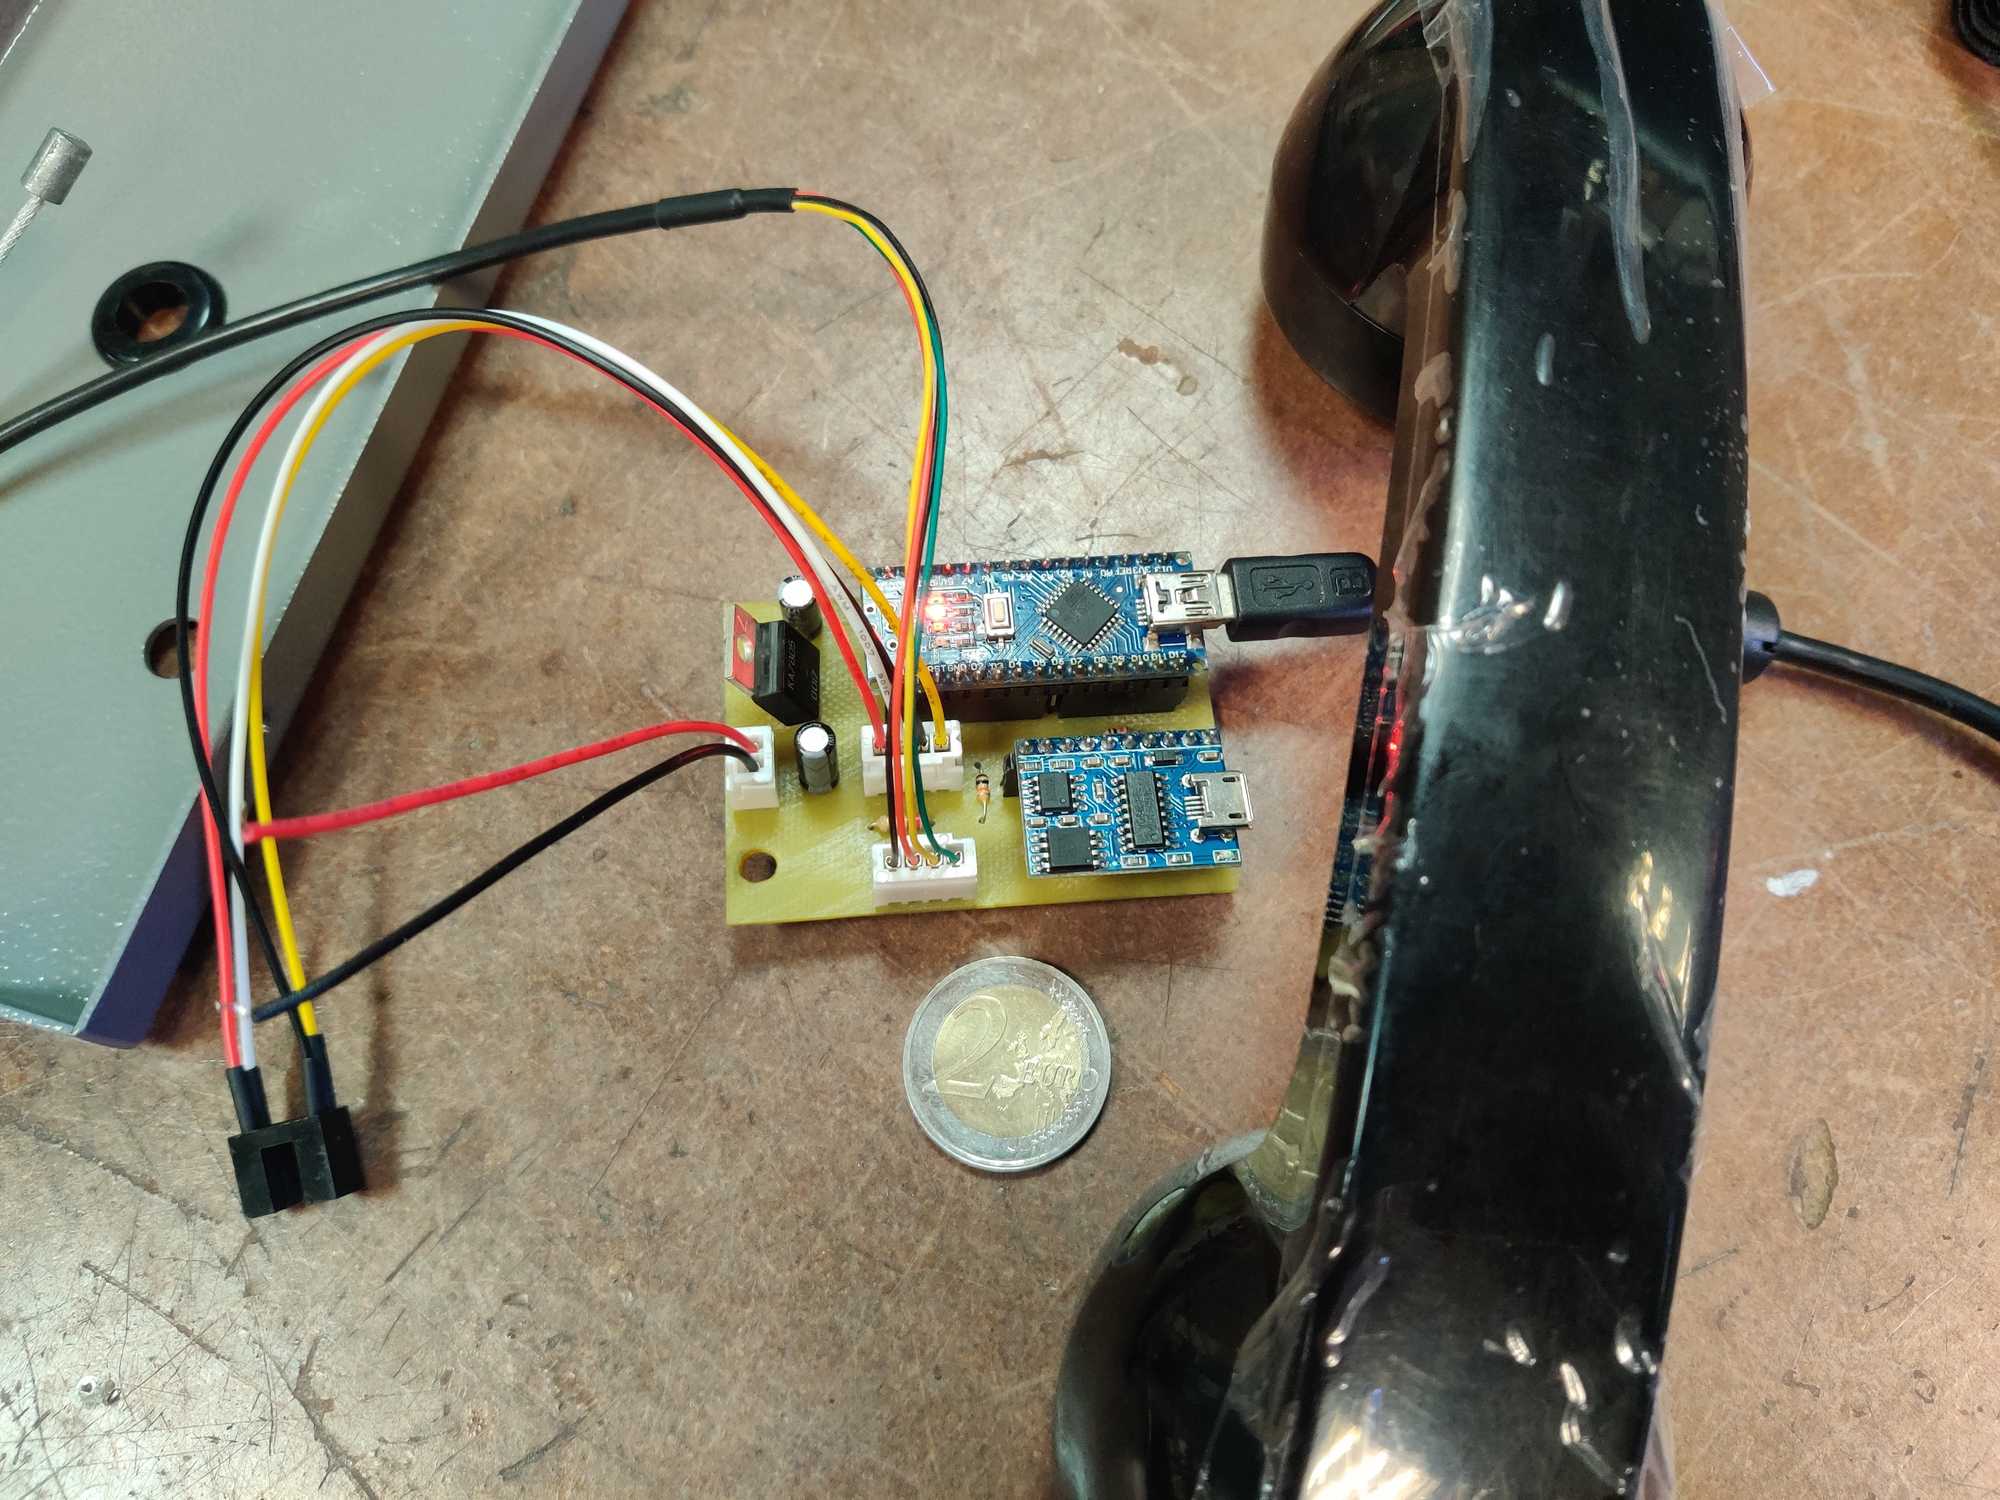
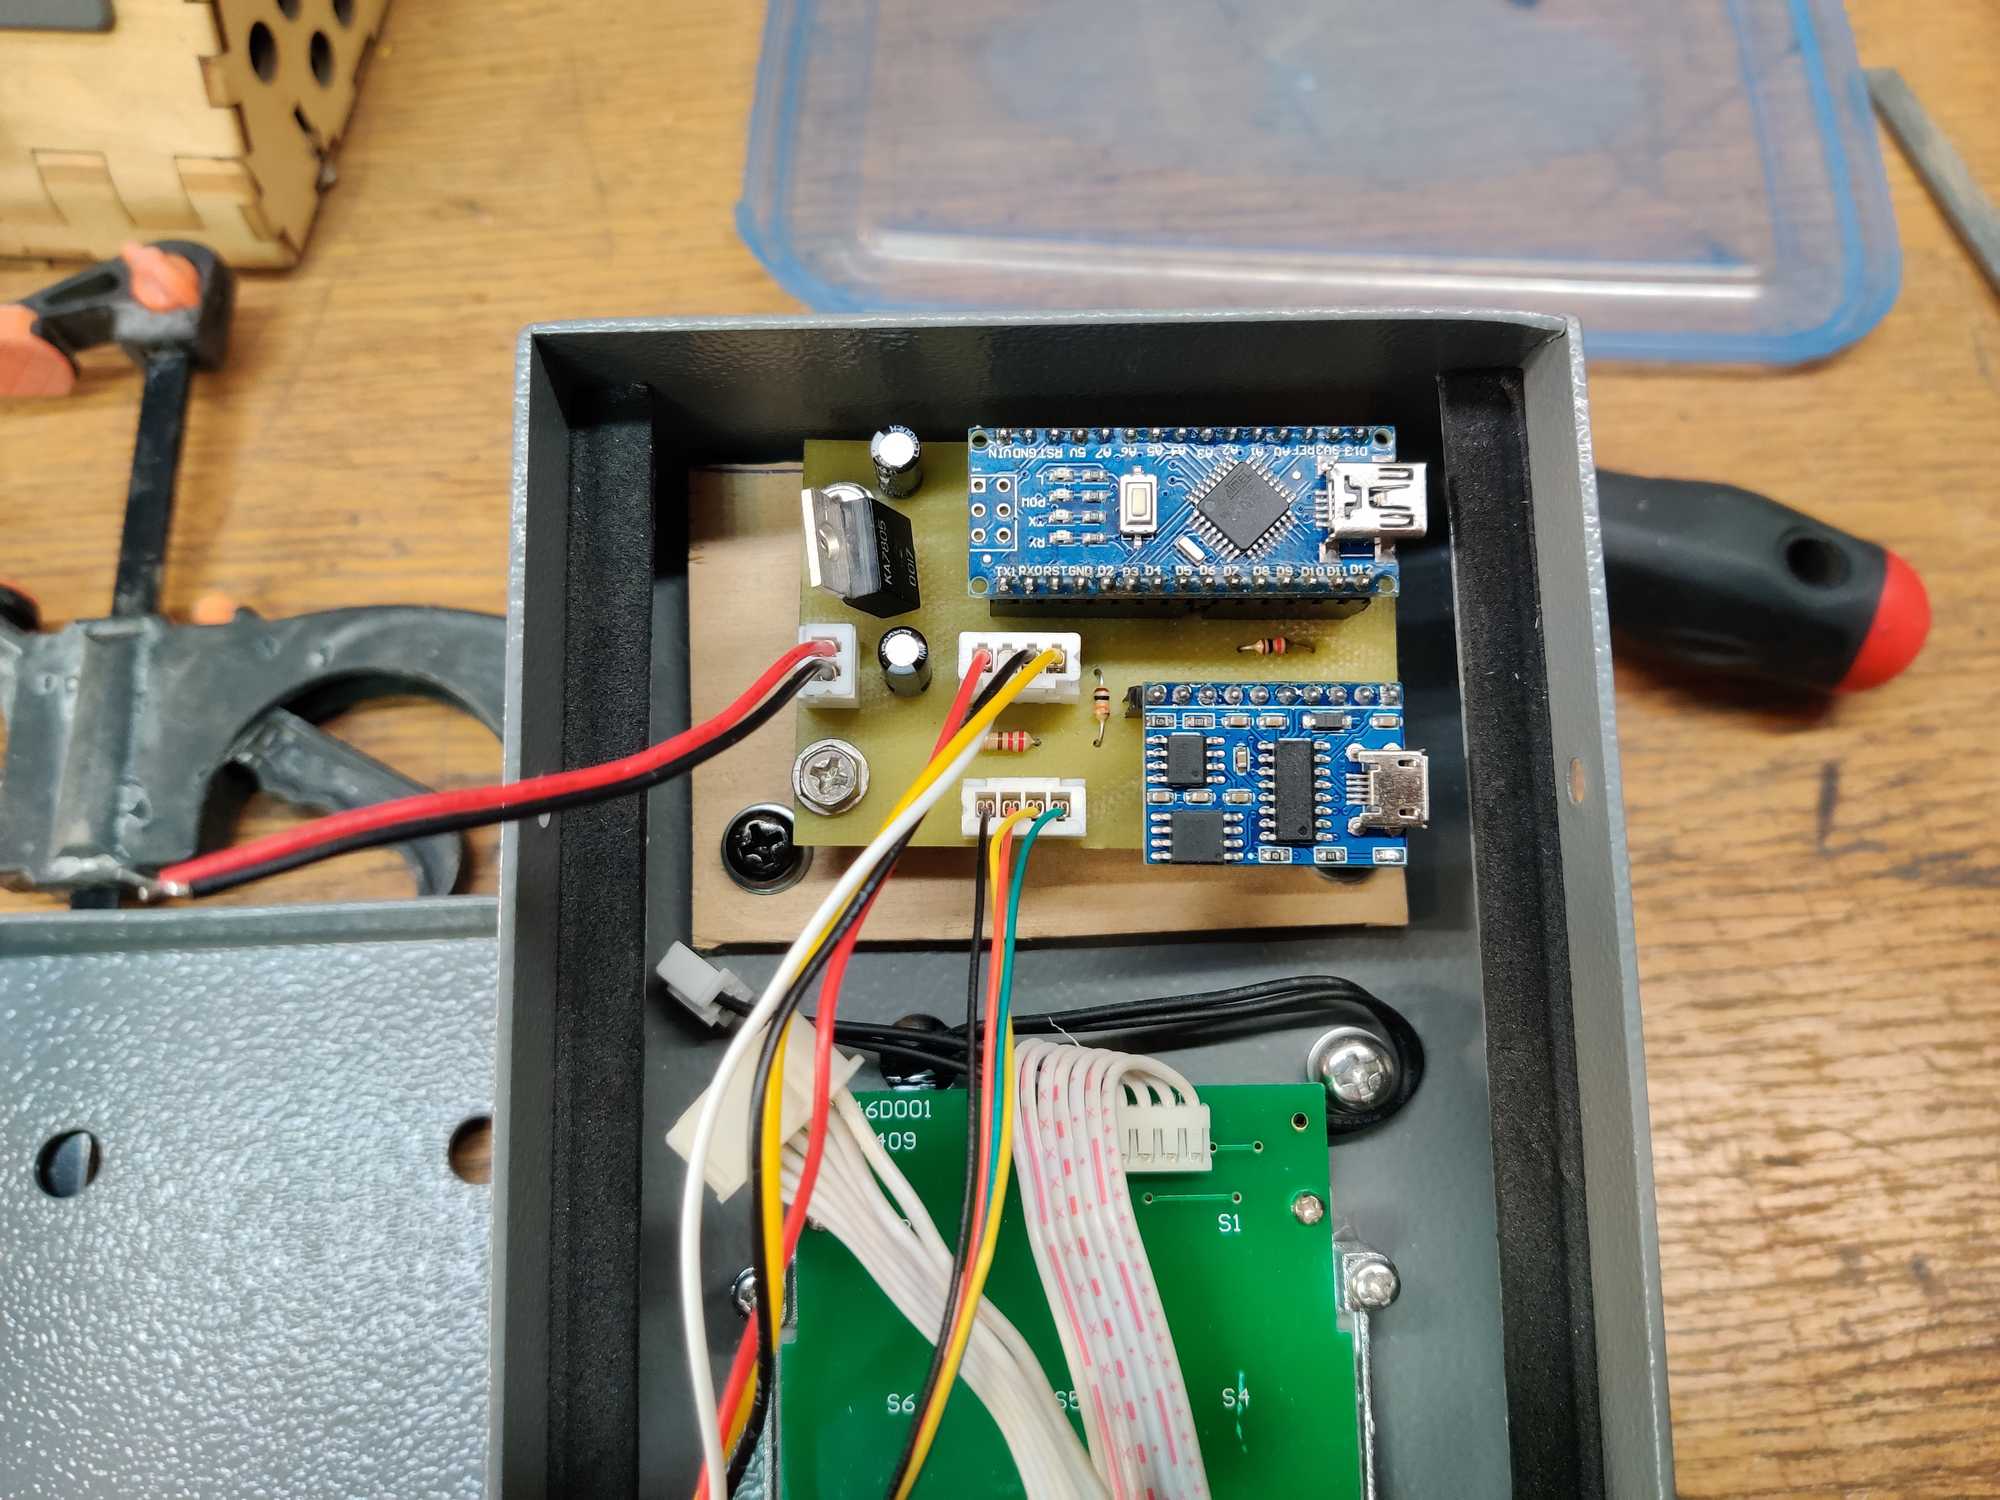
Well first of all I disassembled the phone to look inside. I was told there are no electronics inside, just the shell, and to my surprise there was some – just the keypad and the hang-up magnetic sensor with standard JST XH connectors so if I wanted I could easily connect those peripherals to an Arduino for a more complex prop in the future.
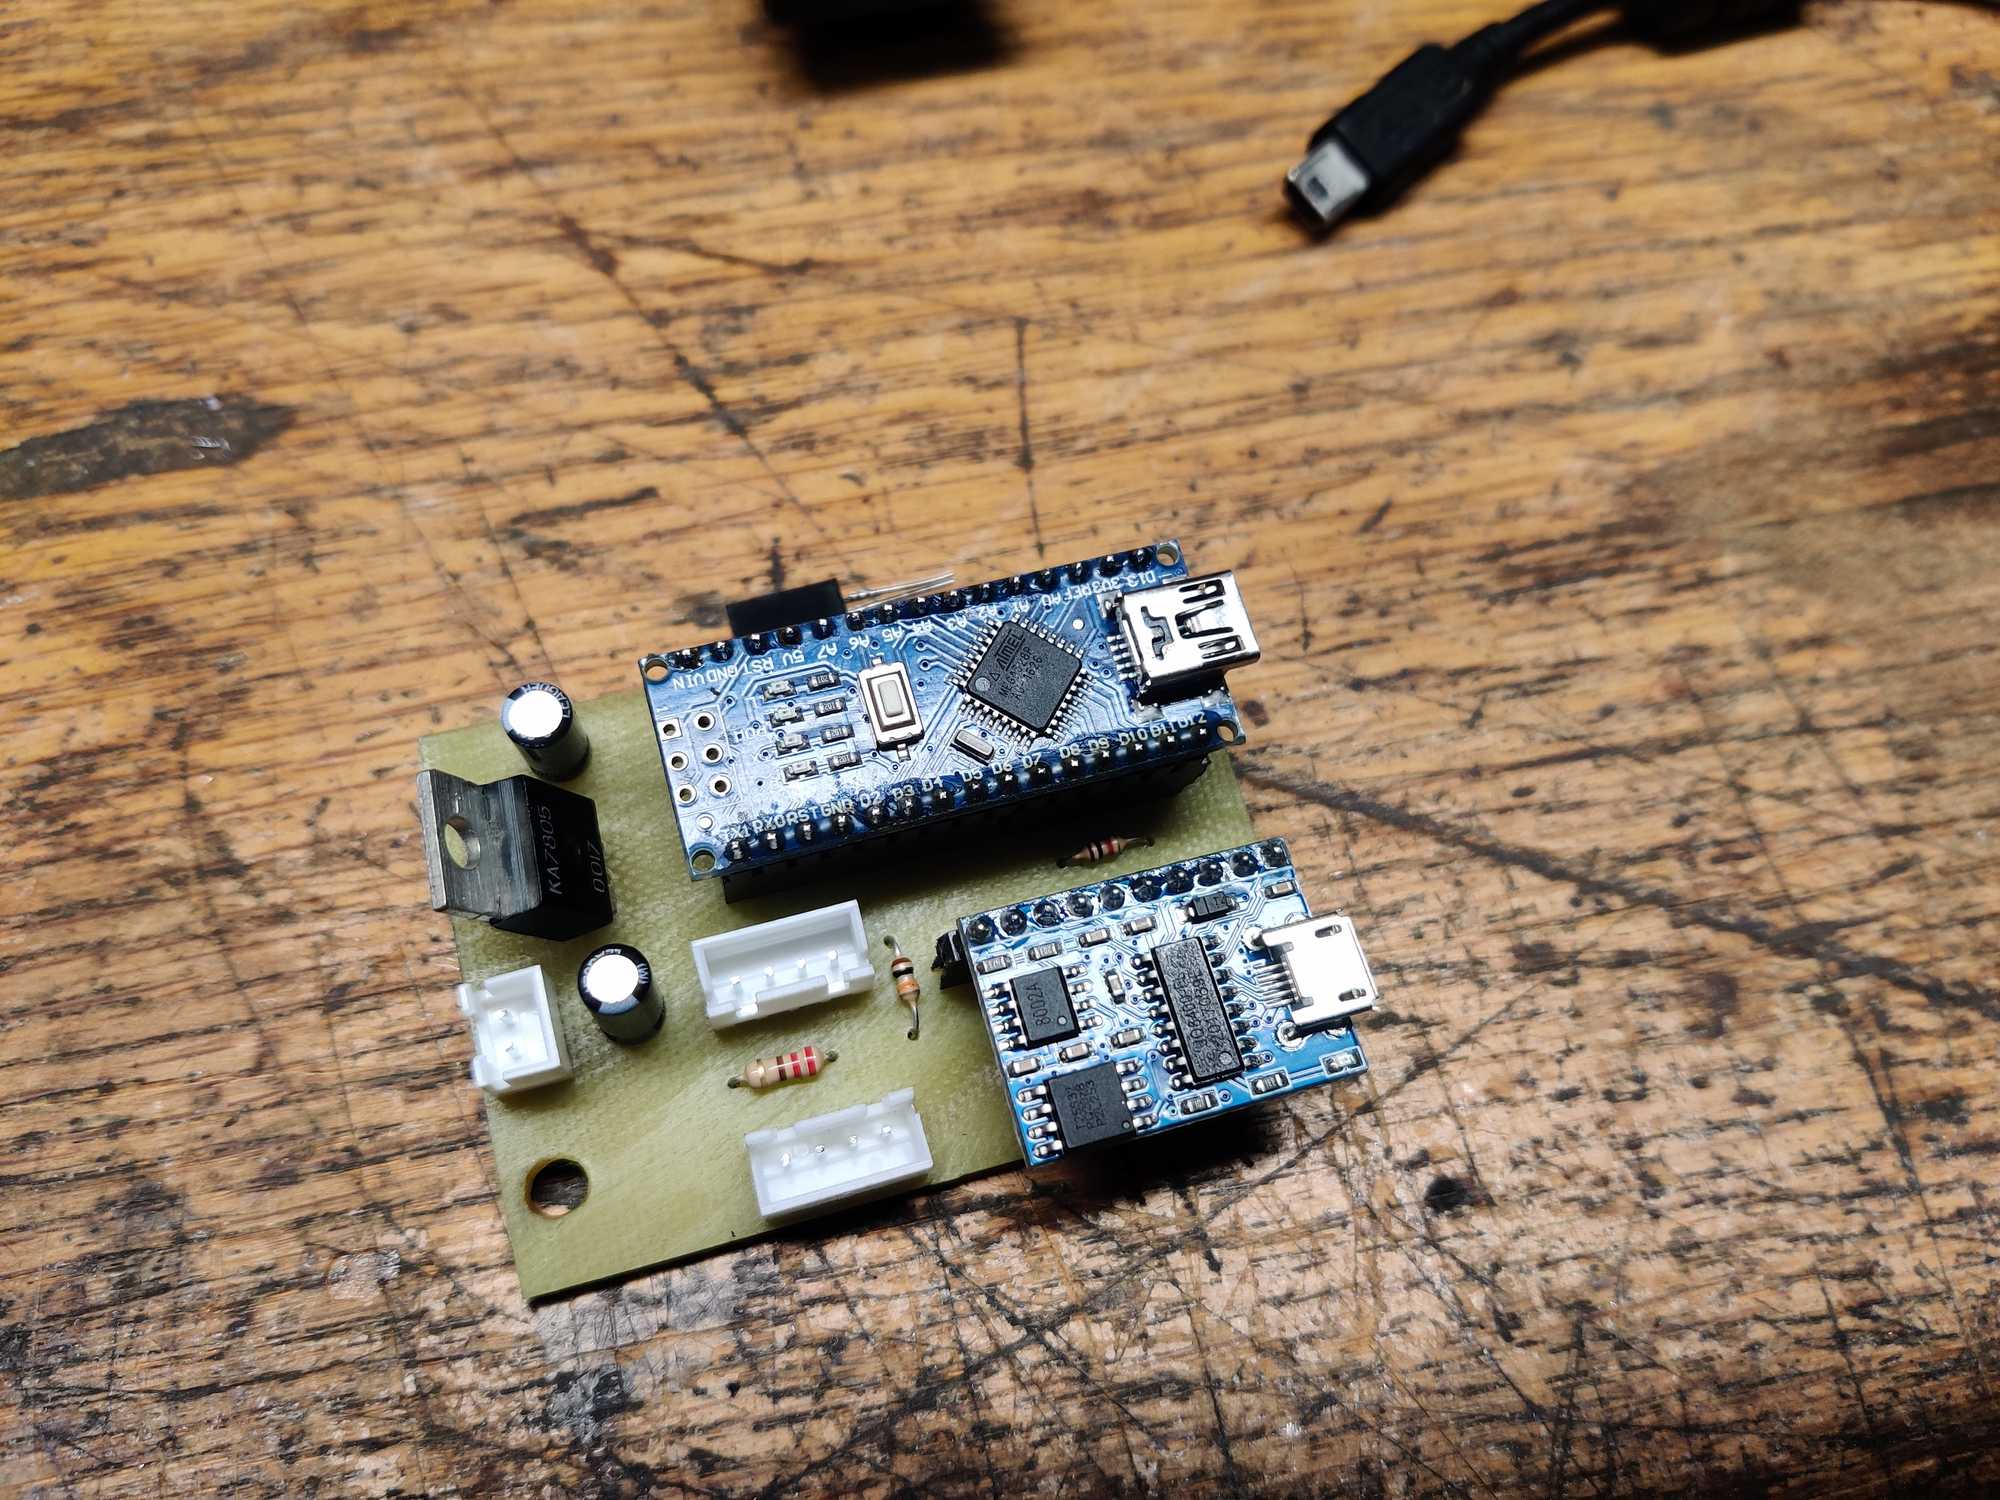
Time to plan out the electronics parts. I desoldered a photomicrosensor from an old hoverboard controller and used an MP3 module I wanted to try out for a long time which I bought out of spite for those damn DFPlayer modules after I was done with the robodoggo project. Those DFPlayer modules are also not very useful for these applications because like in this case I only need to play one sound file and I’d have to use a MicroSD card.
The audio modules I bough on AliExpress have a JQ8400-FL chip on them (the very same cheap Kebidu players have) hence the module name and they come in two variants – with 4mb flash memory or an SD card slot. I used a module with flash memory. It works like a flash drive when connected to the PC and you put audio files on it like that.
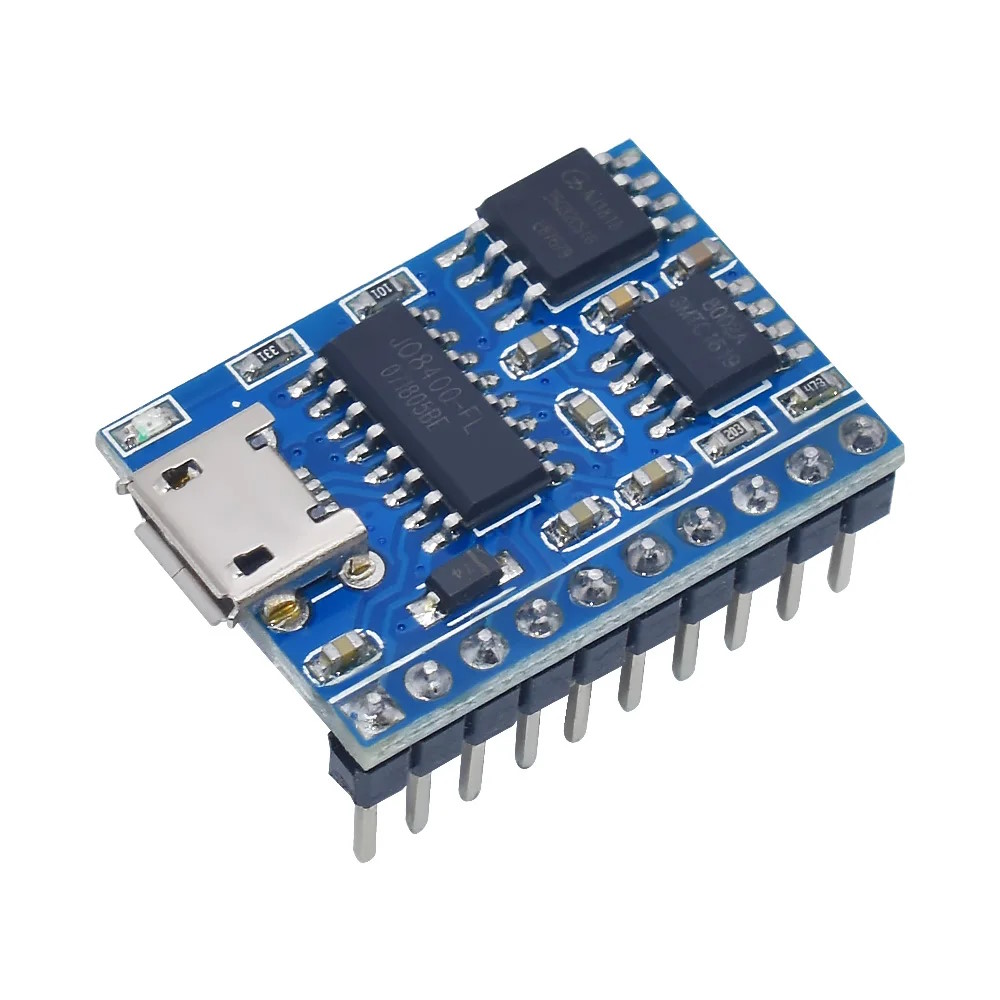
It is a little obscure though but there exists a fully functioning (or so it seems) lib for Arduino to use it (sadly not on Platformio registry yet): https://github.com/sleemanj/JQ8400_Serial and here’s a nice info page about it: https://sparks.gogo.co.nz/jq8400/index.html
Programming to use it was no hassle at all. The module just works without an issue however it has a slight delay after you issue the play command which for some could be an issue.
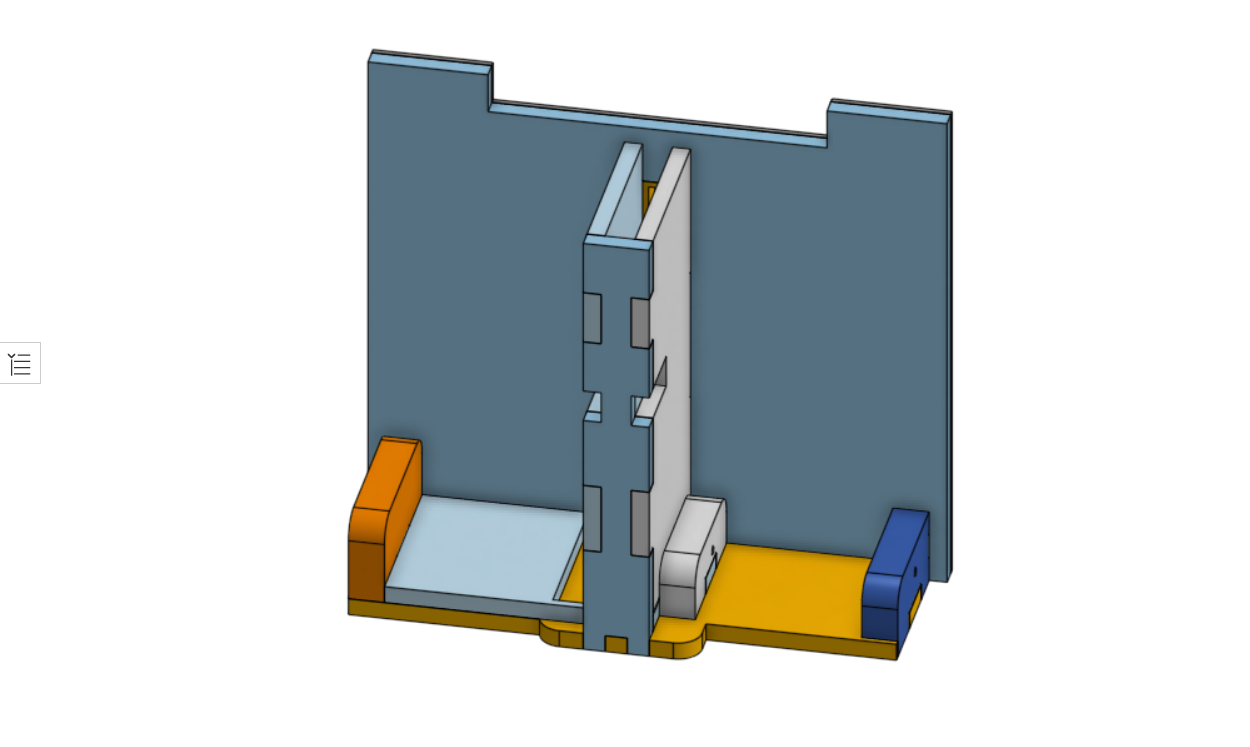
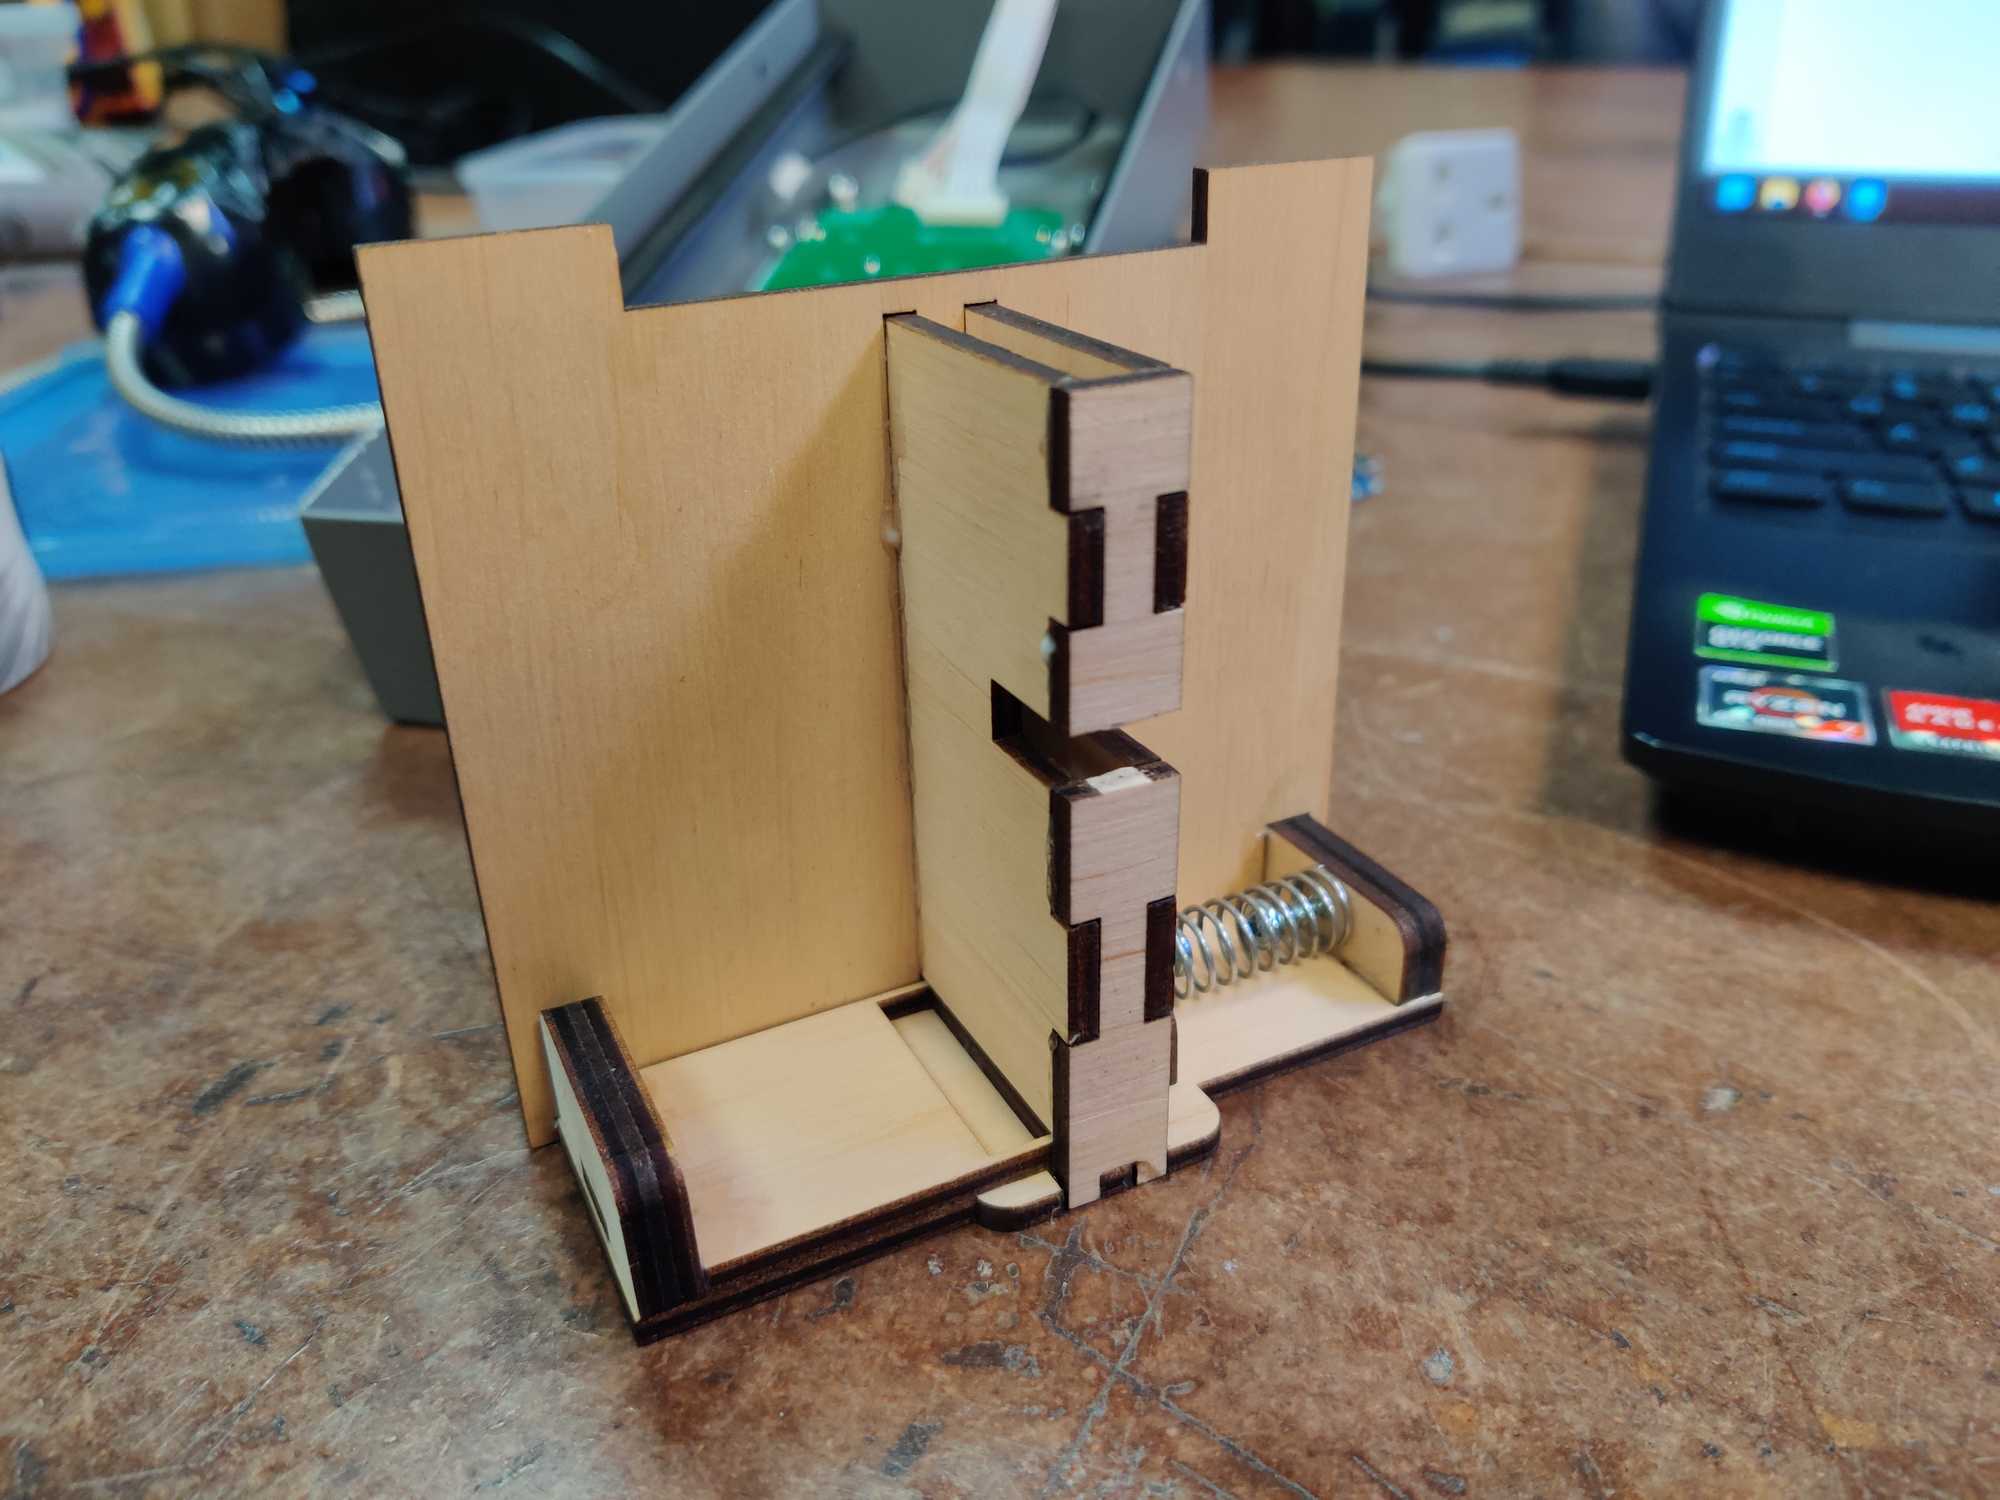
After I was kinda done with the programming part with everything hooked up on the breadboard I started on the next uncertain part – making a bracket for the coin and to hold the sensor in. The bracket here does two things – keeps the sensor in place and hold the coin until released. Because it was specified that the coin could only be used once and so when put into the phone it wouldn’t fall out as not to confuse people interacting with it.
However the coin would need to drop out on demand, like when someone needed to reset the prop. For coin to drop out I made the bracket to have a slider. When the slider is pushed, a hole would open allowing the coin to fall out through the bottom.
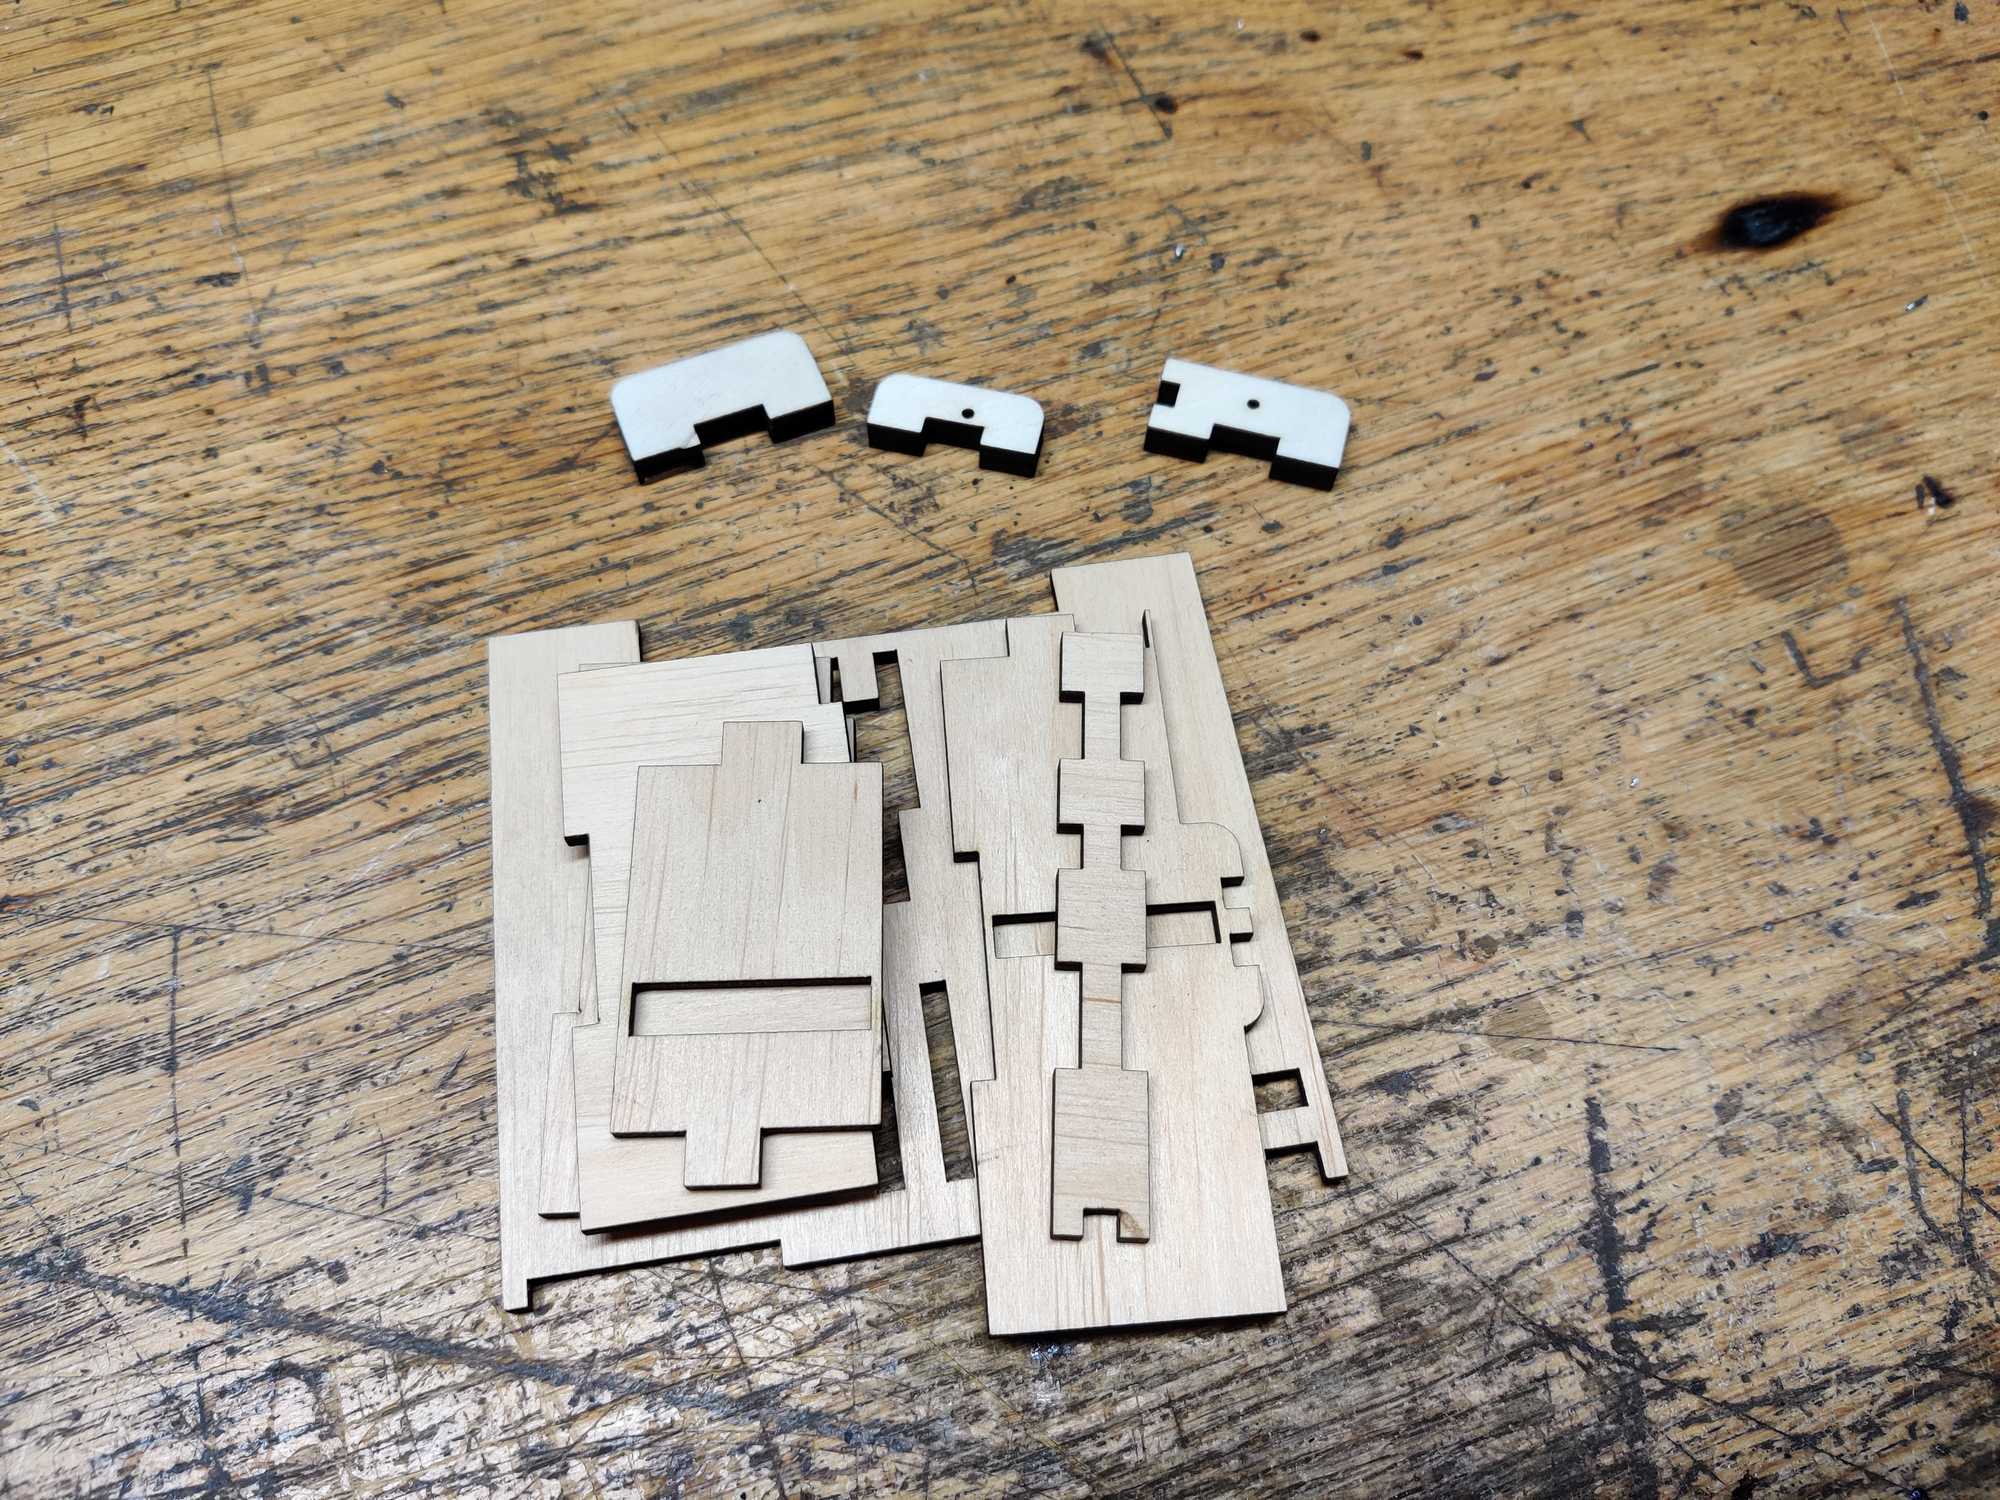
I designed it in OnShape, lasercut that from 3mm plywood and glued it all together. Then I did some crude minor adjustments.
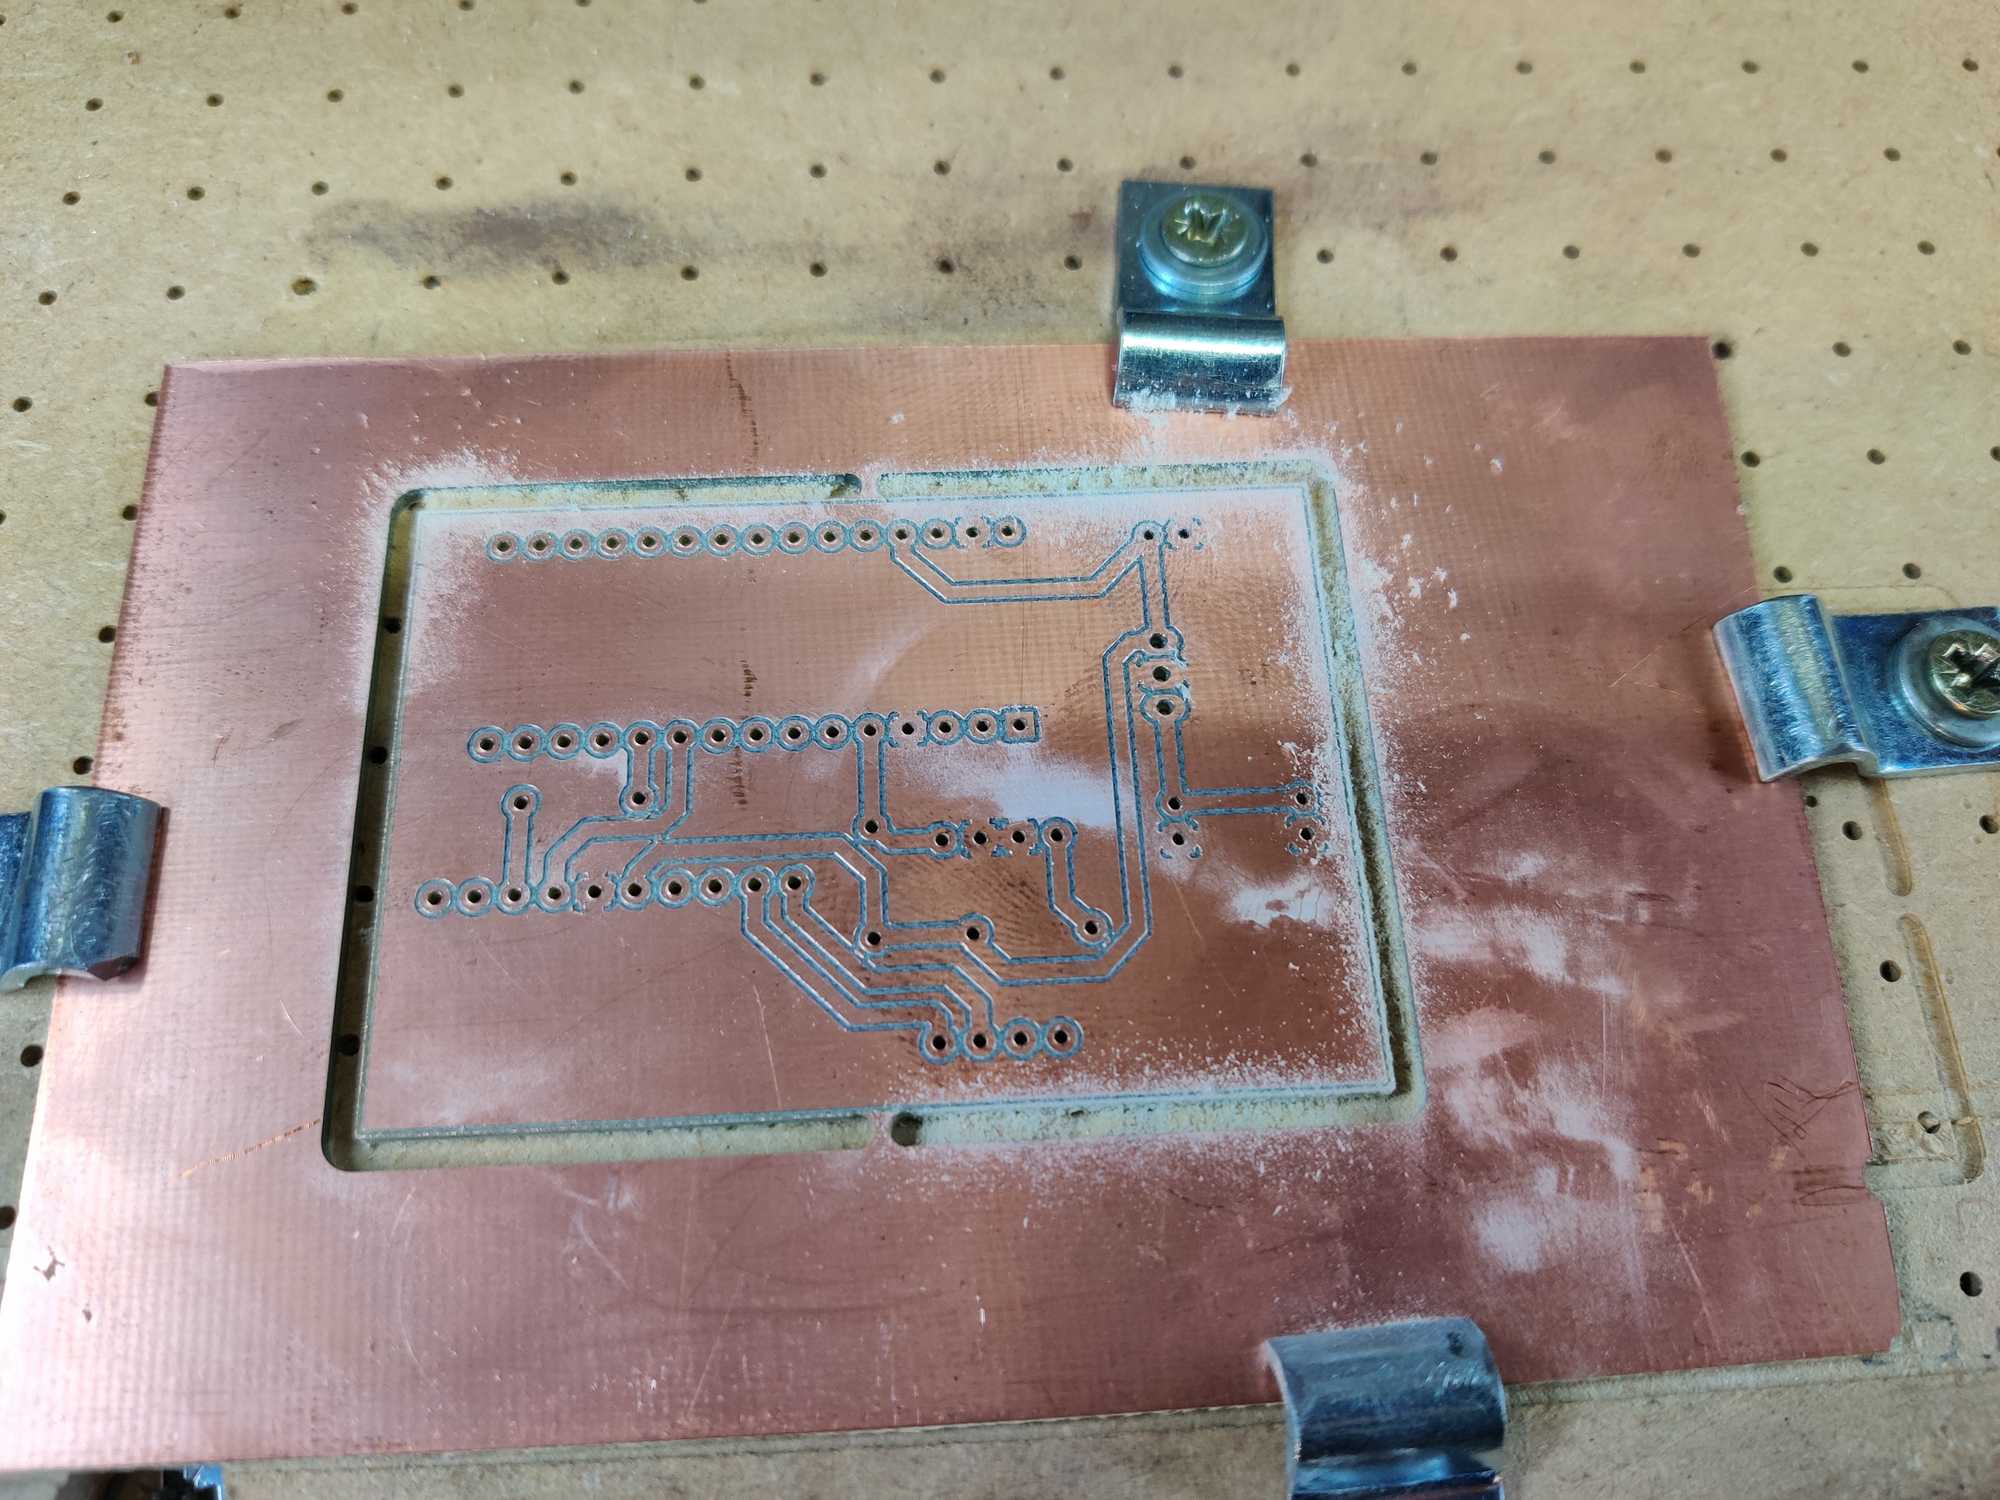
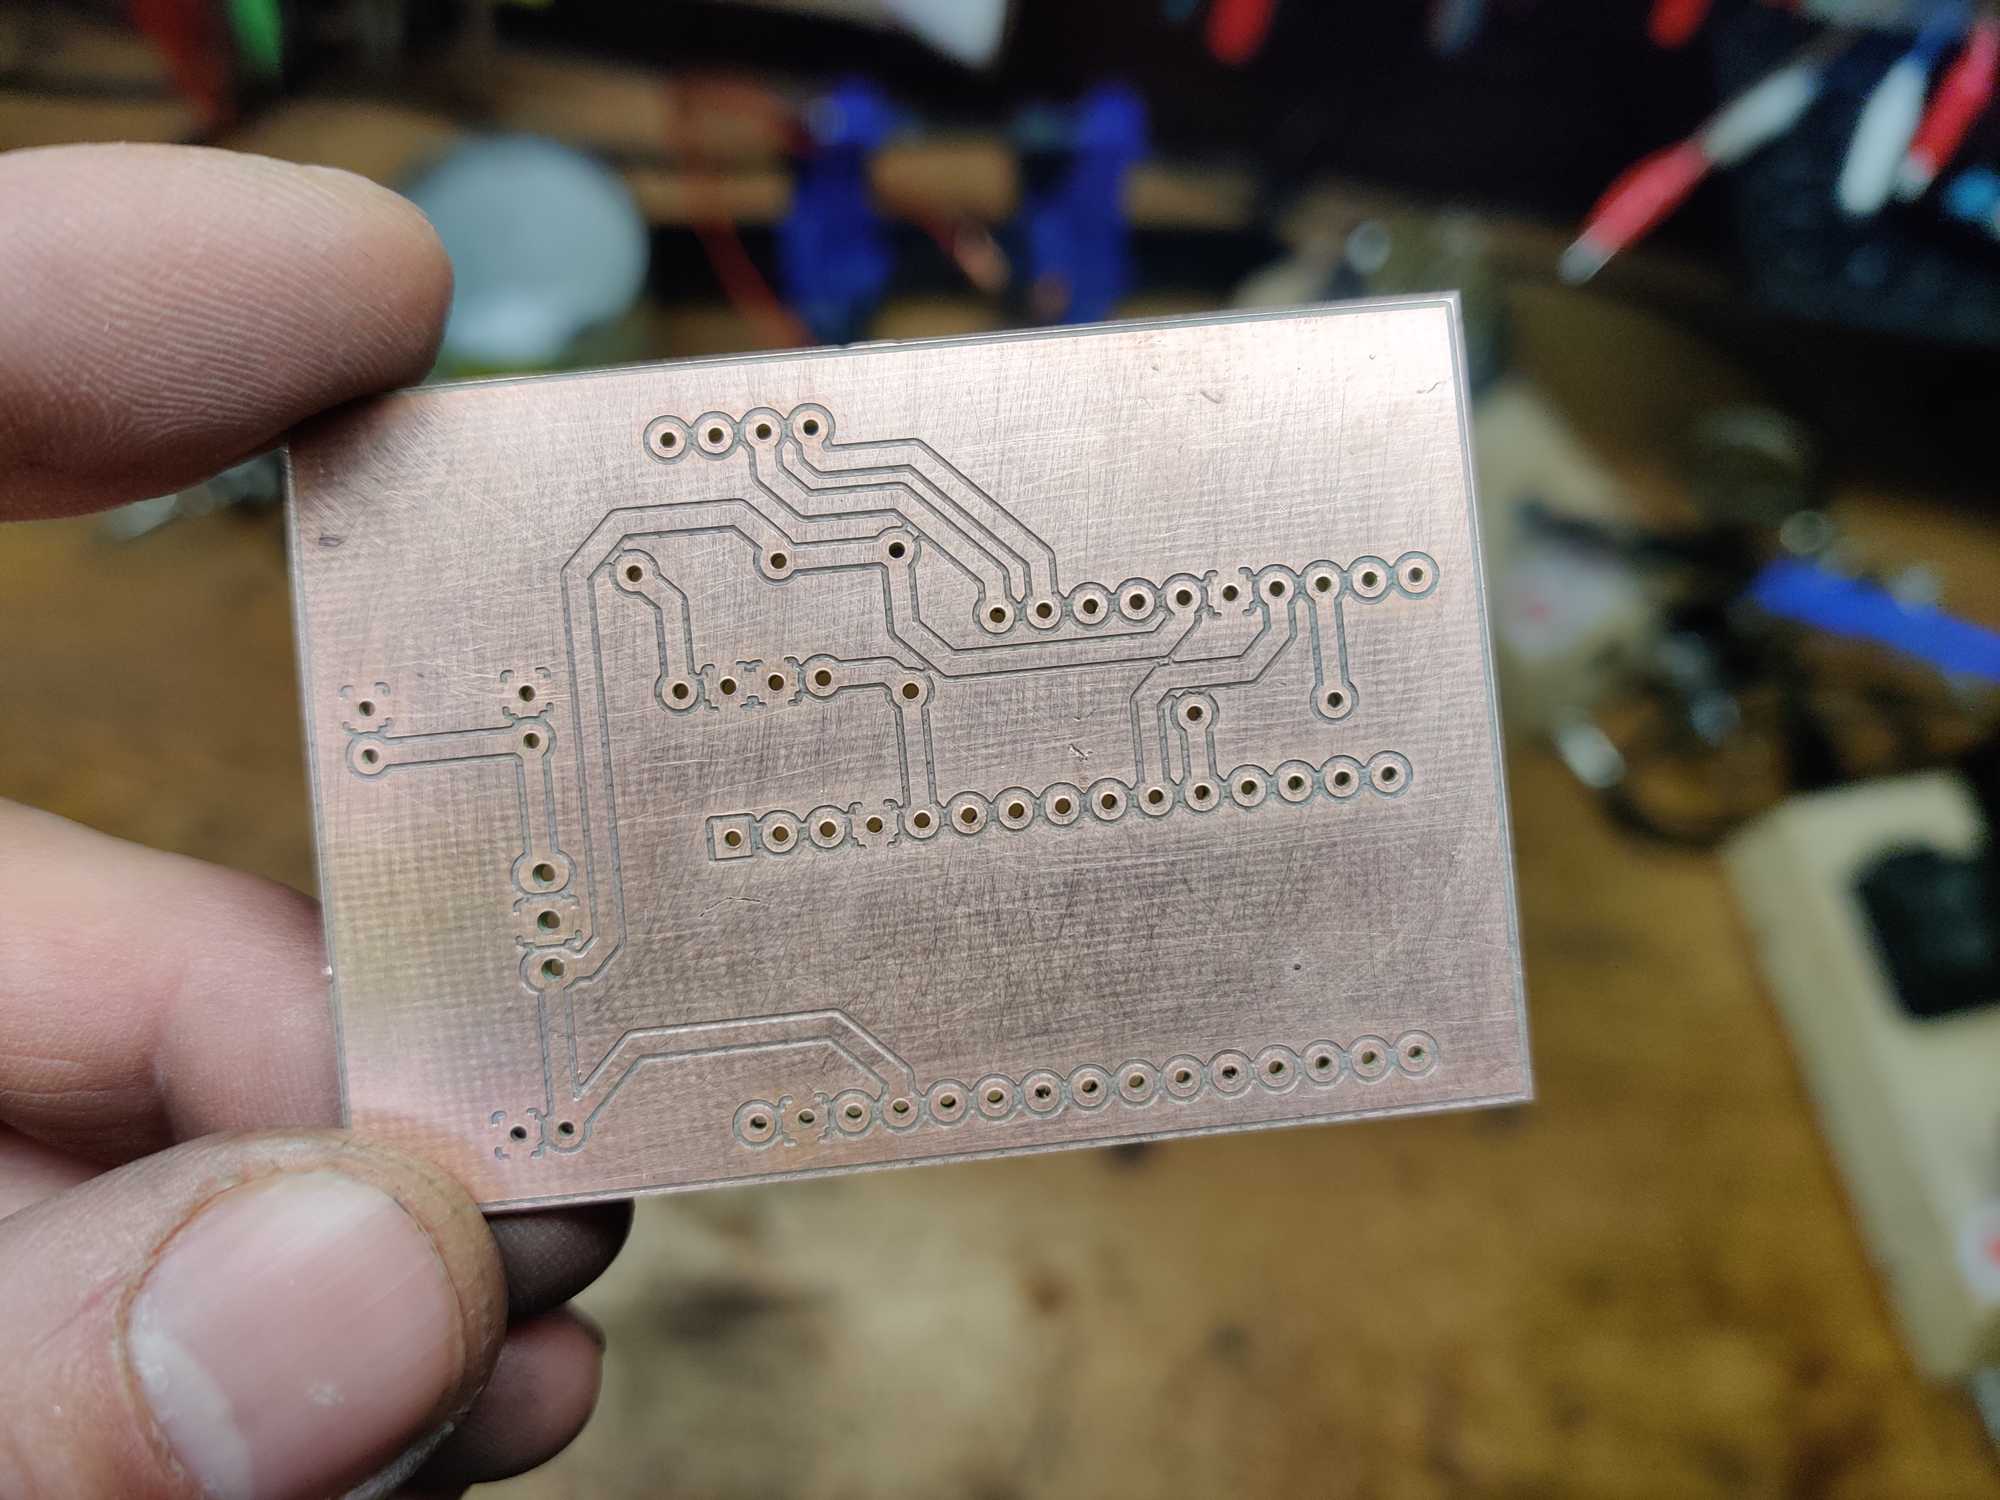
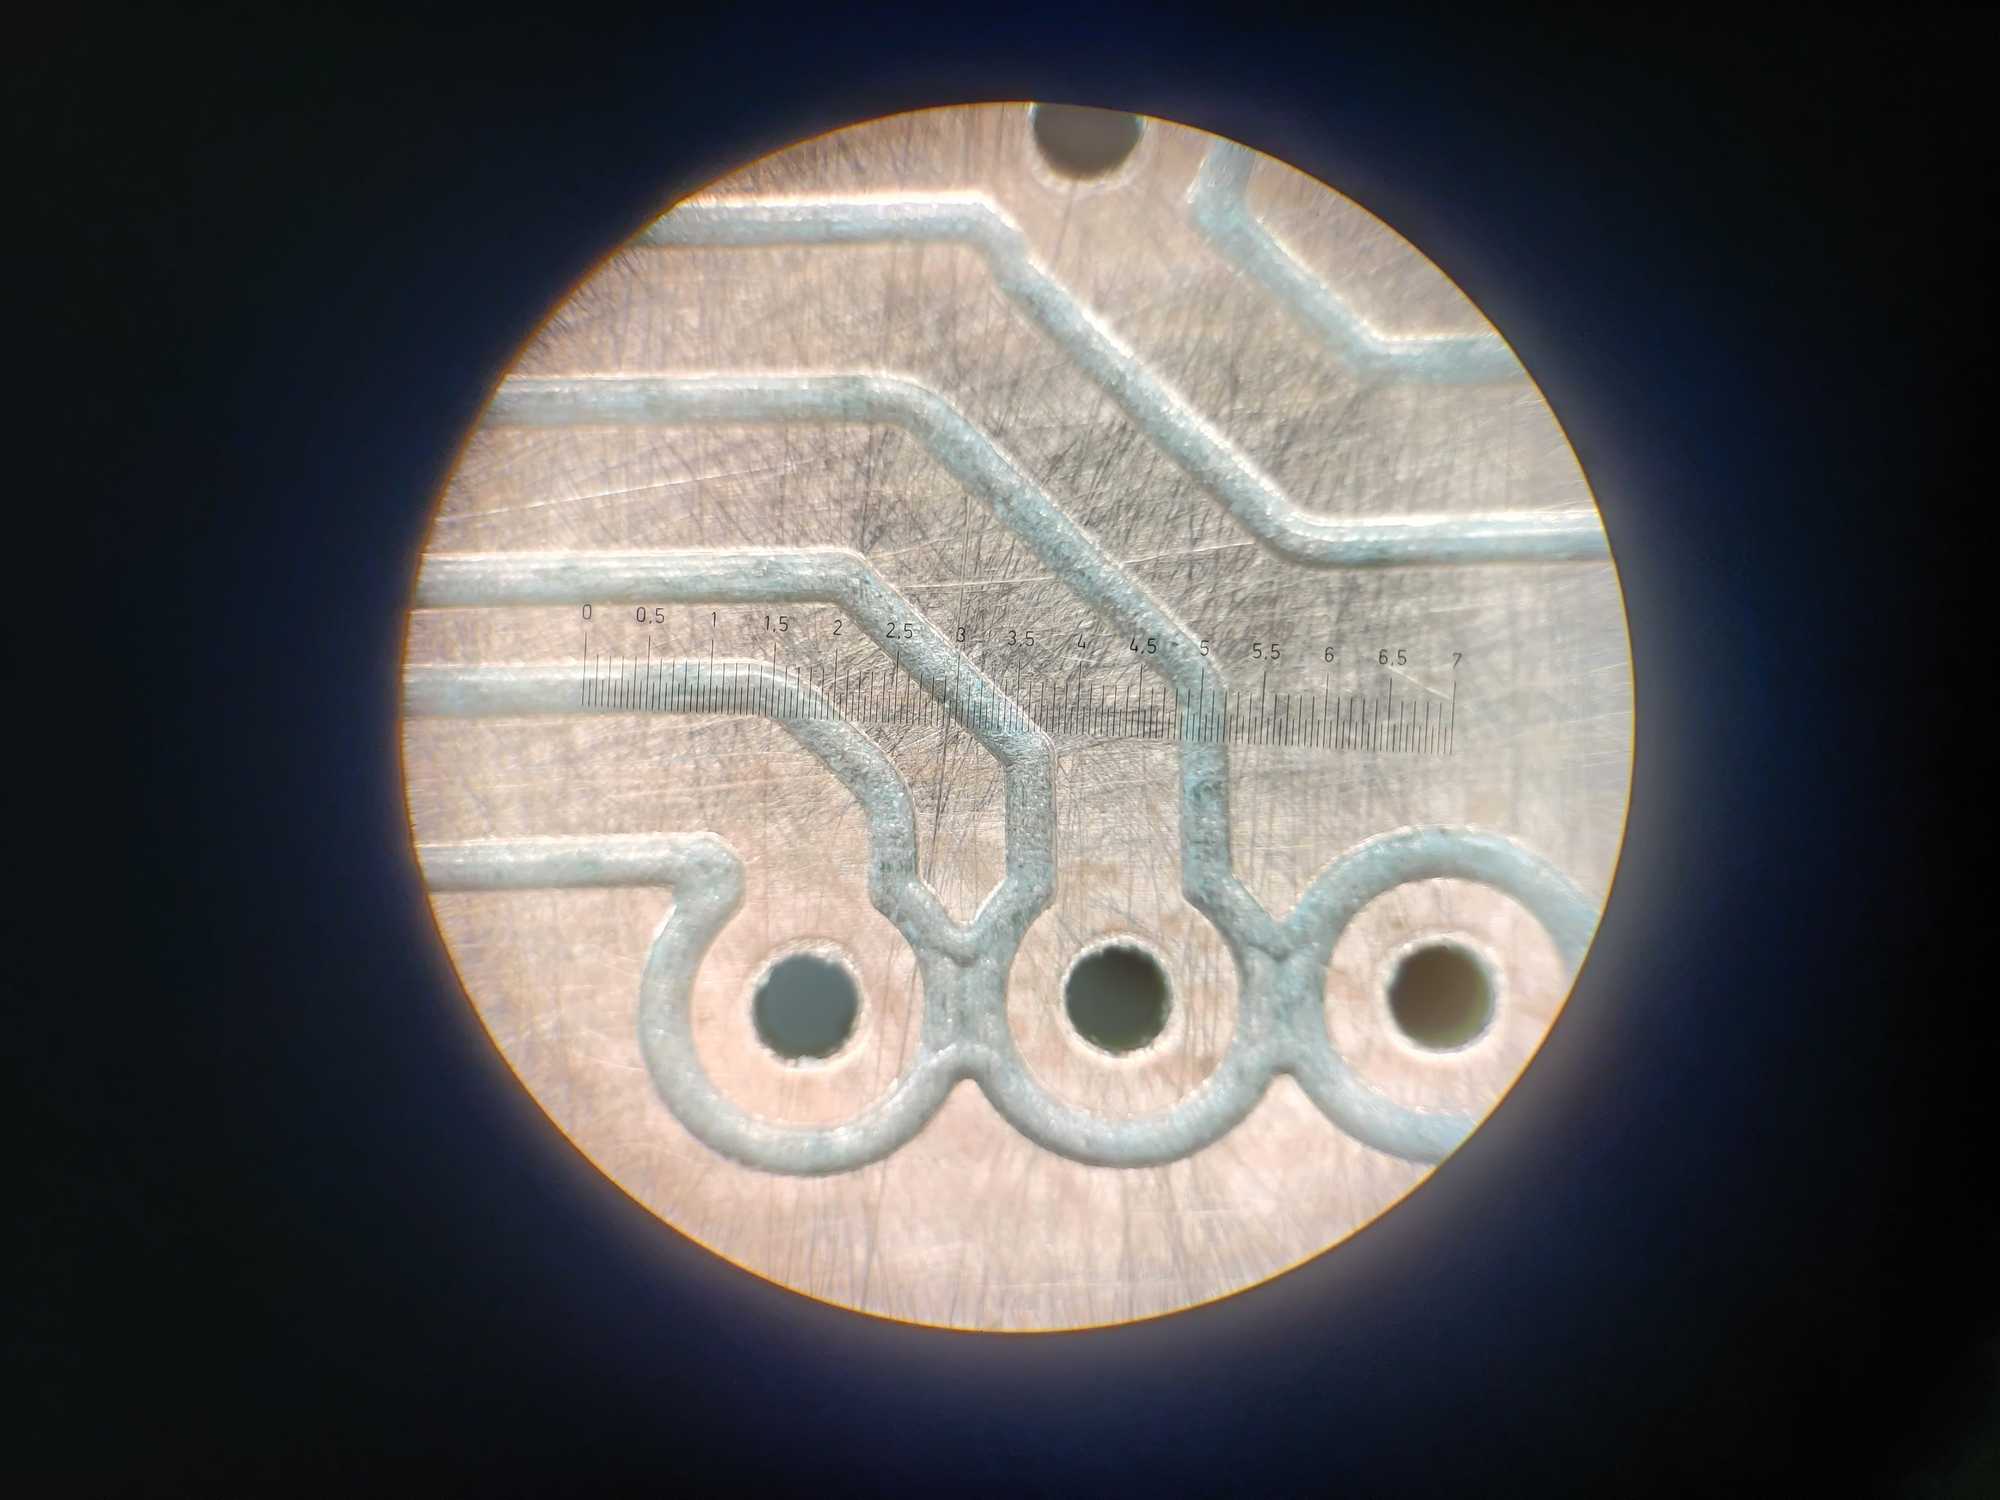
To continue with electronics part of the project next I needed to make a PCB. Here at Kaunas Makerspace we upgraded with PCB manufacturing from using acid to etch the PCB to doing it with a CNC mill and boy it’s so much nicer with CNC (because you don’t need to drill holes yourself among other things). Oh and the tracks turn out very nicely if you get the parameters perfect.
I designed the PCB with EasyEDA, exported the Gerber files and used FlatCam to produce GCode for our CNC mill.
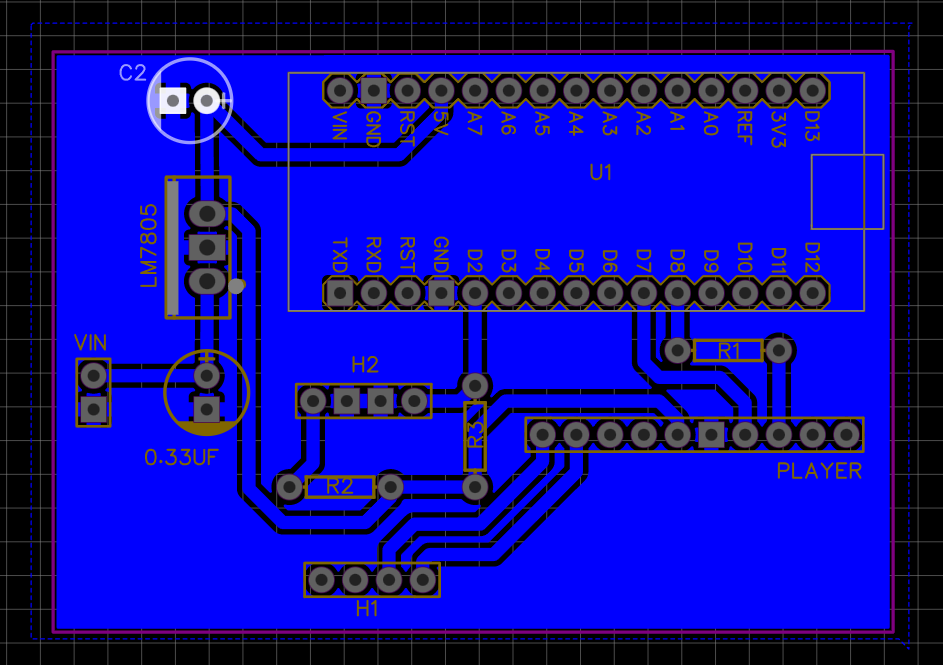
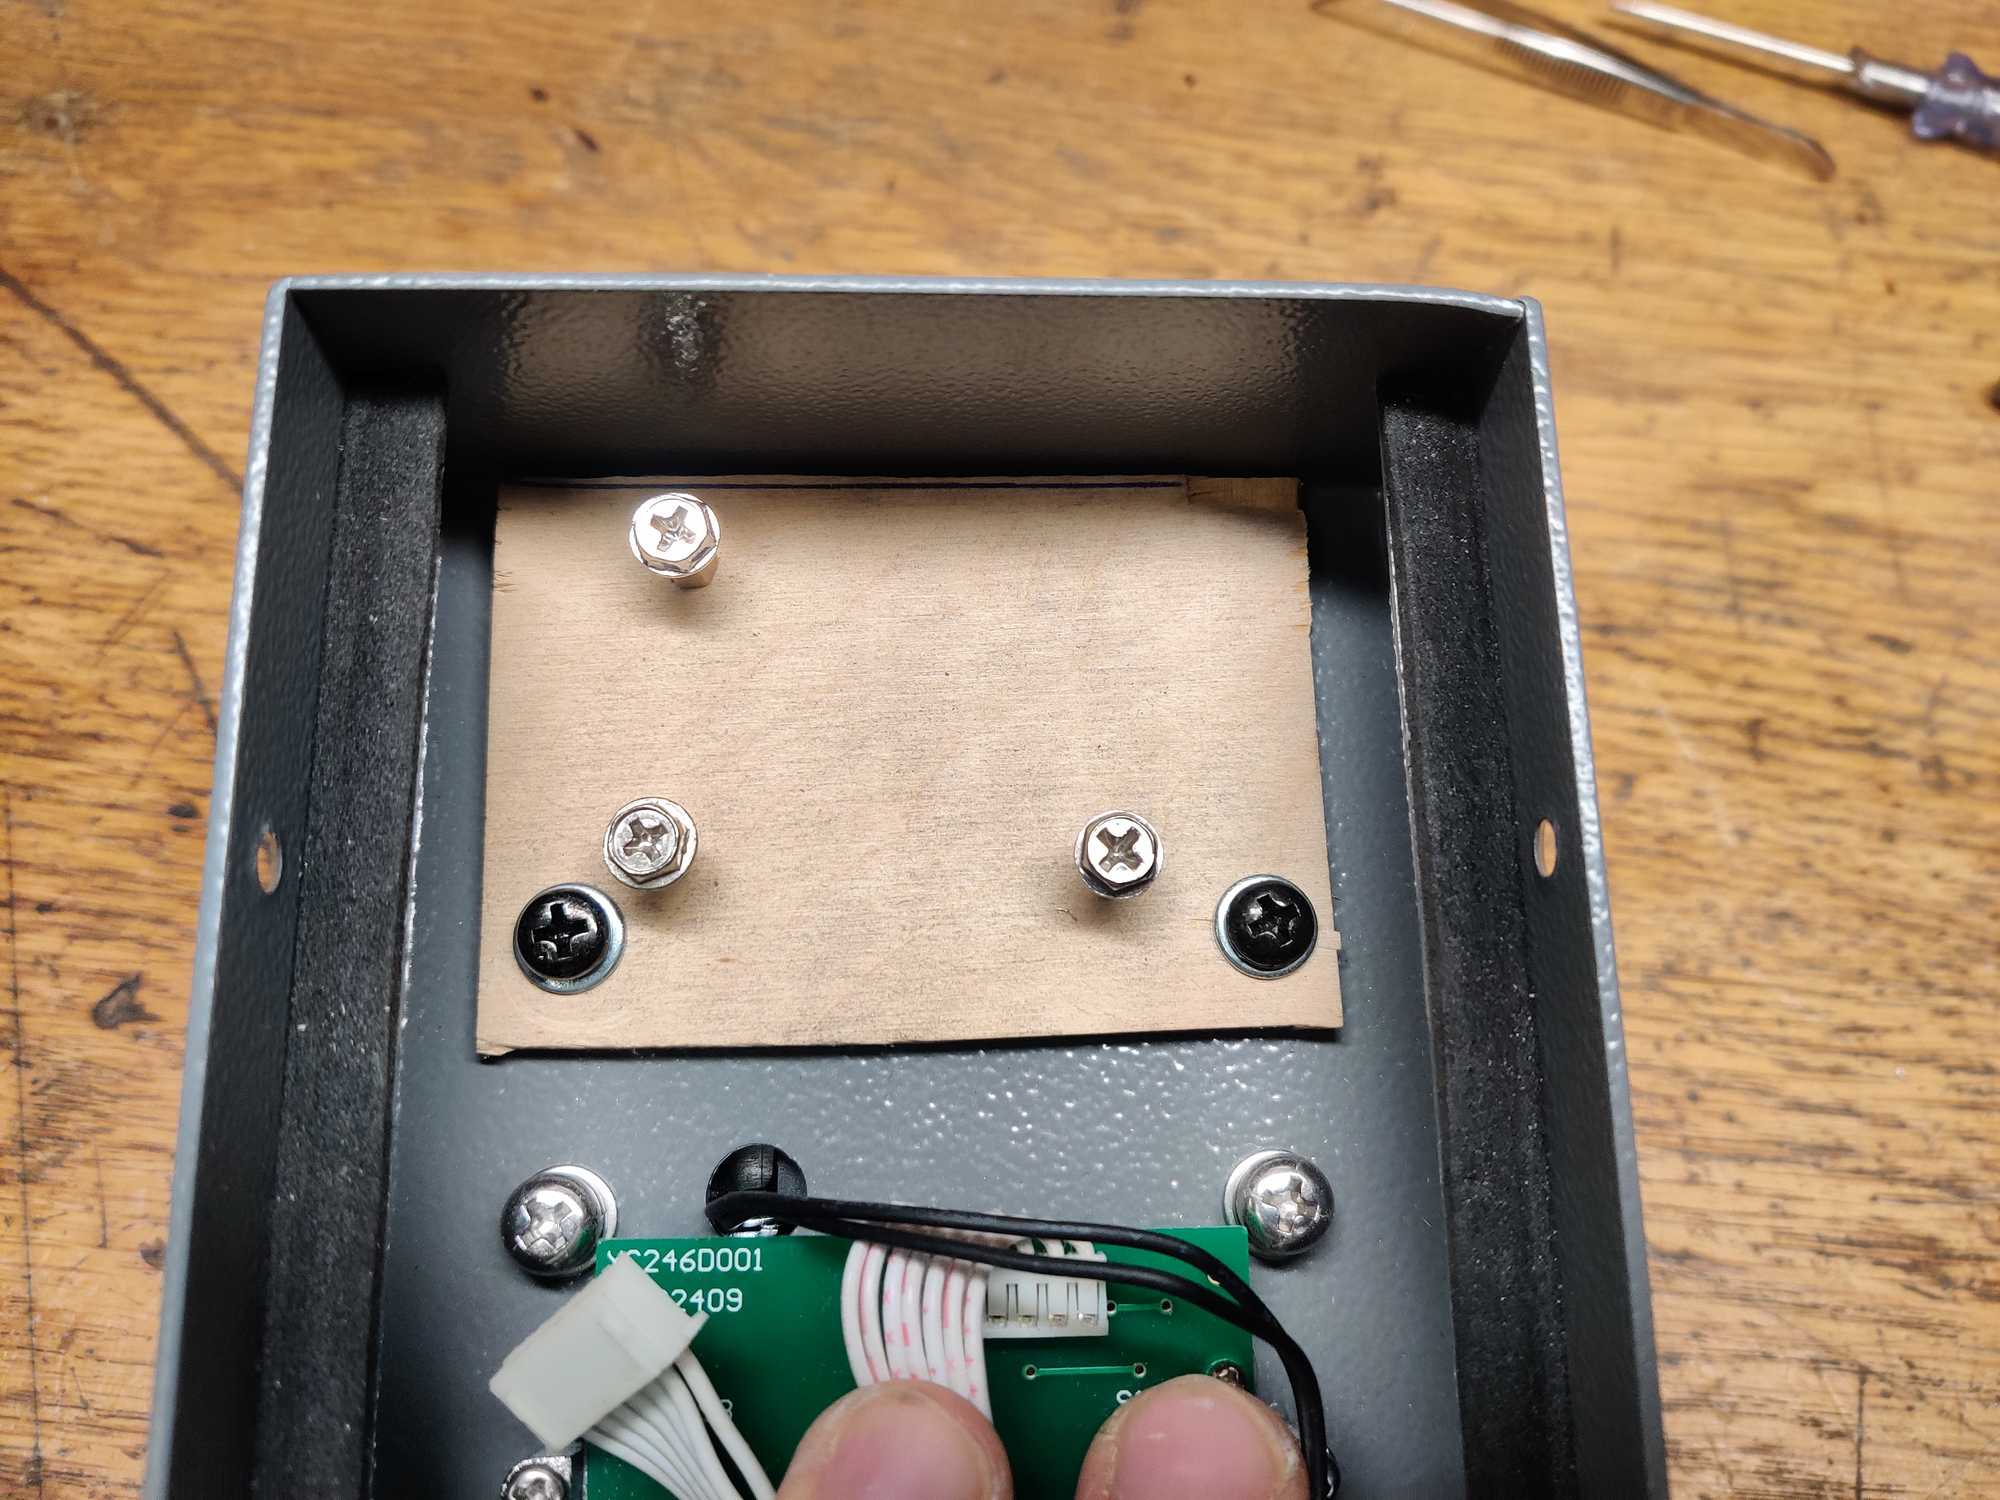
But before soldering everything on it I needed to figure out a way to mount it safely inside. Only place left for it was the top of the phone. I had to make a platform for the PCB and drill a couple of holes for screws to hold it in place and only then place components on the PCB.
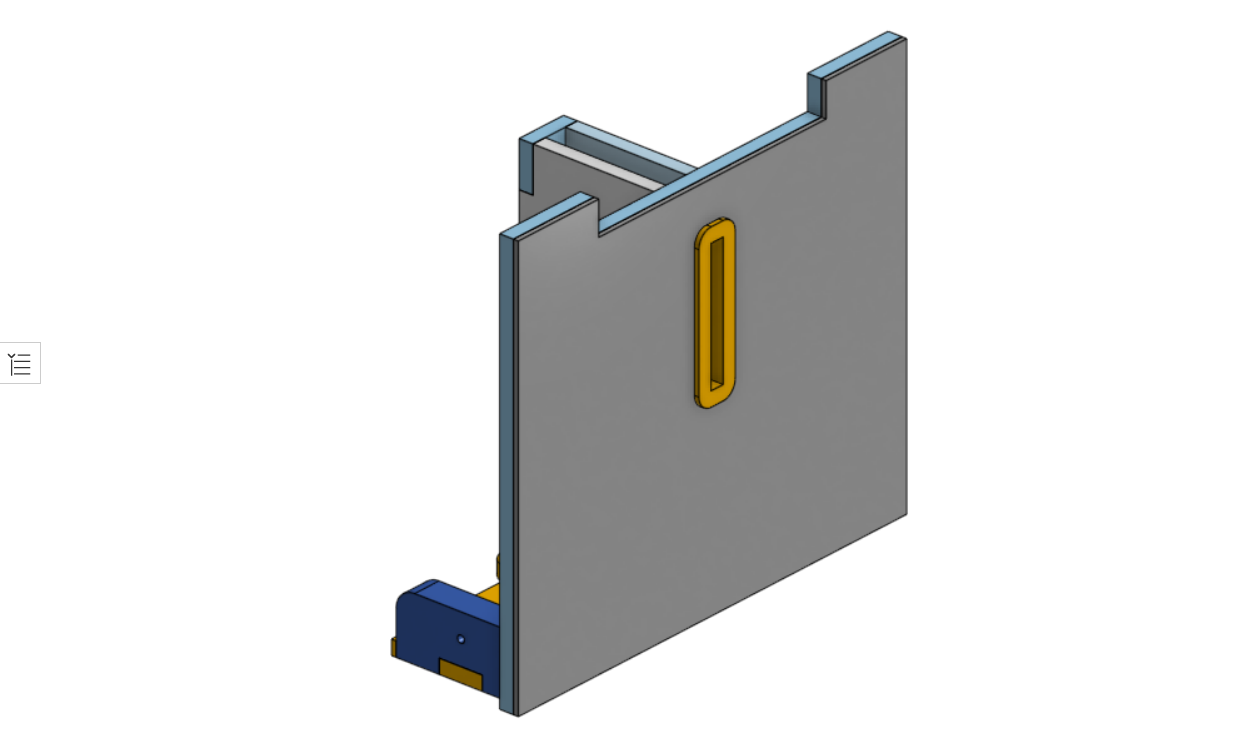
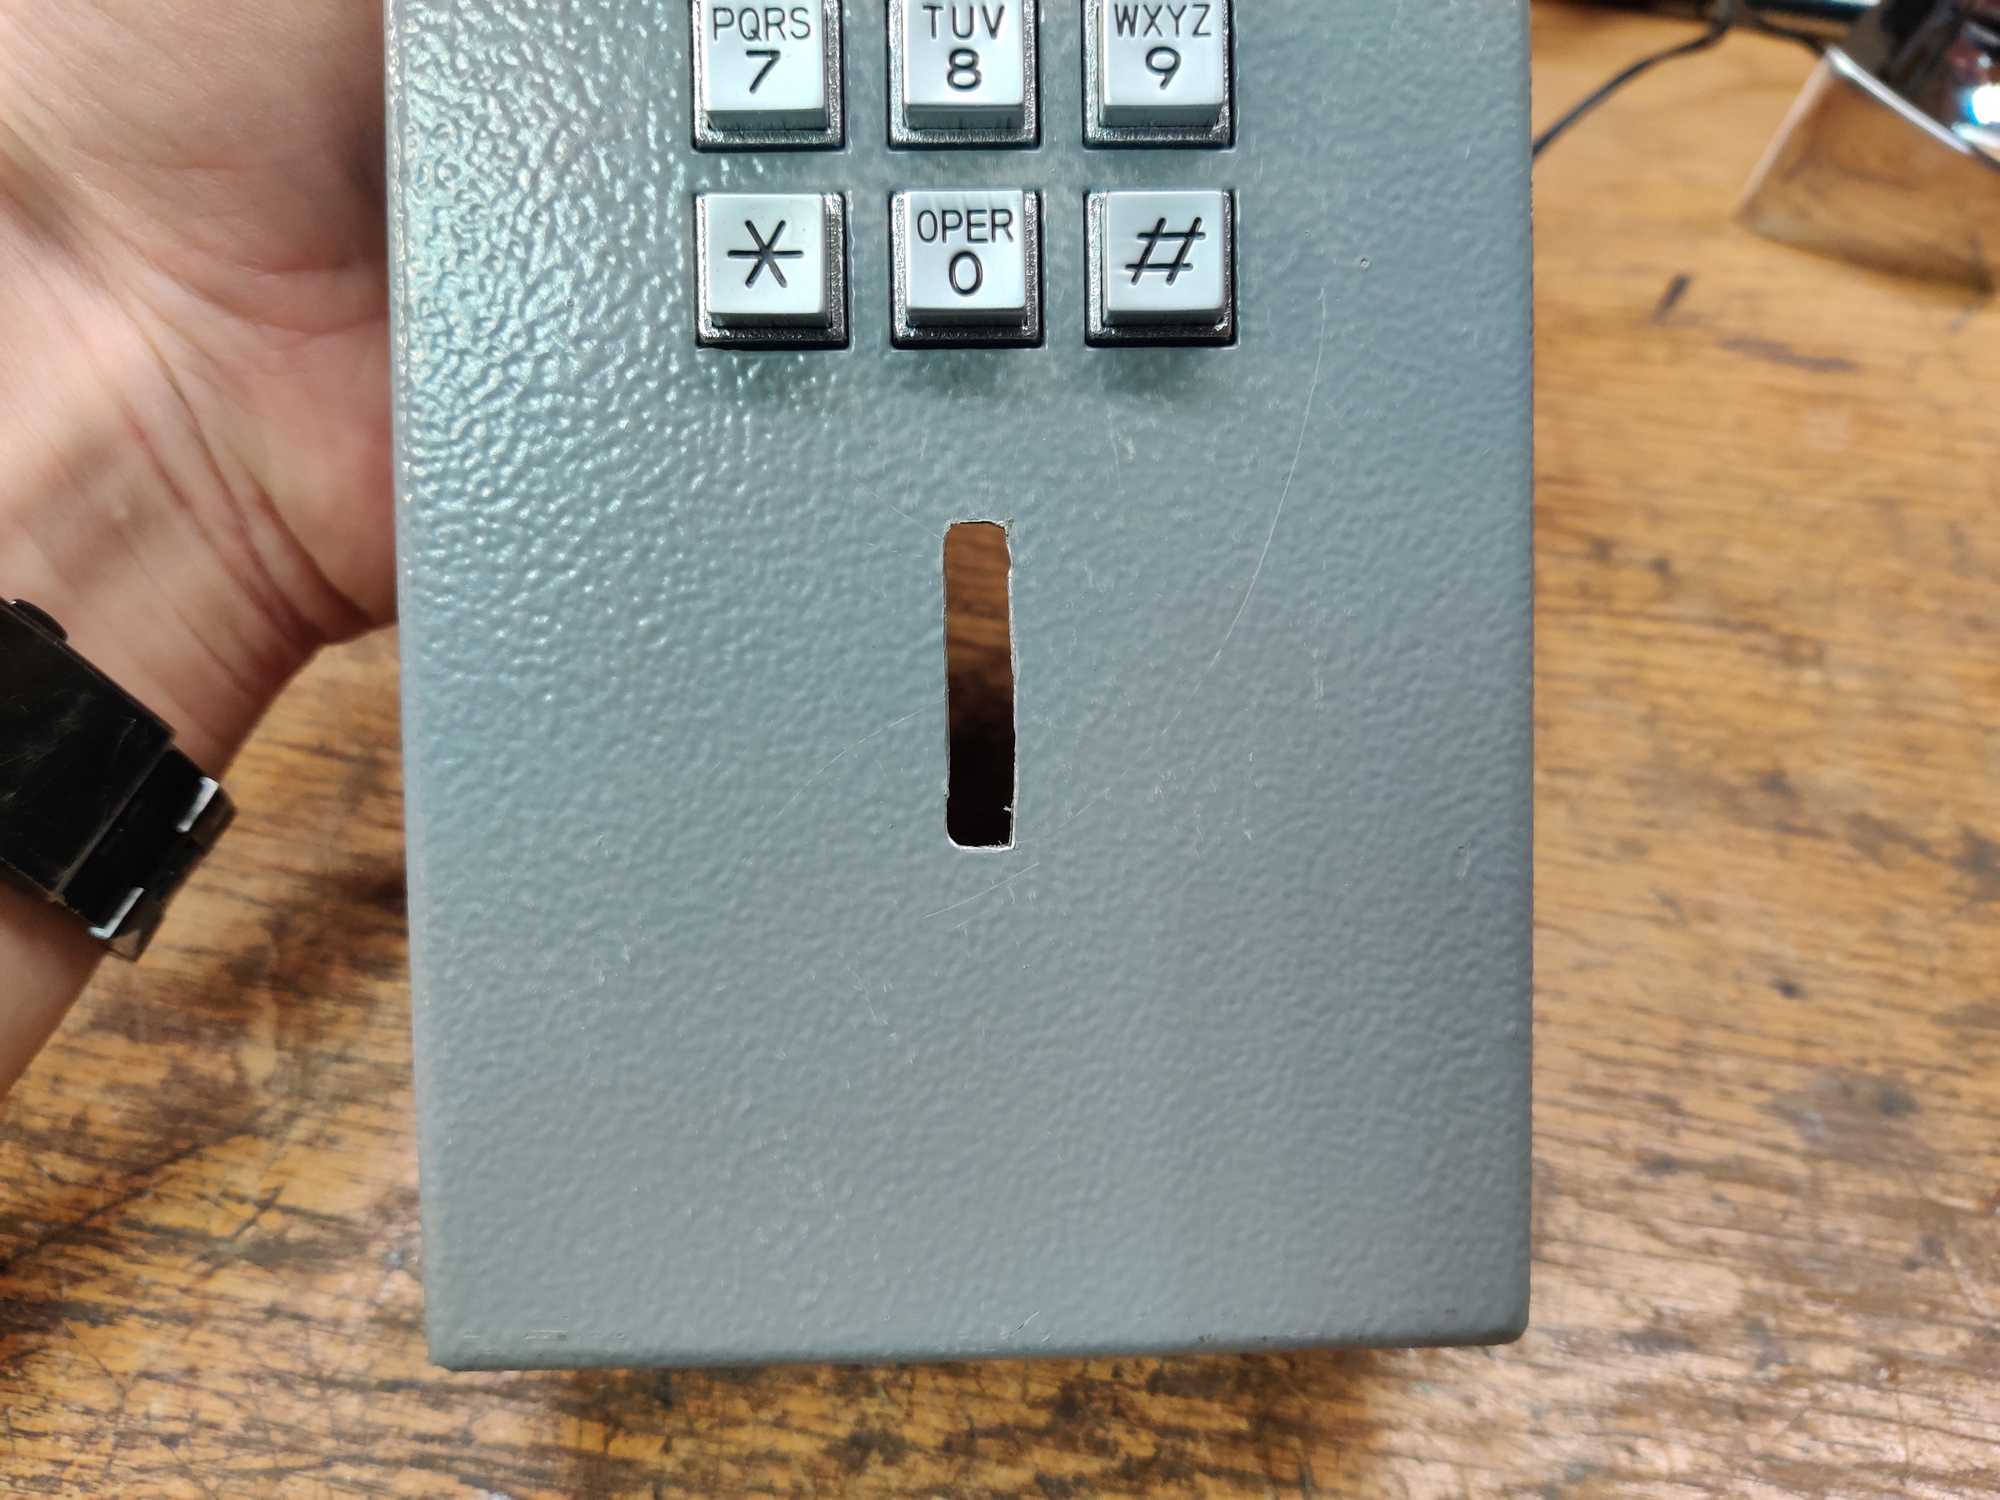
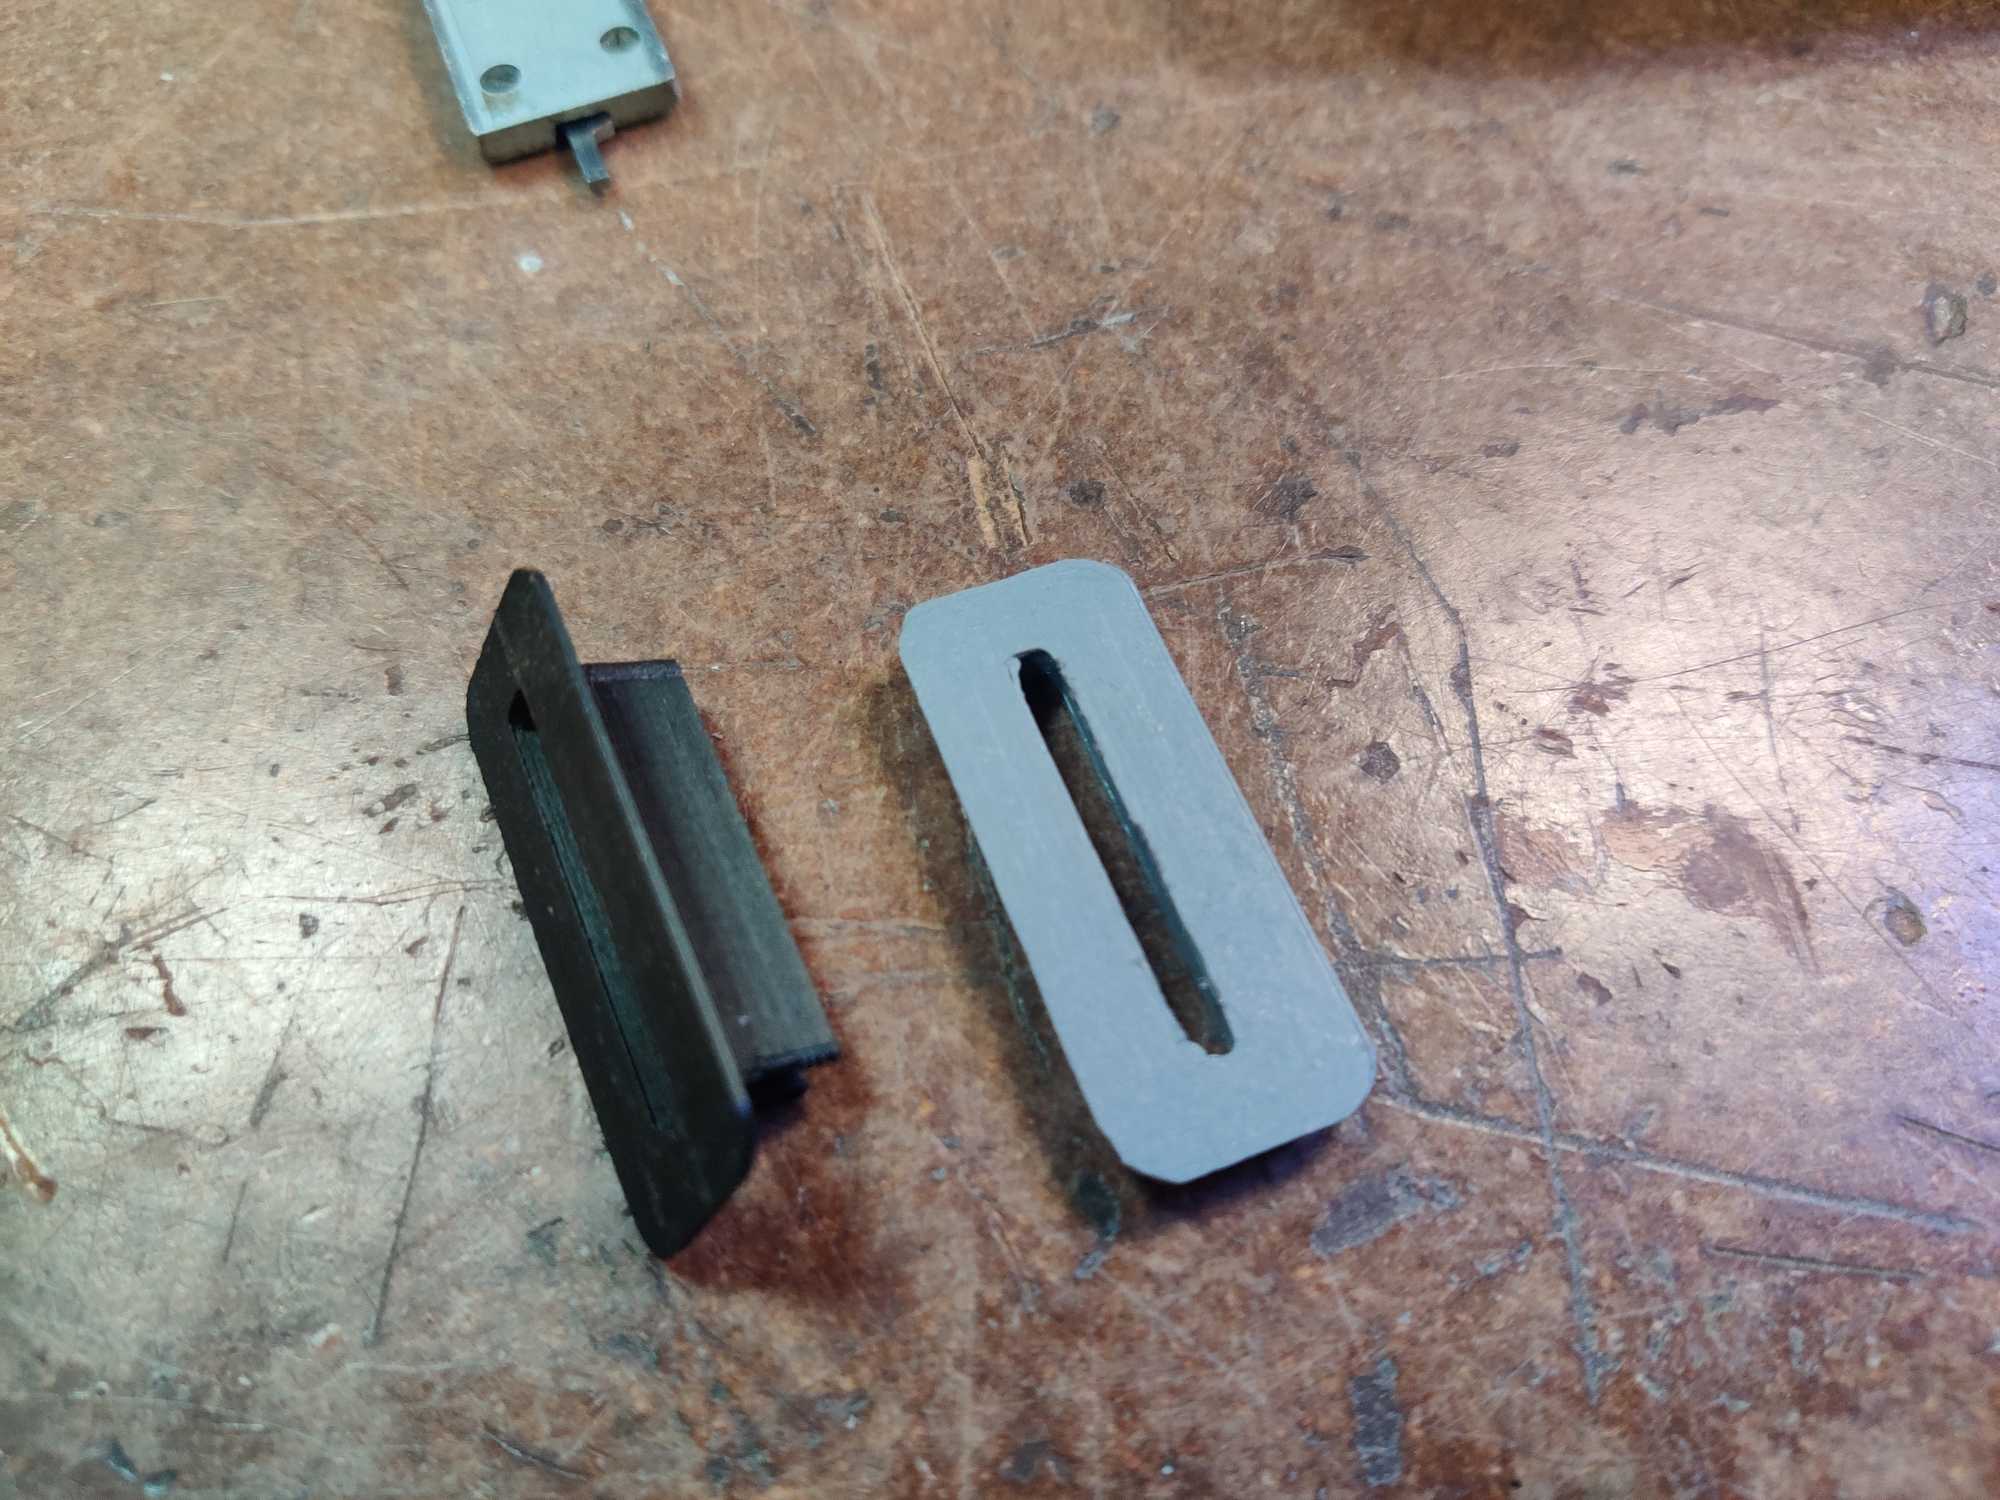
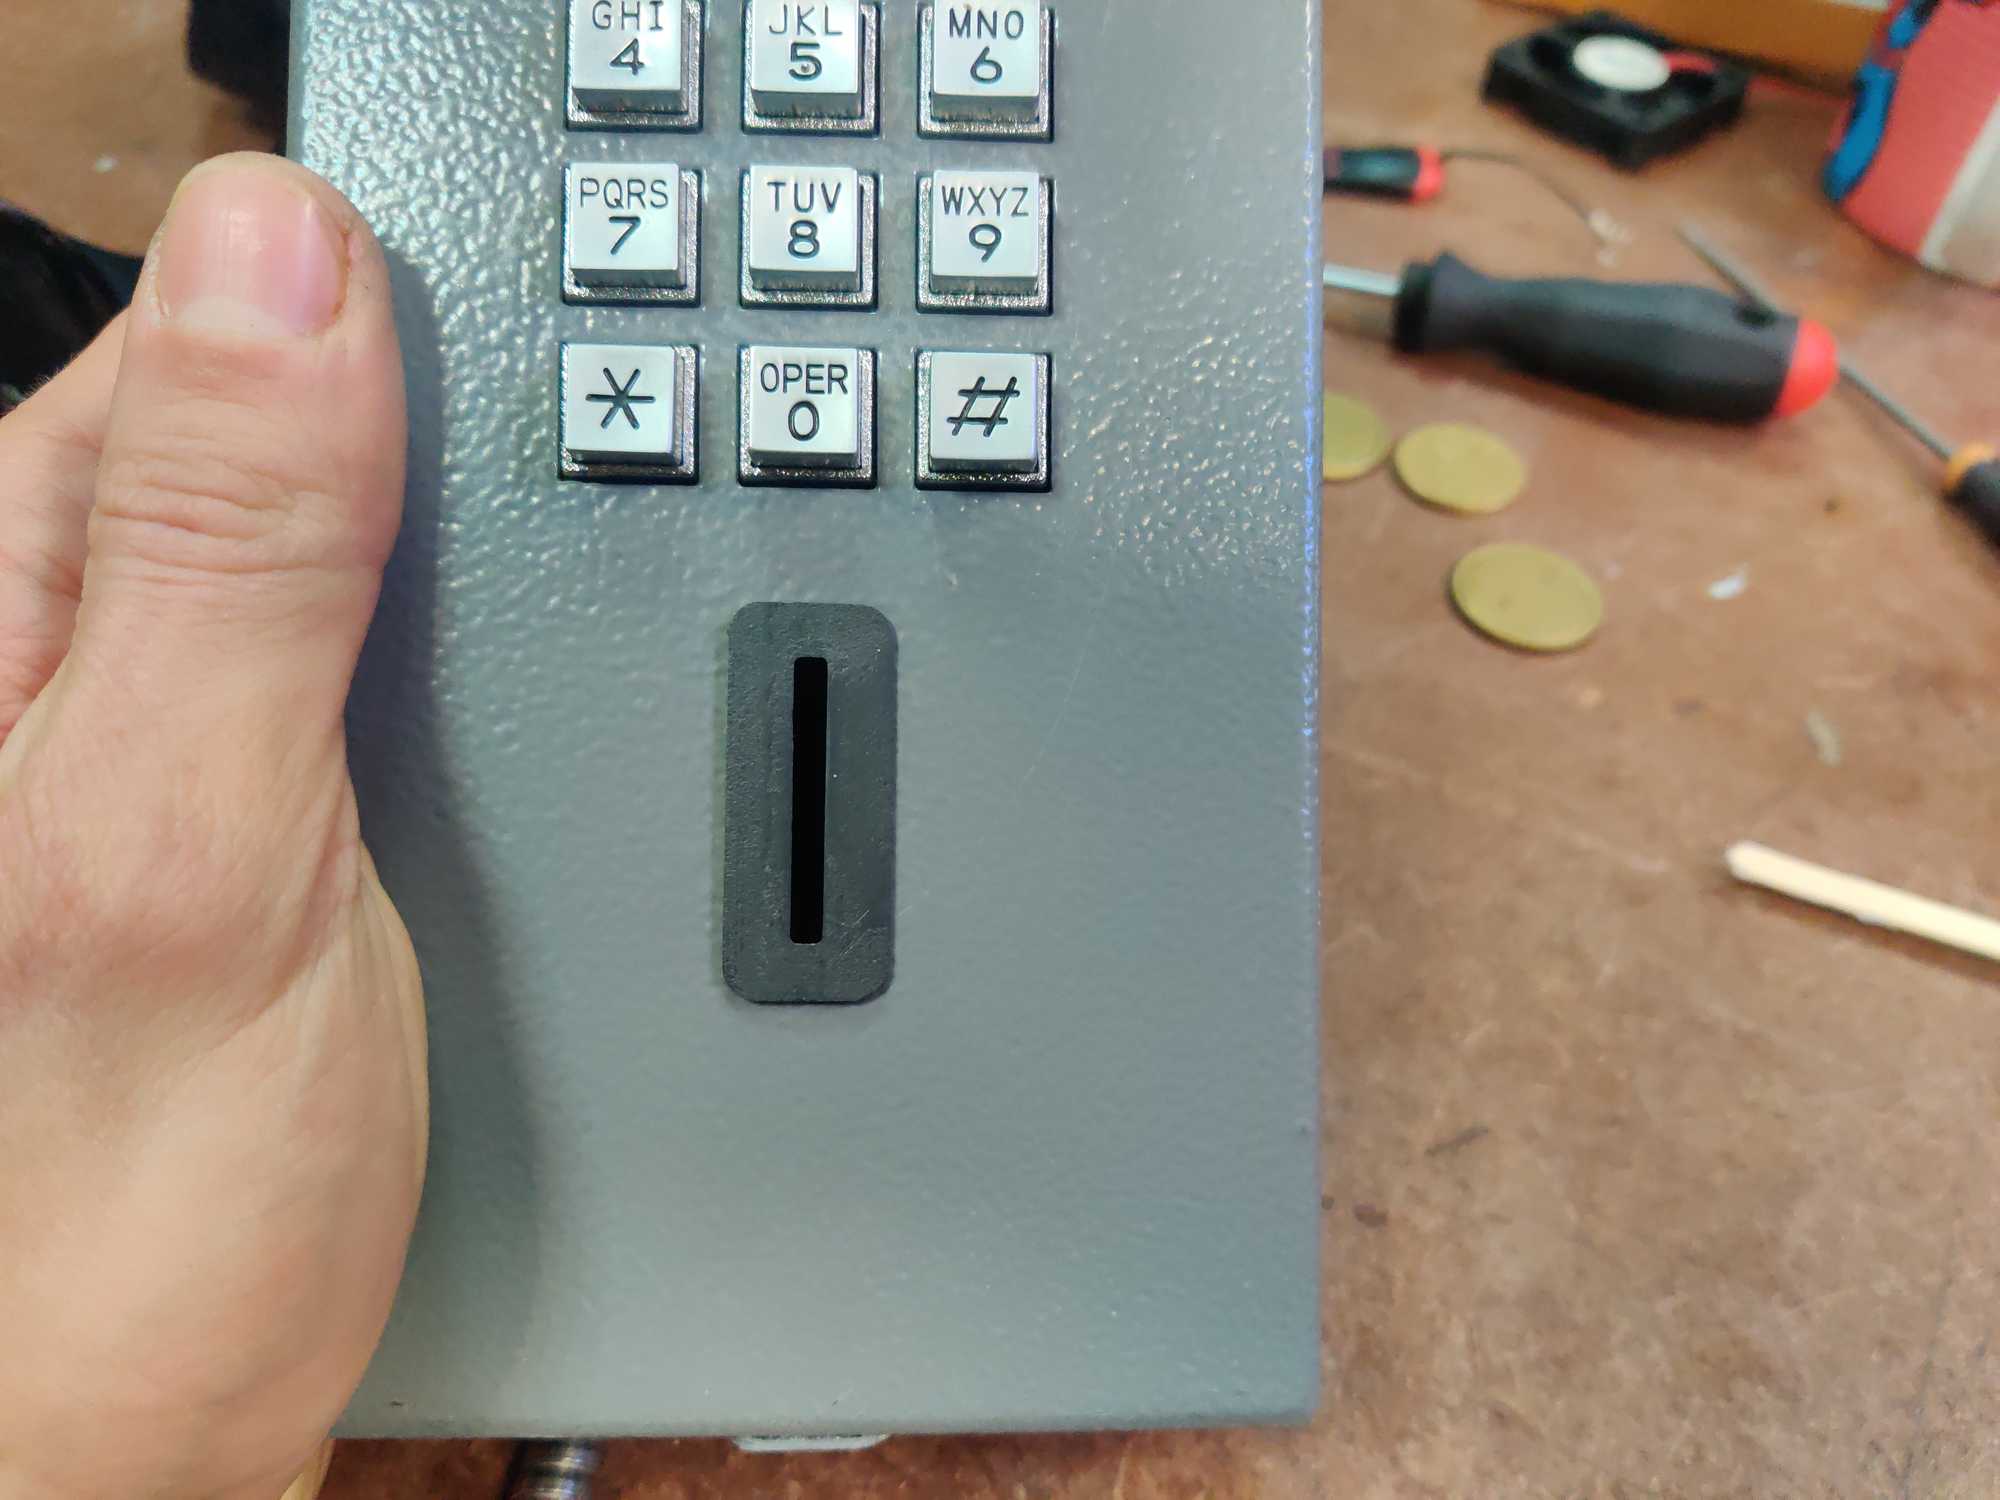
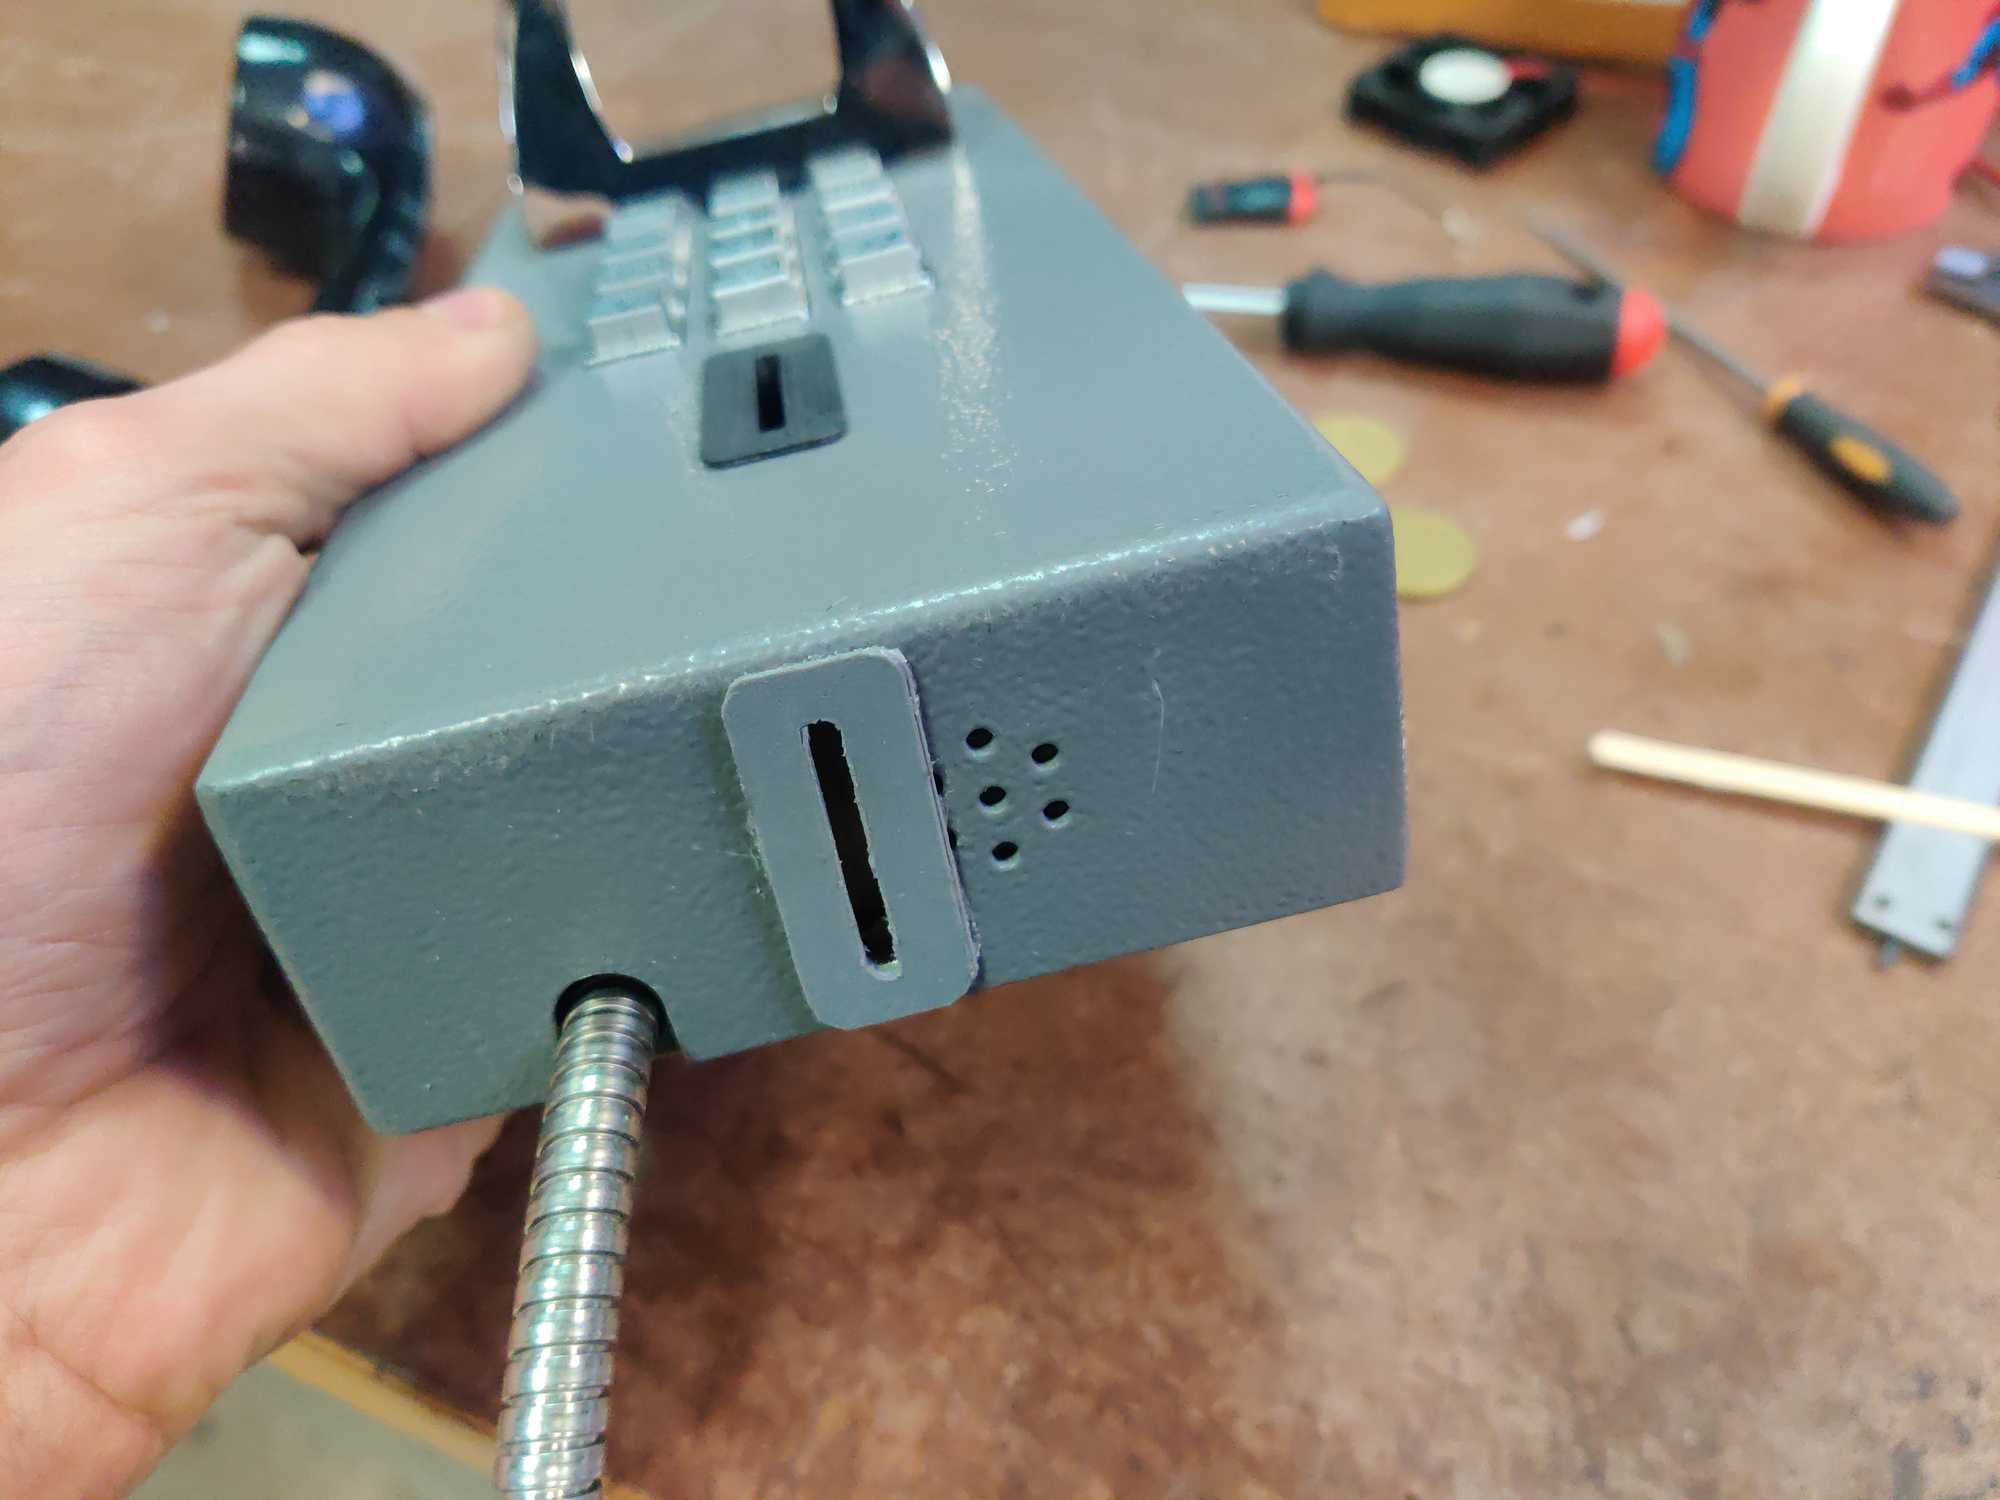
Next up – to make slots to insert and extract coins. I made another bracket just to mark the location of the slots to cut out. Drilled holes then cut them out with a Dremel and used a file to fine-tune them.
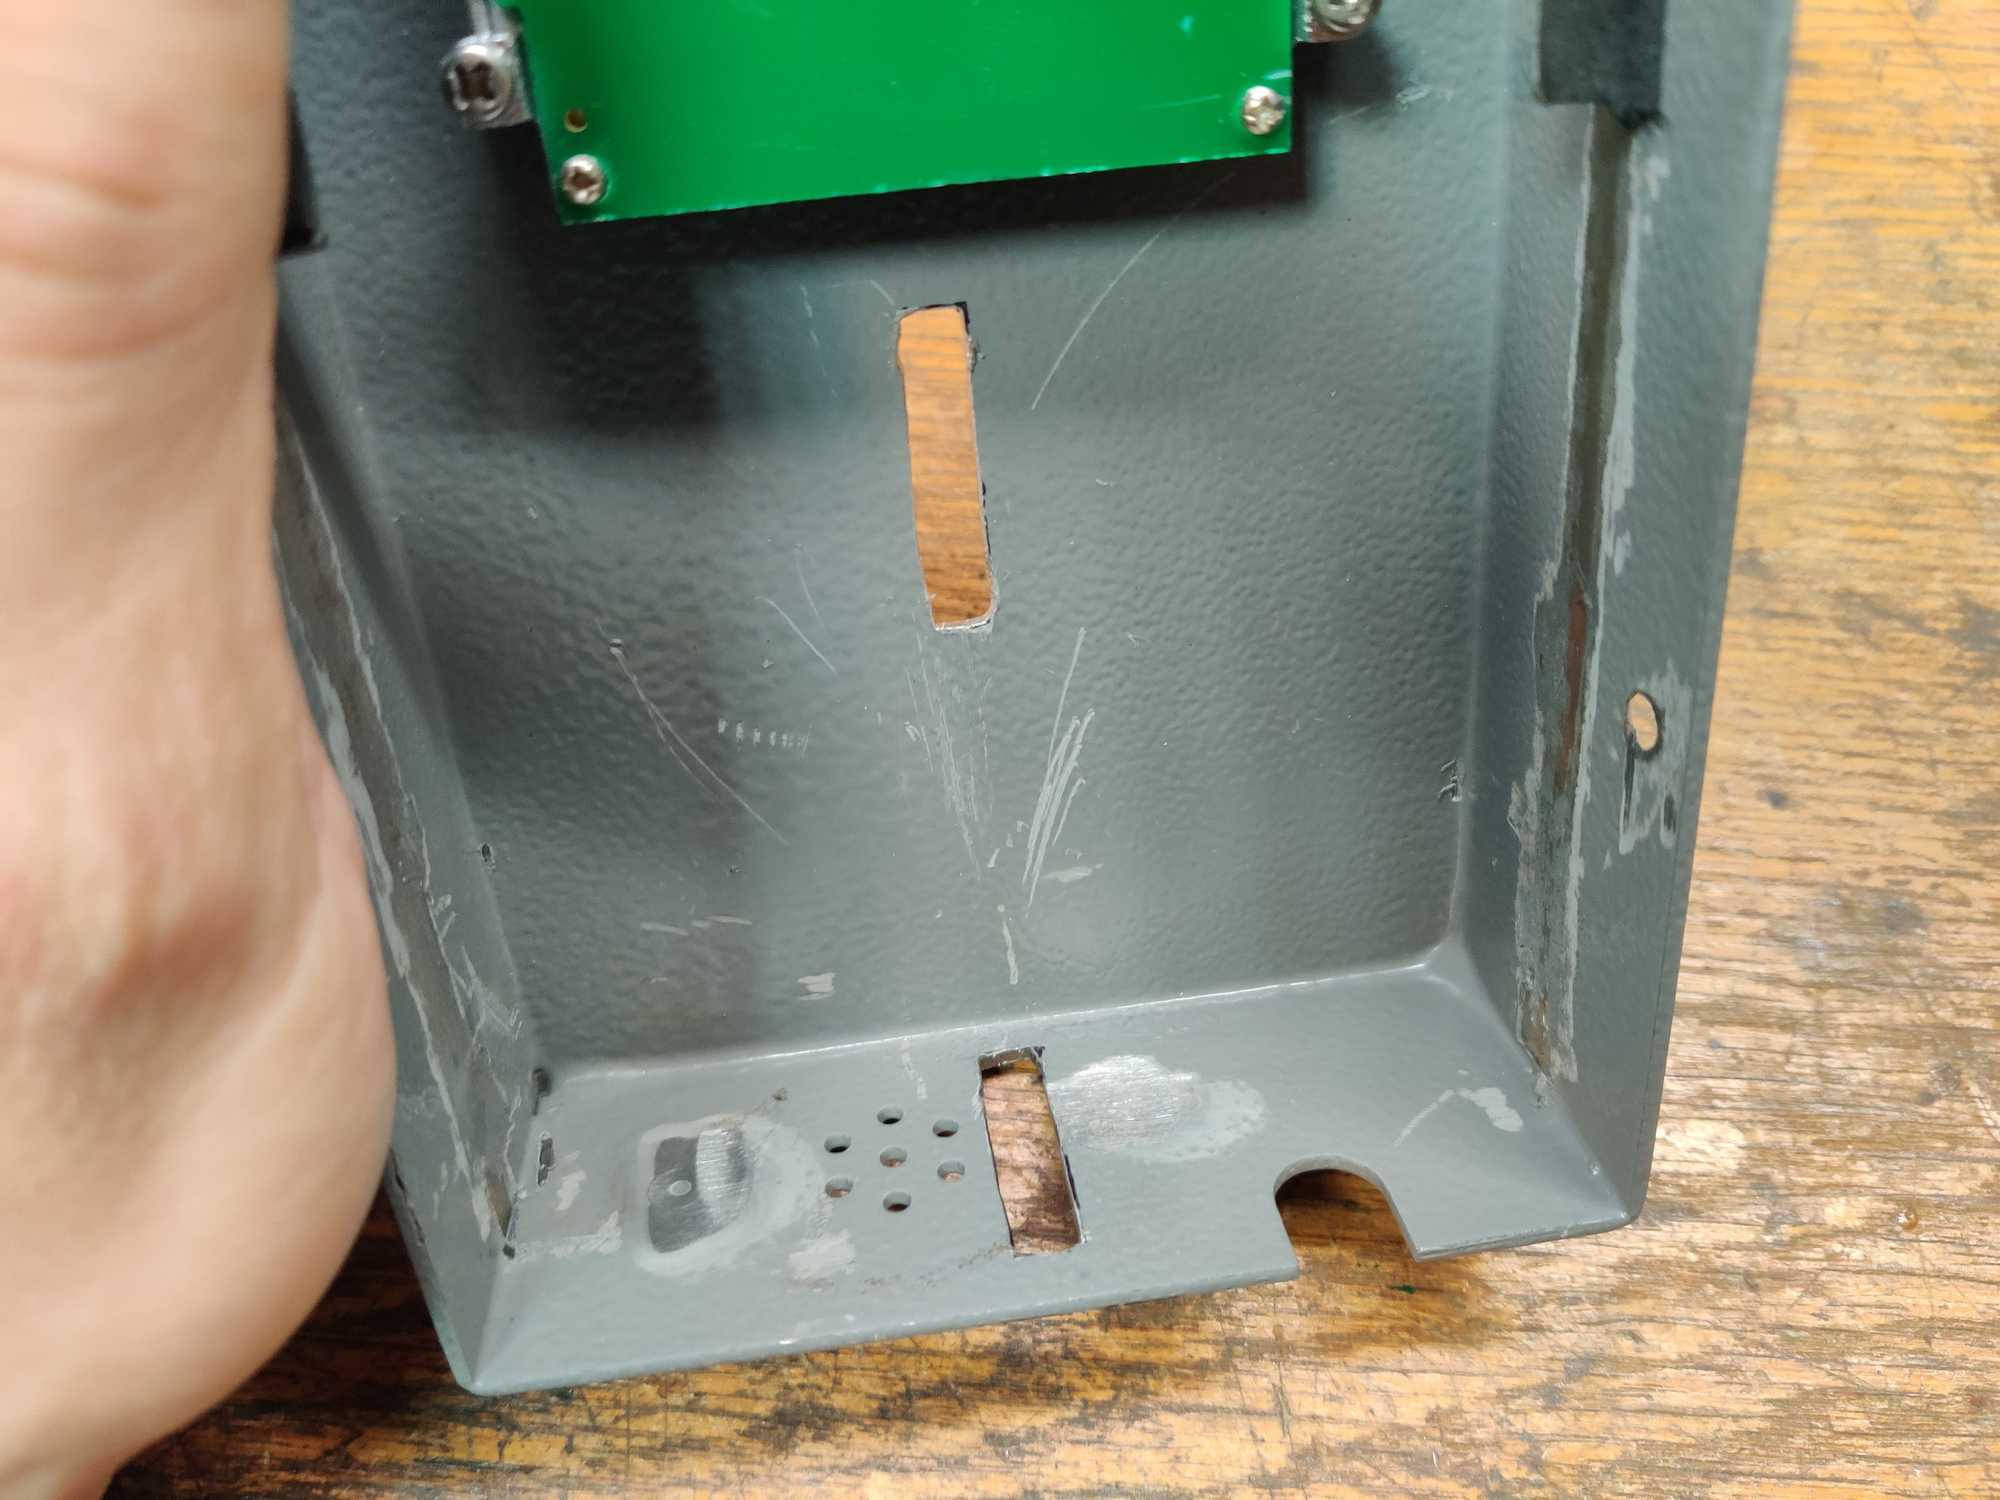
Somehow the bracket would need to be fixed in place. For that I used “liquid nails” glue (#96) since I figured that it doesn’t need to be removable any time in the future. Notice that there is a gap on the bottom between the wall and a bracket. That was a little design flaw but I remedied that by simply sticking a piece of foam rubber to extend the coin guide and fill in that gap.
With that done I wanted to also make the front coin slot a little prettier. Ant to make it prettier I 3D printed and glued on a frame and did the same on the bottom too.
And that’s it with this project. The phone will eventually be mounted on a wall where people to interact with it would need to pick up the phone, then throw in the coin and a melody would start playing.