This one was an unusual project for me… Some of my friends, like me, like to play these Encounter urban orienteering games and those friends occasionally make a game themselves.
Usually the game is made of virtual riddles and puzzles, but sometimes it’s very cool to have physical puzzles in the game and they are called artifacts.
So I was asked to make some artifacts for the game that fit a retro theme. One of those was this toy dog from way back… 2010 perhaps. I had this toy saved when I found it in an old basement for such an occasion as if I knew this day would come :D
At first I had no clue what it does, what it is supposed to react to.
First step is analysis. I connected it to a regulated PSU and gave it some juice (6 volts) just to check if it’s not dead already and for sure it became alive – started barking and moving in a robotic manner, but what now?
Thankfully this was a pretty popular toy back in the day, so there are plenty of information on the internet about it. I learned that it’s called “FurReal Friends GoGo My Walkin’ Pup” and oh boy it even had a commercial that screams 2006 :D (video file is here in case YT removes it).
https://youtu.be/1cqs6K4-DaI


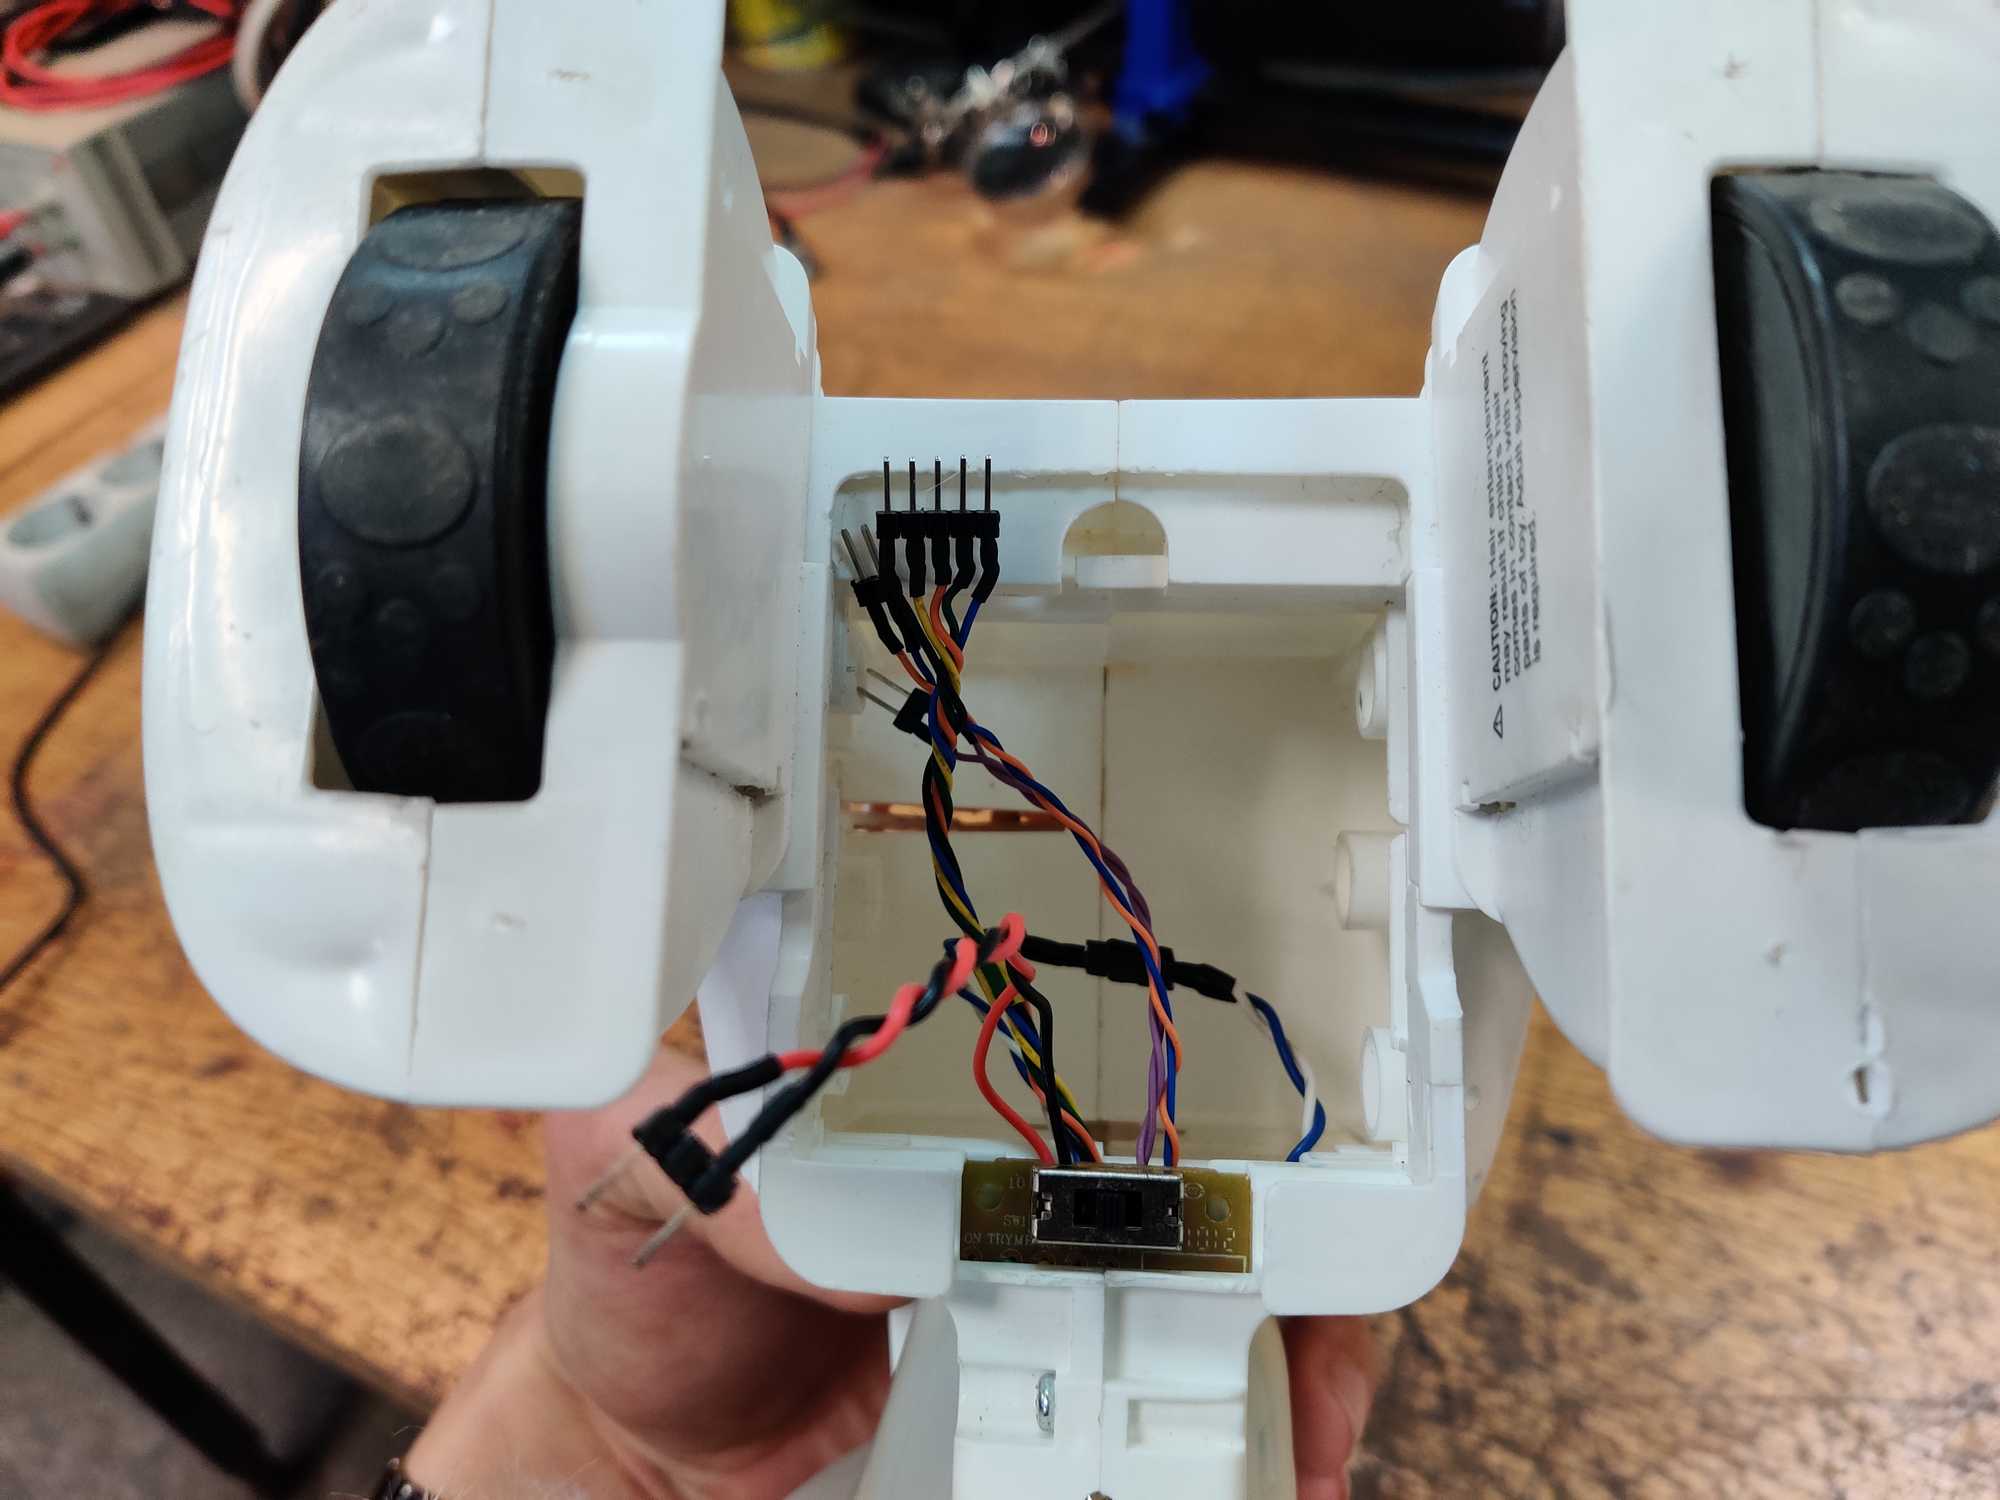
Now I sort of know what it was designed to do and how it should work, and I also knew that it has a leash with 3 buttons to make it move. I didn’t have the leash itself but I won’t need it anyway. And now I needed to see how its internals looked like and how I could bend it to my will.
At first I thought I’d have to do some circuit bending but in the end I didn’t have to do anything like that. And before anything I had a rough idea how I wished I could make it work.
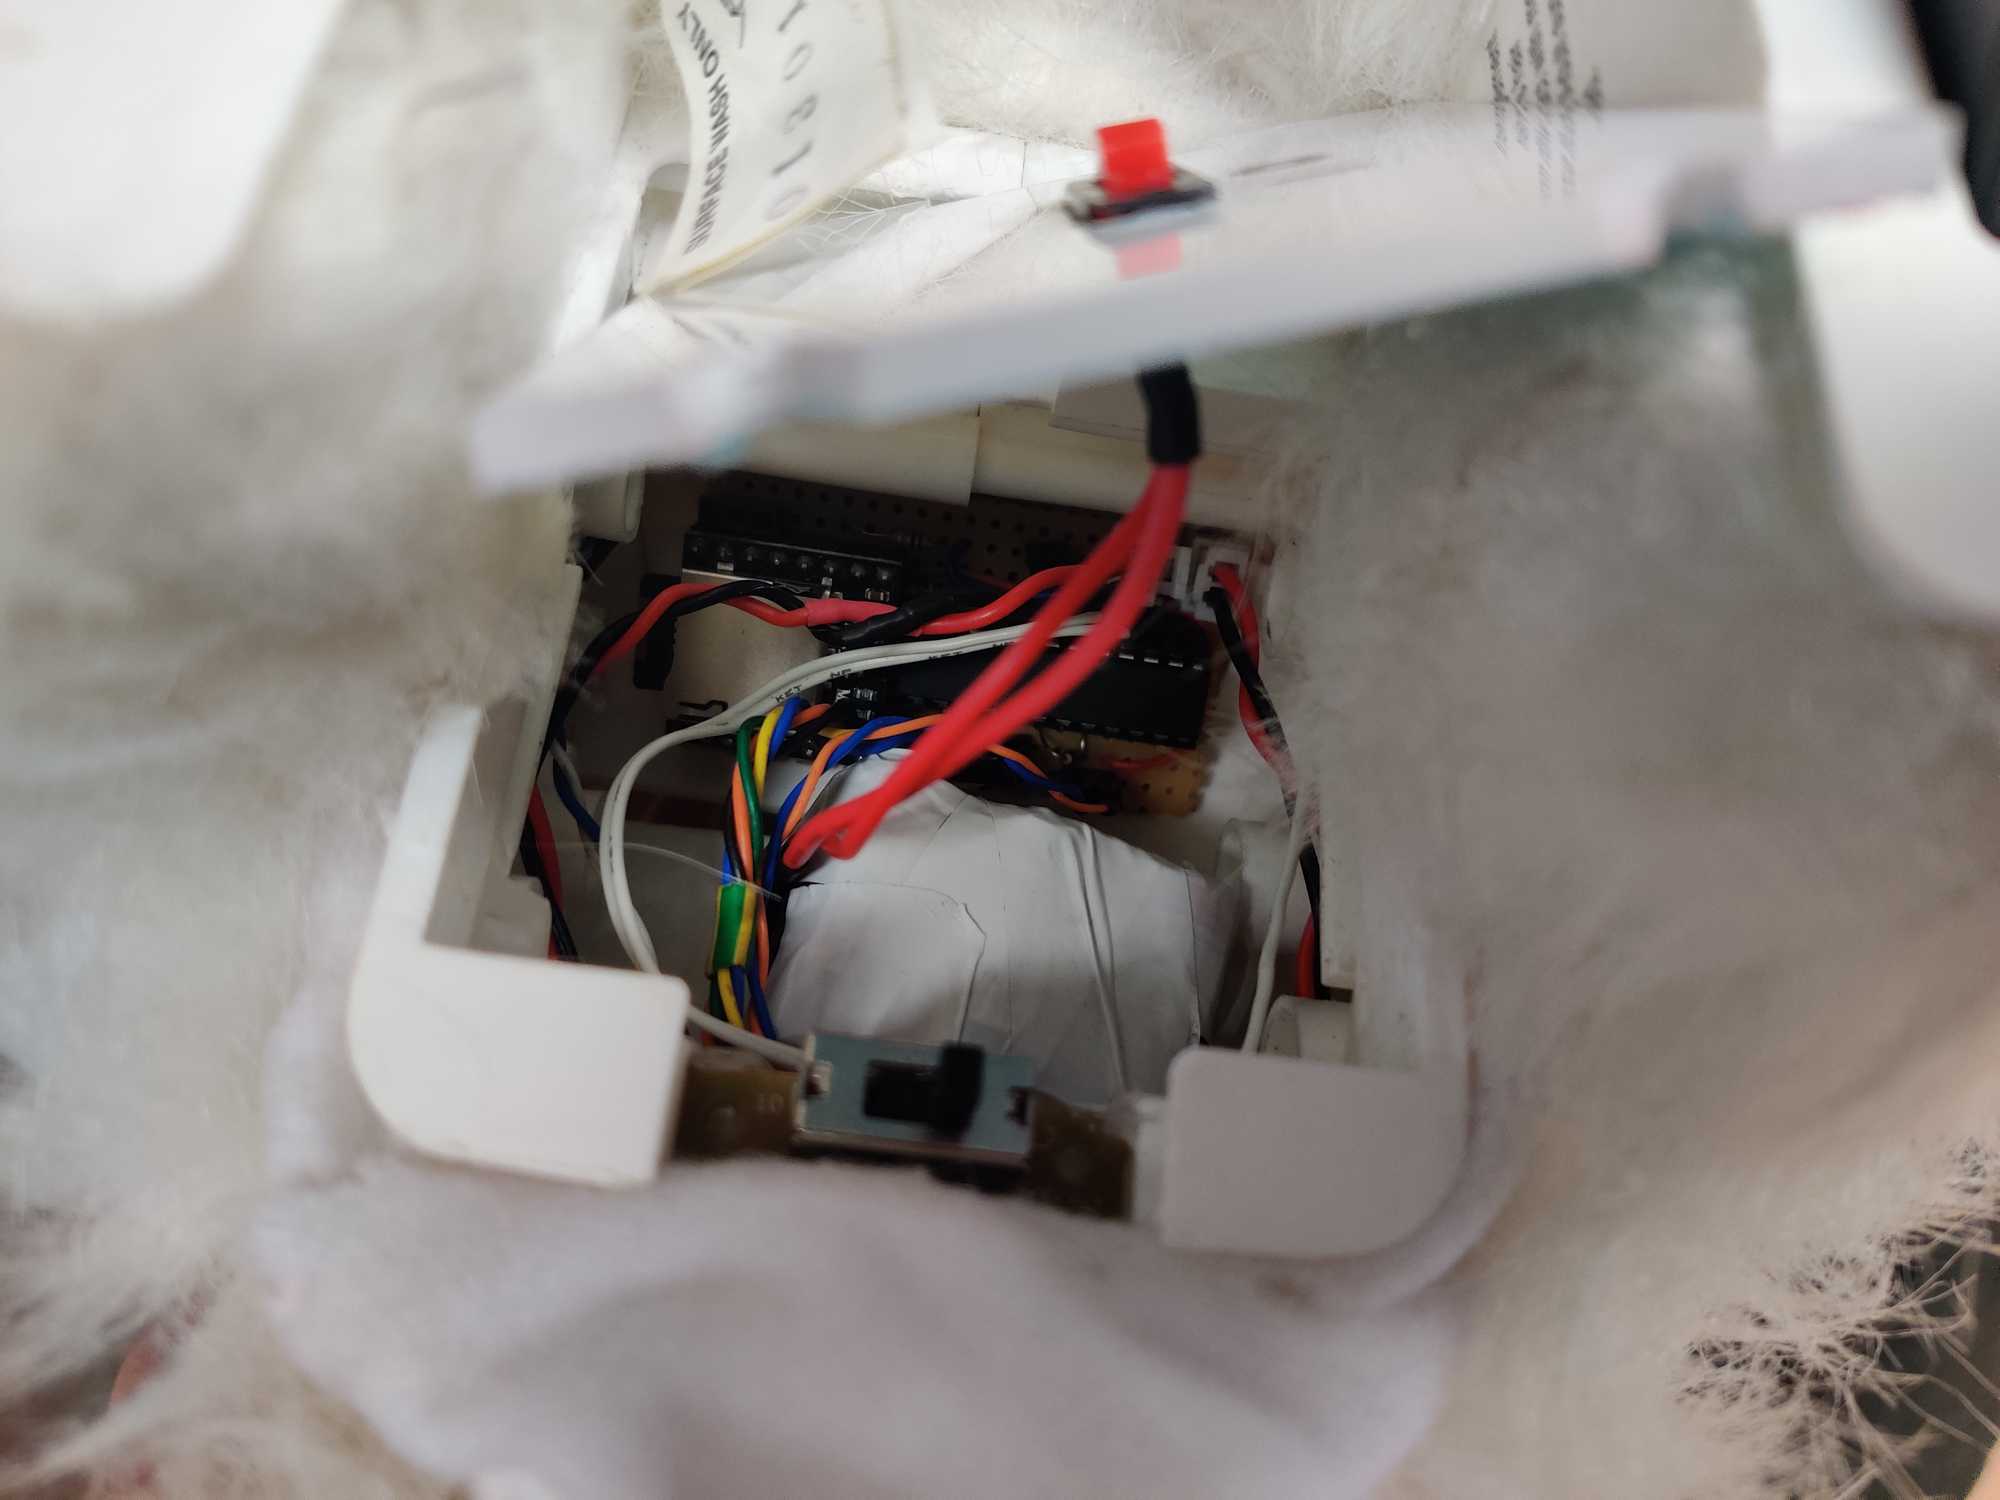
I started skinning the dog to reveal its carcass.

And right away I noticed sensors and buttons for different actions, like it has touch sensors on both sides near the tail and the dog moves and makes sounds like it enjoys when you touch there like an actual dog does. Then it has a button on top of the head that does something else that I don’t remember… though in other models it made the dog sit.
It has some kind of an LED in the head that I also couldn’t figure out what it was. Some models I found on the internet could be controlled via a mobile app somehow and it would interact with other such toys as well.
Though at first I thought the LED type of thing was a phototransistor because it didn’t emit any IR light that I could detect, it wasn’t an IR receiver either because it was clear and not dark. When I connected it to Arduino for some analysis I saw that it worked very randomly and I wasn’t getting any predictable output.
It also had a button under its back wheel that tells the motherboard when it was put on the ground.
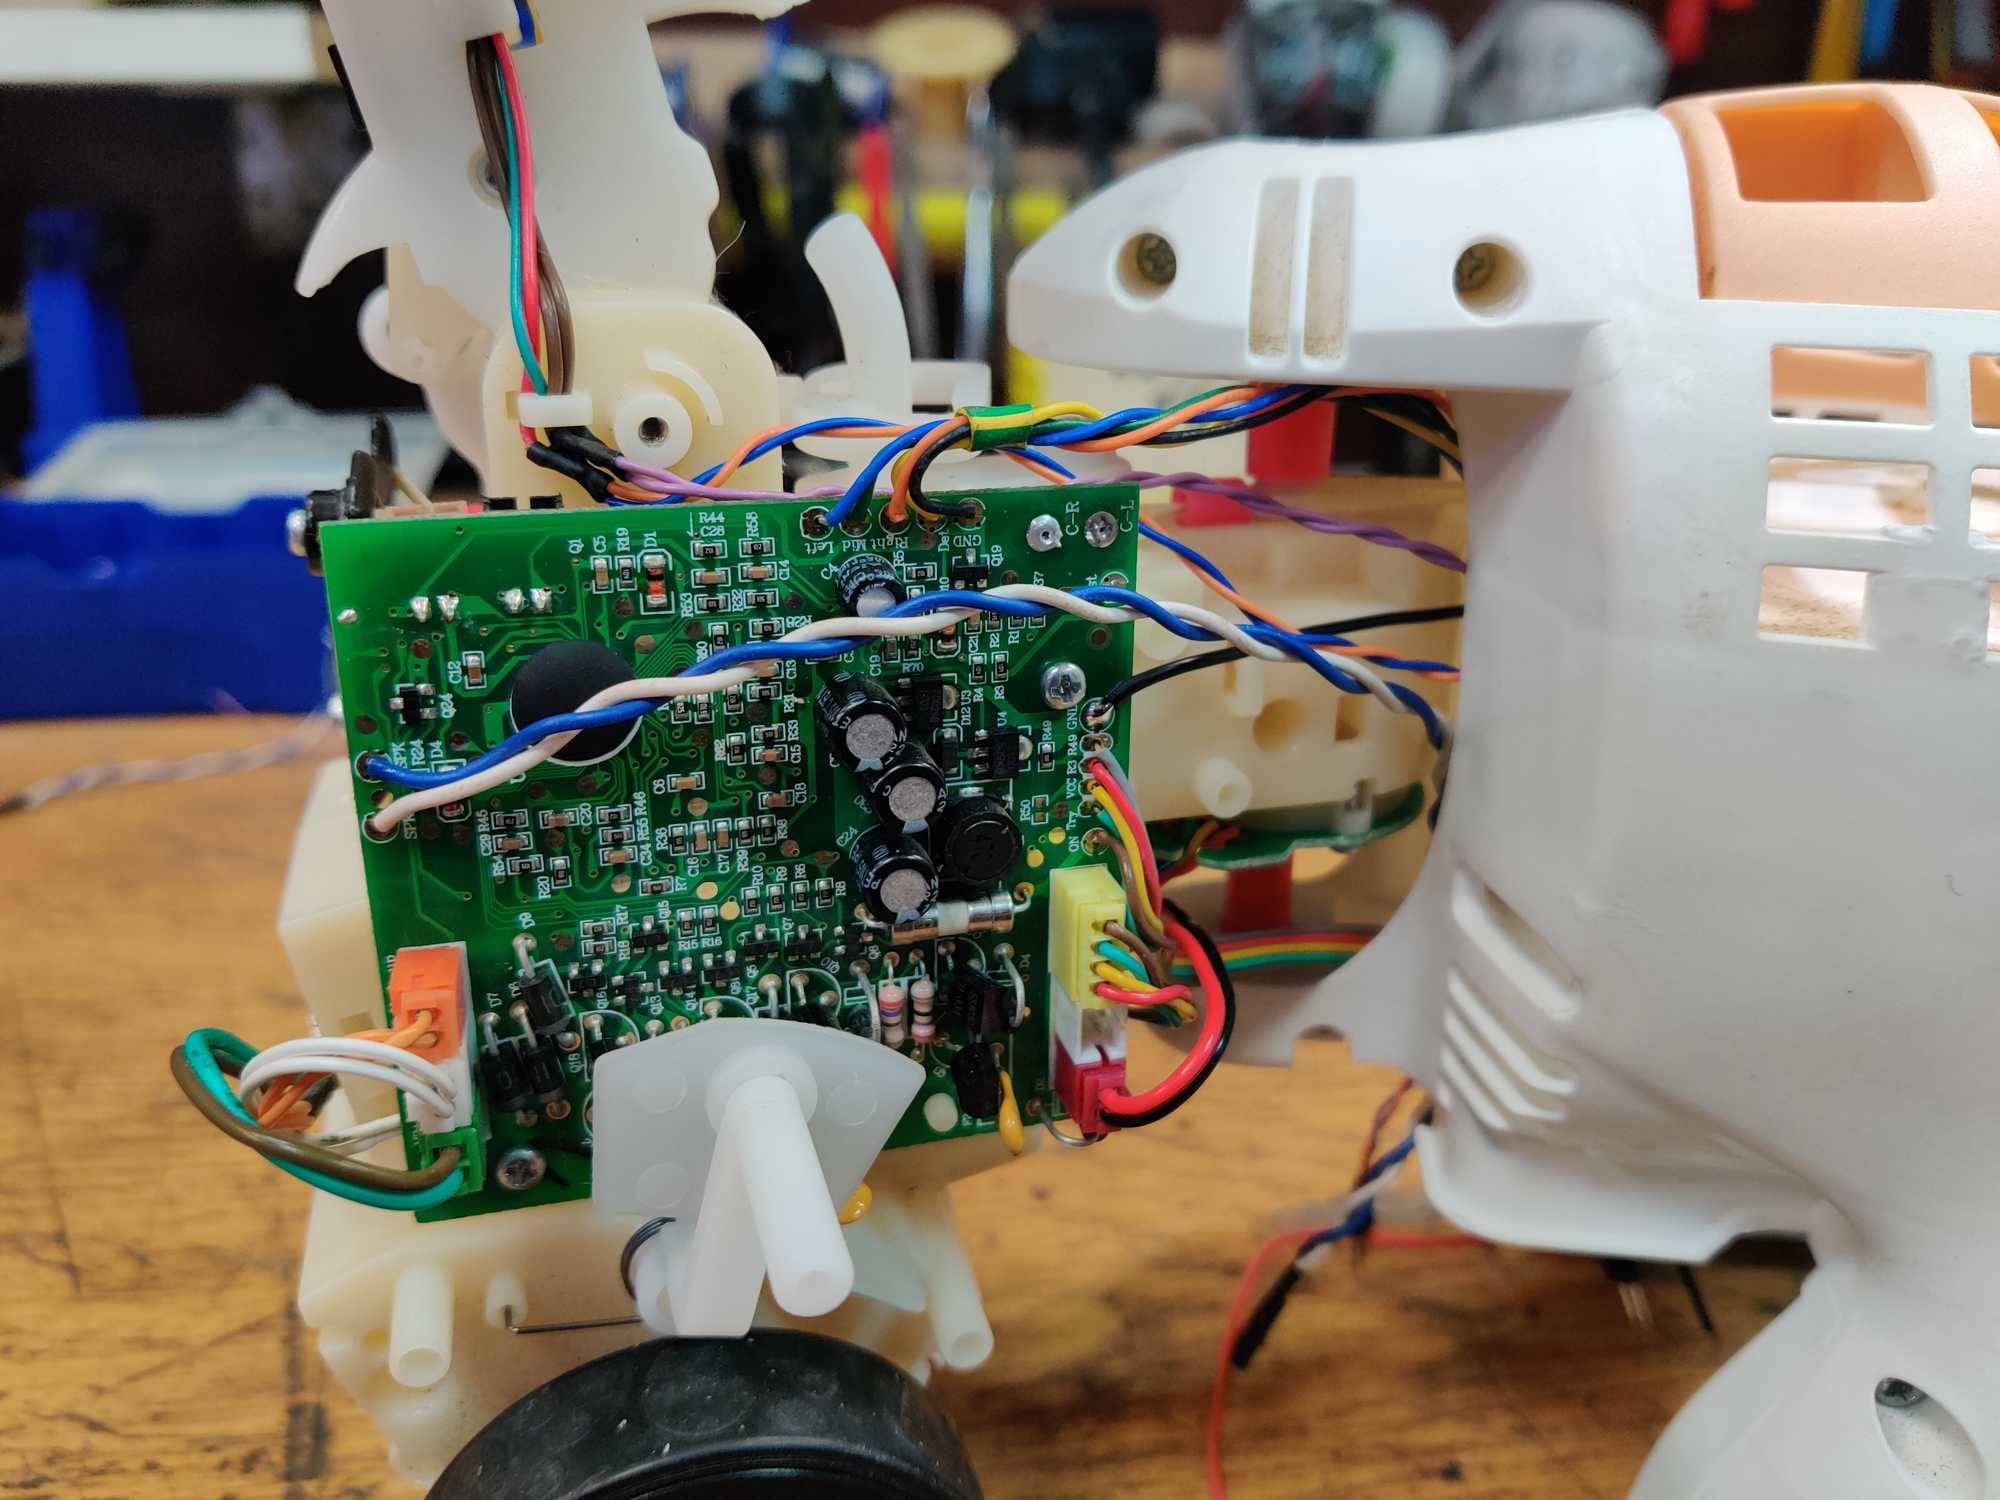
What’s more it has a small speaker to produce programmed sounds and most importantly I saw how the leash was connected.

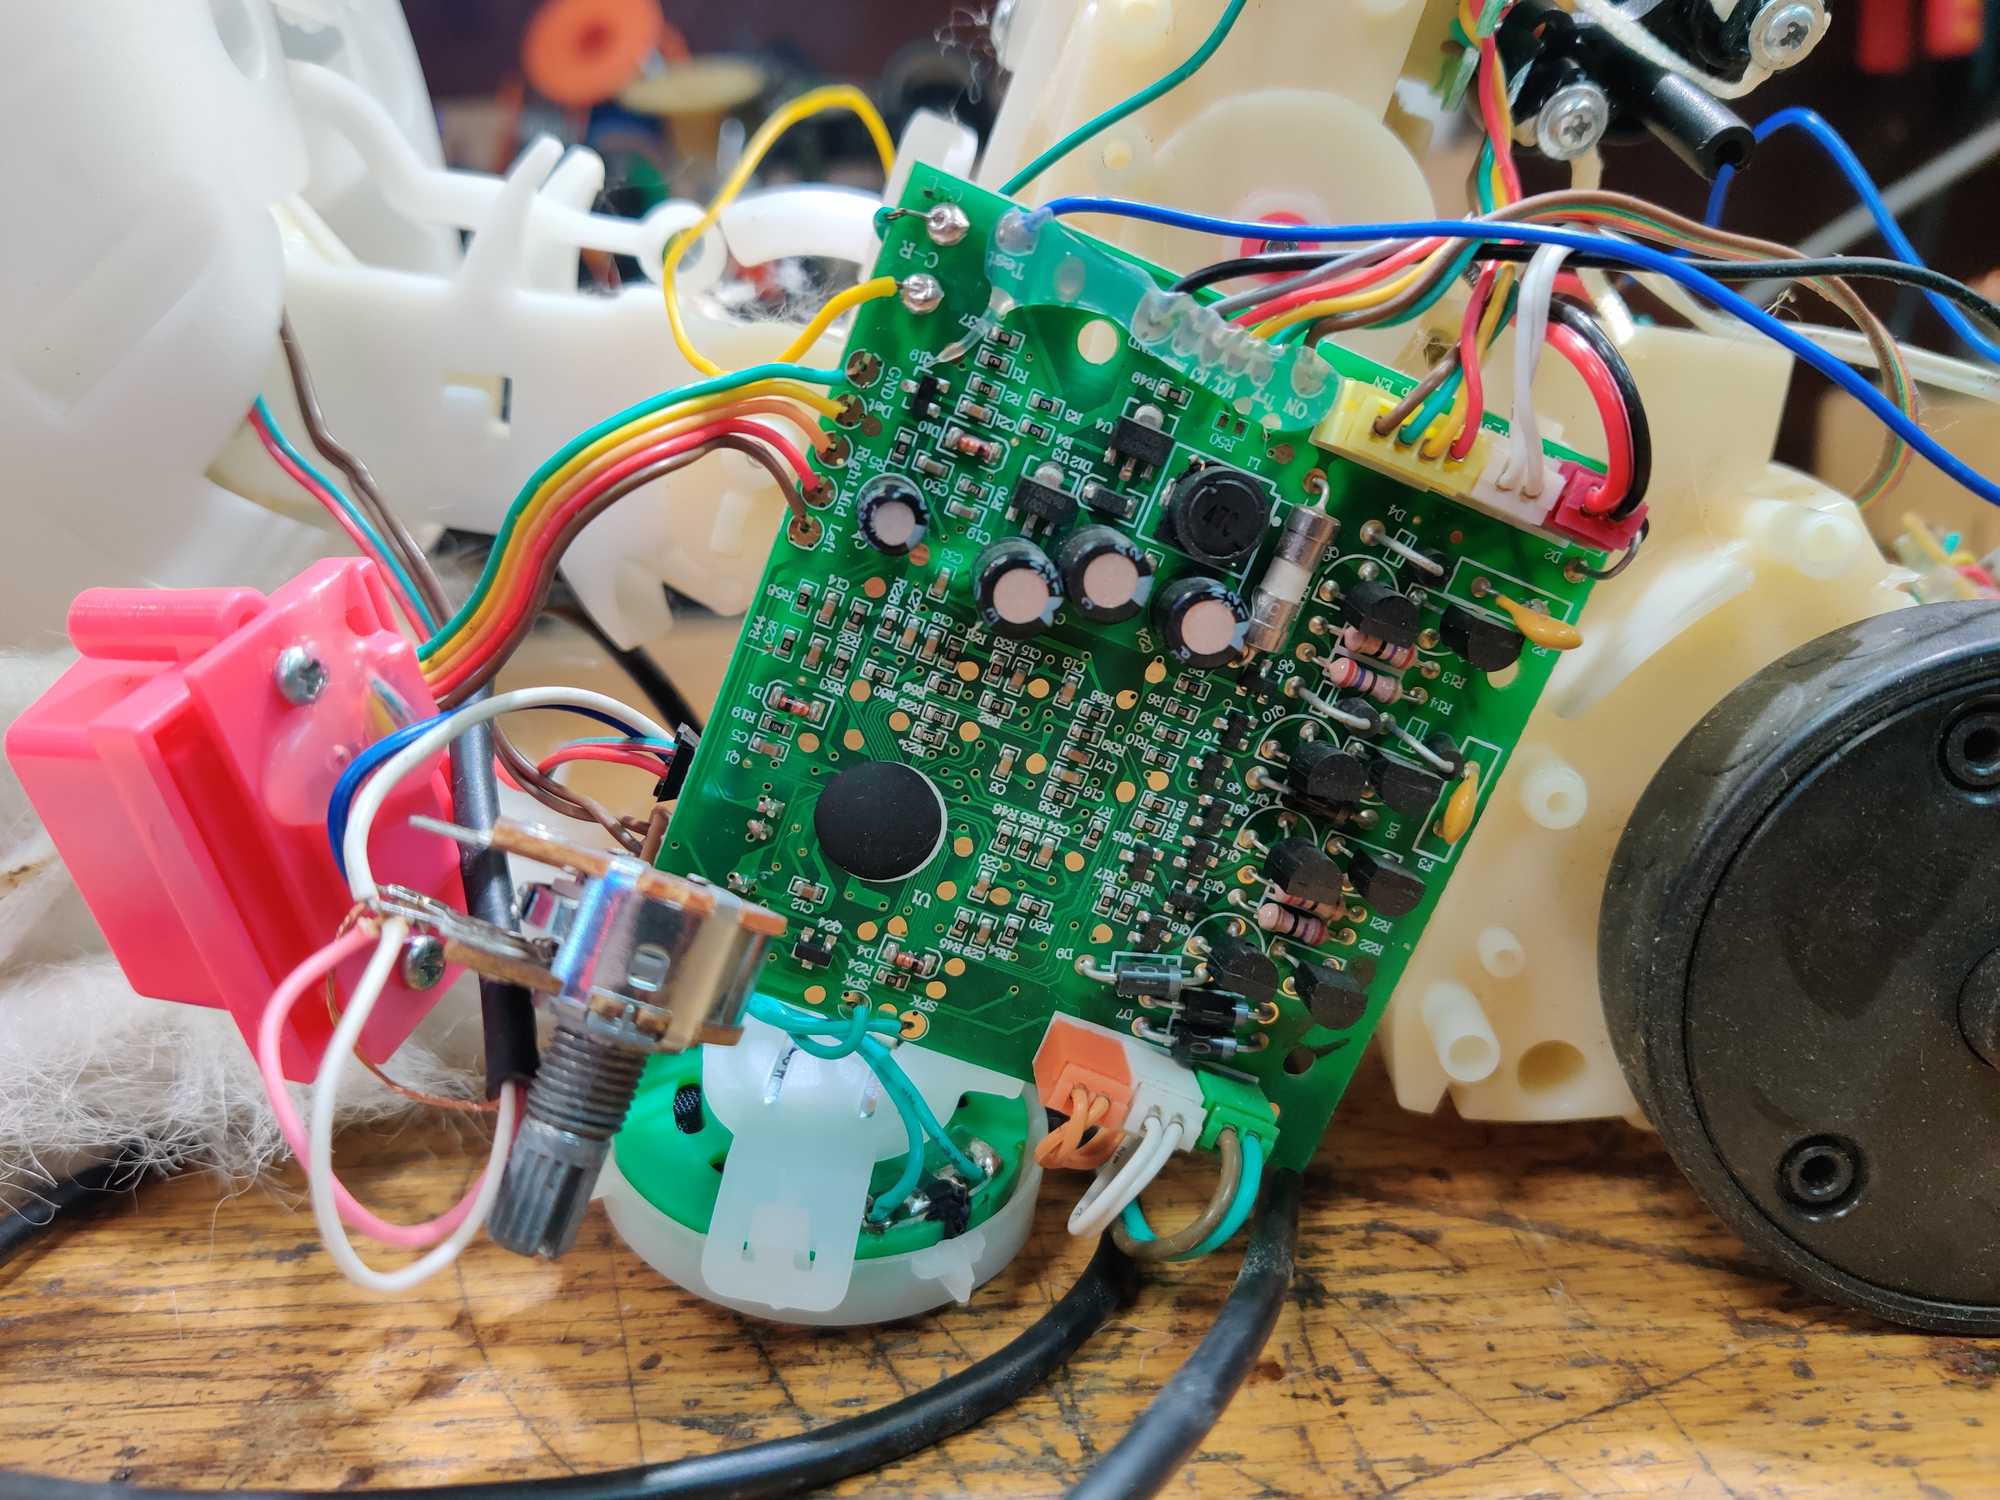
When I saw the leash connection I figured out that I can make the dog move the way I want by pulling low different pins. For ex. if I wanted to make the dog go left, I needed to connect “left” pin to ground and this has saved me from doing circuit bending (although I was kinda hoping that it was a bit more difficult because I wanted to try it out :D ).
So now I have figured out about how this toy works and I coined an idea what I want it to do during the game.
The idea was that it would rest on the floor, making random movements and sounds. If you lift it from the ground it would start moving and barking out “put me on the ground” in Morse code (because how else would a dog communicate if it knew our language? xD ). If it’s on the ground and you pet it then it would start running around the floor barking out some answer in Morse code.
It sounds pretty simple and to accomplish this I needed to detect when the dog is on the ground, I needed to extract its sounds to make my own sounds, I must detect when the dog was pet, need to control its movements on demand.
All of this was to be controlled with an ATmega8 microcontroller.
I started off by extracting the sounds it makes by connecting a 3.5mm audio jack through a 10k pot to where the speaker was connected. With the pot I can control the sound level and get a clean output. I used audacity to record what it was saying when I interact with it.
Next I disconnected all the sensors from the motherboard and routed longer wires through battery compartment. Luckily for me the toy was using large C cells so I had plenty of space for all my stuff. I only left the motherboard responsible for motor control and nothing else.
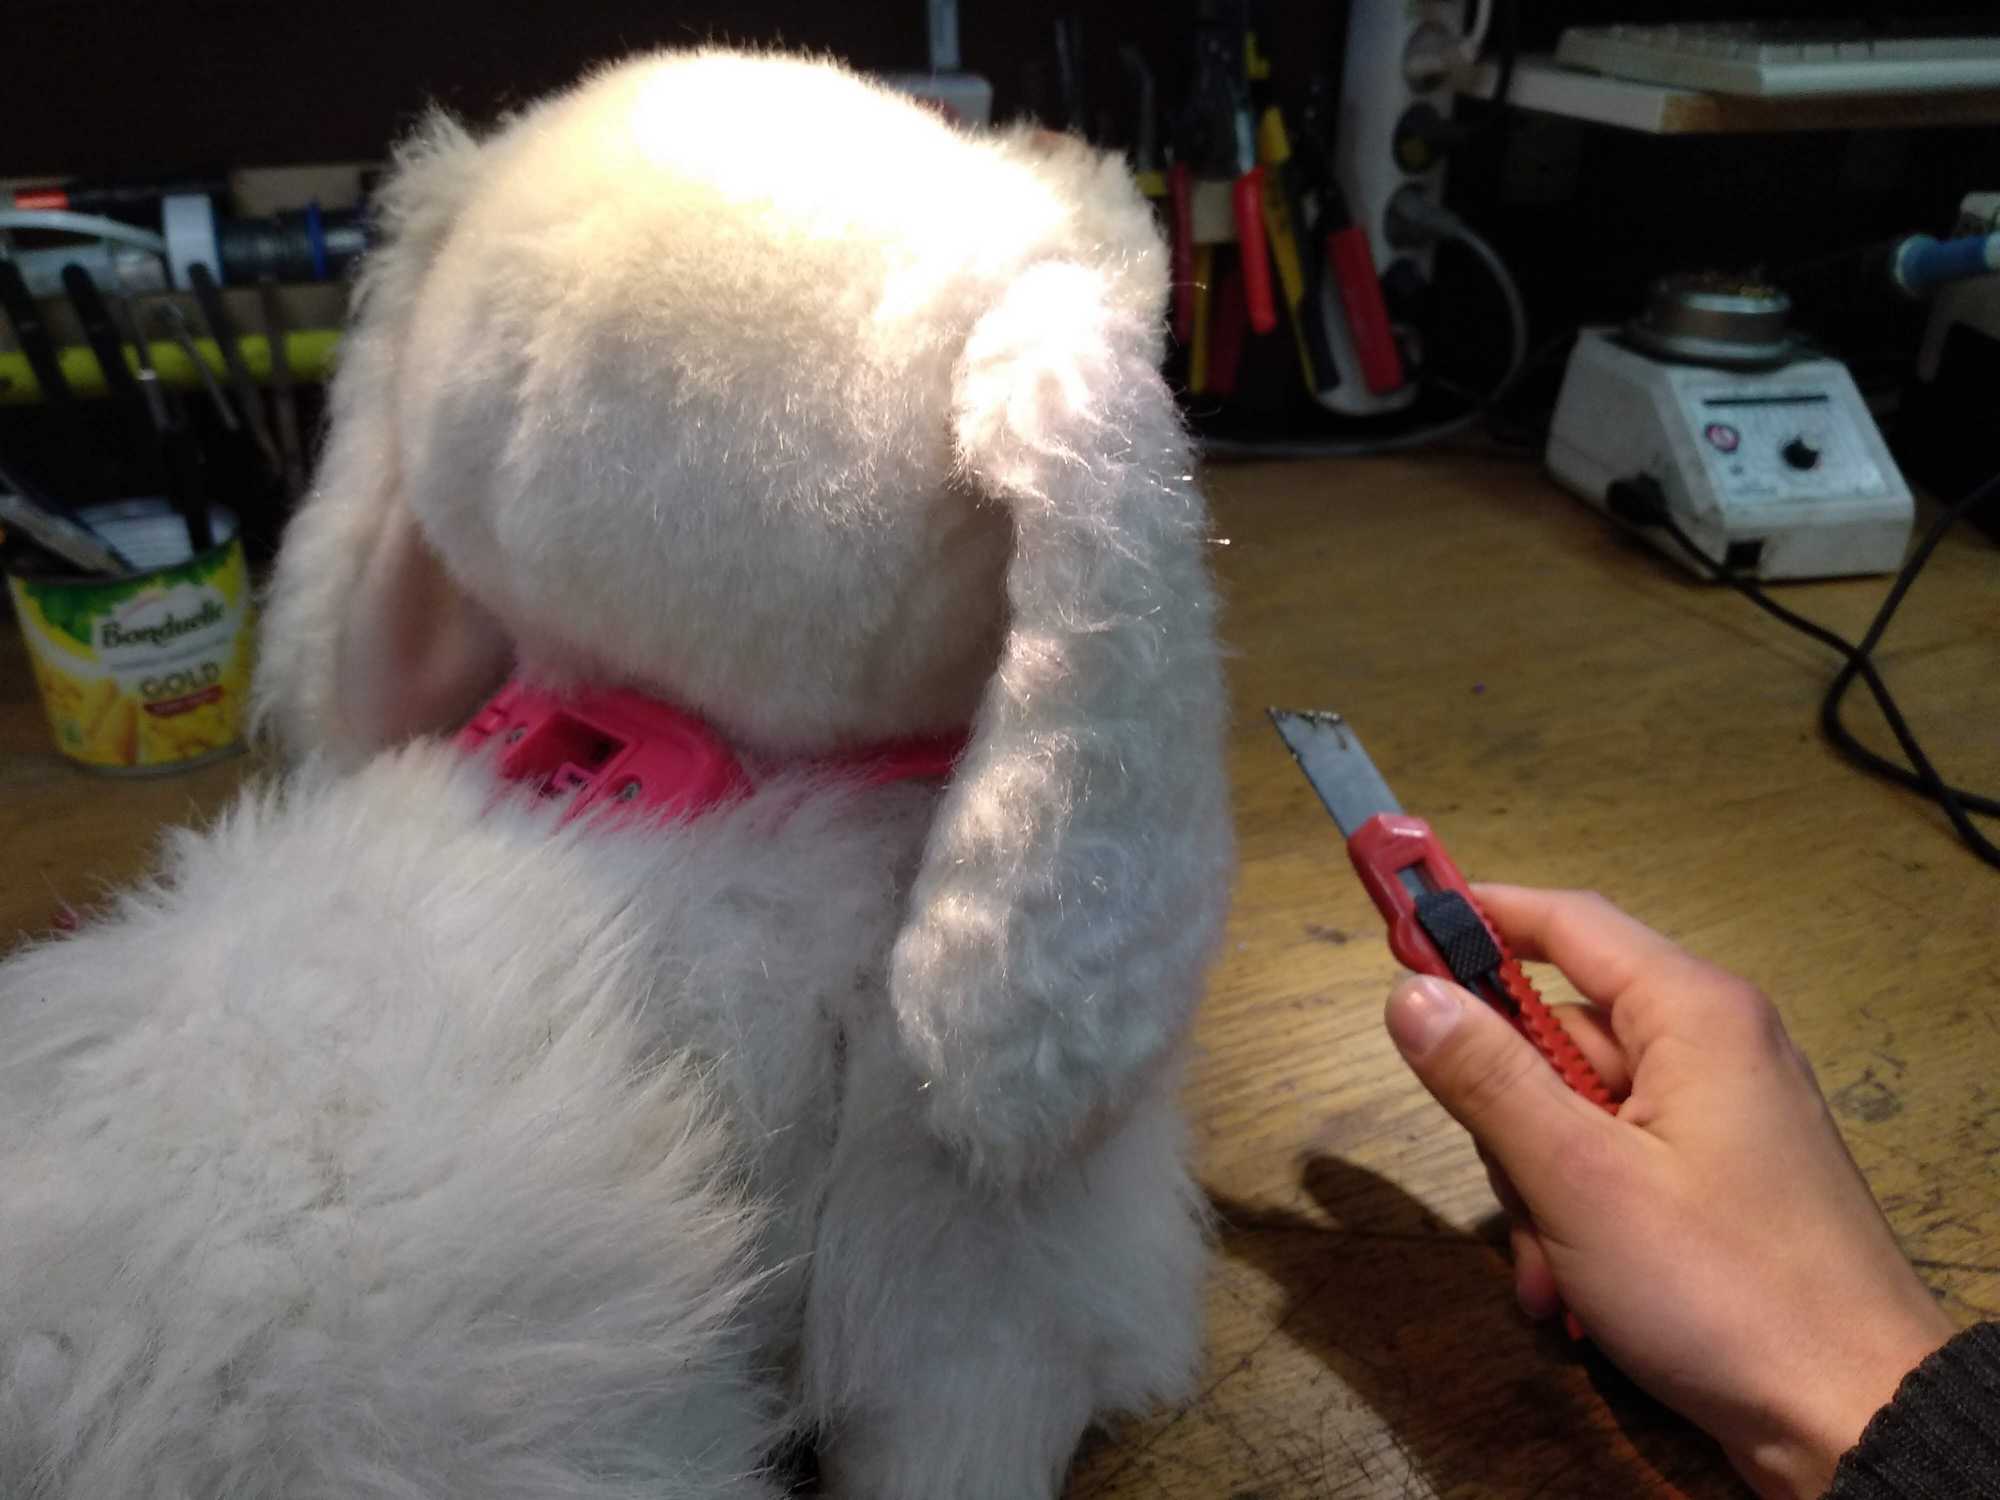
After this I assembled its skeleton carefully again and put on the fur. Though while skinning this dog I had to do some cuts in the fur because I couldn’t figure out how to take it off properly and because of that when putting it back on I had to sew it up. And since I removed the part where the collar is fastened to I had to use a couple of screws to hold it together.
To detect when the dog was pet I replaced the weird LED with a photoresistor, connected that to a microcontroller’s ADC pin and measure voltage differences when you place your hand on the head – works beautifully.
To detect when it’s on the ground I used the wheel sensor that was made just for that and disconnected completely the tail touch sensors so that they don’t interfere with everything else as I didn’t have a use for them.
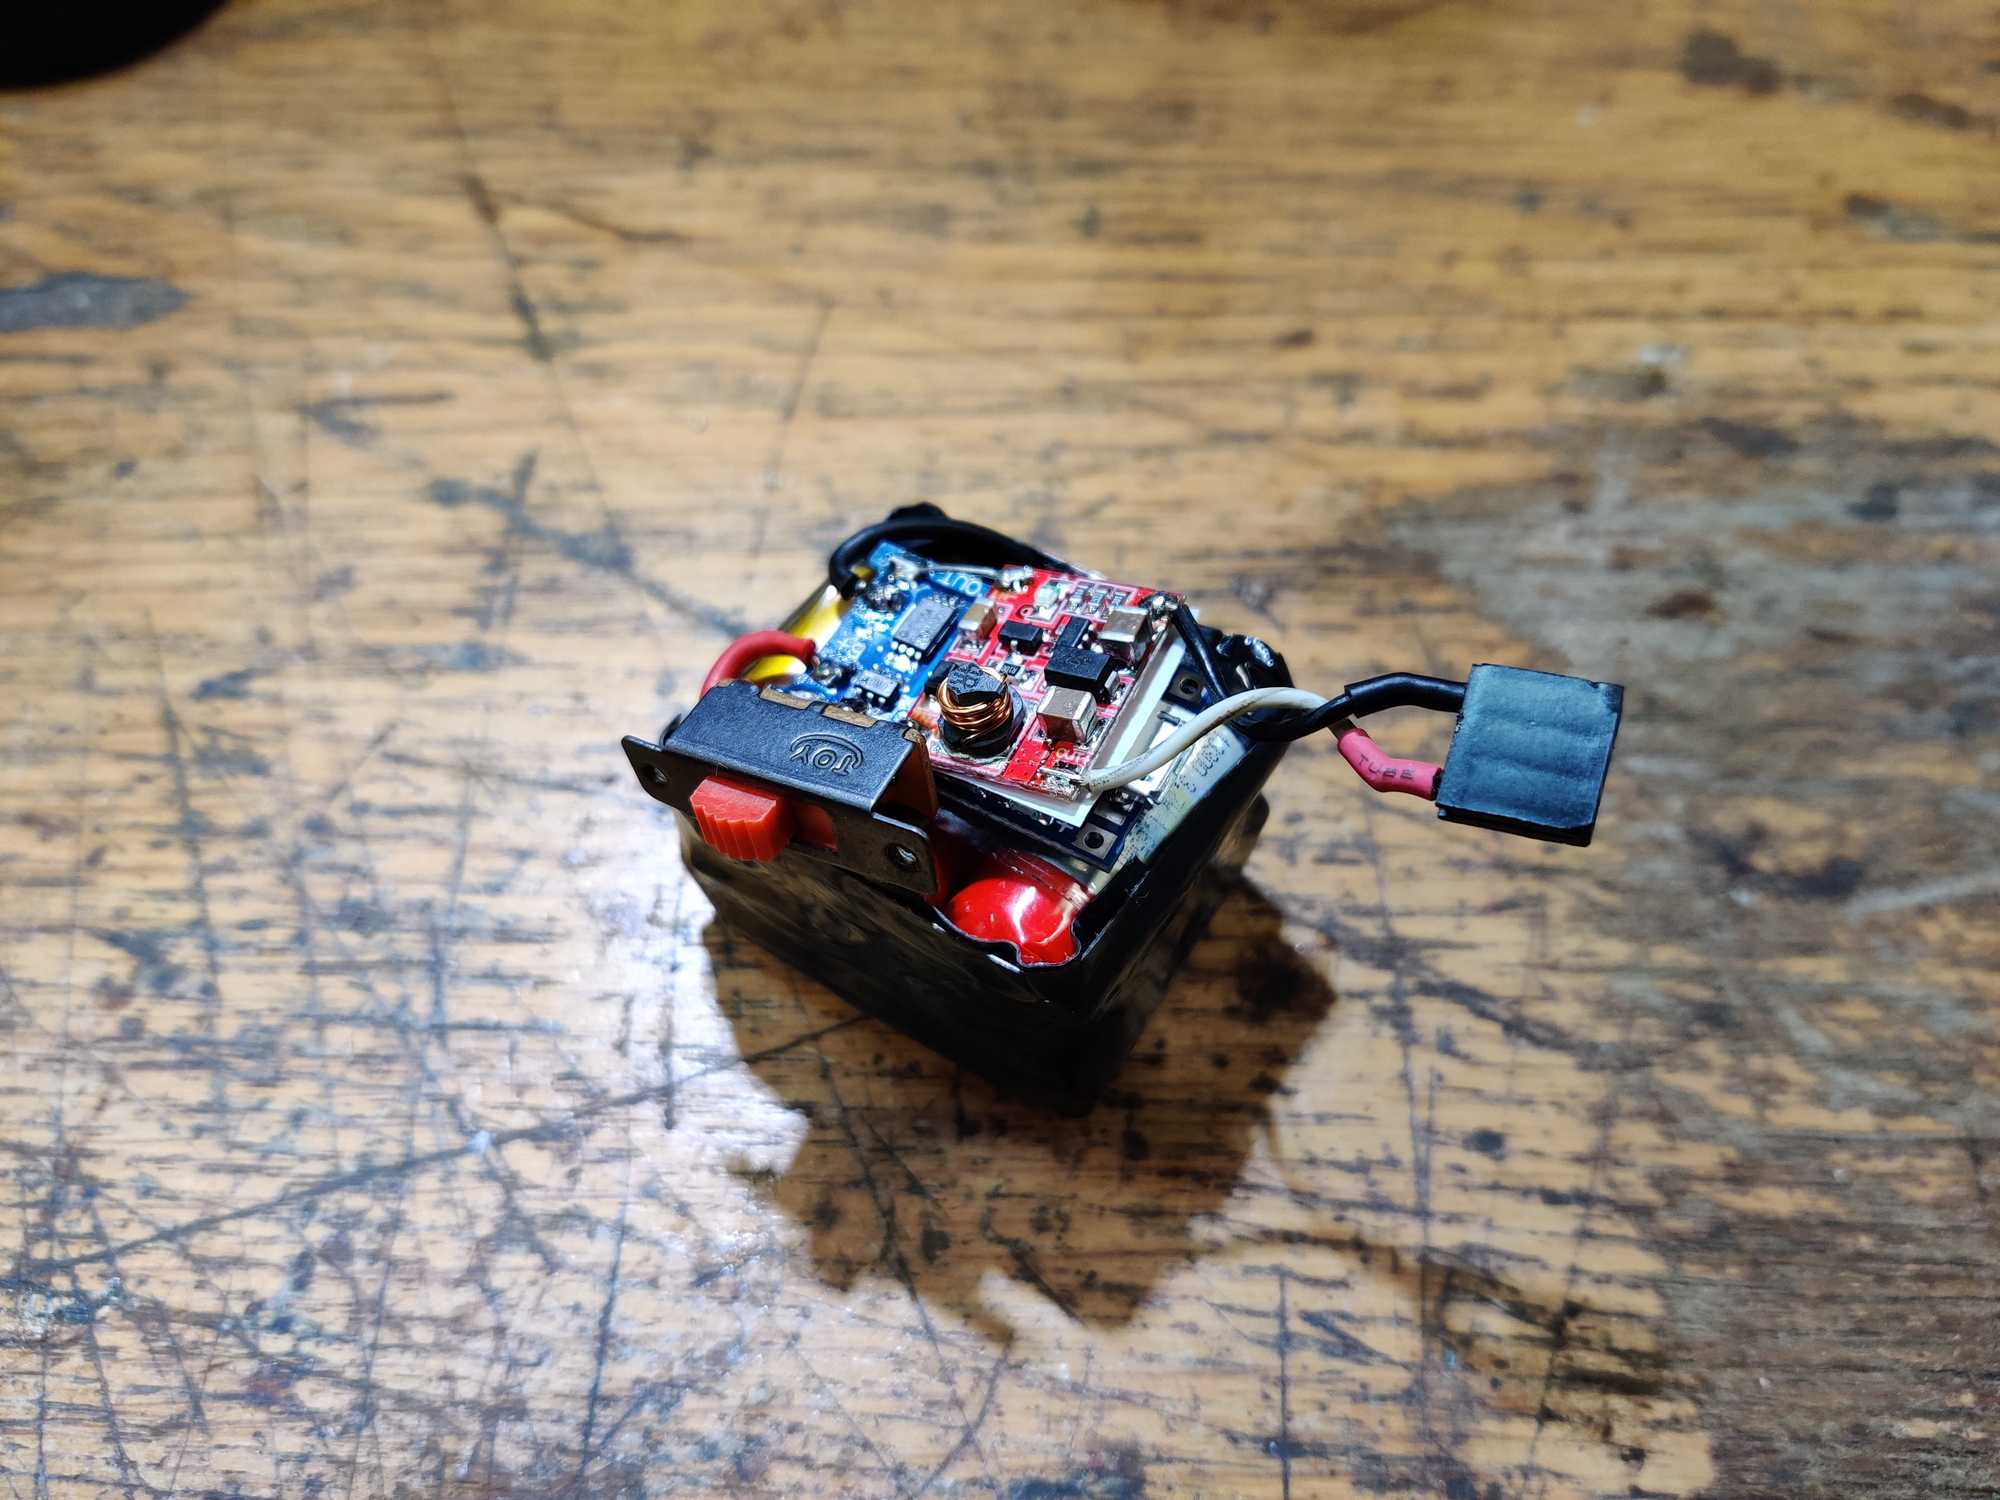
Now the fun part is to make it produce sounds. I disconnected the speaker from the motherboard and connected it to a “DFPlayer Mini” module which can be controlled via UART. The sole purpose of this module is to play mp3 sounds from an SD card, but damn it has so many nuances! Not to mention that one of them was faulty and didn’t produce any sound. It took me a while to find out and good thing I had another because I learned a hard lesson before – when buying modules from AliExpress always buy more than one.
The official documentation covers much of it, but some things not mentioned are that to reliably use the BUSY pin (reads LOW if playing, HIGH if not) to detect when the track is finished playing, after calling play() you need a delay minimum of 40 millis before the BUSY pin shows actual status.
Then there’s the file ordering problem. I don’t know if the module has a bad implementation of FAT file system driver or it’s supposed to work like that, but some people report that the audio files are still being played after deletion and that’s because of how a FAT file system works (in a nutshell the files you ‘delete’ don’t actually get deleted, instead the space they occupy is marked as free and other files can overwrite that space. Therefore they can be opened for reading because the driver might be ignoring the ‘free space’ flag).
The ordering problem occurs when you want to copy many files in bulk and it doesn’t matter if you named them according to the documentation (0001, 0002, 0003, etc.). When you call play(1) the module will play the file that was copied first, not the actually named 0001.mp3 like they say in the documentation.
Now if you play the files randomly it doesn’t matter, but if you have to play specific files at certain occasions and you don’t have a lot of them, then what I did was format the SD card to wipe all FAT FS records and copied my audio files one by one in the order I had named them and that seemed to work very well.
Next time using an audio module with flash memory, instead of SD card, would be nicer, like the JQ8400-FL. Though the size is only 32 MB, but for this it would be perfect.
When I had solved those mysteries I started to write the actual code of how this would work. And to also test how the dog moves I had to power it up with external supply and made a small battery pack from 6 e-cigarette LiPo batteries sandwiched with a 1S LiPo charge module and a tiny 5v boost converter. Although later I noticed that the dog isn’t able to move forward or to the side freely, like it can jerk but can’t do it continuously. Seems like a power delivery issue somewhere but not in the battery and I wasn’t able to figure out why. Maybe the toy was broken when I found it and I didn’t check before doing anything else :(
The github repo could be found here.
To write the code it took me a while until I got the correct flow and logic but once done it was time to flash ATmega8 with this firmware and make a controller board that would fit inside the dog. And so I did.
One neat trick I used in the code was that I added a “calibration” part in the setup() where it would measure ambient light on startup and set a lux limit according to that by subtracting 75%, which means that when petting the dog it should read below that line to trigger an action.
This was necessary because I couldn’t know what light conditions there will be at some time.
Also I learned that for ATmega8 only pins 2 and 3 can be used for software serial RX (https://github.com/MCUdude/MiniCore/issues/15#issuecomment-304785352), and on top of that you need to put about 1 sec. delay at the beginning of setup() to give time for the DFPlayer to start its UART chip – this isn’t mentioned anywhere in the documentation and even the example code doesn’t have it there… and that cost me whole evening to figure out why it wasn’t communicating with my microcontroller :(

It took me about six hours of planning and soldering. When flashing your Arduino code to the ATmega chip don’t forget to first burn the bootloader to it, such as MiniCore and if you’re trying to get serial output from it using the TTL-USB converter and getting garbage data – make sure you have the right drivers installed, like the CH340: https://learn.sparkfun.com/tutorials/how-to-install-ch340-drivers/all.
Oh and another thing – if you’re getting noise in the speaker, try to put a 1k resistor on the TX pin too.
And when I had that then as a final touch after putting everything inside I laser-cut the cover since the original was missing, to make it nice and tidy and essentially it was finished.