
Following the success and popularity we had with MFMv1, which was more of a prototype project after it self-destructed we knew we had to make another one for the next event, but properly this time, with the blocks that we had left.
After disassembling it and salvaging some parts we started brainstorming how could we make the second version much more robust, more secure, easier to use, compact and fun at the same time. Having those things in mind first we established that all of the blocks must be separate, as smaller modules of one big smoke machine. That way we can easily use just one if need be, or combine both for bigger effect.
We only got two heating blocks left that we can use BUT when I was delving through left-over parts I found what I had completely forgotten about – we had heating elements bent and prepared to be encased in aluminum. At the very beginning we wanted to make four blocks but we burned up our mold where we’d pour molten aluminum. So we left it at that. This means that if we wanted we could make a third smaller smoke machine.
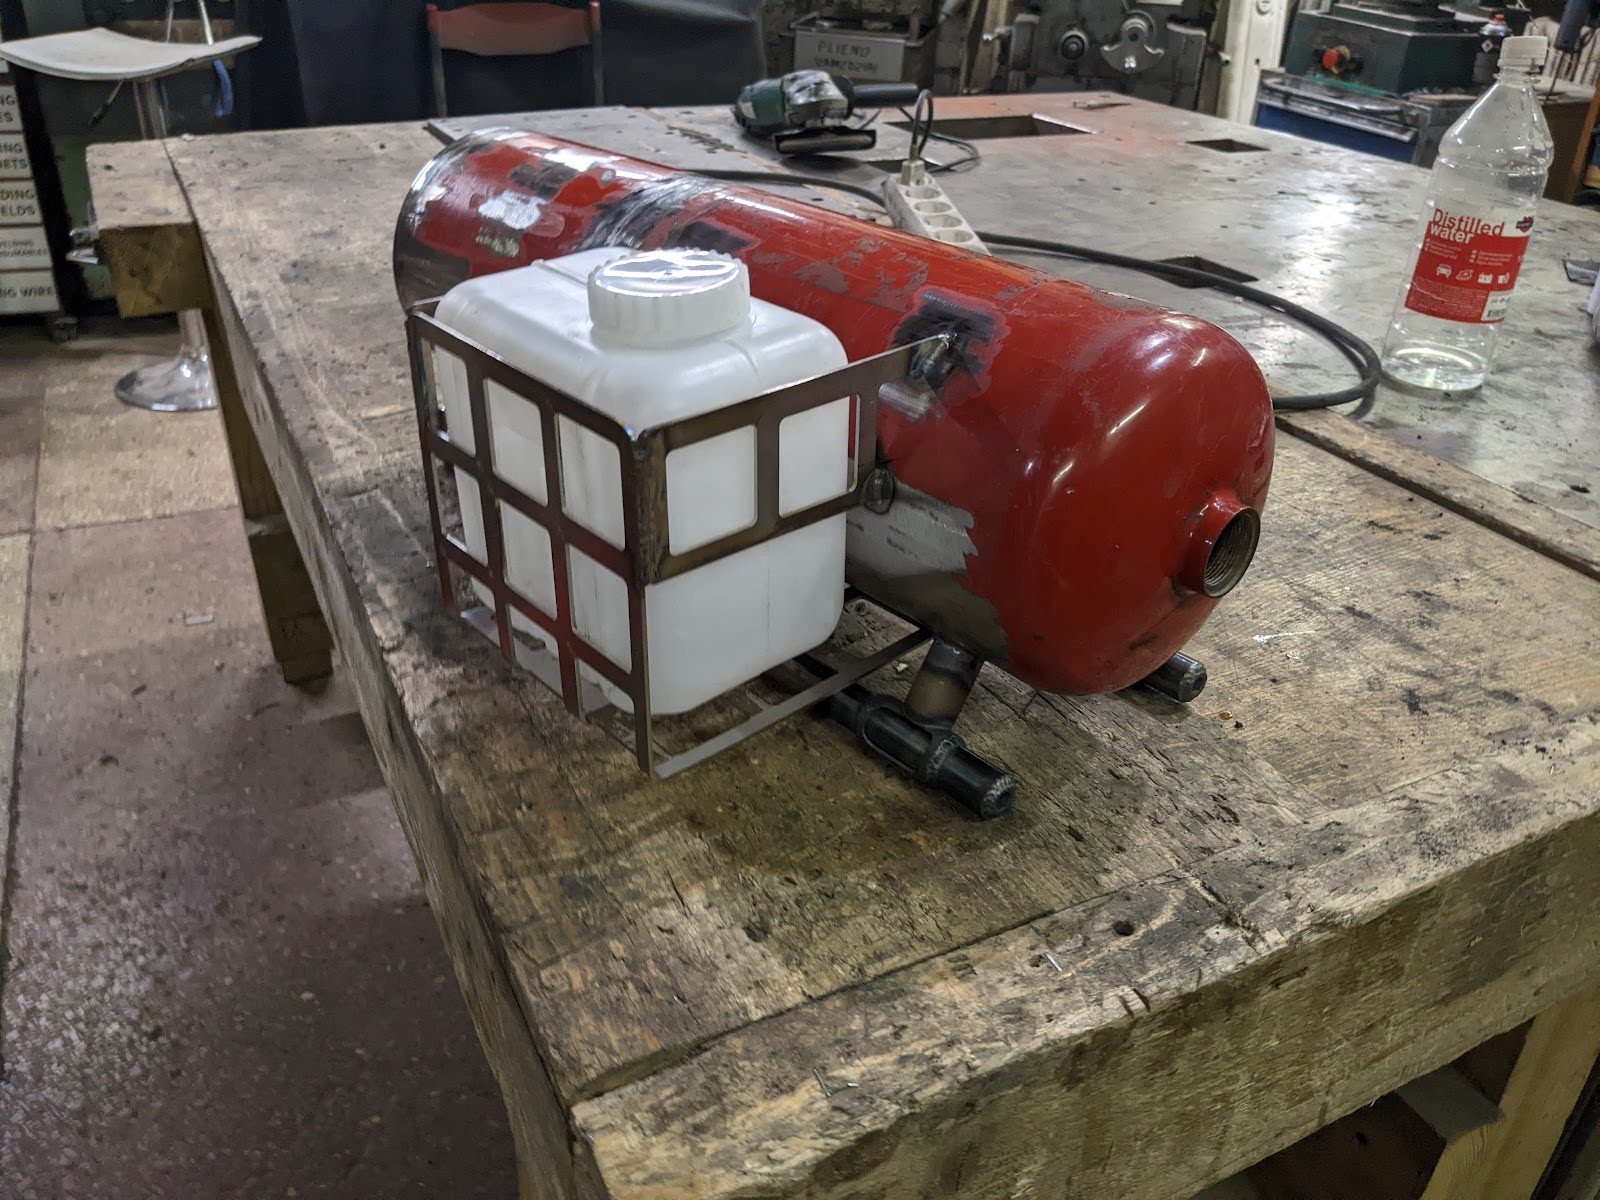
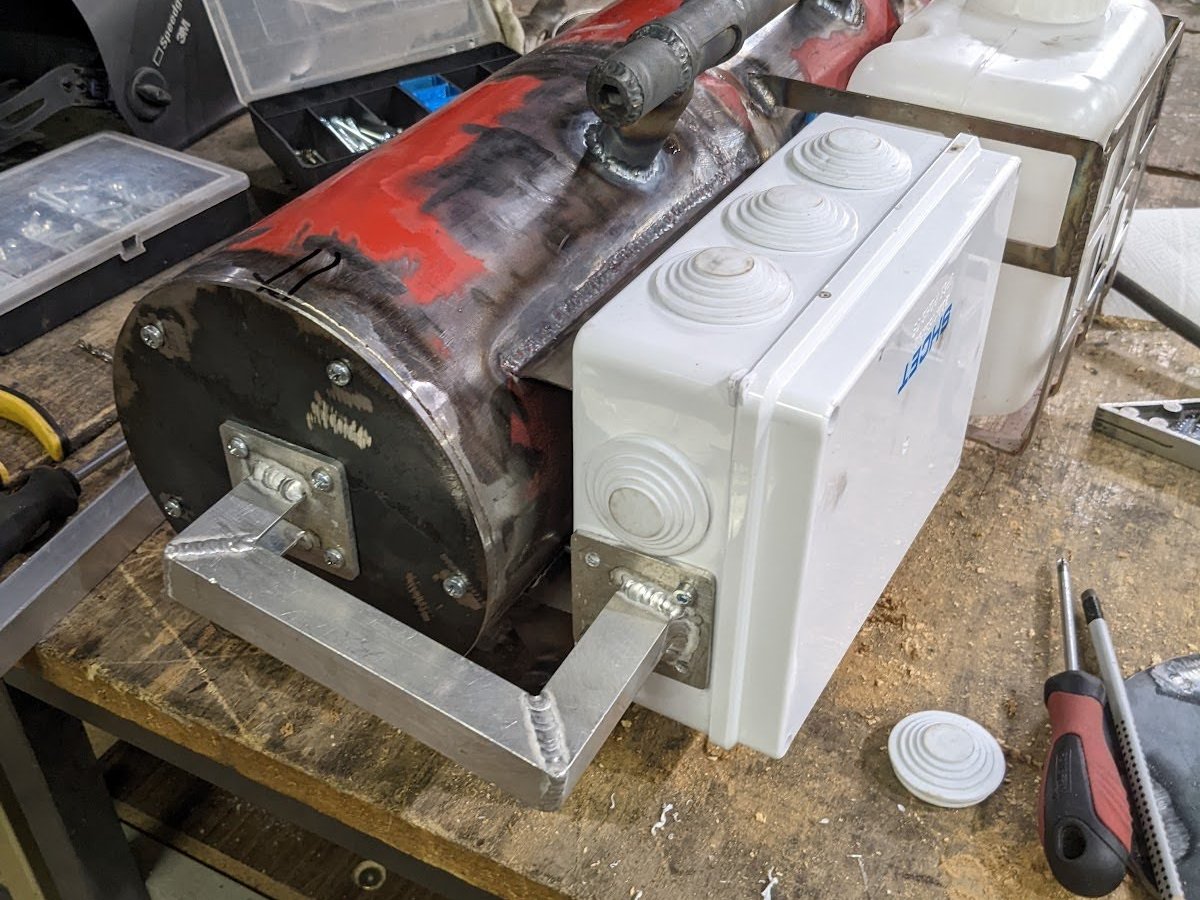
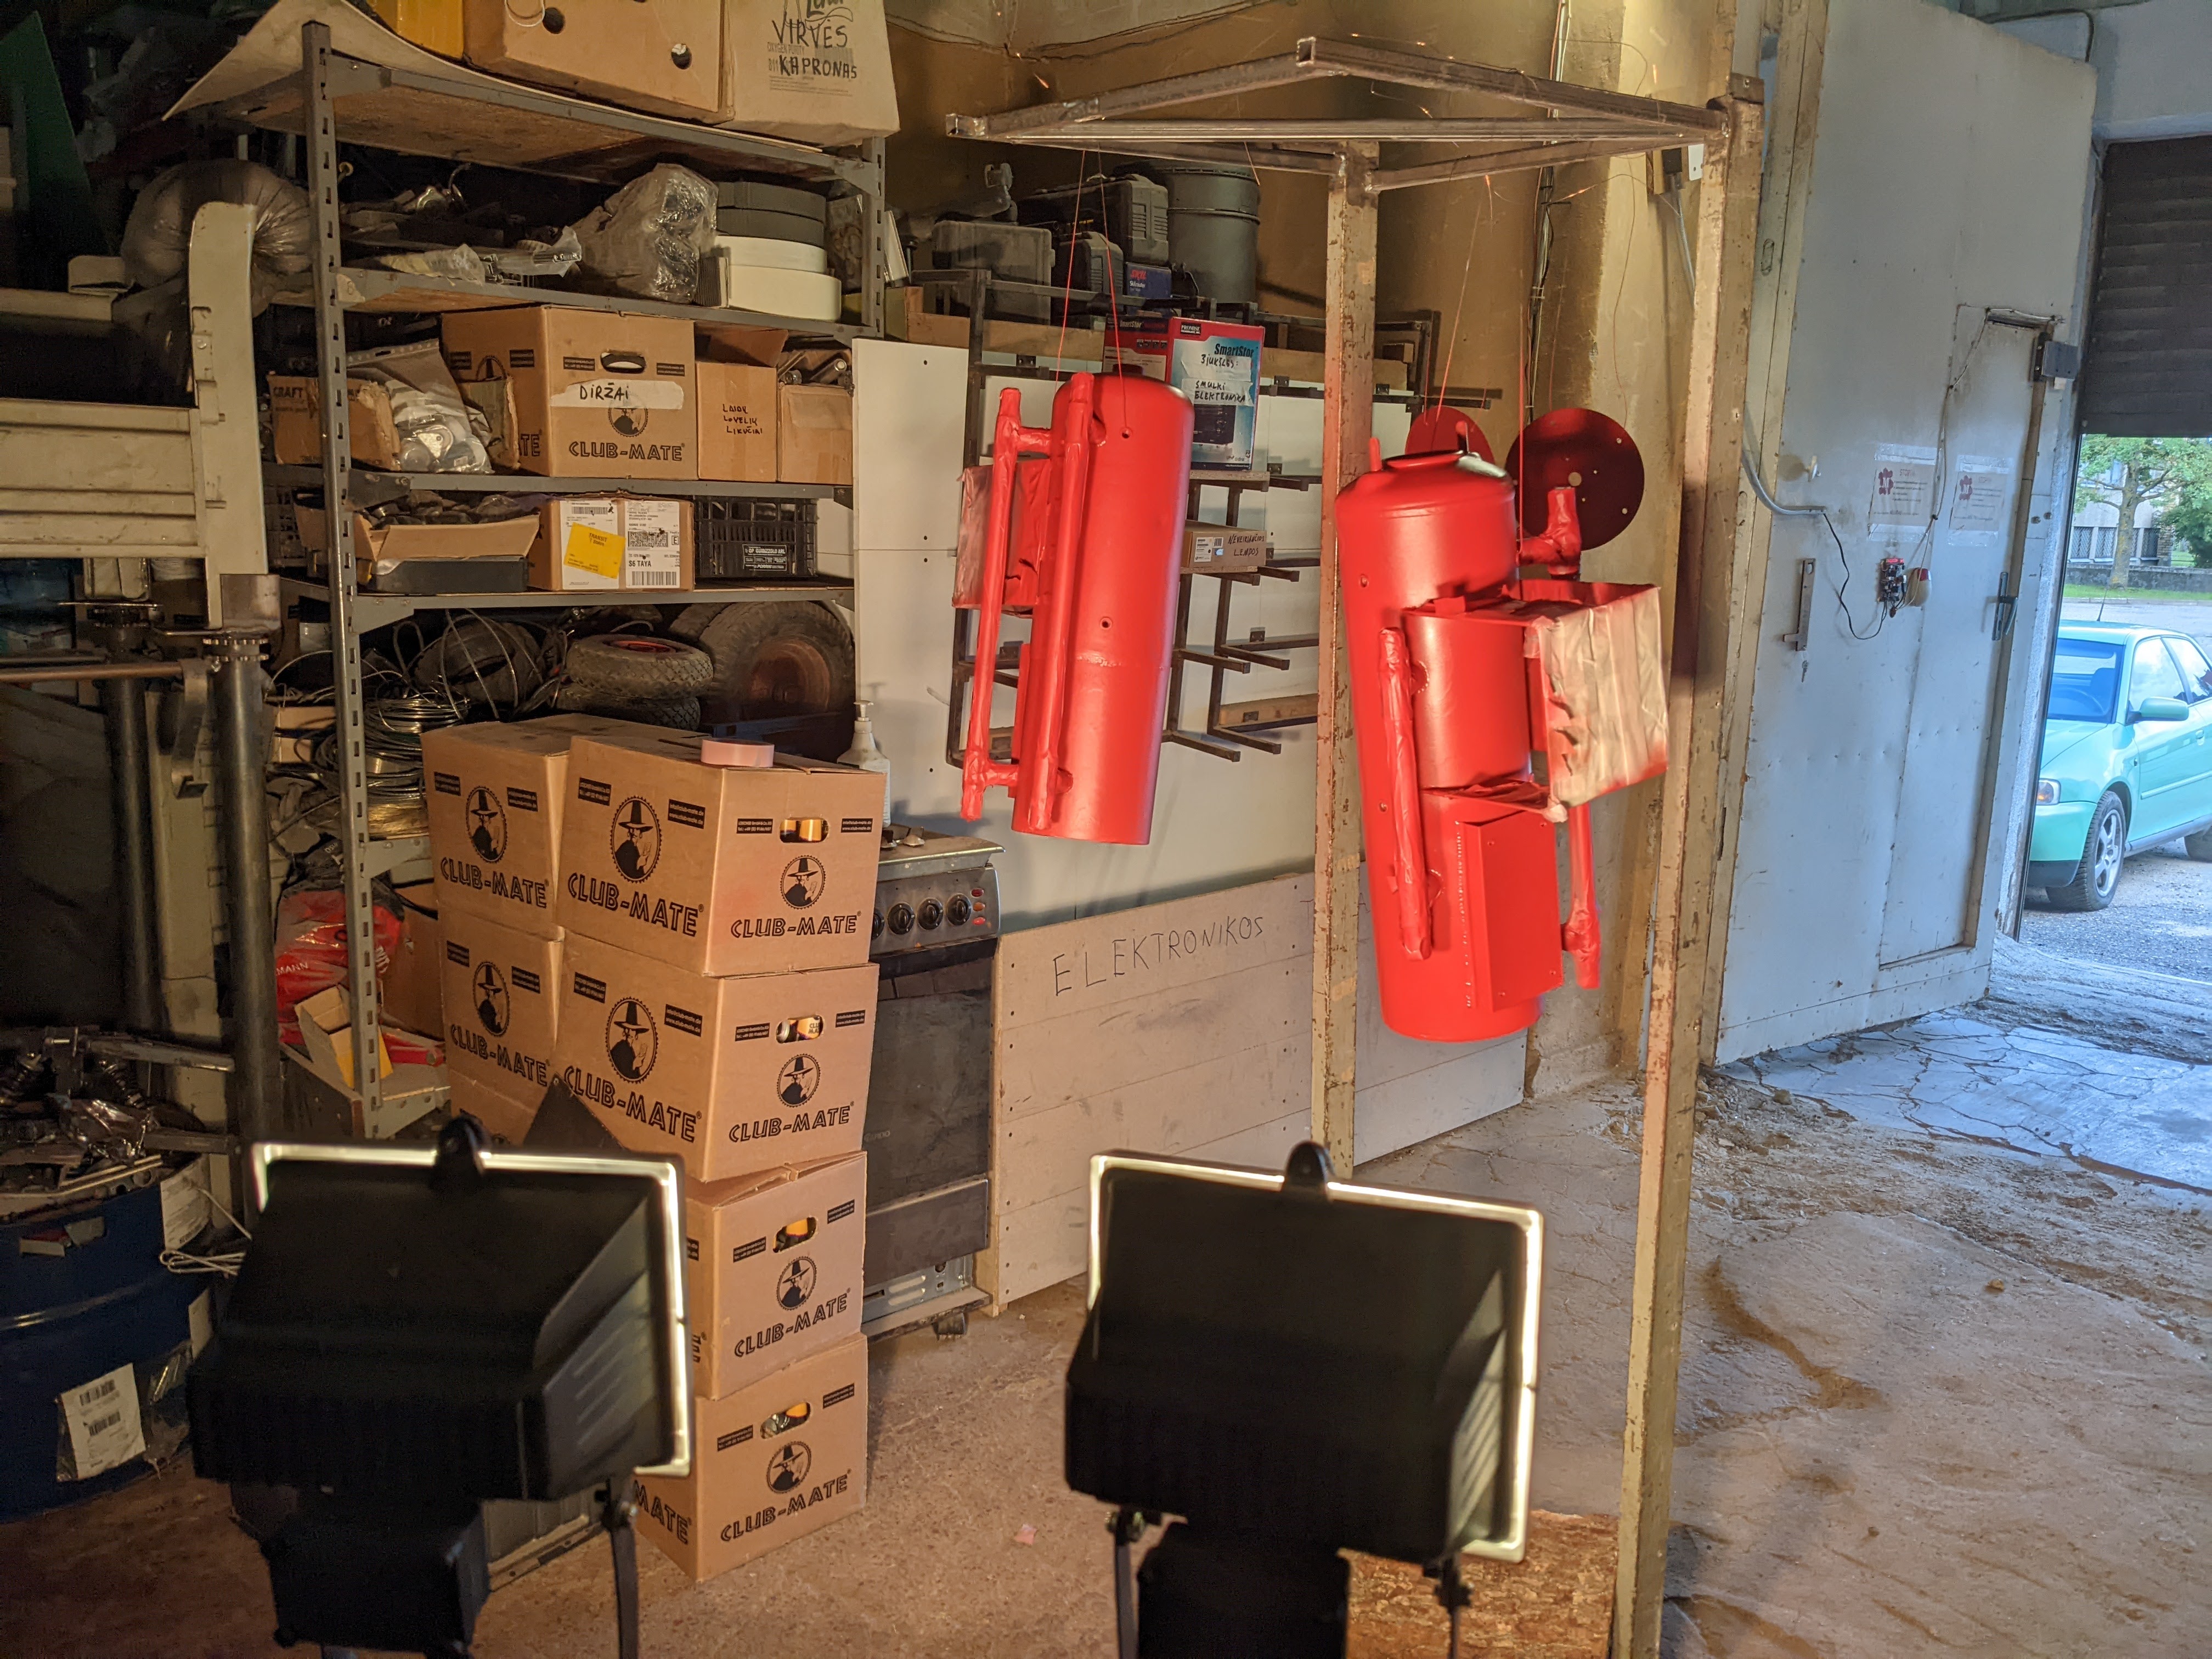
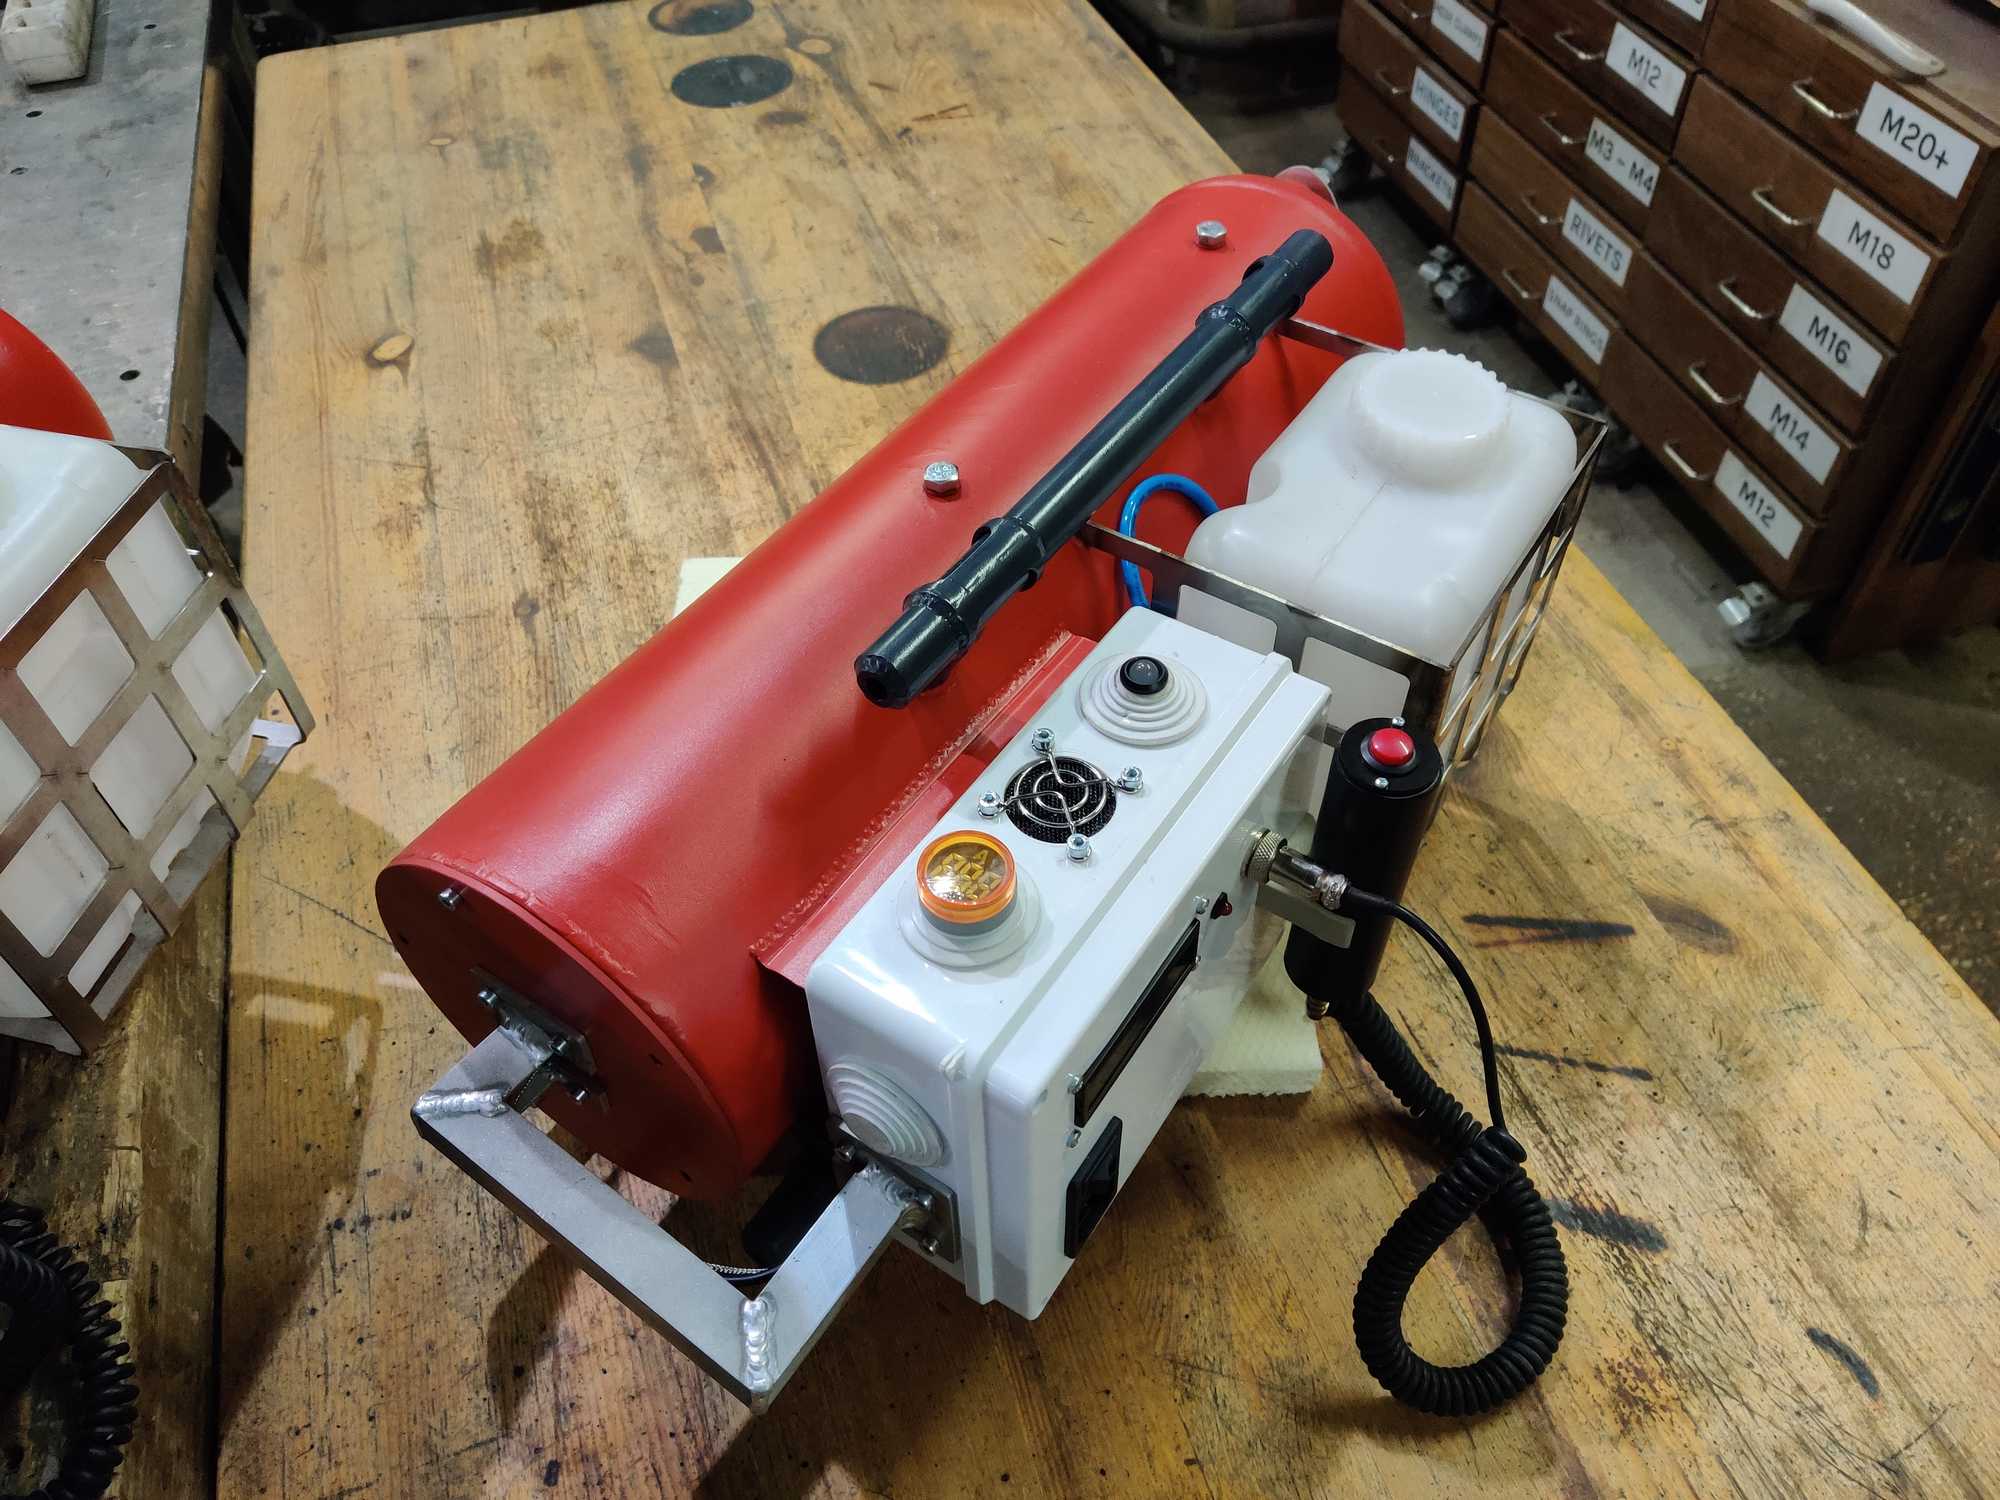
The casing was chosen to be of a fire extinguisher, and that’s for two reasons – it’s round, compact, waterproof (kind of, if we wanted to hose it down when becomes dirty) and the metal will hold everything inside in case of a disaster, also looks funky and we got few of them for free.
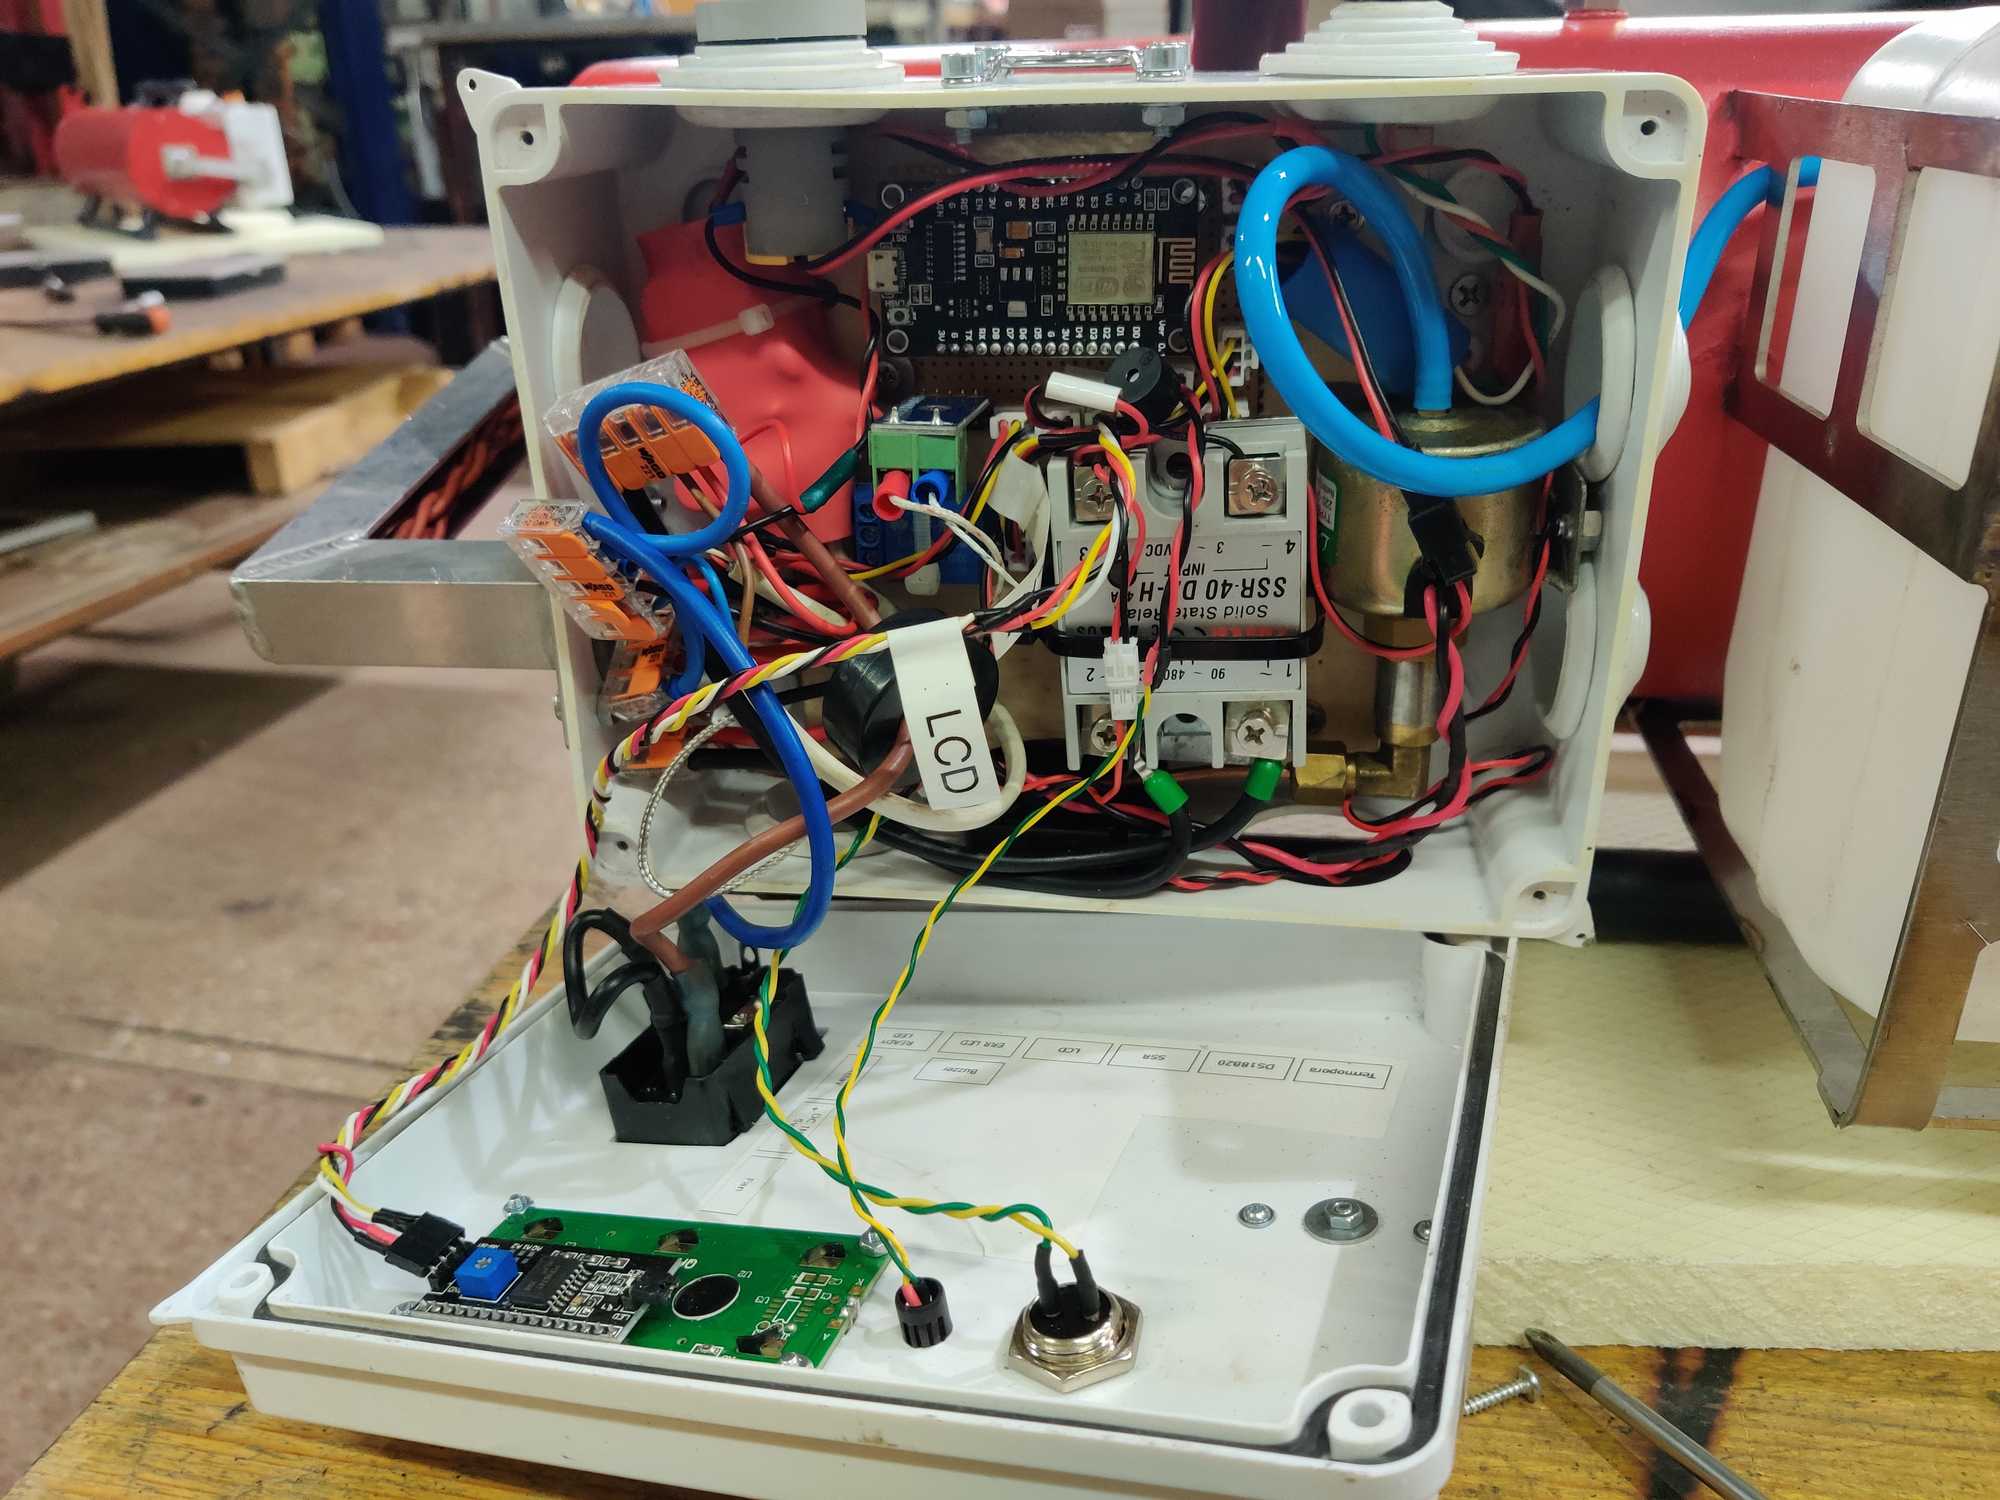
Controlling the smoke machine heating would be done through a microcontroller, and the fluid pump would be controlled separately through a relay.


For those fog machines we wanted to also have a fluid container of similar size like the fire extinguisher casing and went on extensive search to find something without much modification and found the perfect one which is a windshield washer fluid container for a tractor or something and it’s just 3l in capacity (I’ve no idea what car would fit them) – it’s perfect in size and has a suction hole near bottom.

Having the main components now we started cutting and welding the extinguishers.


Then we were thinking of how to make legs for it and went around the workshop searching for ideas until finally settling down on sled-type of legs which actually also looks pretty cool from parts that we found laying around. The handle for carrying was also made the same.


Now we need to hold the fluid container in place. For that we found a sheet of metal that was left from a plasma cutter and it also was perfect since it had square holes in it to reduce weight and to not have liquid stay in there if we over-spill some.

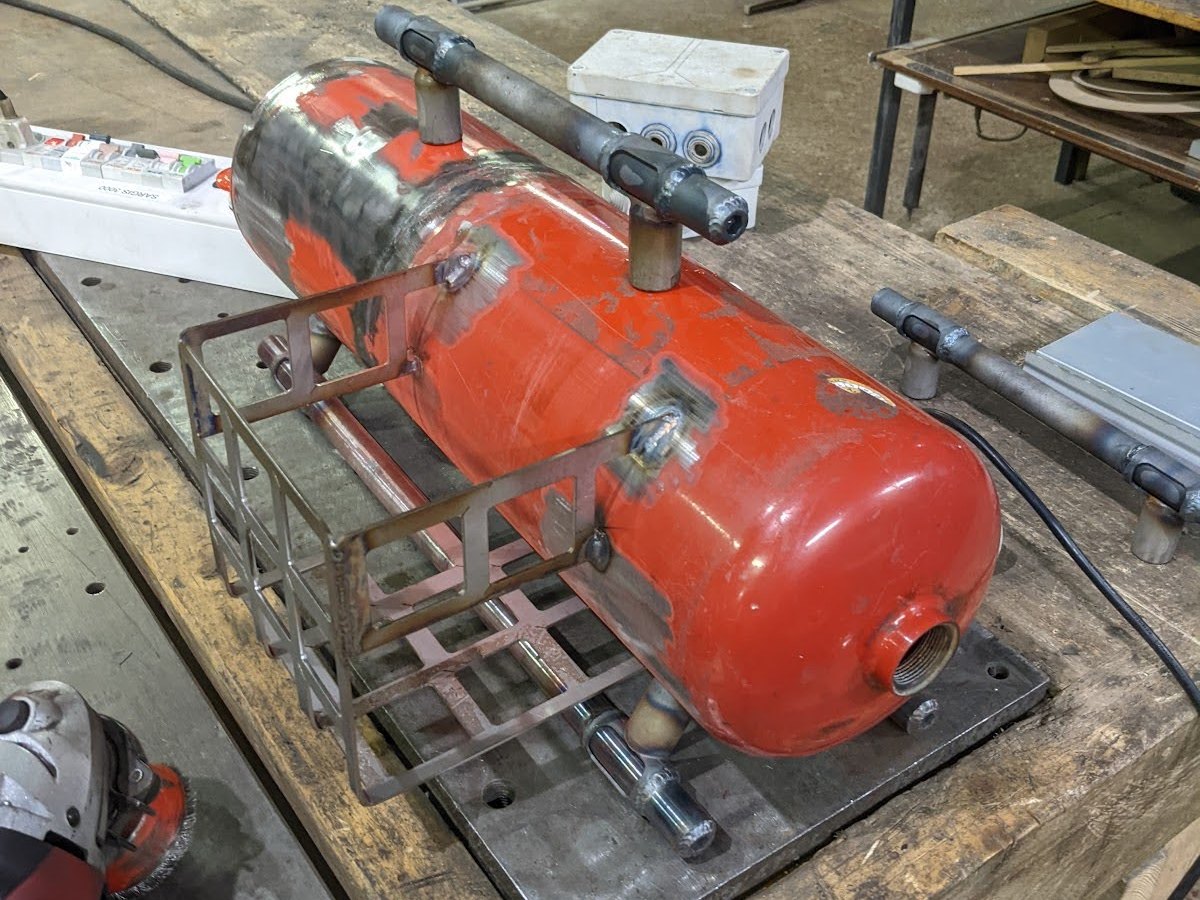
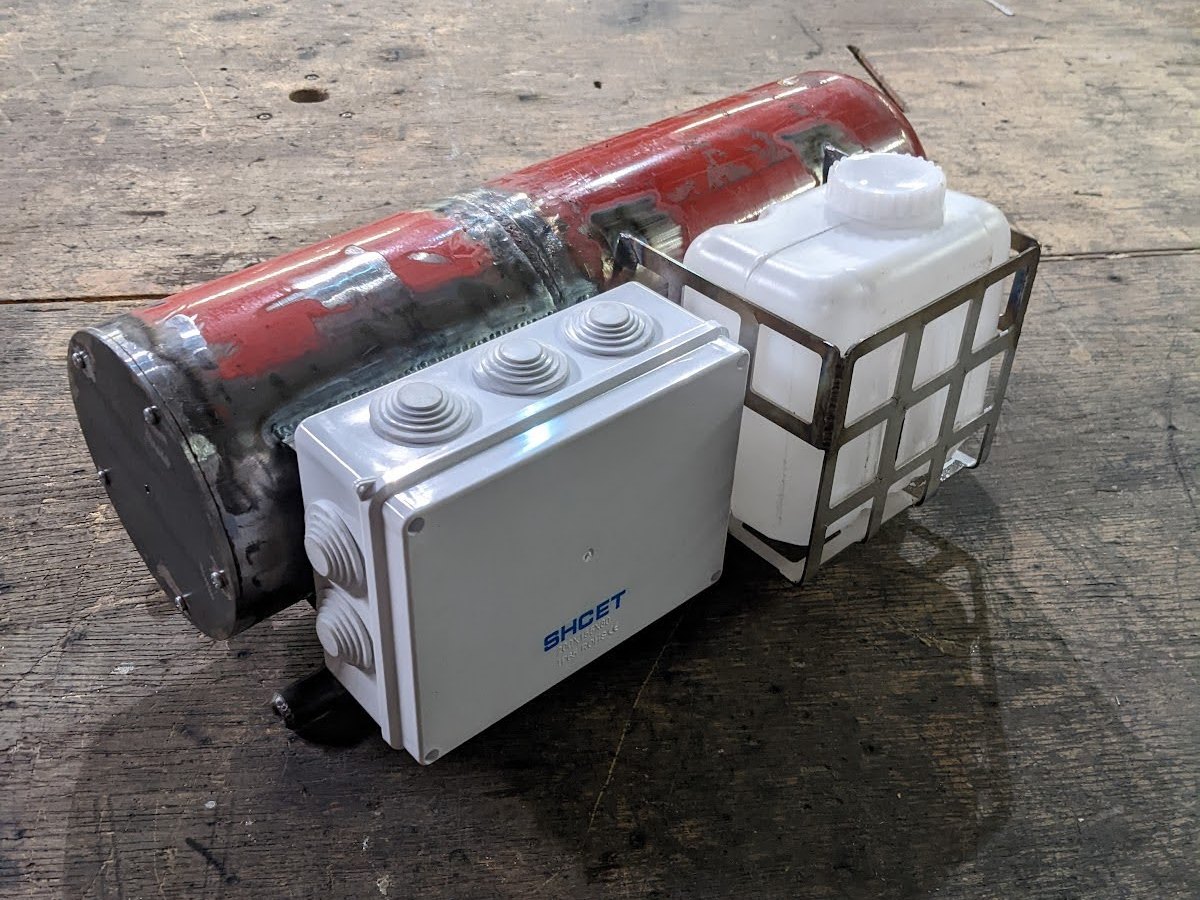
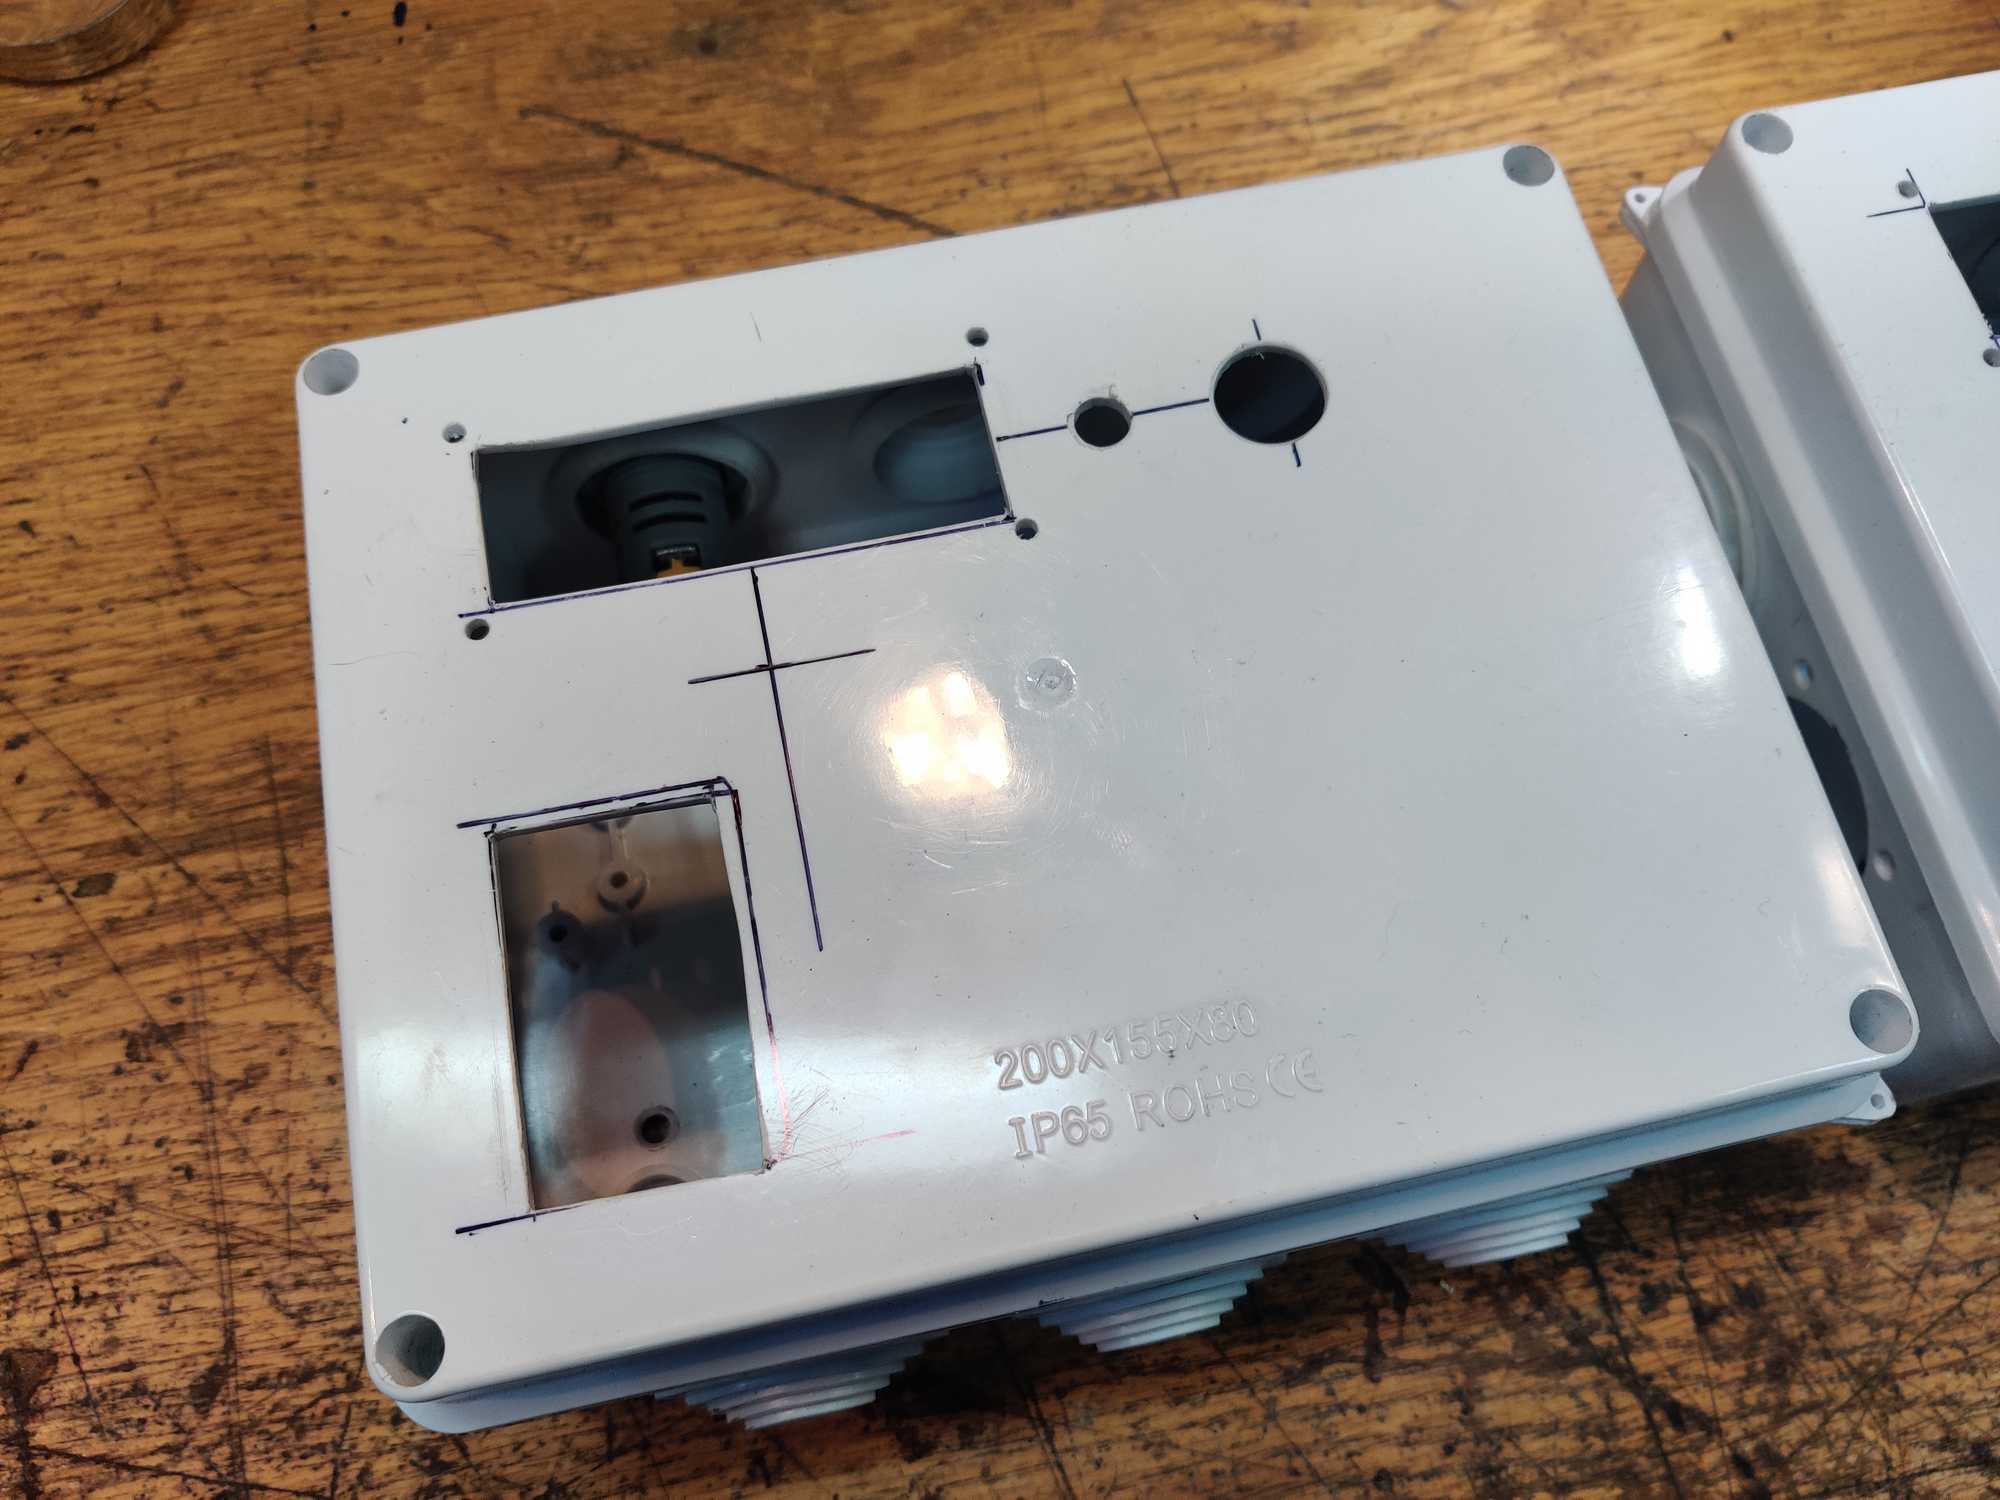
Next – the control box. Where electronics and the fluid pump will reside to control the whole thing. The box itself is a simple, standard electrician box that’s somewhat waterproof. To hold it a bracket was welded that was once again made from trash, from a giant UPS battery drawer. The box is held in place with a few bolts that are screwed into threaded rivets.


The wires and especially the capillary copper tube that goes out the electric box and into the heating block are fragile. To protect them from accidental kicking a frame to protect it was made.
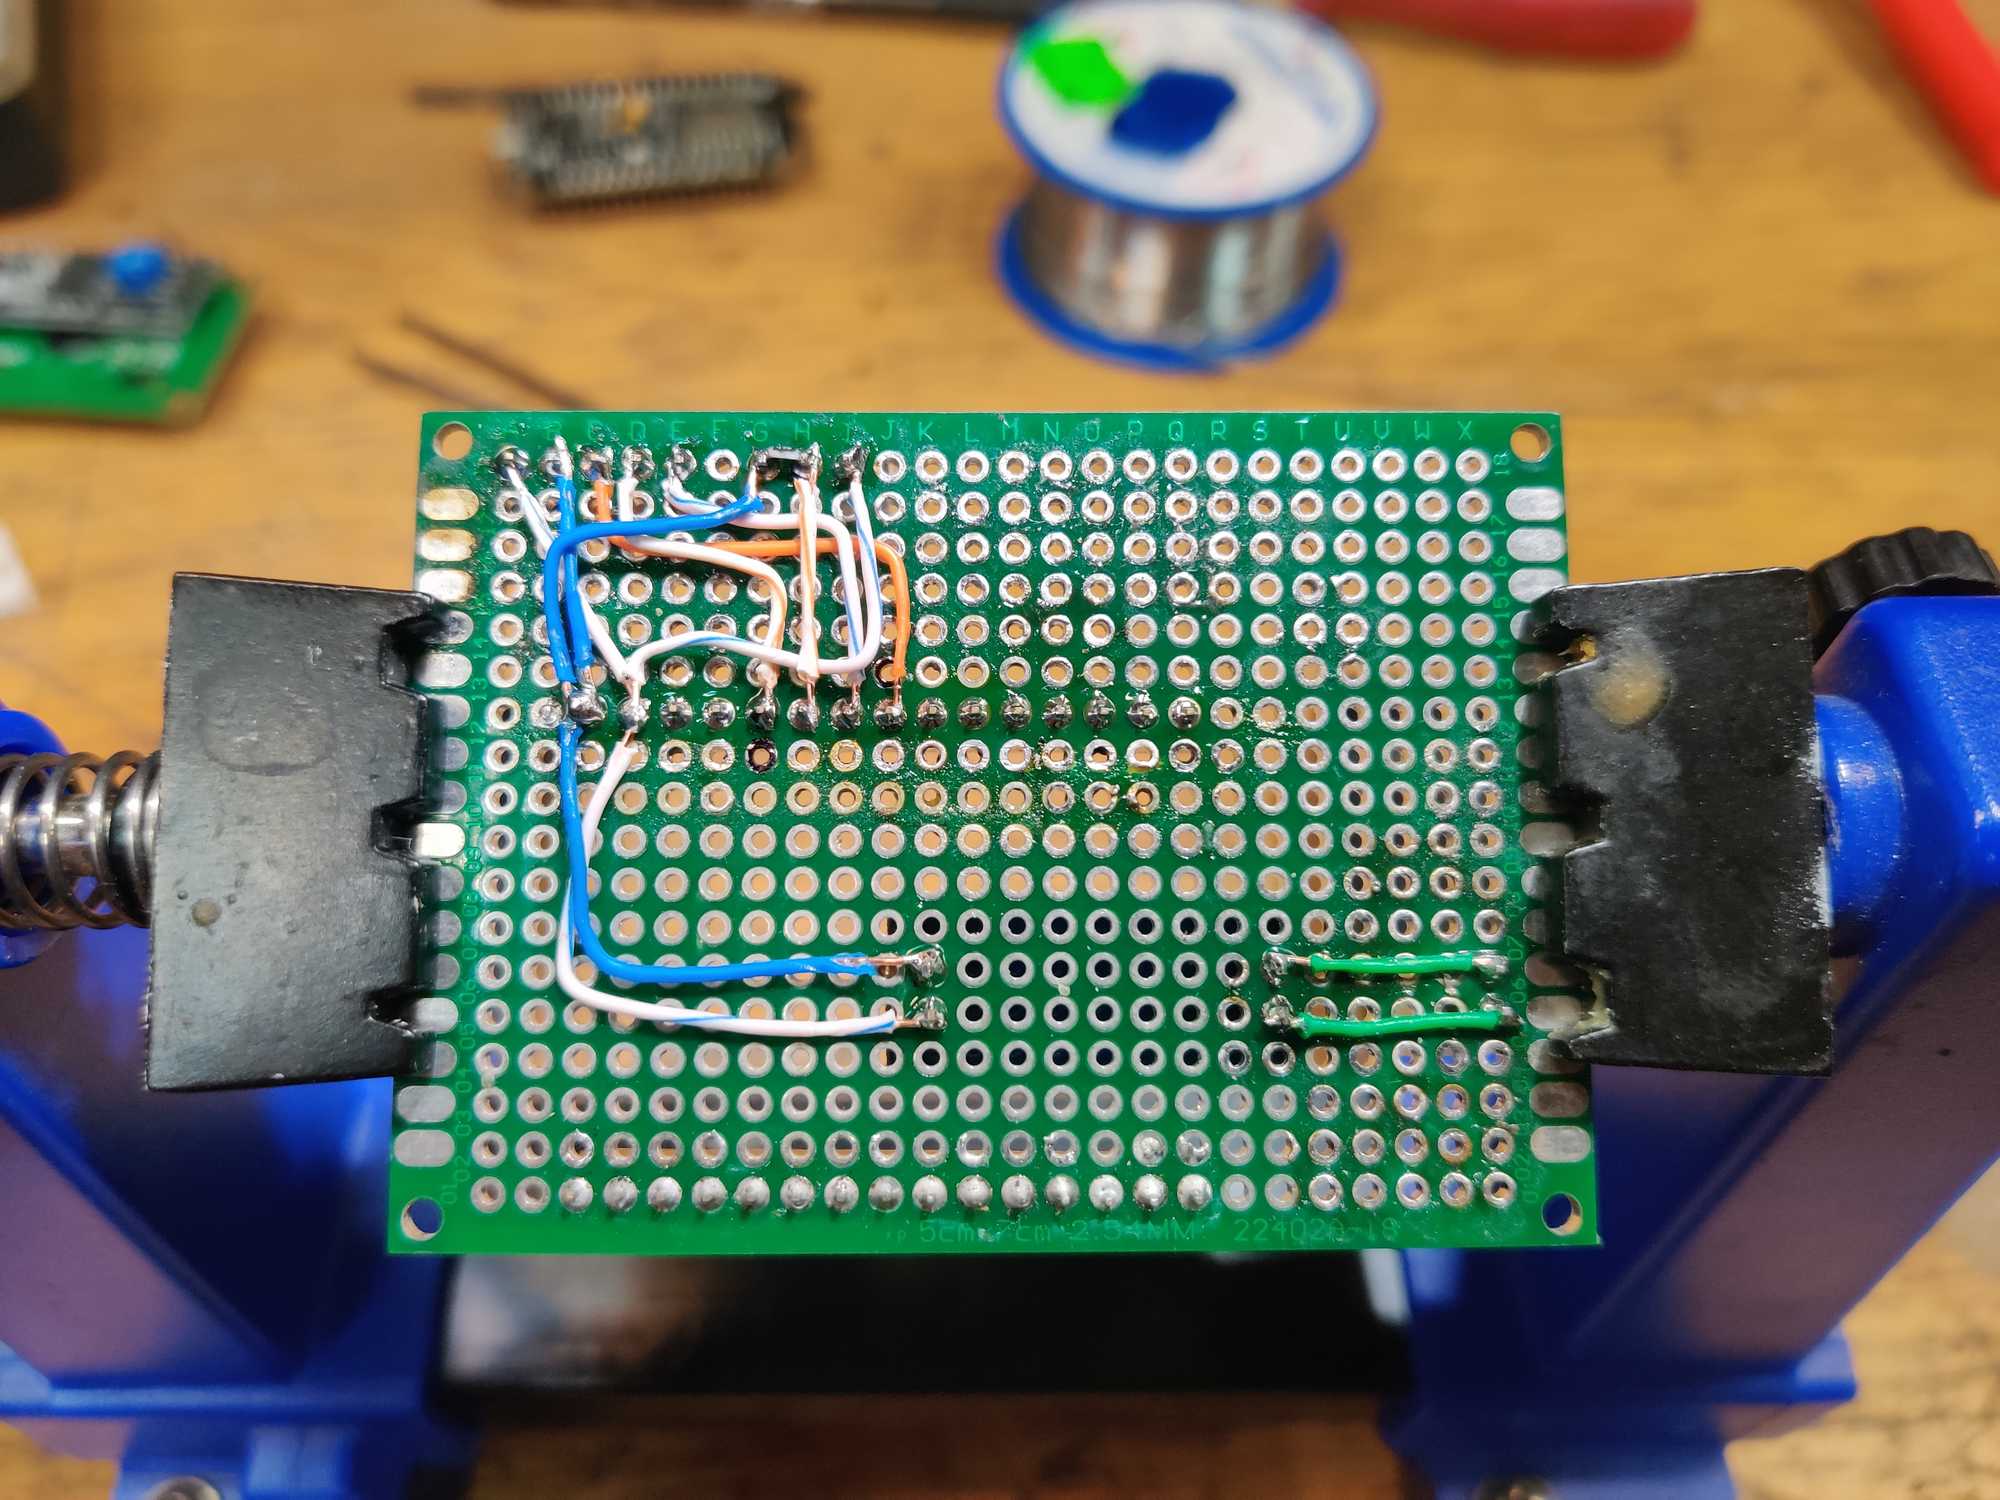
And now the electronics!
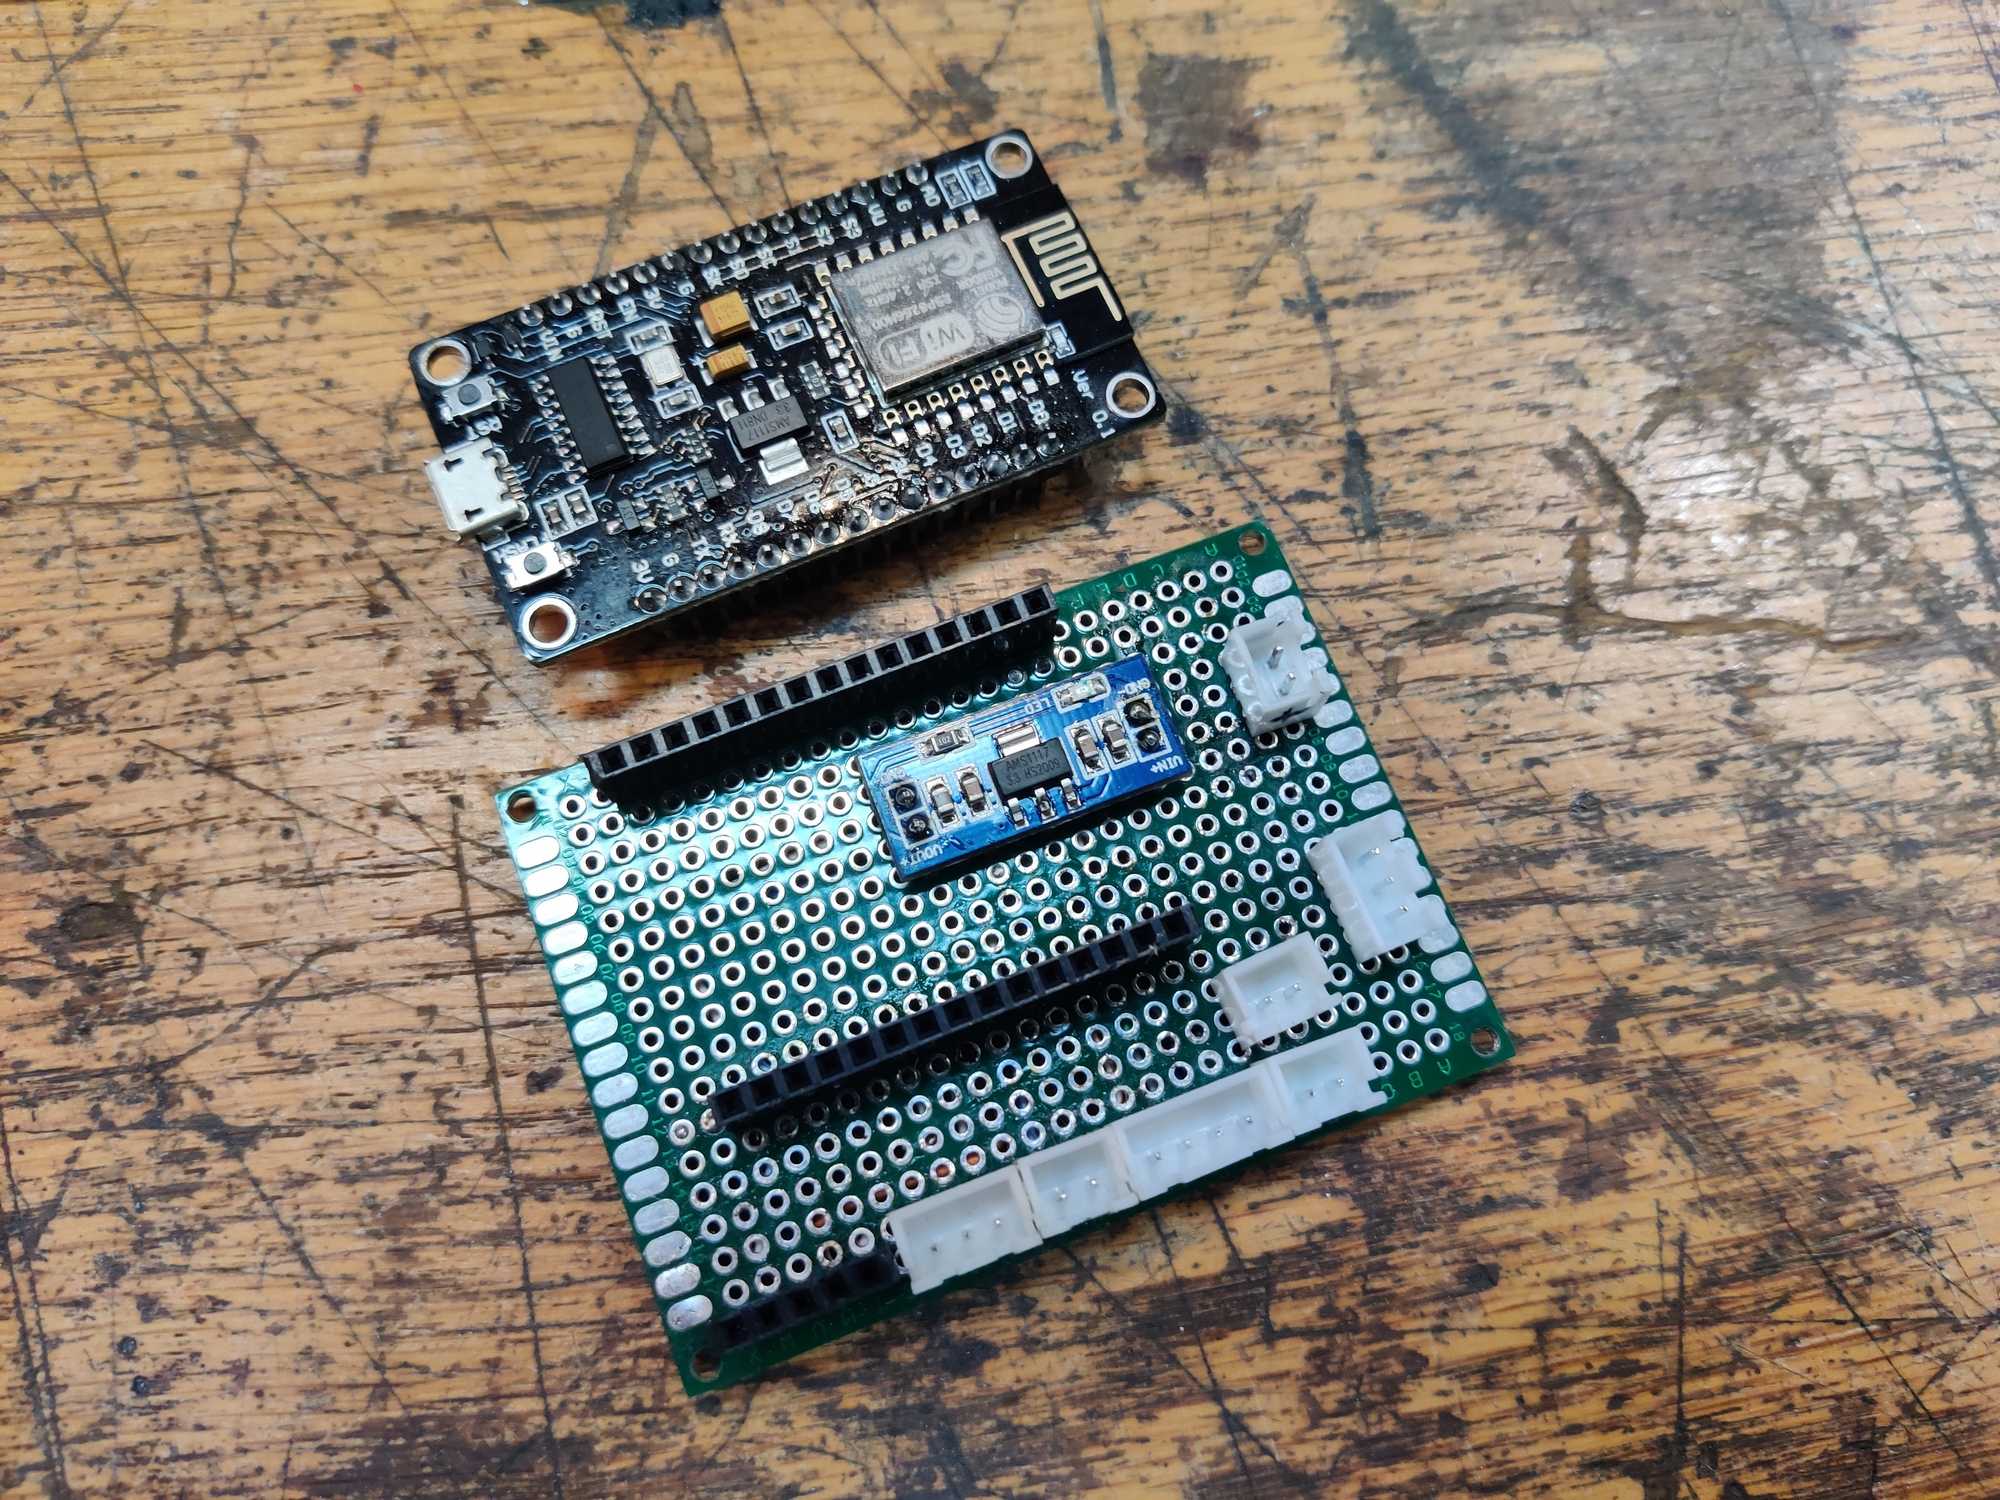
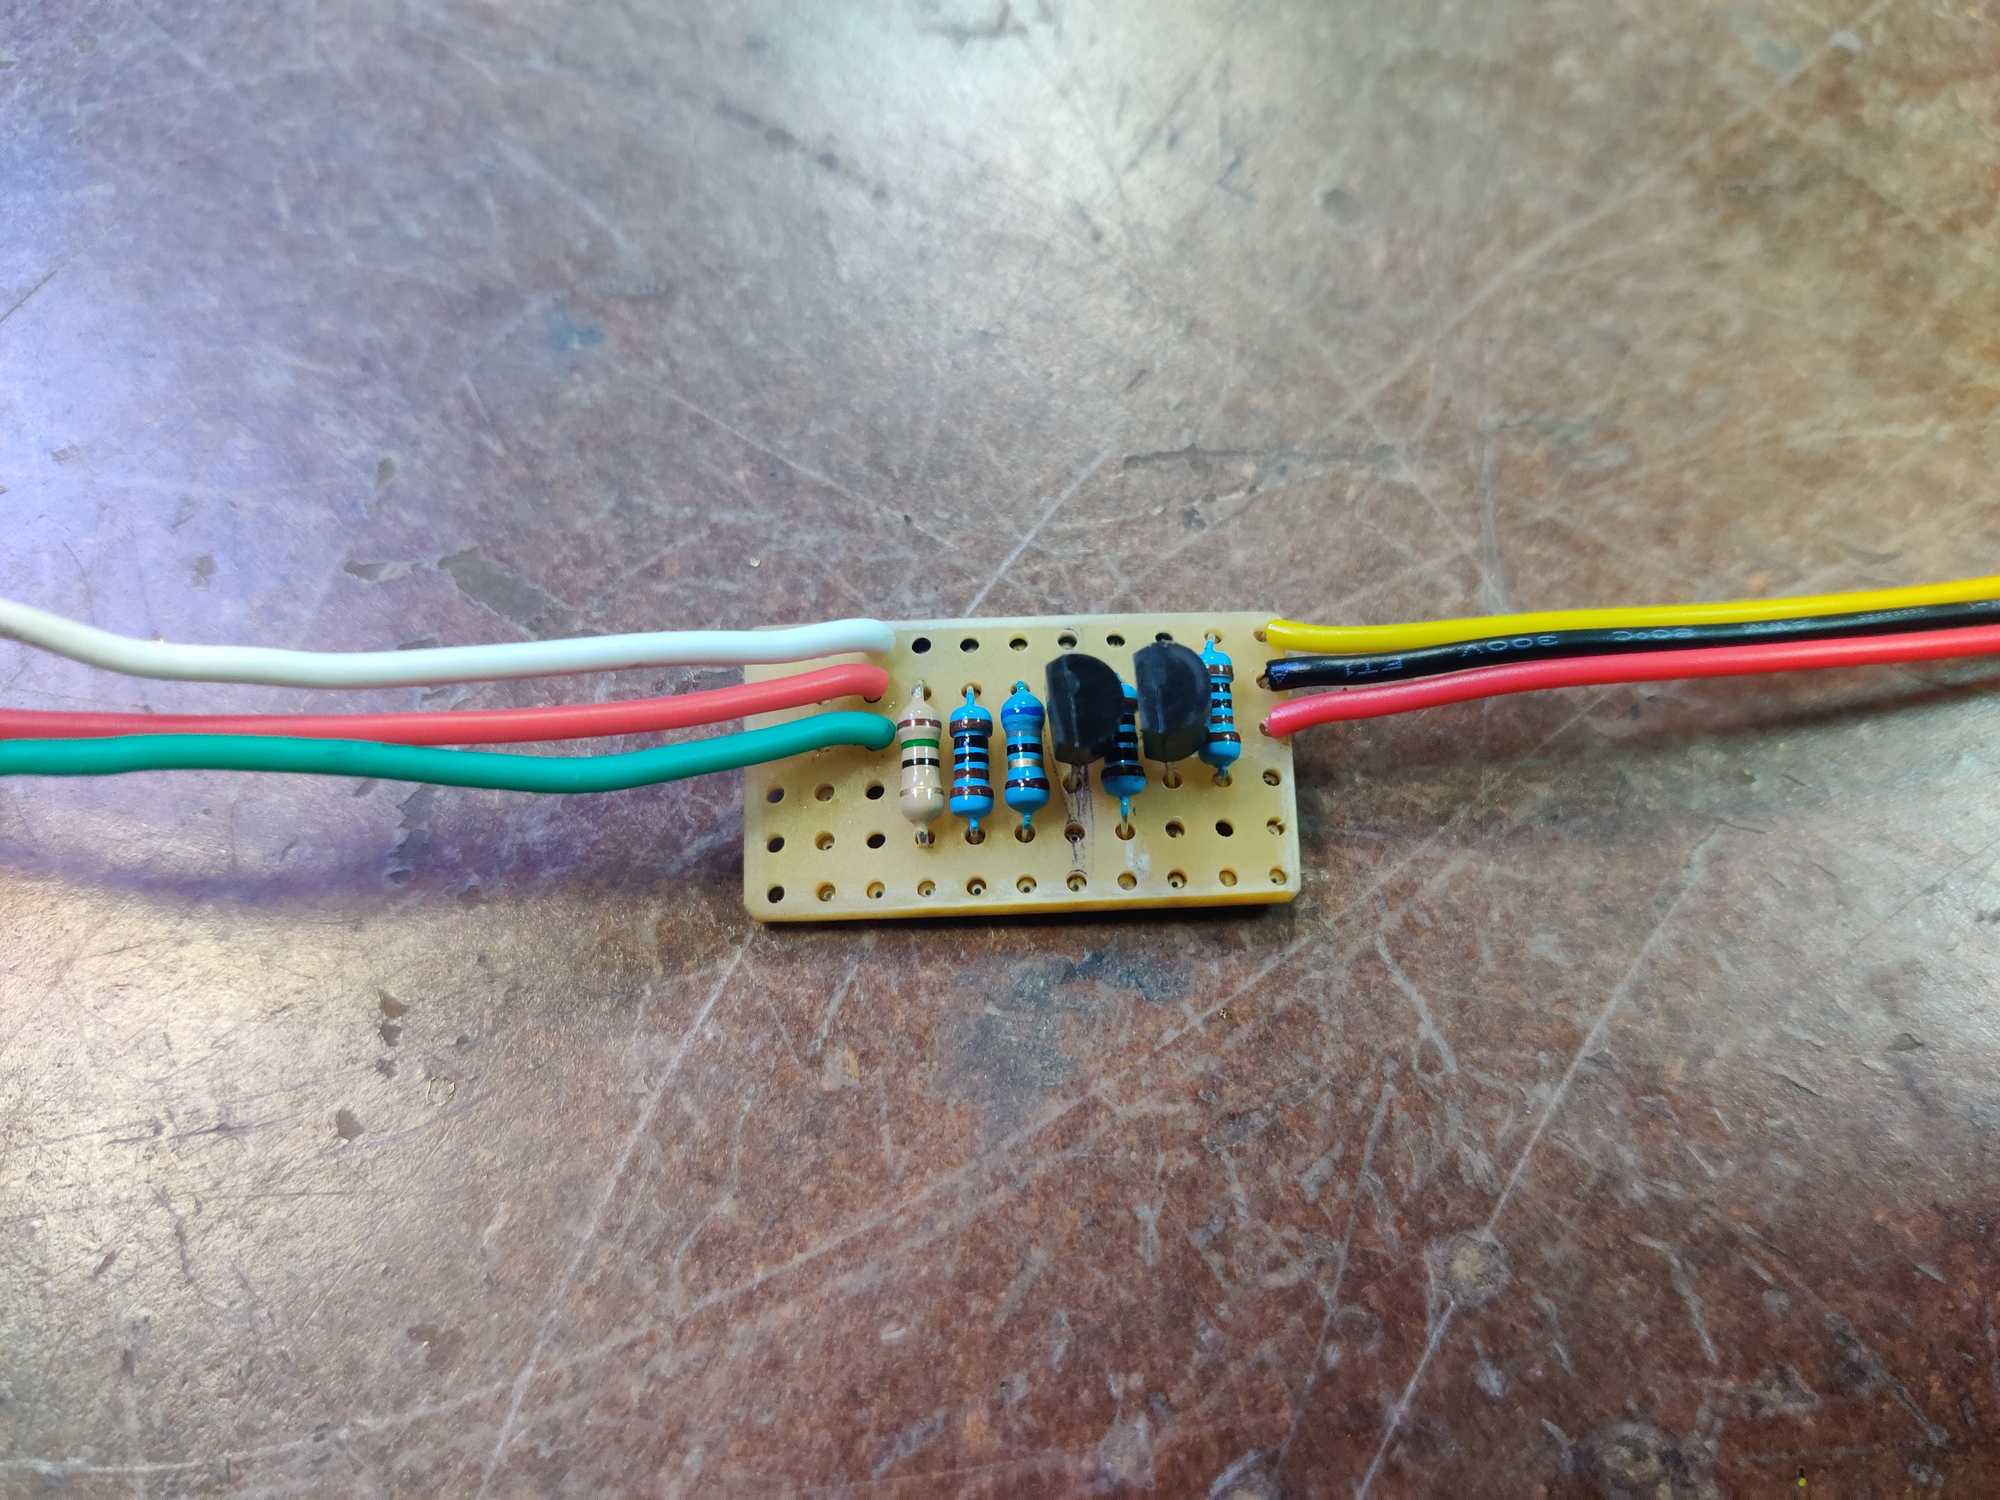
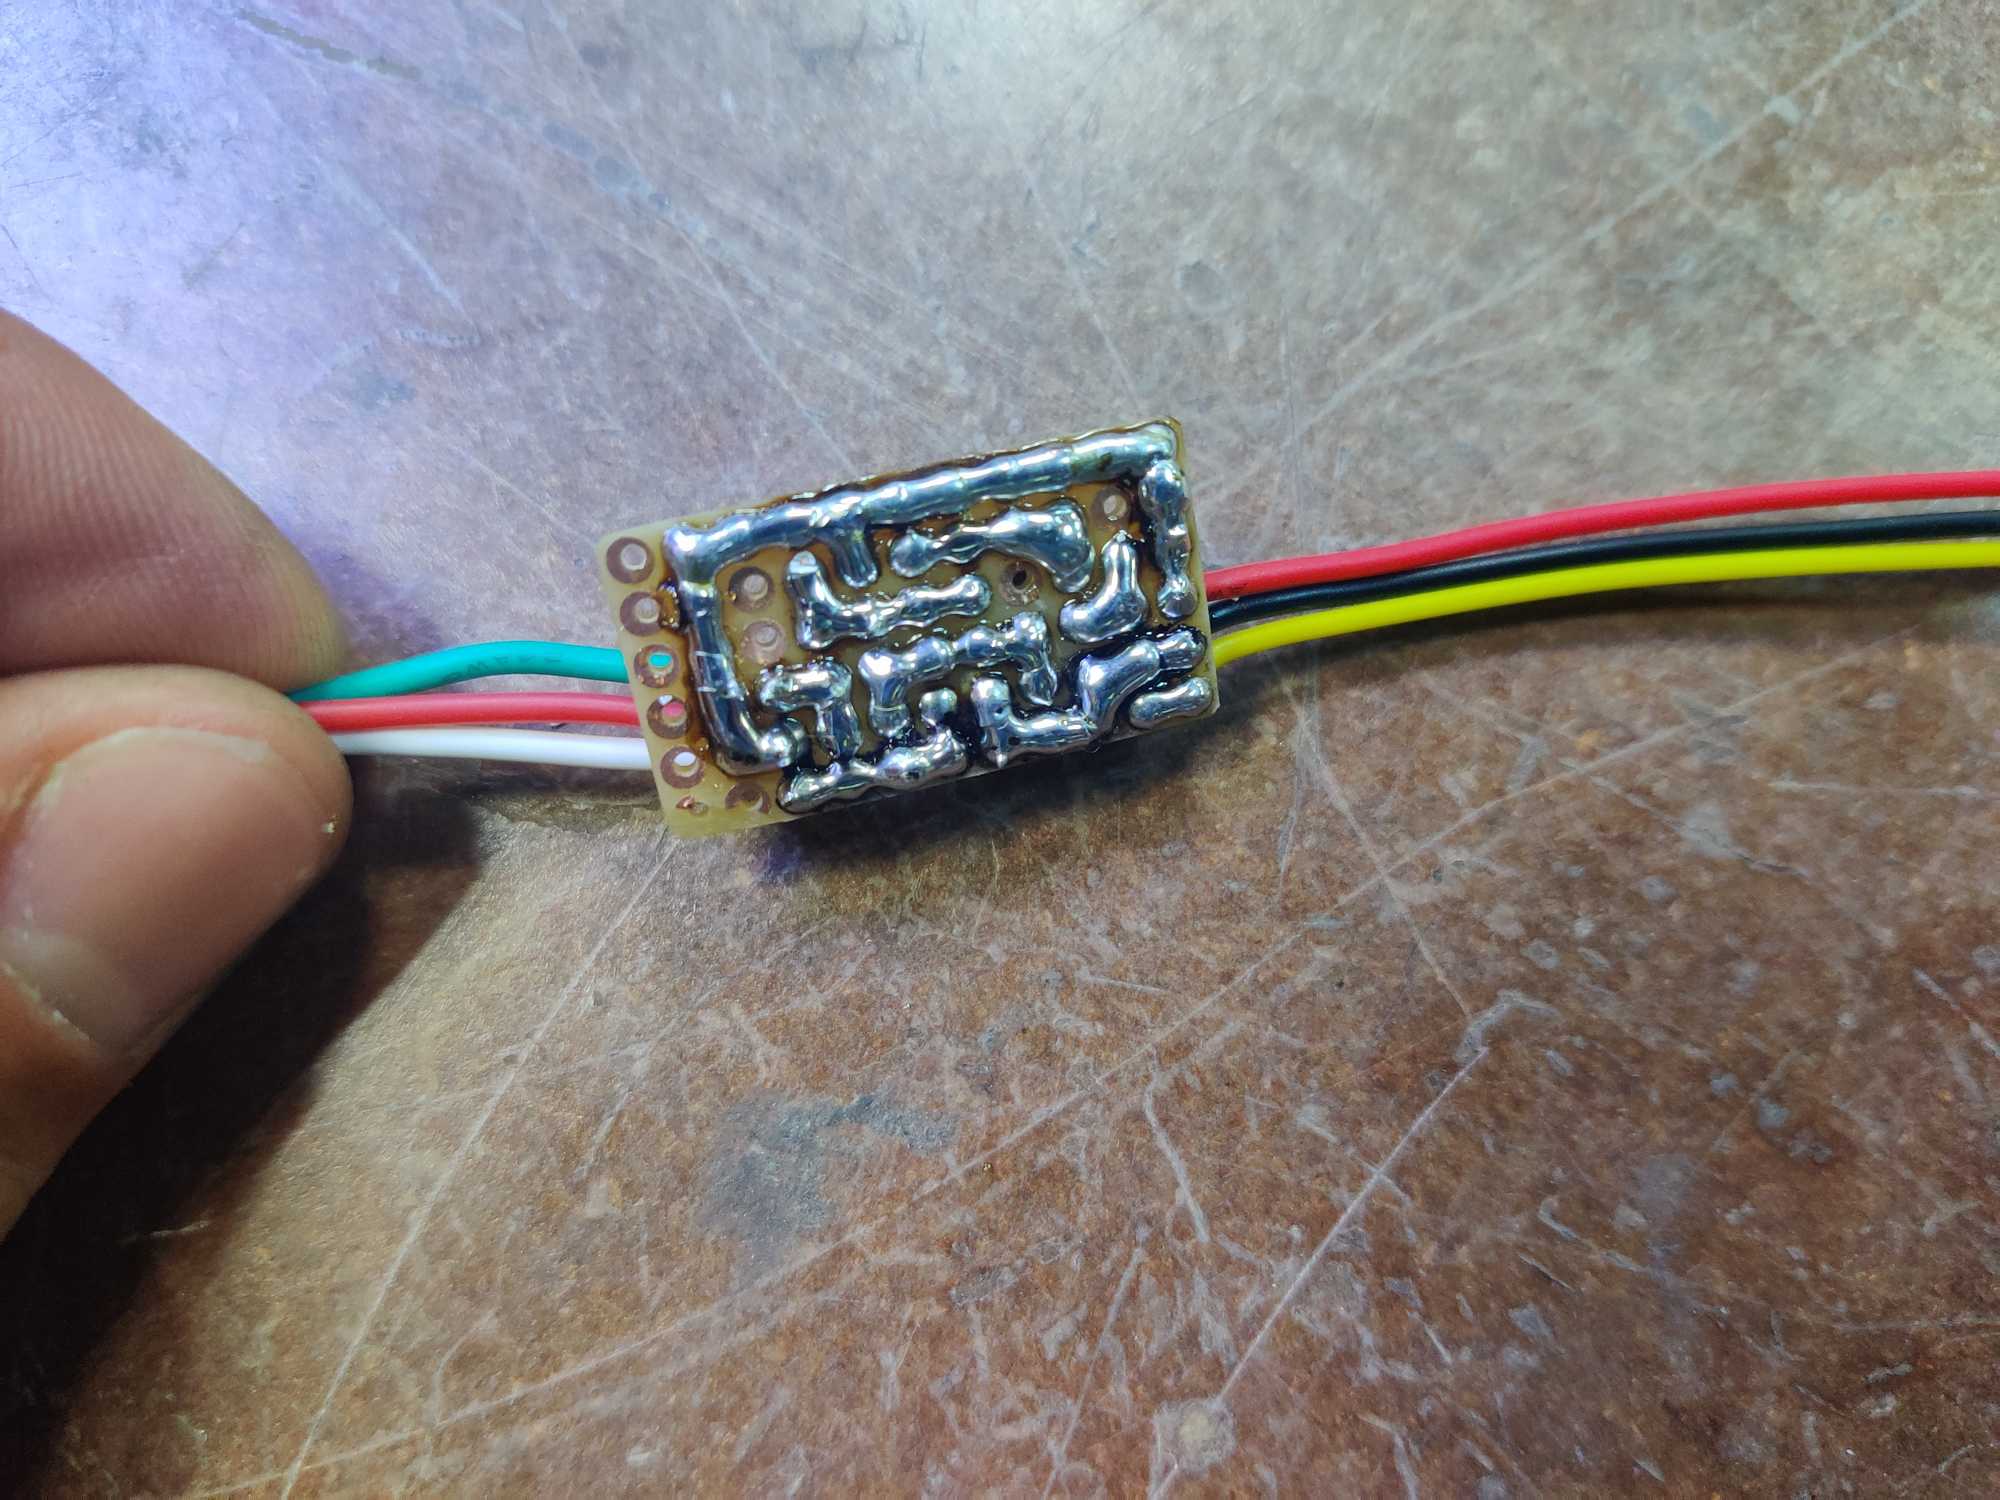
To control everything we wrote simple firmware in Arduino and used ESP8266 and it works like this: the controller reads block temperature from a K-type thermocoupler and inside case temperature from a DS18B20 sensor, both values are displayed on an LCD screen. The block voltage is turned on and off with an SSR (Solid State Relay) according to the temperature that we set.
This time we didn’t add any fancy features, only the bare minimum that is needed for simple operation. Also in the software we added some simple safety features too – if the block temperature for some reason reaches some critical level, the SSR is turned off and both the LED and a buzzer will call for help. Upon start the temperature is checked before anything and also if it’s on critical then you’ll hear a beeping signal. The button was connected directly to a relay and not through a microcontroller.
The software repo is located here: https://github.com/makerspacelt/monster-fog-machine/tree/v2
Whole thing was assembled into a big electronics box, making holes where needed. On top of the box we added a panel-mount current indicator that shows how efficiently the block is working and when it is heating (at full power it draws 5A).
Alongside that, we added another simple LED indicator for users to know when to stop spraying. For example – a red LED is lit up while the machine is heating to our set temperature (let’s say 300C) and turns green when it reaches that. Then when you start spraying and the block cools down to let’s say 250C the LED turns red again, while SSR turns on when the temperature drops down by 10C. To solve this with one GPIO pin that was left we made a simple circuit with transistors.


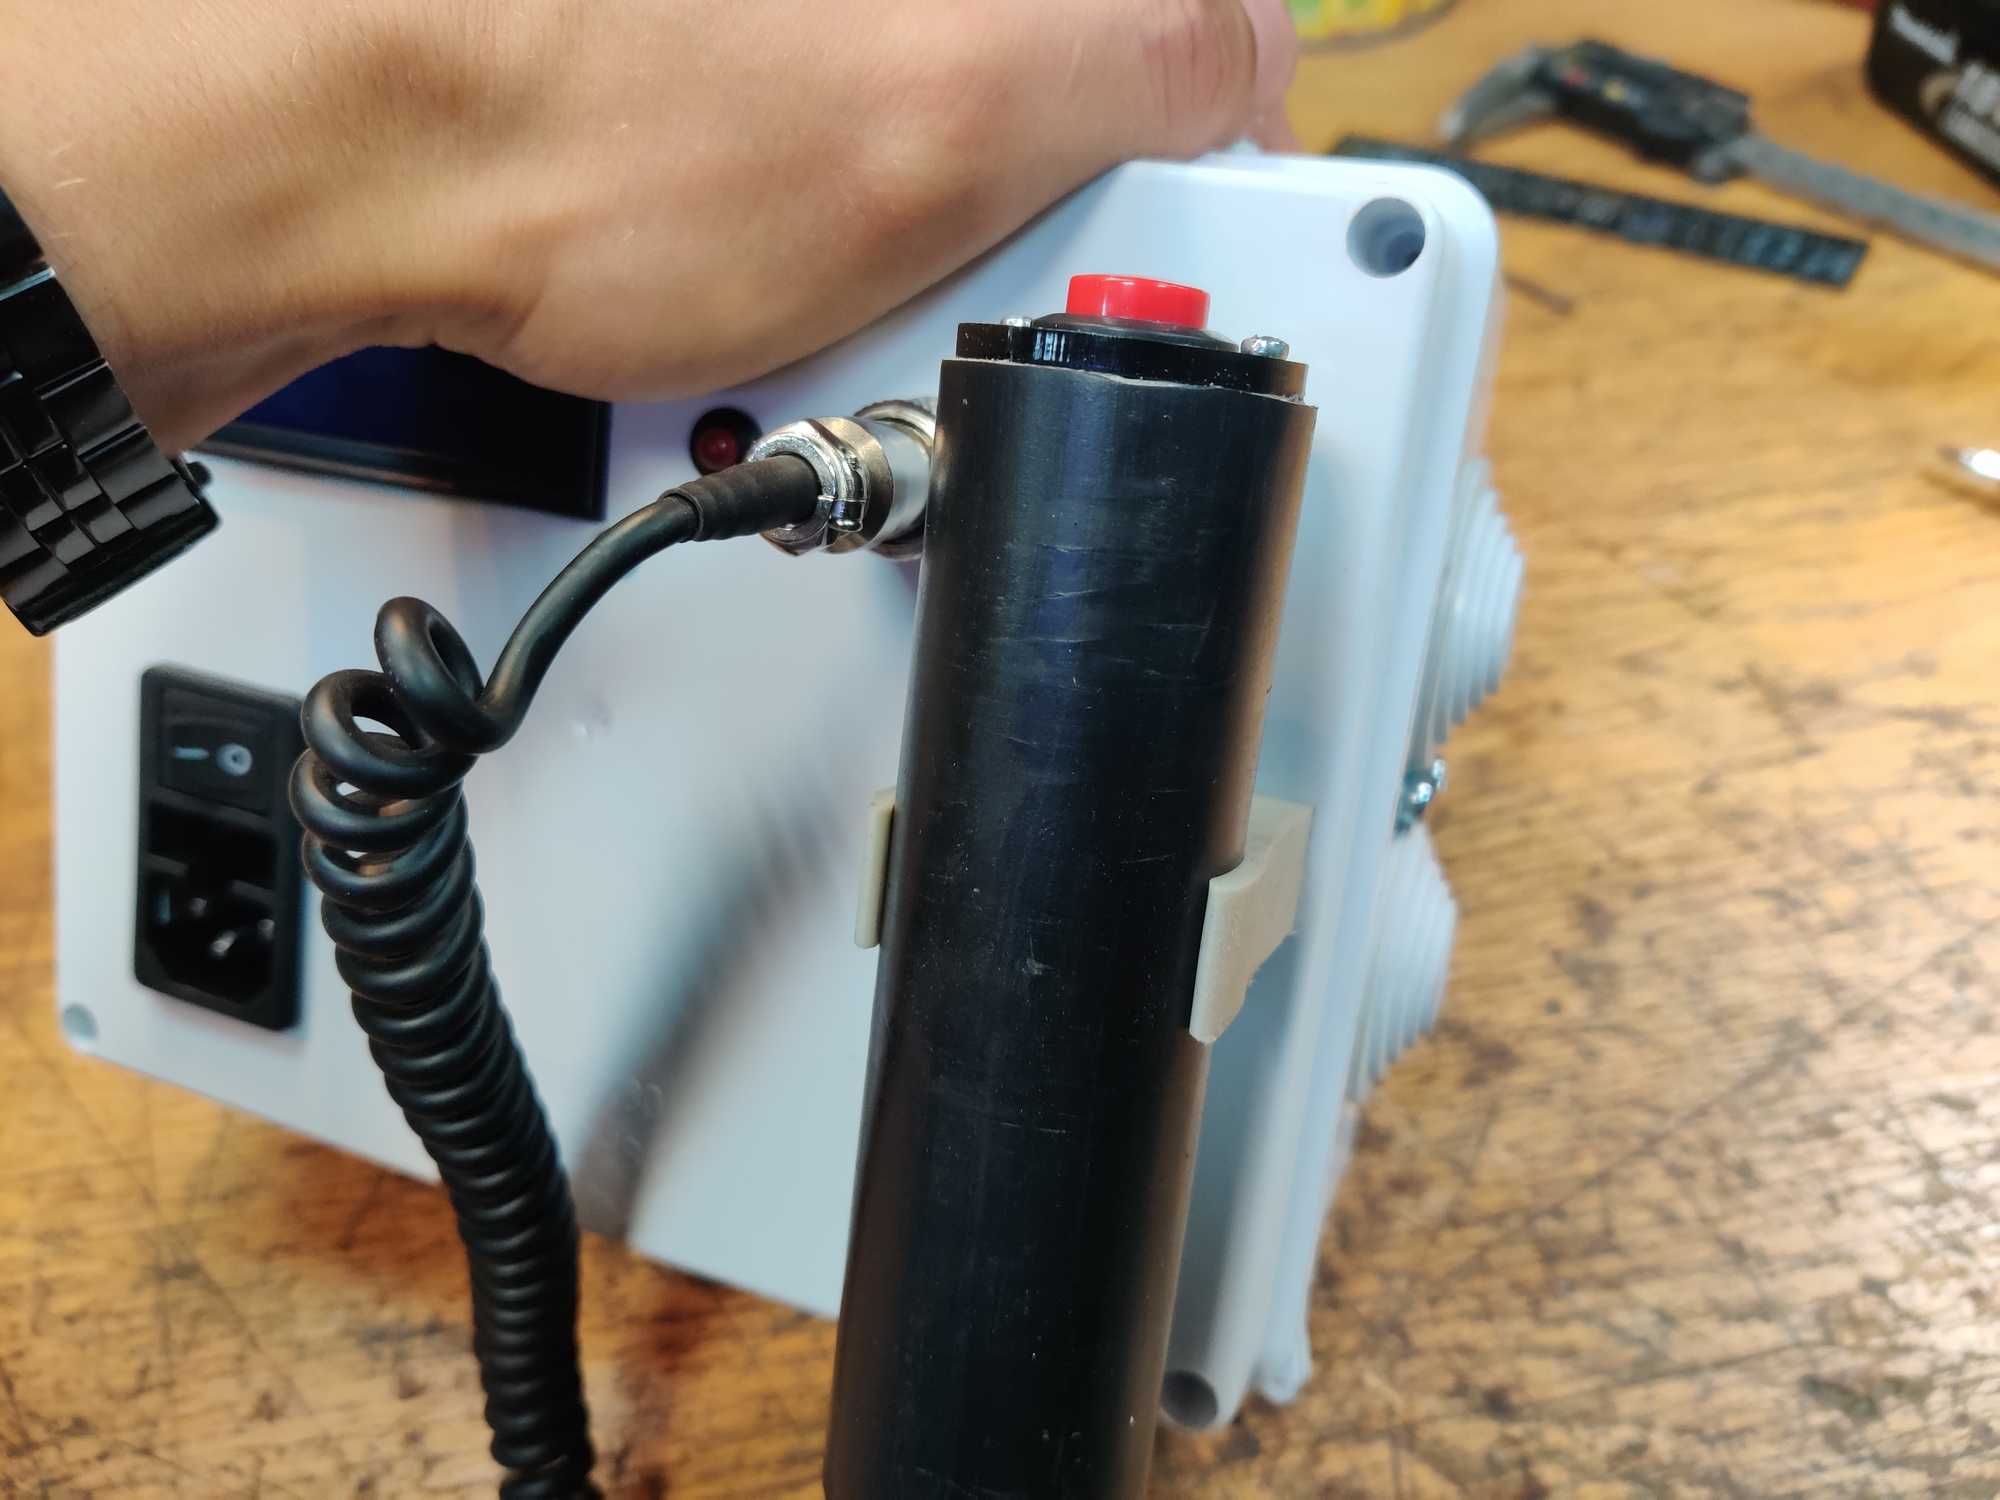
To be finished with electronics we need one last piece, and that is a release button!
We made that by putting a push-button into a piece of thick PVC pipe, laser-cut a top holder for the button from black acrylic glass, used pipe connector as a stress-reliever for the cable just for fun. For the cable we used a spiral phone cord (because it’s very compact) and durable audio connectors.

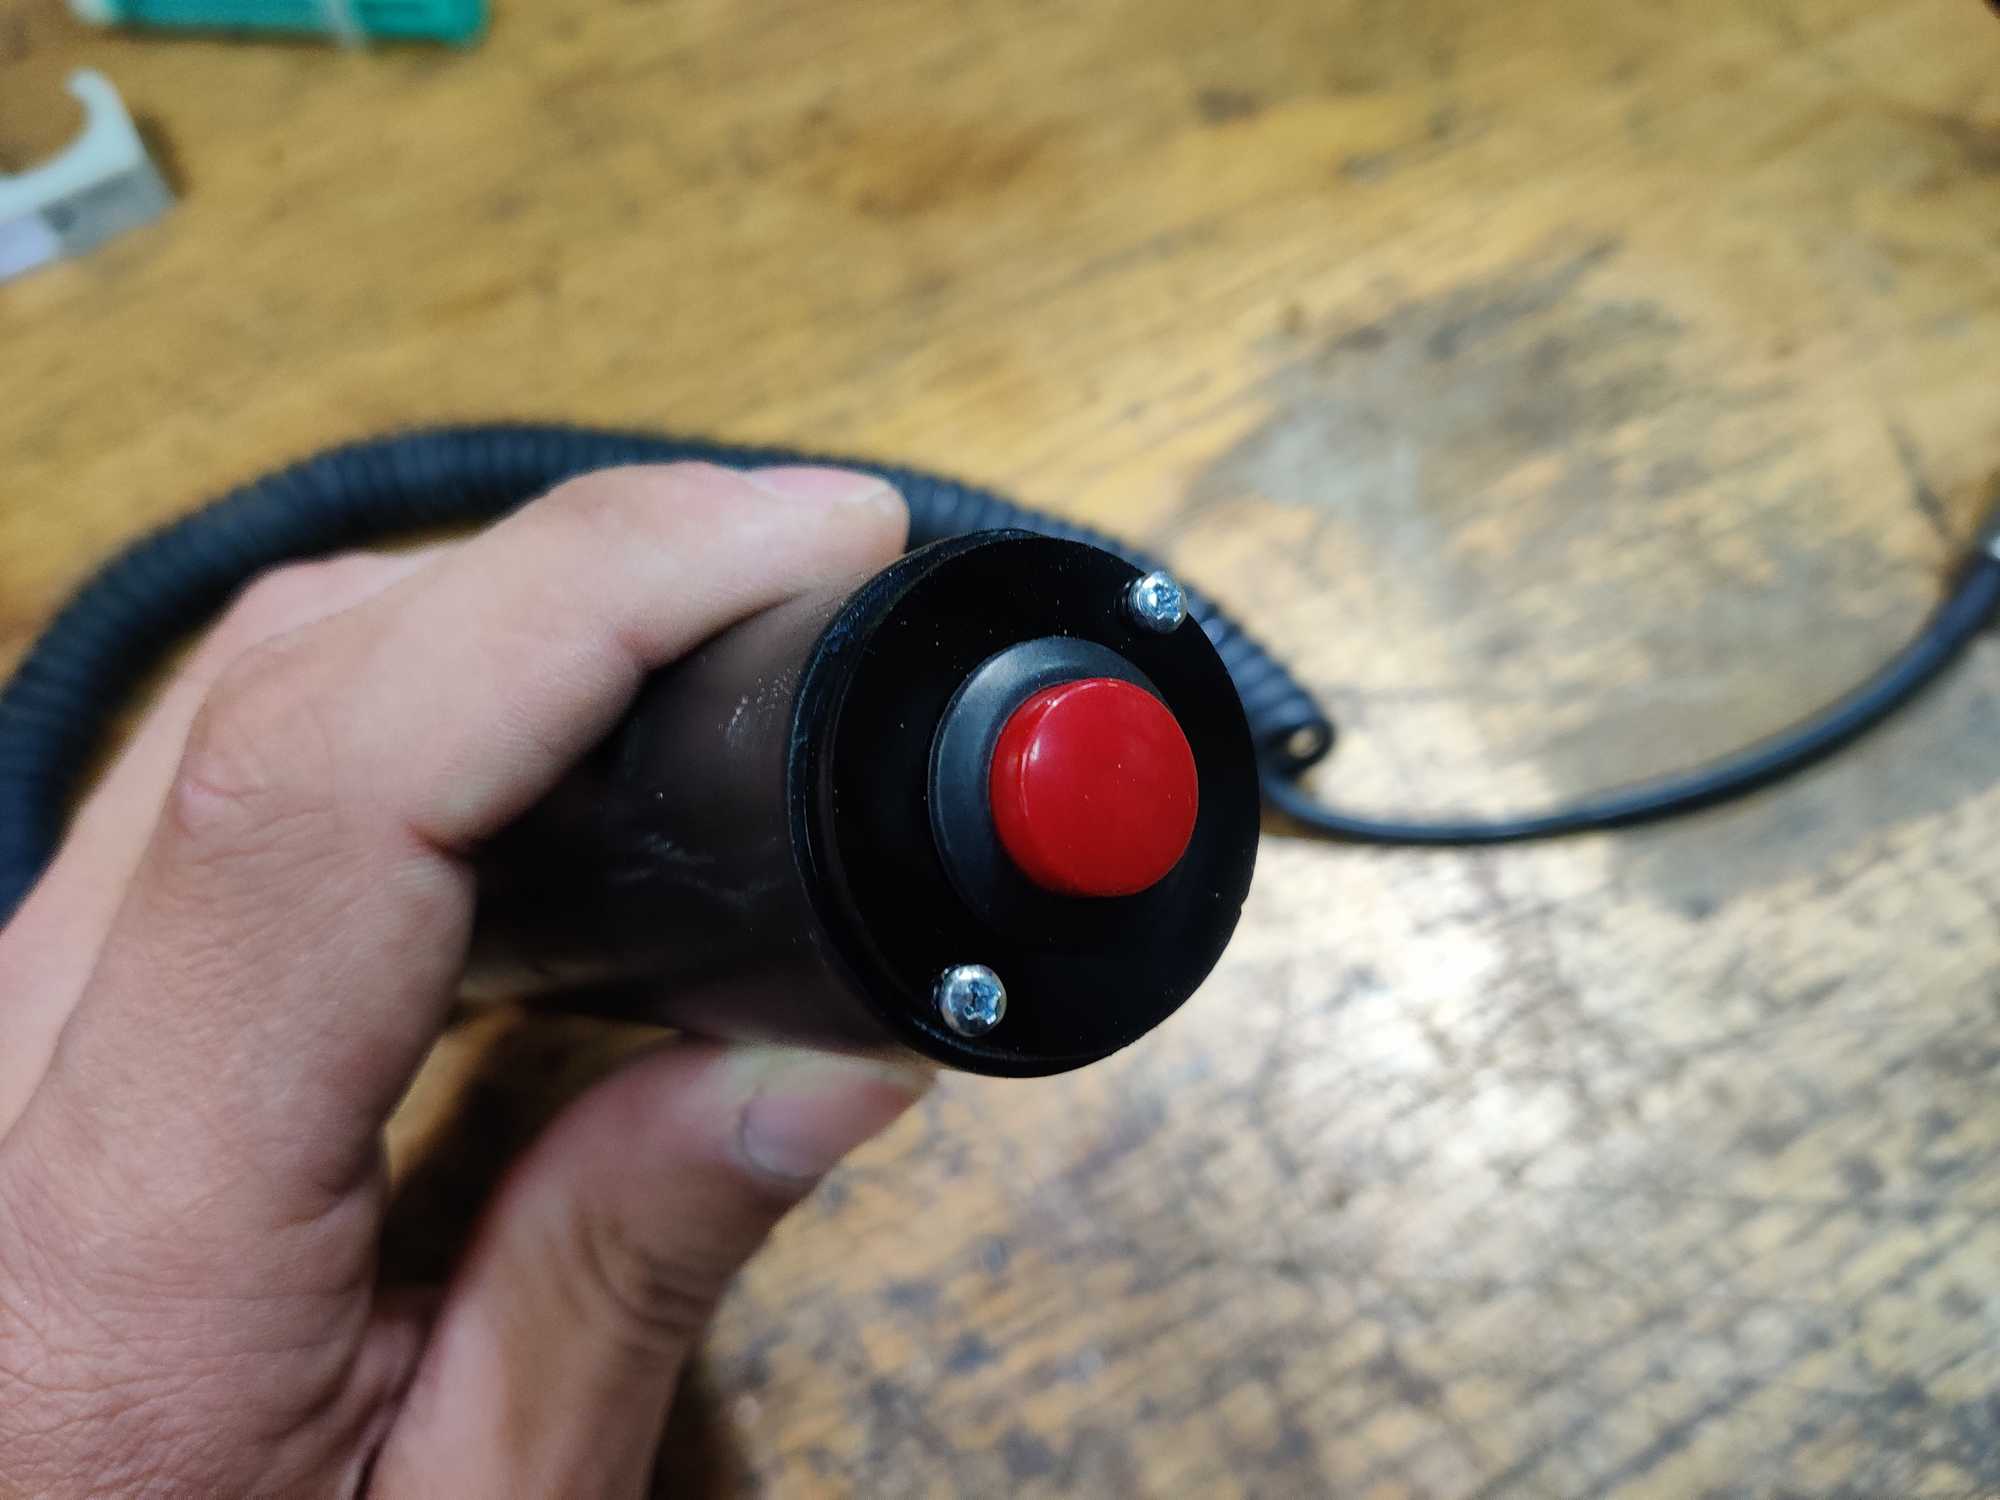

The release-button needs to be mounted somewhere when not in use and for that we attached a simple PVC pipe holder after sanding away its sides a bit to make the holder more flexible.

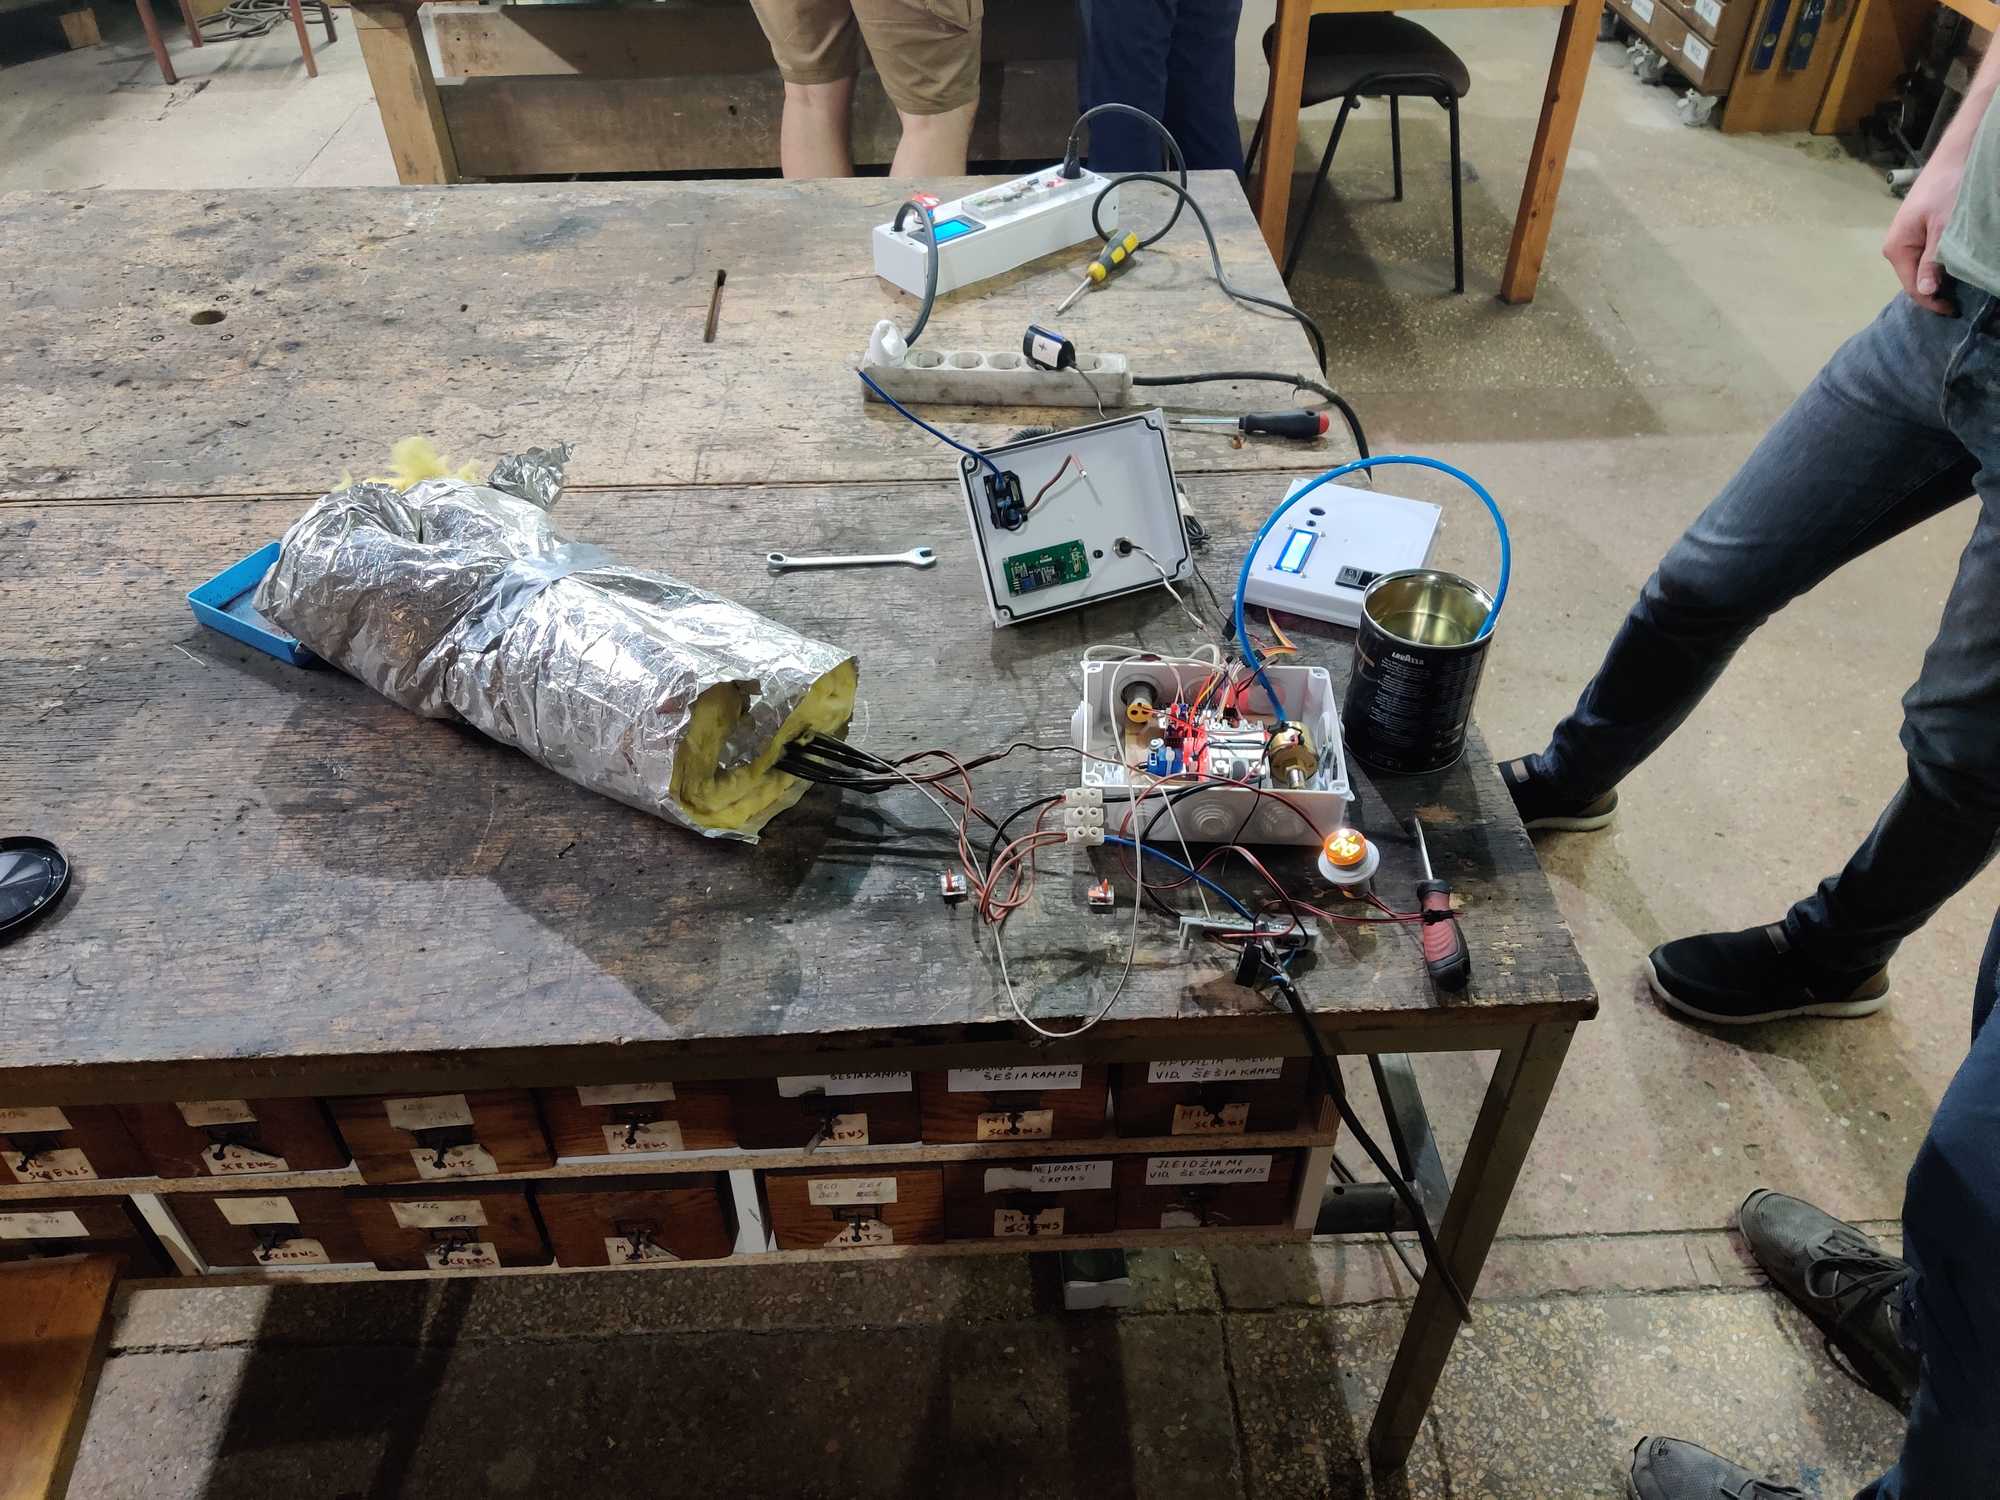
And then we had a first test run on the table just to check if most of it is working.
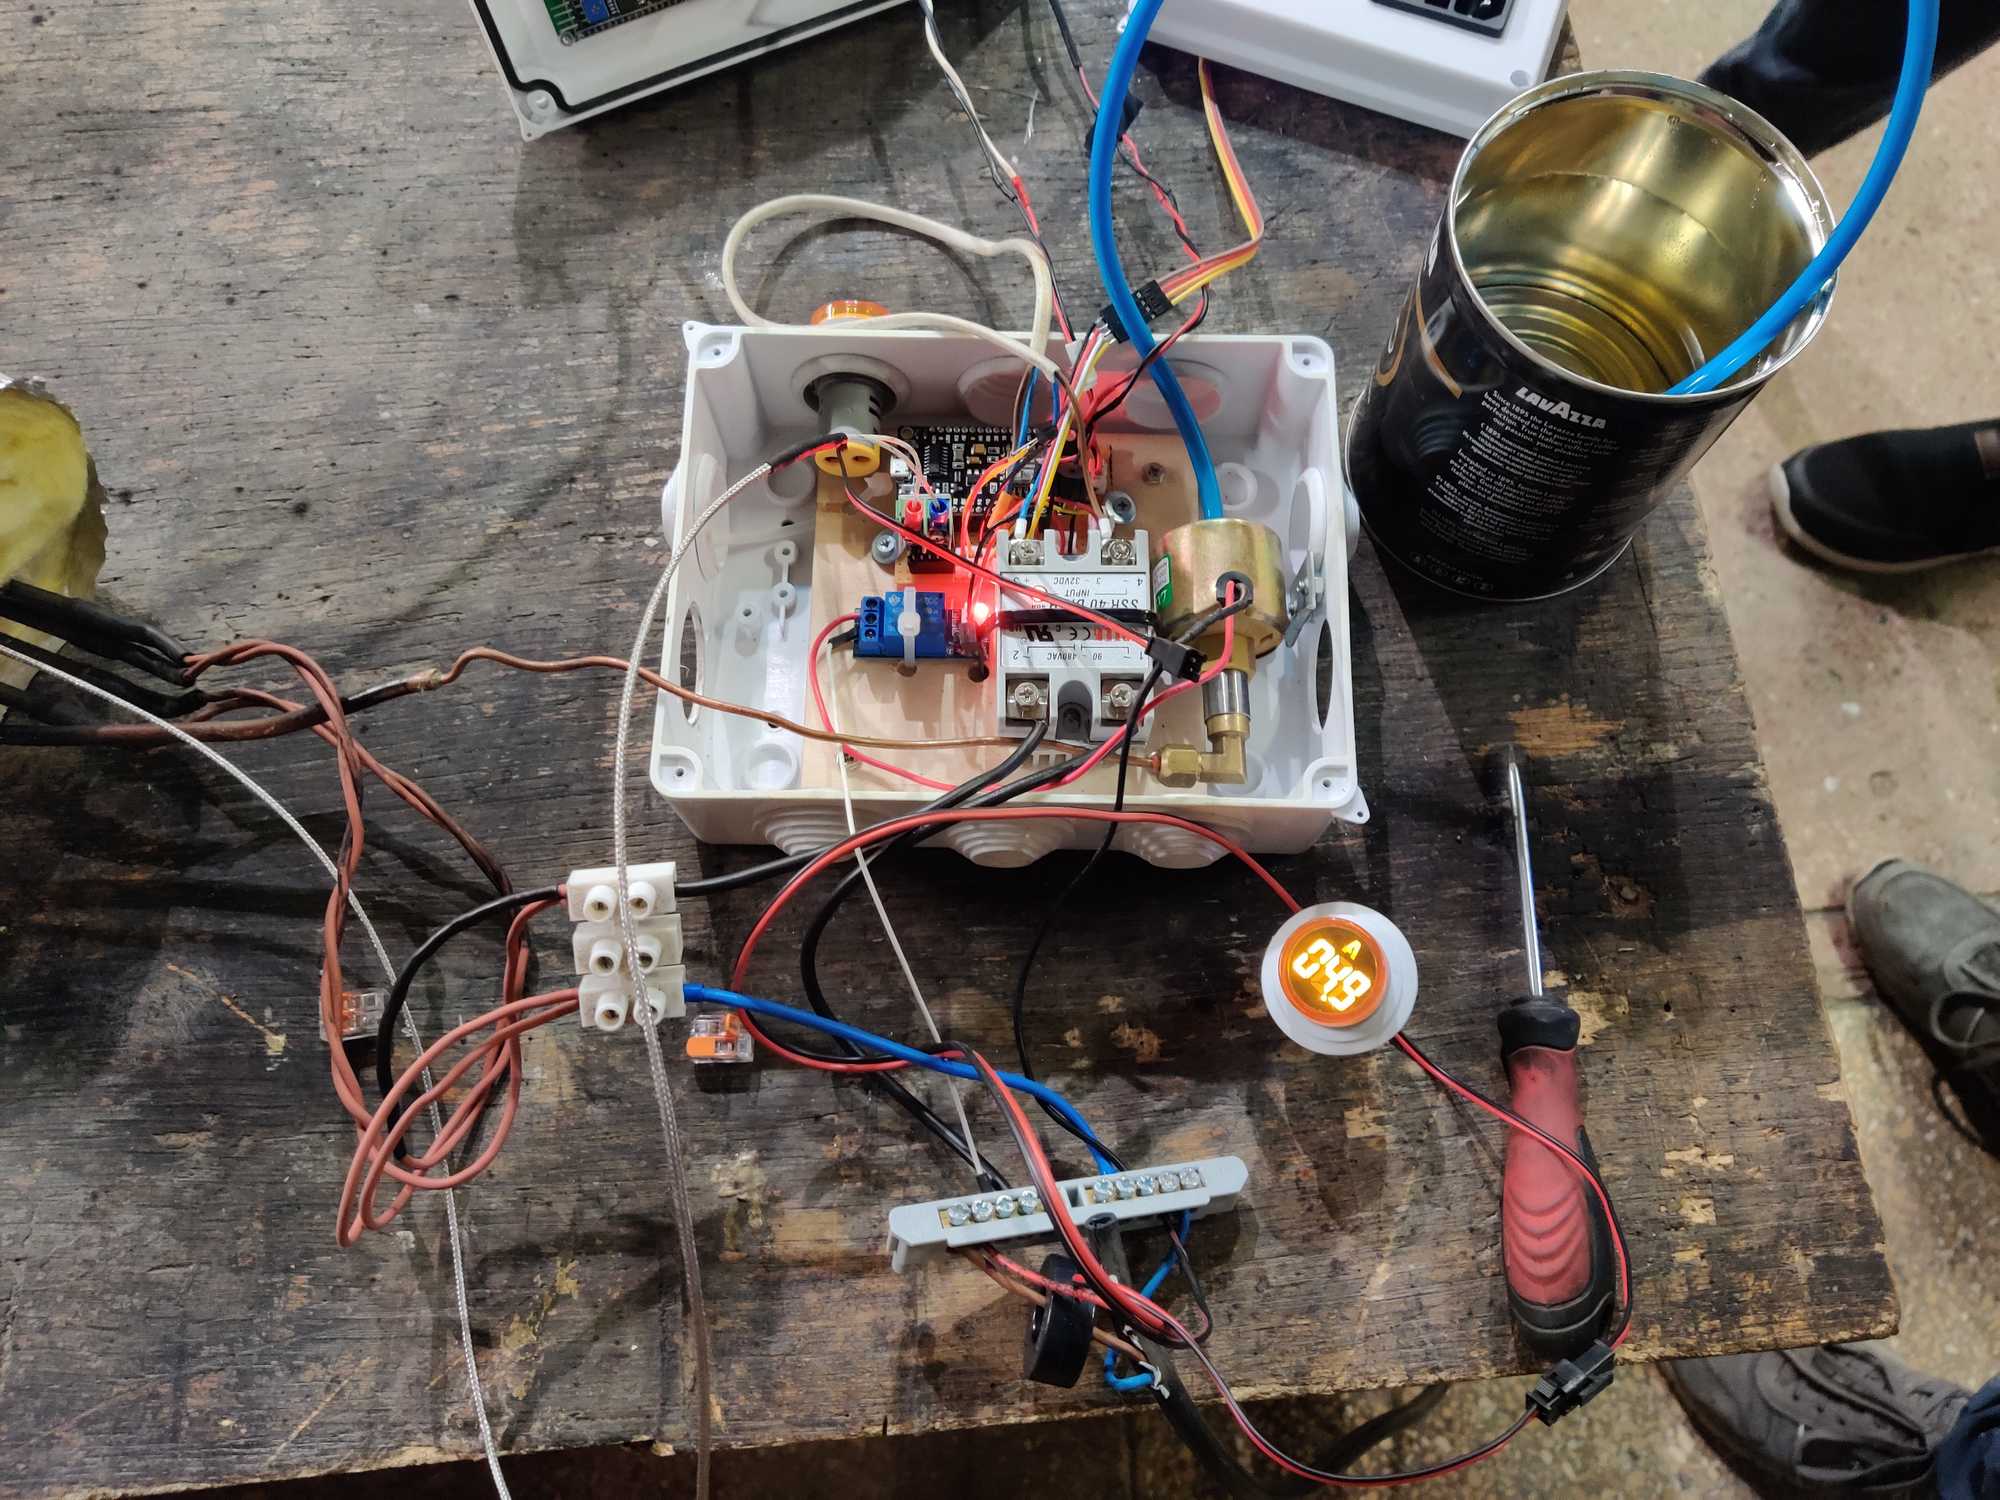
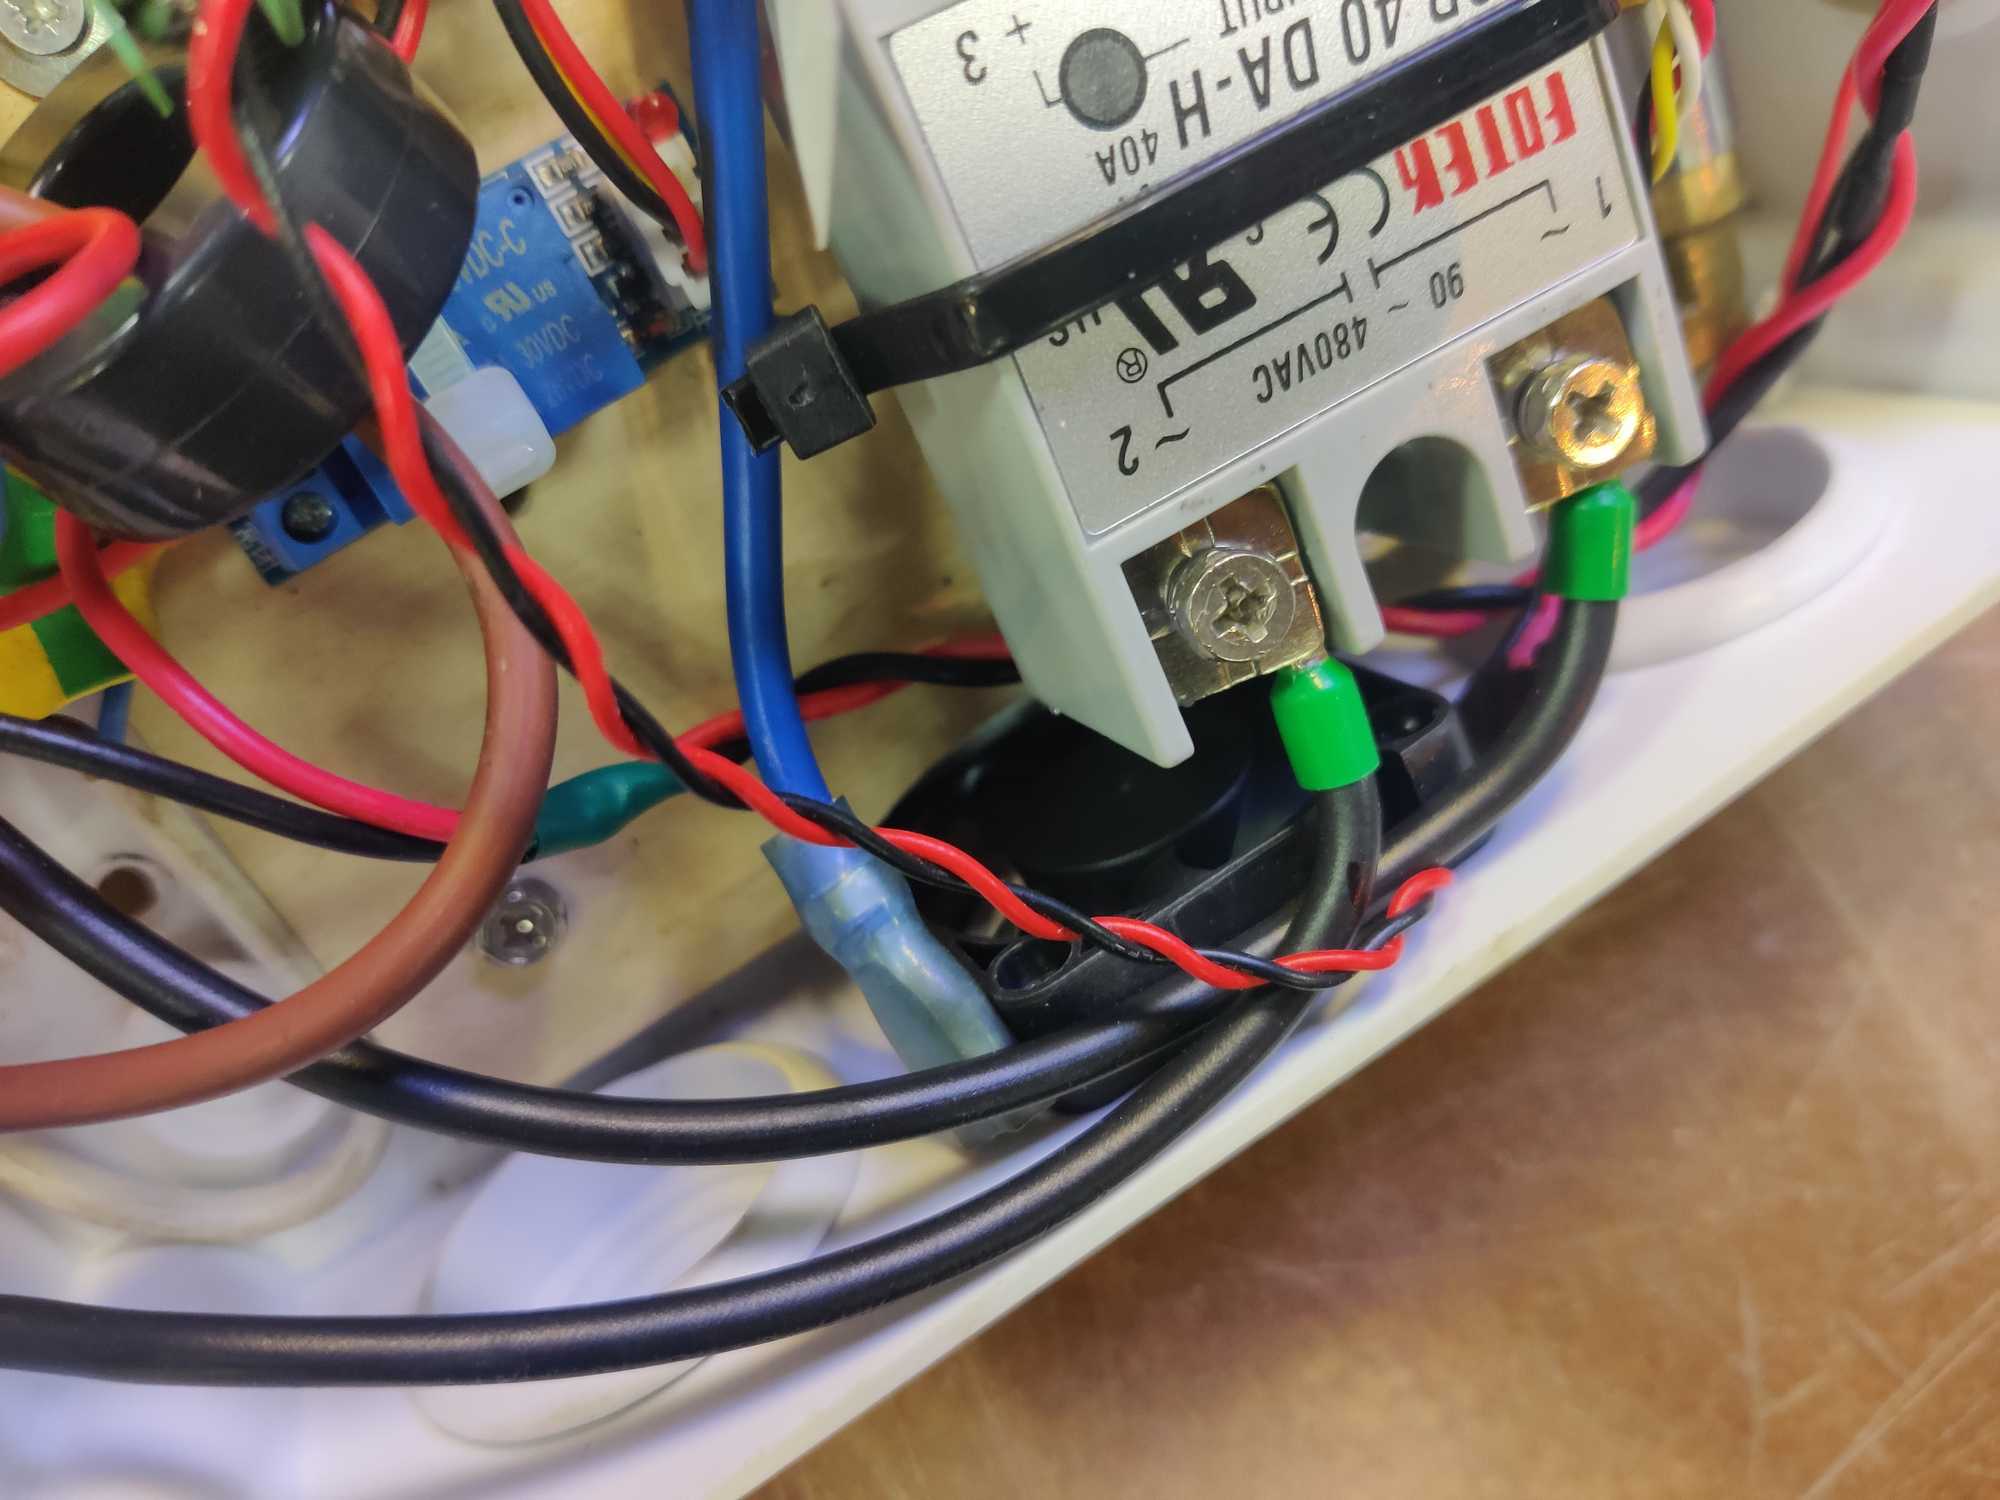
While we were testing it on the table we noticed that the SSR after a while gets pretty hot. And when the box will be mounted onto the case that will inevitably get warm as well, and the machine will work for extensive periods we worried that this part might start to fail. We threw a heatsink on it and added a small 12V fan to move air through it.

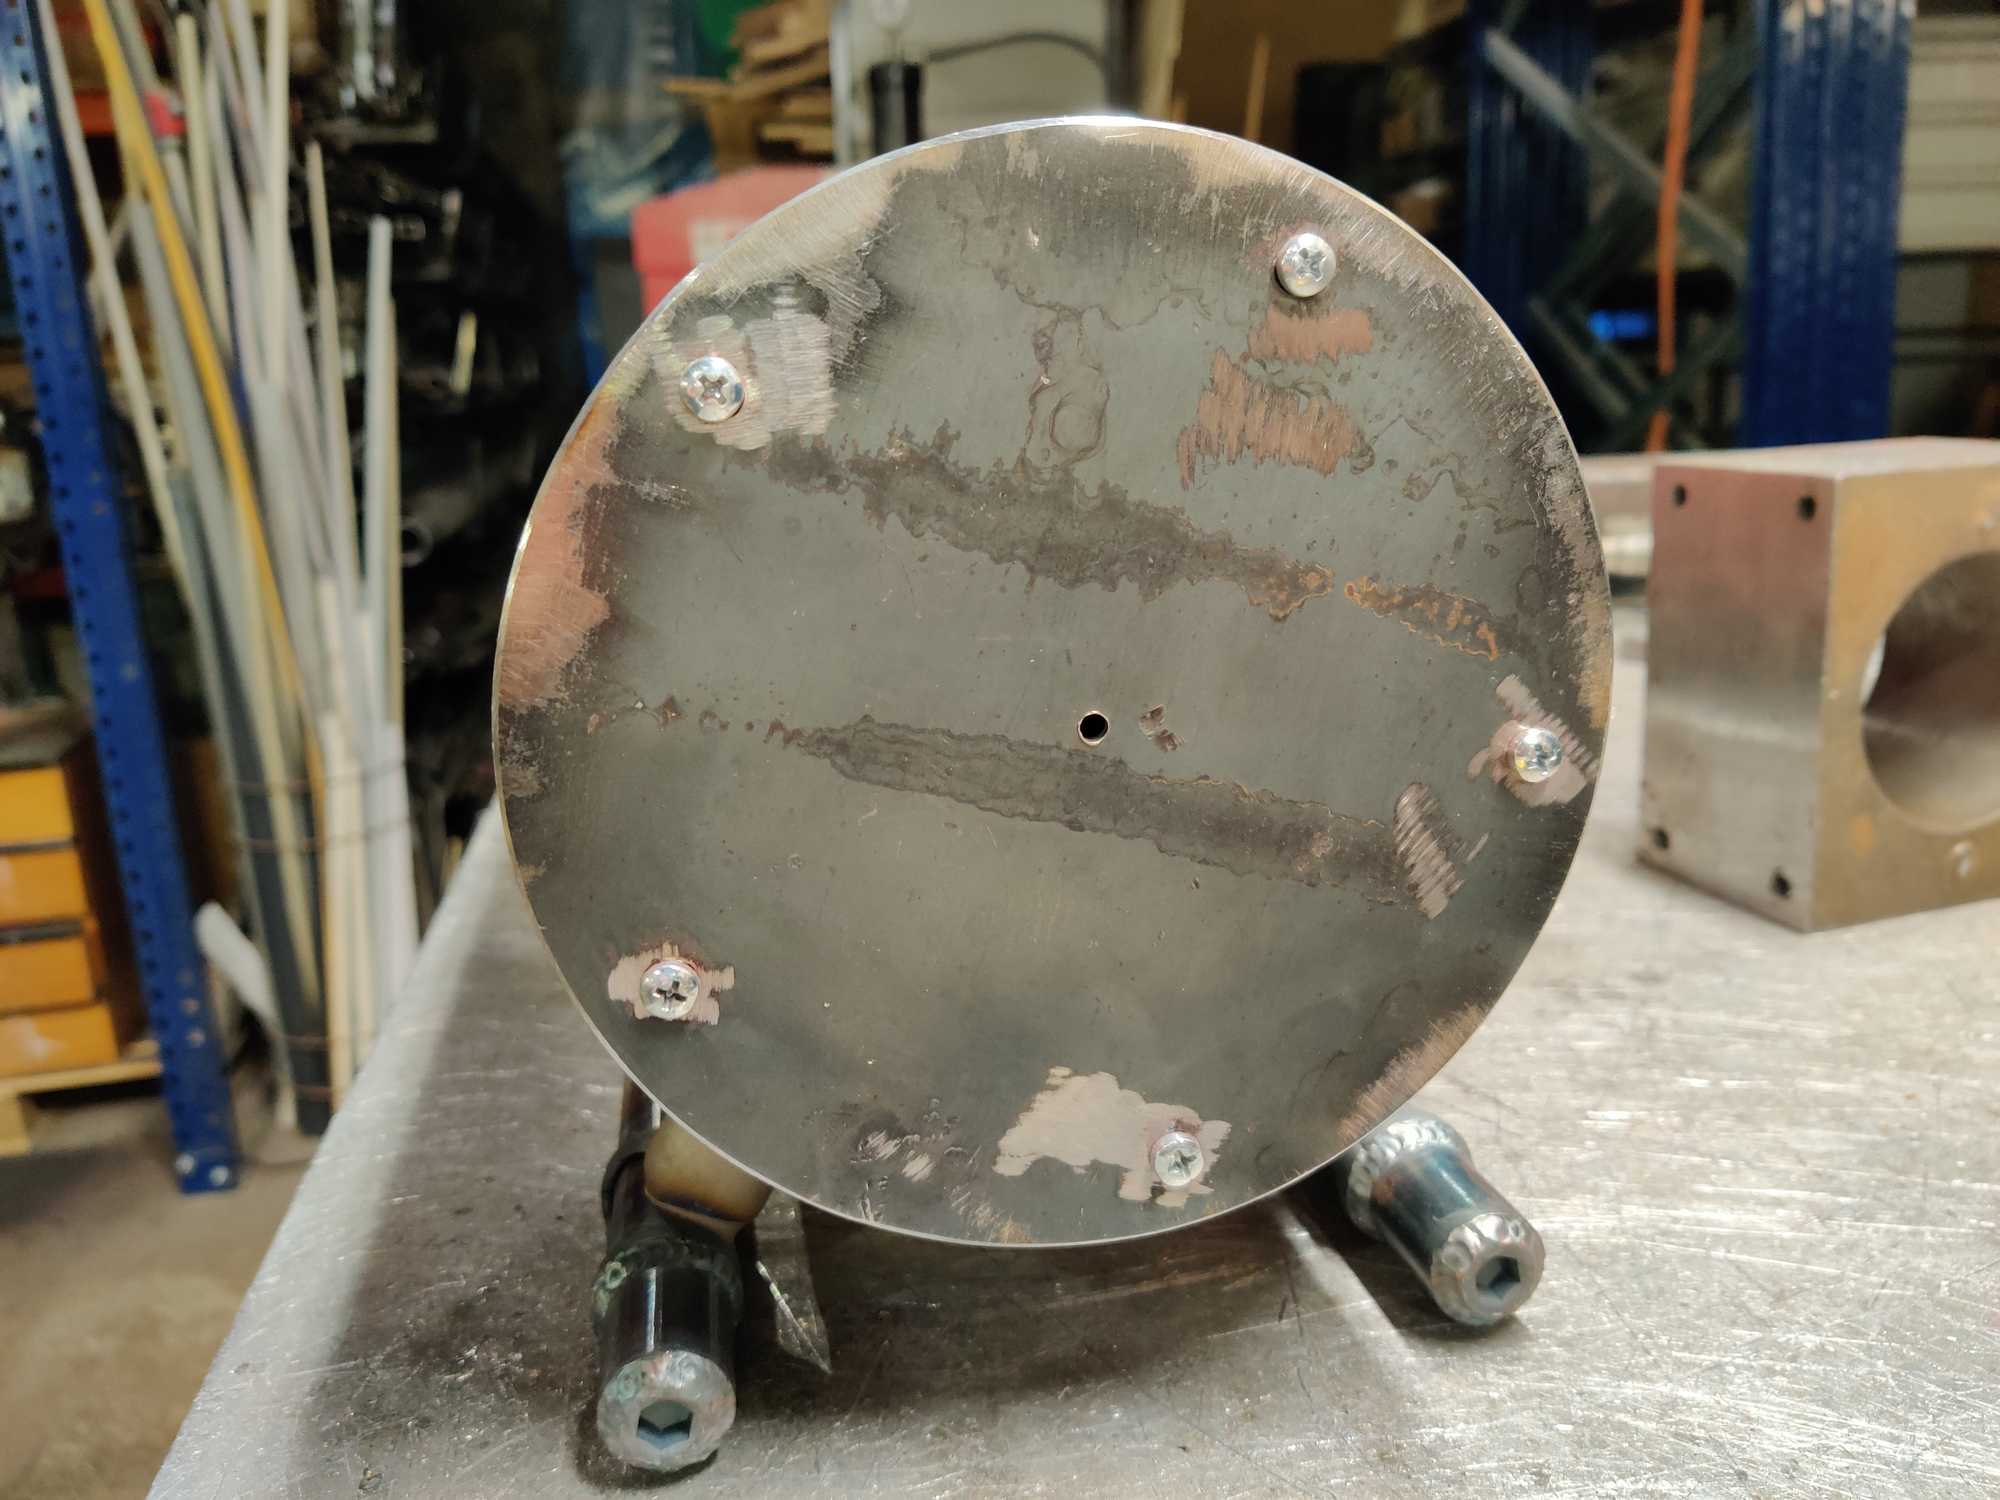
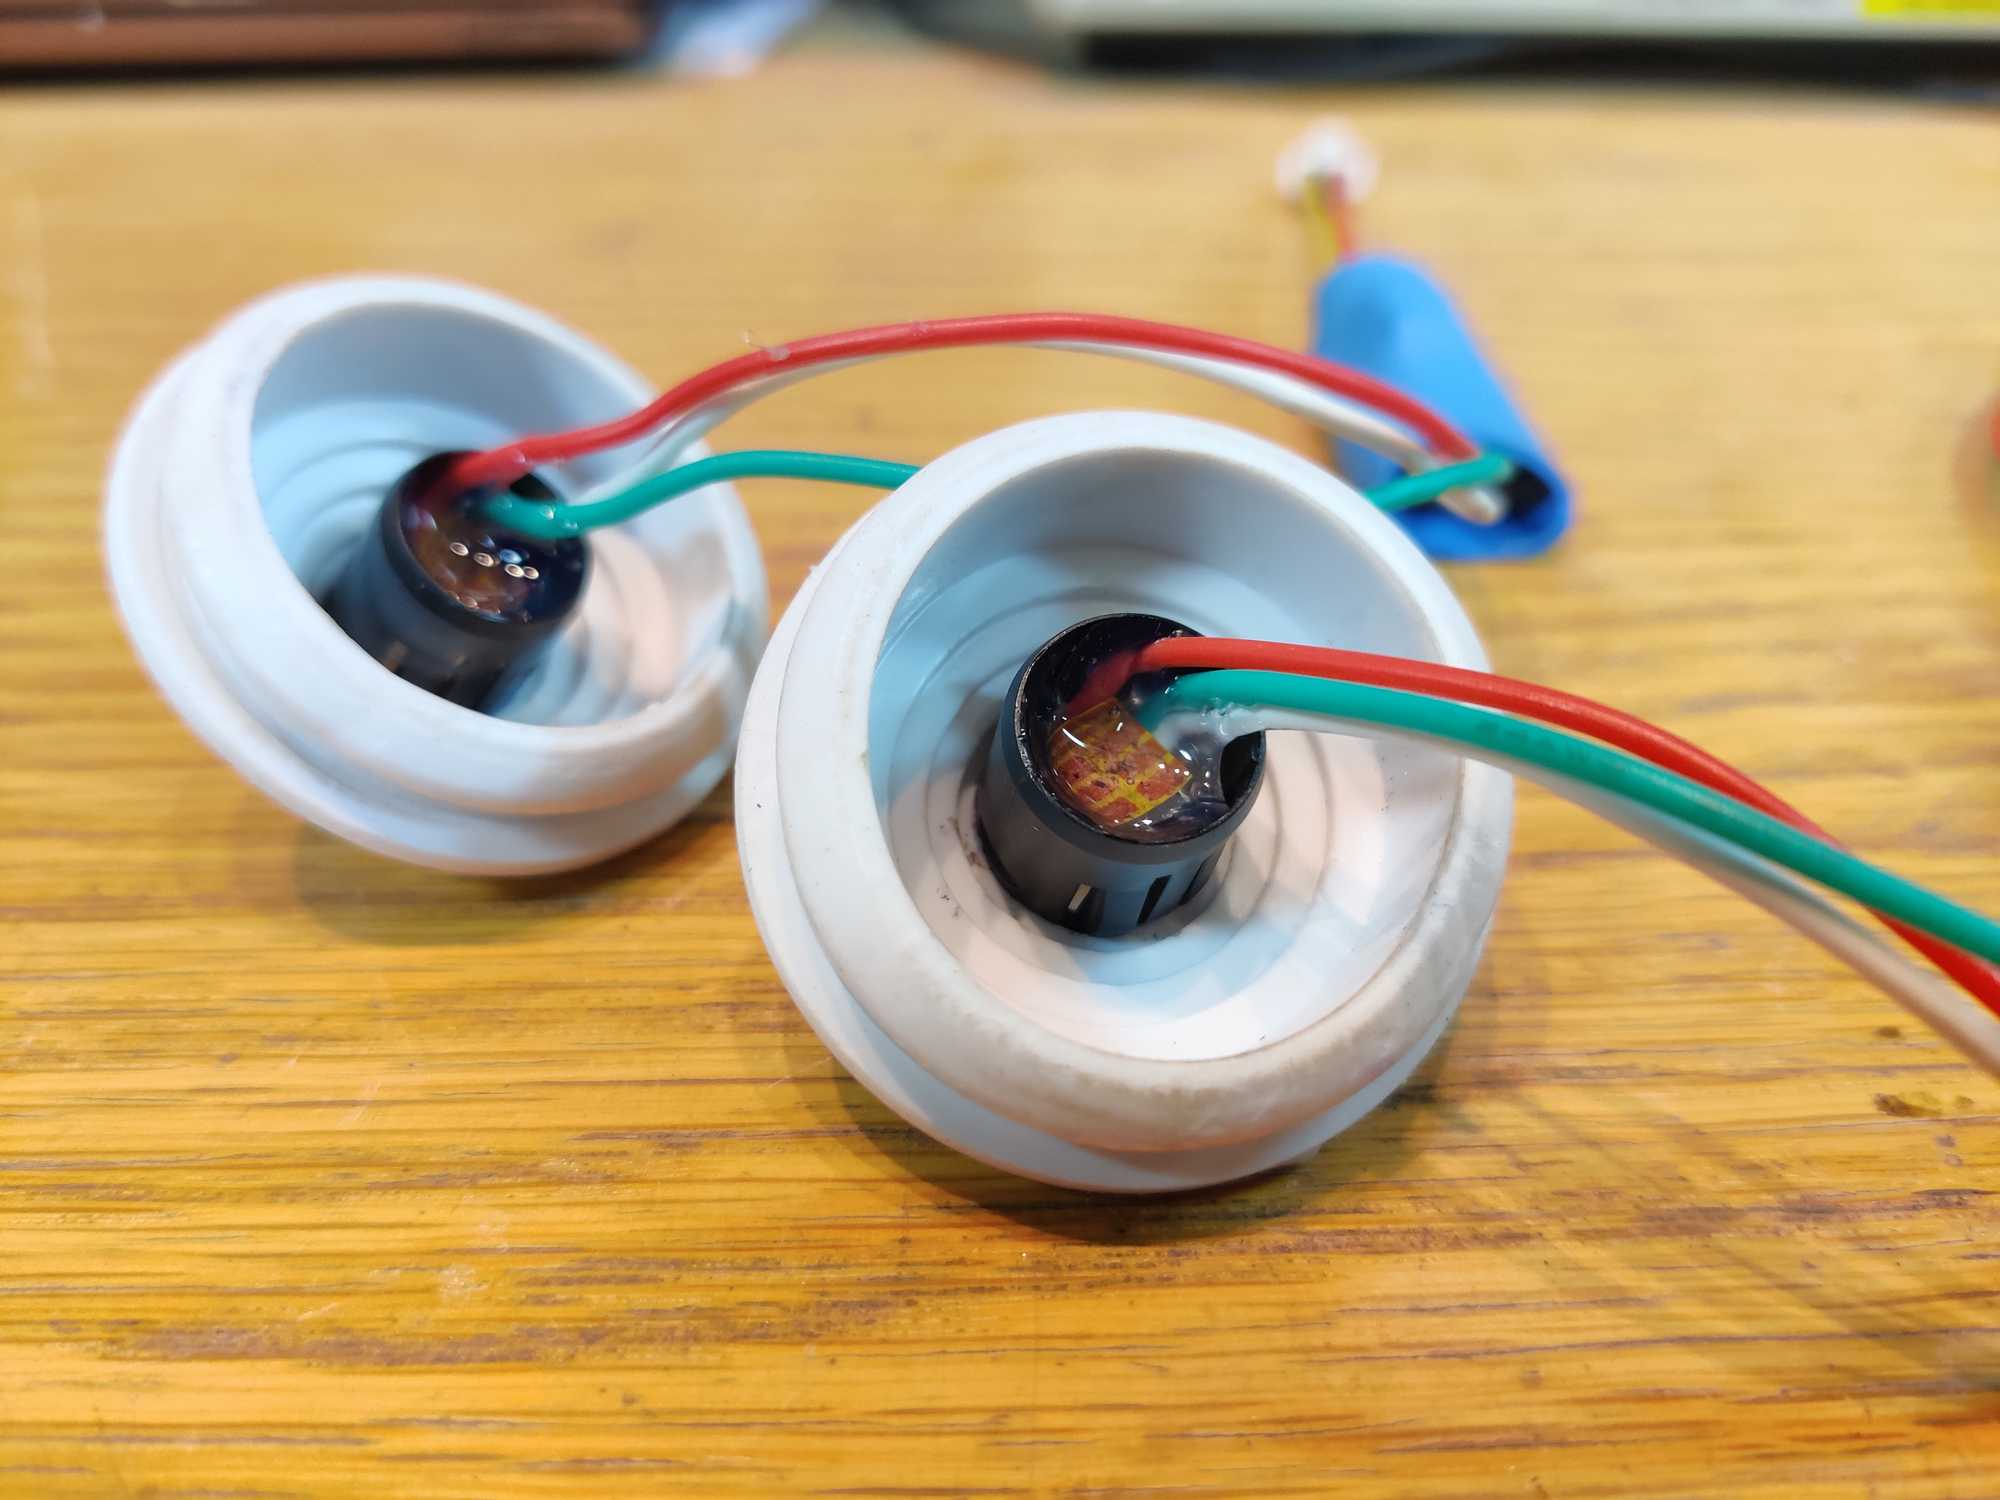
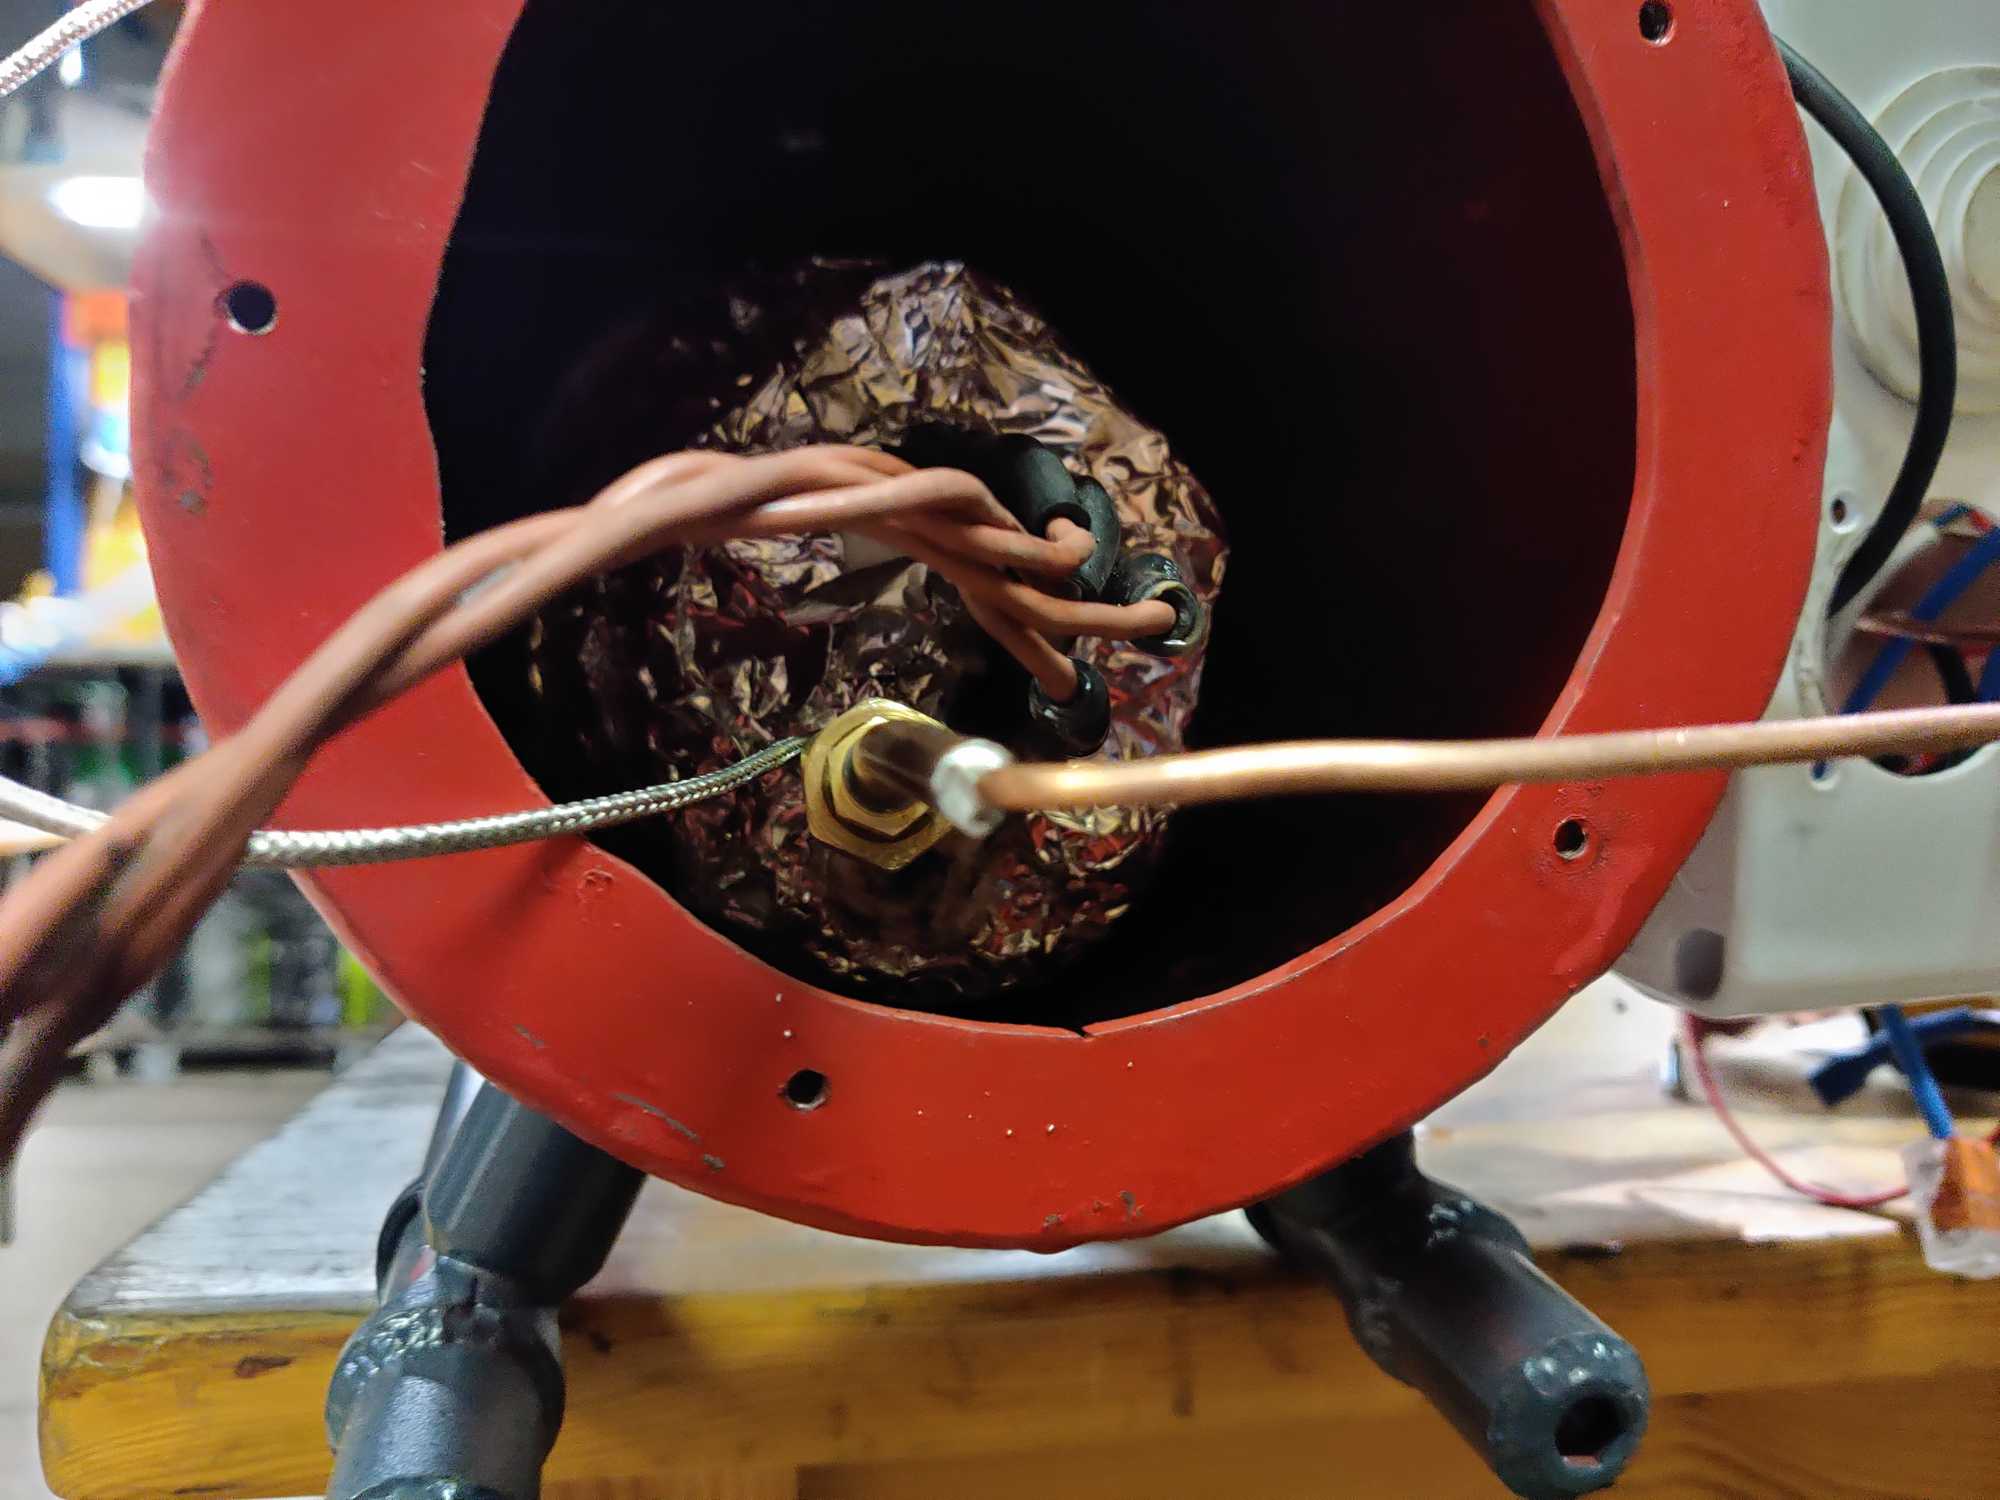
The block was wrapped in insulation to keep it nice and warm and put inside the case but now it needs to be centered properly. For this we drilled holes and inserted threaded rivets to have a way to adjust its center with screws.


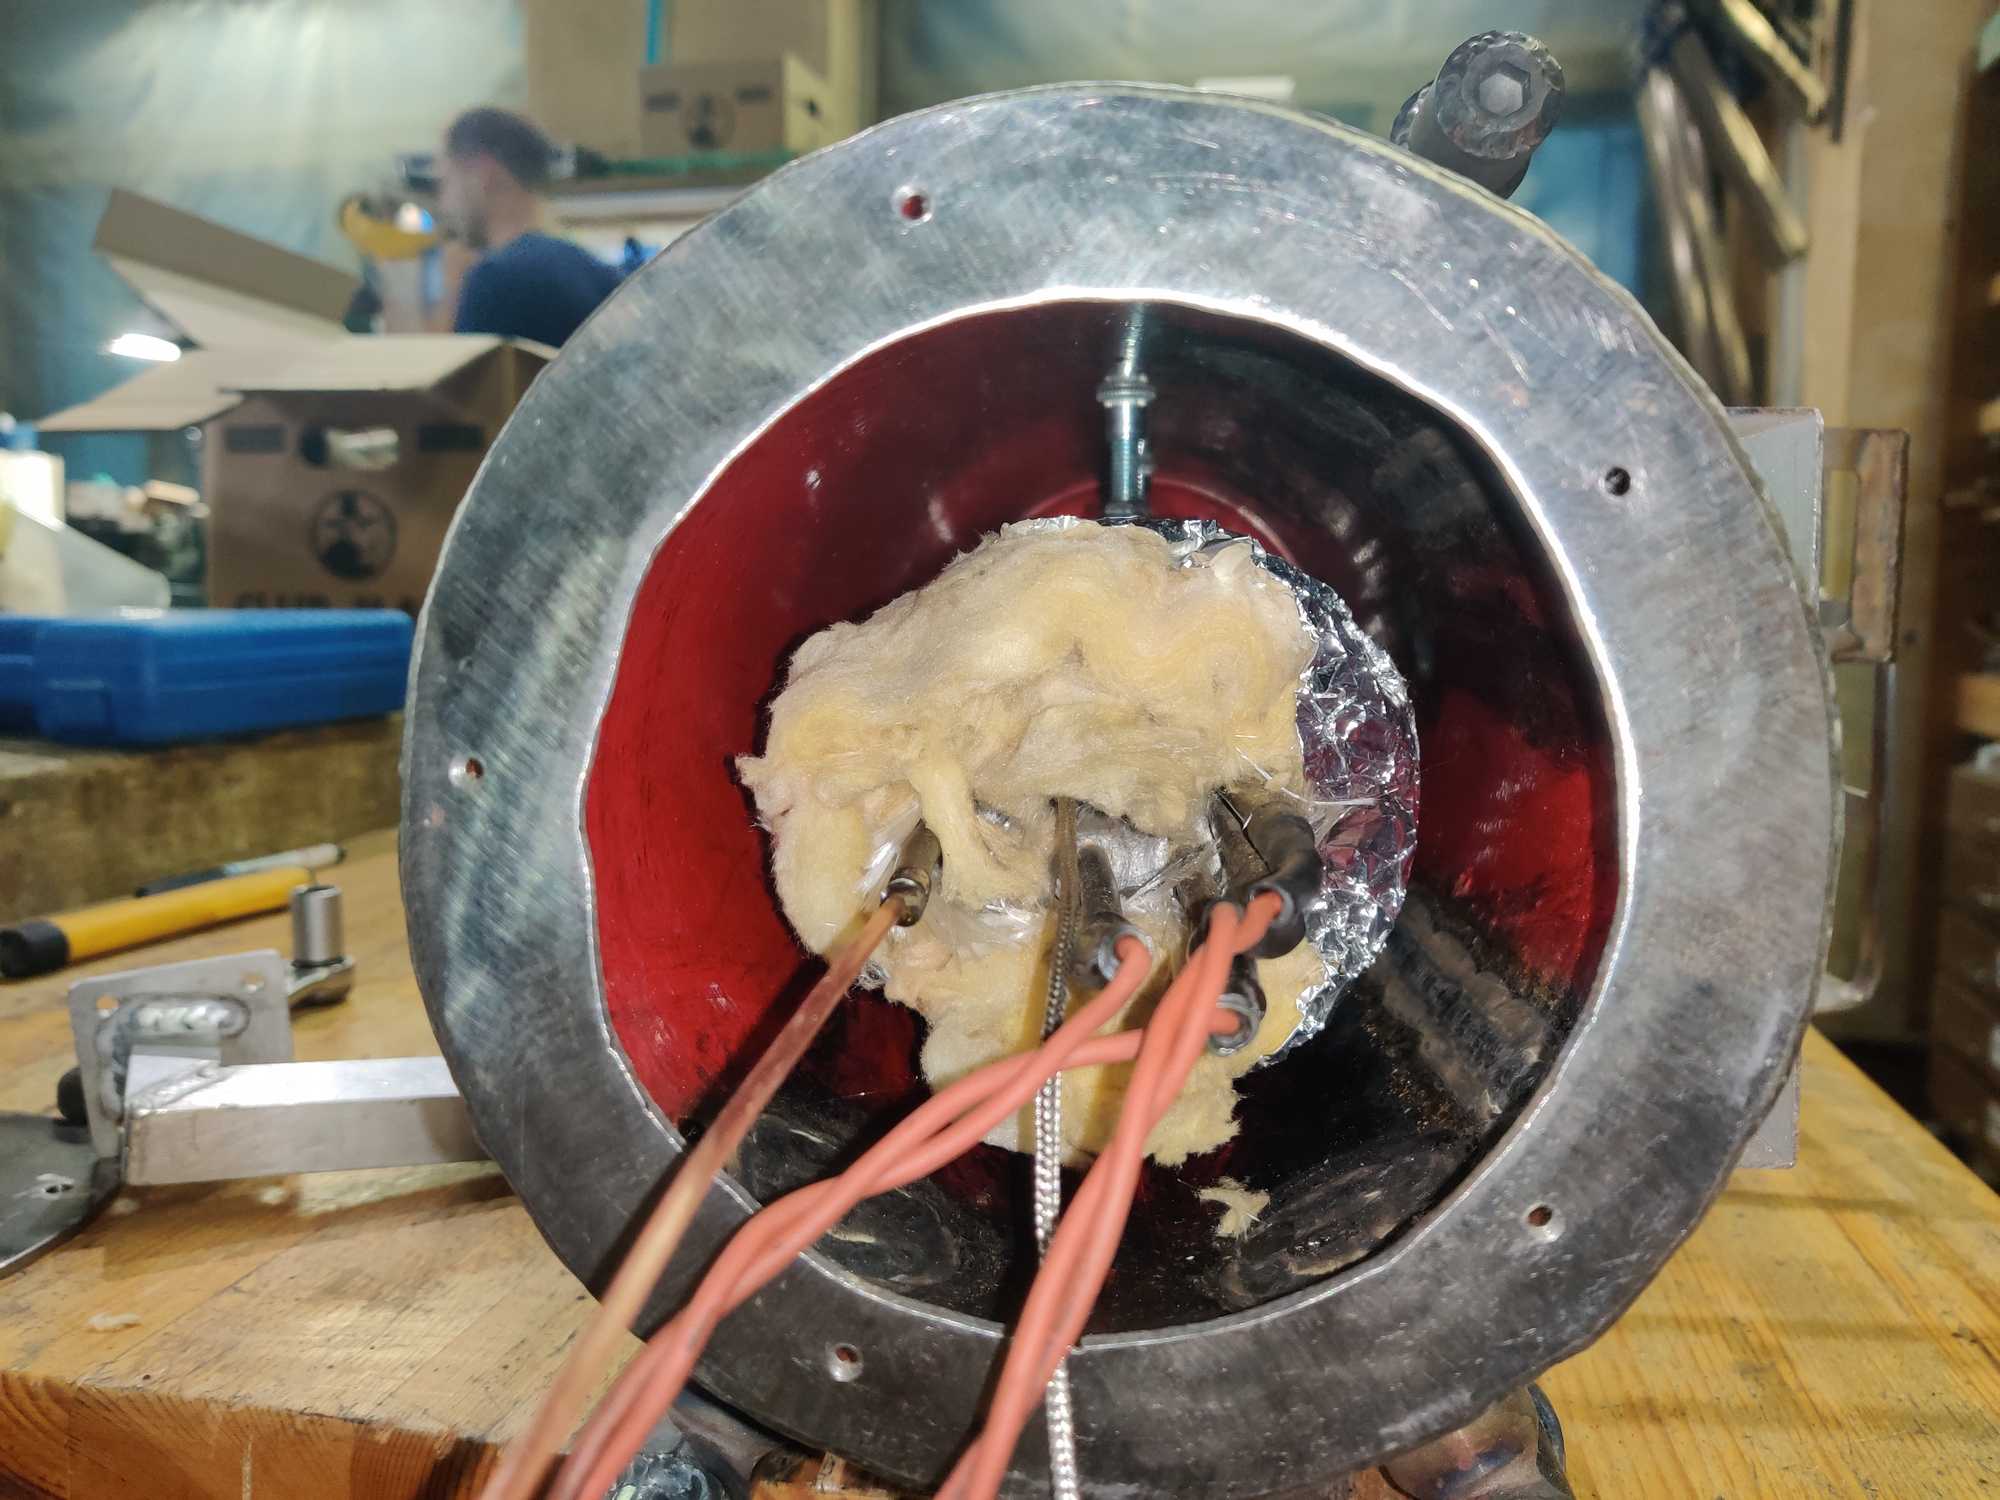
For the insulation we first used just regular mineral wool and left an air gap between the insulated block and the case walls but that proved to be very inefficient in our case. While testing a fully assembled machine the case would heat up to 60C.
Additionally we wrapped the blocks into heat-resistant ceramic sheets used specifically for ovens that can withstand heat up to 1200C and hoped that this will insulate it very well and even increase the performance of it by keeping the heat almost completely inside.
The blocks look like a kebab when fully wrapped :D


And now onto painting! we chose to paint this with two colors – handles and feet in dark gray, and the rest of the body in RAL3001 (Signal Red) which is what the fire extinguishers are painted in.
First we had to remove the powdercoat from them but that became very tedious very fast since the powdercoat paint is very durable and hard to remove… finally we gave up and just used sandpaper to roughen up the surface for paint to stick better and cleaned it off with acetone. We didn’t want to paint the reservoir cradle so it was masked.
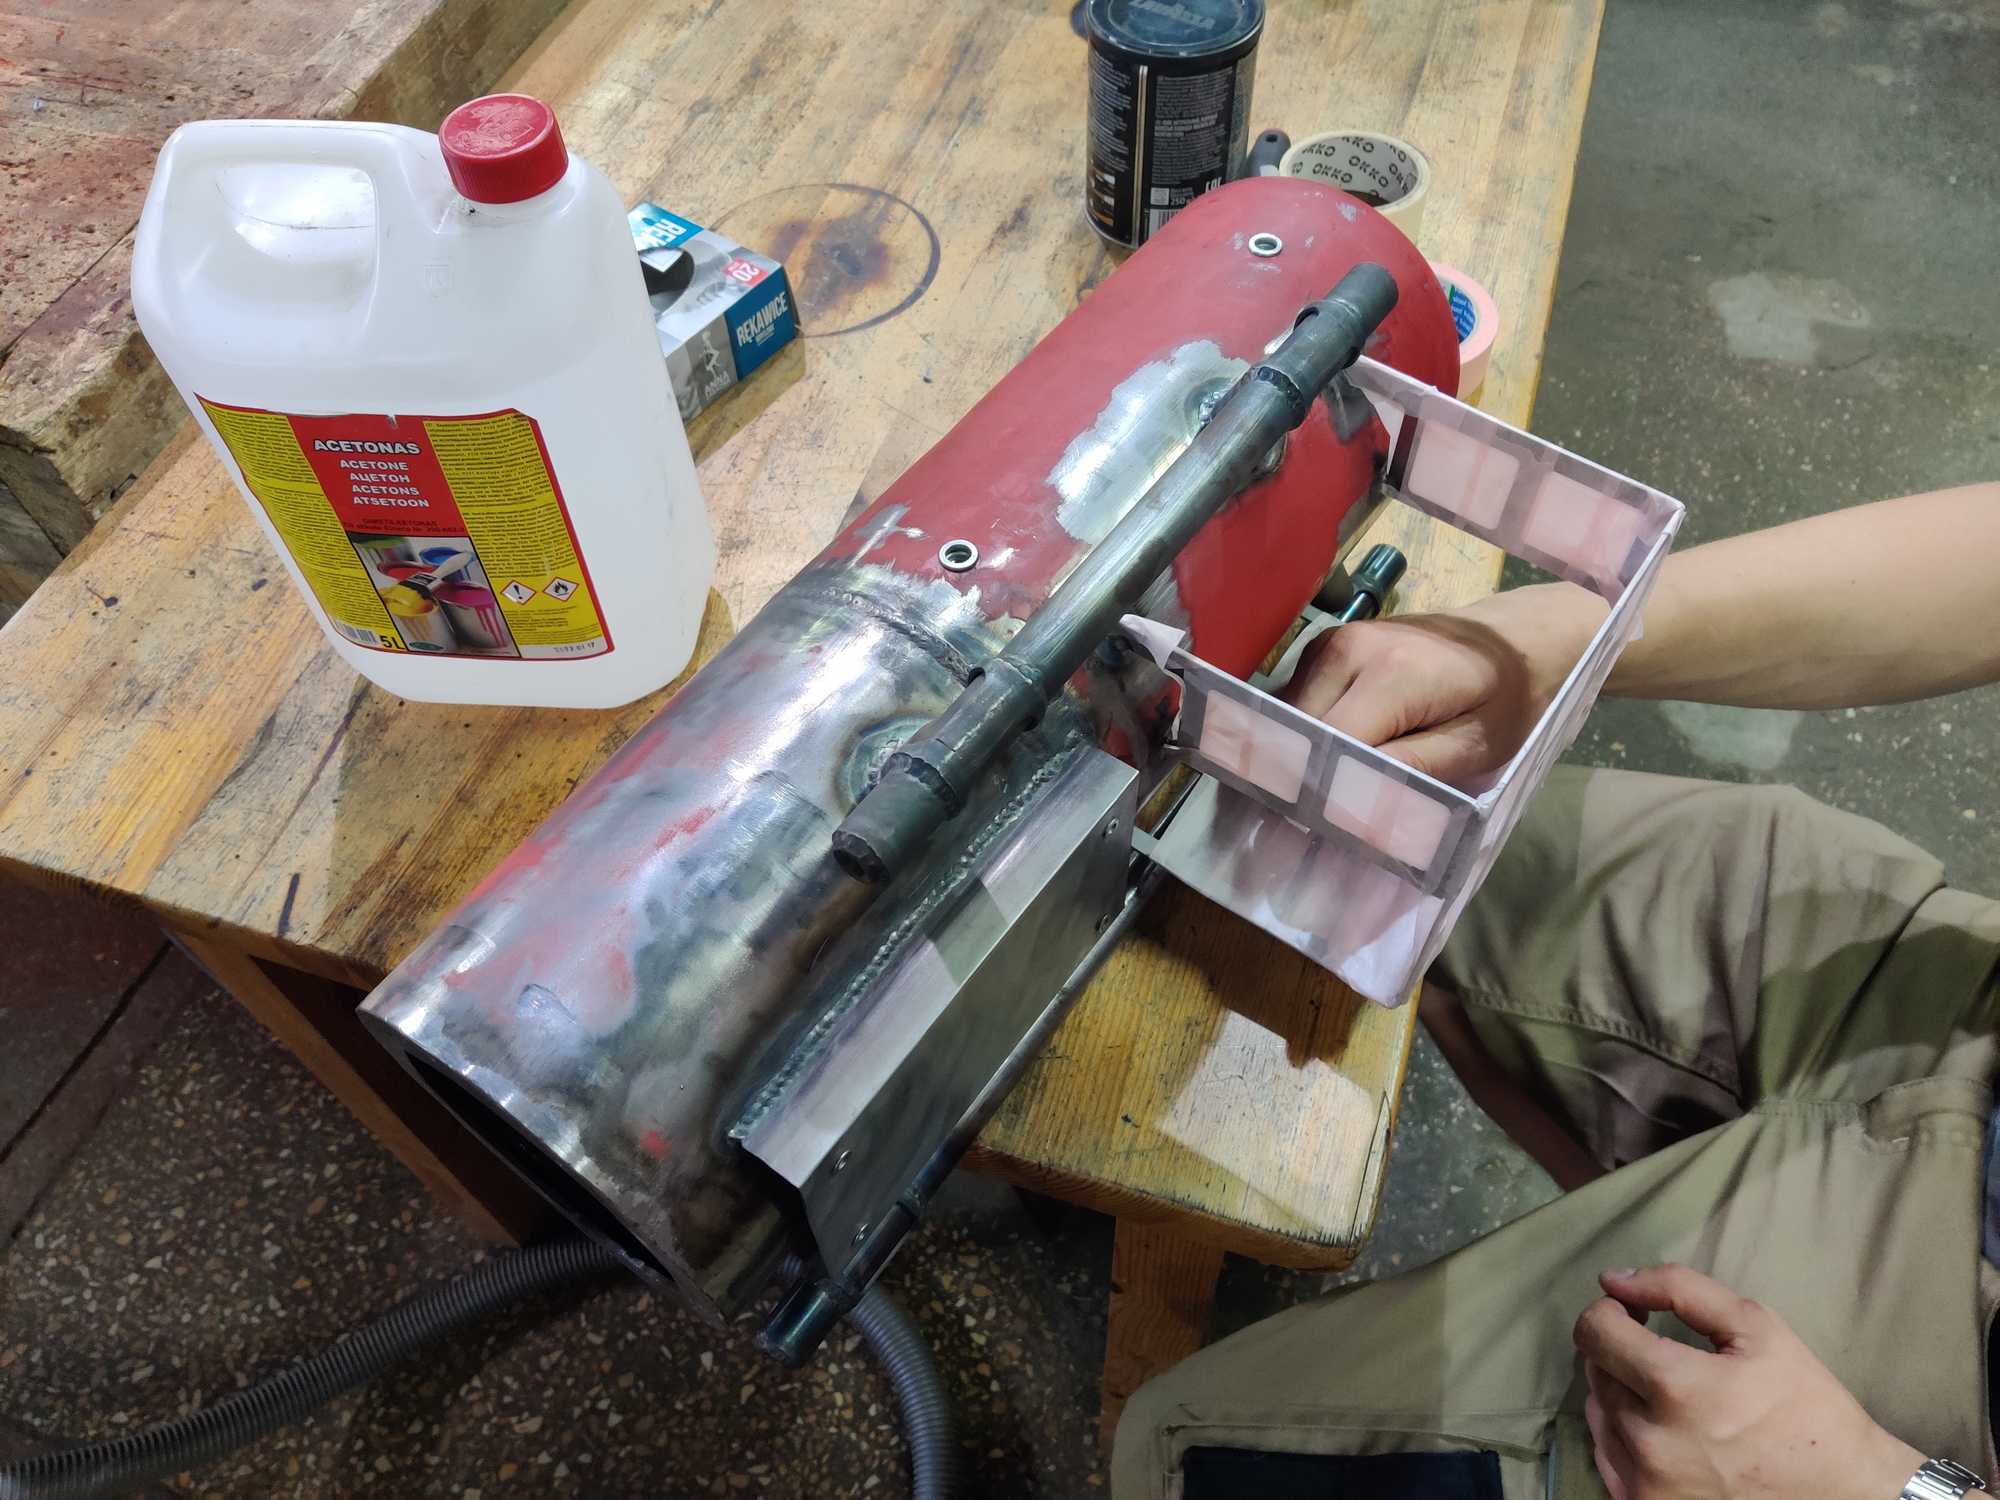

And then covered everything with anti-corrosion primer. I was surprised at how well the primer covered everything and you can’t see where the paint was.
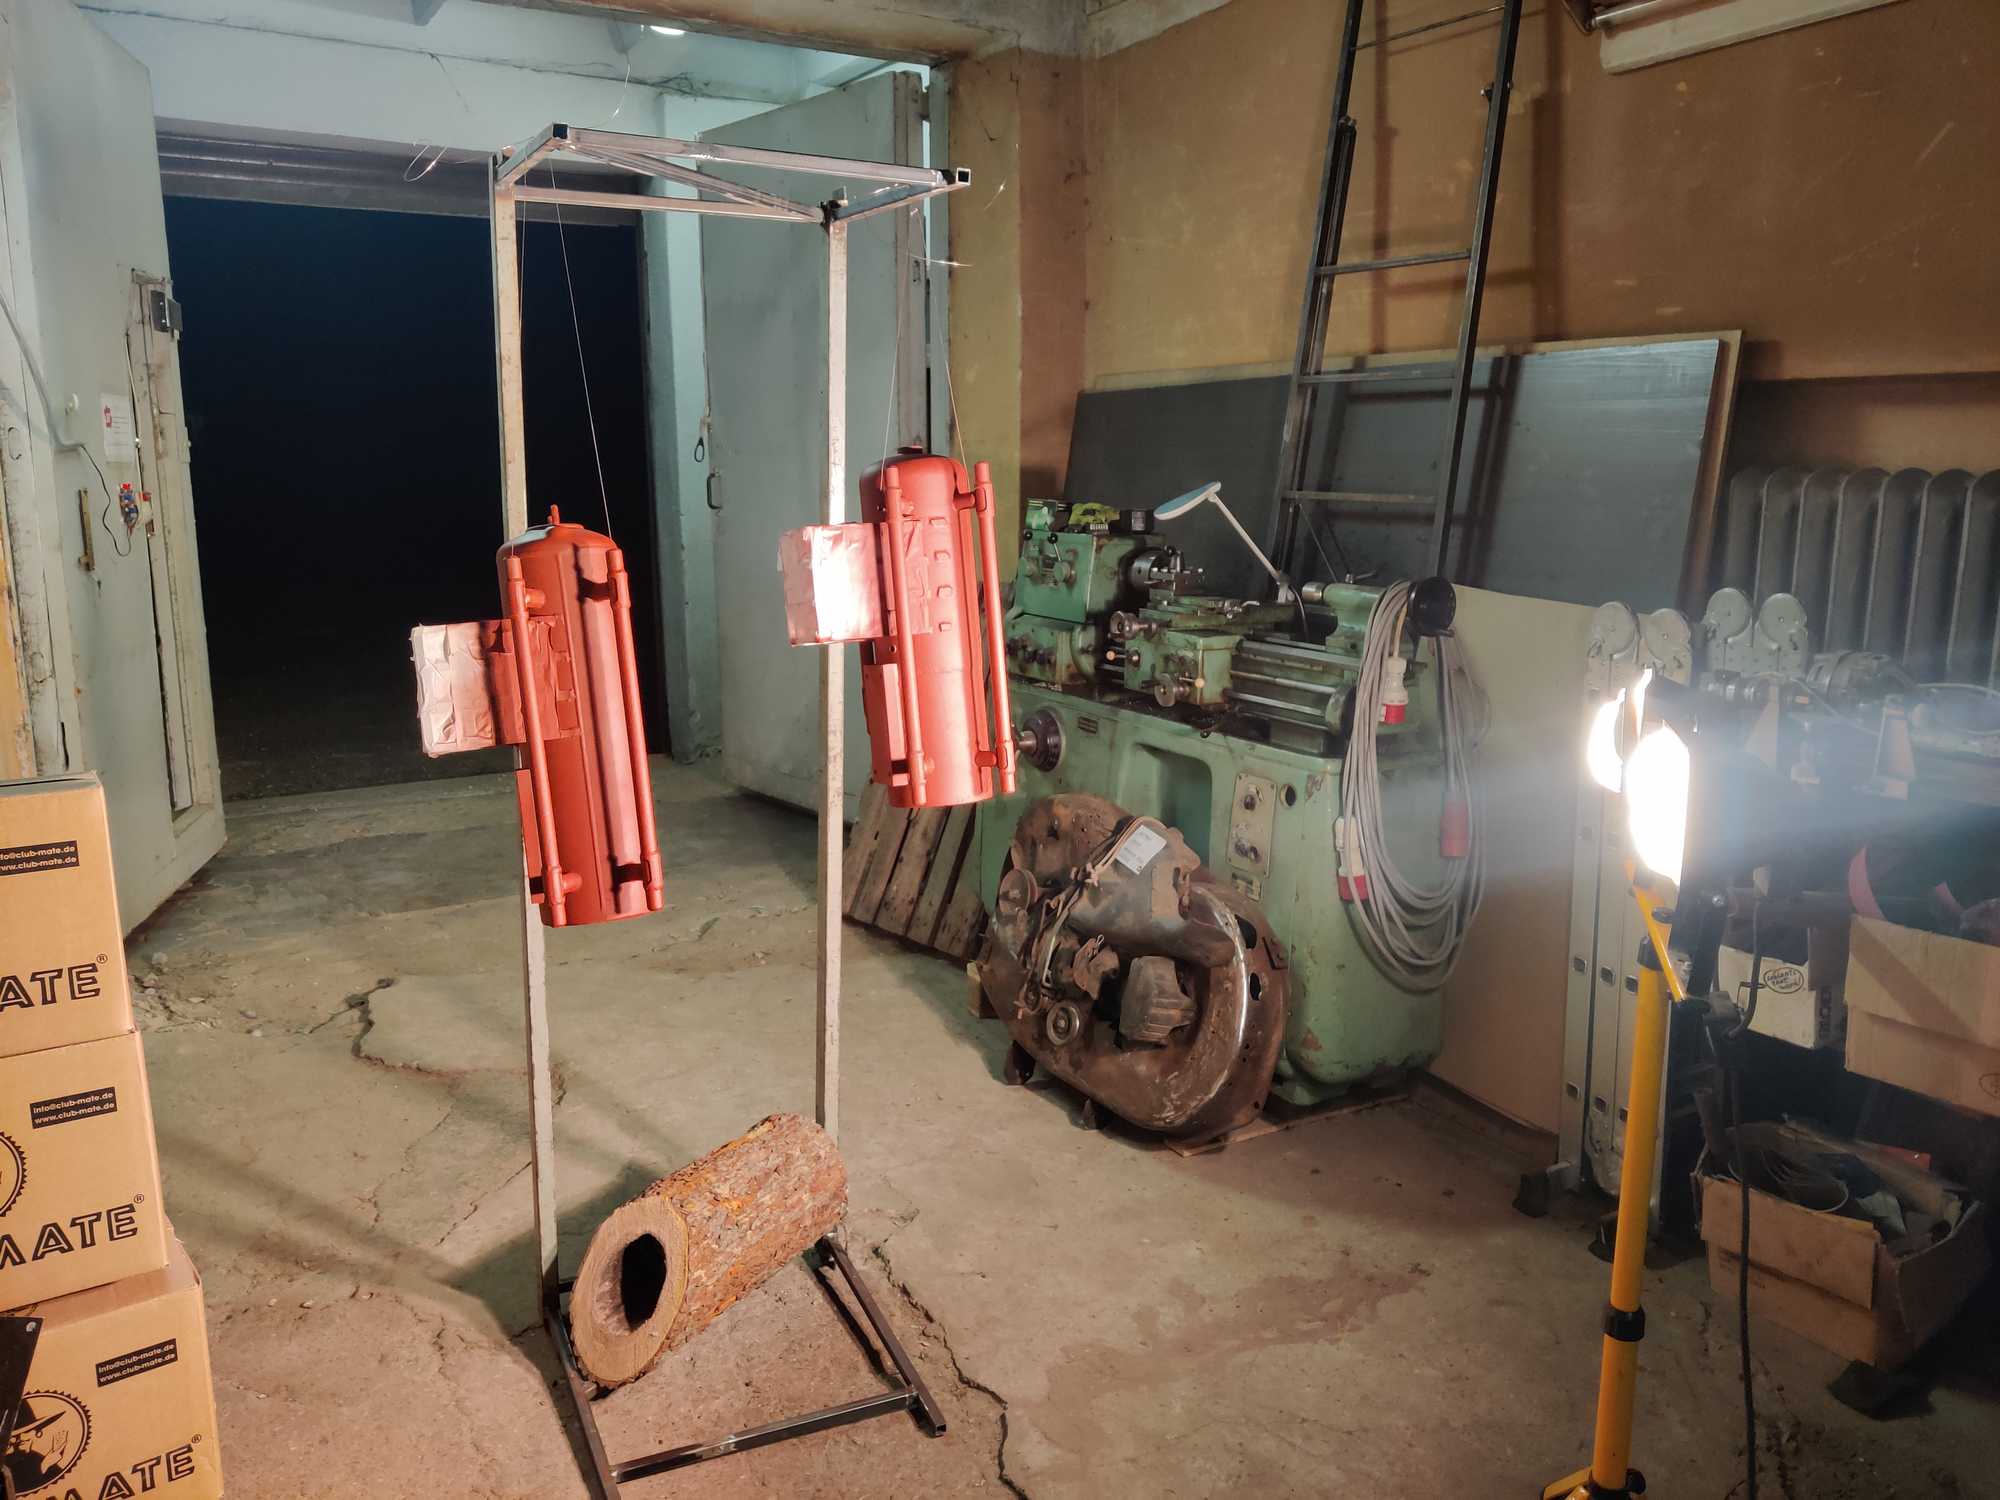

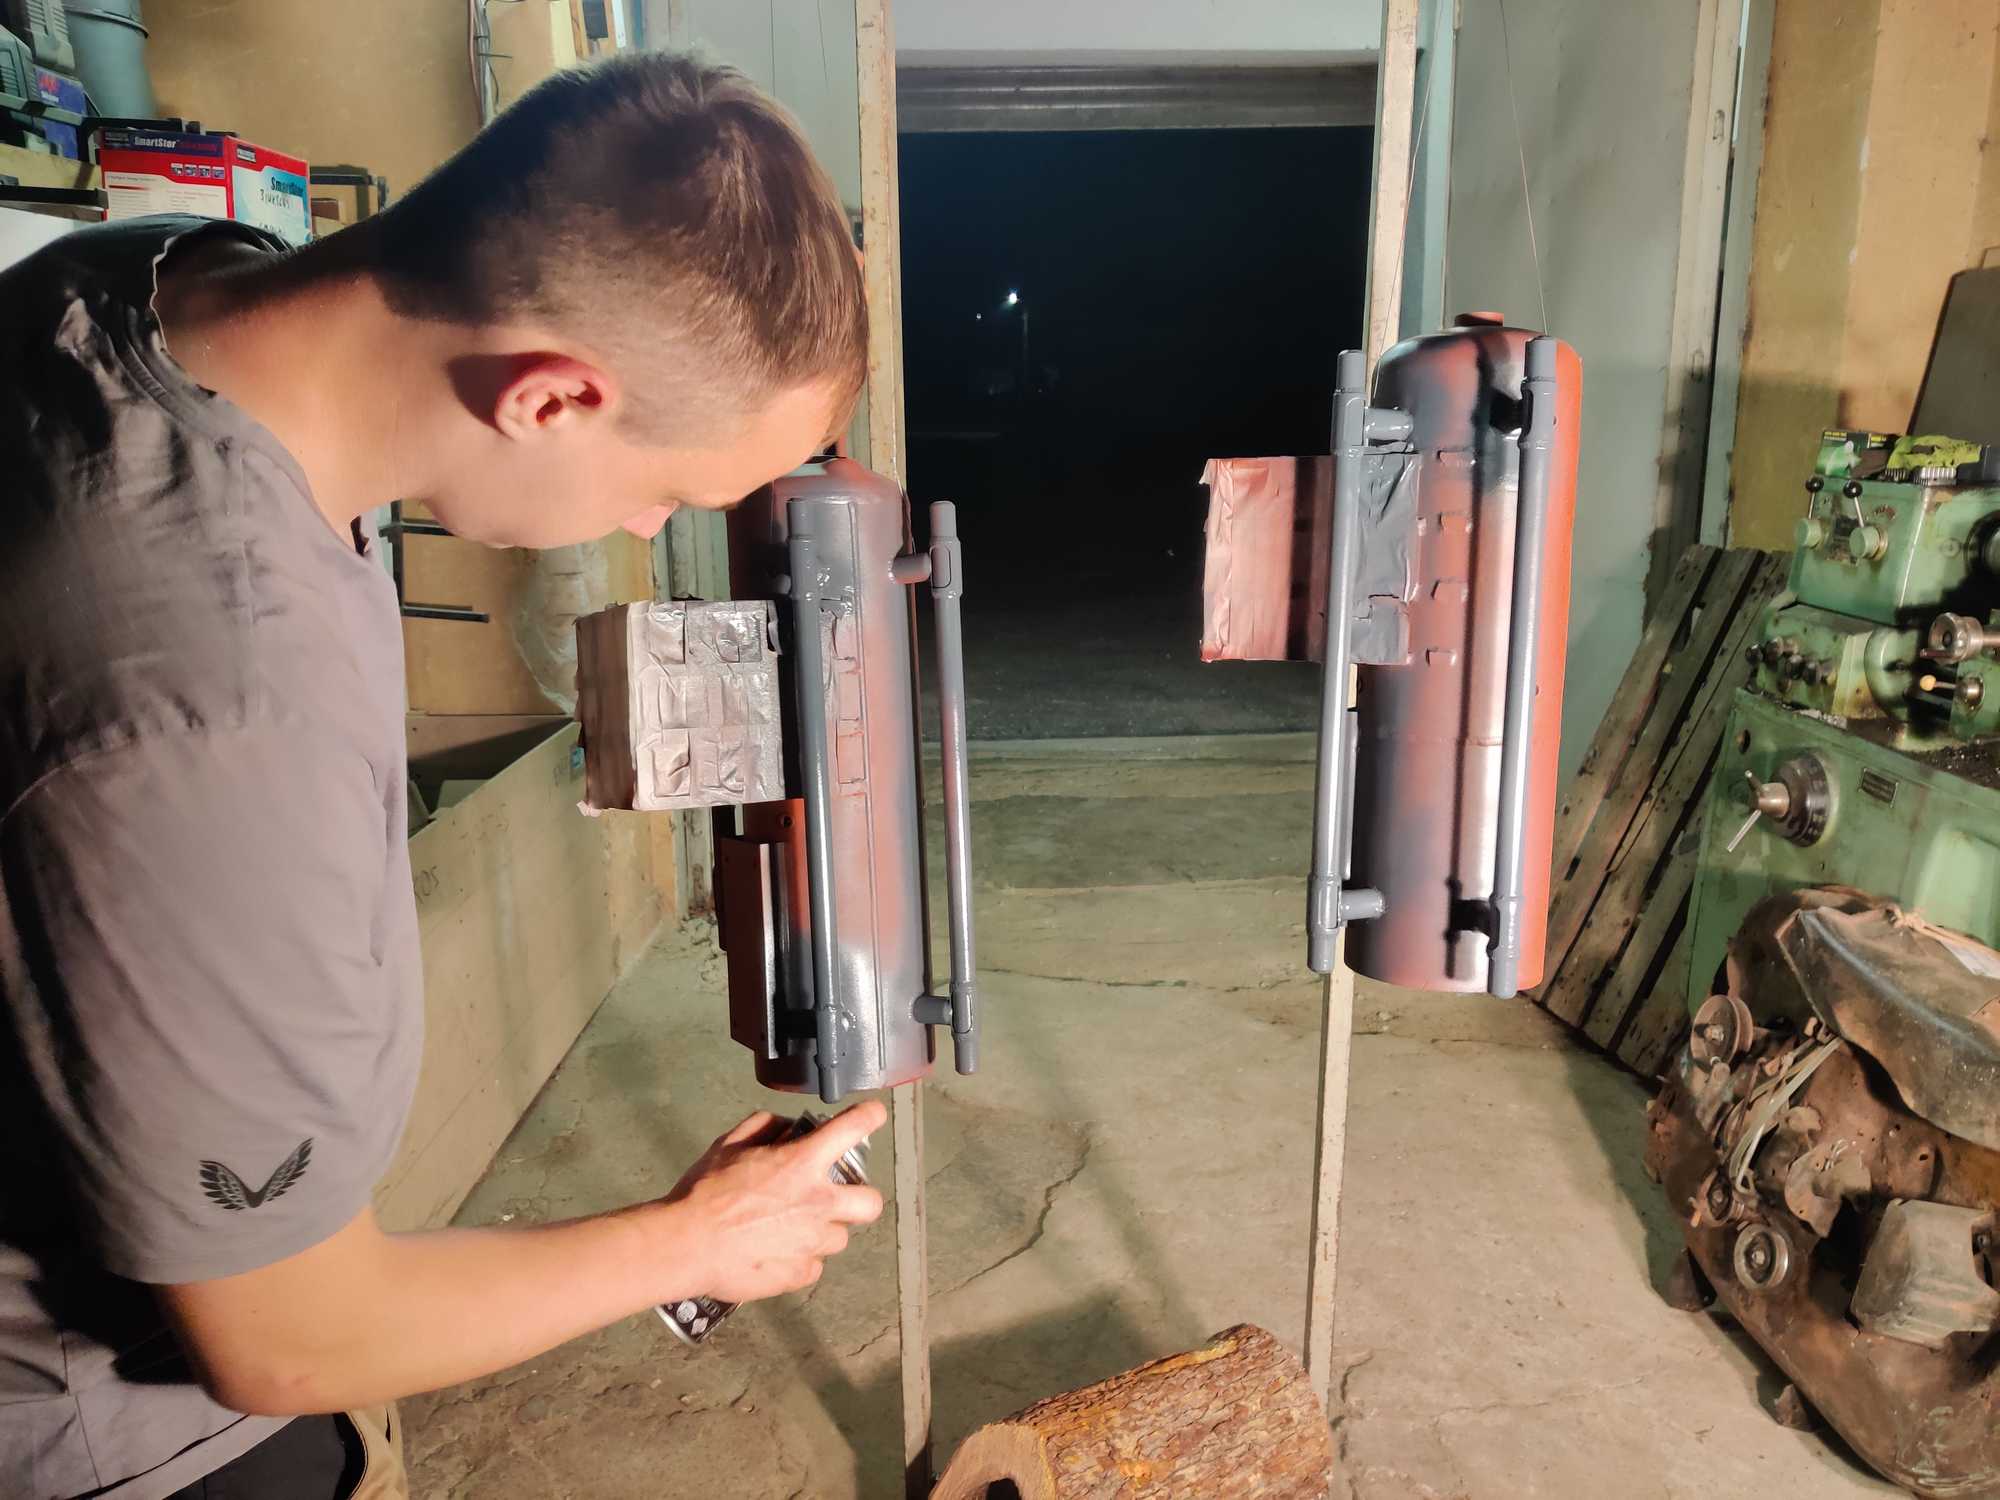
After it fully dried we assembled everything together and here’s how it looks on the table! ready for testing :)


We managed to hit a deadline just one day before the event :)
But just as we were properly testing one day before the event, we noticed that one of the machines is leaking quite a lot. After disassembly it was clear that the block is leaking somewhere from inside. What that means is that we cannot use it and had to throw it away. From the looks of it it might have been leaking while in the MFMv1 but we never noticed it. That’s pretty sad, we’ll have to make another block because we already have a working shell.

Also the insulation didn’t help much in reducing the inside temperature, after a while it reached around 50C with ambient temperature outside being ~26C. That isn’t bad at all and the only thing that we can do is drill holes on top for hot air to escape. That contributed to the copper tube heating above 180C and melting the solder. Only solution was to extend the tube and solder it outside the case.
During the main event the machine held up very nice and didn’t blow up or something. We noticed some things to improve and we’ll do that for the next event :)