
After my last photoshoot with a model I realized that it’d be pretty convenient to have an RGB lightstick for various scenes. Same could be accomplished with an off-camera flash plus color gels, but it seems that it’s simpler with a lightstick and using an off-camera flash has it’s other uses and nuances compared.
Additionally I also wanted to use the lightstick as a sort of mood light for parties with friends and maybe at home, so the LED strip should be addressable to support various effects just for that extra coolness :)
For just photography there are dozens of commercial products available, of course, if you are ready to pay 200+€ for something PRO which is as simple and I didn’t want to order cheap-o sticks from China either in fear that they would actually suck and be very basic.
Having that in mind, I set out to gather ideas how this could be done without spending too many hours on the software side. I figured that this should be a common project… however like I learned with the airsoft bomb project – common doesn’t mean usable. There were many projects related but all the code I found was so horrible that ultimately I wrote my own in a few months period.
I found a couple of examples how to approach this and found an awesome project called WLED which is just what I wanted.
First off I threw together ESP32 and a piece of addressable 12v LED strip that I found laying around to check how this works. When I saw that it’s all good I went to Ermitažas and bought a 1 m LED desktop lamp with a diffuser, cheapest one I could find, took out its internals to be used elsewhere, ordered 1 meter of 12v 144 LED/m addressable LED strip (WS2815) and bought a battery pack for RC models so it has enough power in a small container. Other components I already have from past projects.
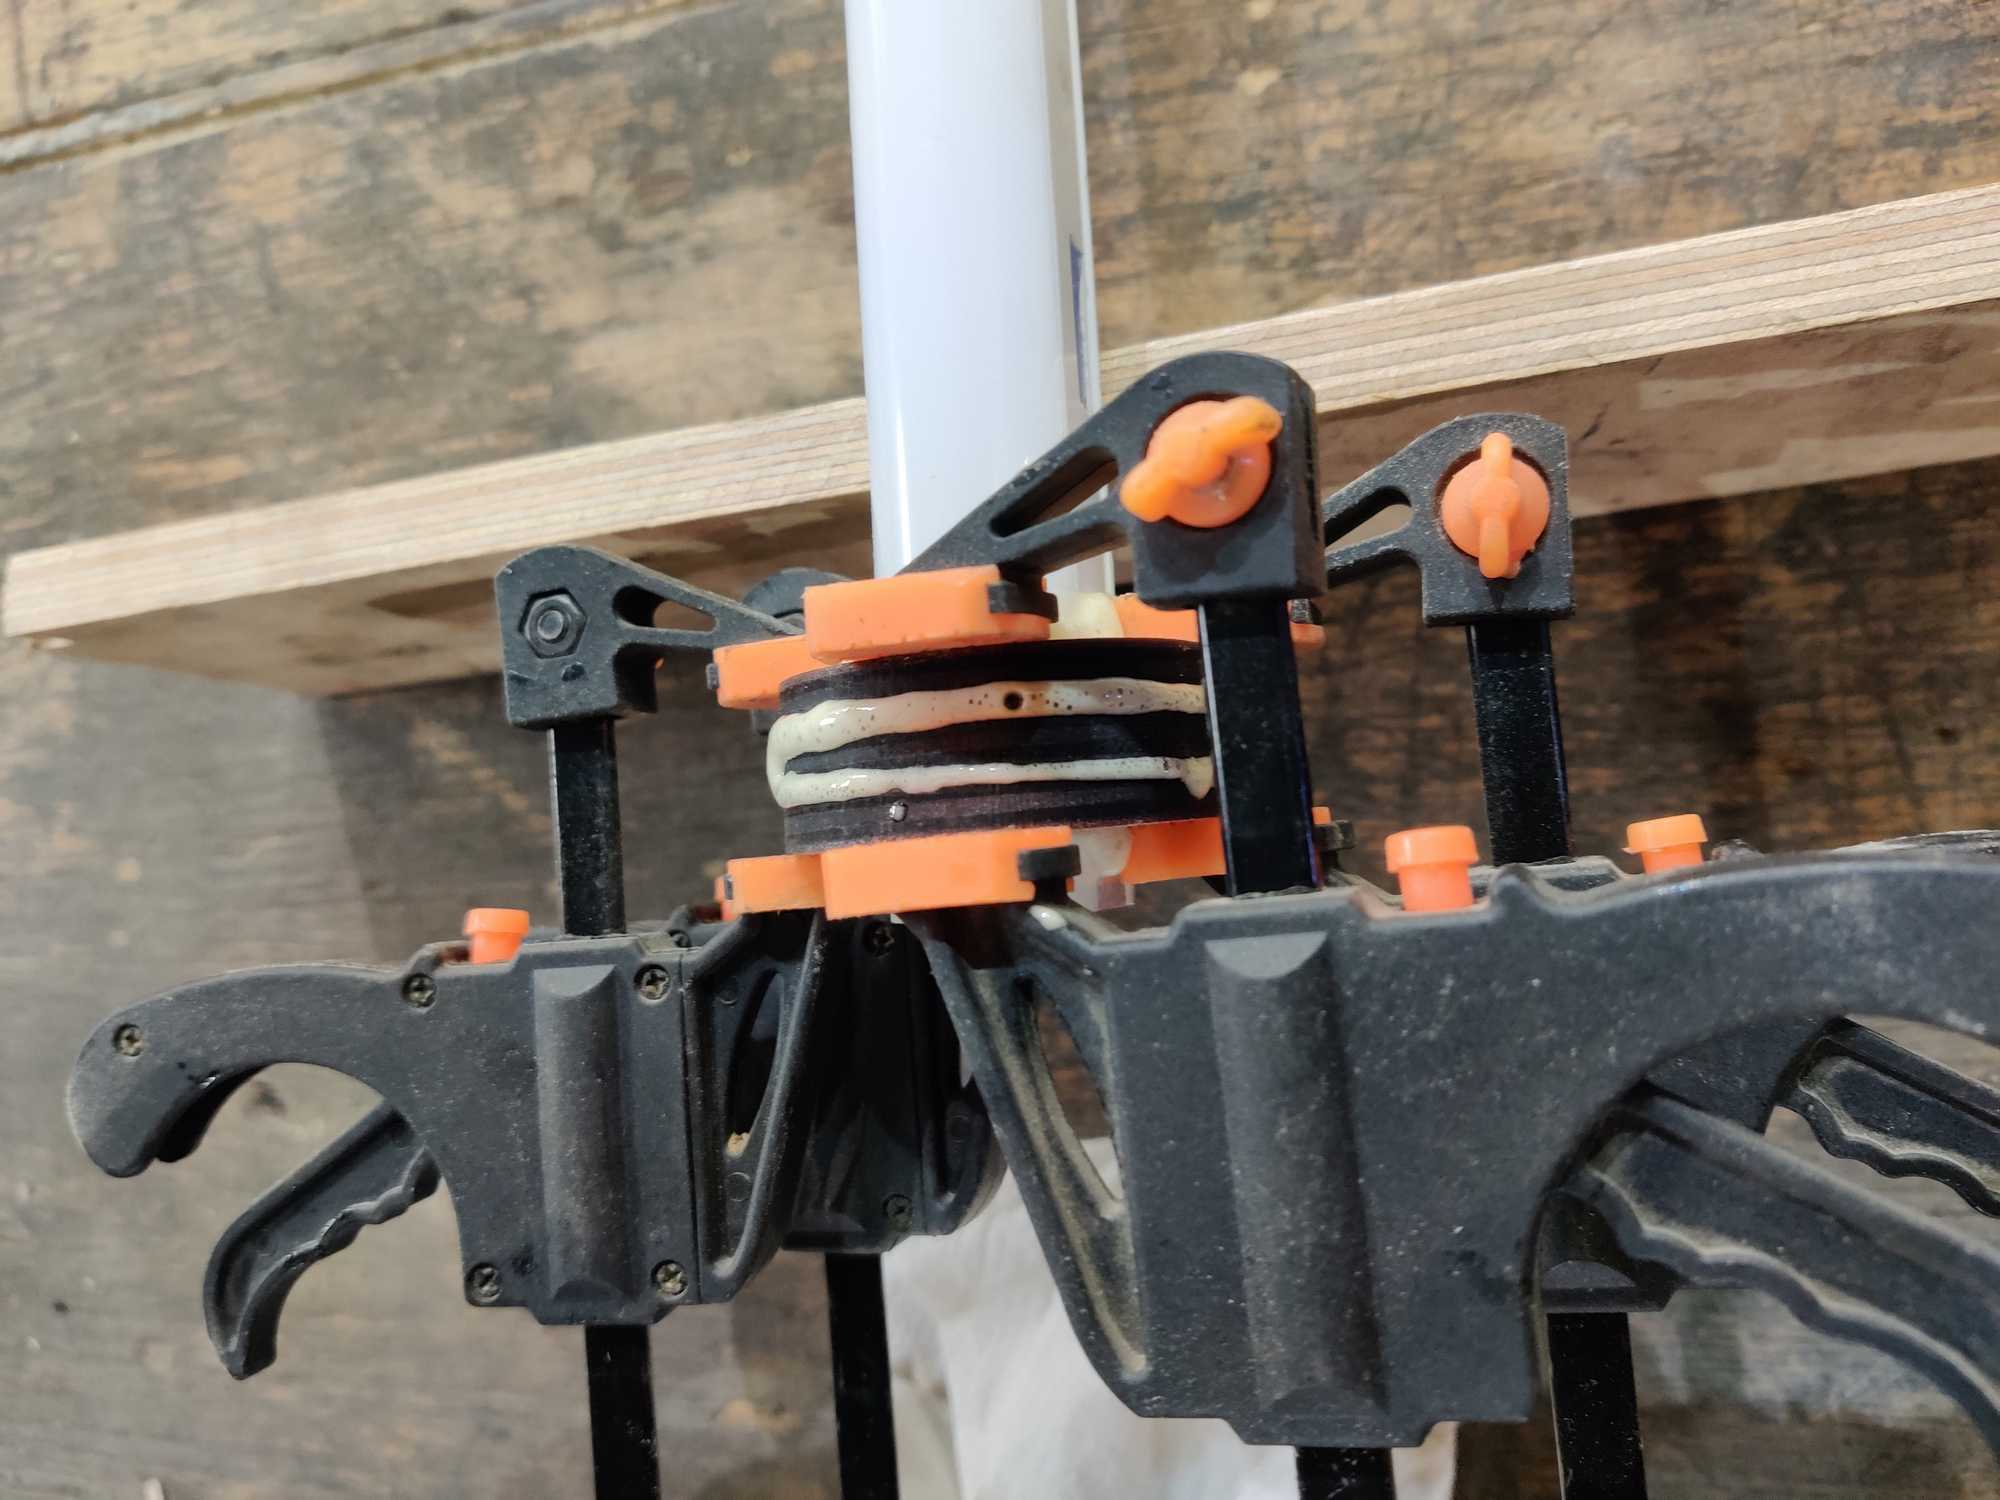
I wanted this to be neat and not have any wires hanging, so everything has to be contained inside somewhere and for this I used a piece of 45mm PVC pipe. It’ll also be a handle to hold the thing and to mount it on a tripod.
So the LED strip I bought was a little too wide to fit in the existing groove, so I made an adapter bracket and 3D printed a bunch of them. They slide in the old LED strip groove and hold my LED strip perfectly. This model was done in OnShape and you can copy it to your workspace: https://cad.onshape.com/documents/118519f68370fa66ab580ab8/w/b2e6a42a5c0f8e251016833a/e/7e93be3366c29216d0c082b6


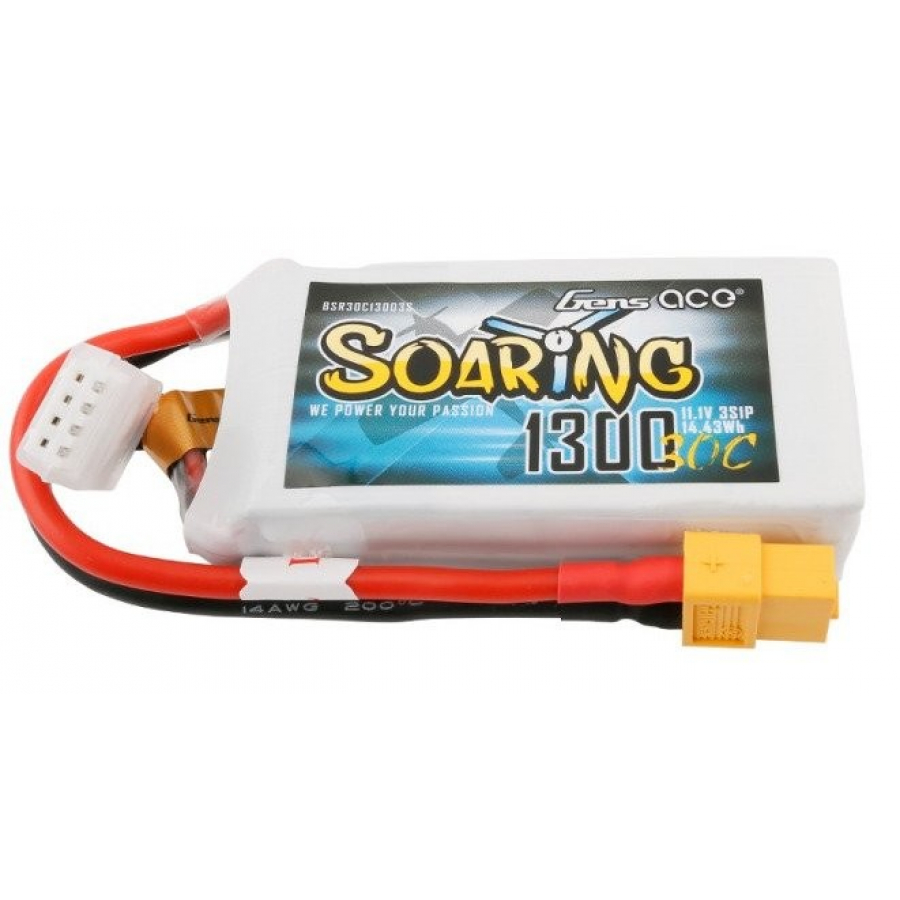
The battery I used was a 3S 30C 1300mAh prismatic LiPo (for RC models and airsoft) and they don’t have any charge management on them. I took a 3S BMS and added connectors to it for easy switching.
I calculated that the LED strips that I have pulls ~1.4 A of current at its brightest and so with this capacity it should be enough for up to 50 minutes of constant illumination for photoshoots and for parties that time should extend up to 2-3 hours since at parties I’ll probably be using various effects… we’ll see how it holds on reality.

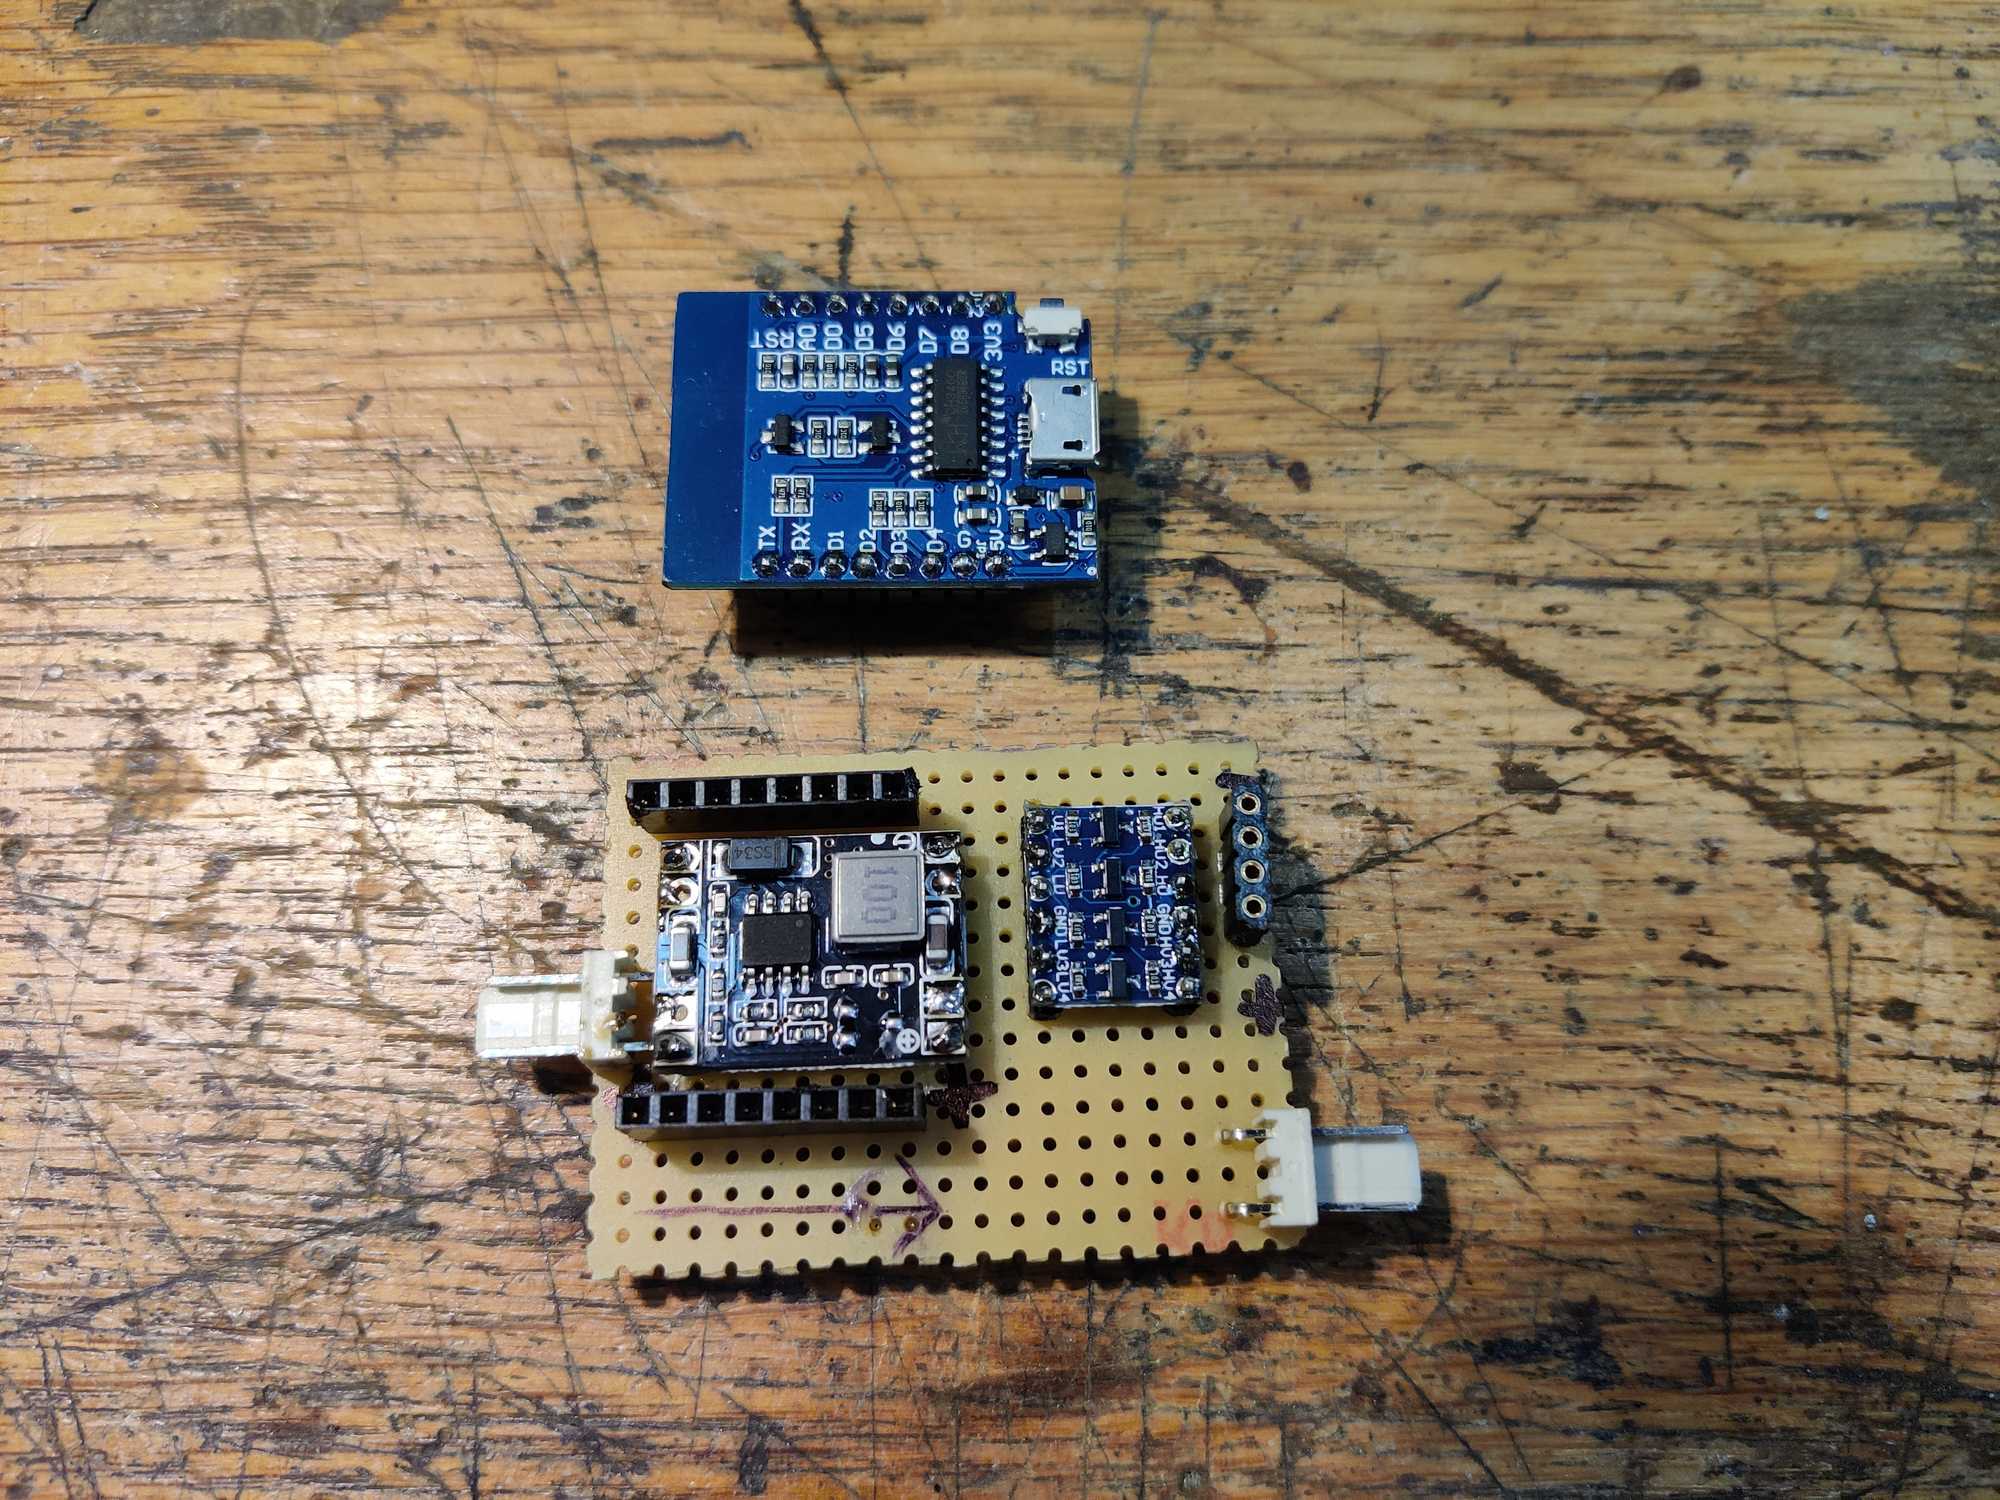
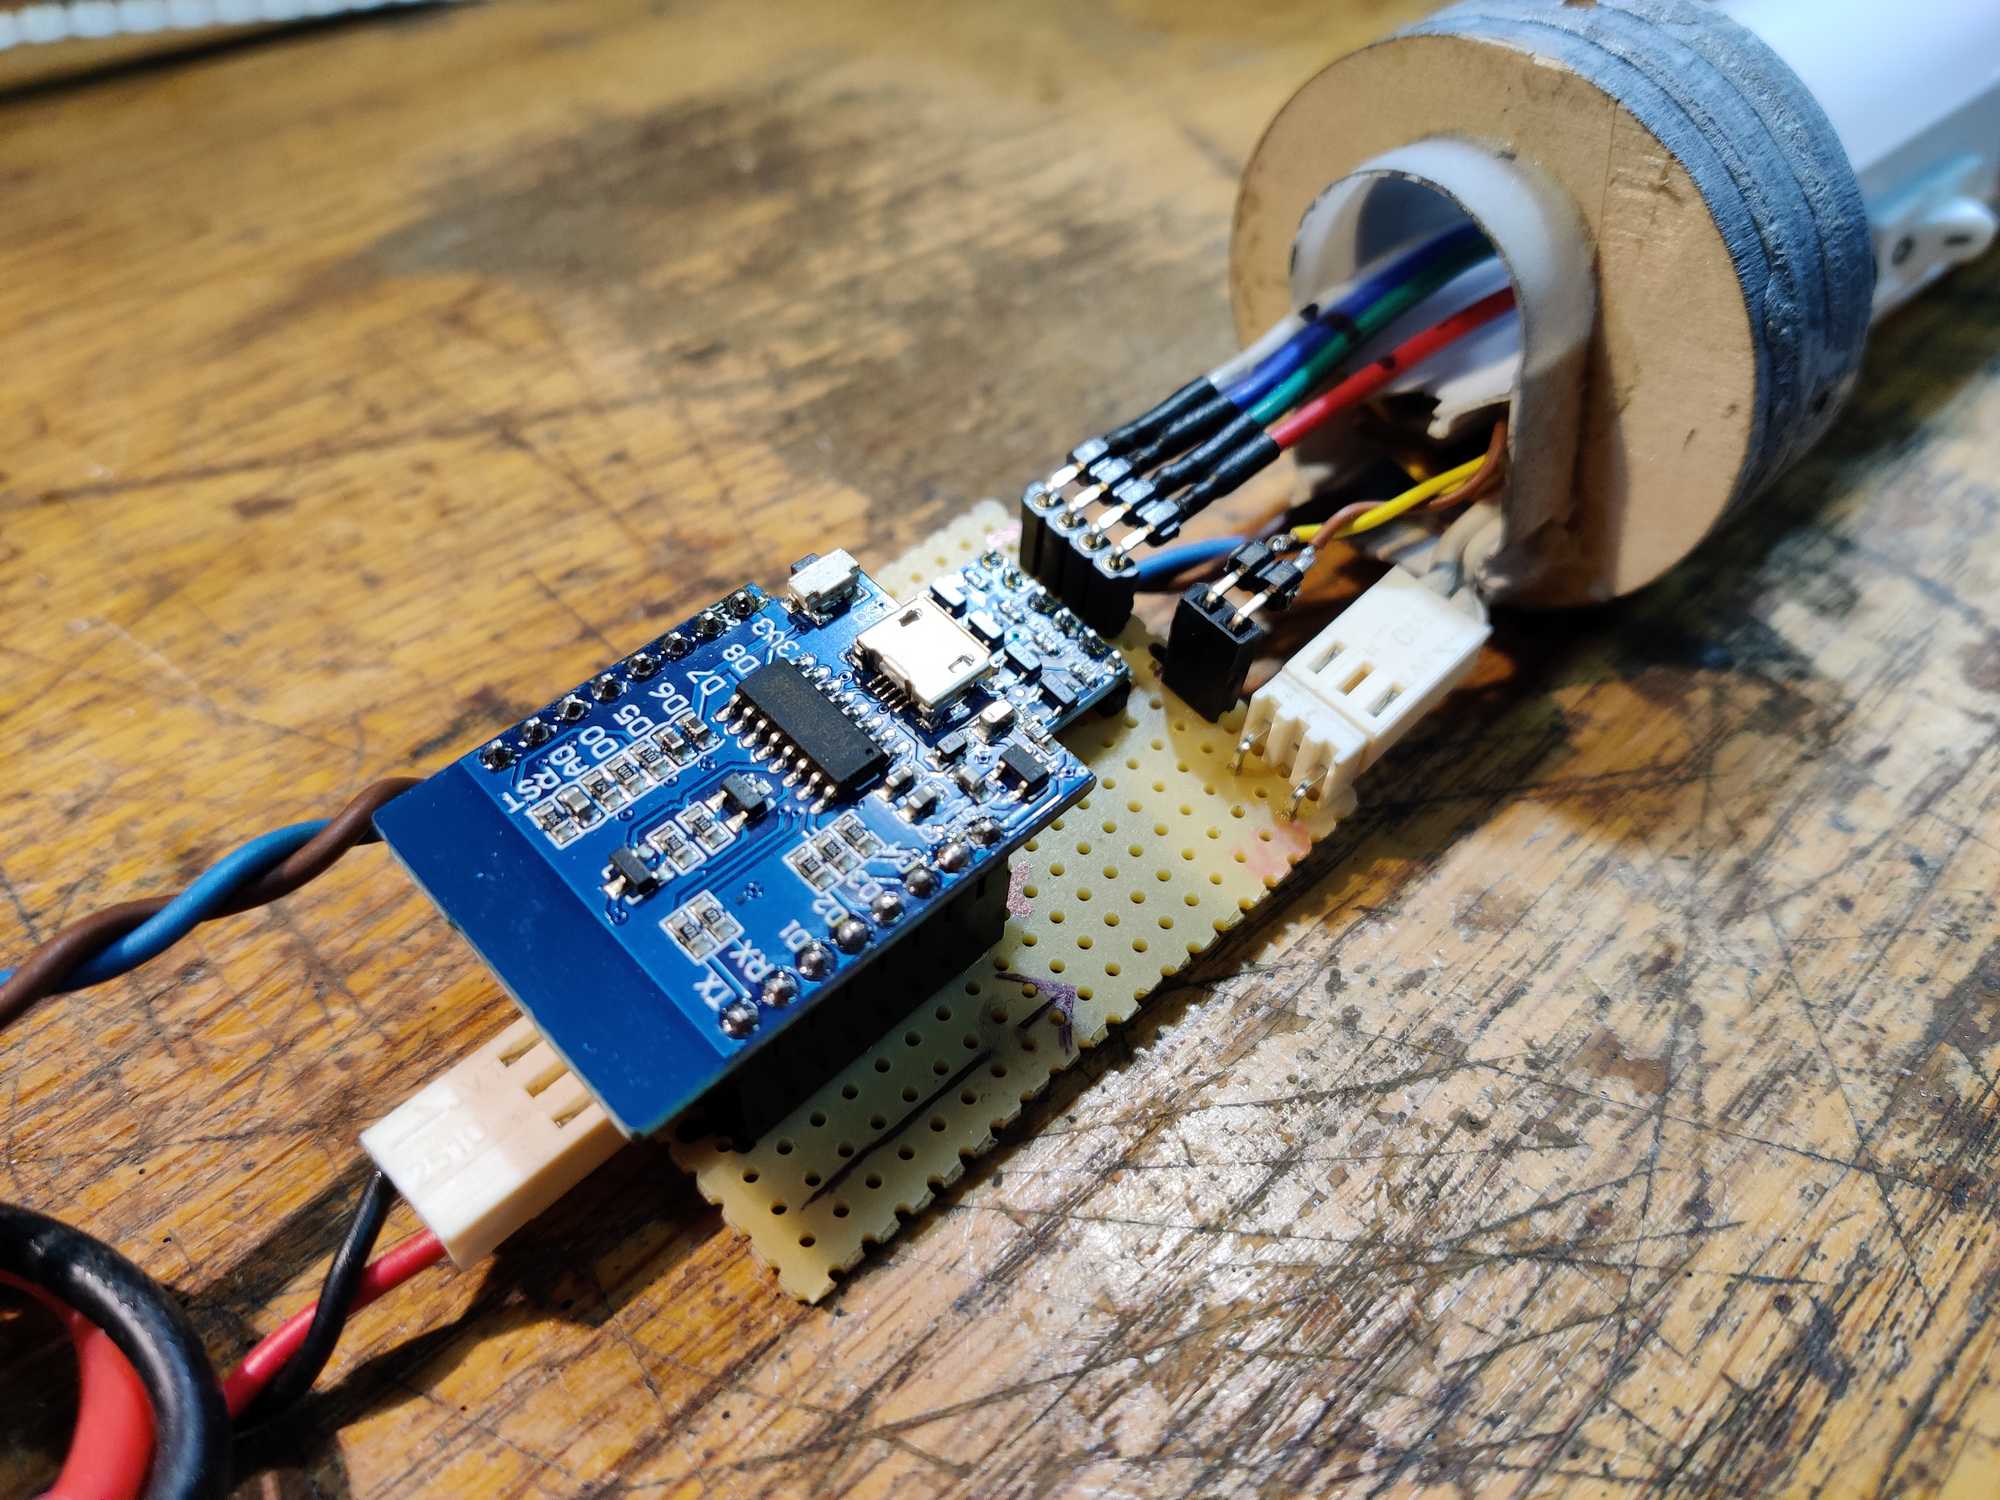
Finally with electronics I needed to make a controller board. Here I decided that for WLED a ESP8266 will be plenty enough instead of ESP32. I didn’t use the actual ESP though, instead I used a chinese clone of “Wemos D1 Mini” which has ESP8266 as a core.
But I spent a few hours just trying to power it up properly from a buck converter by using three different ones. At first I thought I’ll just supply 5v to the ESP and let its internal regulator protect it in case my buck converter decides to drift, but that somehow made the ESP very unstable – it would restart many times and take around 3 minutes to finally start up, and even then it was pretty unstable while using. I even added a capacitor to the power pins but that made it even worse somehow.
Finally I just said fuck it and replaced the 5v with a 3.3v buck and the ESP8266 worked perfectly as it should. Somehow the “D1 Mini” internal regulator didn’t work at all.
Now when that was out of the way, I also wired up a logic level shifter to help even out IO pin voltages (LED strip wants 5v for data and ESP8266 can only supply 3.3v for data), even though it’s not necessary if you keep data wires very short but recommended anyway. I added it to be safe in the long run. And I did this when I had the intention of supplying 5v to the ESP, but when I replaced power with 3.3v this level shifter actually made things worse – it was draining 1v from the ESP and it became very unstable, so I disconnected it but left it on the board anyway.
Together with that I added DC sockets for power and a switch and connected the LED strip data to the recommended D4 pin (GPIO2).
Next up I started working on the housing for electronics.
Using a laser-cutter I cut out slots for top and bottom from 6mm plywood. At the top the lamp is glued in place, but the resulting sandwich on top and bottom are held with screws for easy disassembly in the future.


I used polyurethane glue because the damn thing sticks to anything and is very strong. Also it fills gaps as it cures by expanding a little.
And then I cut out some holes – here I thought it’d be nice to have a voltage meter to keep an eye on the battery status.


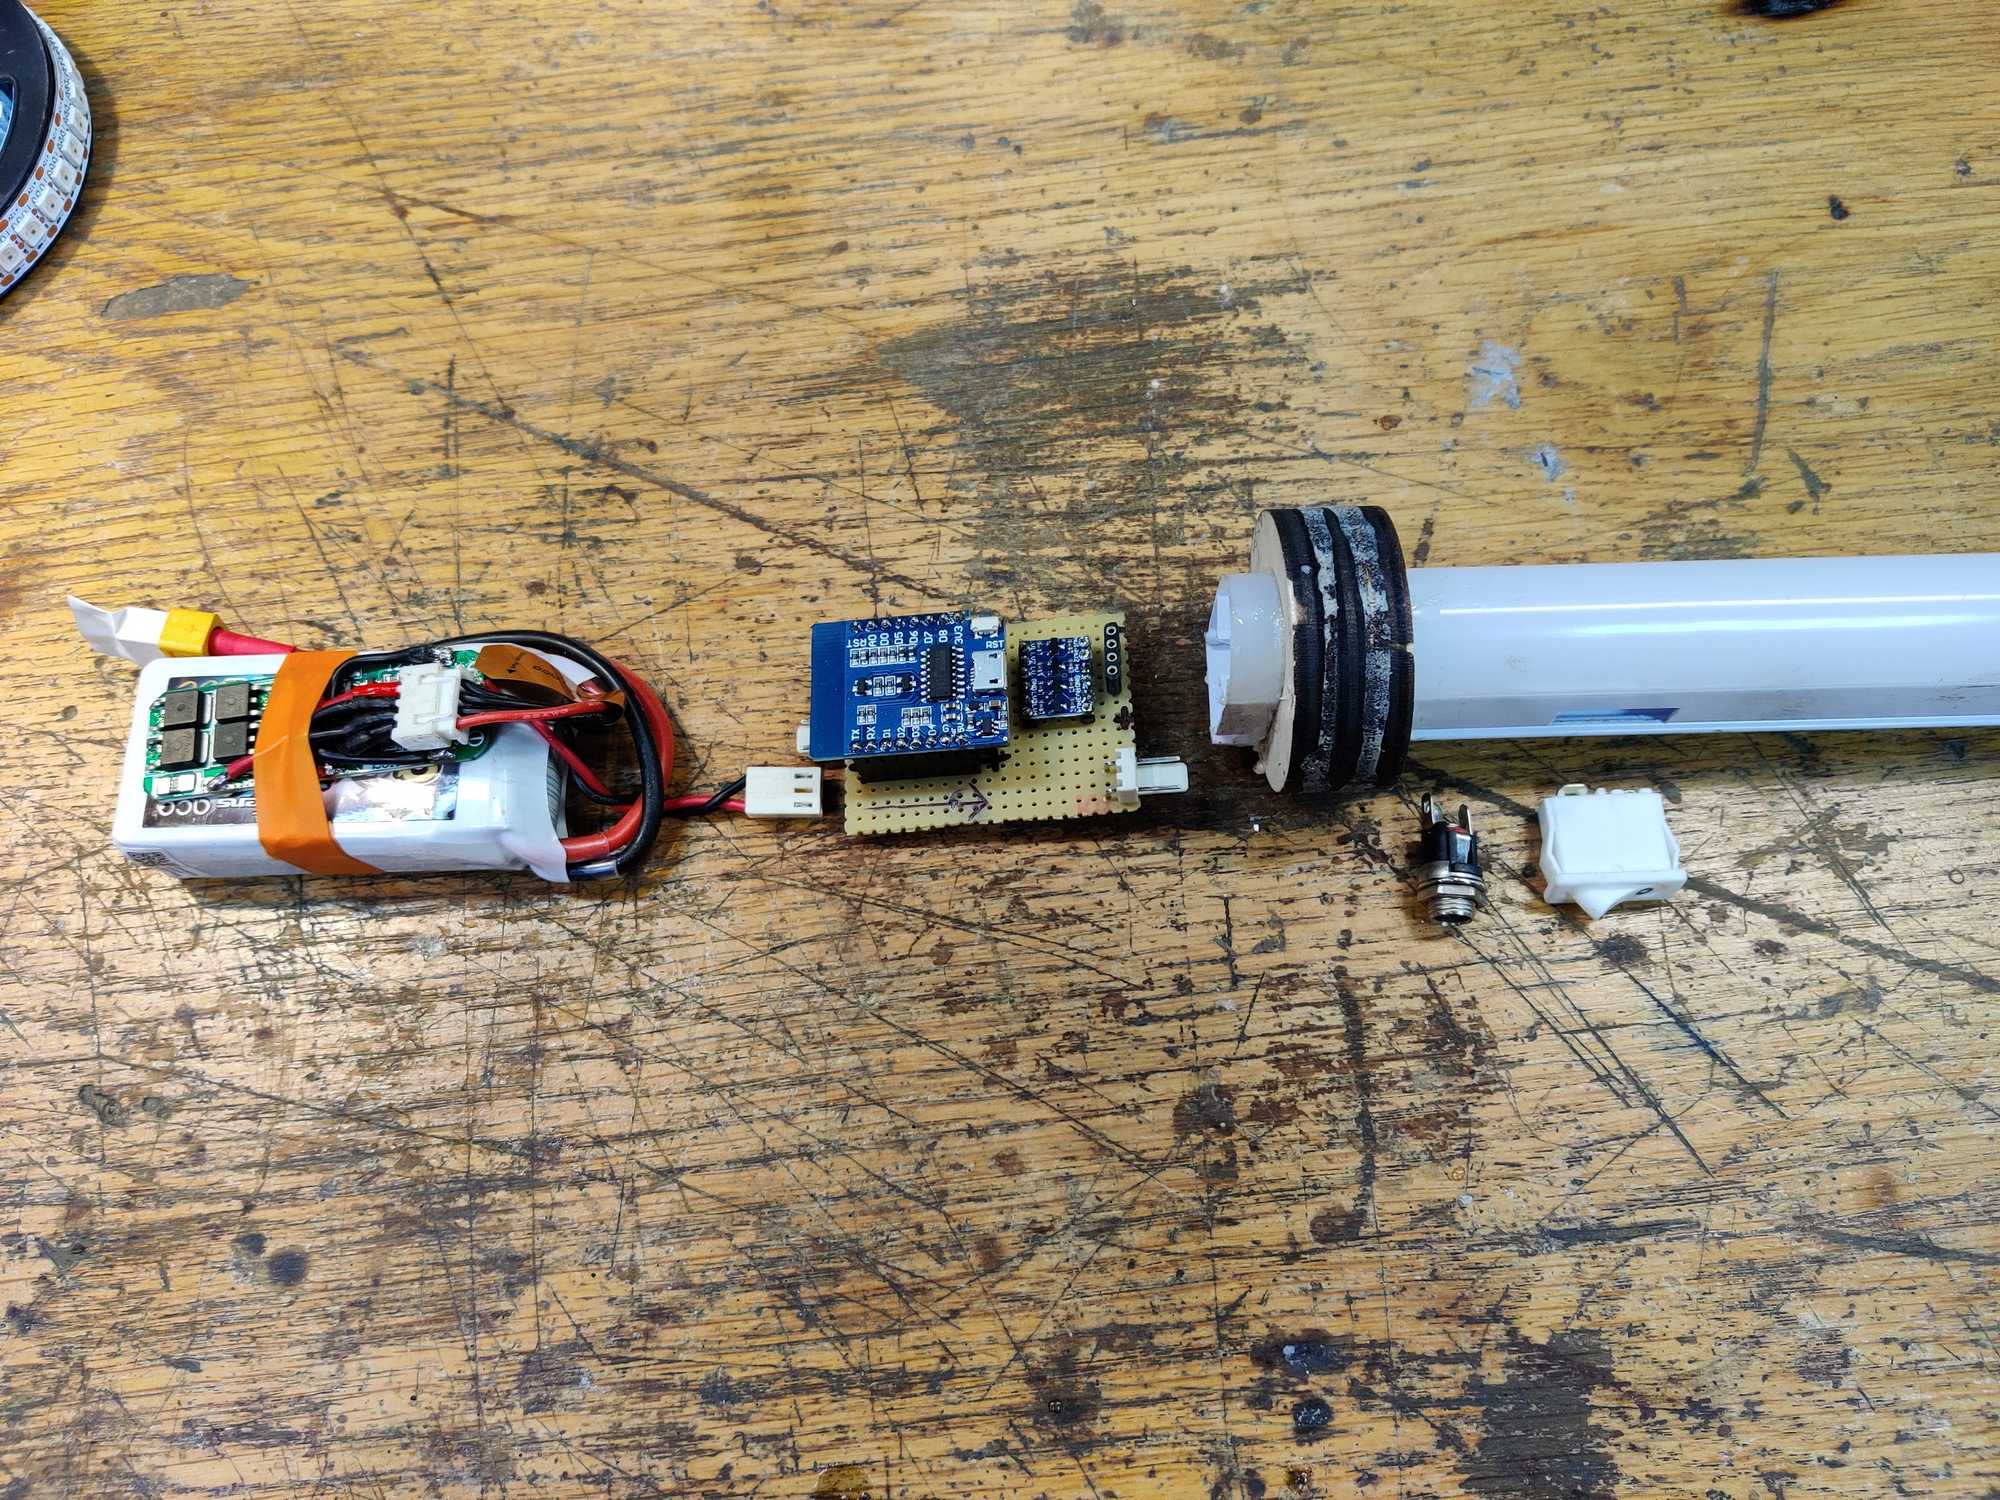
And so the layout will look like this inside the 45mm PVC pipe:
For the bottom I wanted to also have a nut to mount this whole thing on a tripod. The nut inside is 1/4 inch (standard nowadays), I used an adapter screw which was also glued into place.

But before putting the handle up I inserted the LED strip using those brackets I printed out before.

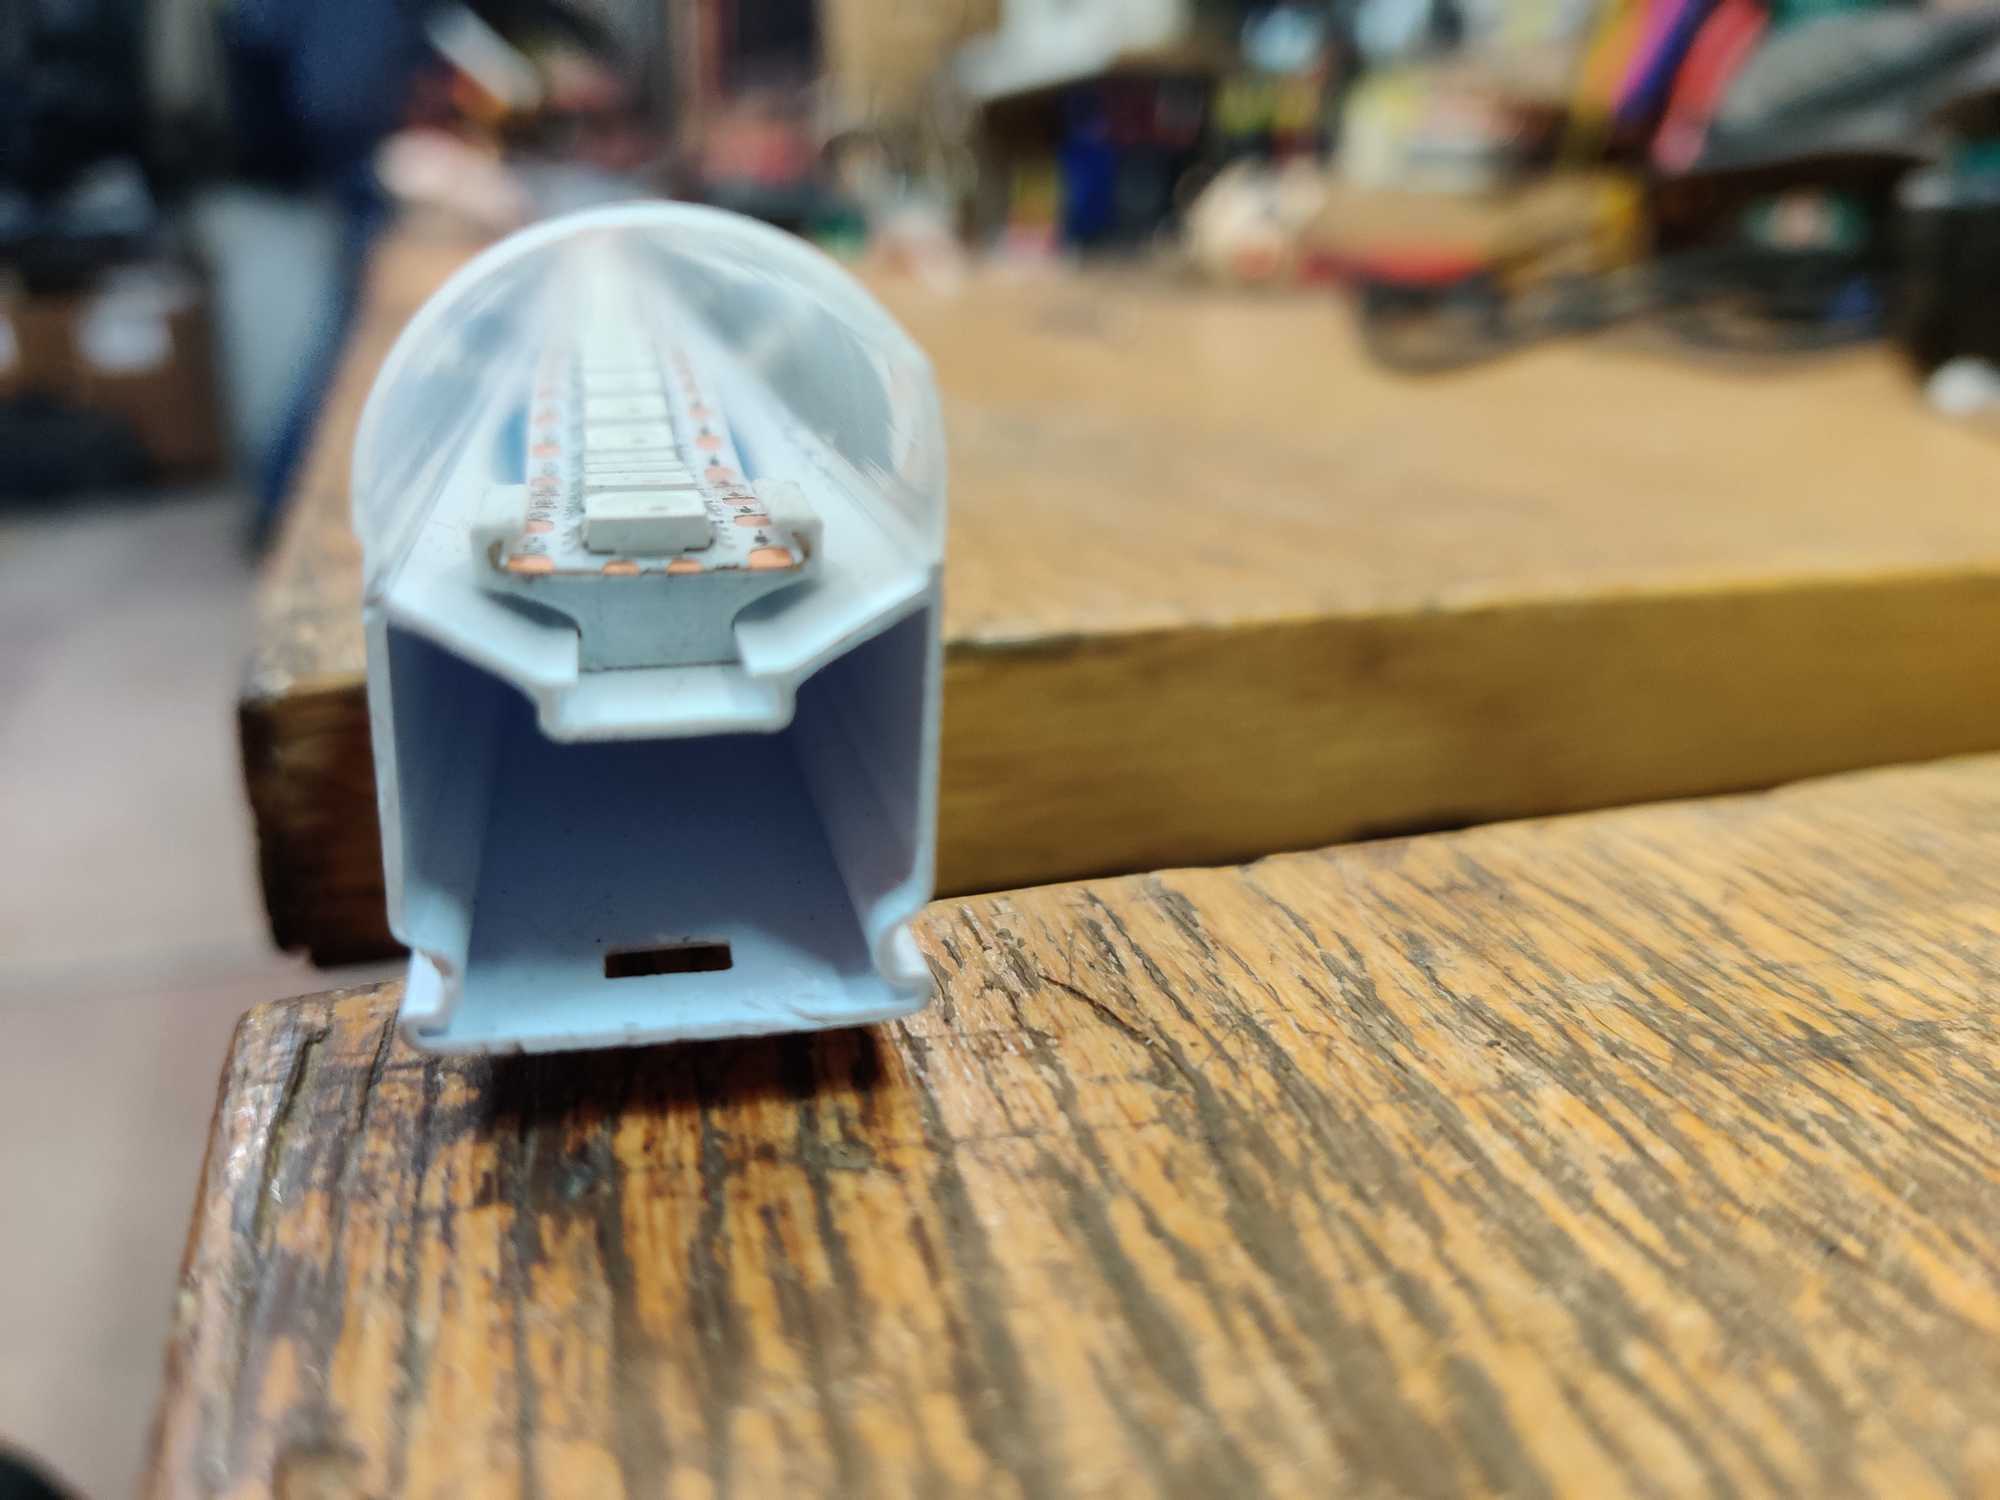
After a short time I saw that I left gaps too wide. The LED strip warped from the heat and now looks like a wave inside – I’ll need to print out and add 8 more holders there.
And finally the whole assembly looks pretty damn nice. It’s a bit more fragile than I’d like but works great and is pretty stable. The diffuser of this is awesome – no separate LEDs can be seen and when it’s in animation the light looks very smooth.

And here are some (unedited) shots from one LARP event taken with a Nikon D750:


