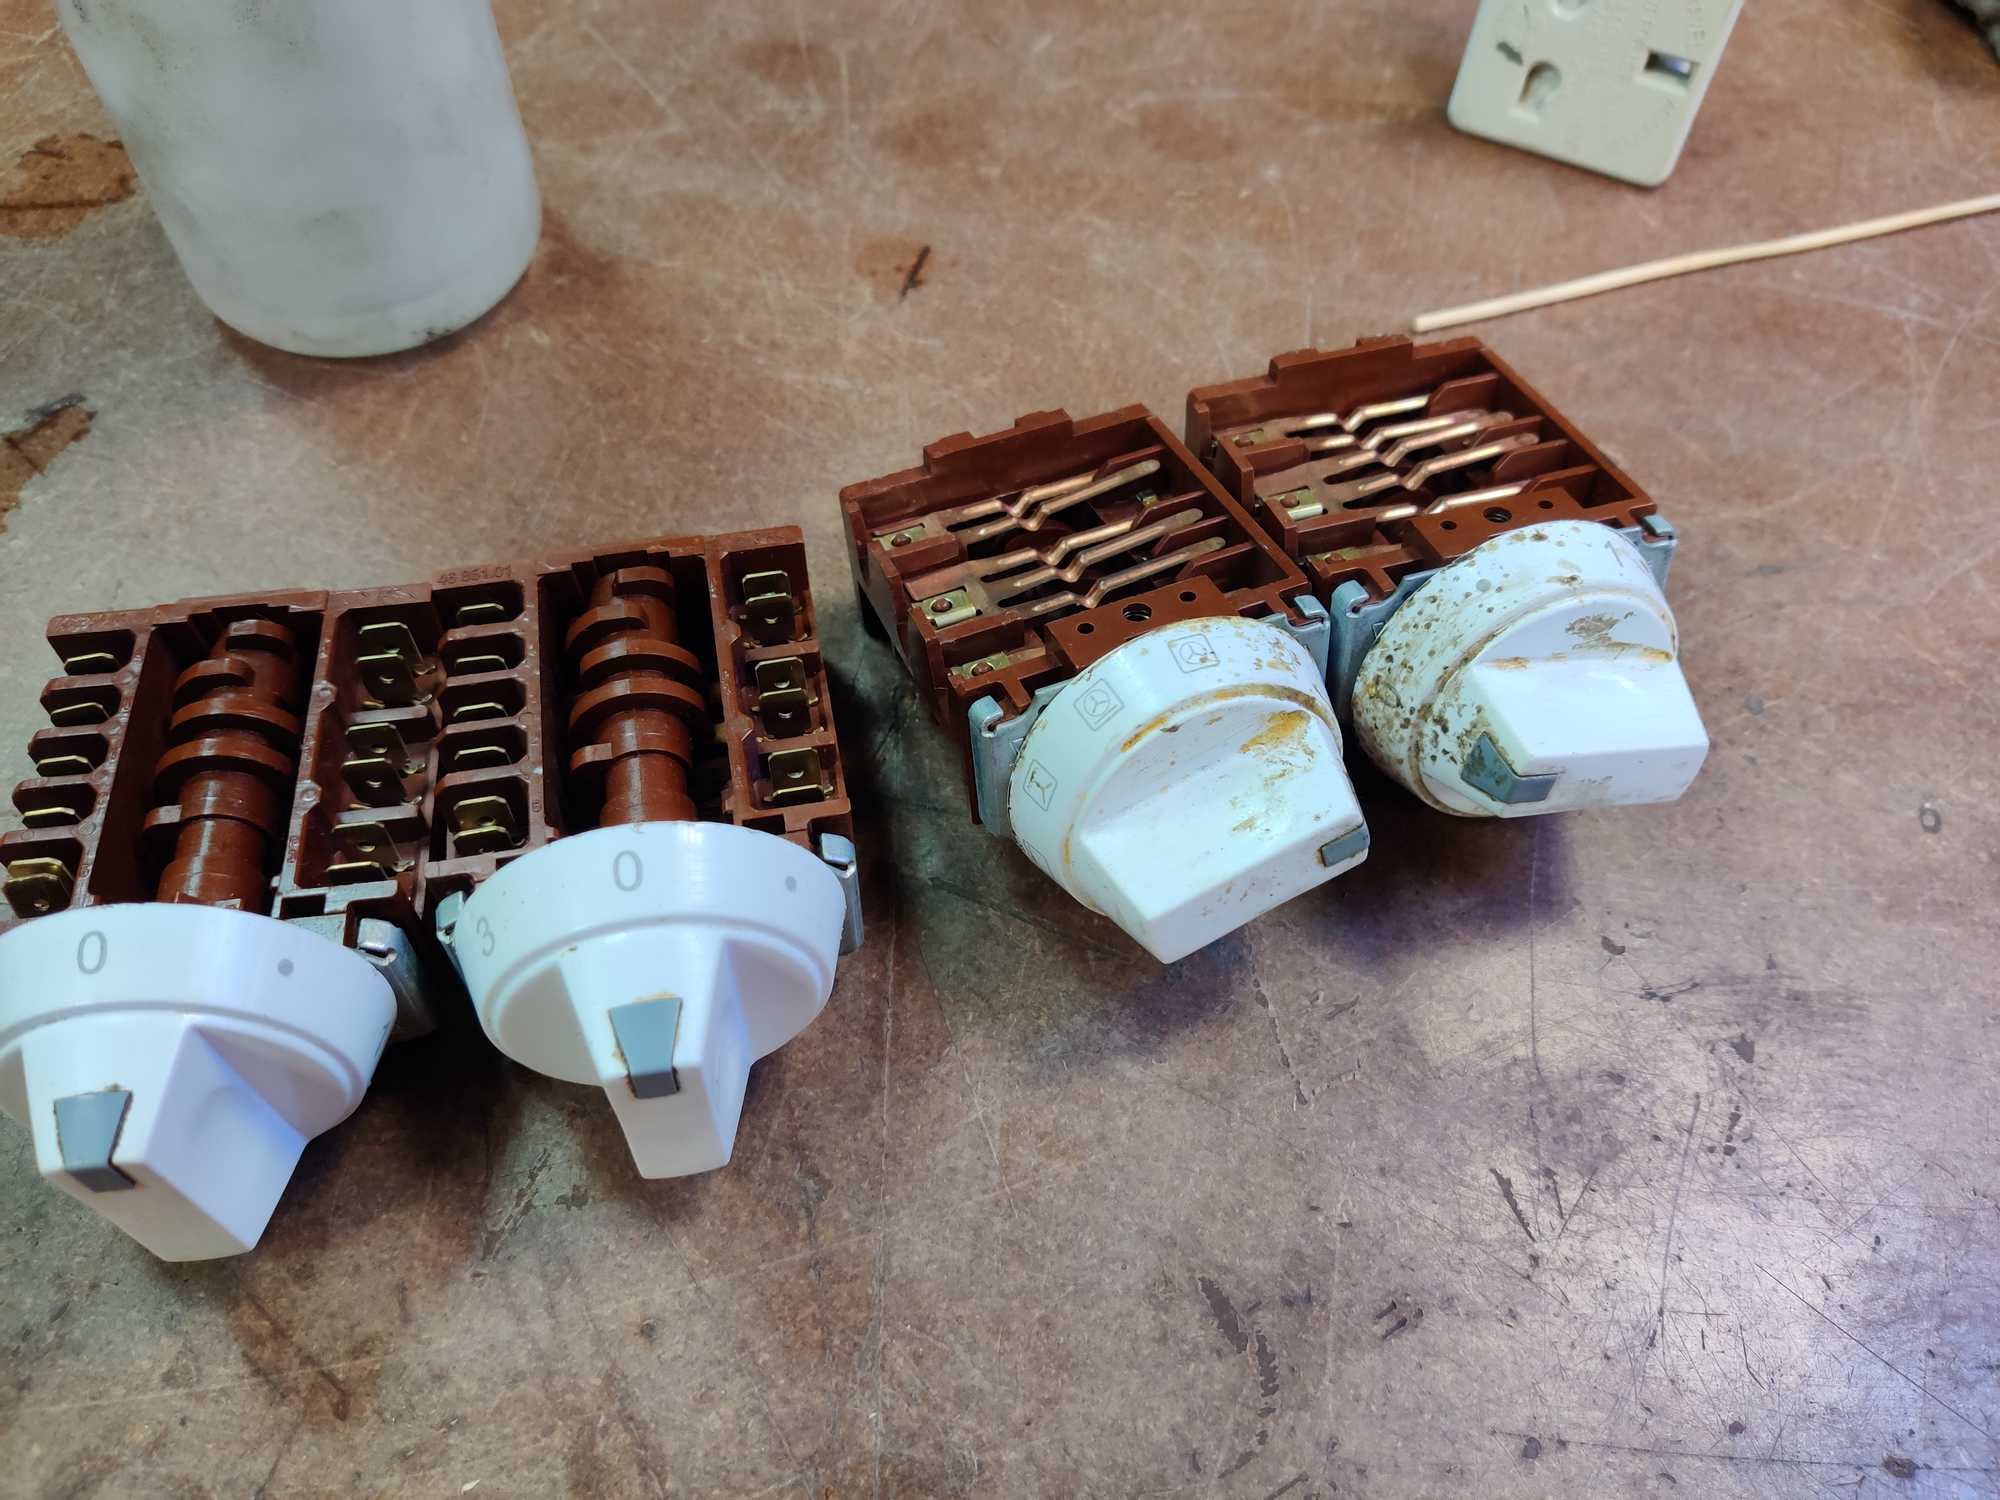
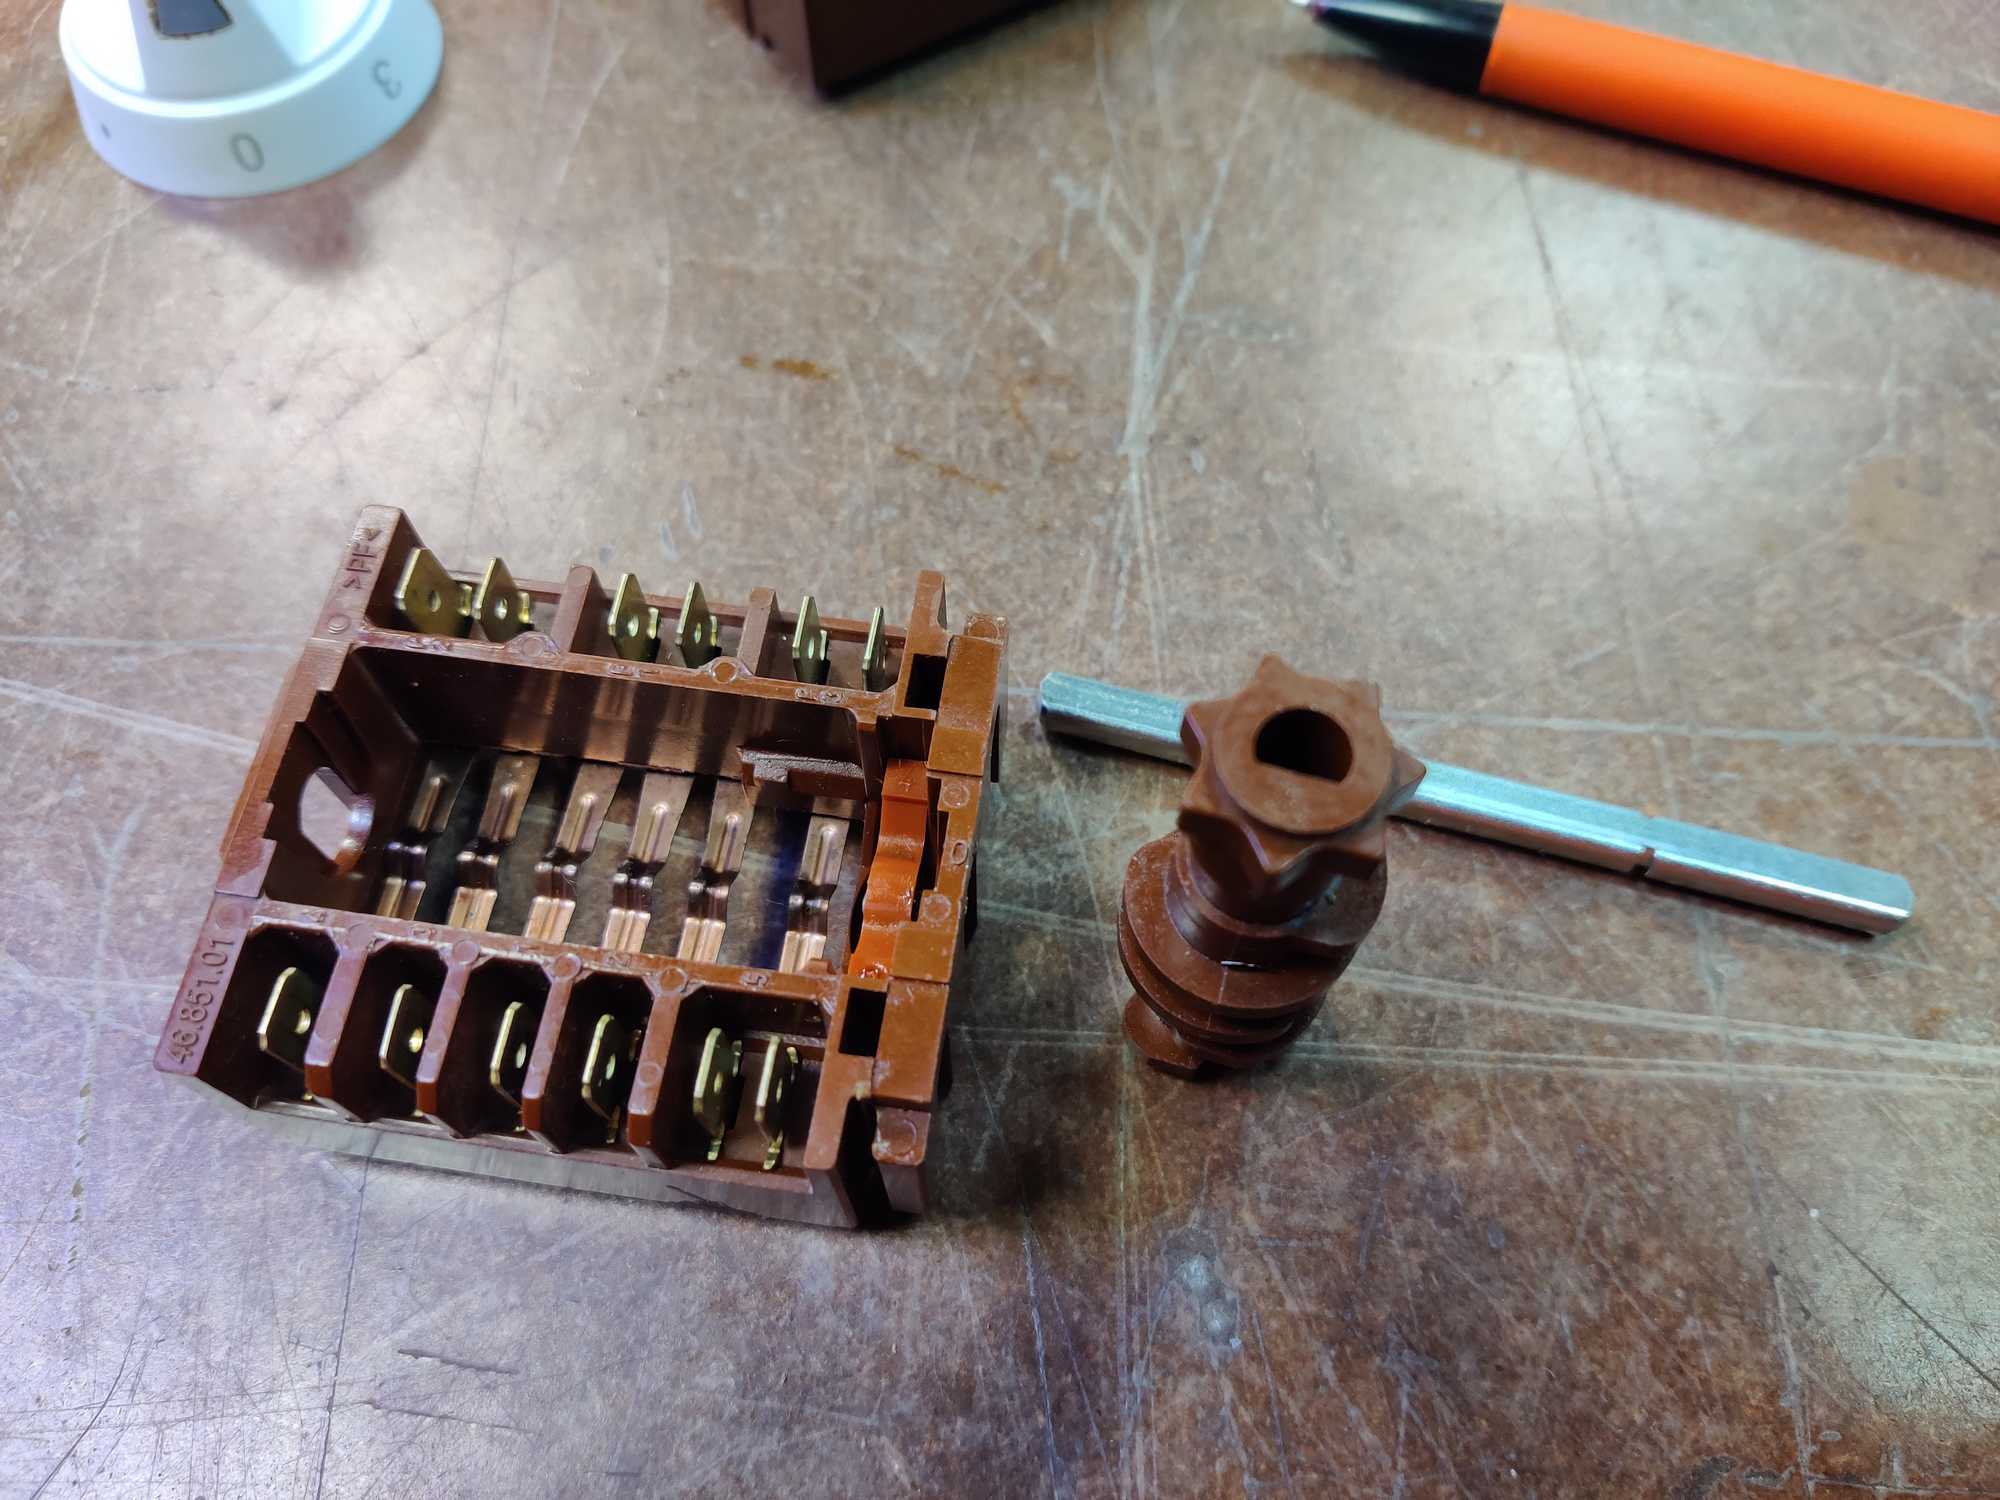
This project was possible because few random things came up at the right time. First at the makerspace someone was disassembling an oven into separate parts and I saw the switches being thrown out. I thought those would be pretty cool to use for a combination lock, and without having an actual use-case I started playing with them.
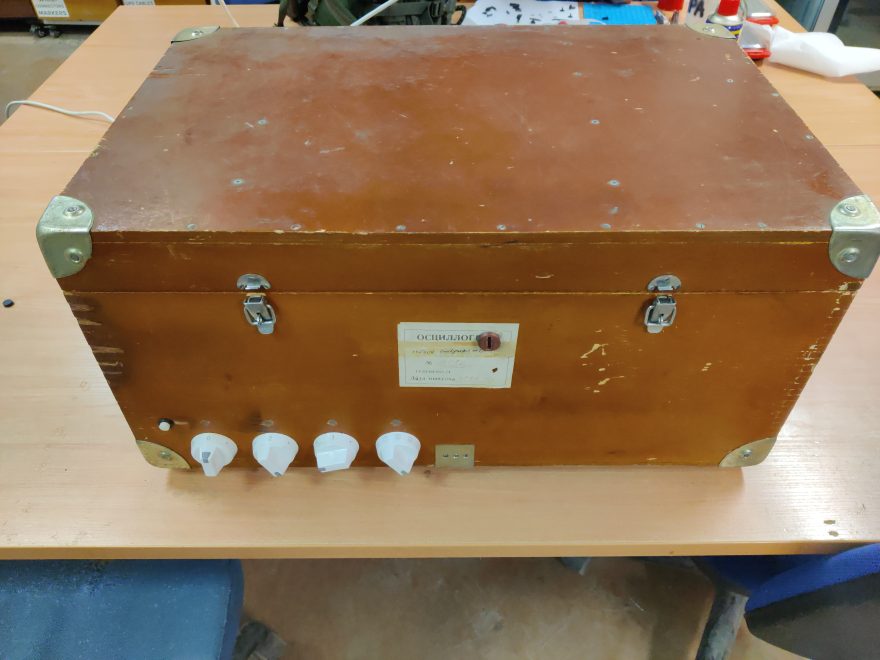
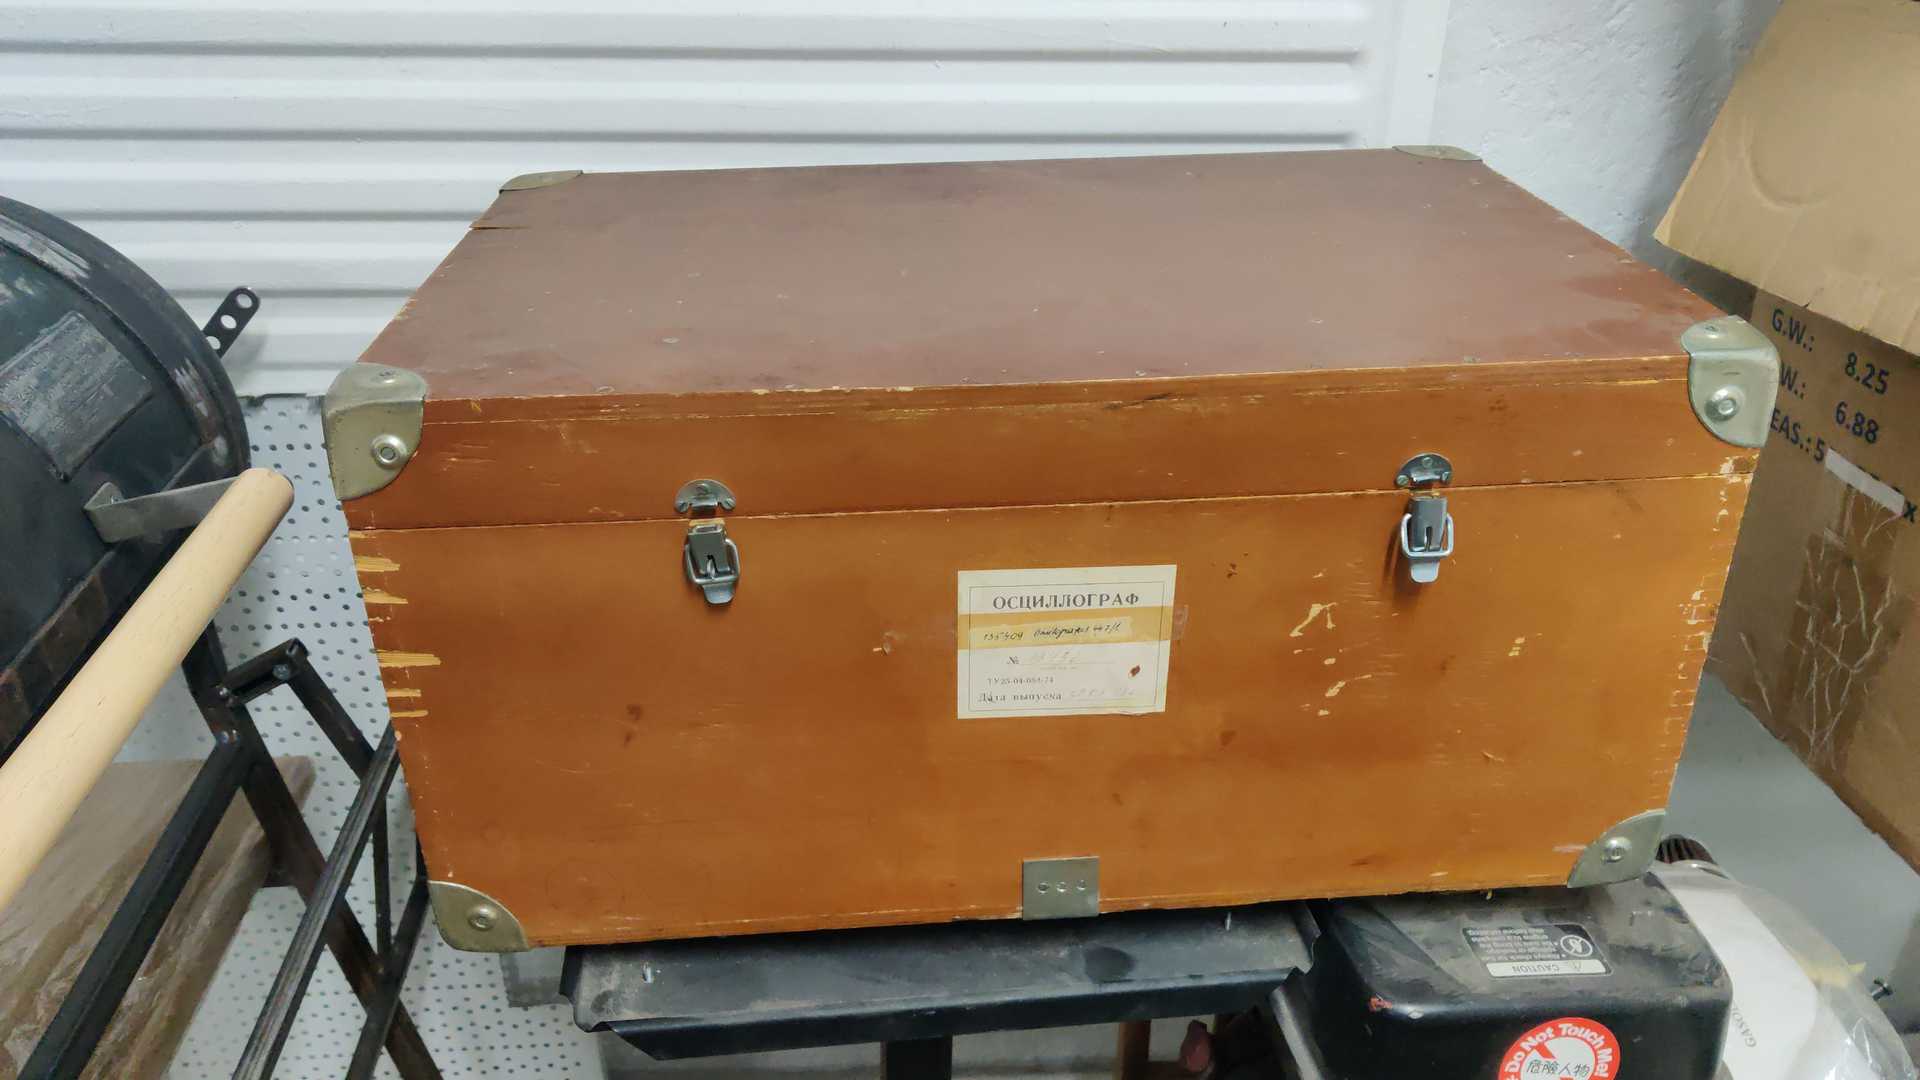
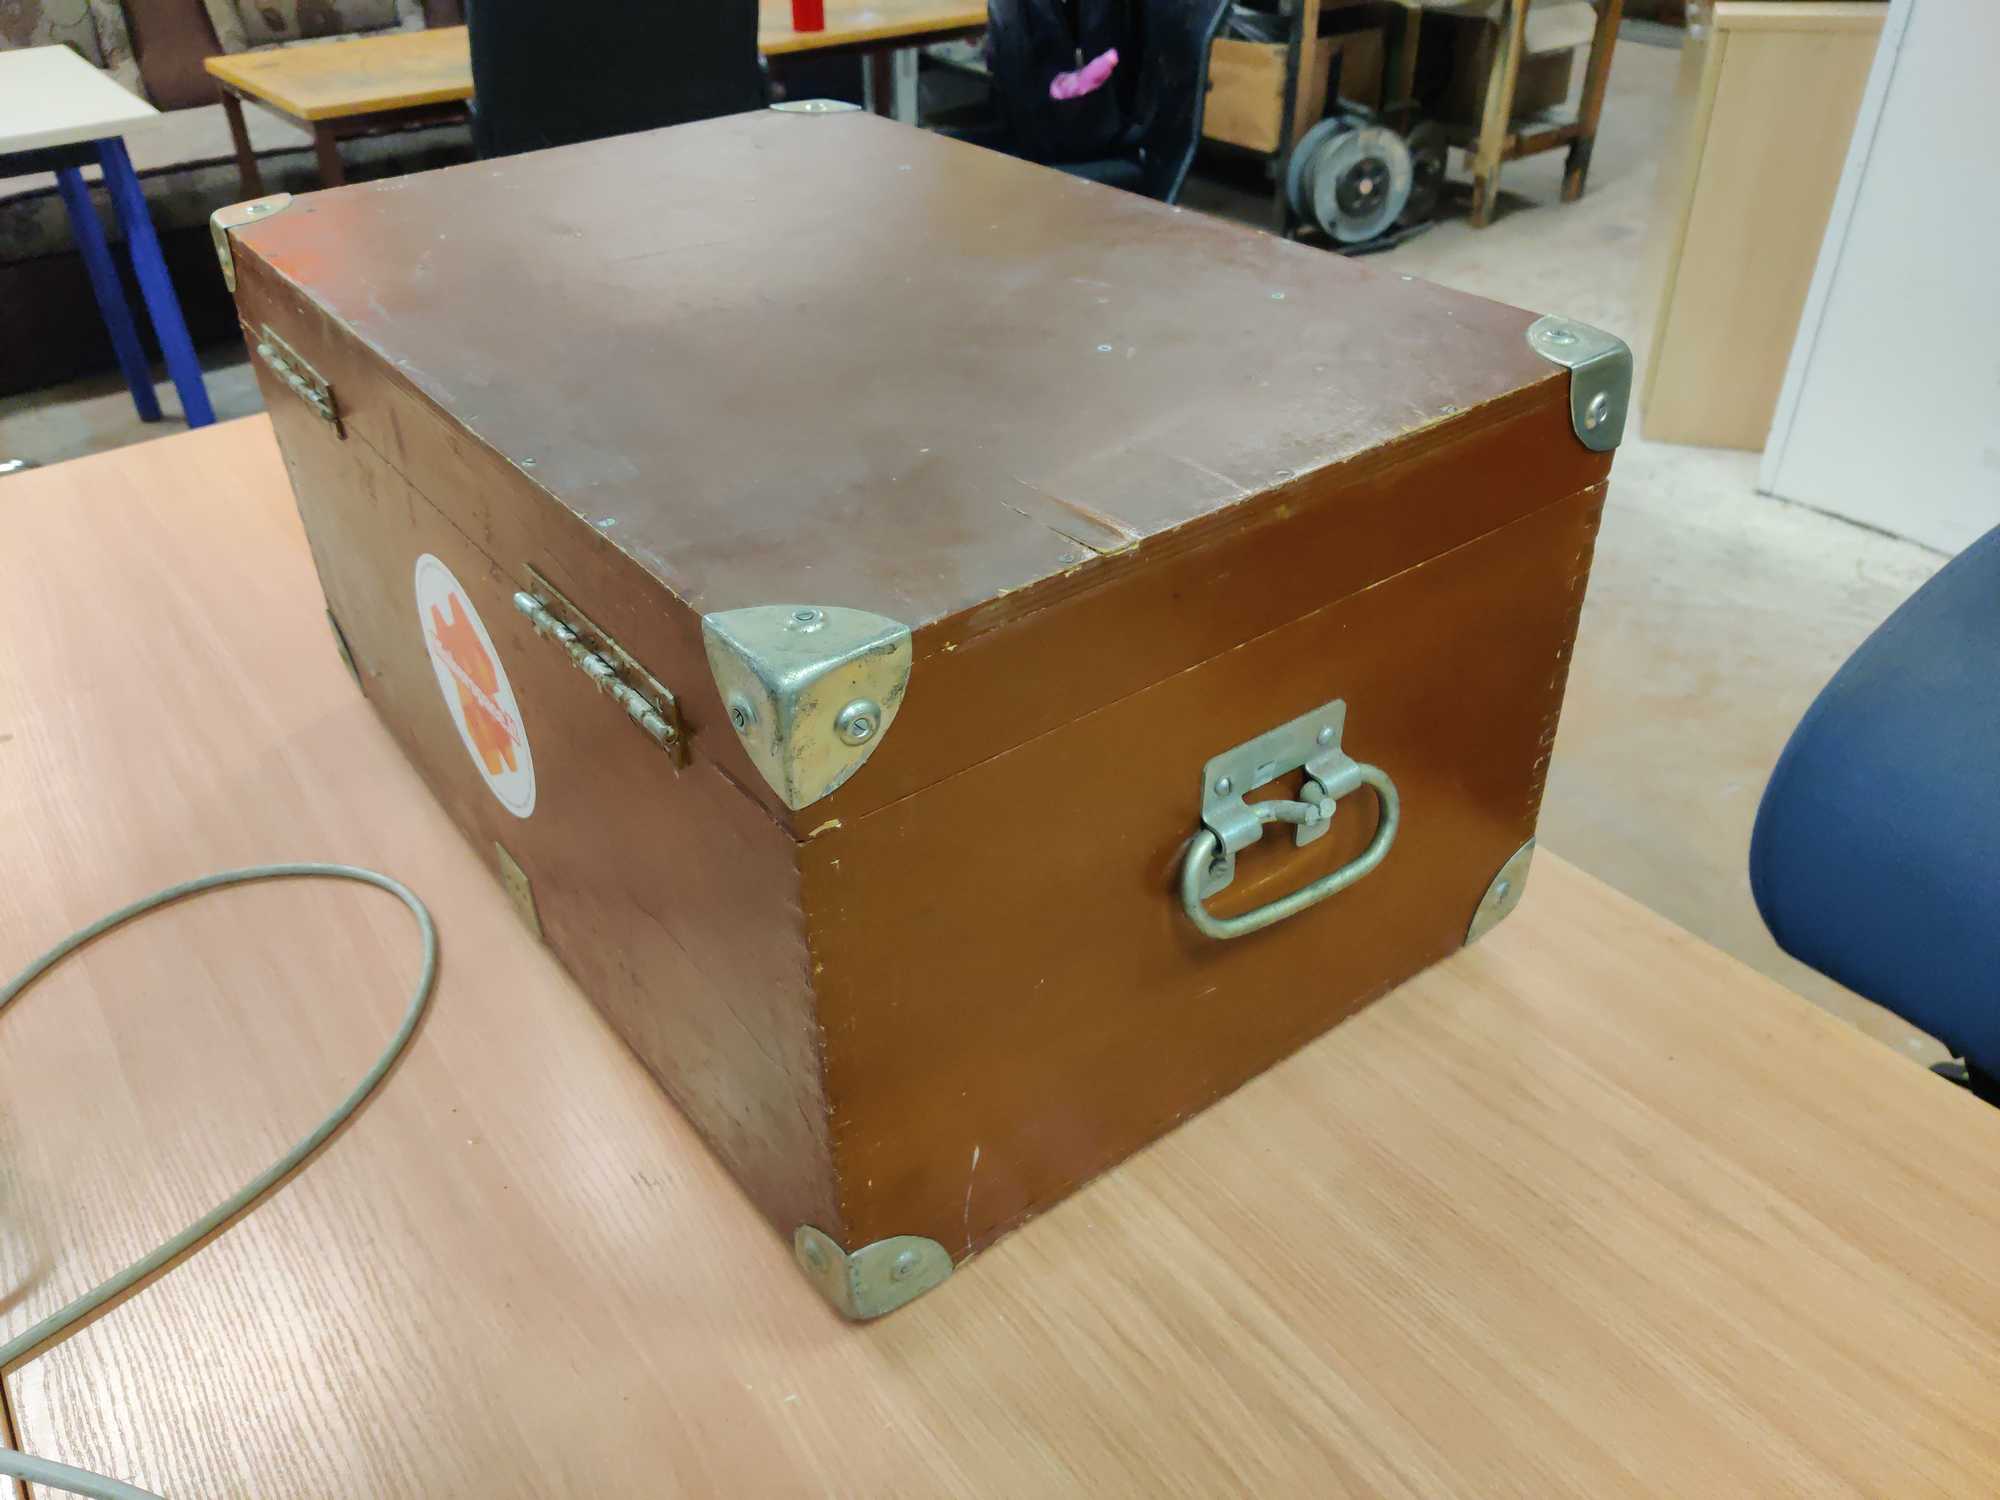
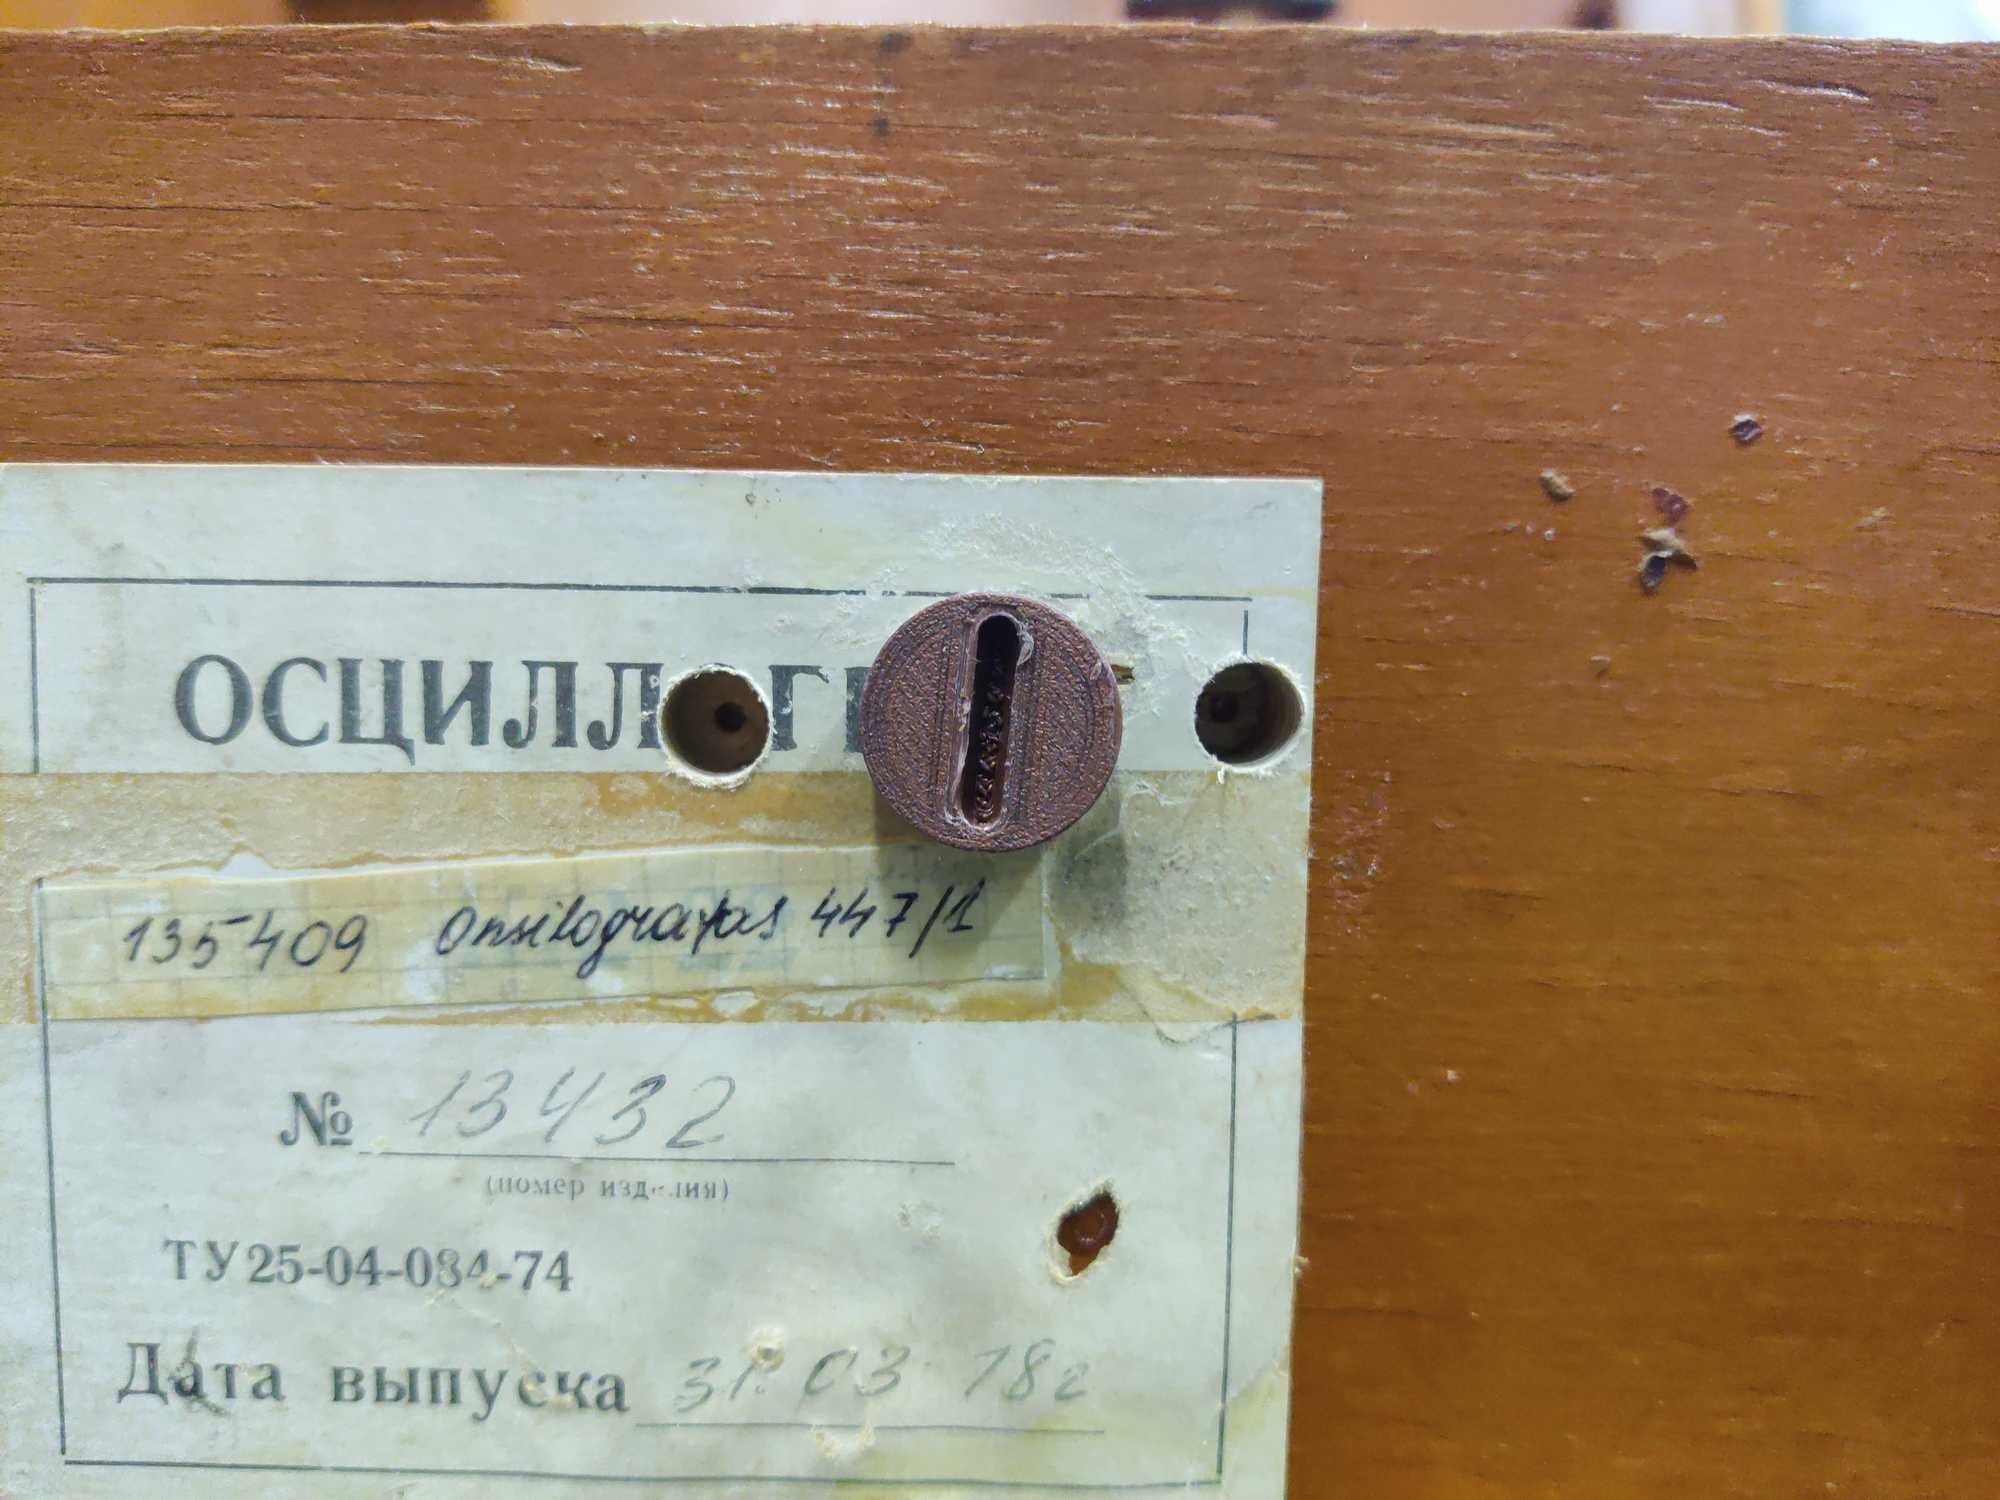
In the meantime there came a giant wooden box that housed some soviet-era laboratory instrument, it was destined to be thrown out but since it looks pretty cool, like an actual treasure chest, without a clear idea where I’ll be using it I saved it from its demise.
Only later when I was thinking about what cool thing I could make for an airsoft LARP game I realized that I could combine these two things and have a weird-but-cool treasure chest, because having a classic treasure chest is so boring 😀

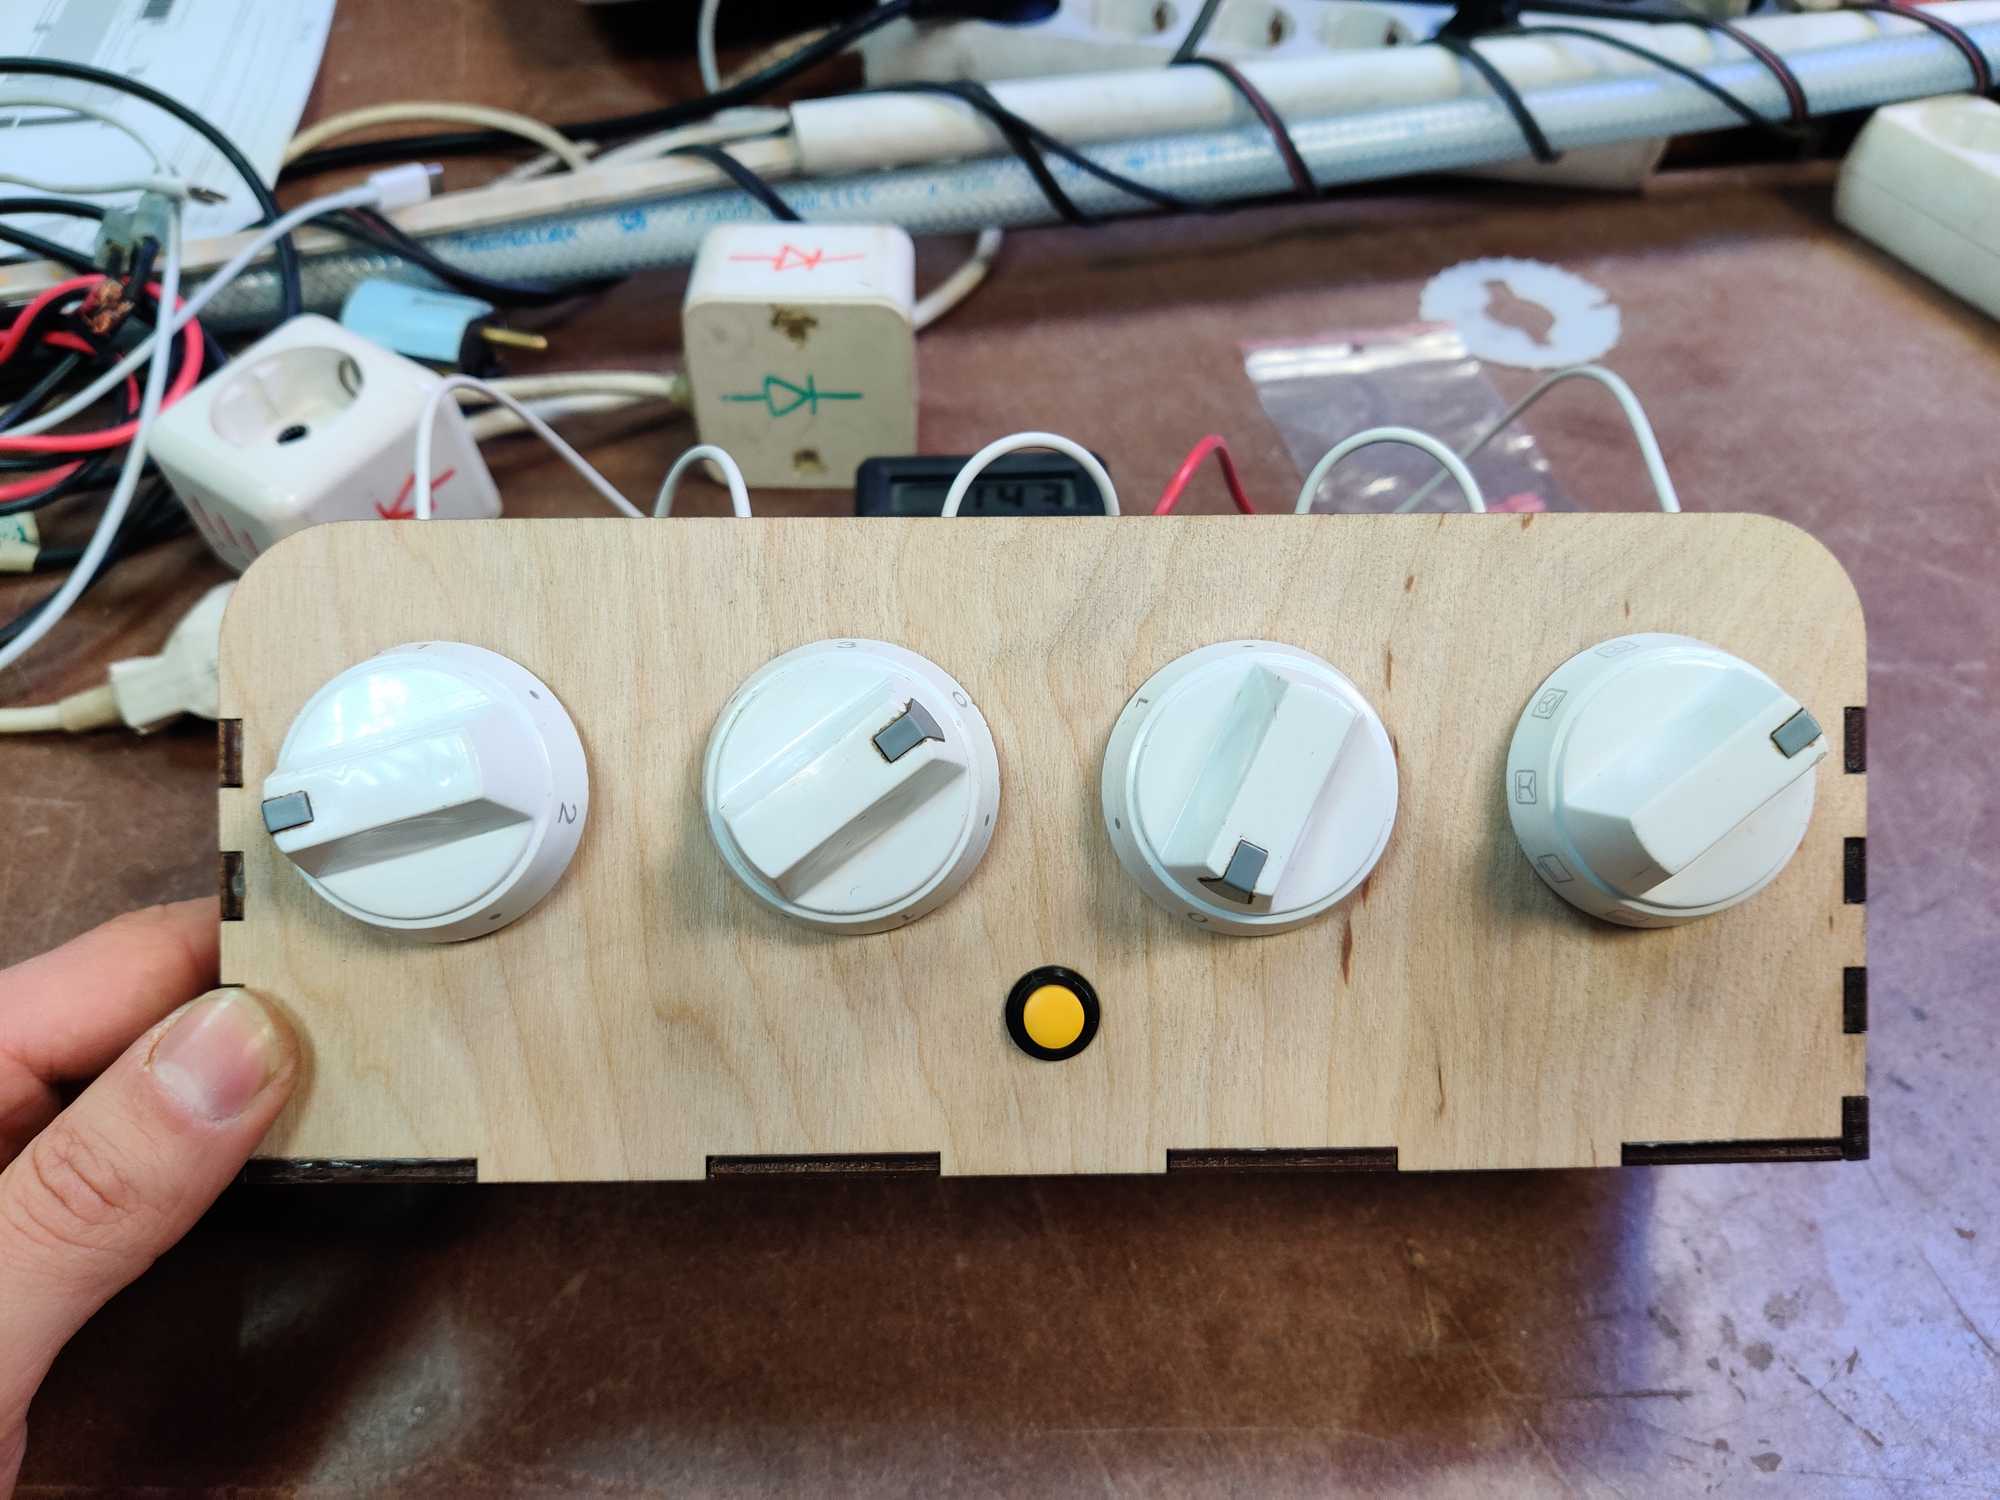
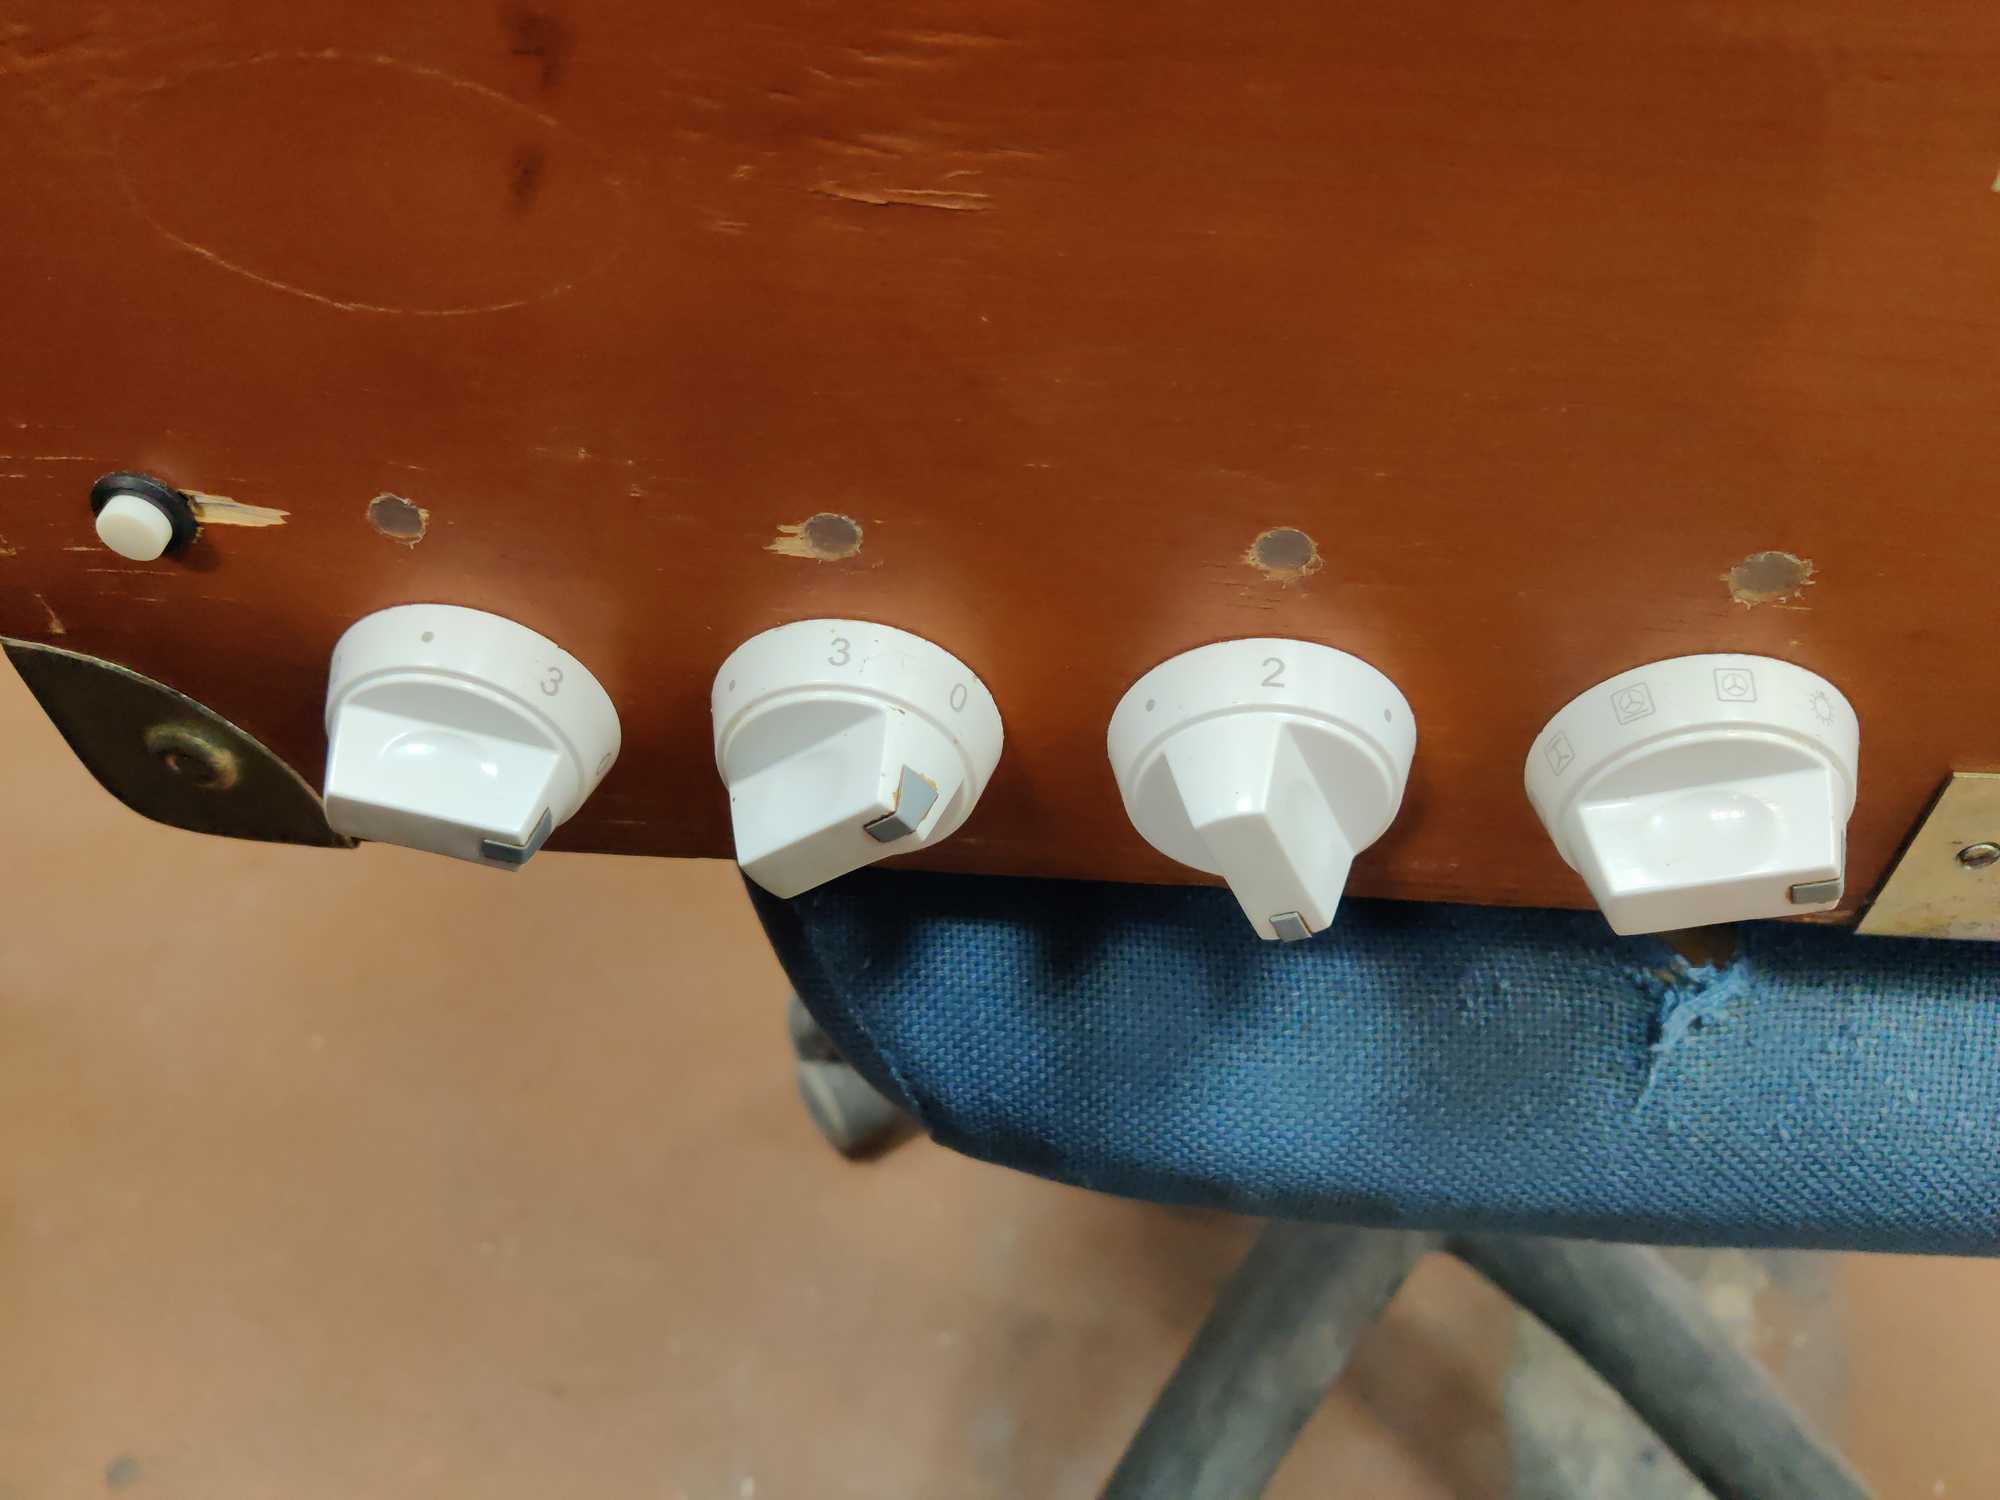
Since I first started playing around with the oven switches I continued to do so. The idea that came to mind was to have 4 of them connected one after another and when turned to correct positions they would close a circuit and the microcontroller would see that the combination is correct by reading a HIGH signal on a pin. Very simple.
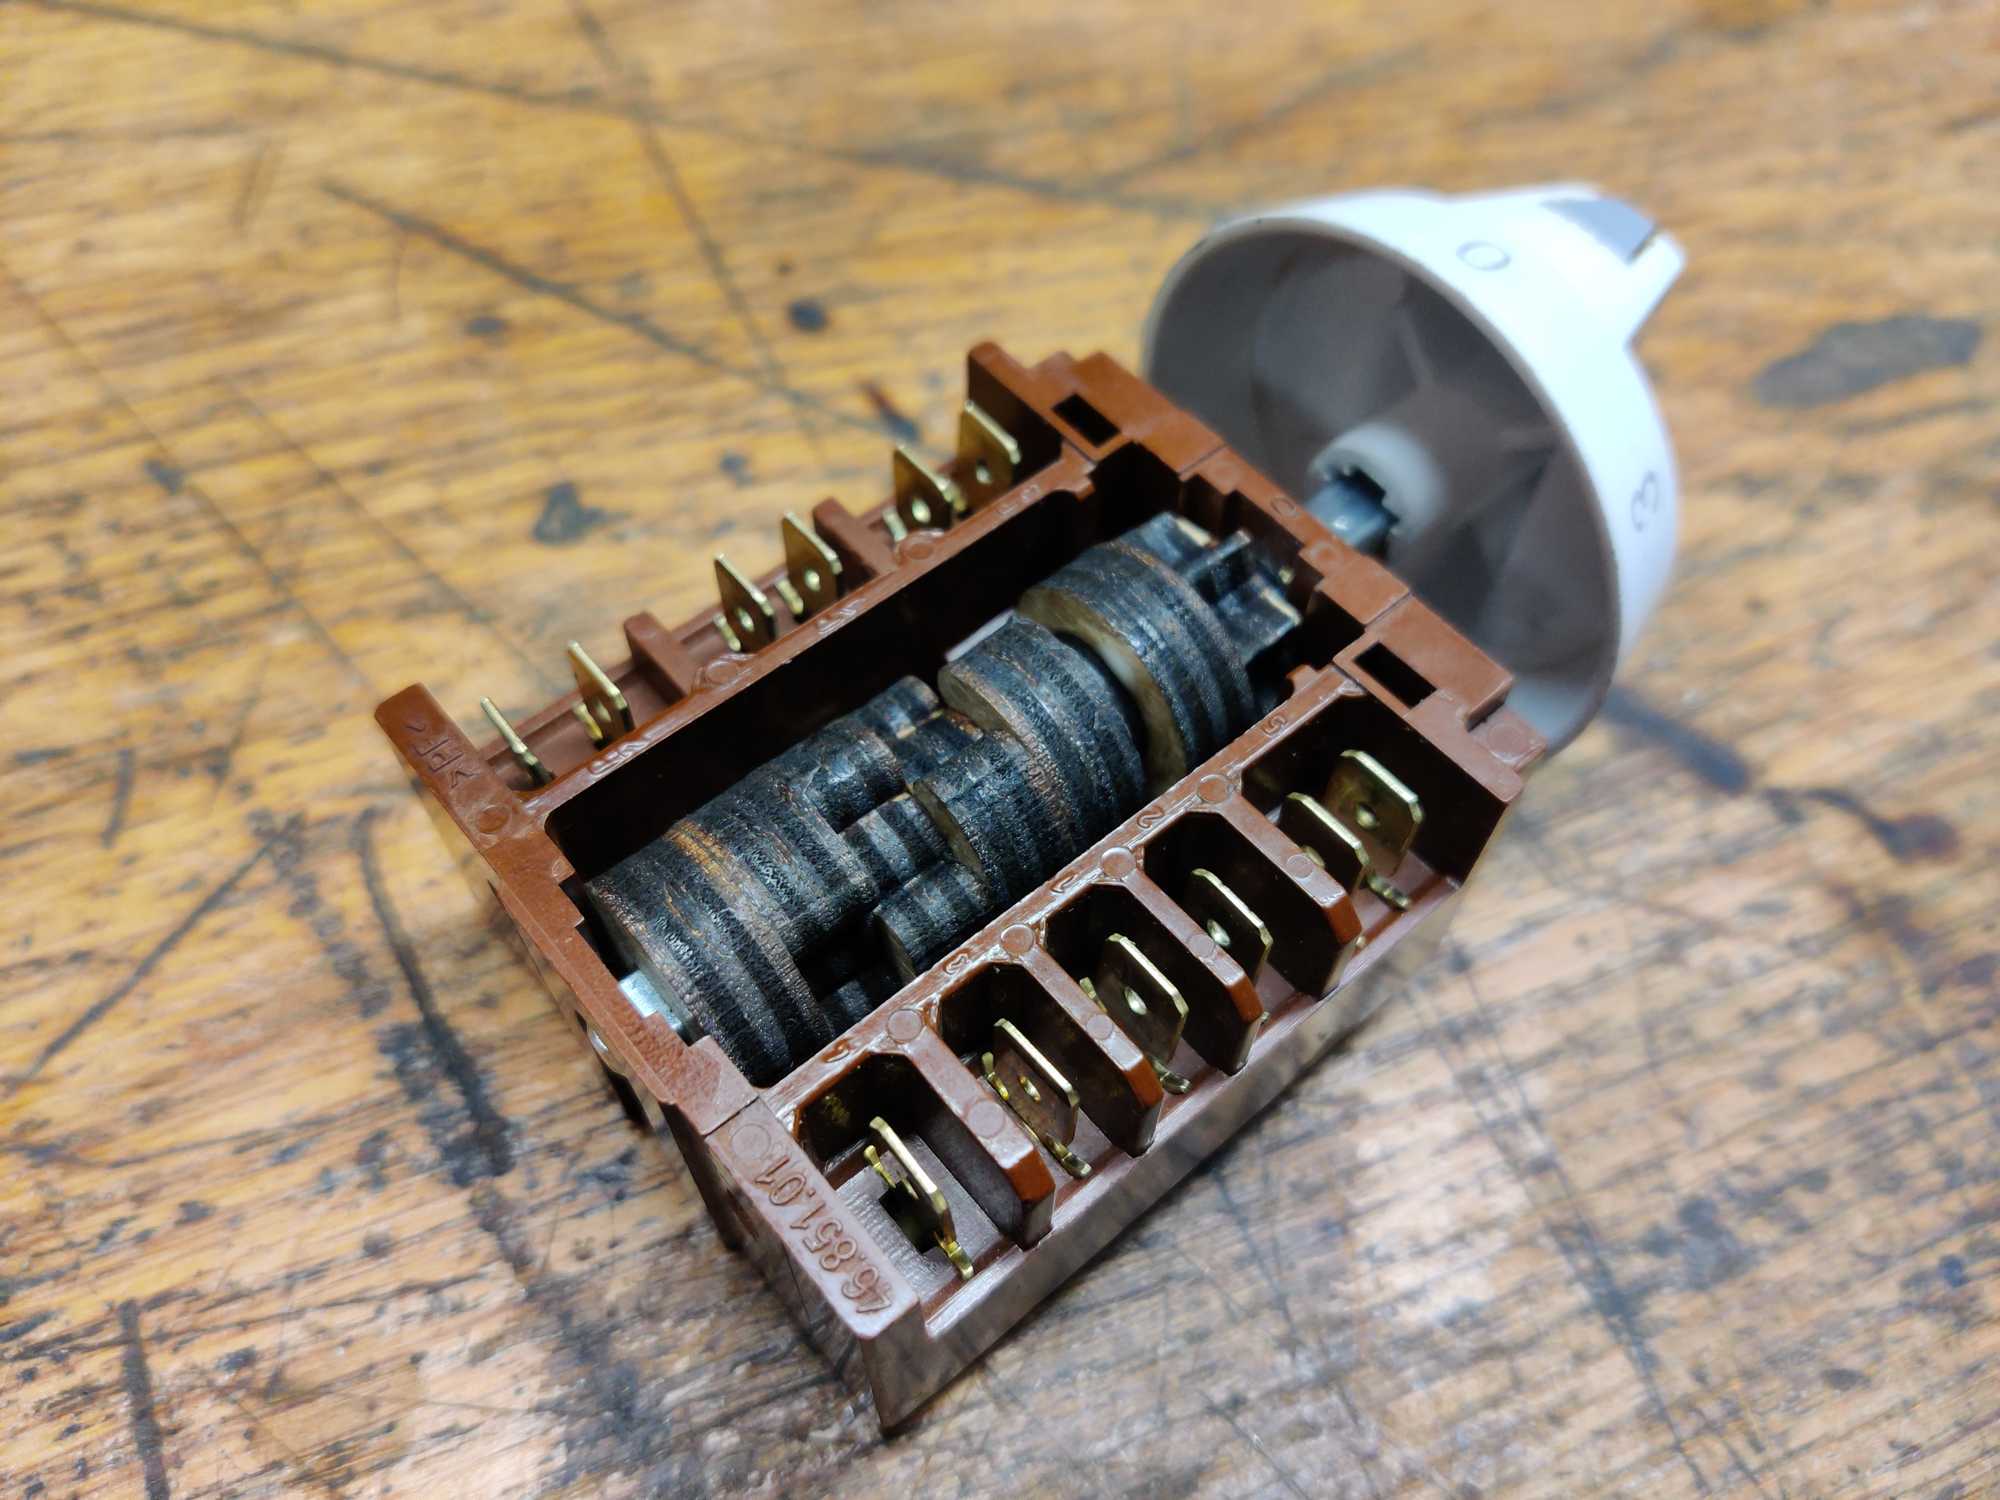
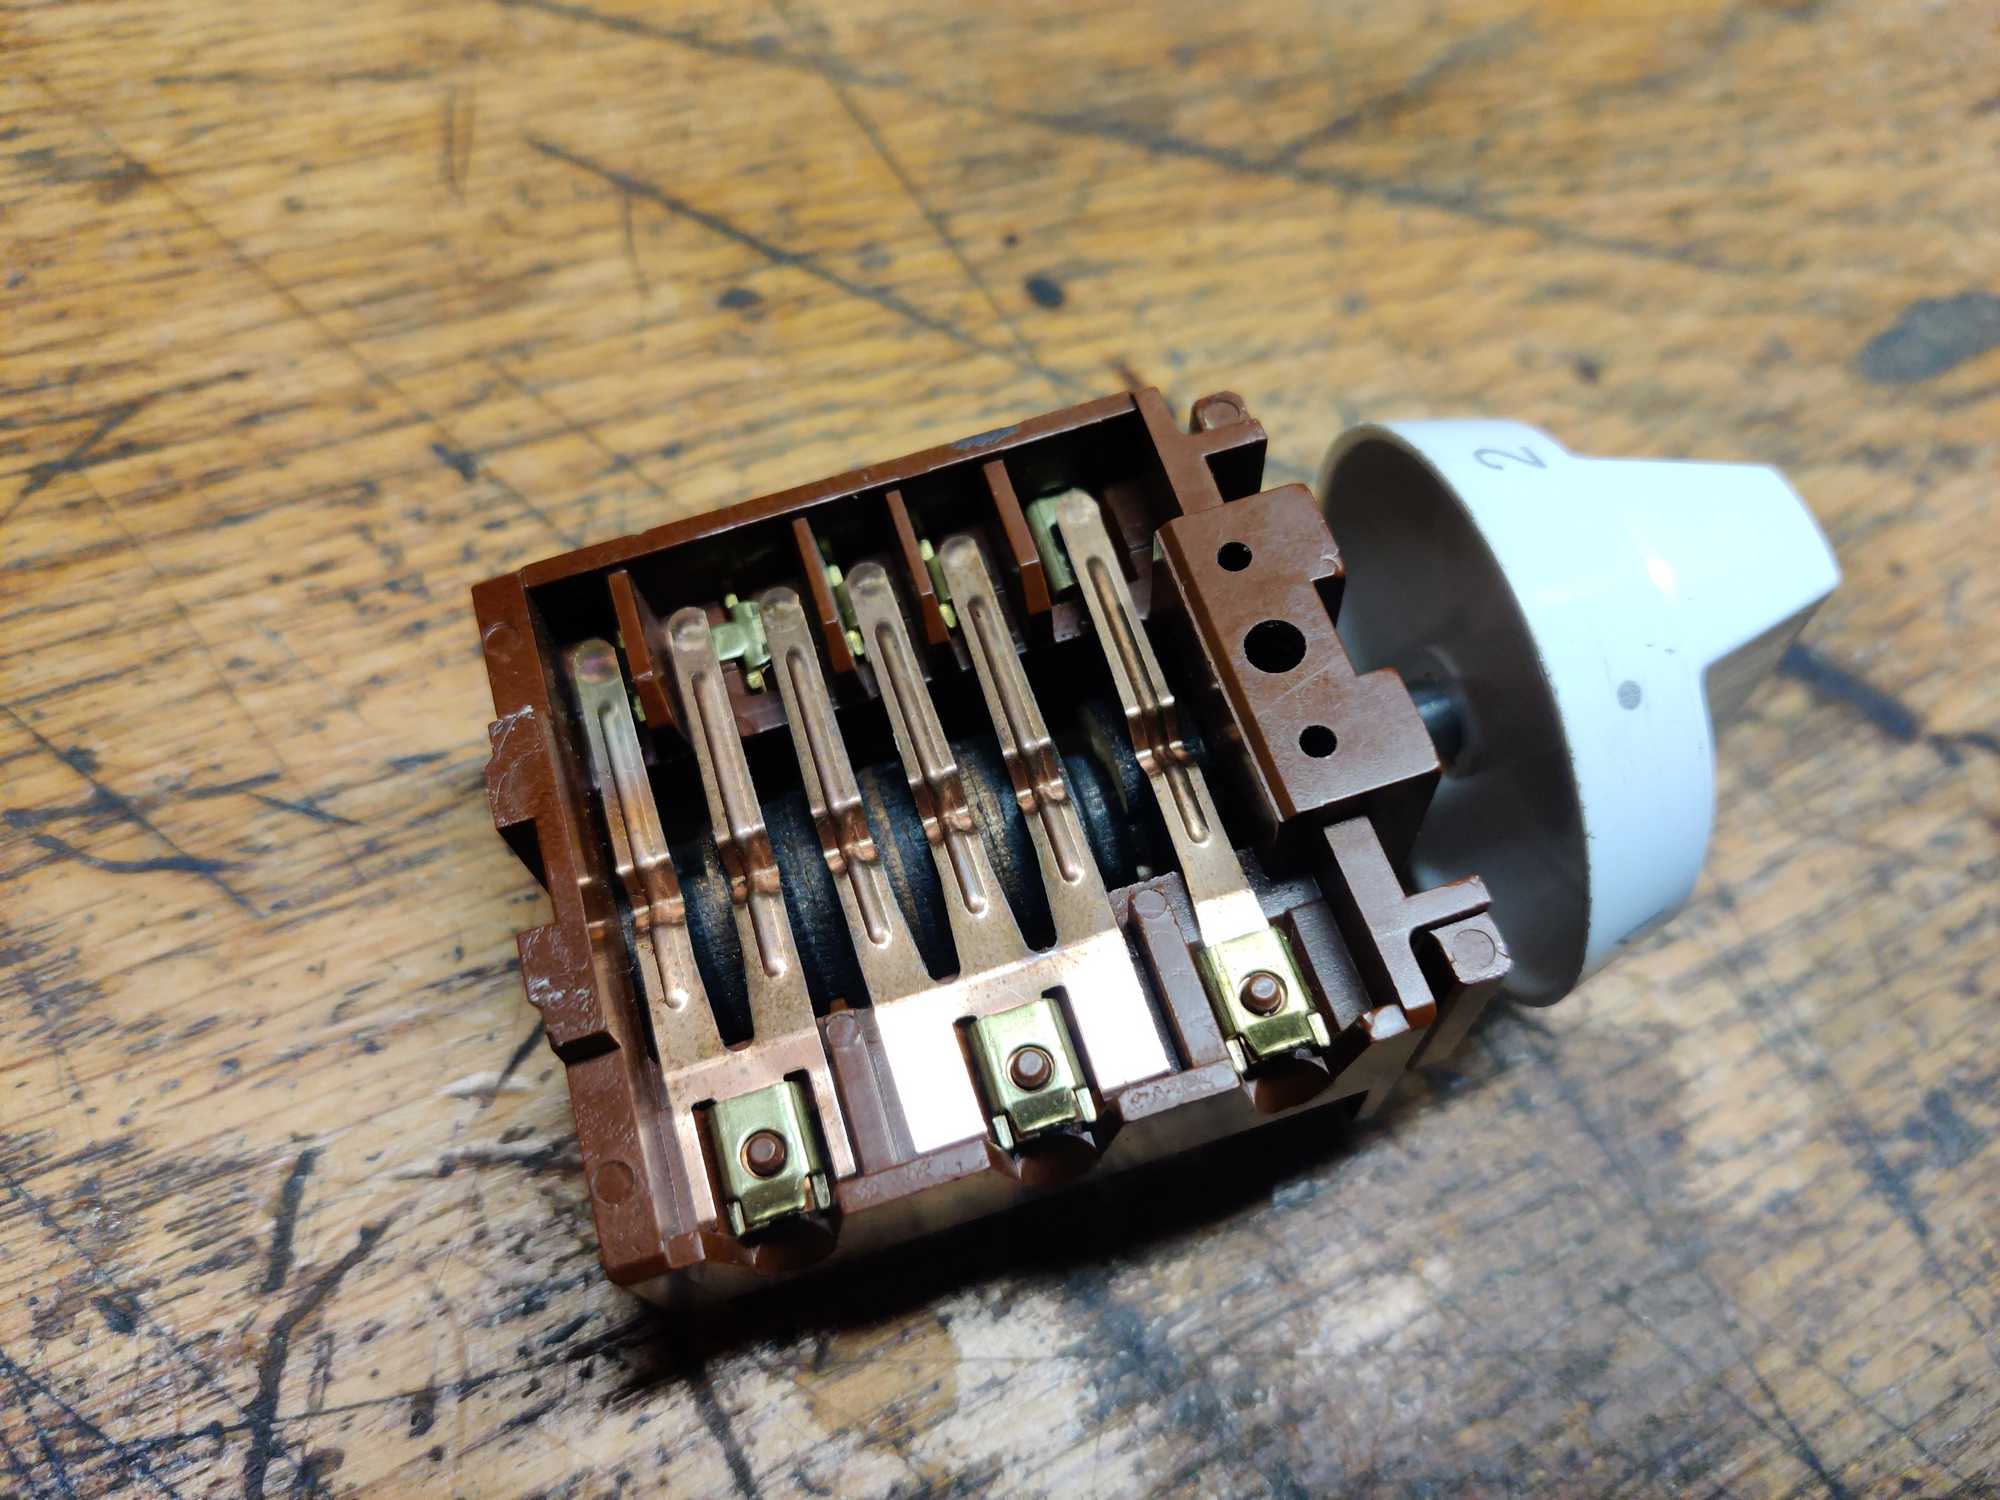
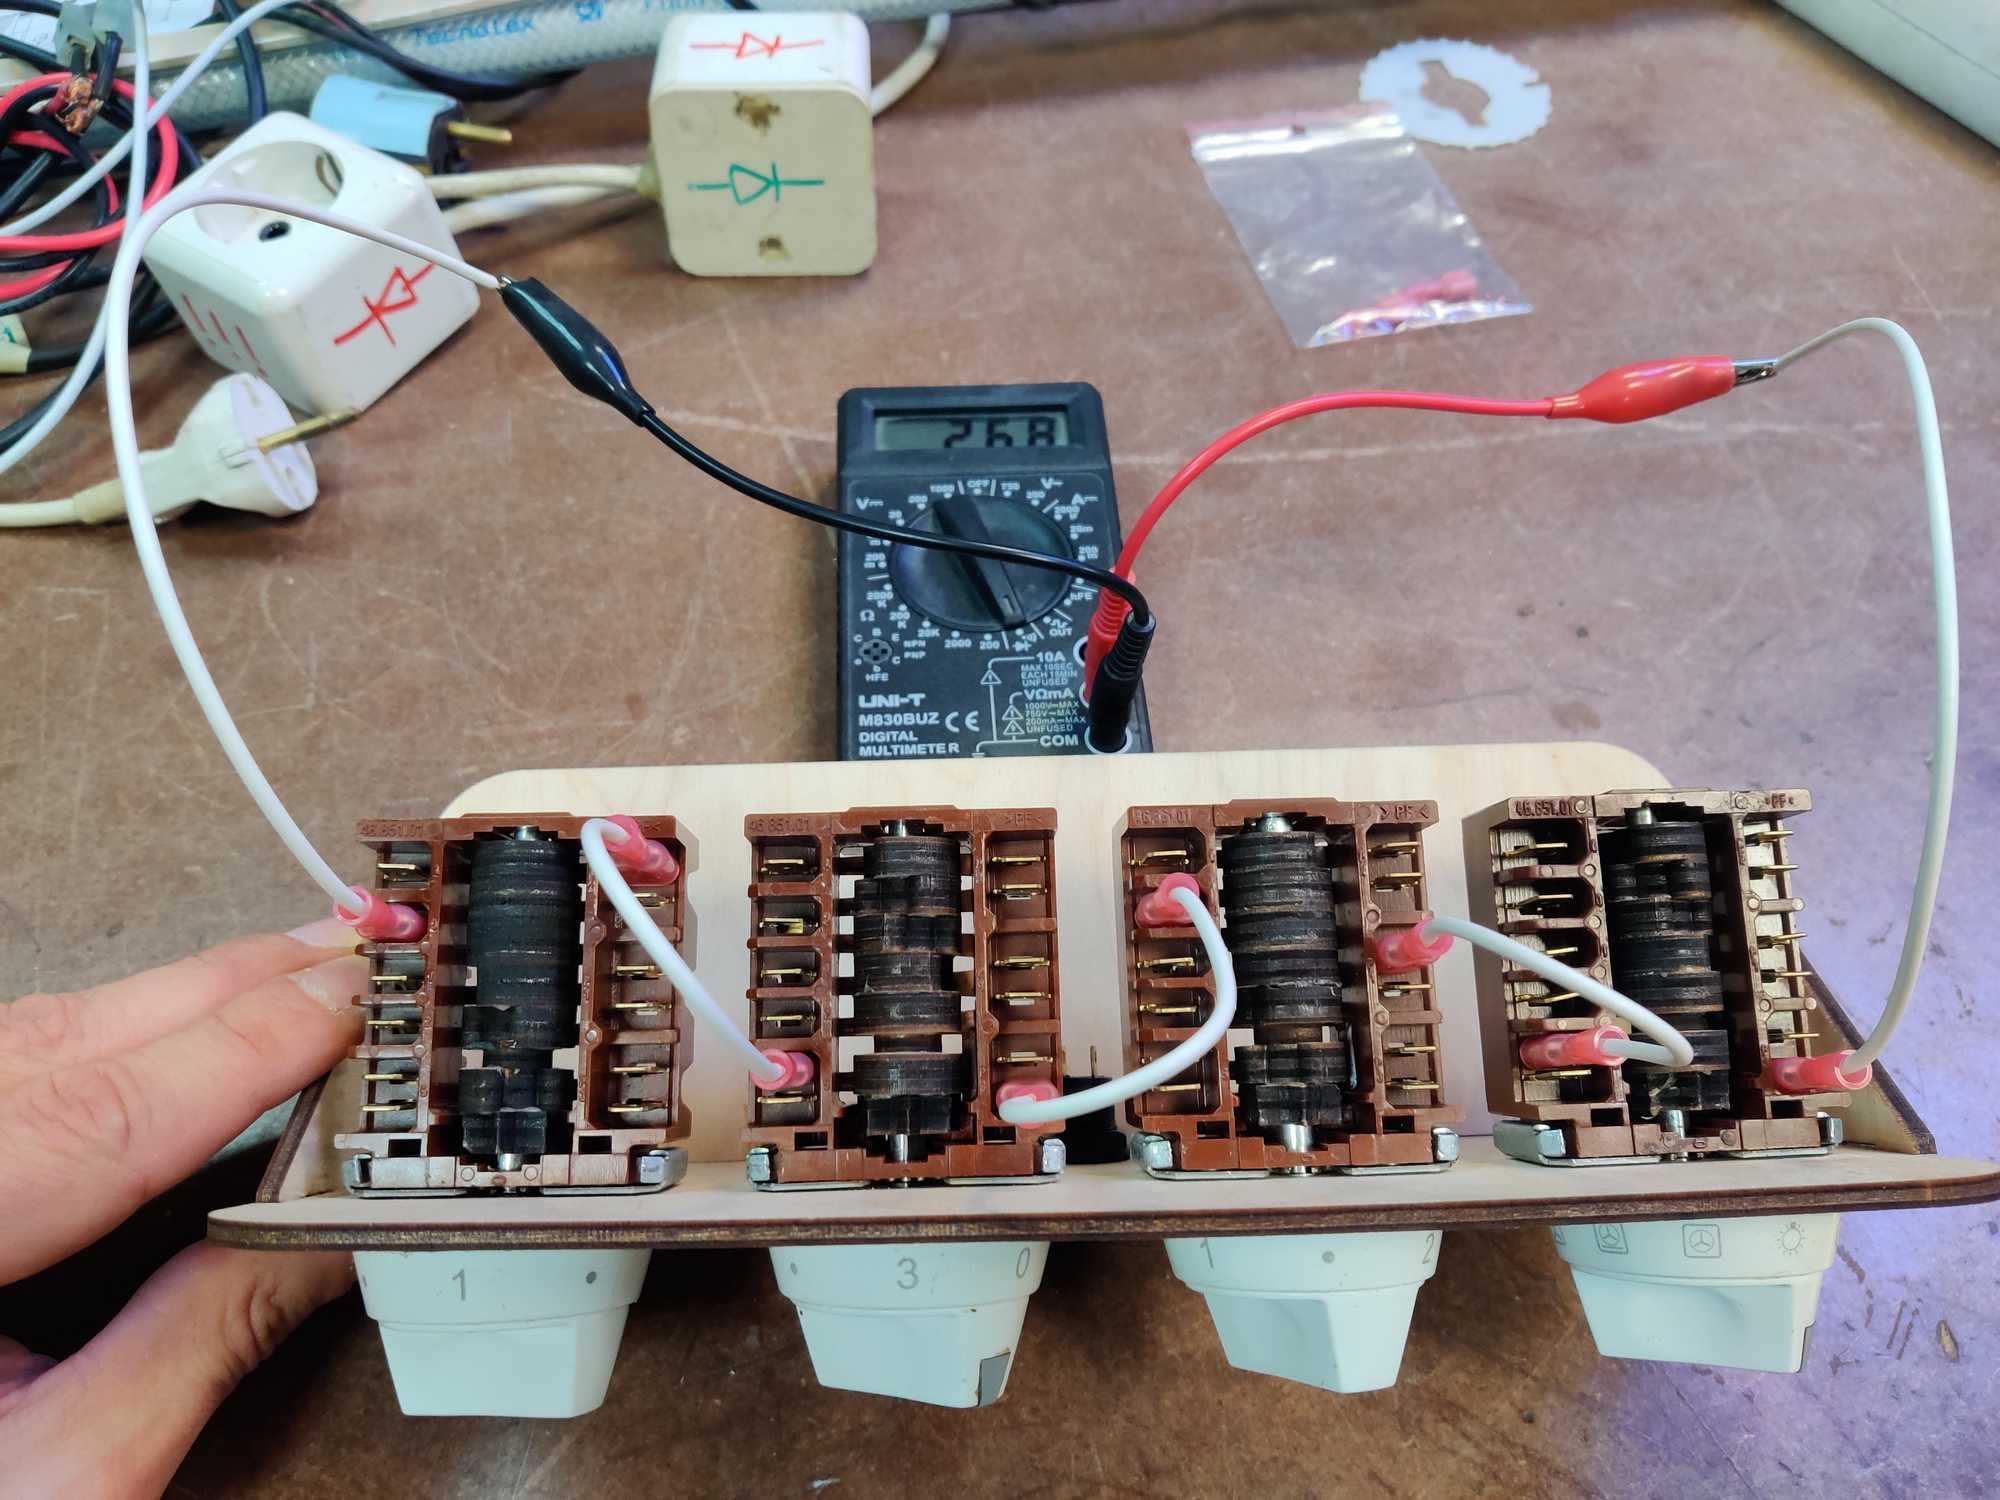
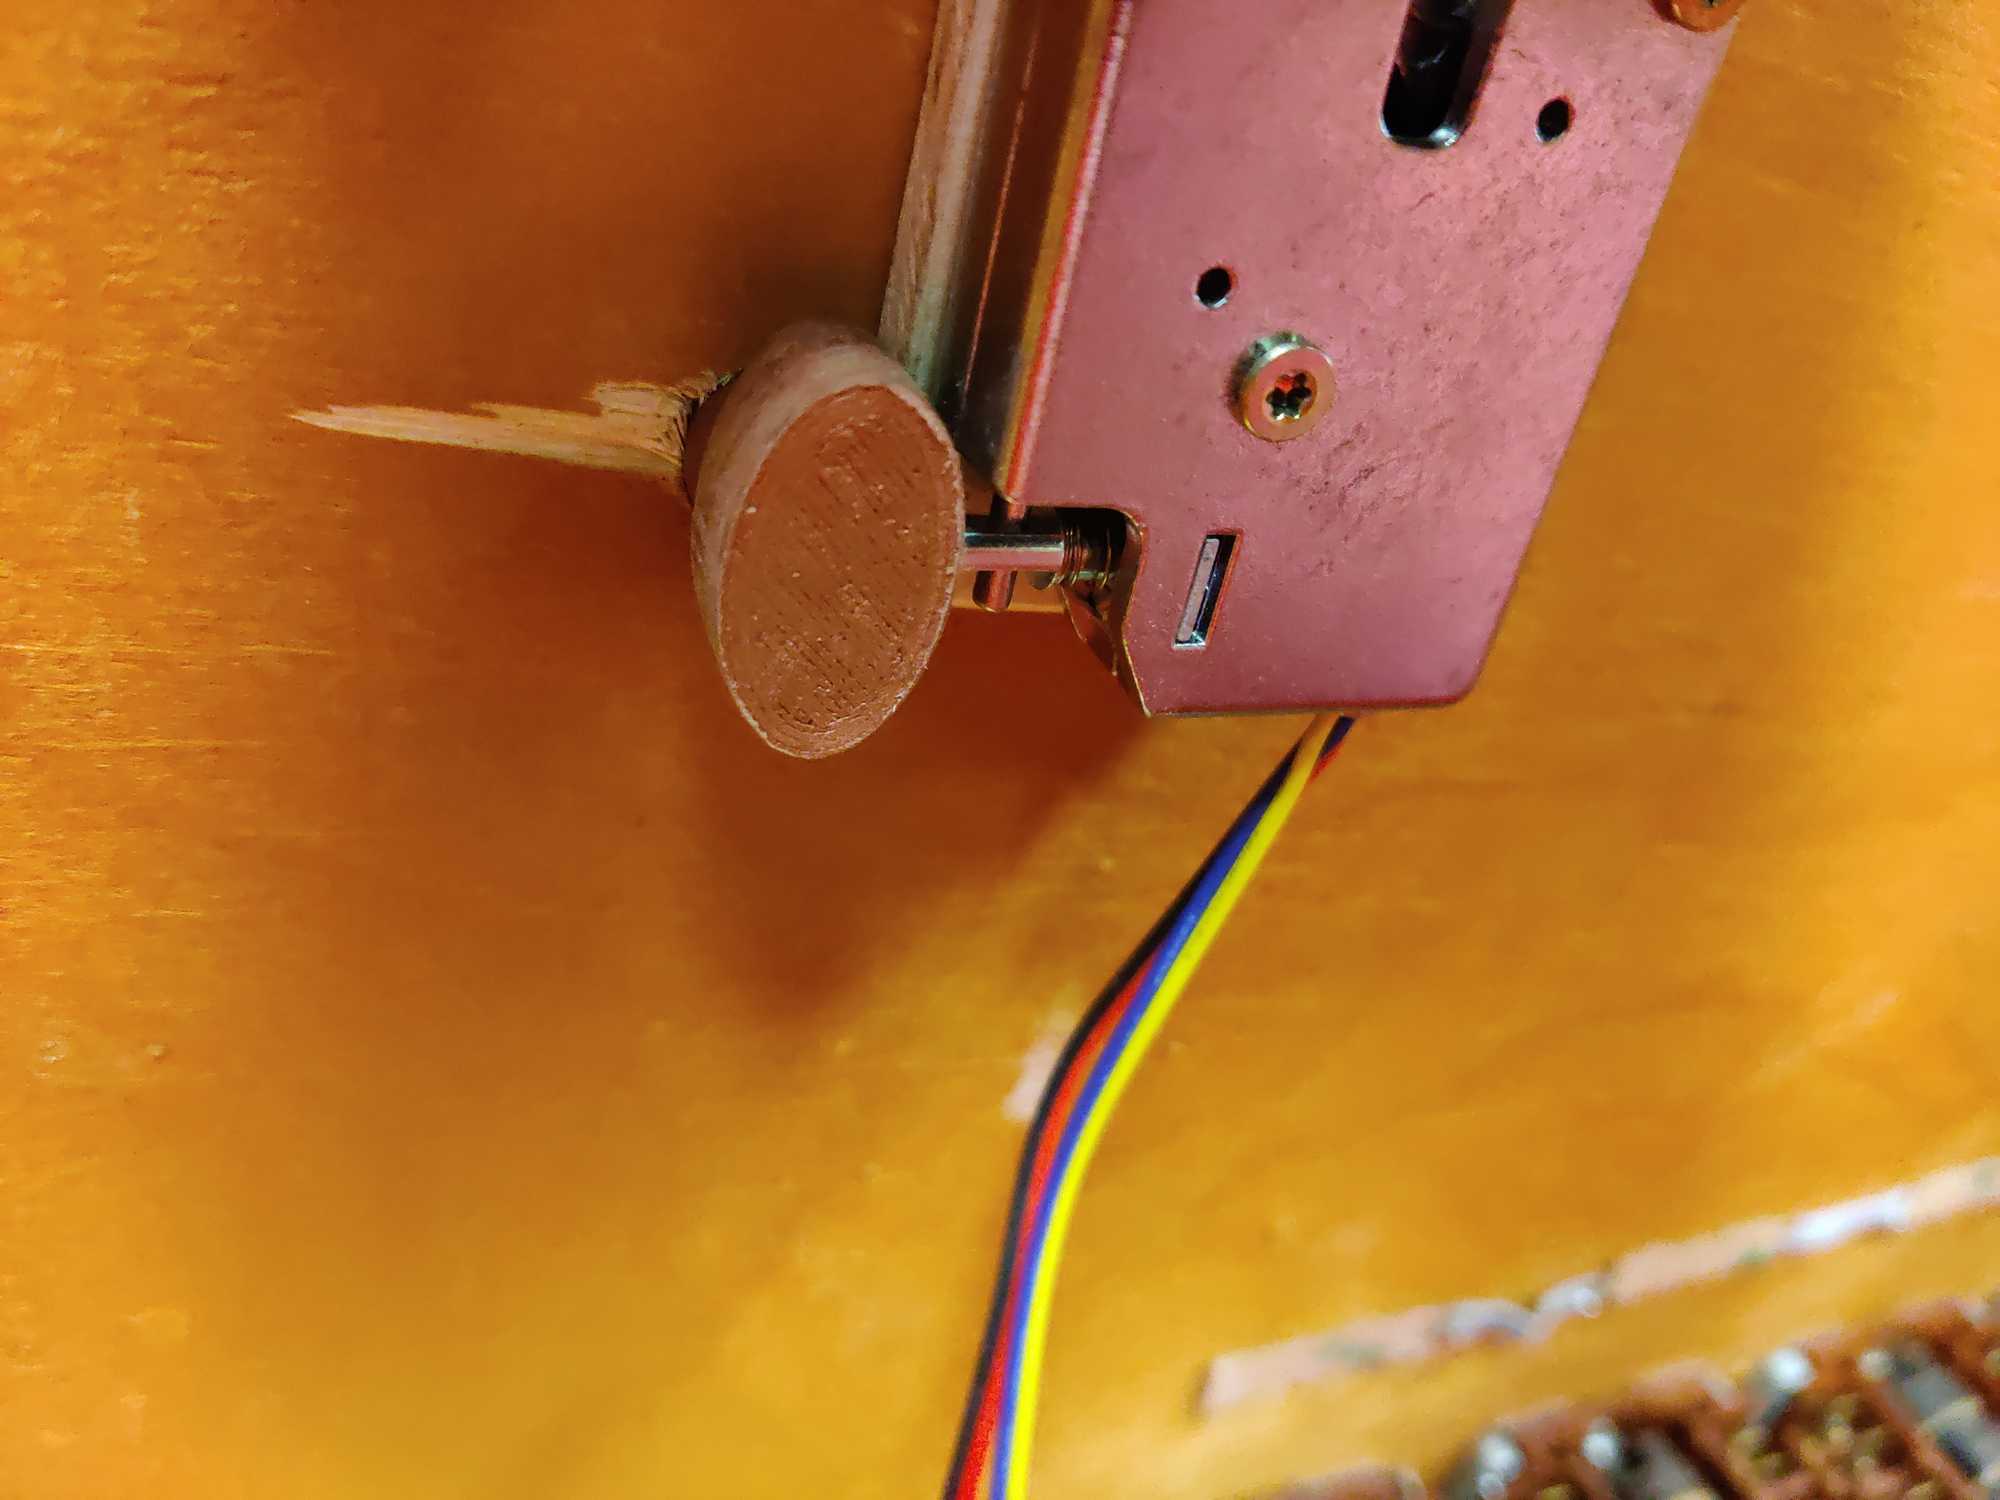
First I inspected them how they work and they have a pretty simple principle. The assembly has a shaft. On the end of it there’s a knob to turn it. On the shaft there’s a cylinder with cut-outs that when turned raises or lowers a contact that bridges a gap from one side to another.
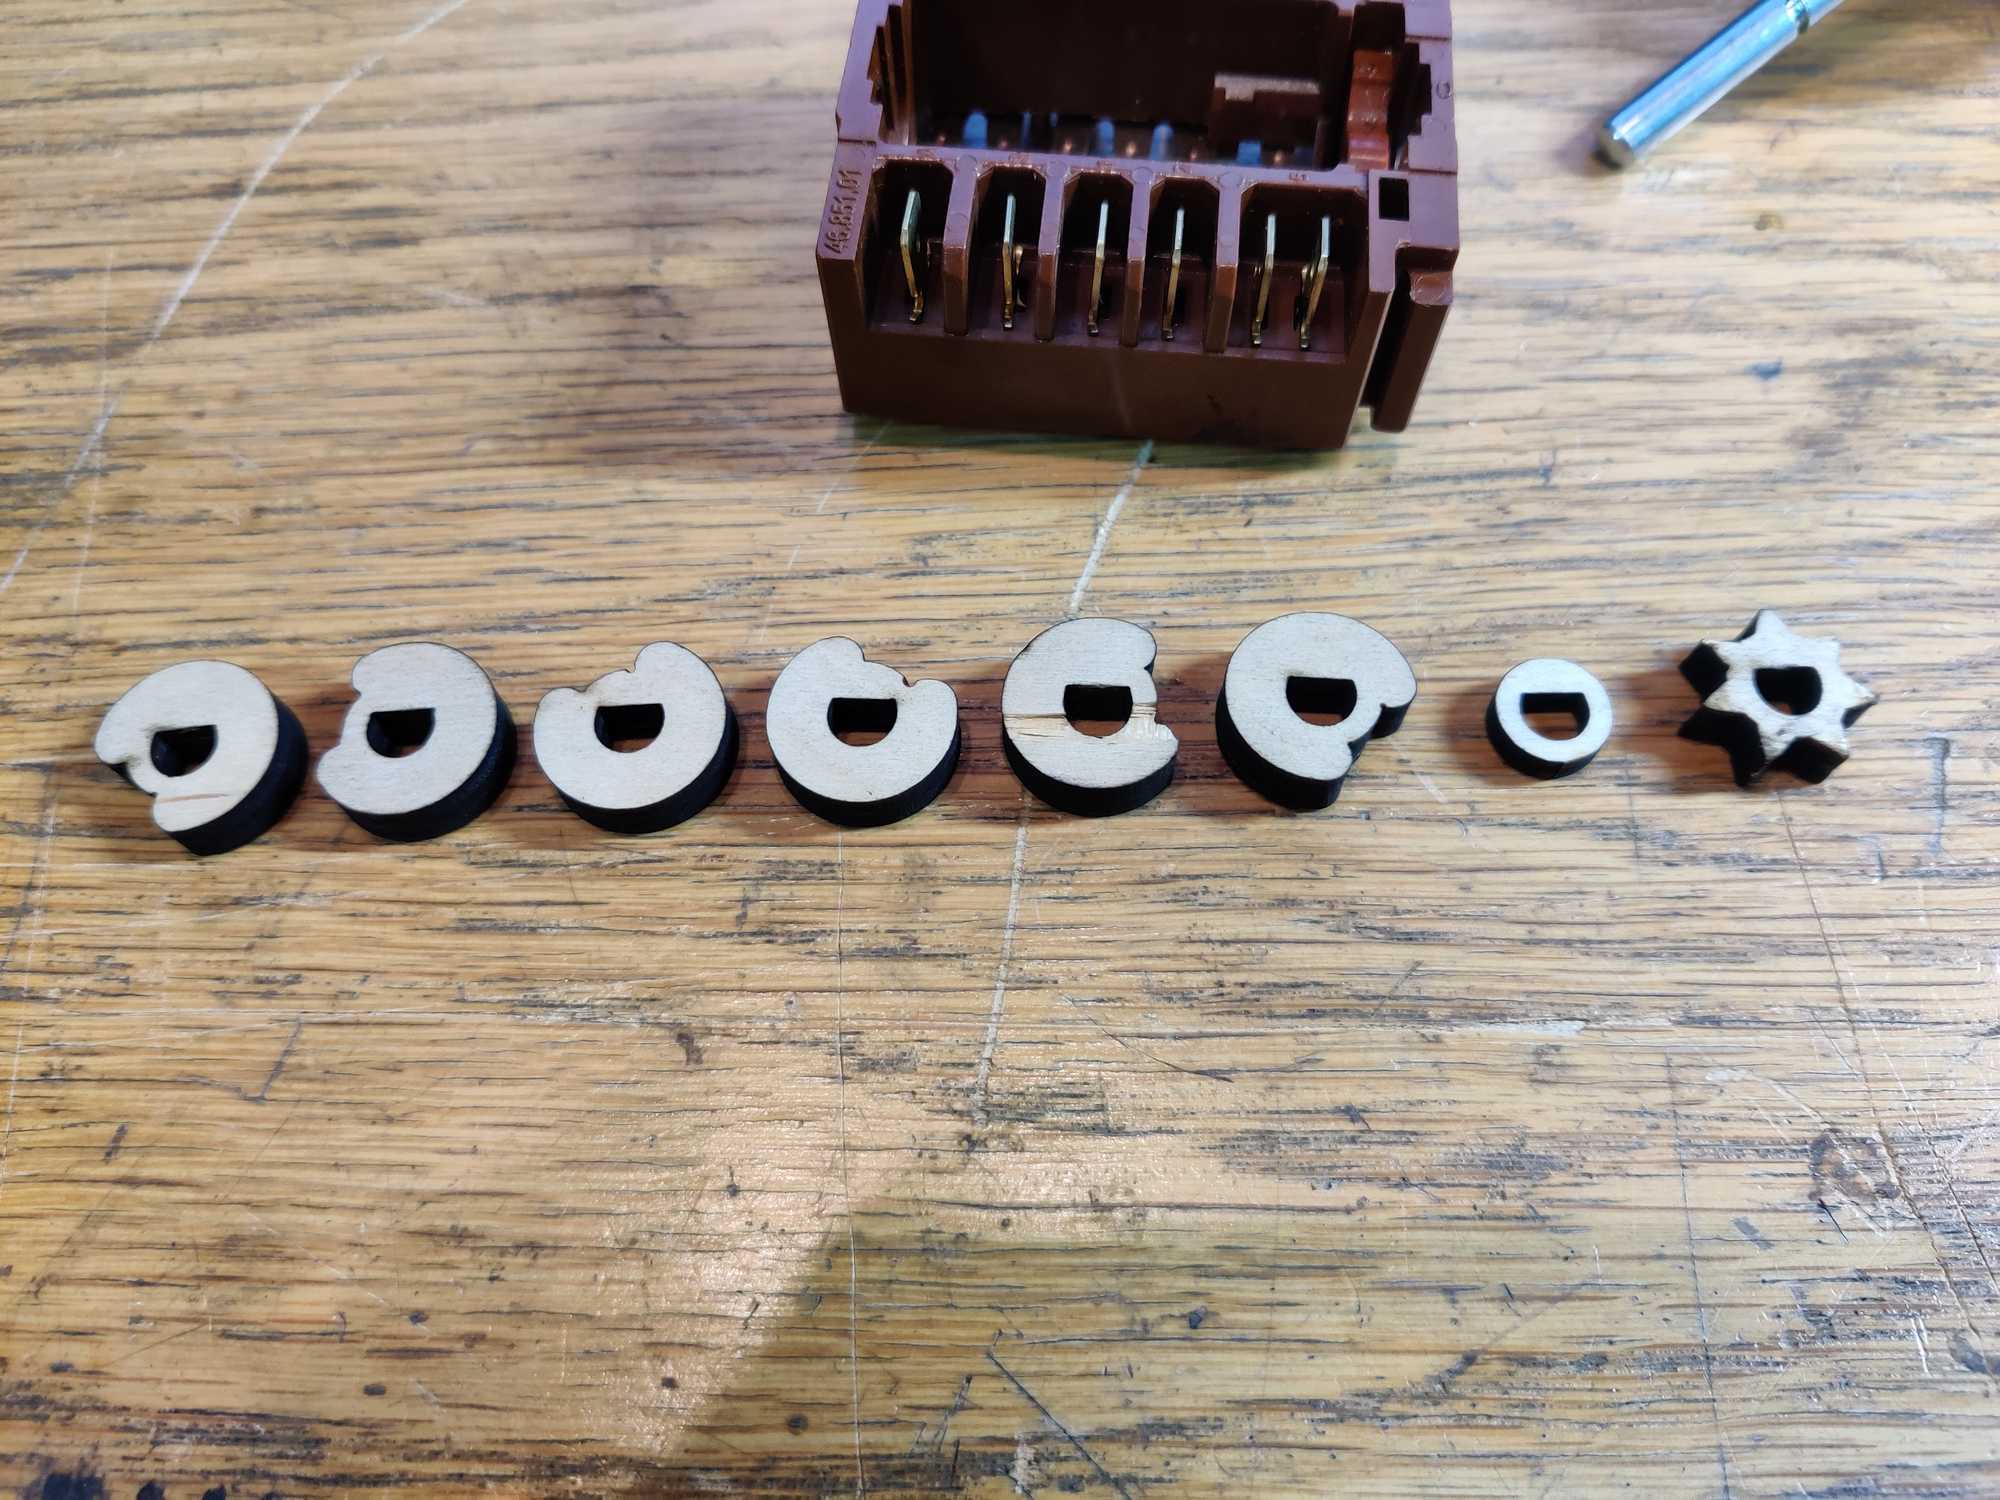
However there was a weird problem that for some reason multiple contacts would be manipulated at once and because of that it was impossible to have a unique combination.
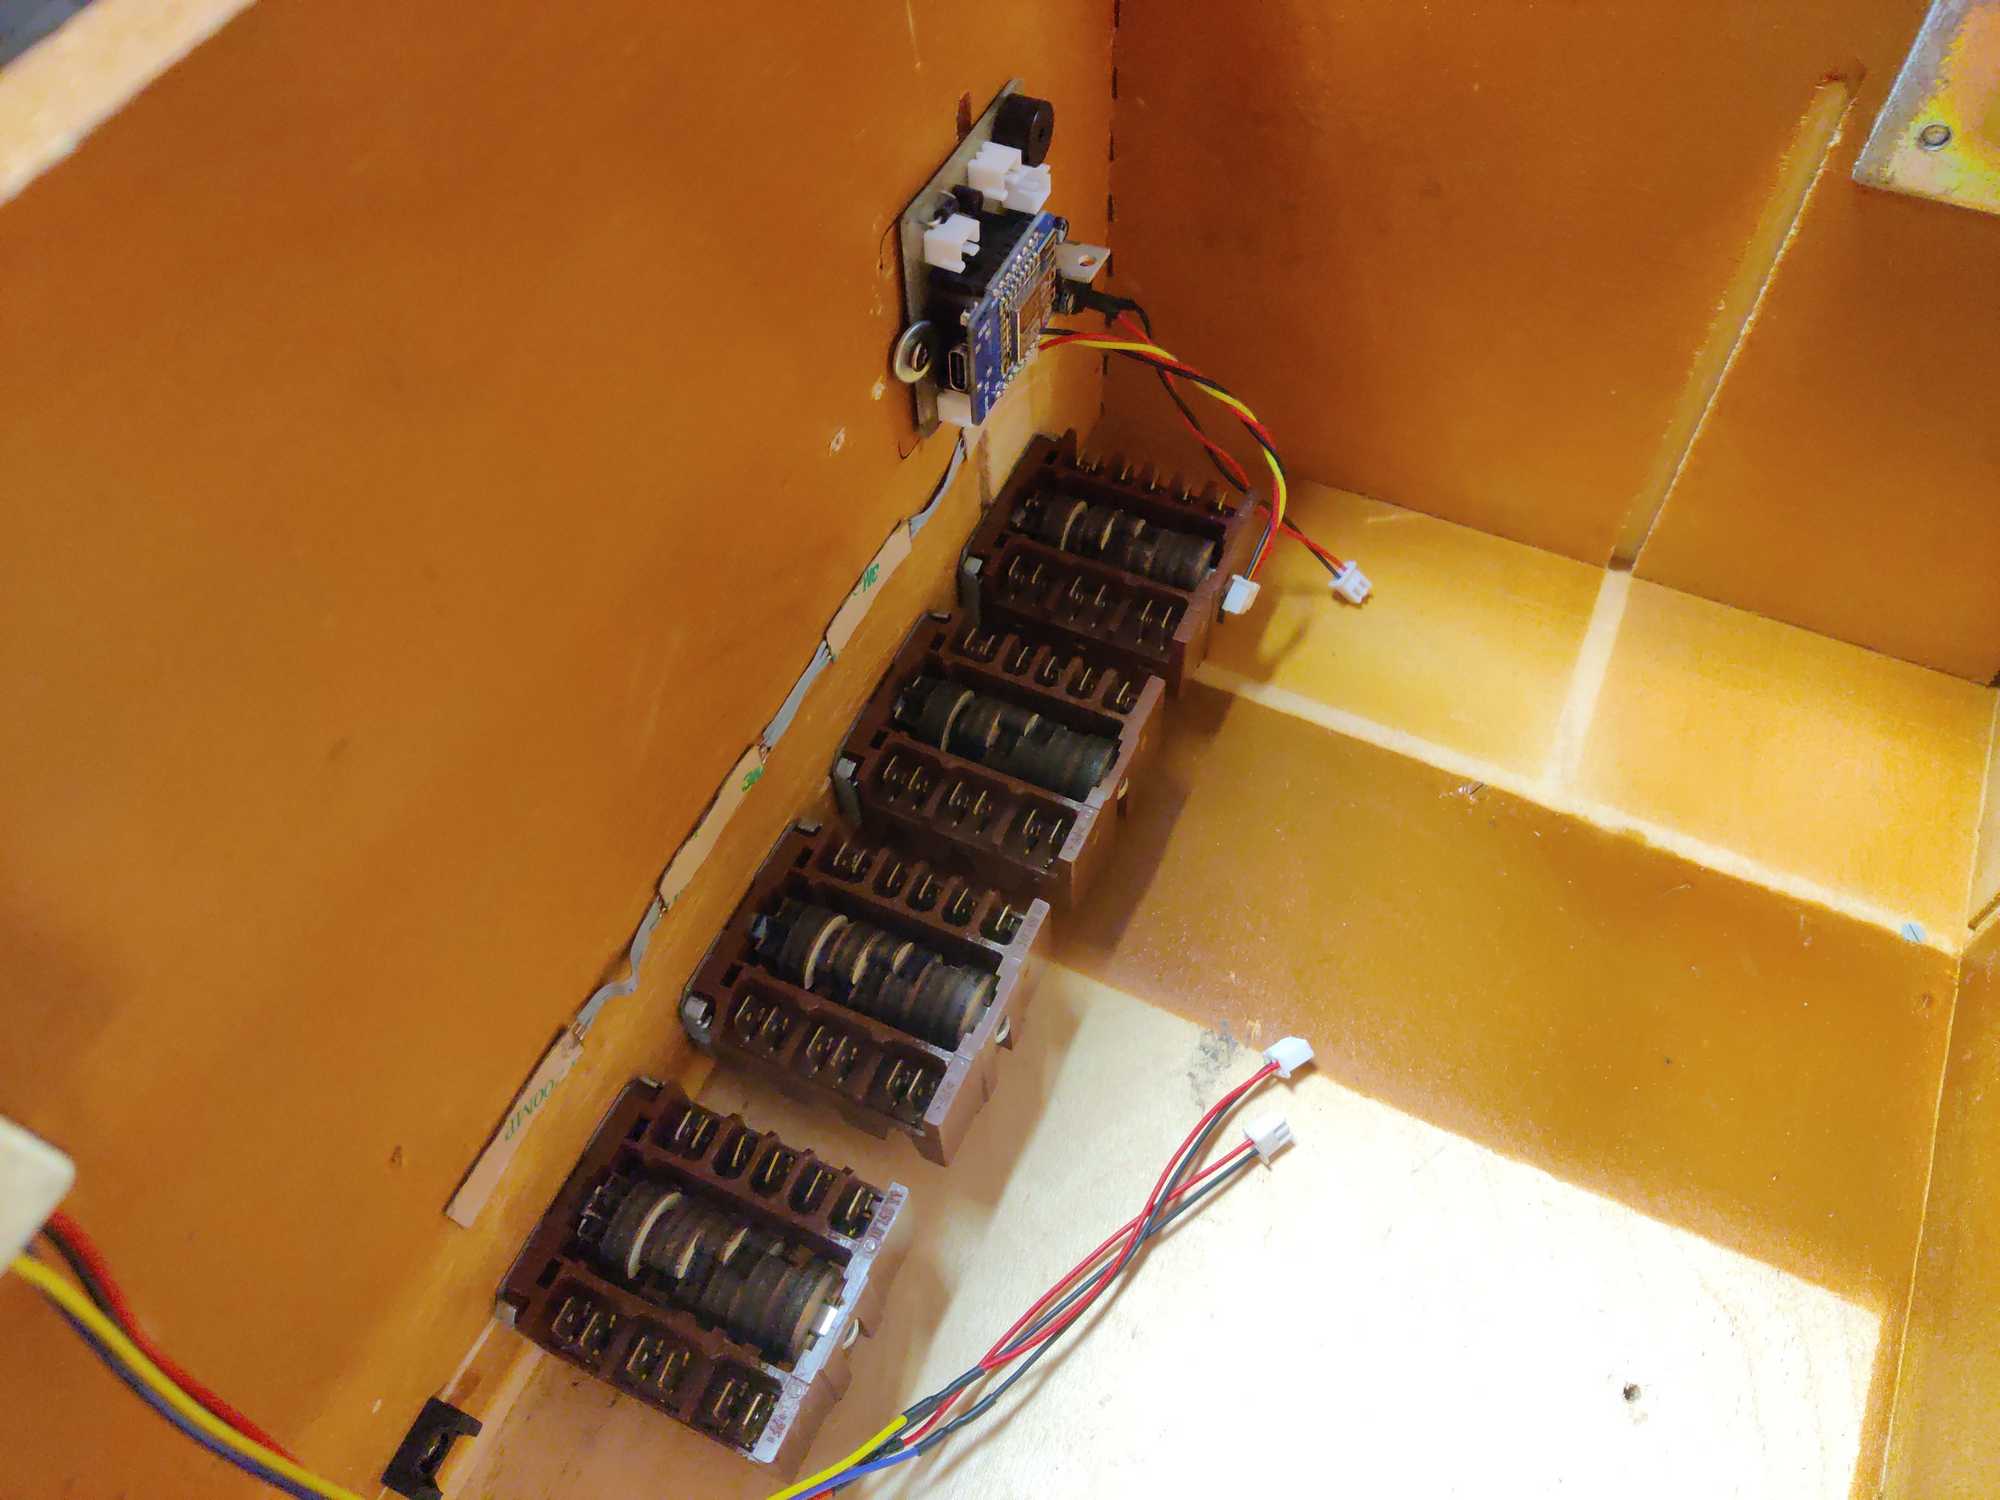
I had to make my own wheels that lifted just one contact at a time. I did that in OnShape and lasercut from plywood.
After lots of fine-tuning to have them stop in positions properly when turning I made a simple stand for them to connect up the wires for further development.
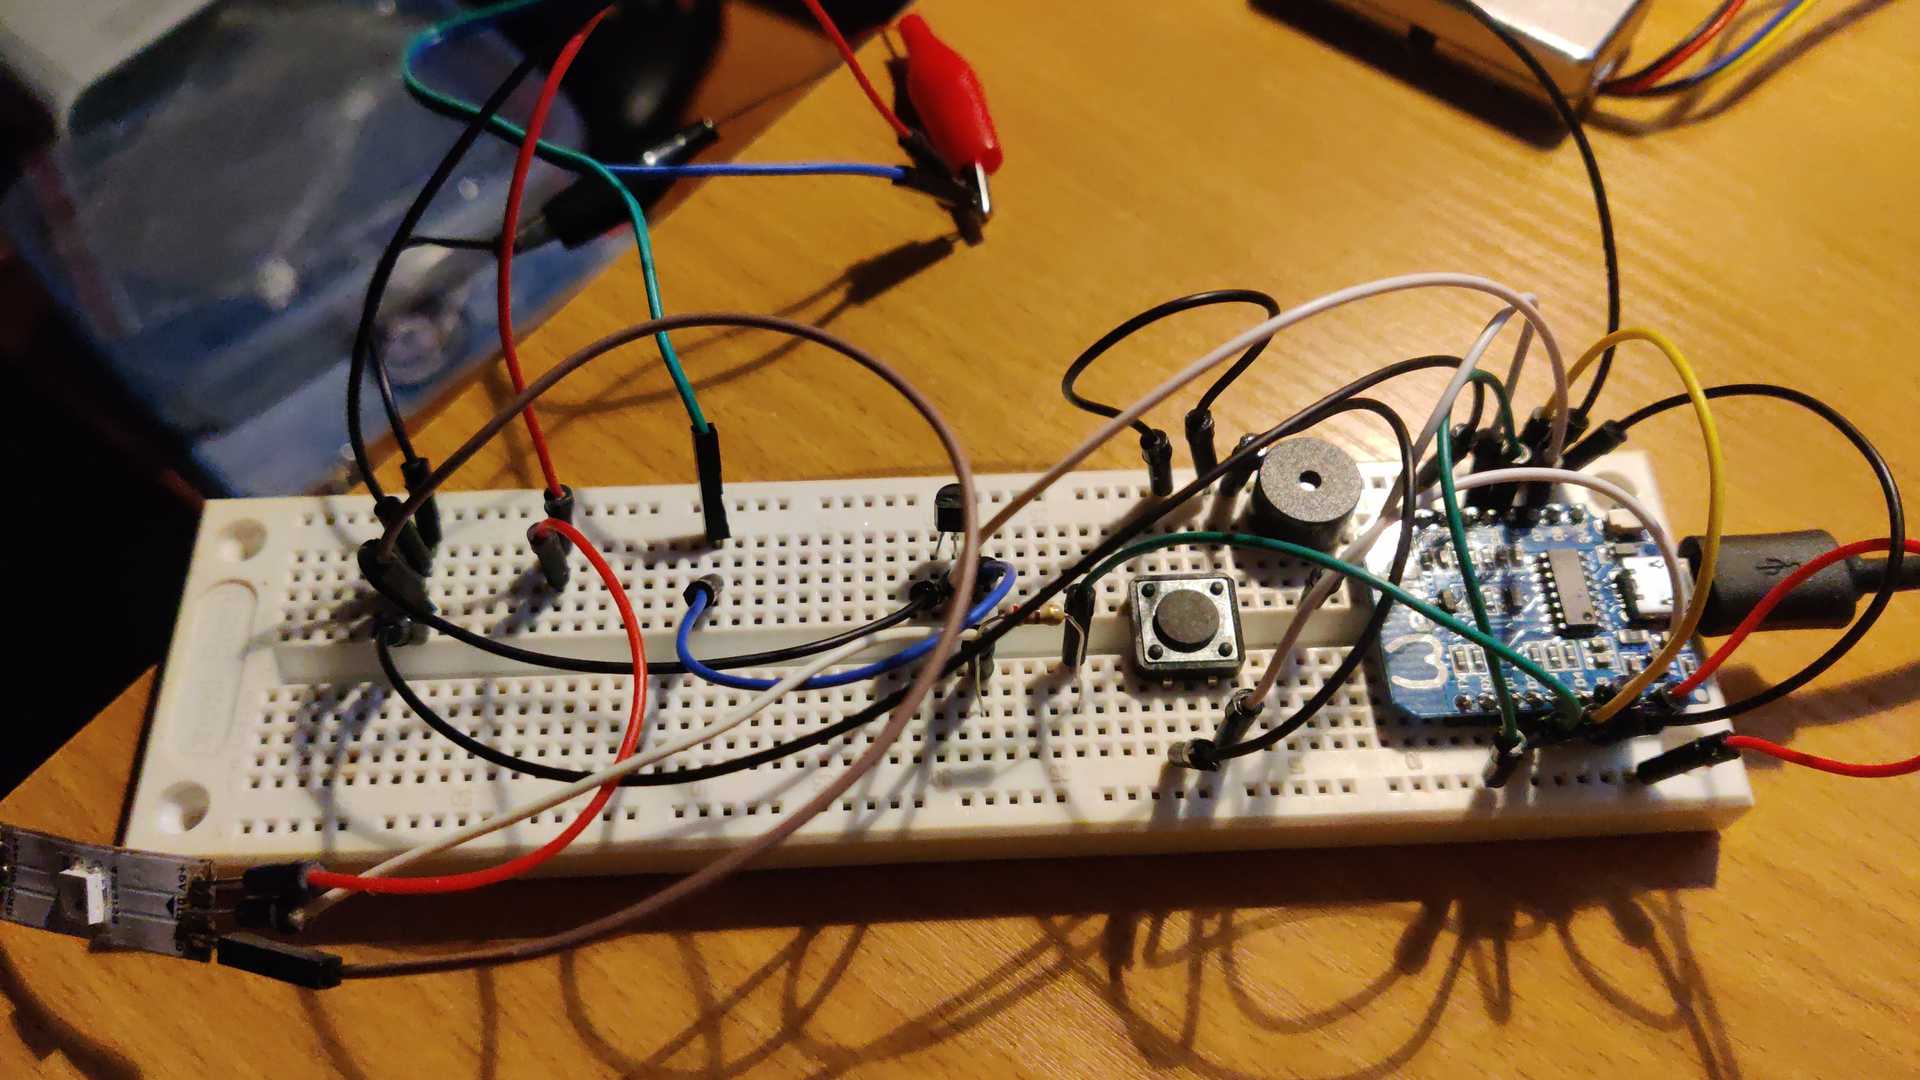
As I always do when I come to the electronics part I wrote and drew on paper how this should work, then did the electronics proof of concept on a breadboard. I wanted to have the user turn the knobs to “enter” a code and have to press a button to confirm. When the button was pressed the microcontroller would imitate a combination “check” sequence by turning on RGB LEDs (blue color) one by one with pauses in between and have them turn red or green depending on if the combination was correct or not. If it wasn’t then a buzzer would also turn on, but if the combination was correct then the chest would open.
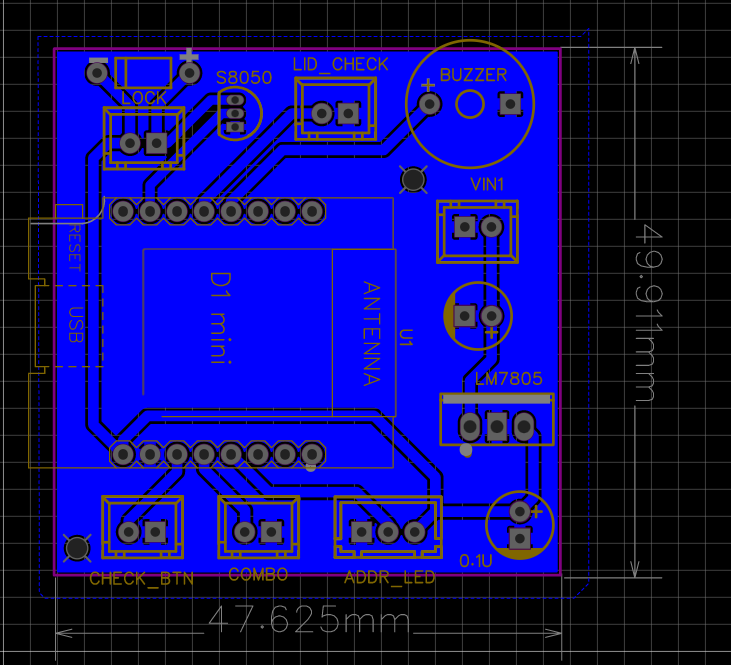
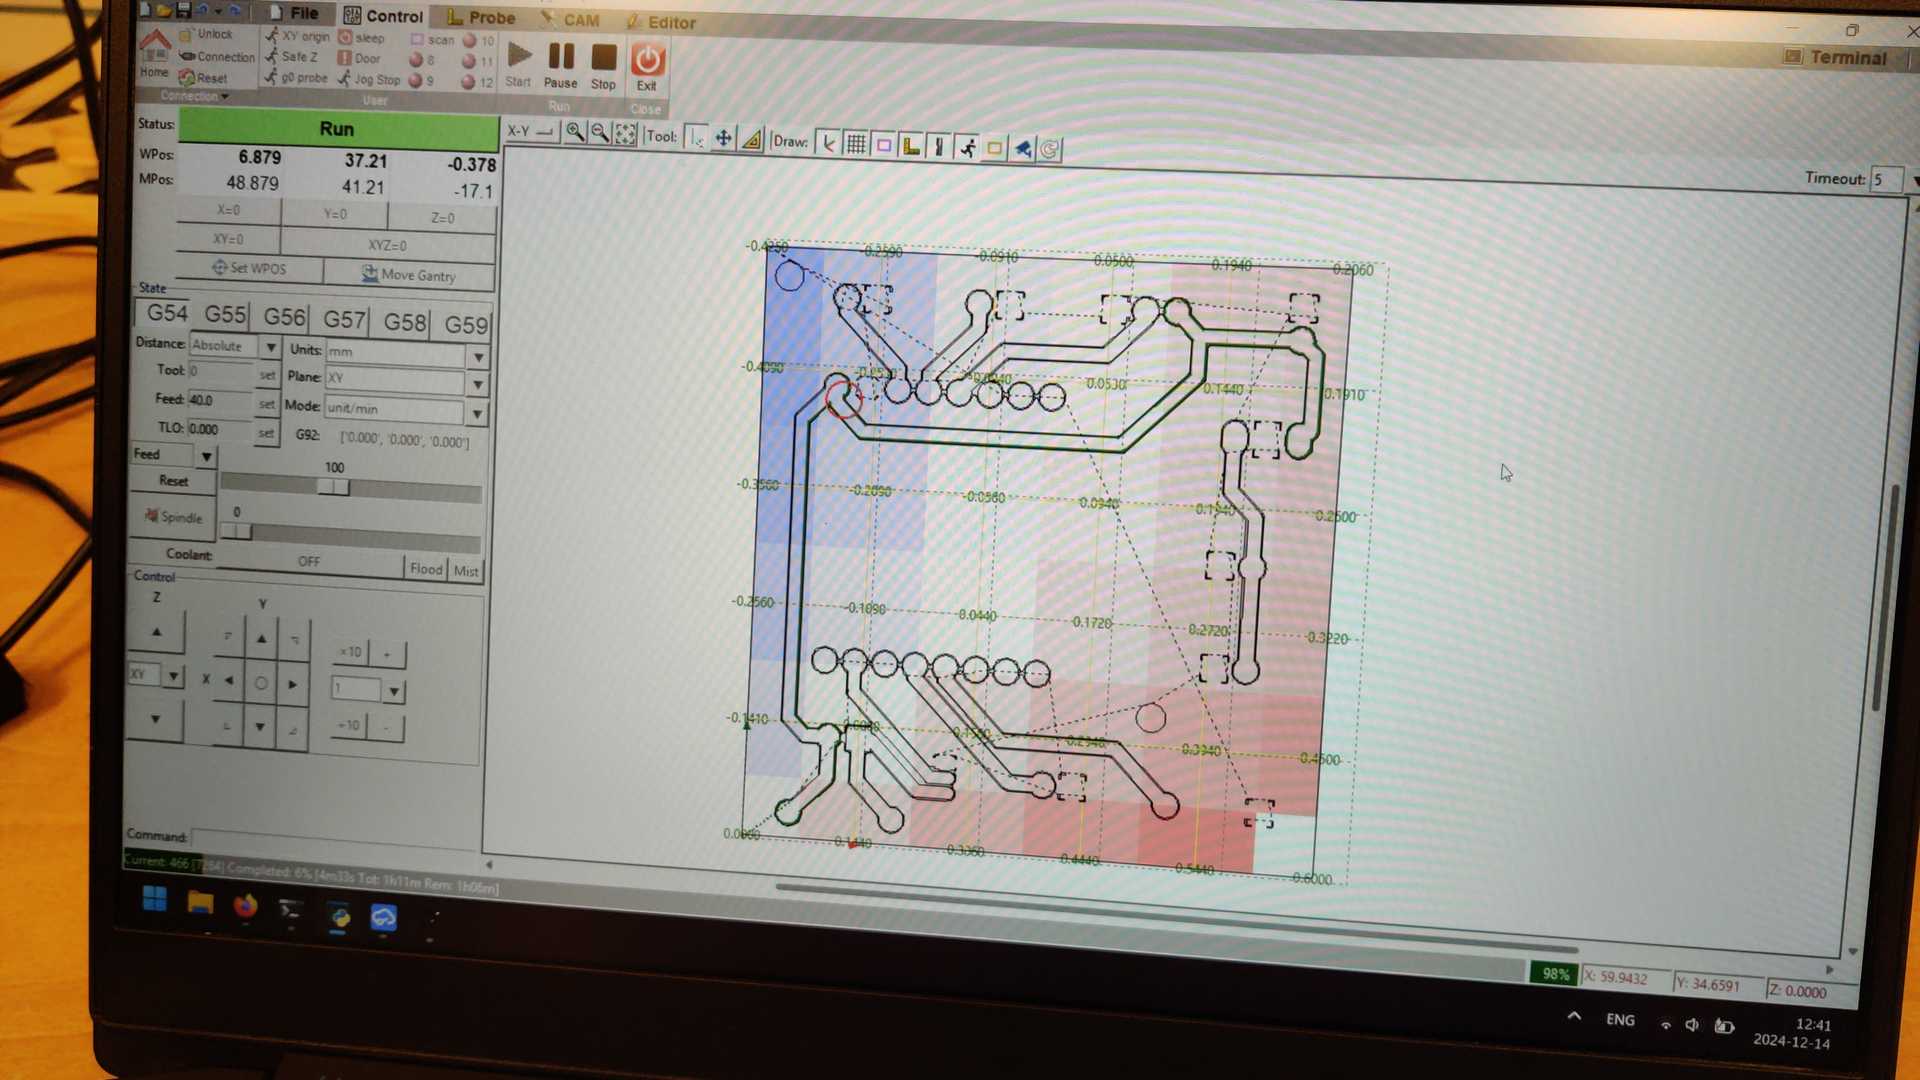
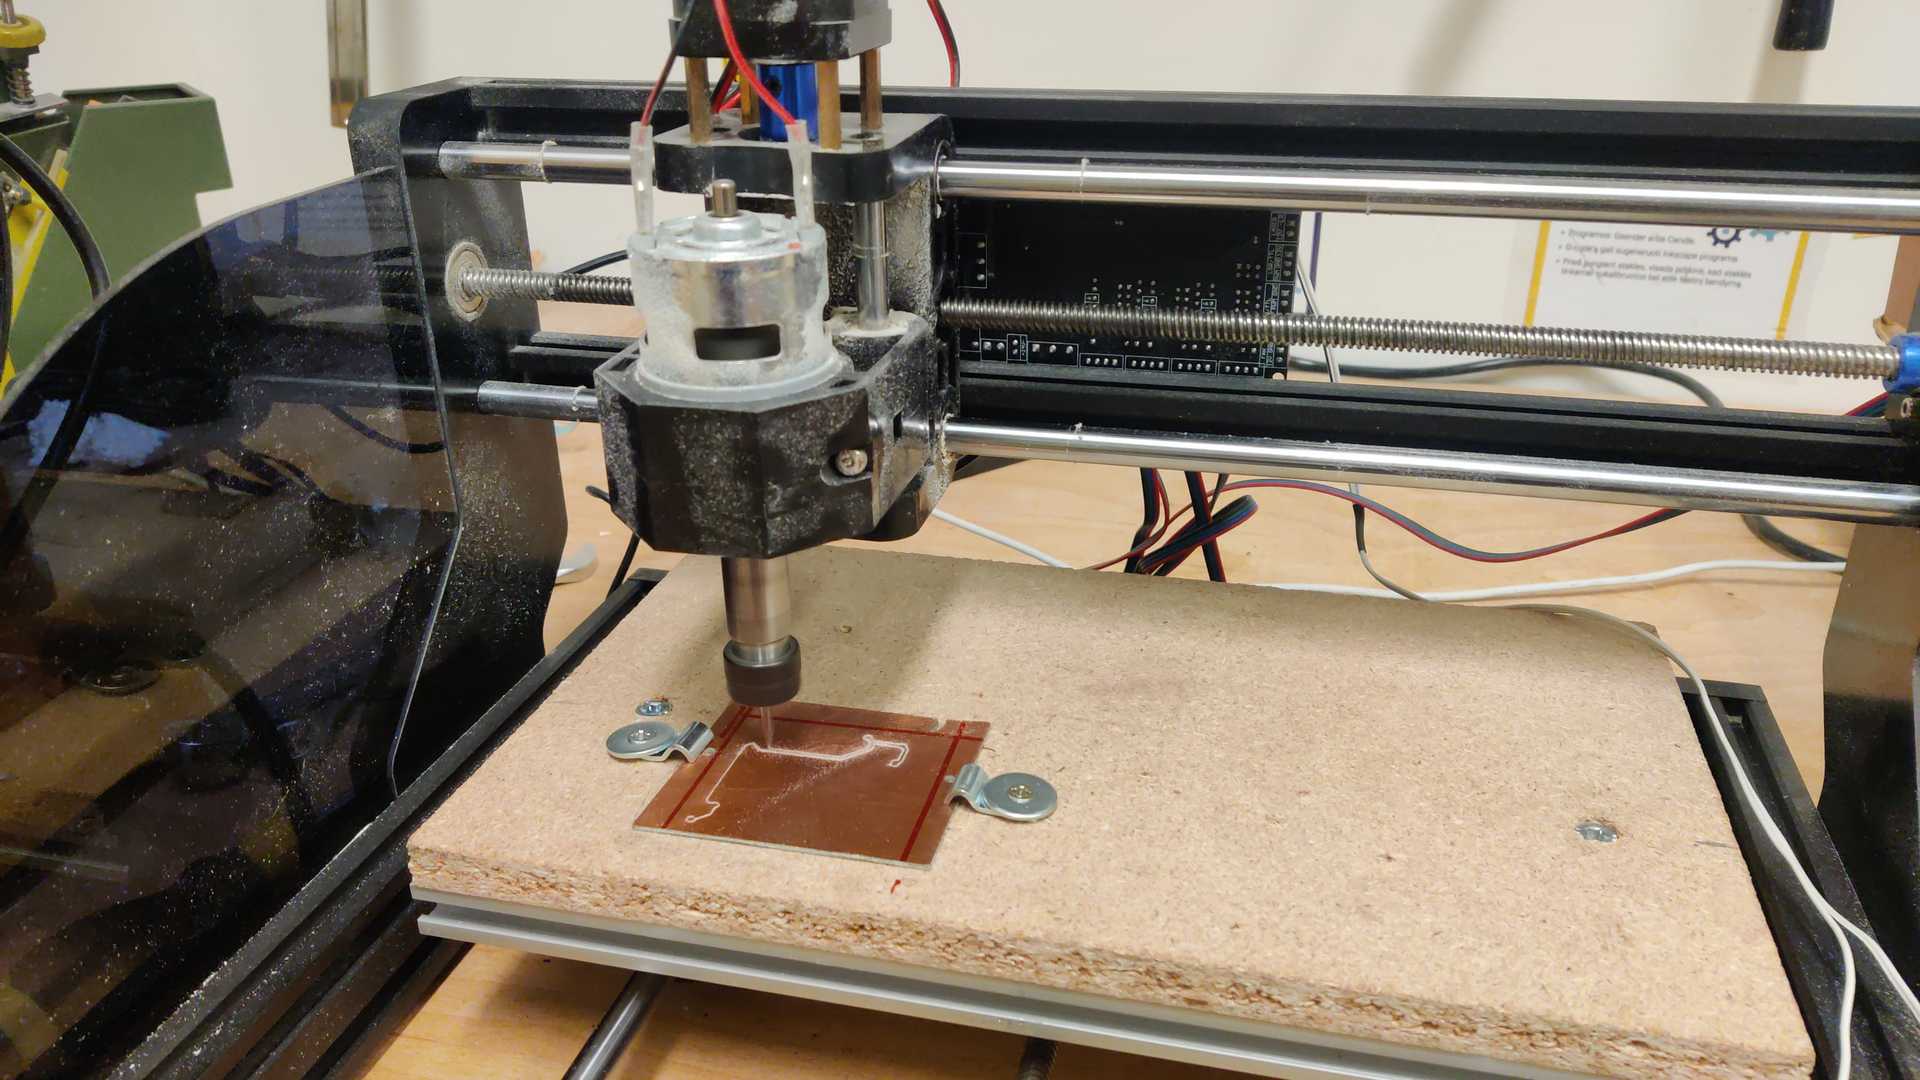
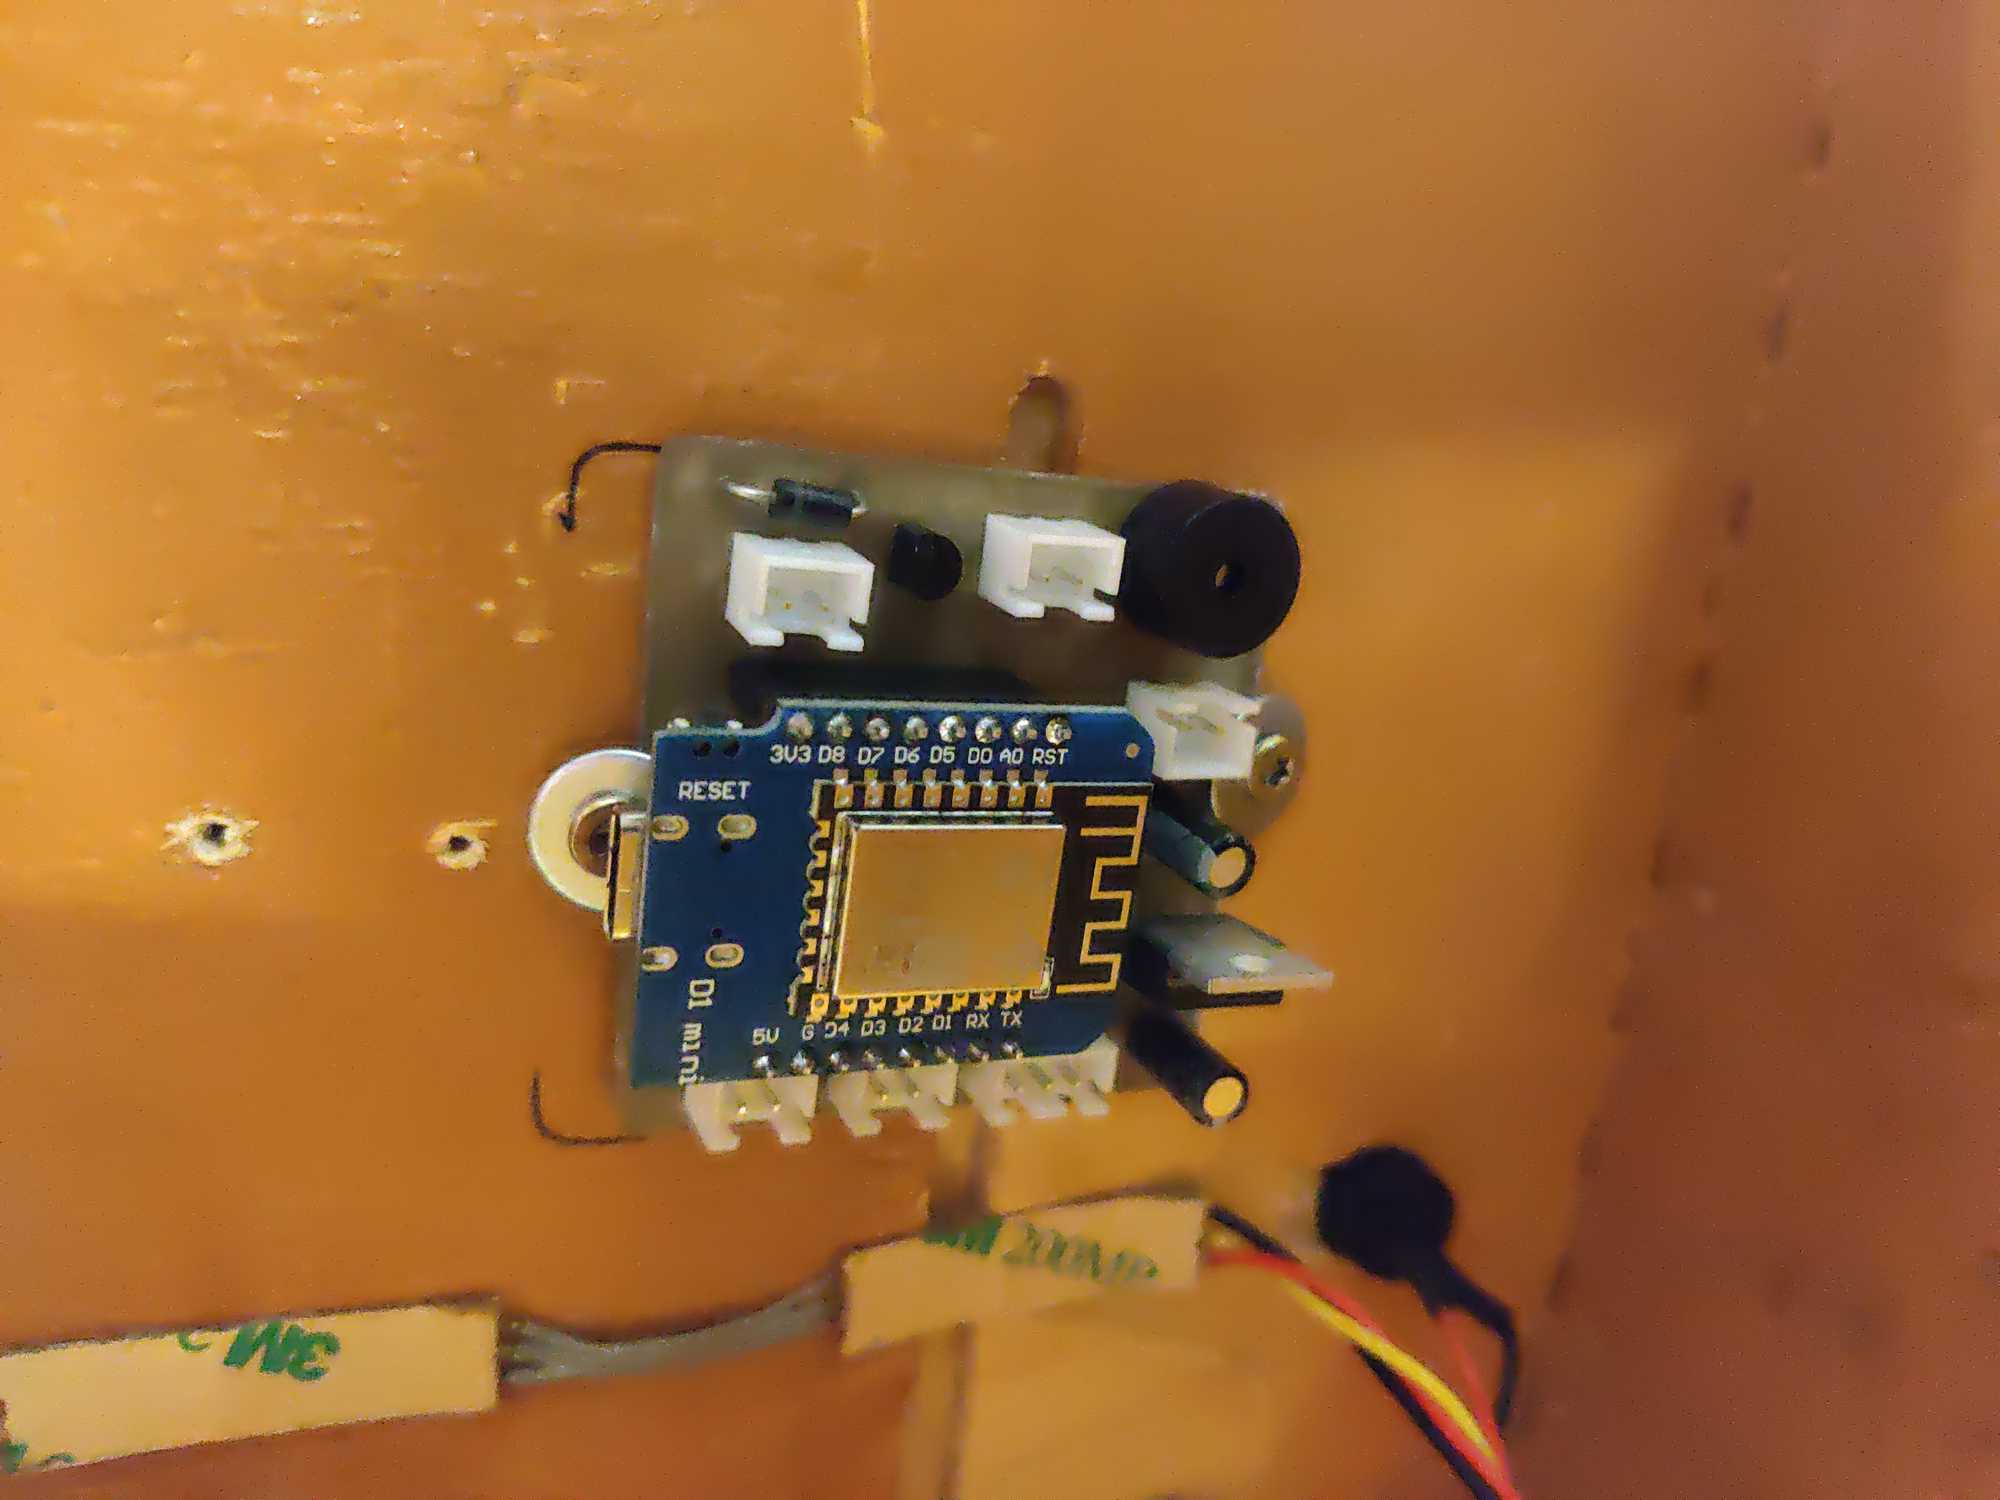
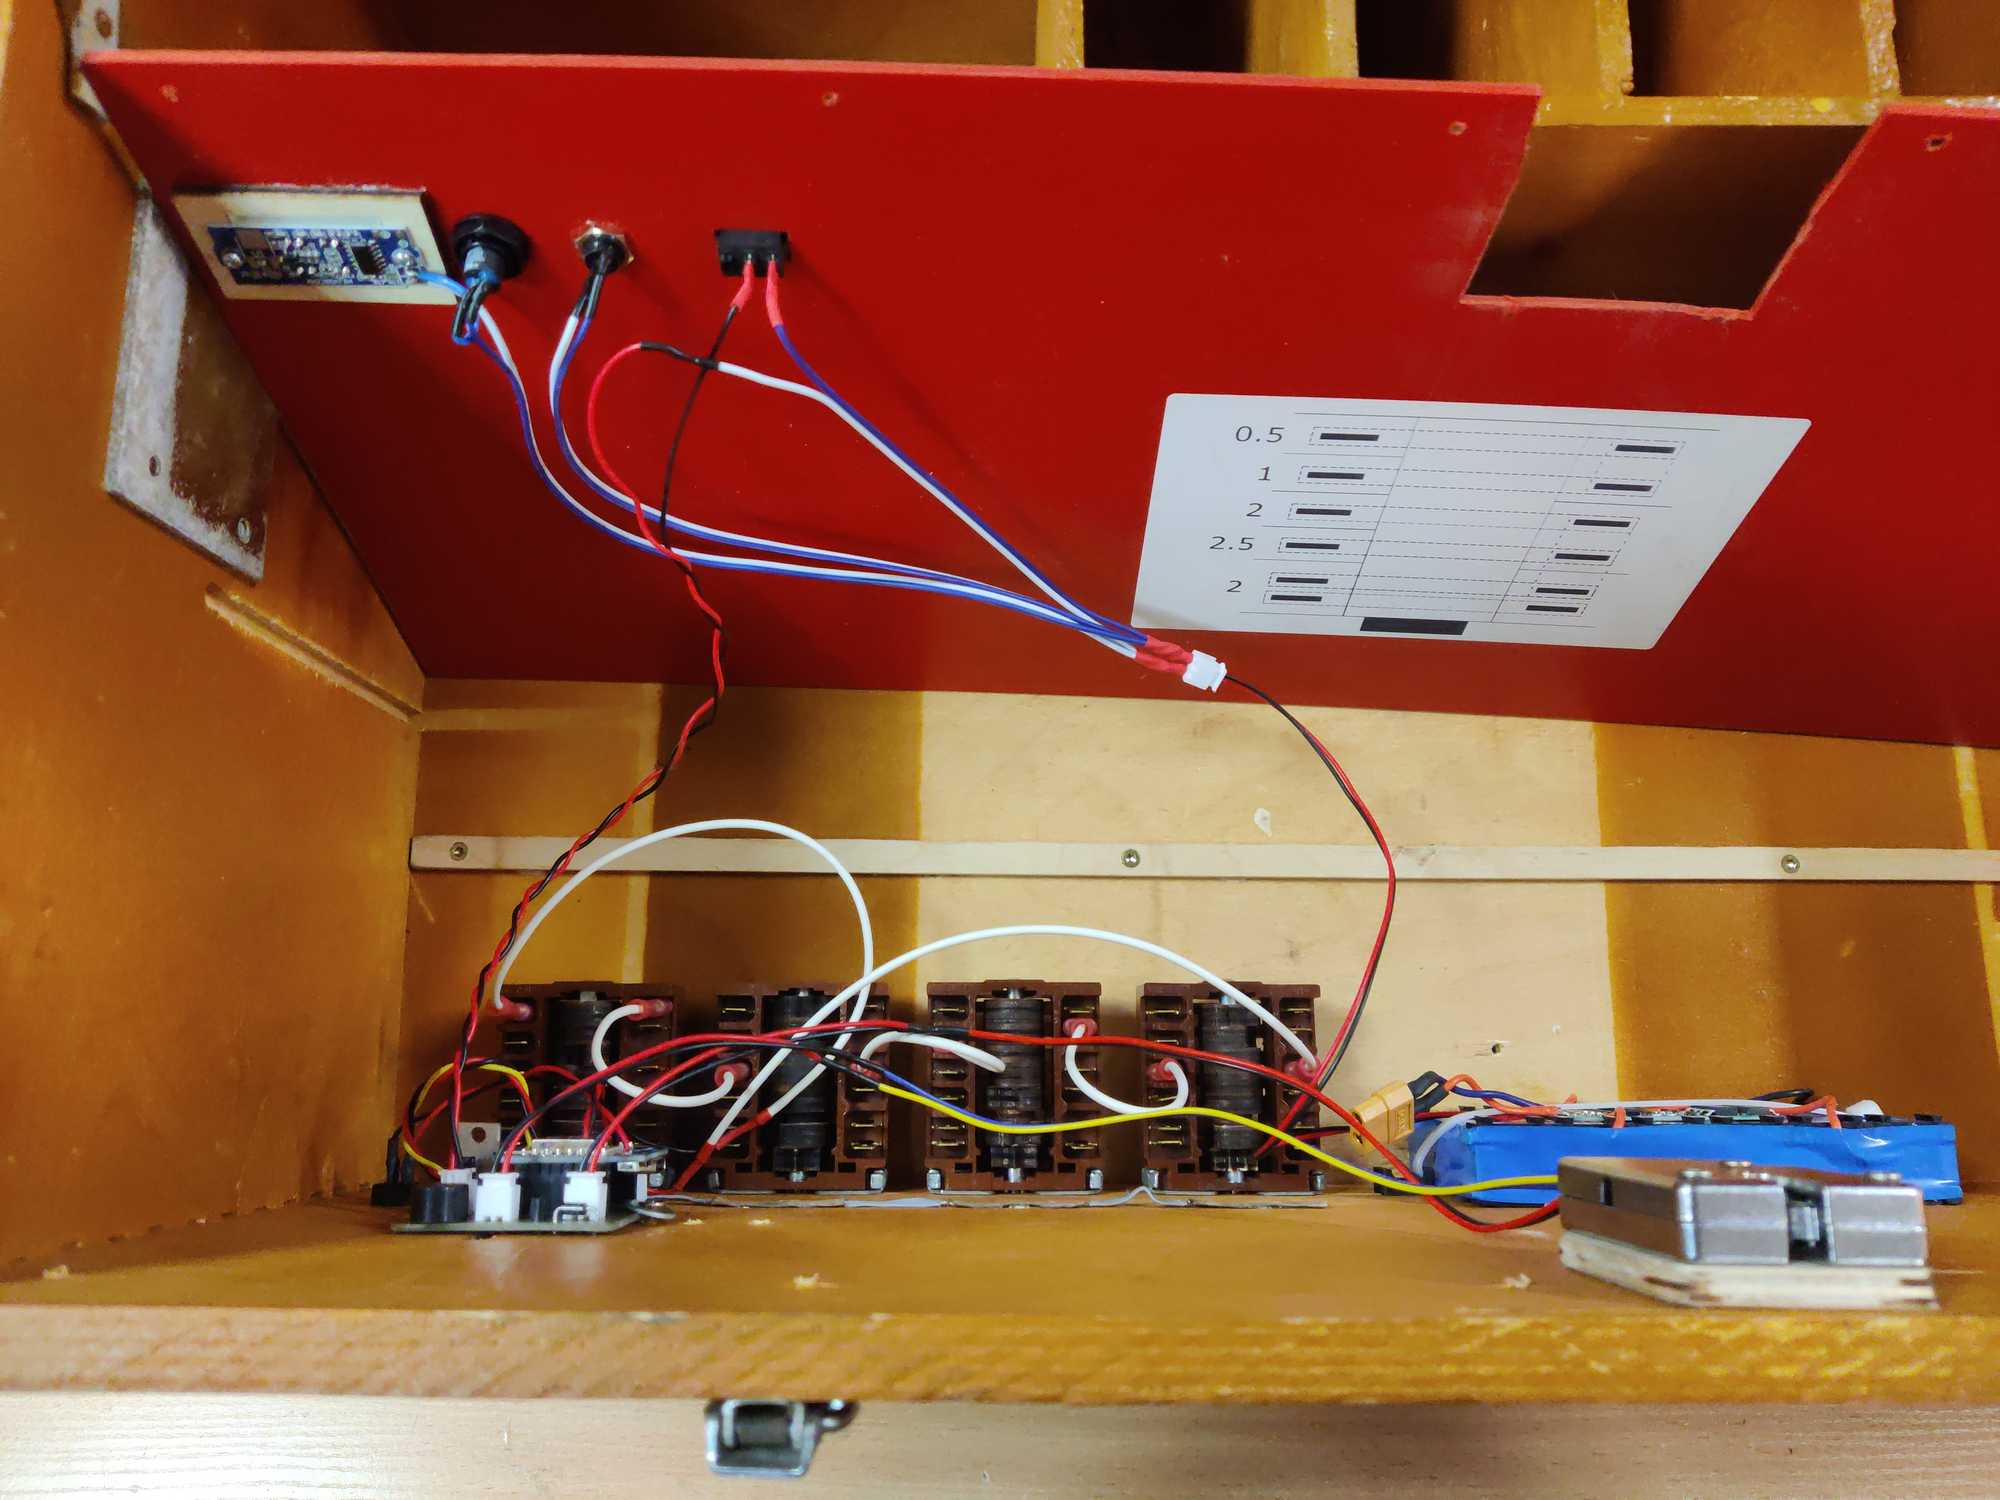
Once that was working I drew the schematic and made a PCB with CNC. Oddly enough it worked on the first try when I assembled it, although not the prettiest PCB I made 😁
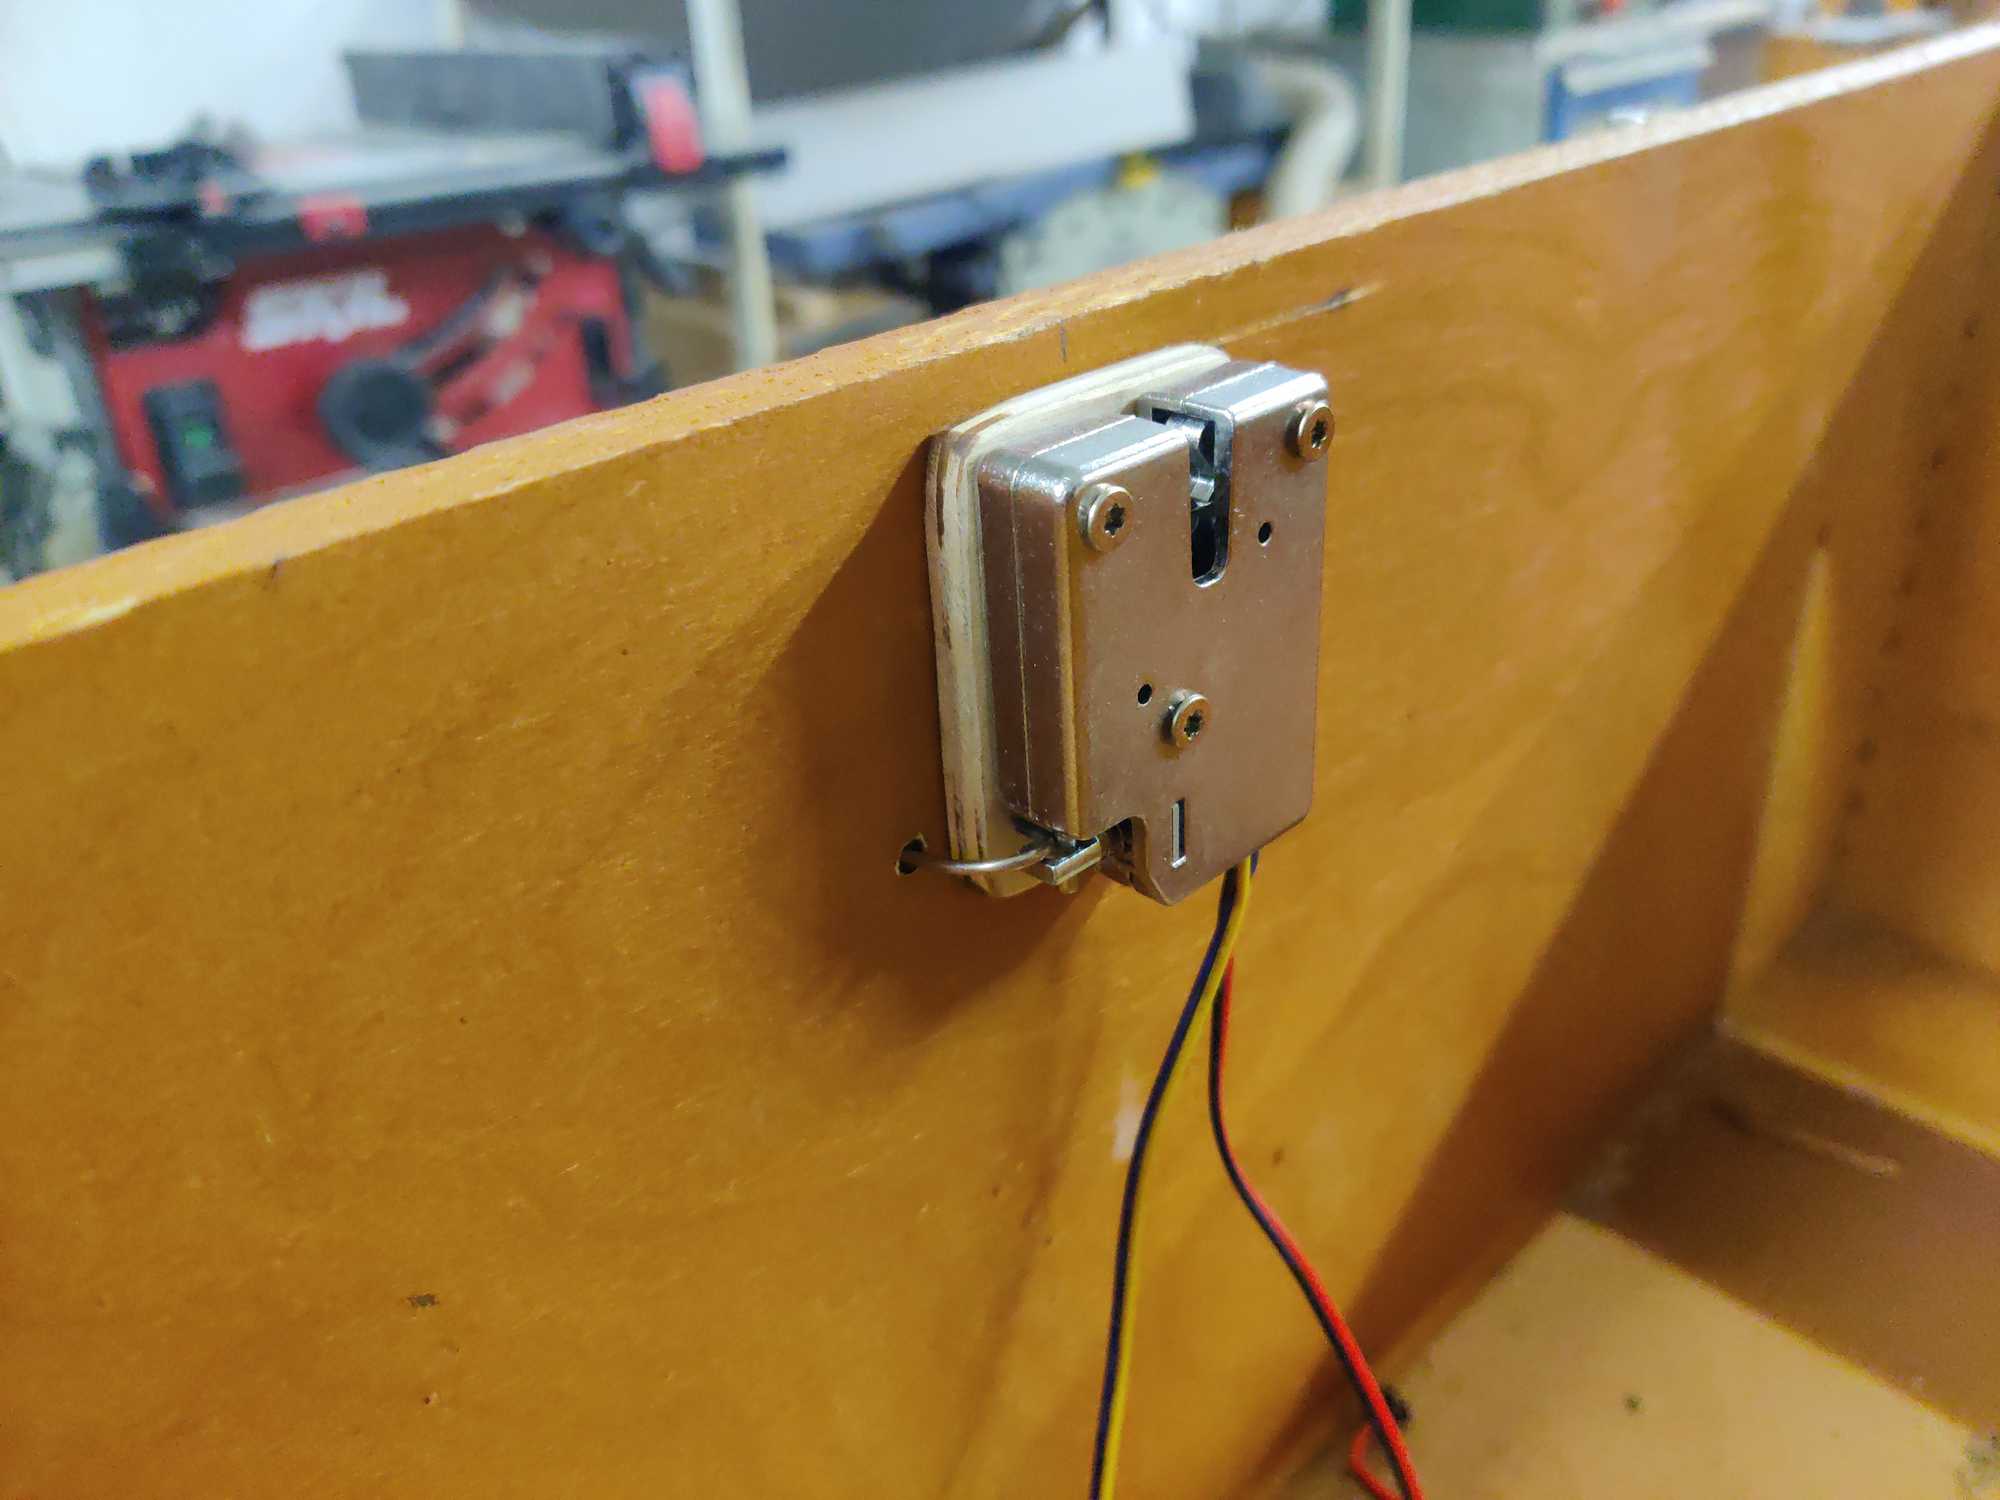
Installing a magnetic latch proved to be finicky to get the chest close and lock up just right. Of course you need to have a convenient way to open the chest whenever you want to prepare it (let’s call it admin mode 😁).
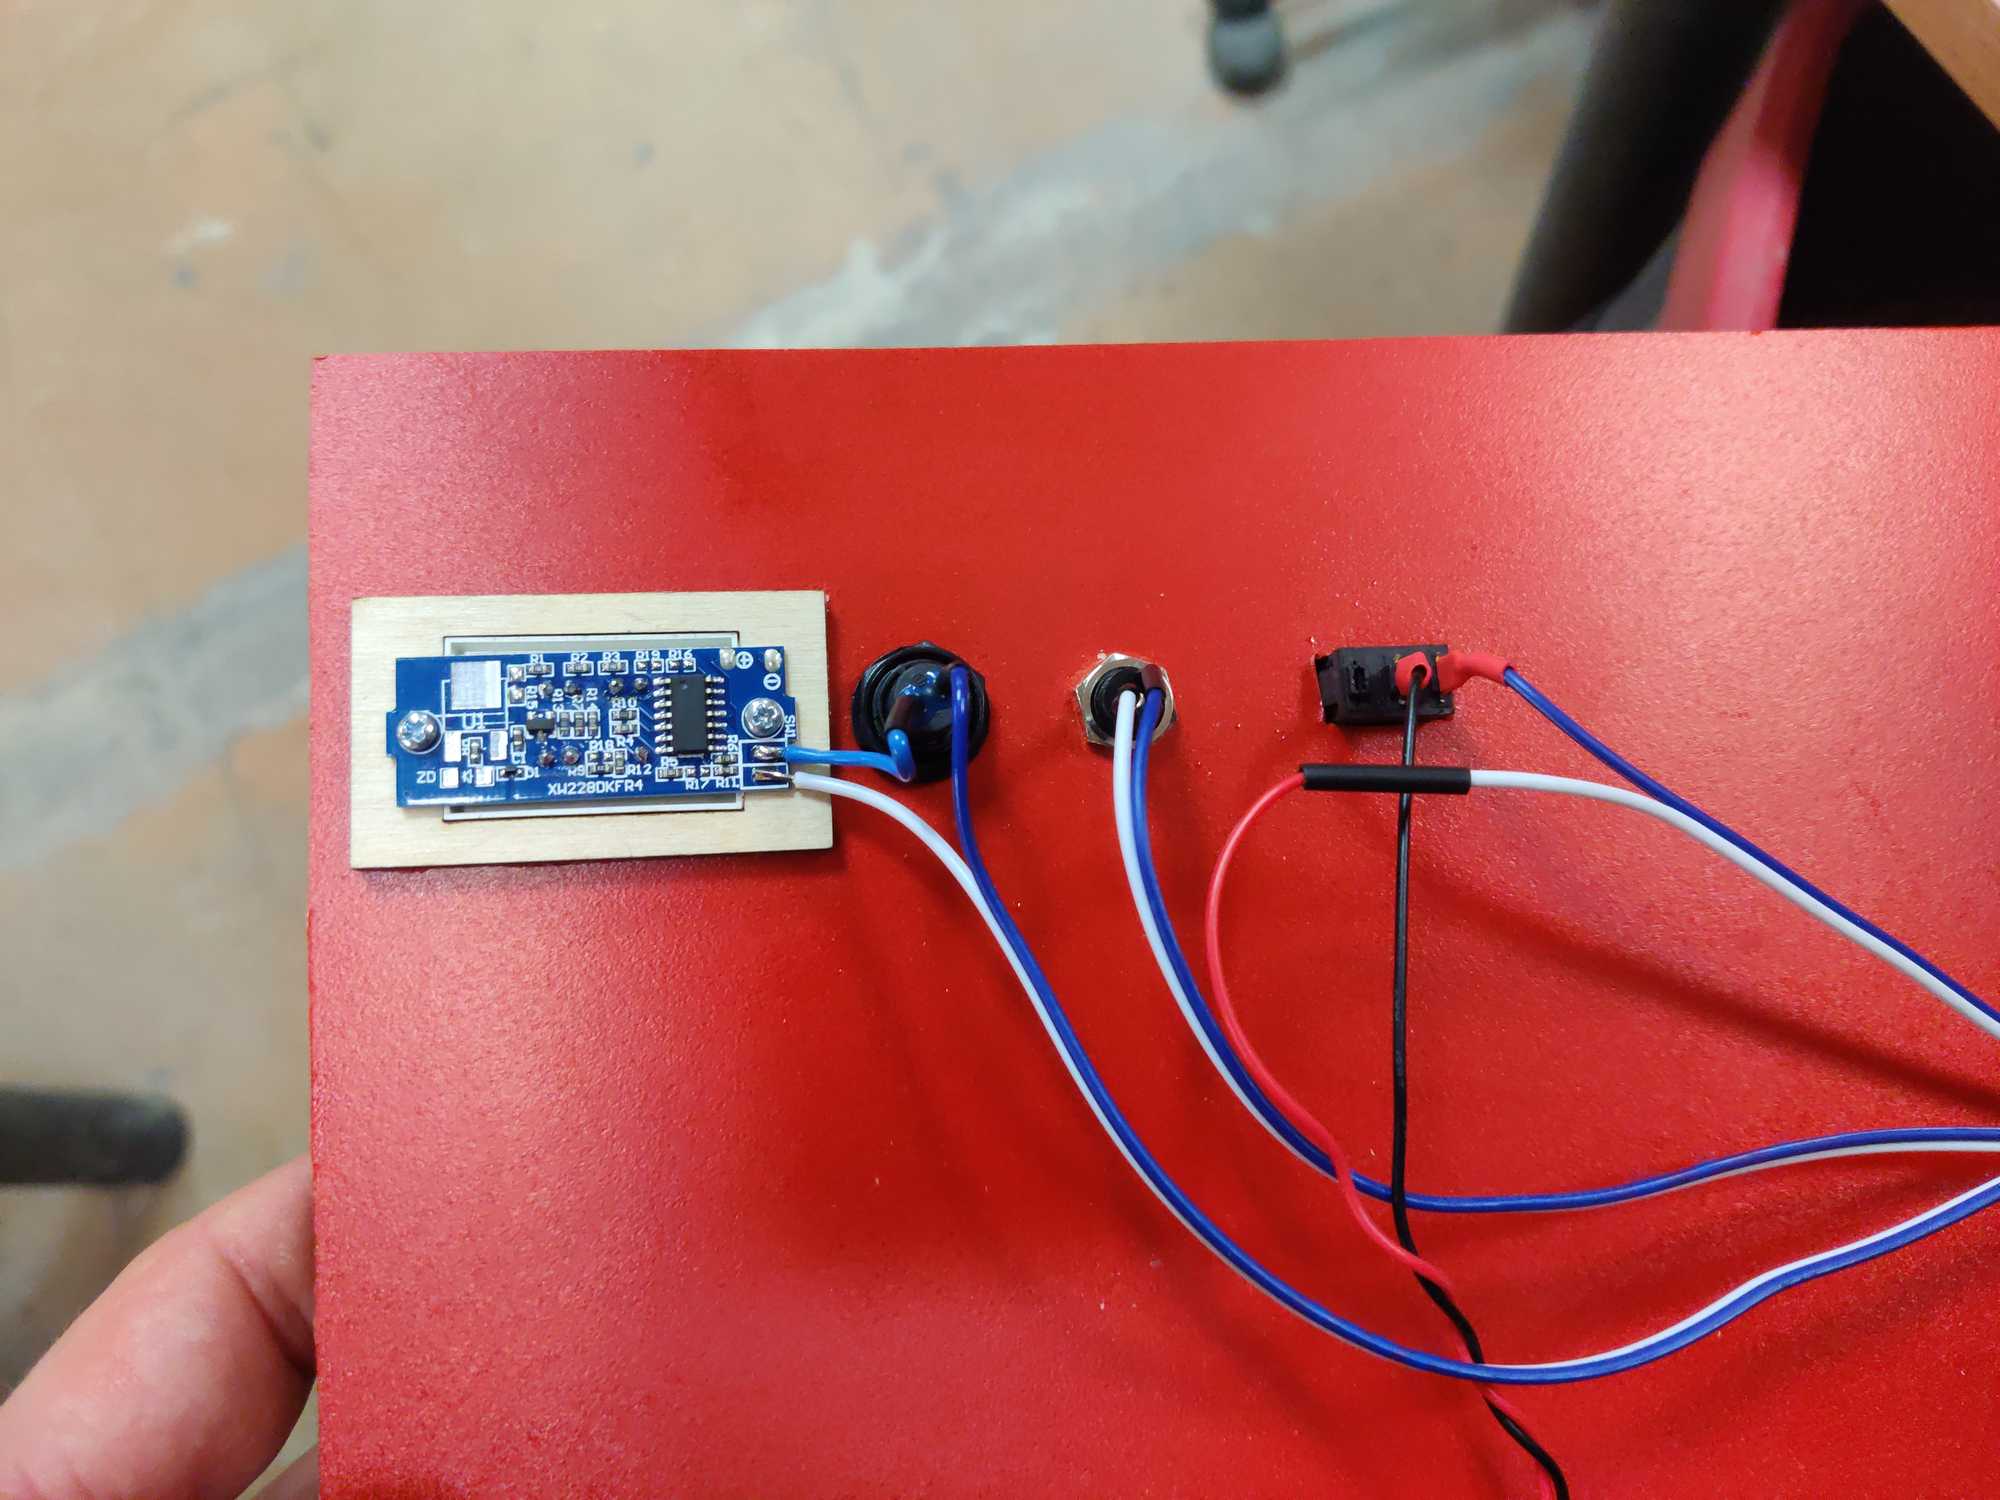
You might have noticed that I installed a latch with a sensor button – it tells the controller when the latch is open and that’s if you need some feedback about the lid status.


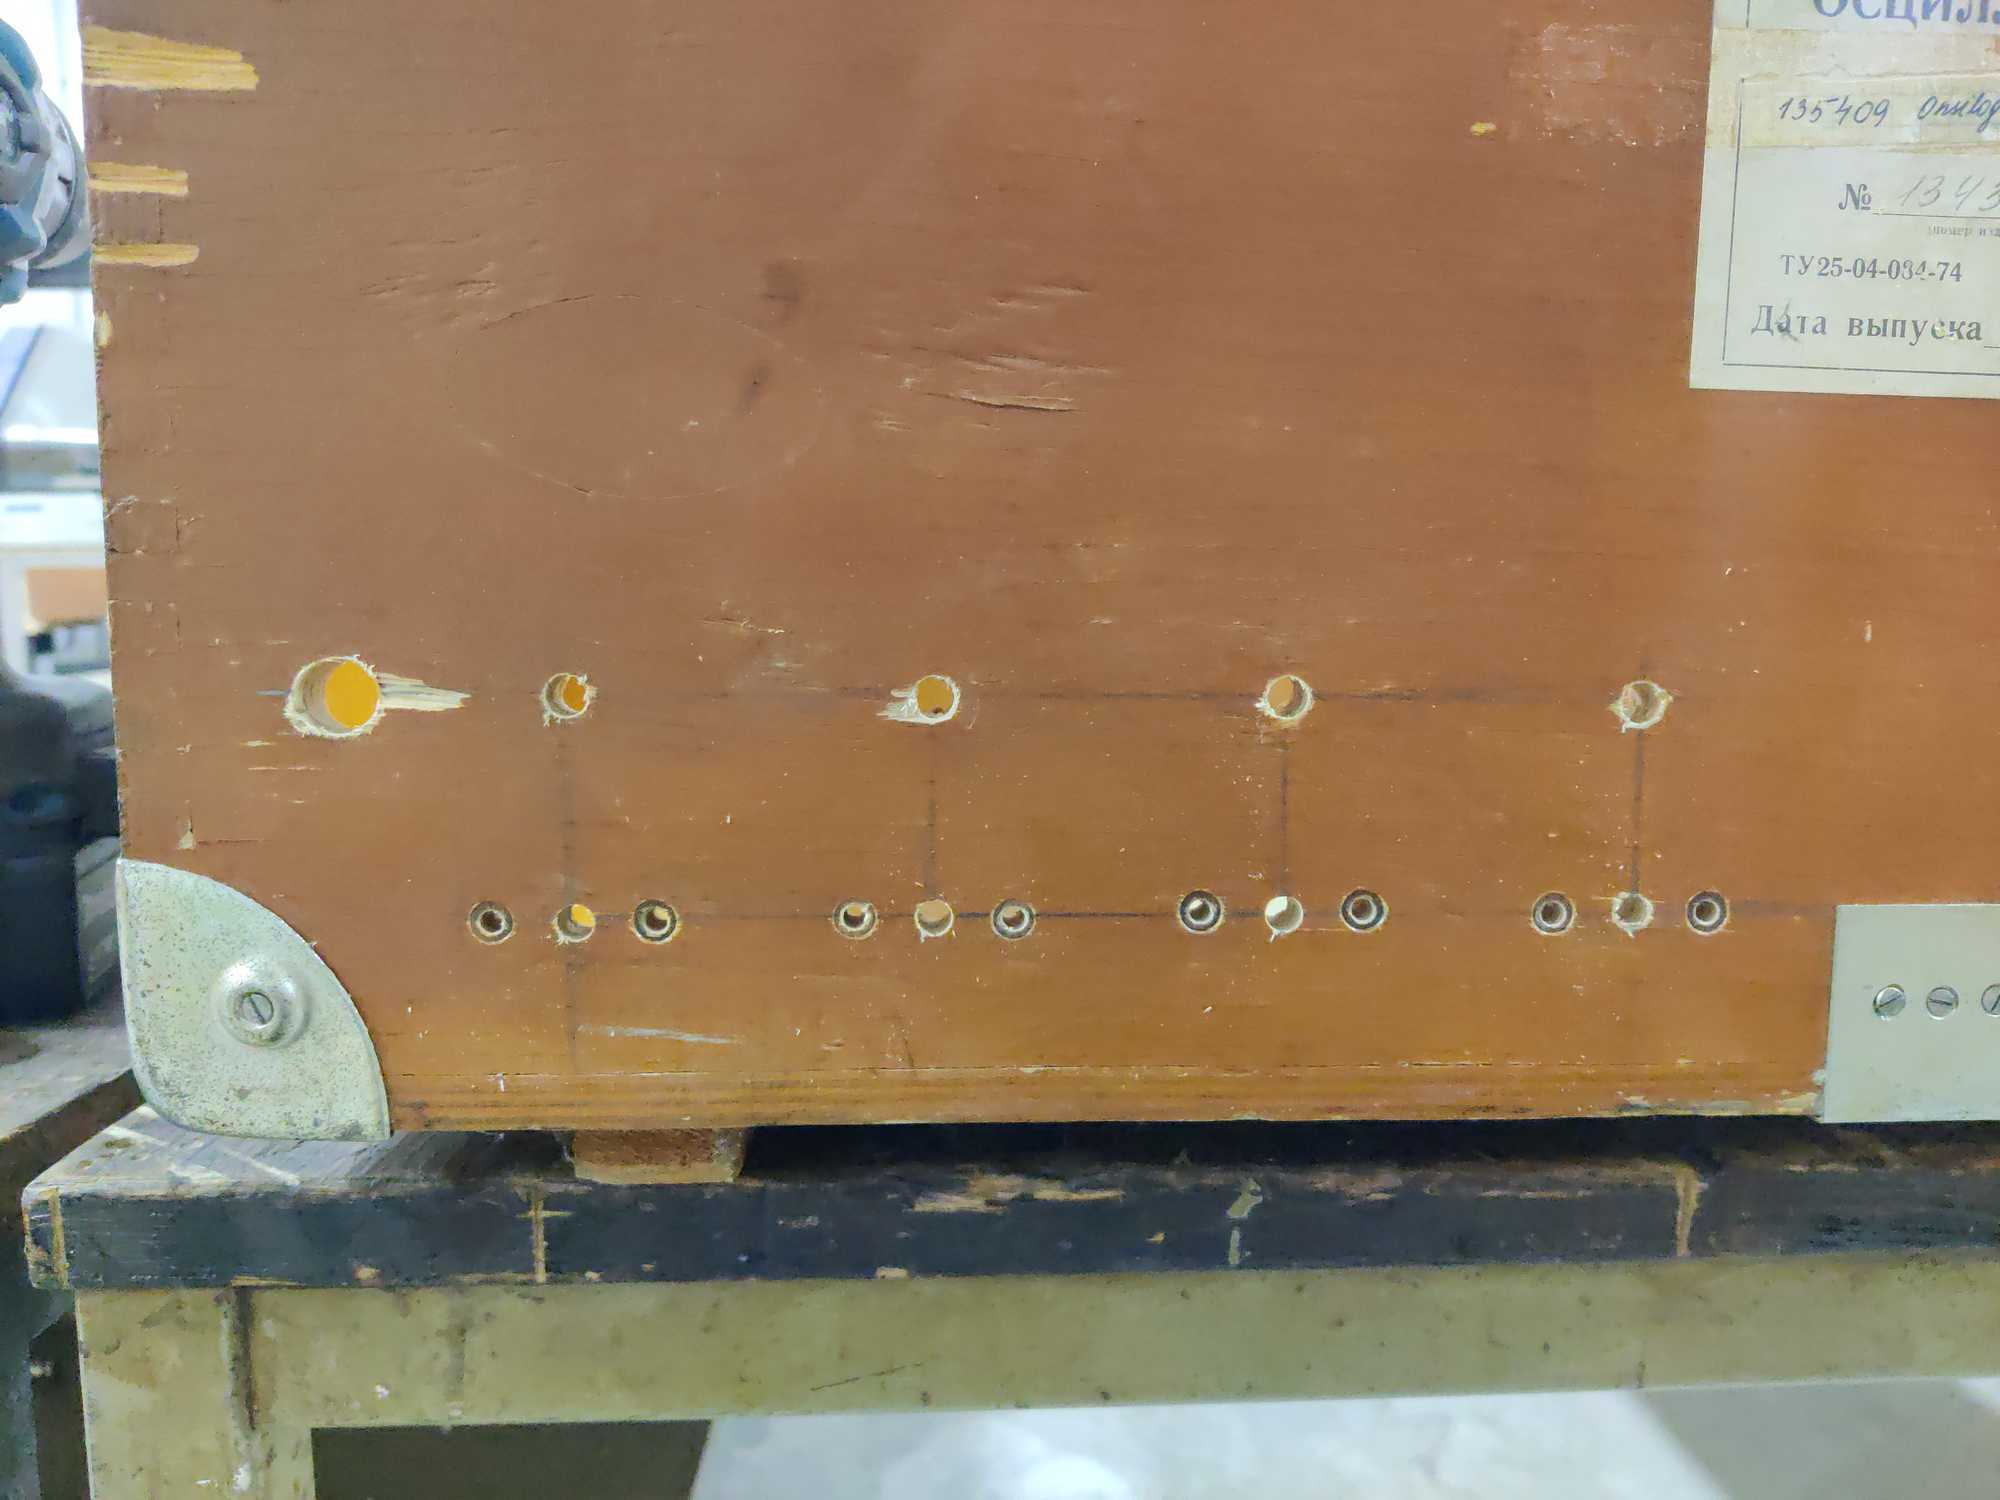
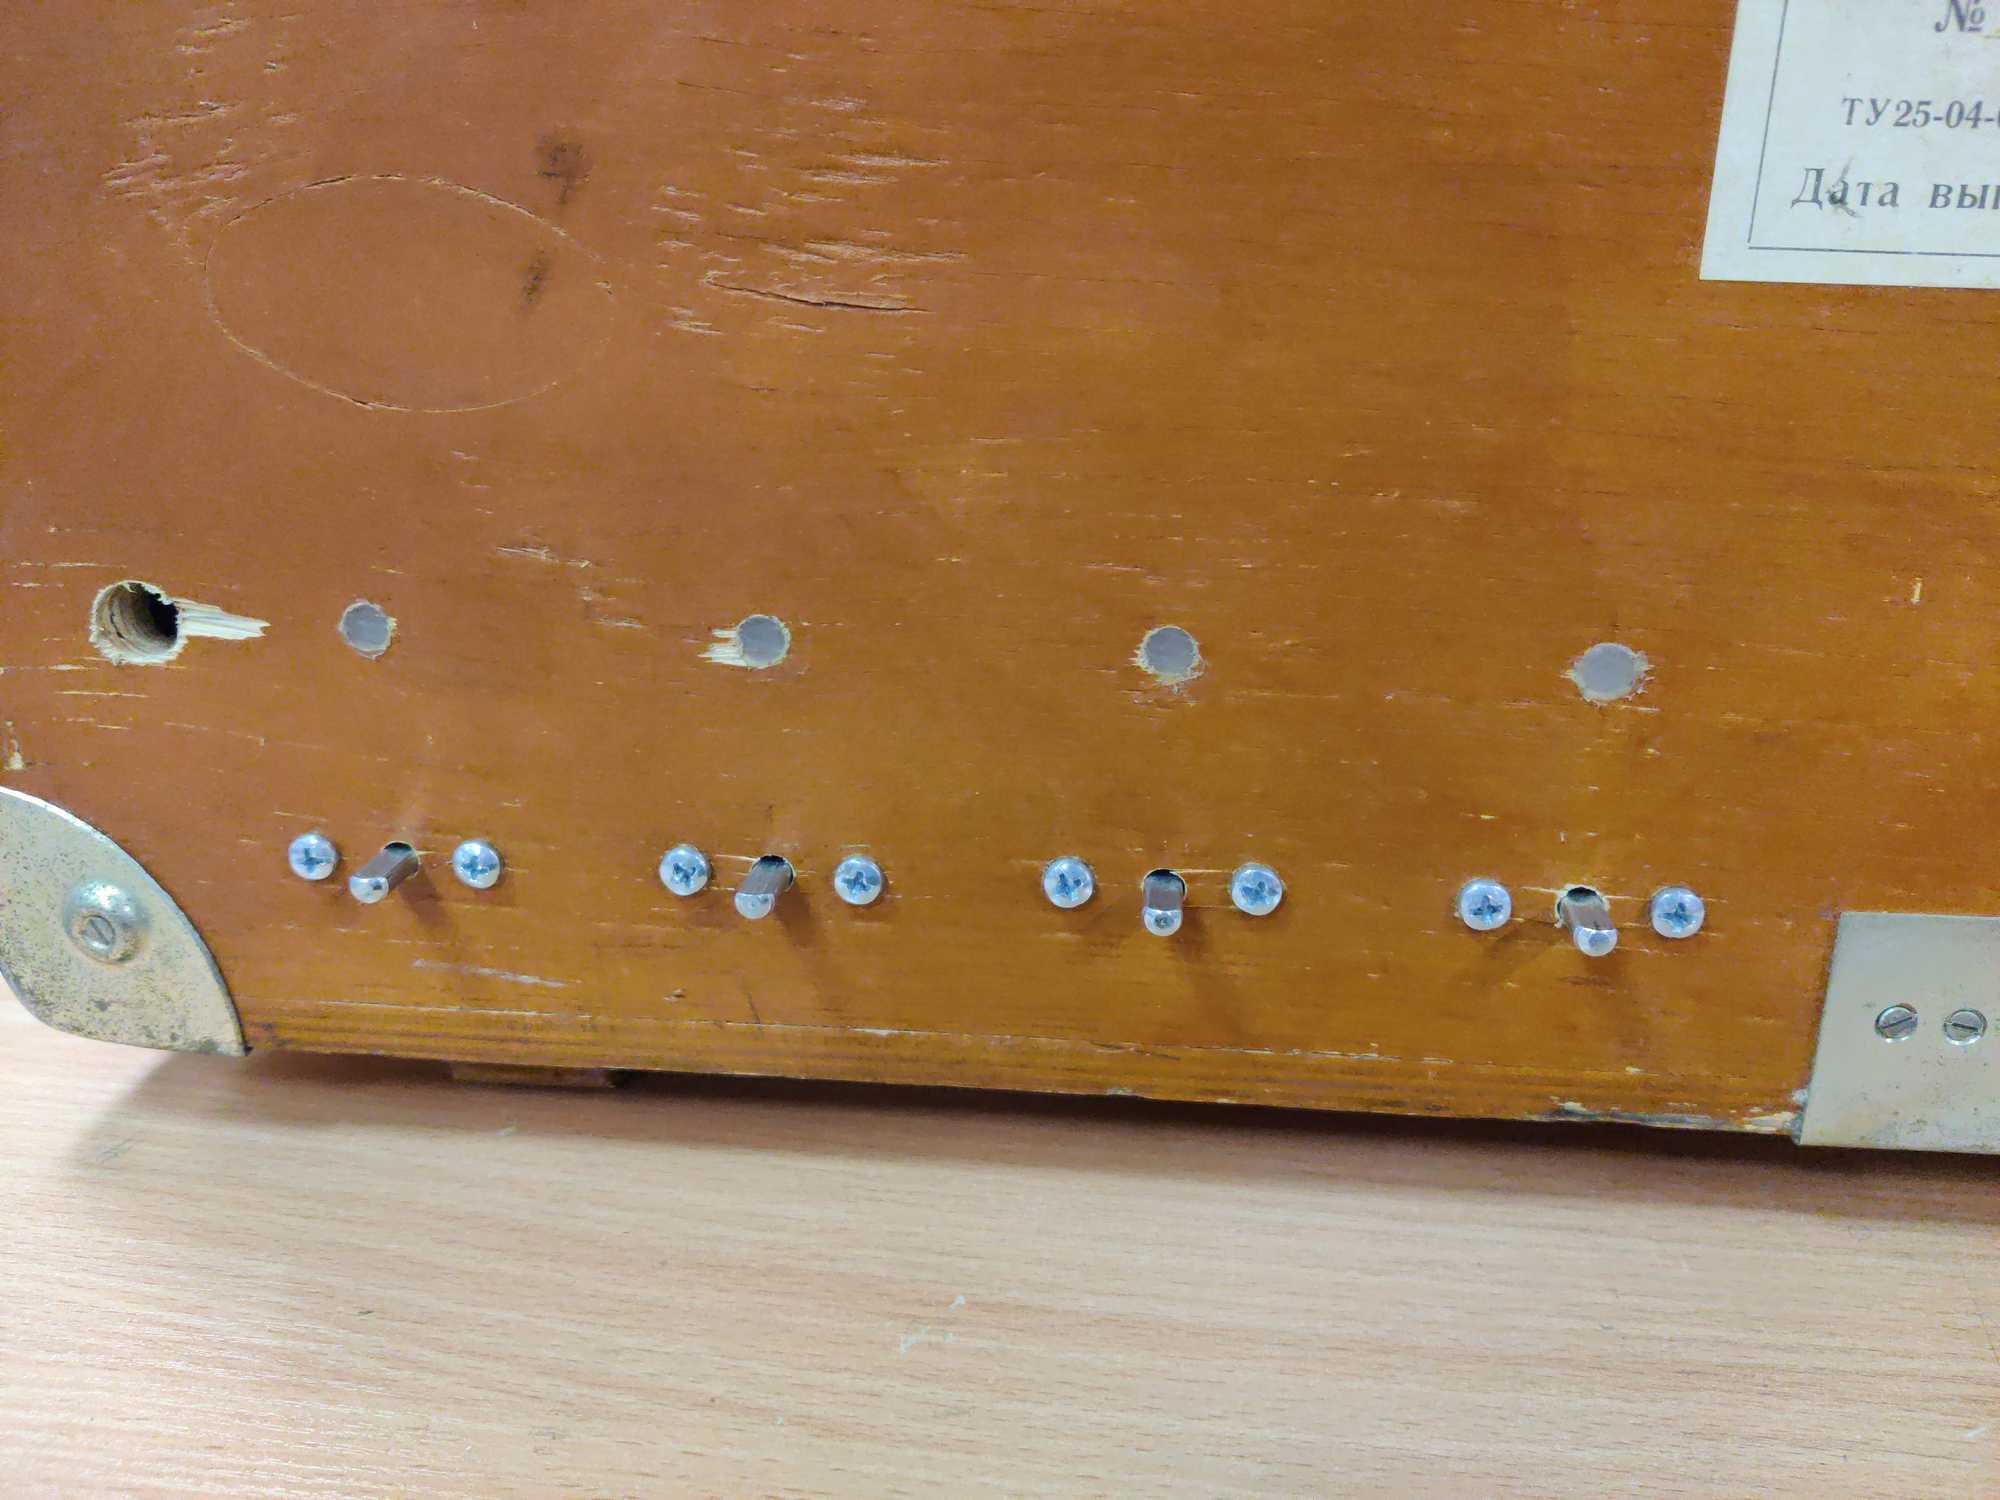
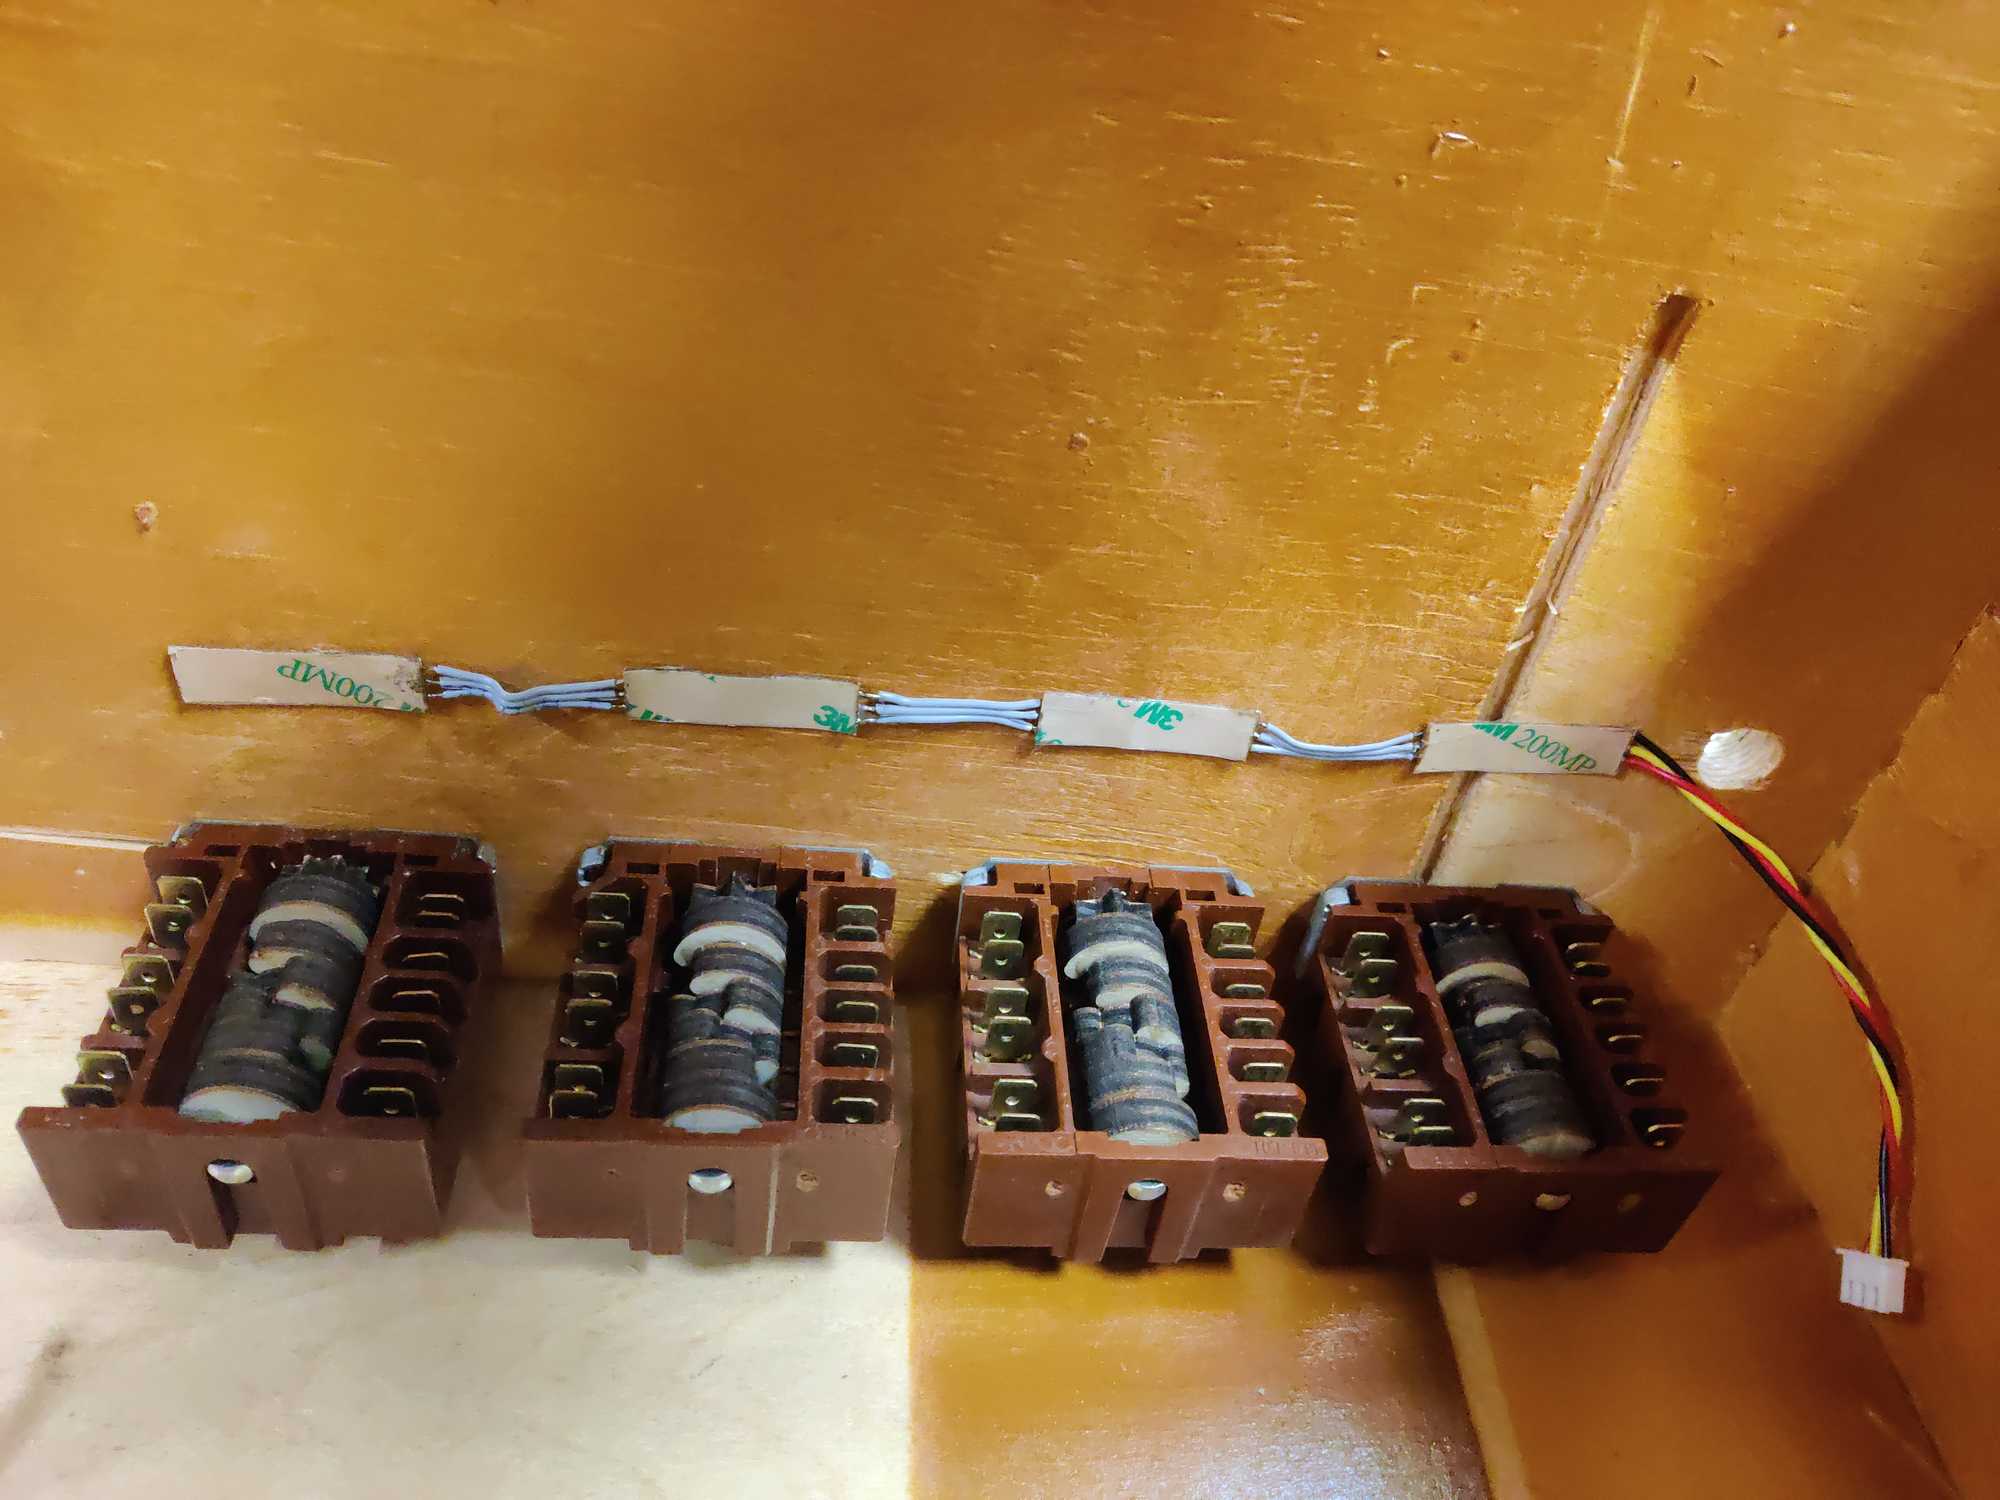
After installing the latch and a way to open it I installed the addressable LED’s, the combination handles, PCB board – everything else actually. Handles were installed in the simplest fashion – by drilling the holes. I already had a template from the stand I made earlier. LED’s were installed also in the same fashion directly above each handle and they were glued in place and I applied hot glue into the hole where the LED was – this made a nice diffuser.
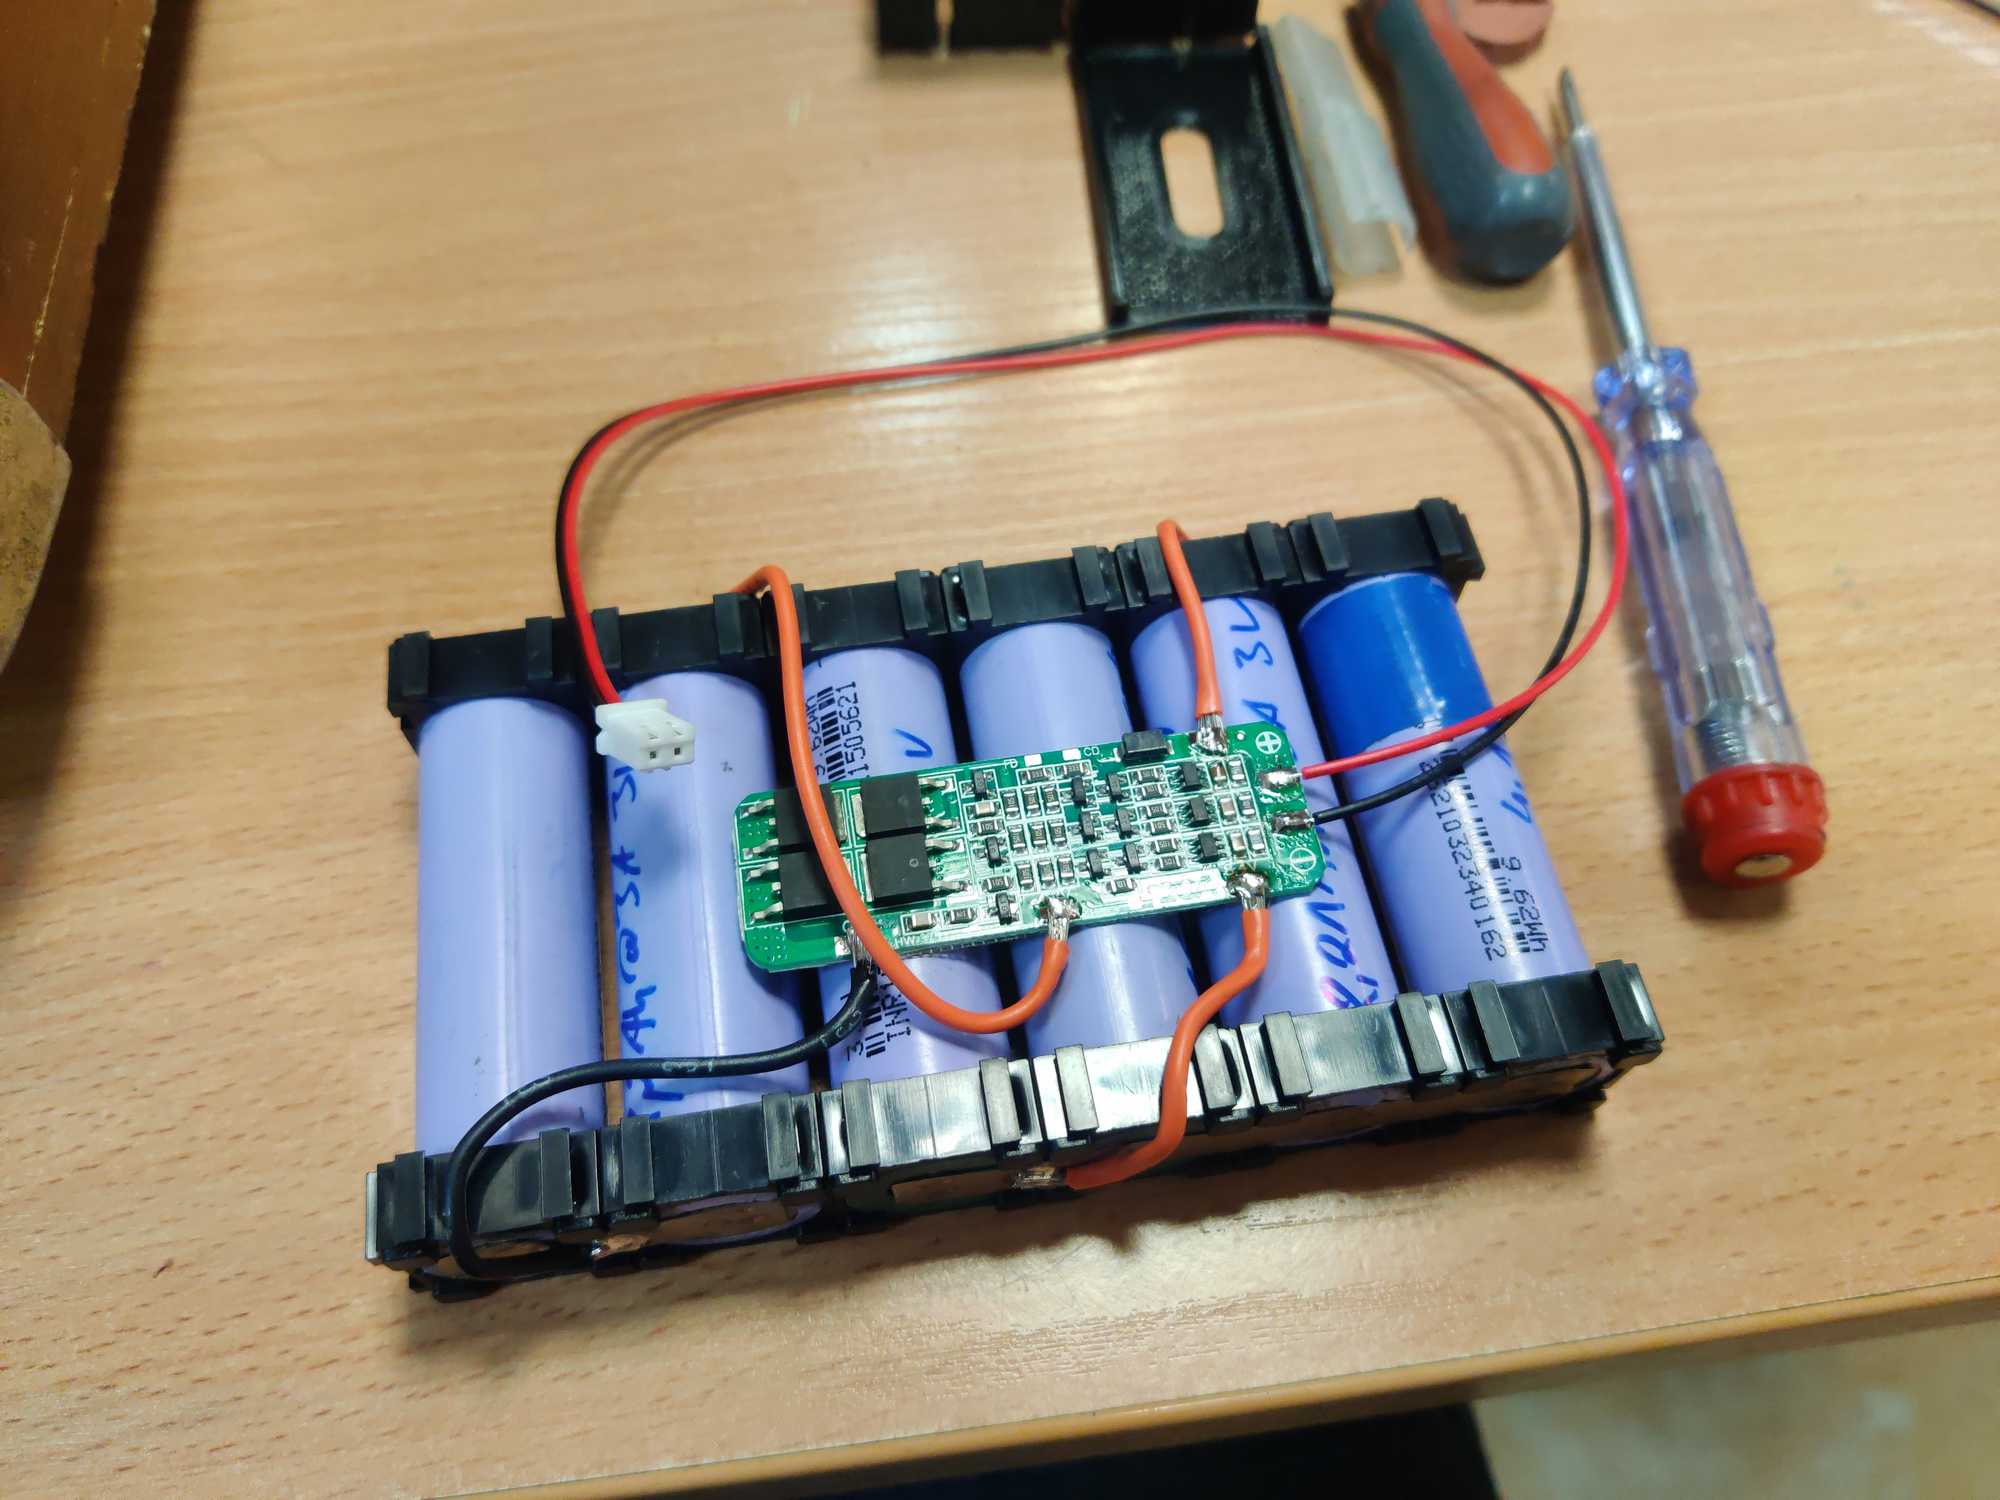
This whole contraption needs an internal battery of course so I made one (3S2P) from old LiPo cells ~2.4Ah each. That should hold for a fair bit of time.

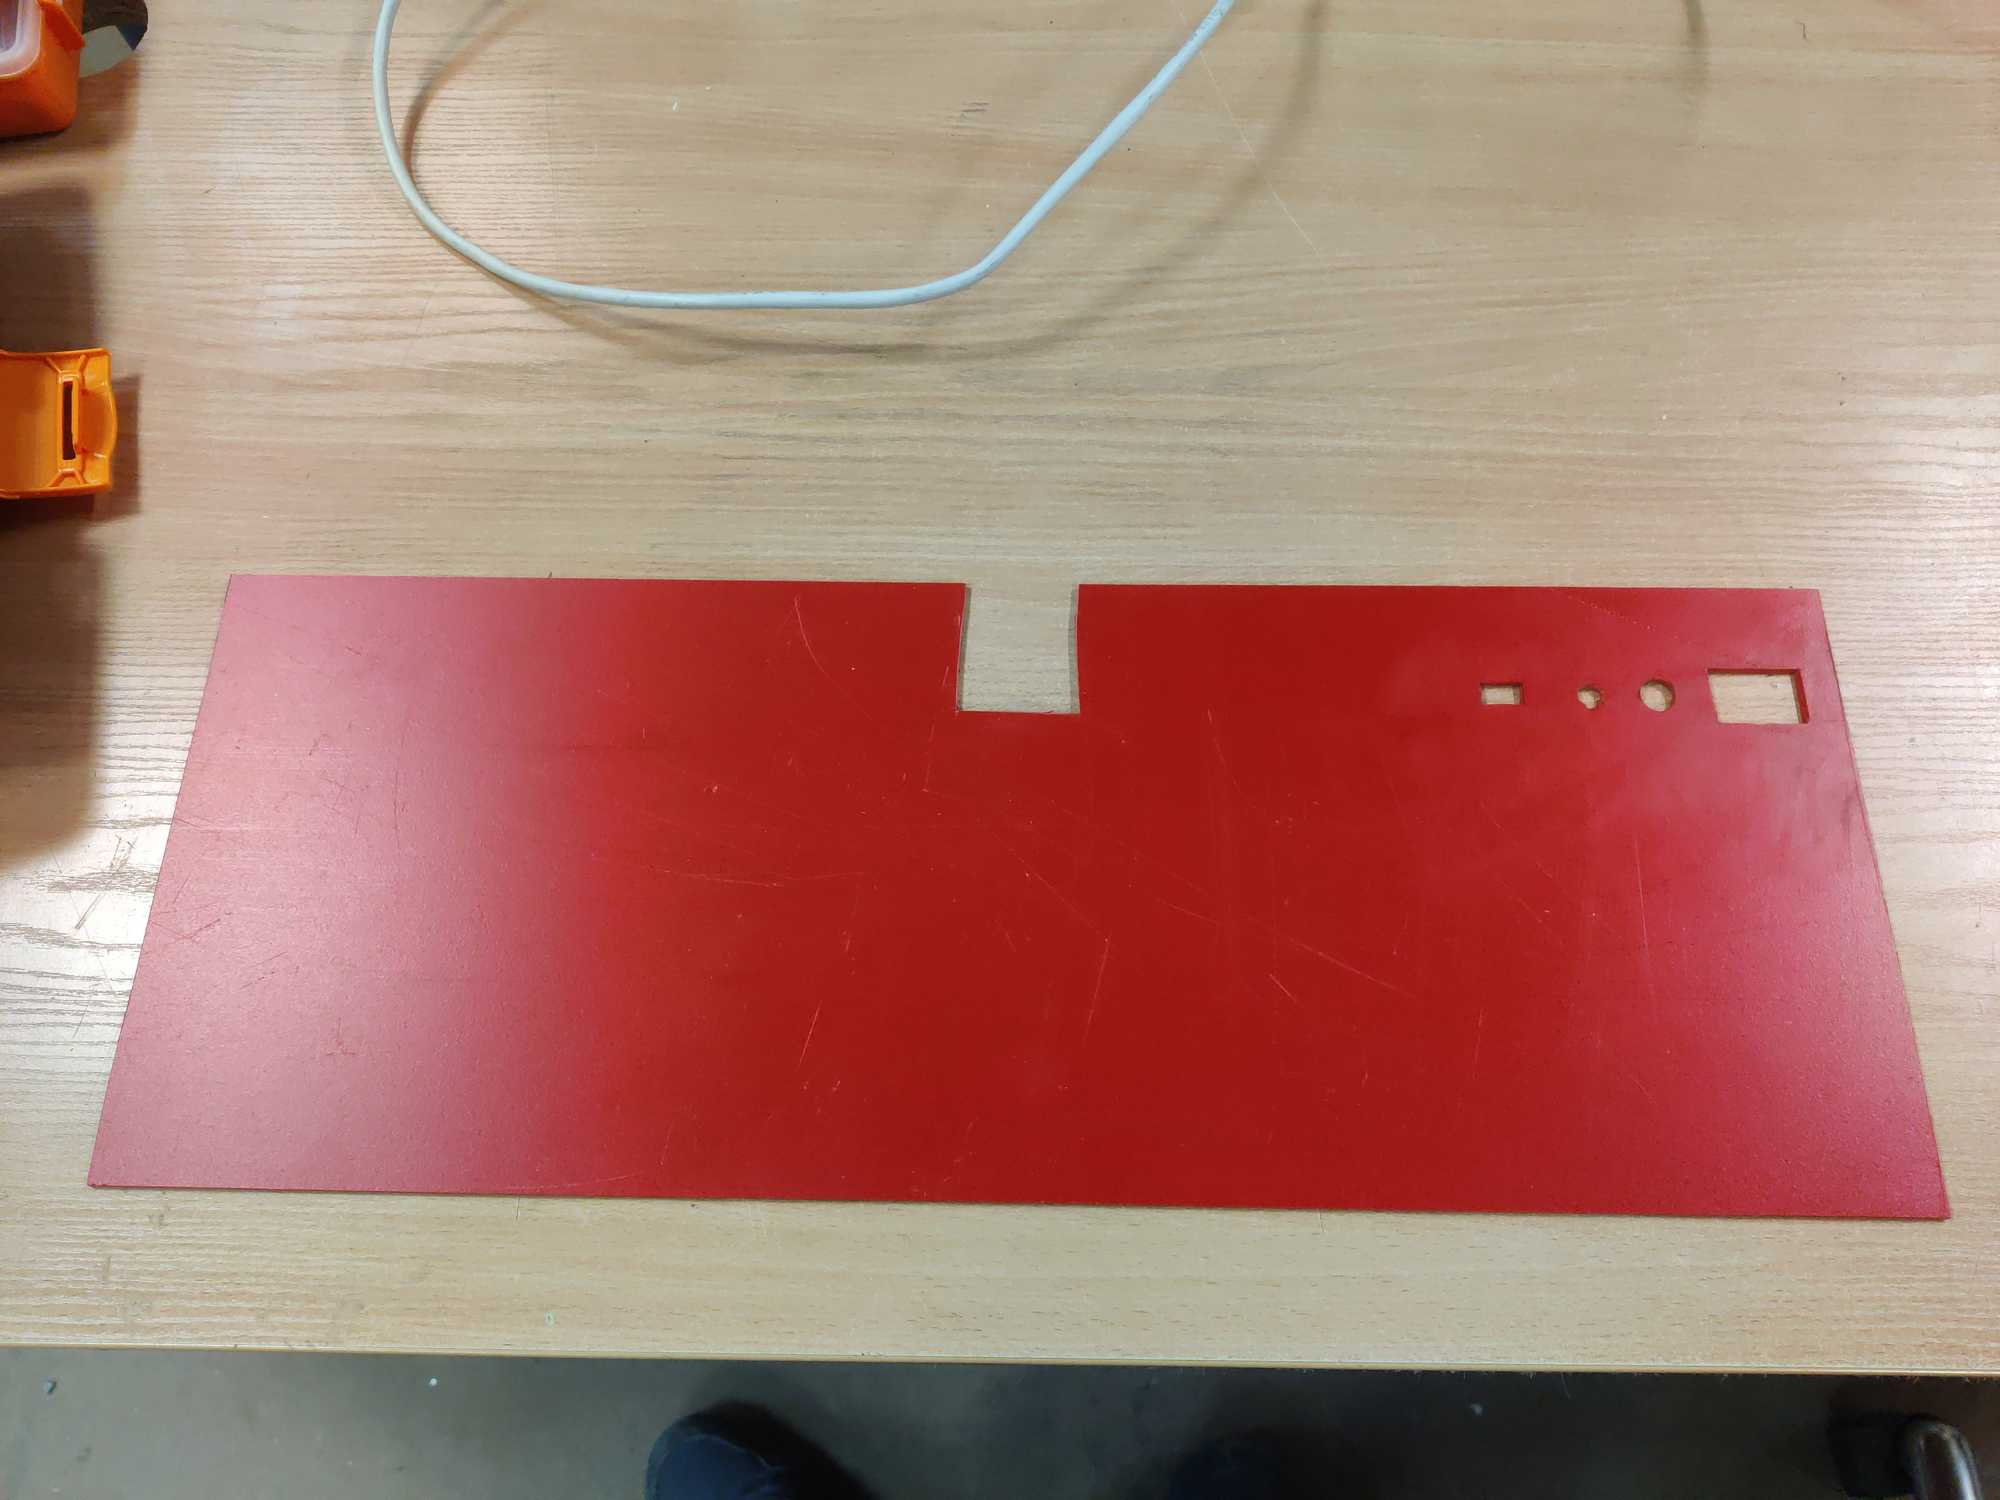
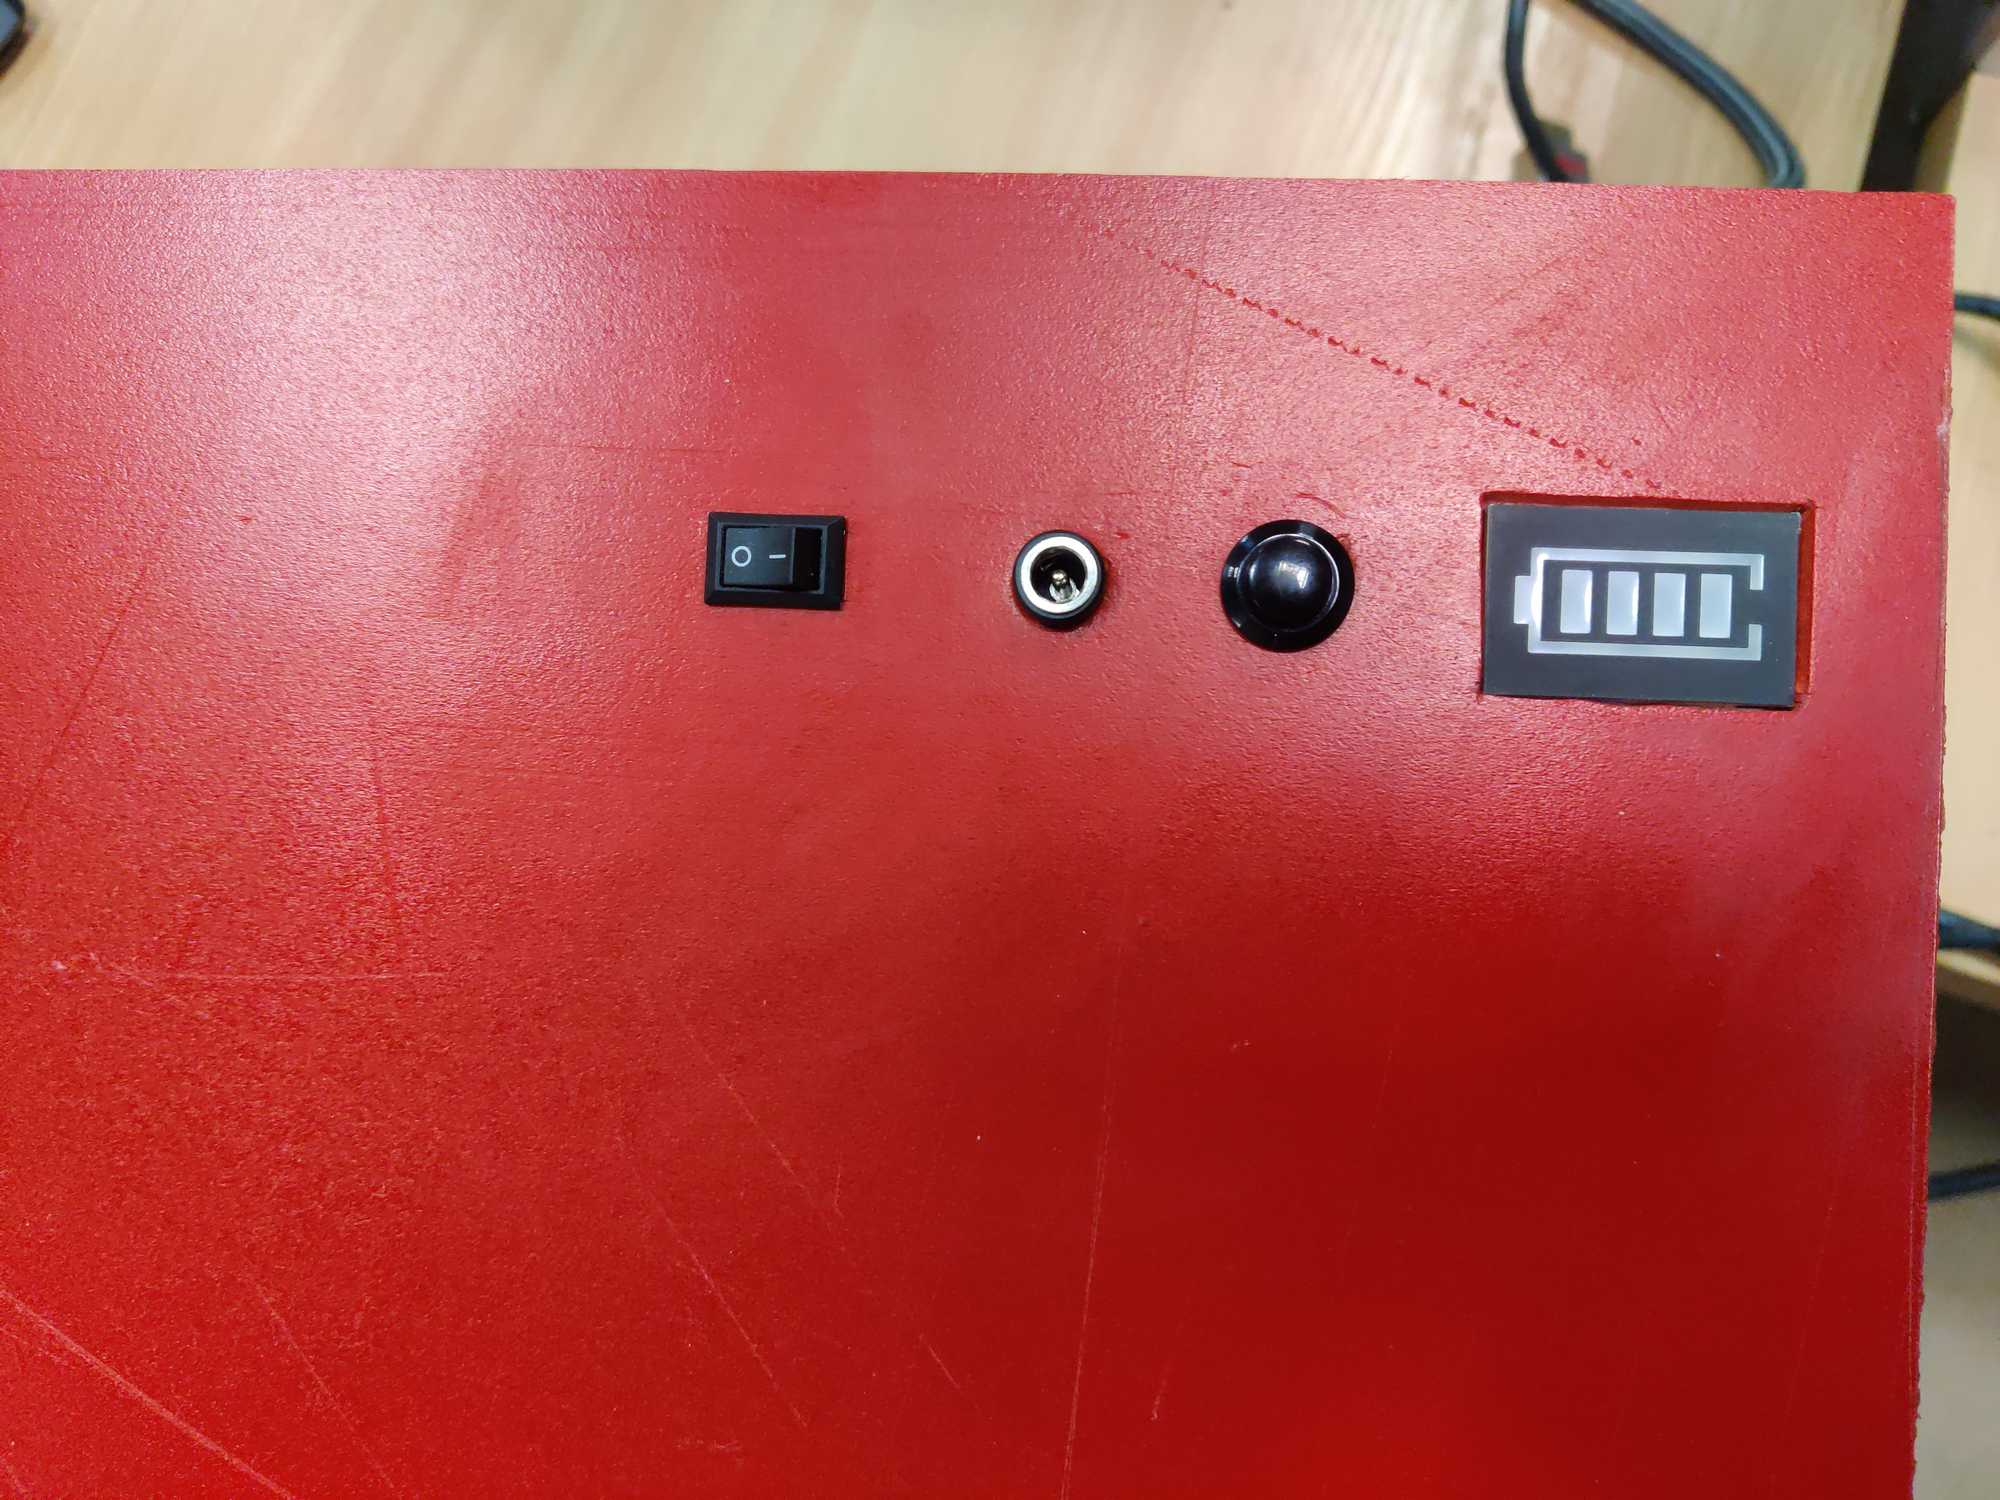
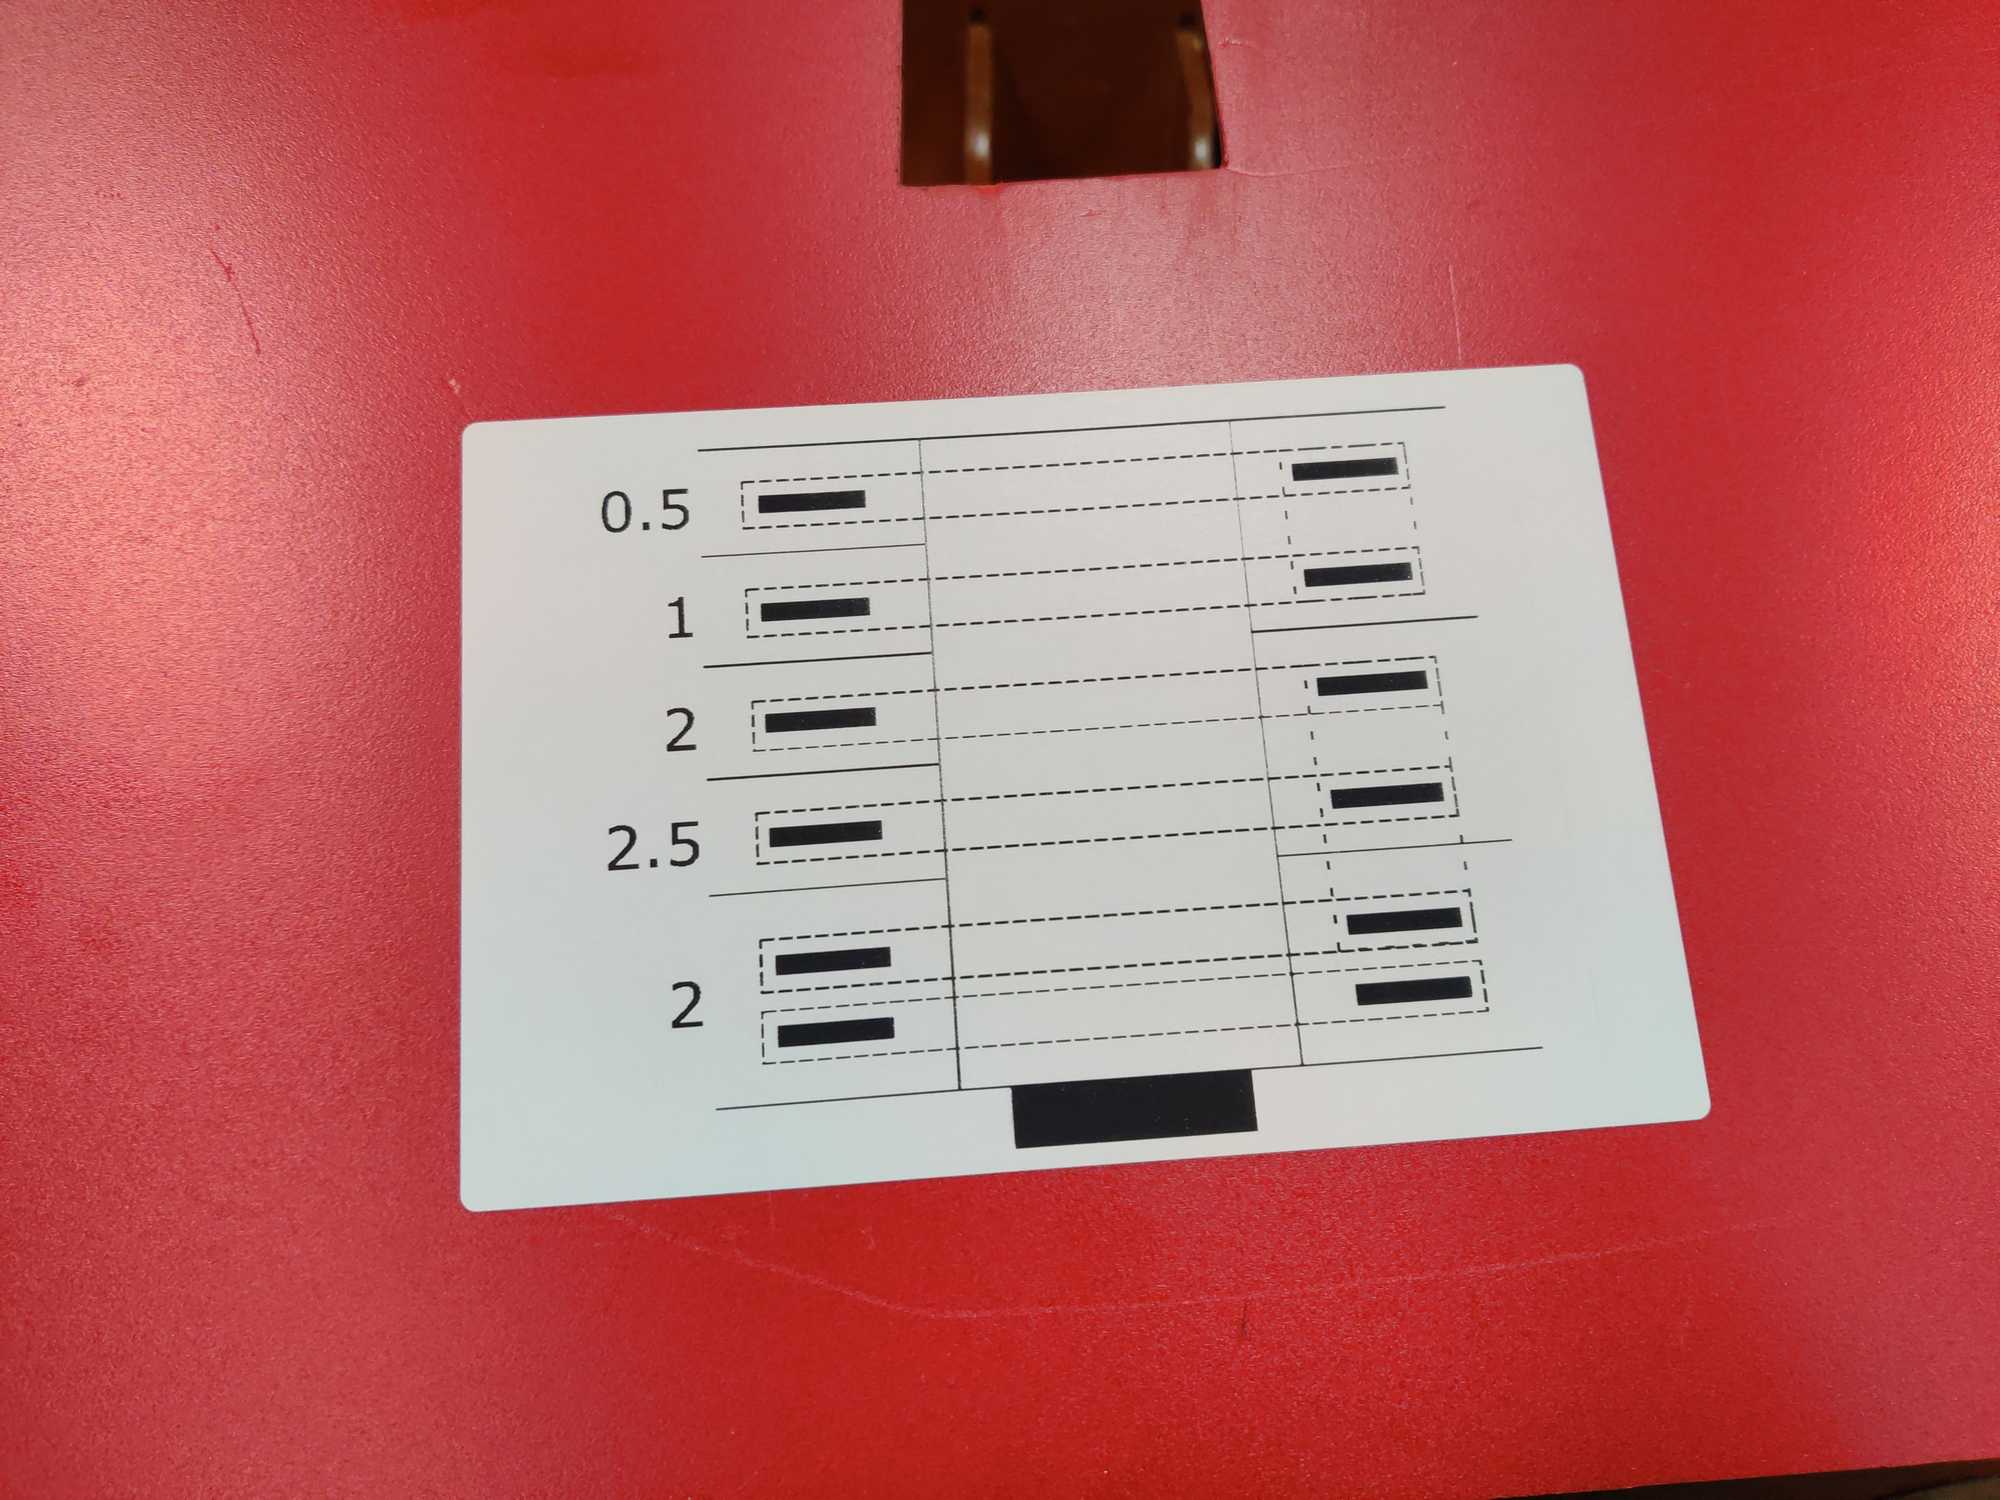
And now to make a nice cover for it. I didn’t invest a lot of time into this part since I wanted to keep it crude, like the box itself, therefore I found some red plastic piece in the workshop that was more or less the right size (made it the right size with a saw), cut out some holes for buttons, a charge port and a battery indicator. Also on the inside of the cover I put on a drawing to remind me how to change the combination if I ever need to do so. Right now it kinda looks obvious, but after a year it might not be 😁 .
Had to cover the electronics and add some brown paint on the box edges.

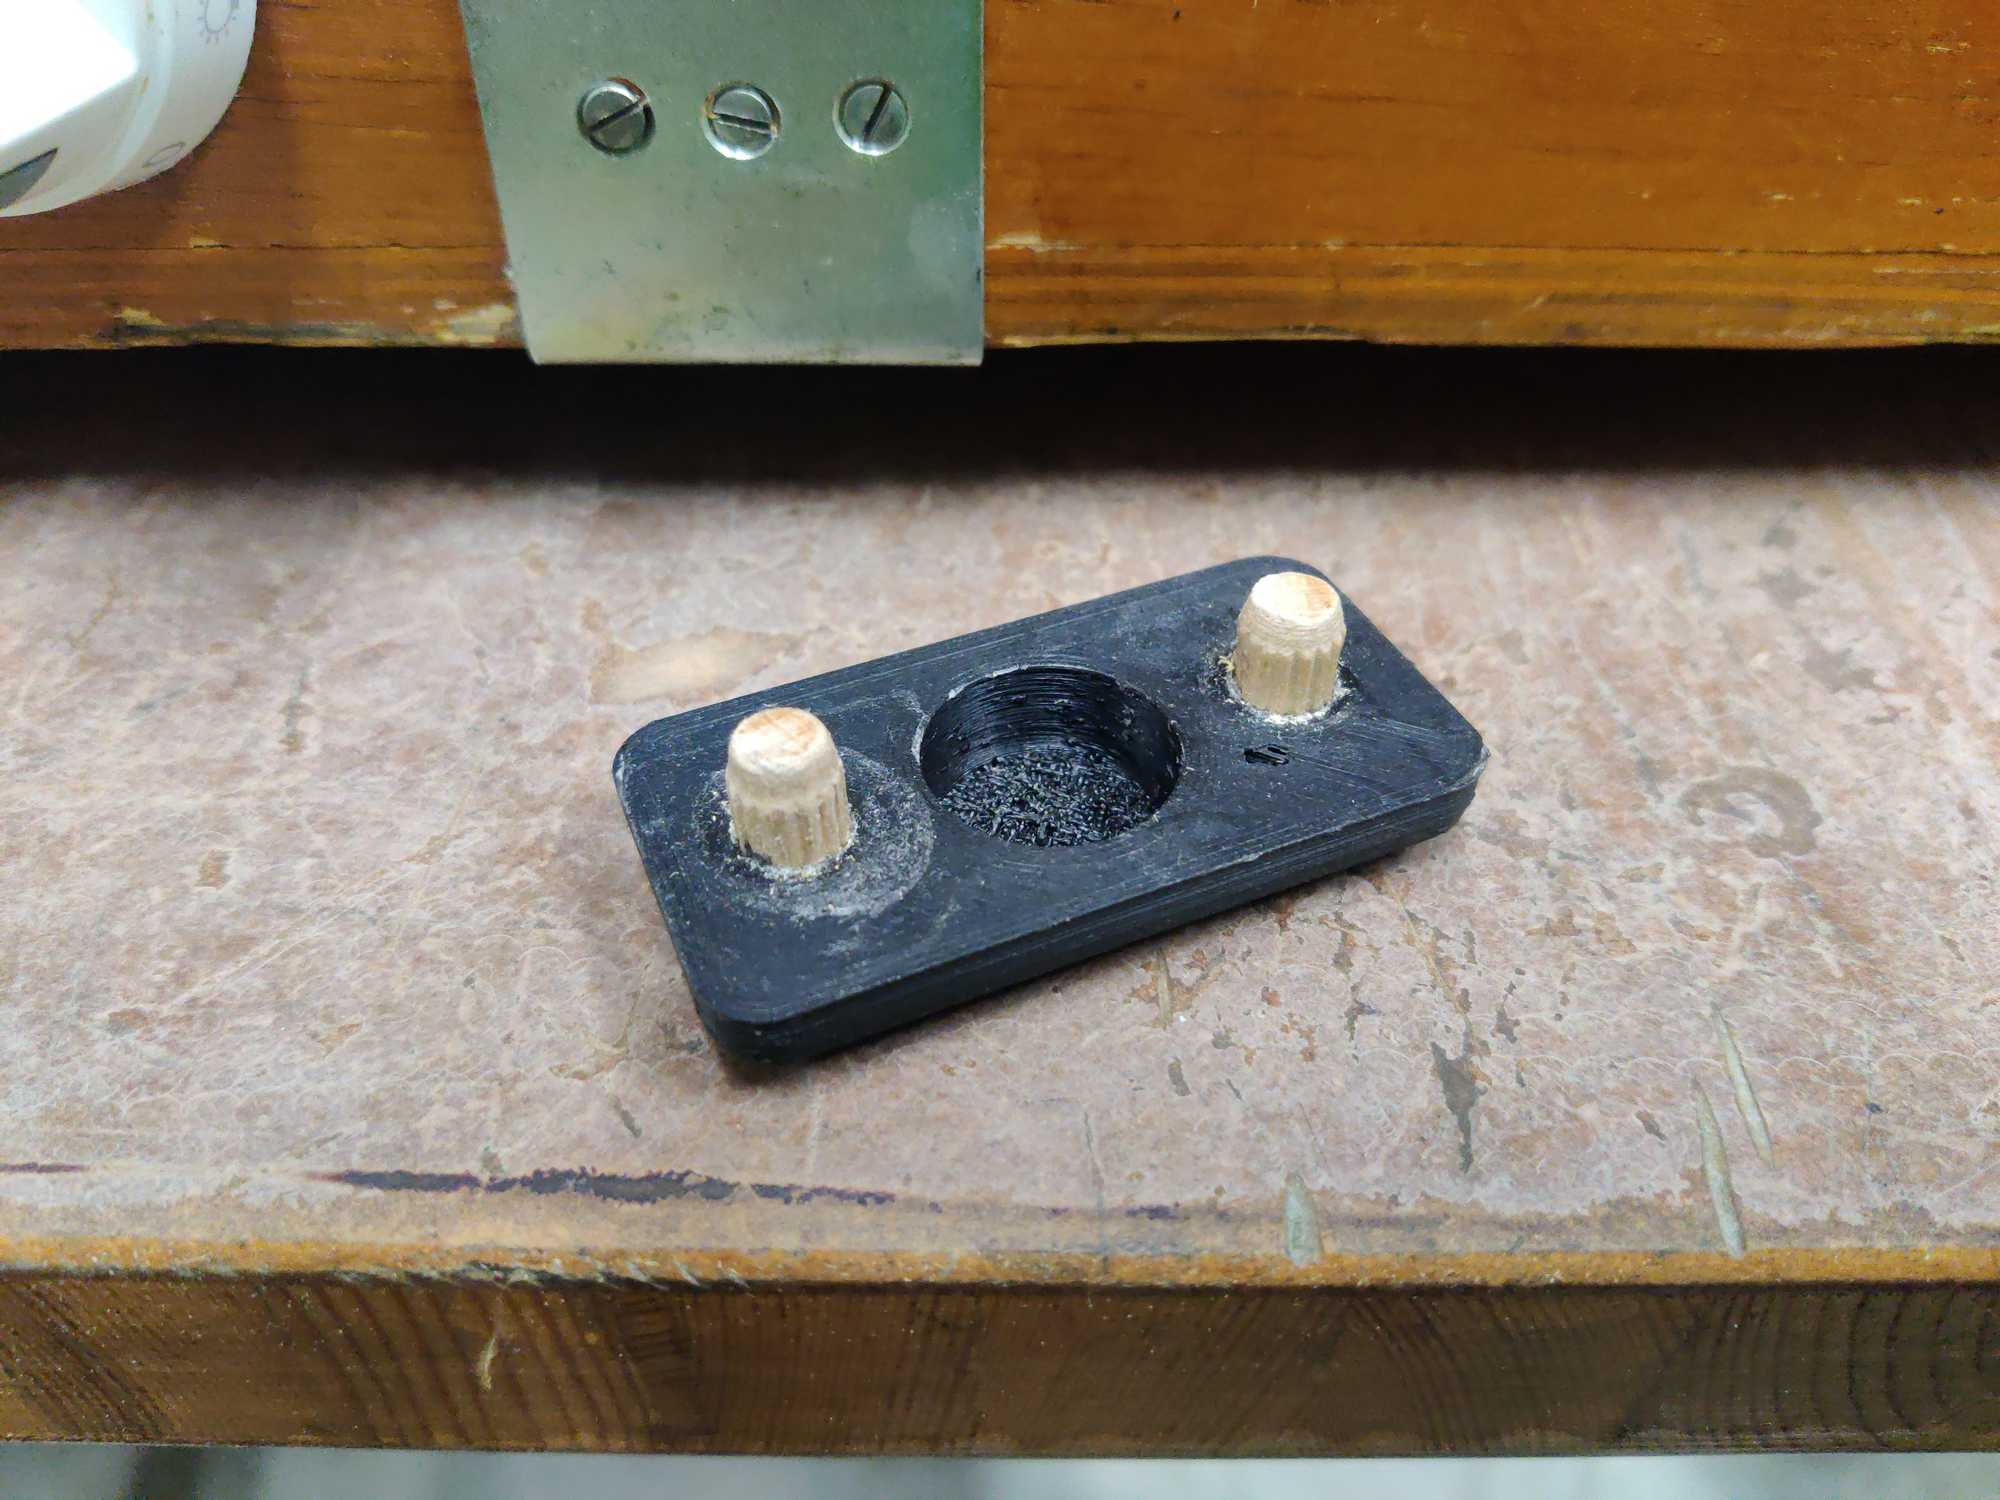
And lastly I installed a pretty cover for that convenient way to open the lid.
The code can be found on my github if anyone is interested: https://github.com/kulverstukas1/oven-combo-lock and it’s really simple in a way it works.
But how does it work?
You set all dials to 0 and after turning it on you close the lid. Now the combination has to be entered using all of the oven dials and upon pressing a white button (to “check”) LEDs starts lighting up one by one in blue and if the combination was correct then the LEDs will turn green and the latch will open.
However if the combination wasn’t correct then the LEDs would turn red and a buzzer would sound indicating a bad combination. In addition if someone was gonna cheat and open the chest with “admin” mode then an alert will start beeping until the poor guy closes it back up in shame.
For future readers if you’ll be using this kind of a latch with a feedback button, keep in mind you really need to debounce it. In my code I used a 200 msec delay. Otherwise it’ll be very sporadic.
That’s all there is to it.
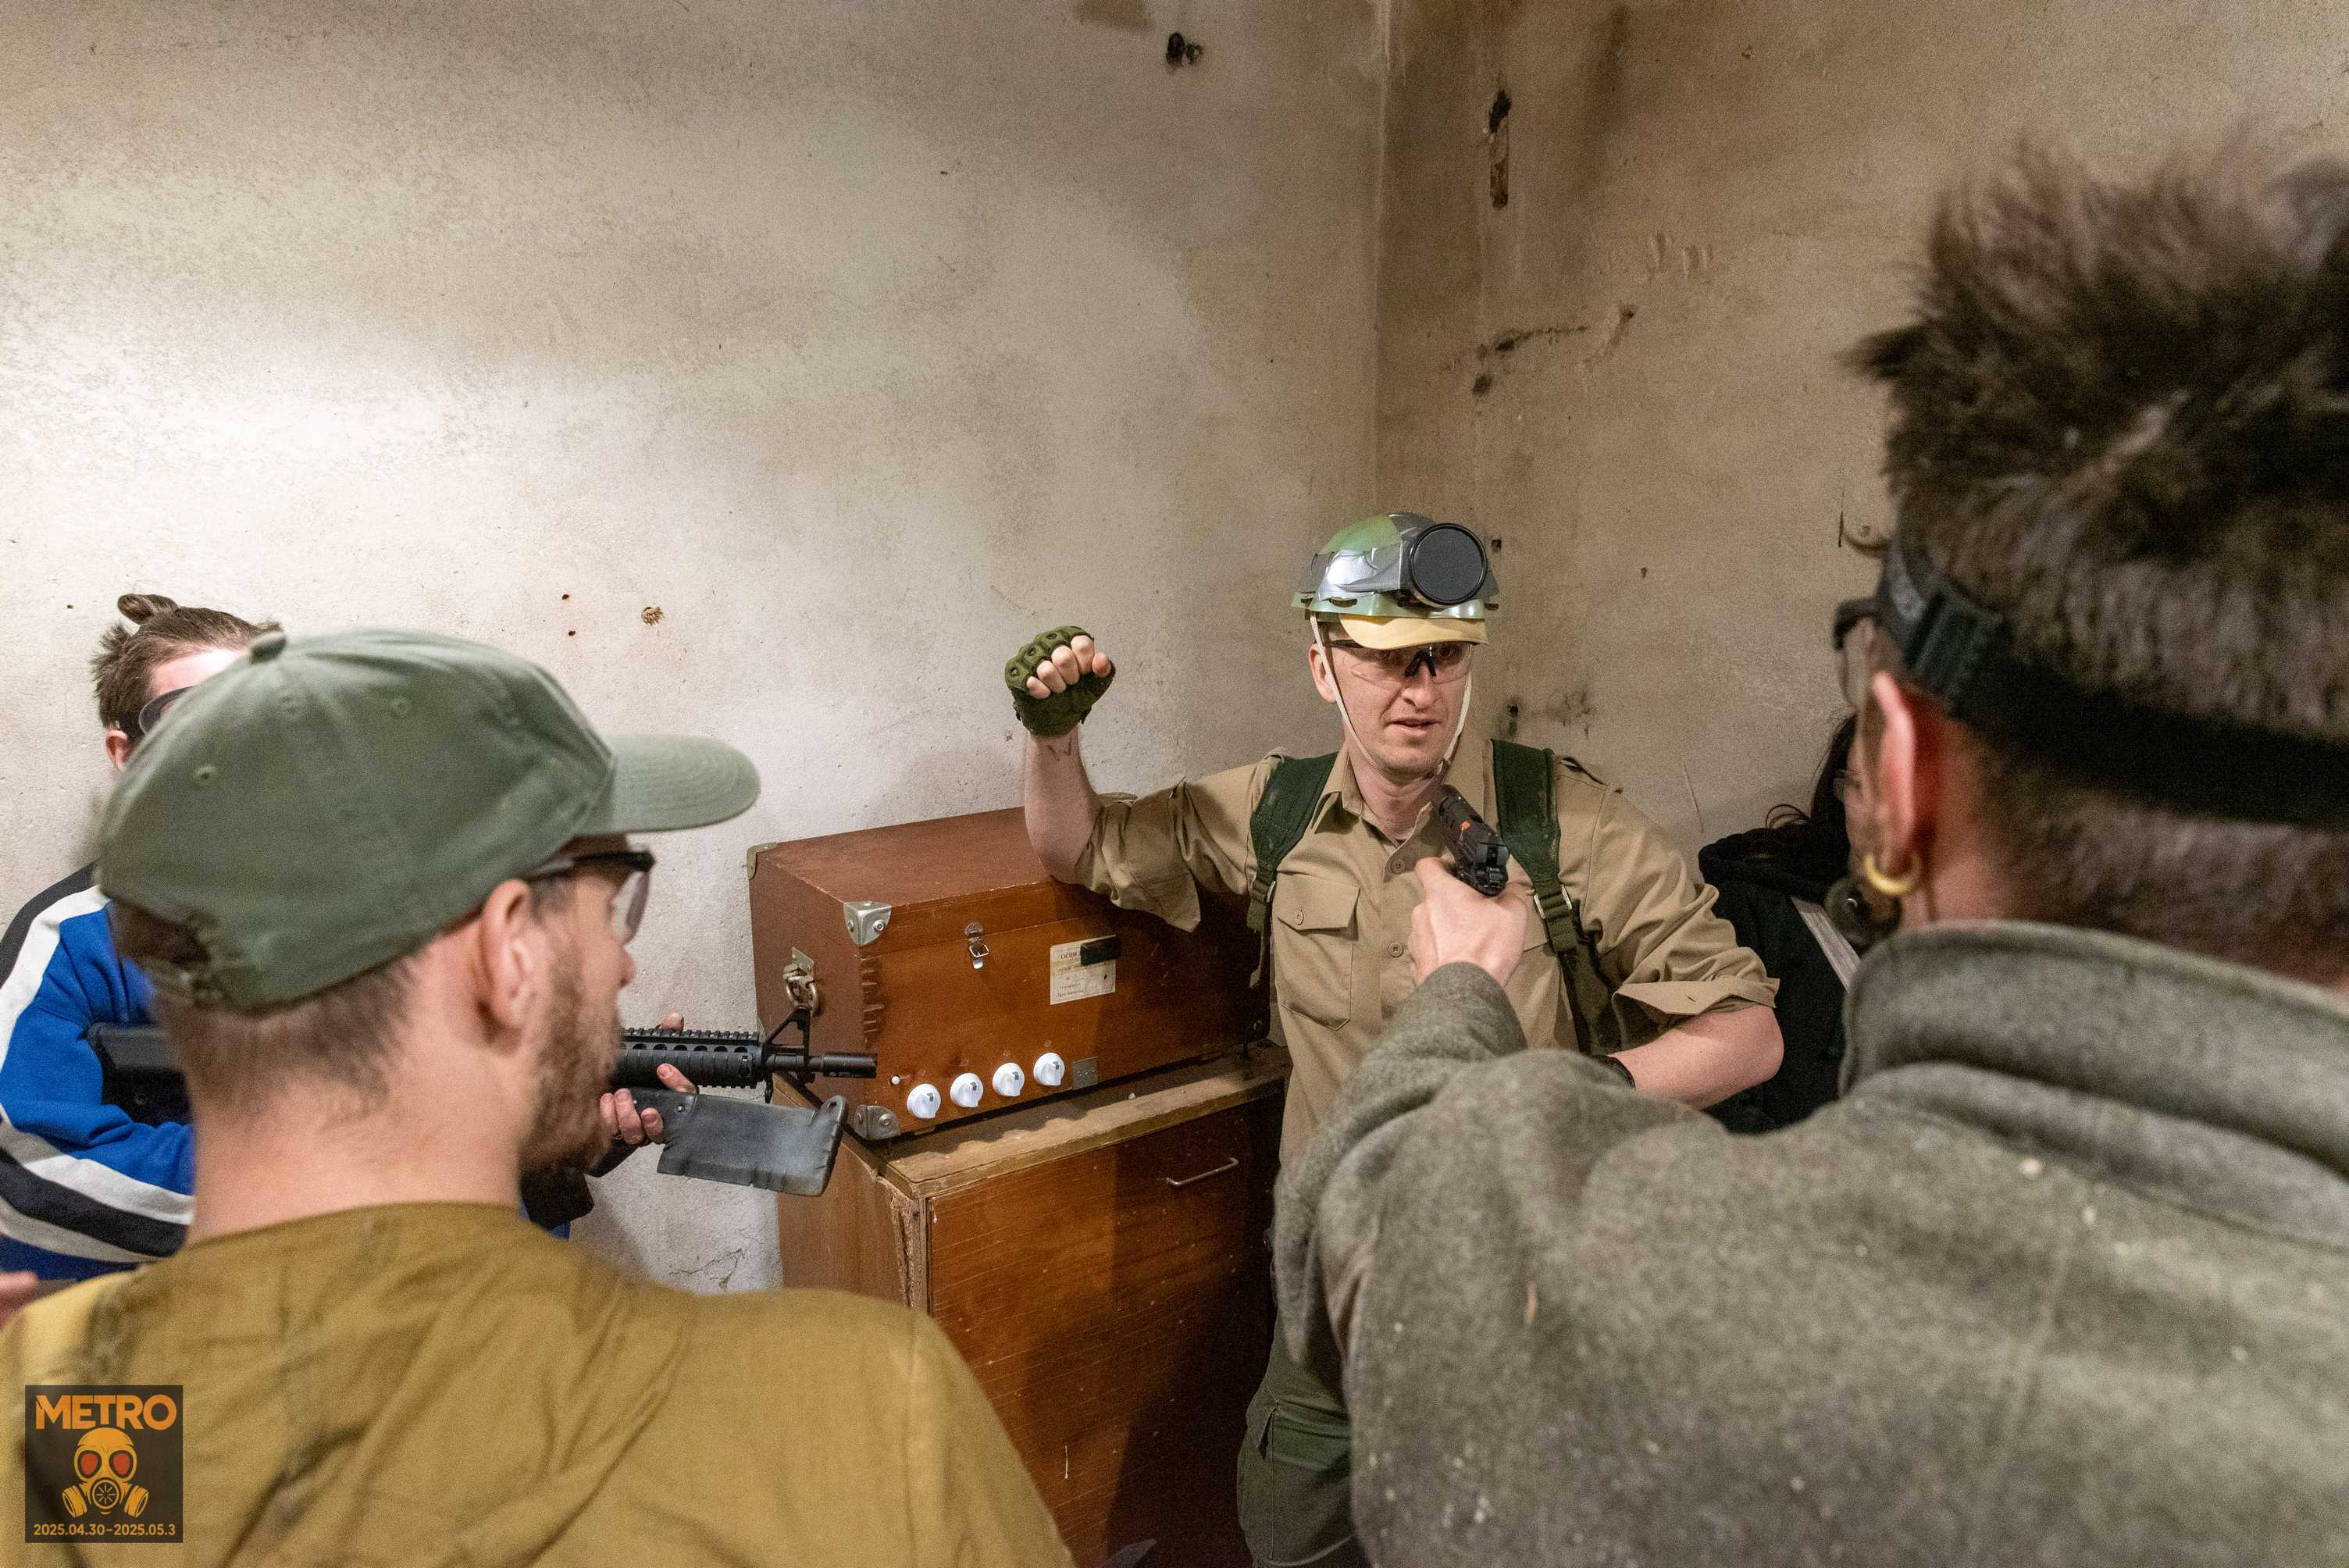
This is a shot from when it was used in an intense moment of the Metro LARP game.