
A very long time ago I had made a portable retro gaming briefcase, more for the heck of it. The project was finished but eventually it was clear that it lacked things.
First of all the dedicated controllers was a good idea but in practice they were messy, wires eventually got tangled so much that I didn’t bother untangling. The computer inside was very, very under-powered. The whole software side of it was also pretty nasty.
At the time though my skill set was pretty limited… for years it was left to gather dust when I eventually decided to disassemble it and that’s that. Still it did what it was supposed to do – emulate some arcade and PS1 games and people had fun playing with it even if it was for a brief moment. I gathered some feedback about it and now years later I’ll try to make a better version.
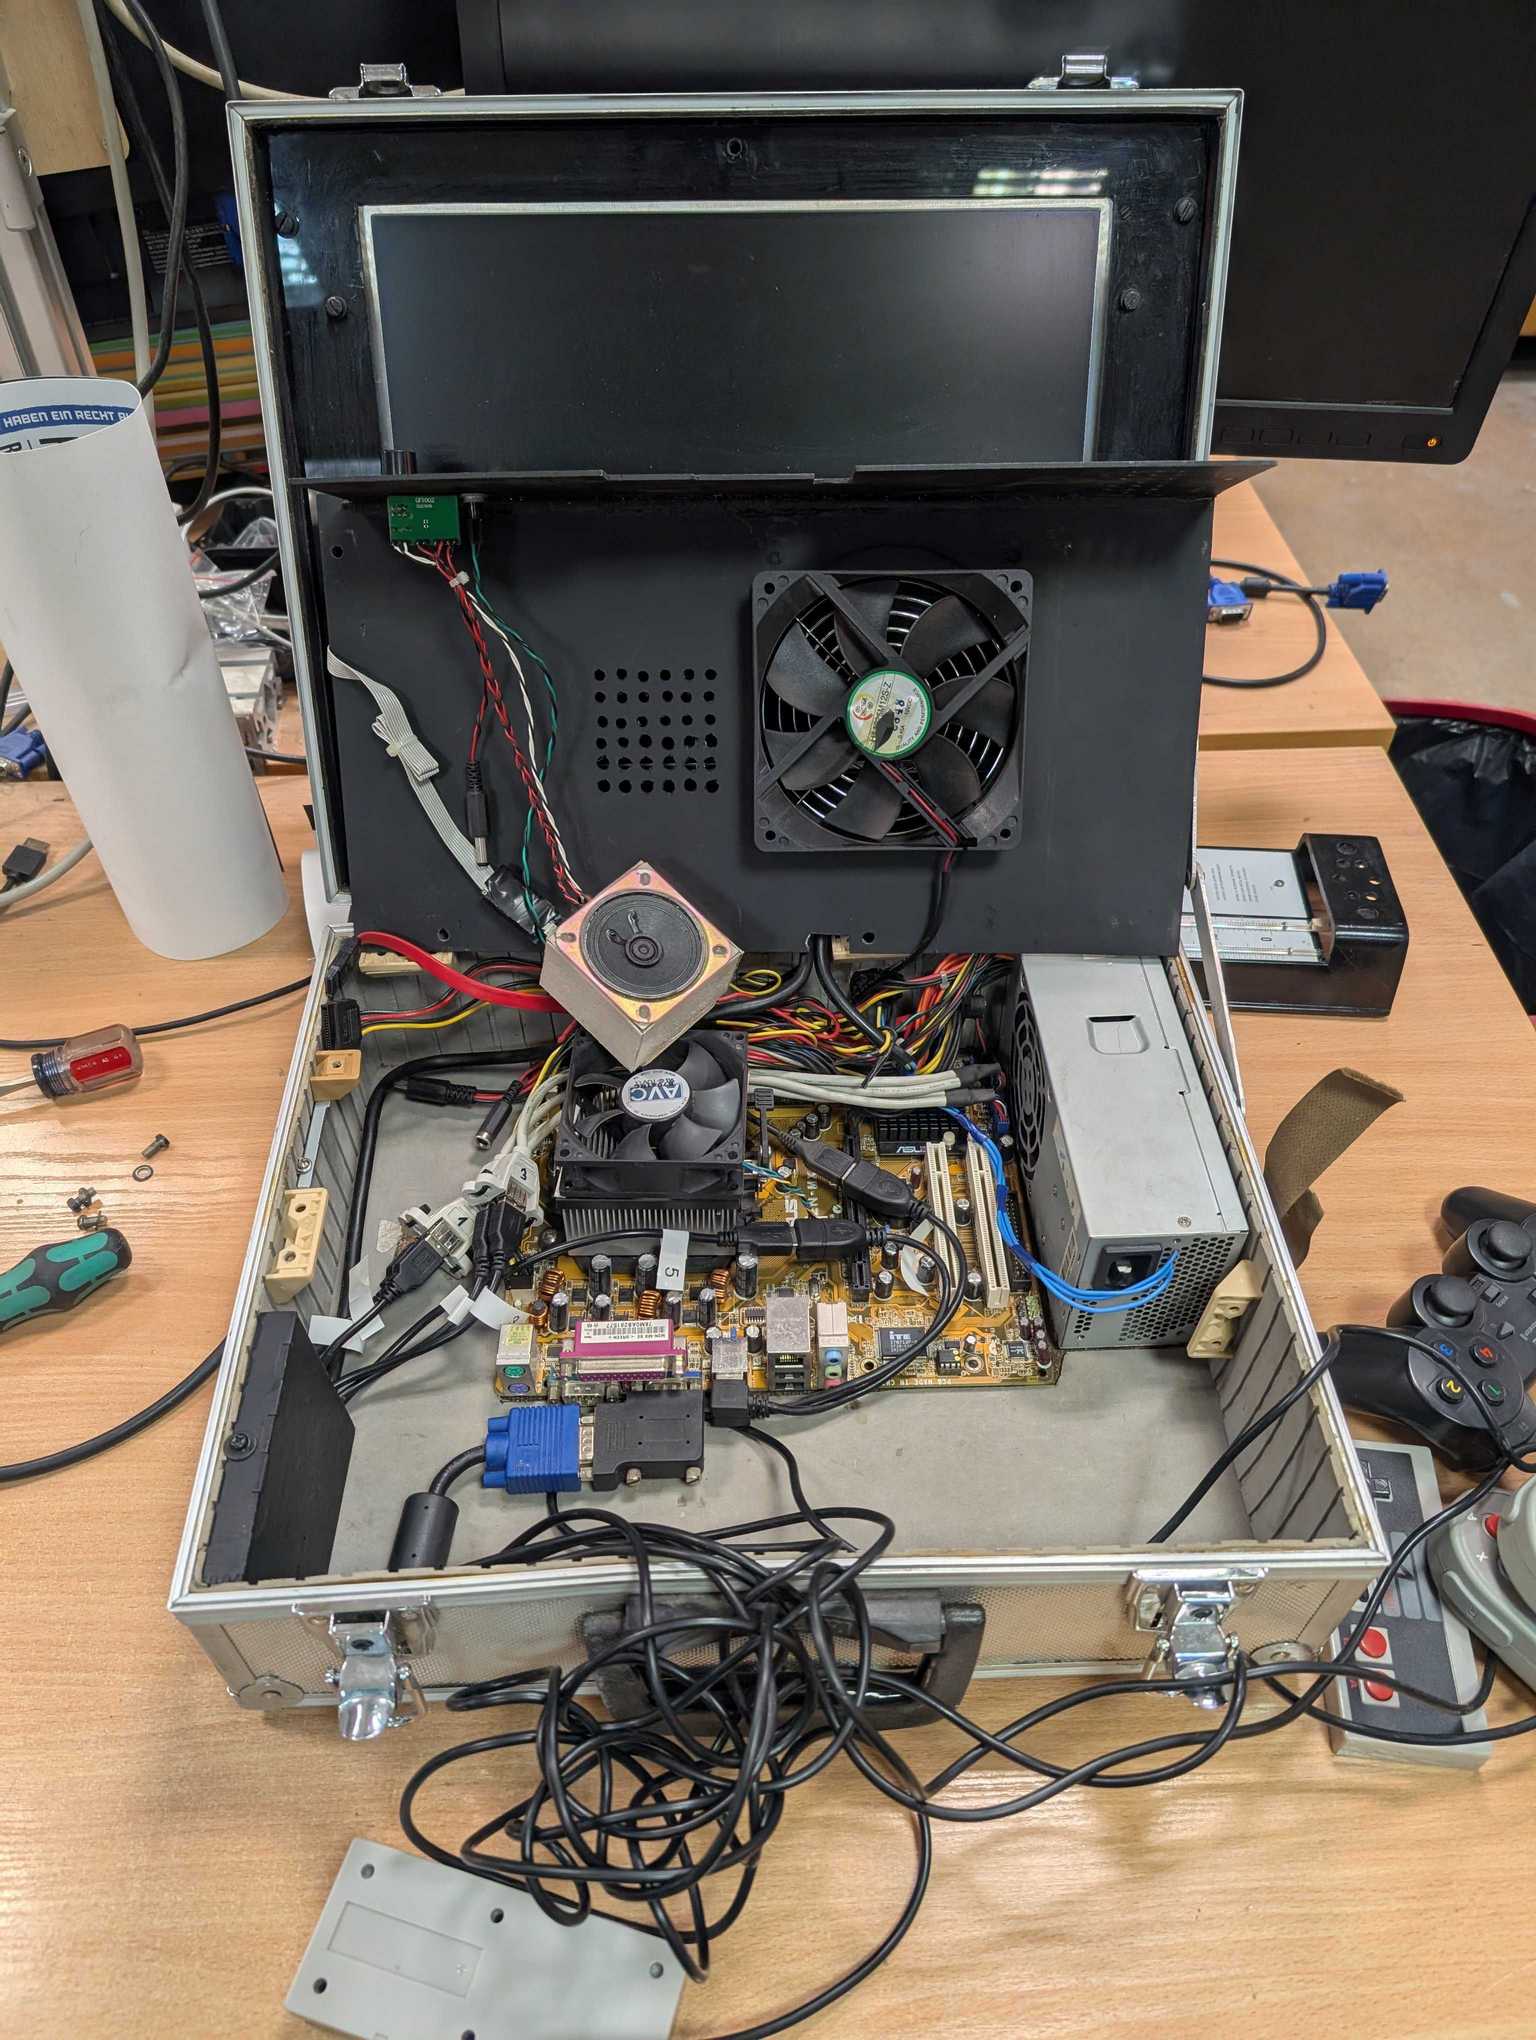
The technology had progressed a lot since then, the software got better, more operating systems appeared just for this kind of a project. Heh when I made the briefcase there wasn’t much to choose from and in the end I stuck with Launchbox which is a Windows client and at the time it was just starting out. Since it’s a Windows client the under-powered computer was wasting about half its resources just to run the system.
I wouldn’t be making this one if I hadn’t happen to get an Intel NUC mini-pc (one of the first generation, so it isn’t great but you can play upscaled PS1 and PSP games without a problem), an Android TV and a Bluetooth Xbox ONE controller. All the items I got independently :D
Playing alone isn’t as much fun when playing together with someone so I bought another second-hand Xbox ONE controller, however I didn’t check if that particular model has Bluetooth and assumed that all of them do. Sadly I bought a controller without Bluetooth, but was able to make it work with a dongle that I had.
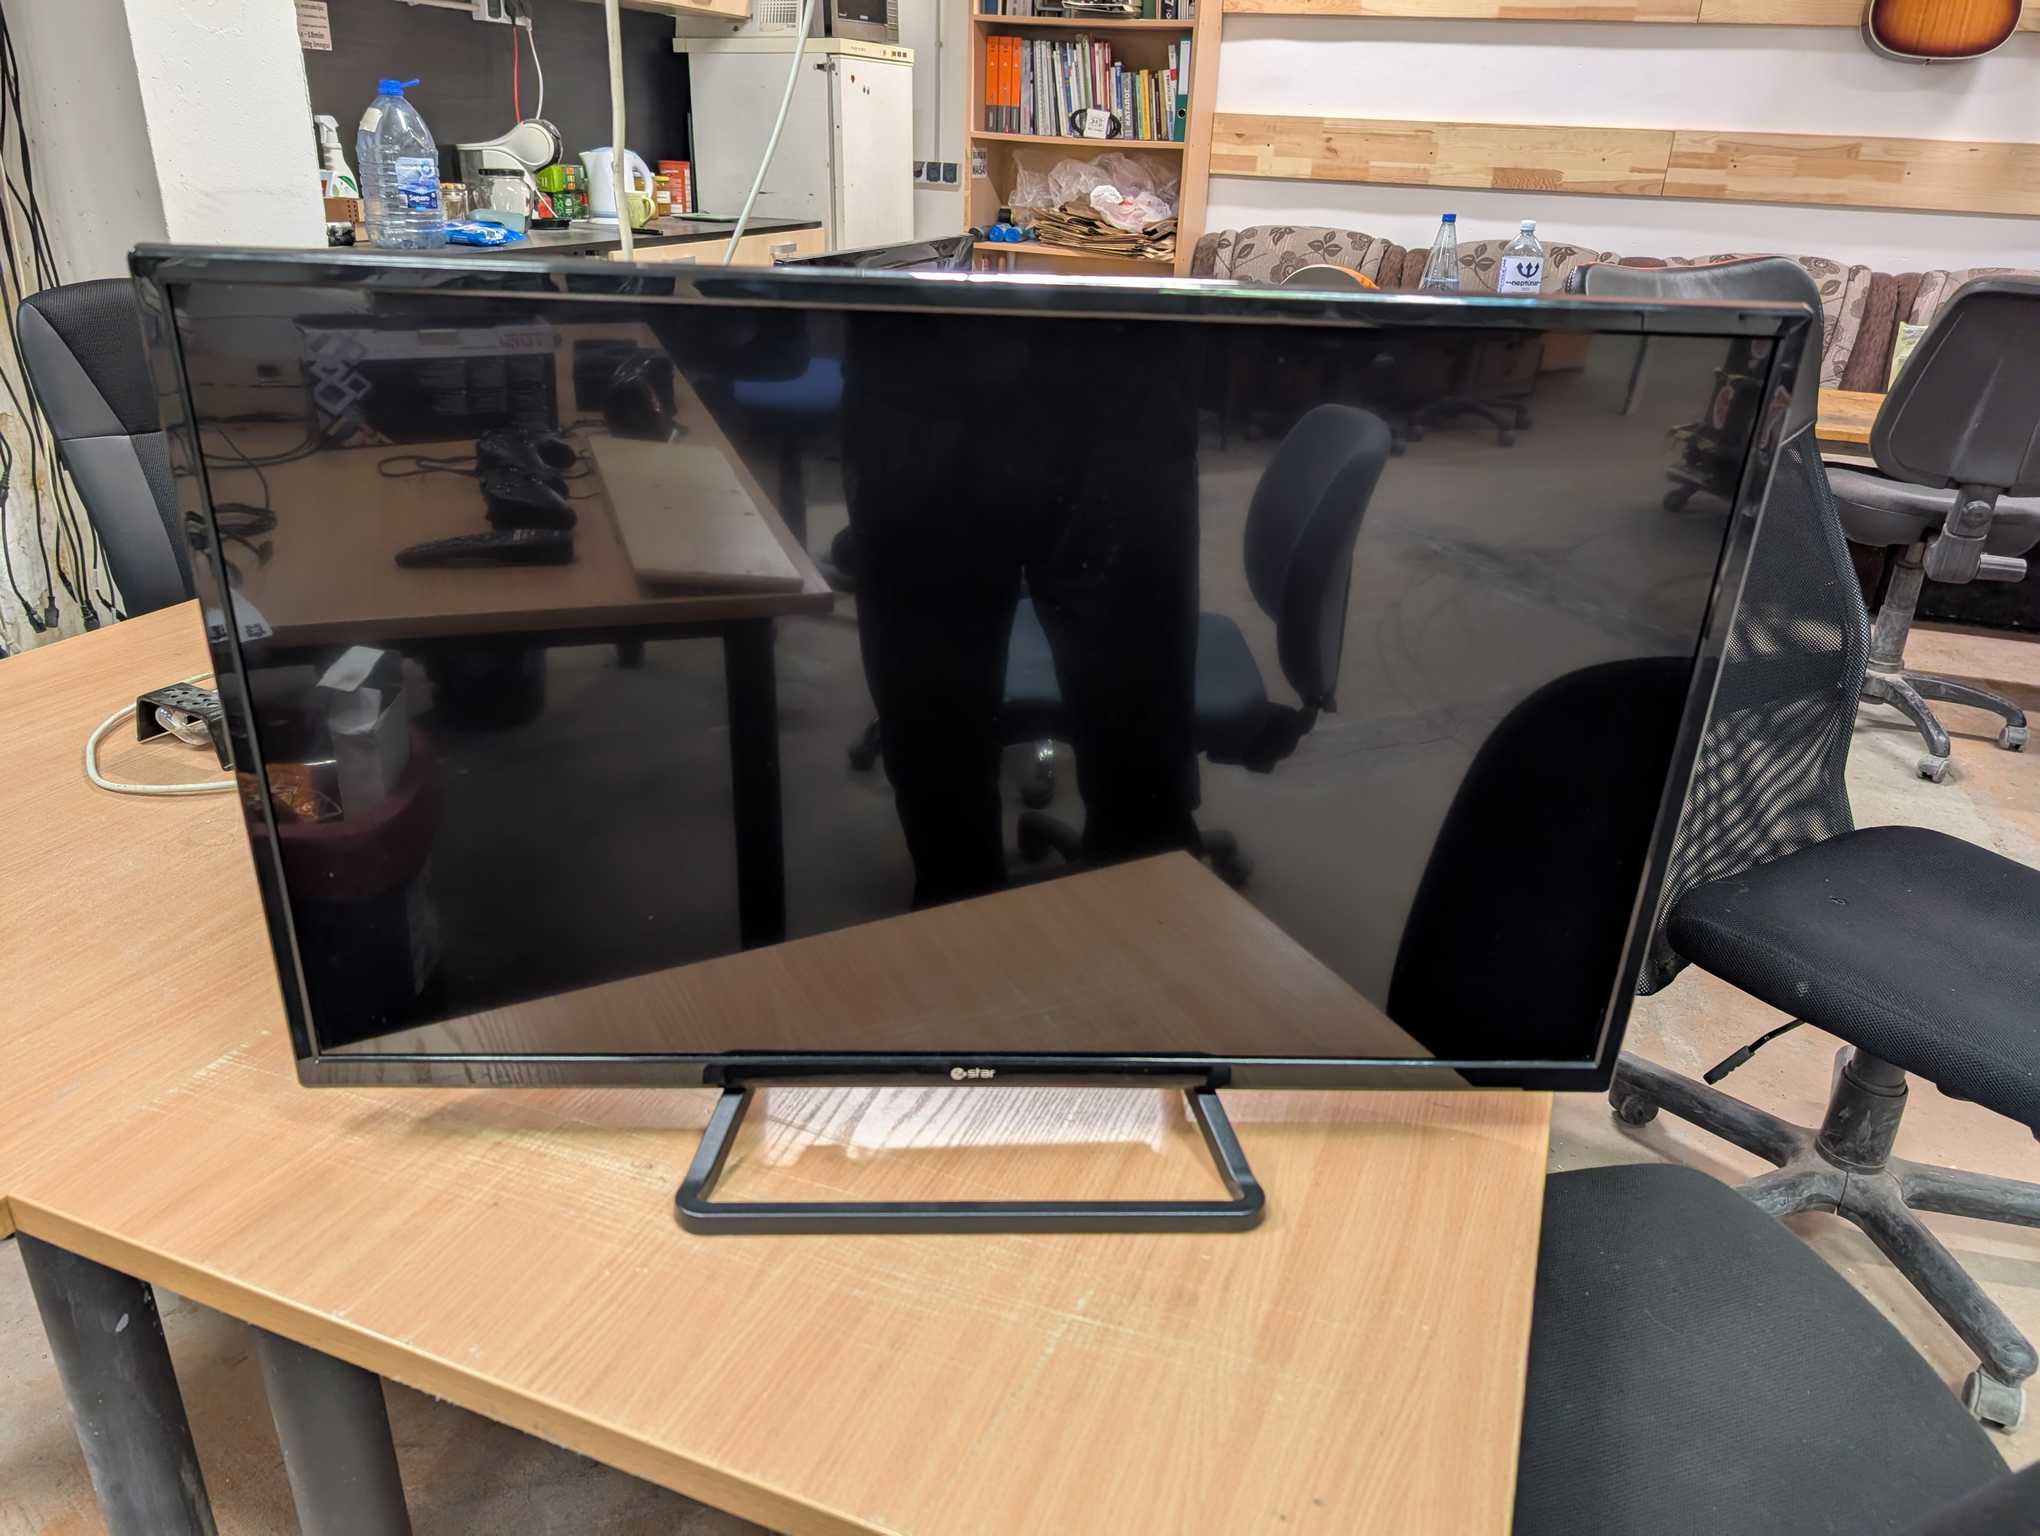
For this one I also wanted to make it portable so it had to be easily transportable so that also means – lightweight. And the Android TV that I received was just that – cheap e-star TV which is super lightweight.
Software being the epicenter of experience here I went on to search for something suitable and I was amazed by how this has progressed. There are a lot of open source projects to go for when building something like this that lets you set everything up without spending a lot of time doing so.
One of the projects that I loved and chose to use was Batocera Linux. It’s a whole Linux based operating system that you install on a computer. The interface is very easy and smooth and it works great on my poor Intel NUC.
I had saved the harddrive of that gaming briefcase and pulled out all the games to import into Batocera plus some additional ones I remembered. And importing the games is also very easy – you simply connect your Batocera to the home network, access its shared drives and put whetever you want there, or you can do it with flash drives as well but you need a keyboard and a mouse for that.
Then inside Batocera you need to build the games library and by using information scraping services you can download all the info about the games like box arts, demo videos and of course descriptions. Connecting the controllers is also very easy since my NUC has integrated Bluetooth the system allows for automatic pairing.
The whole set-up and maintenance experience is just how it should be – quick and easy.
In addition to that Batocera also supports background music while in the menu. The system comes with a few synthwave tracks that fits the whole ambience very well. I added some more synthwave tracks later on.
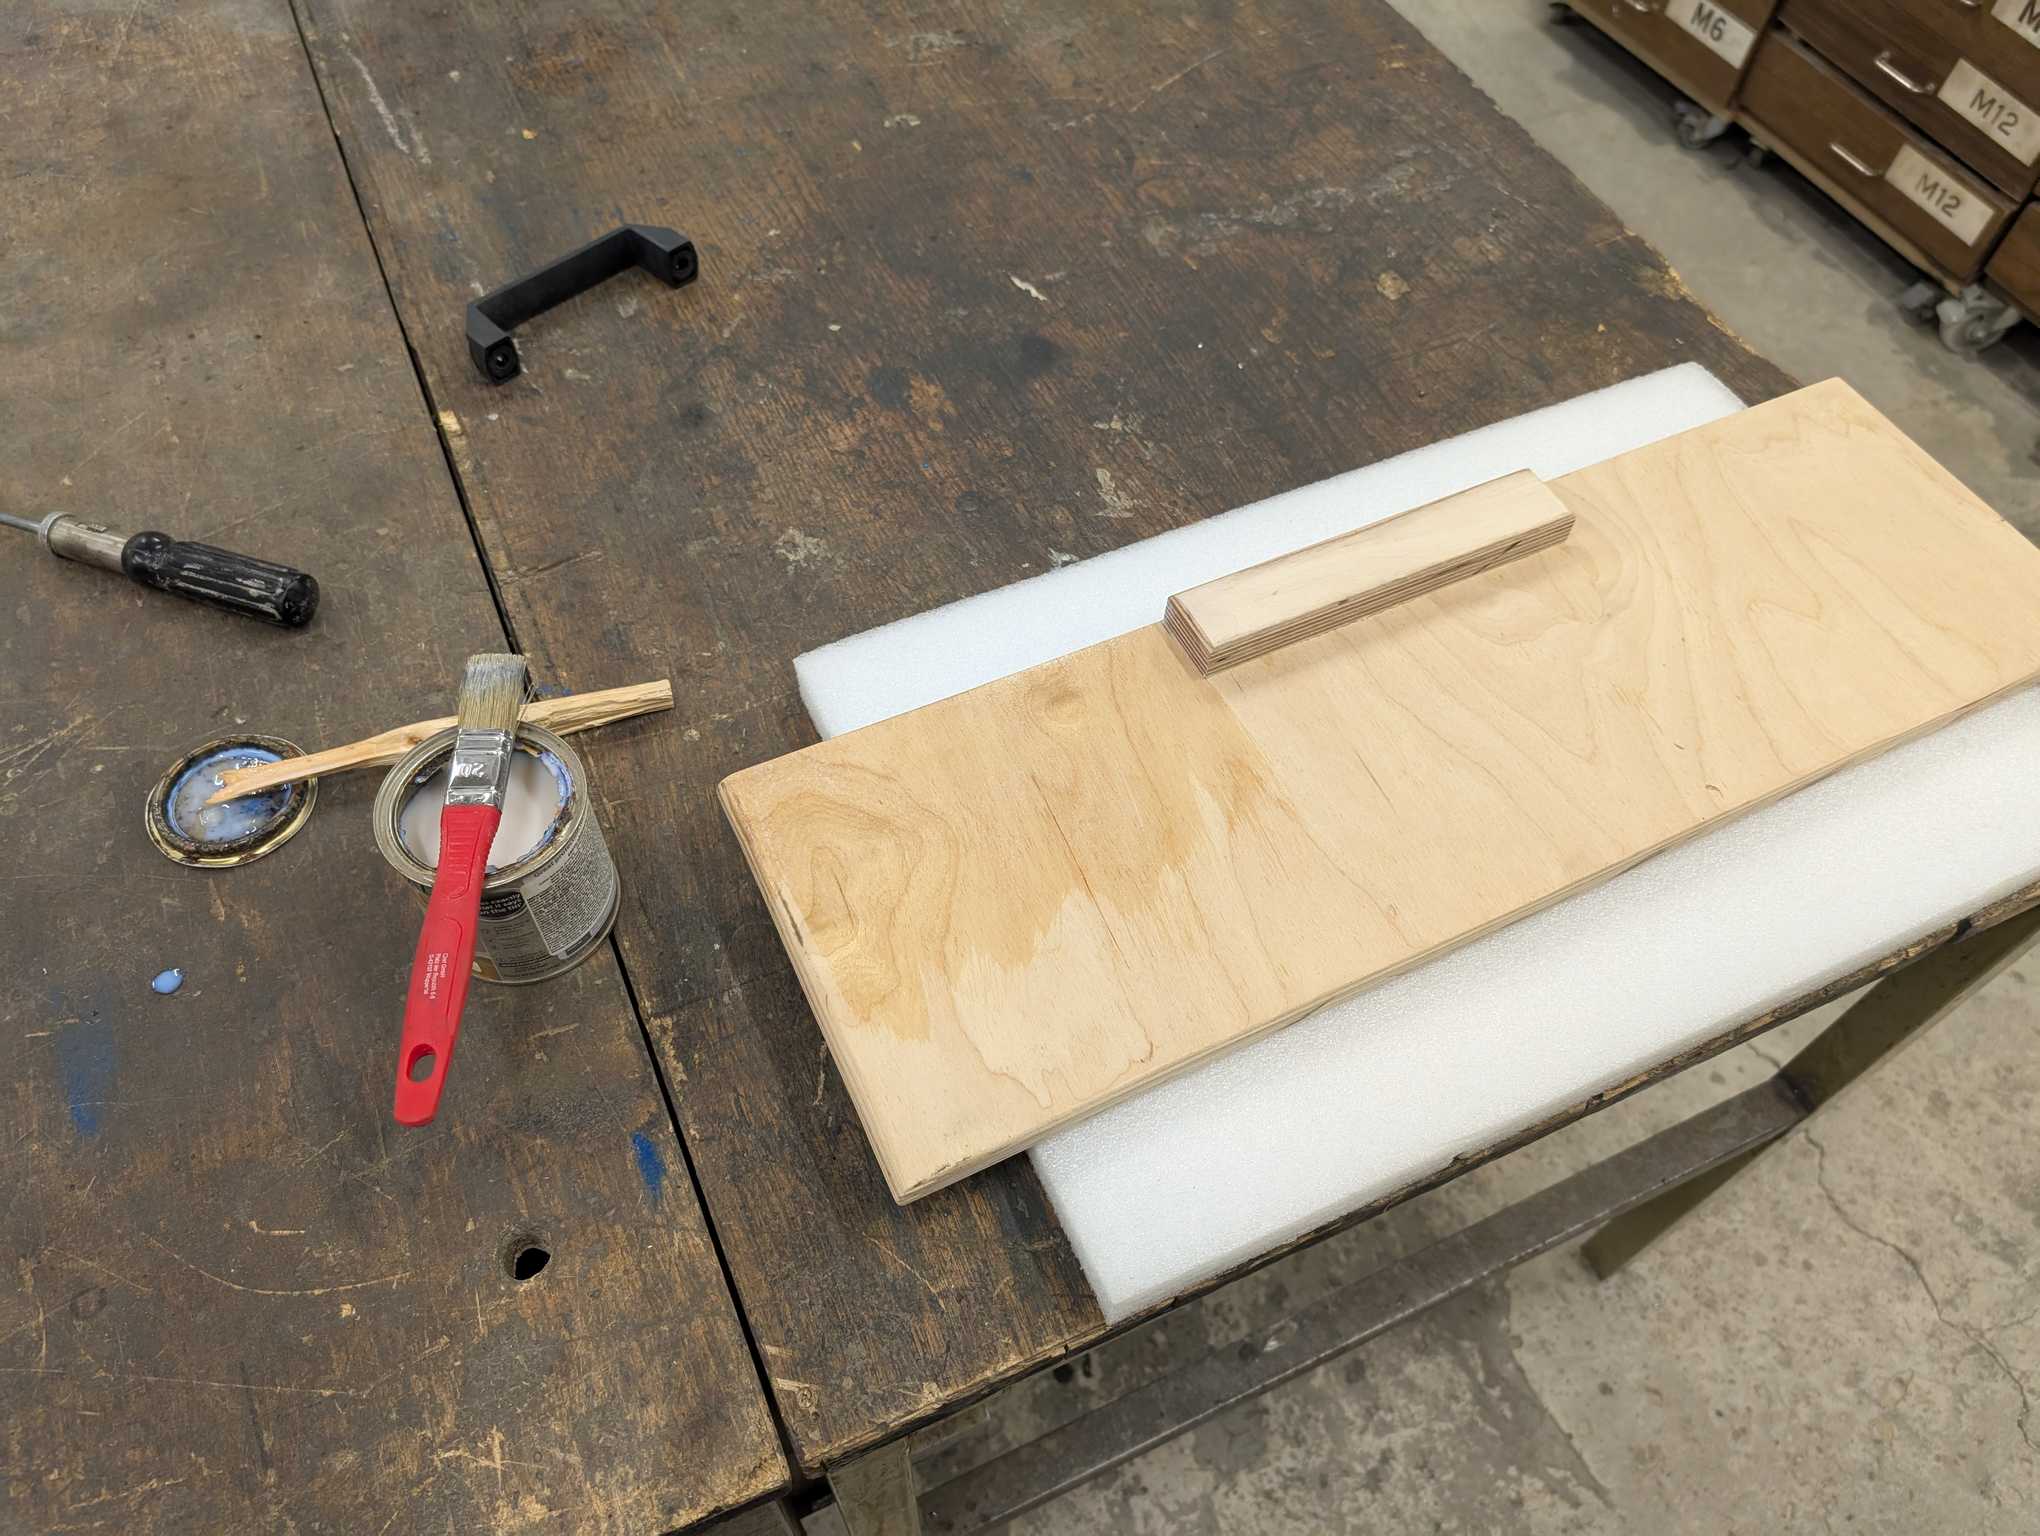
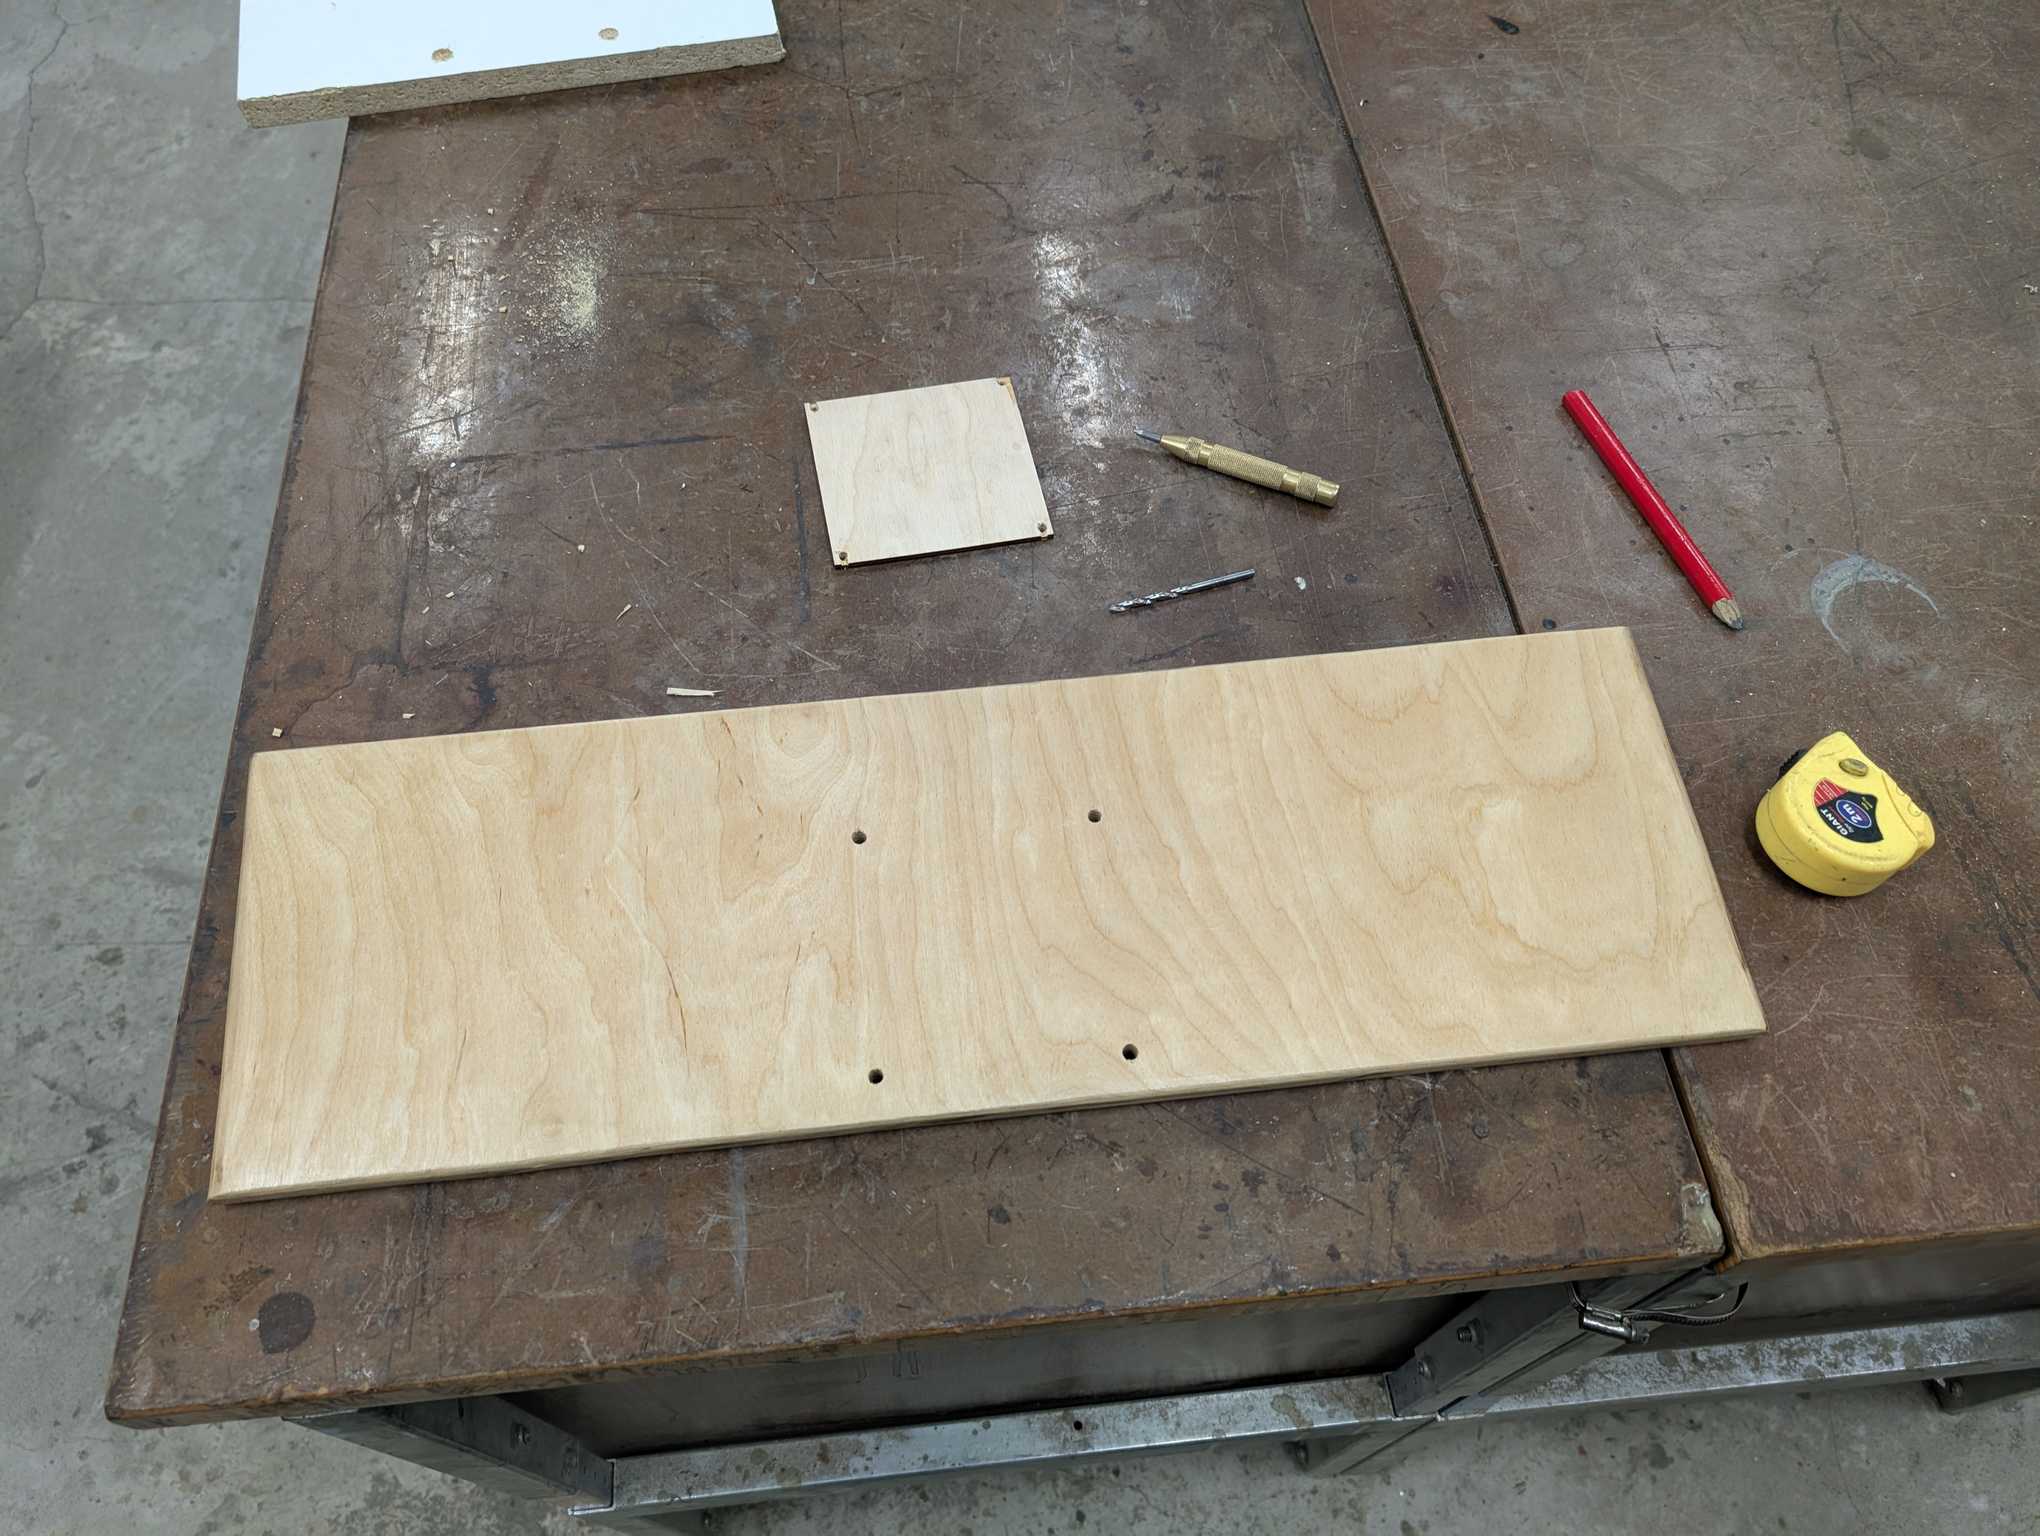
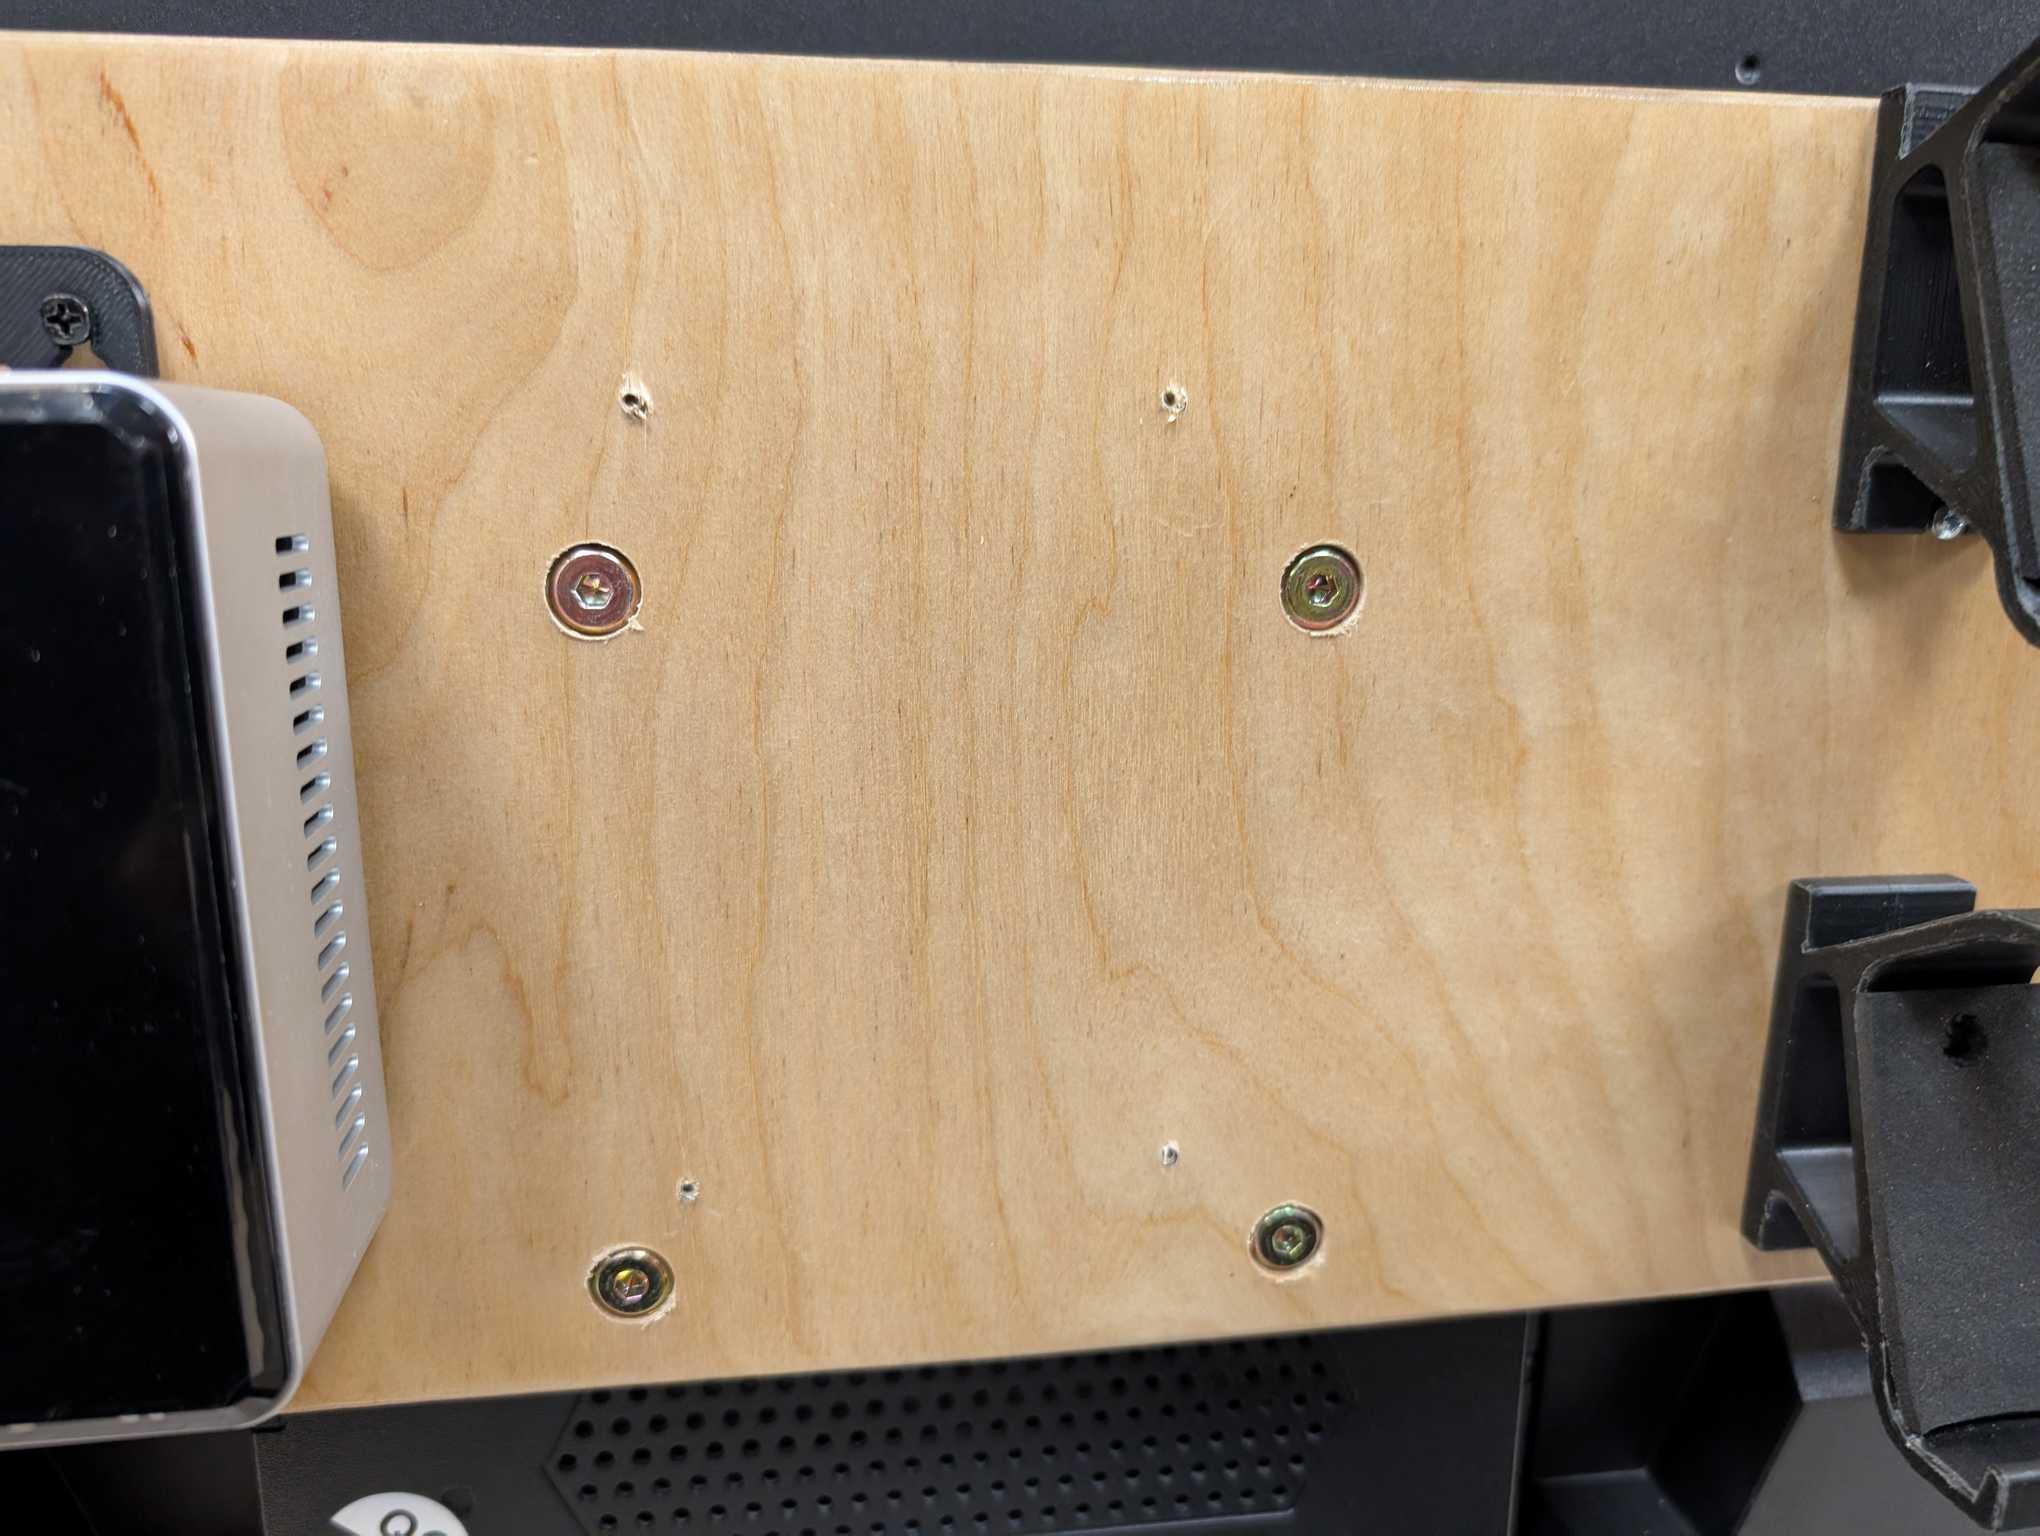
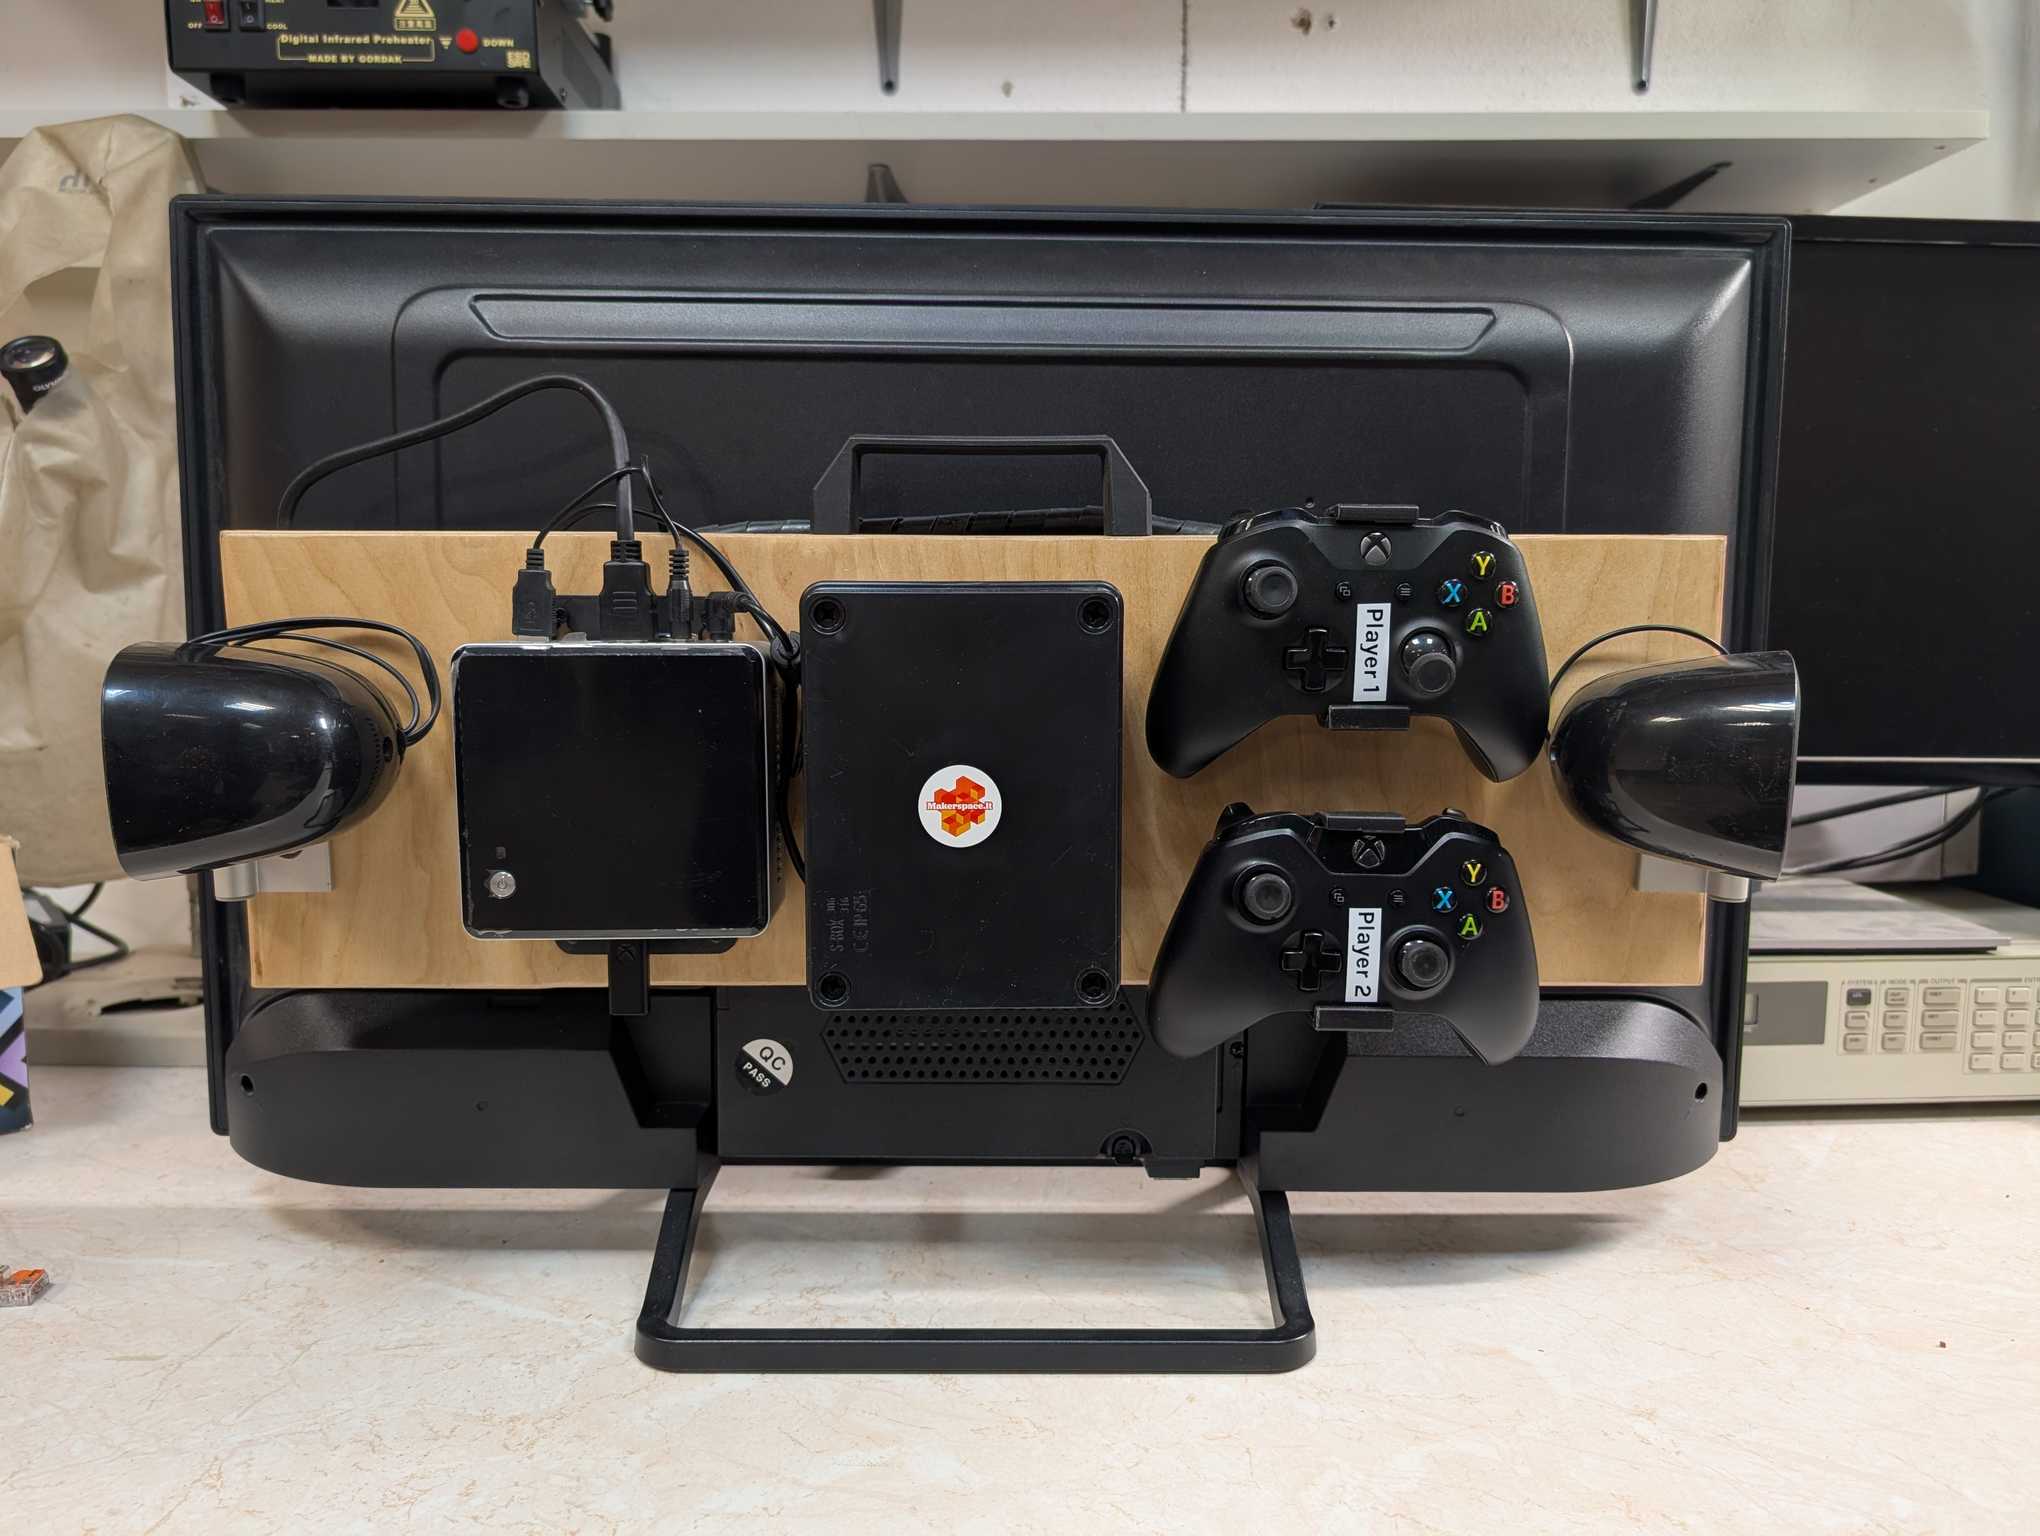
Because this whole thing needs to be portable, all the components and a handle must be mounted on the TV itself. Lucky me the TV has 4 mounting nuts on it’s back – very convenient! So I found a plywood board that is of perfect size to mount everything neatly.
I sanded it for a smooth surface, chamfered the edges, added a piece of plywood for the handle and coated with lacquer.
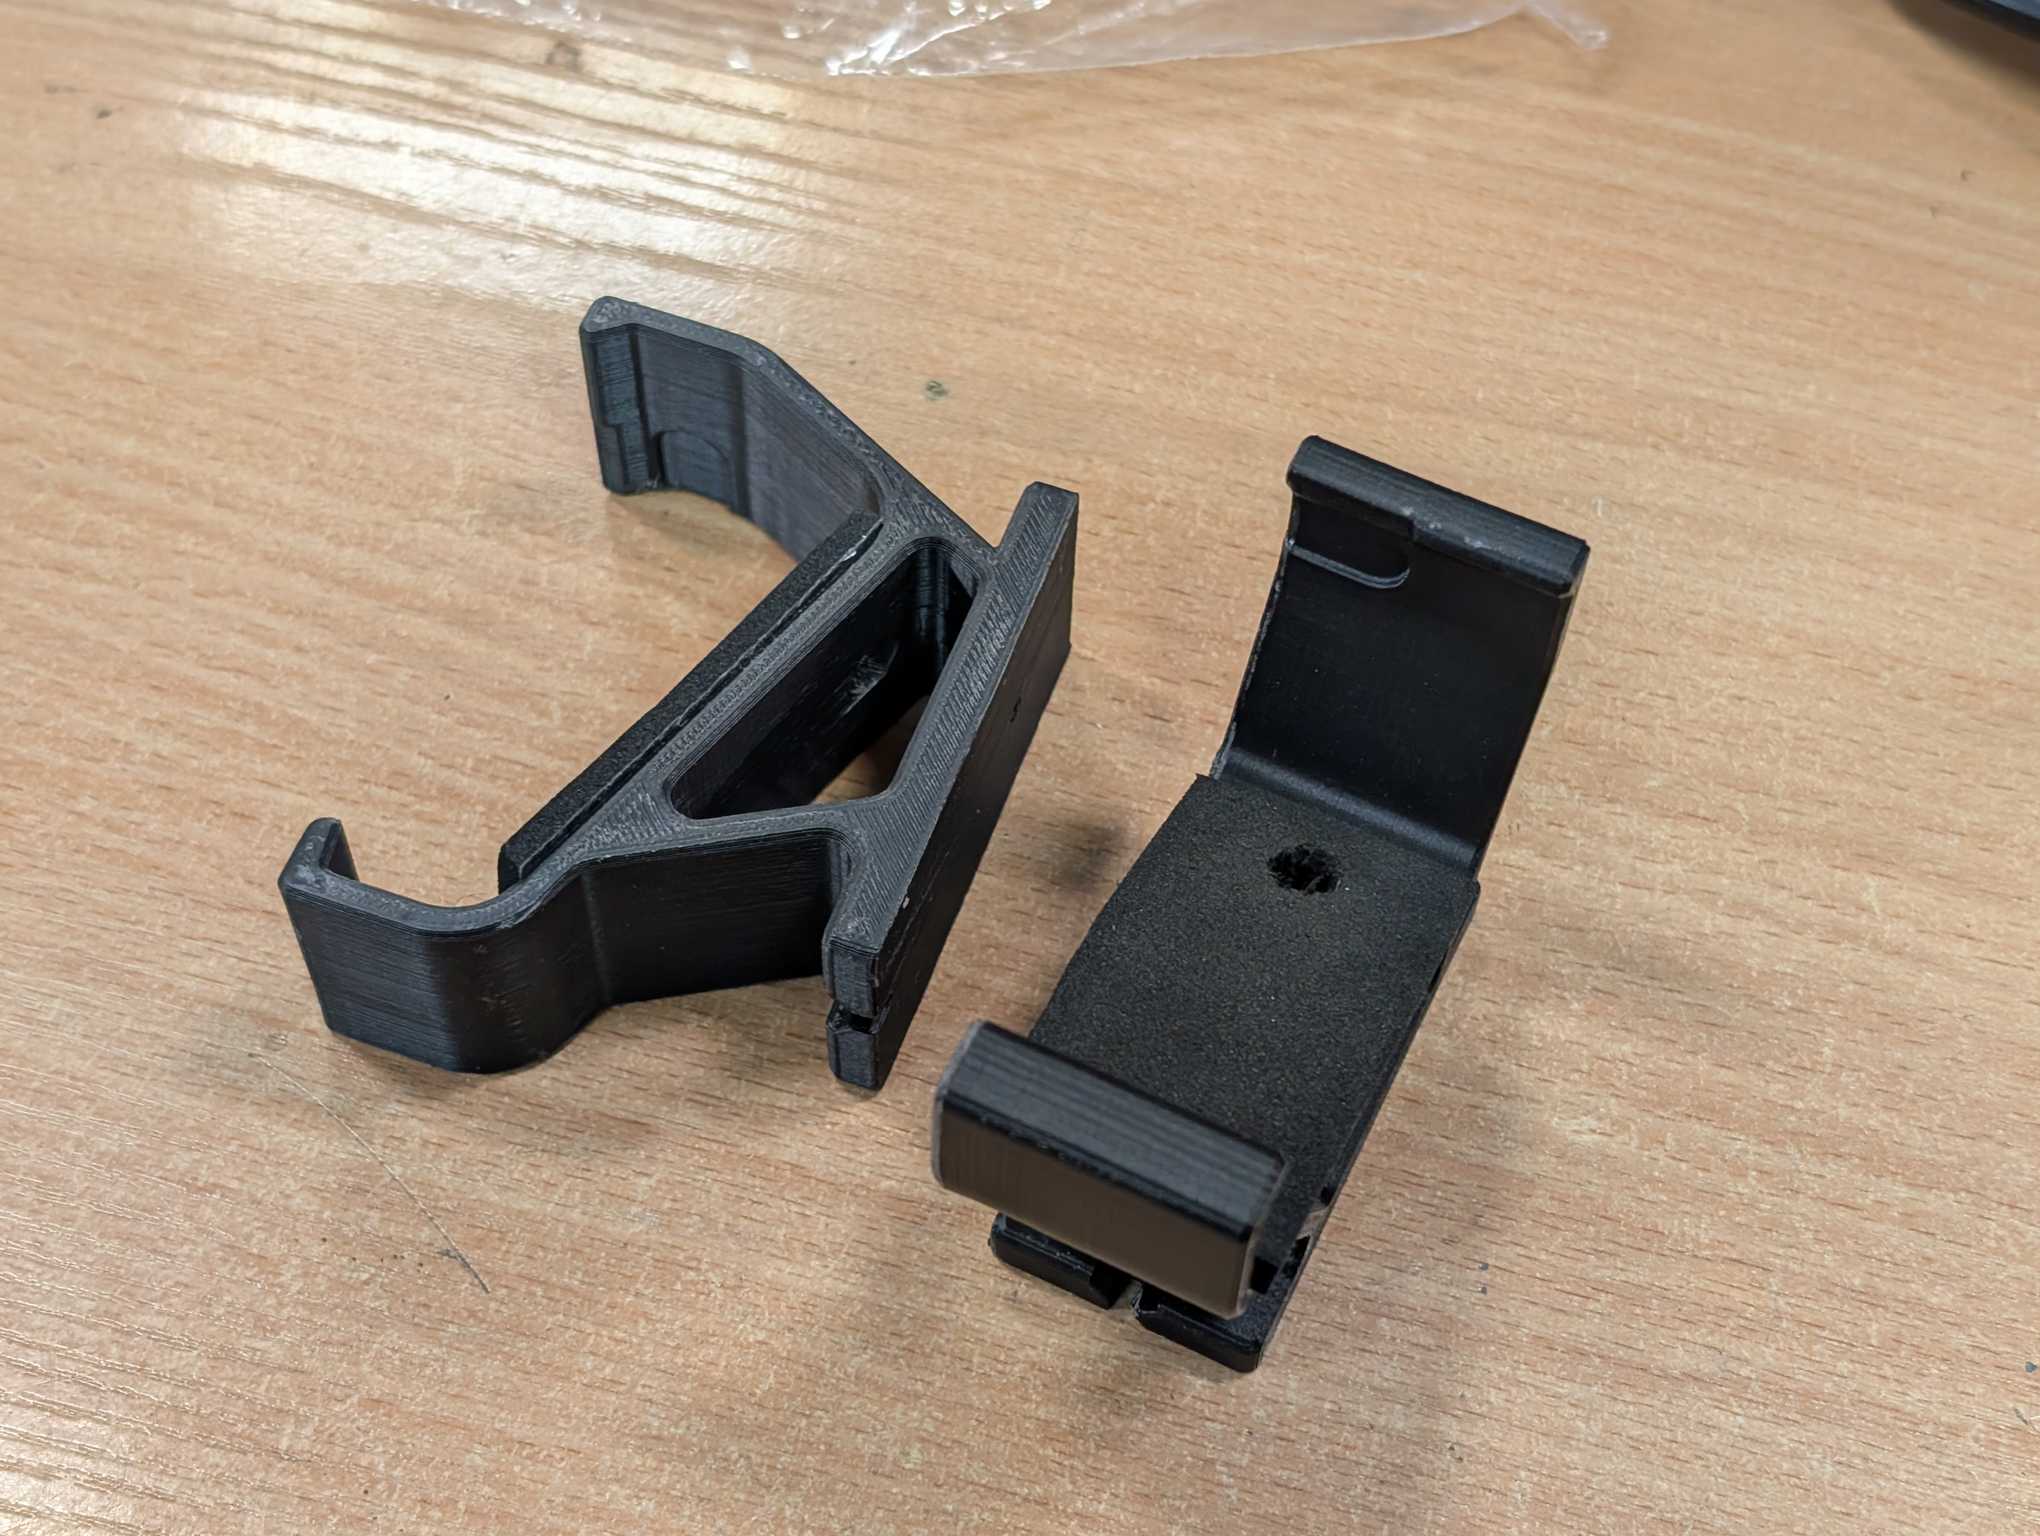
To mount my Xbox controllers I 3D printed a couple of brackets that I conveniently found available on the internet. Had to add foam so the controllers didn’t wobble. The 3D model can be found here (also saved here for future).
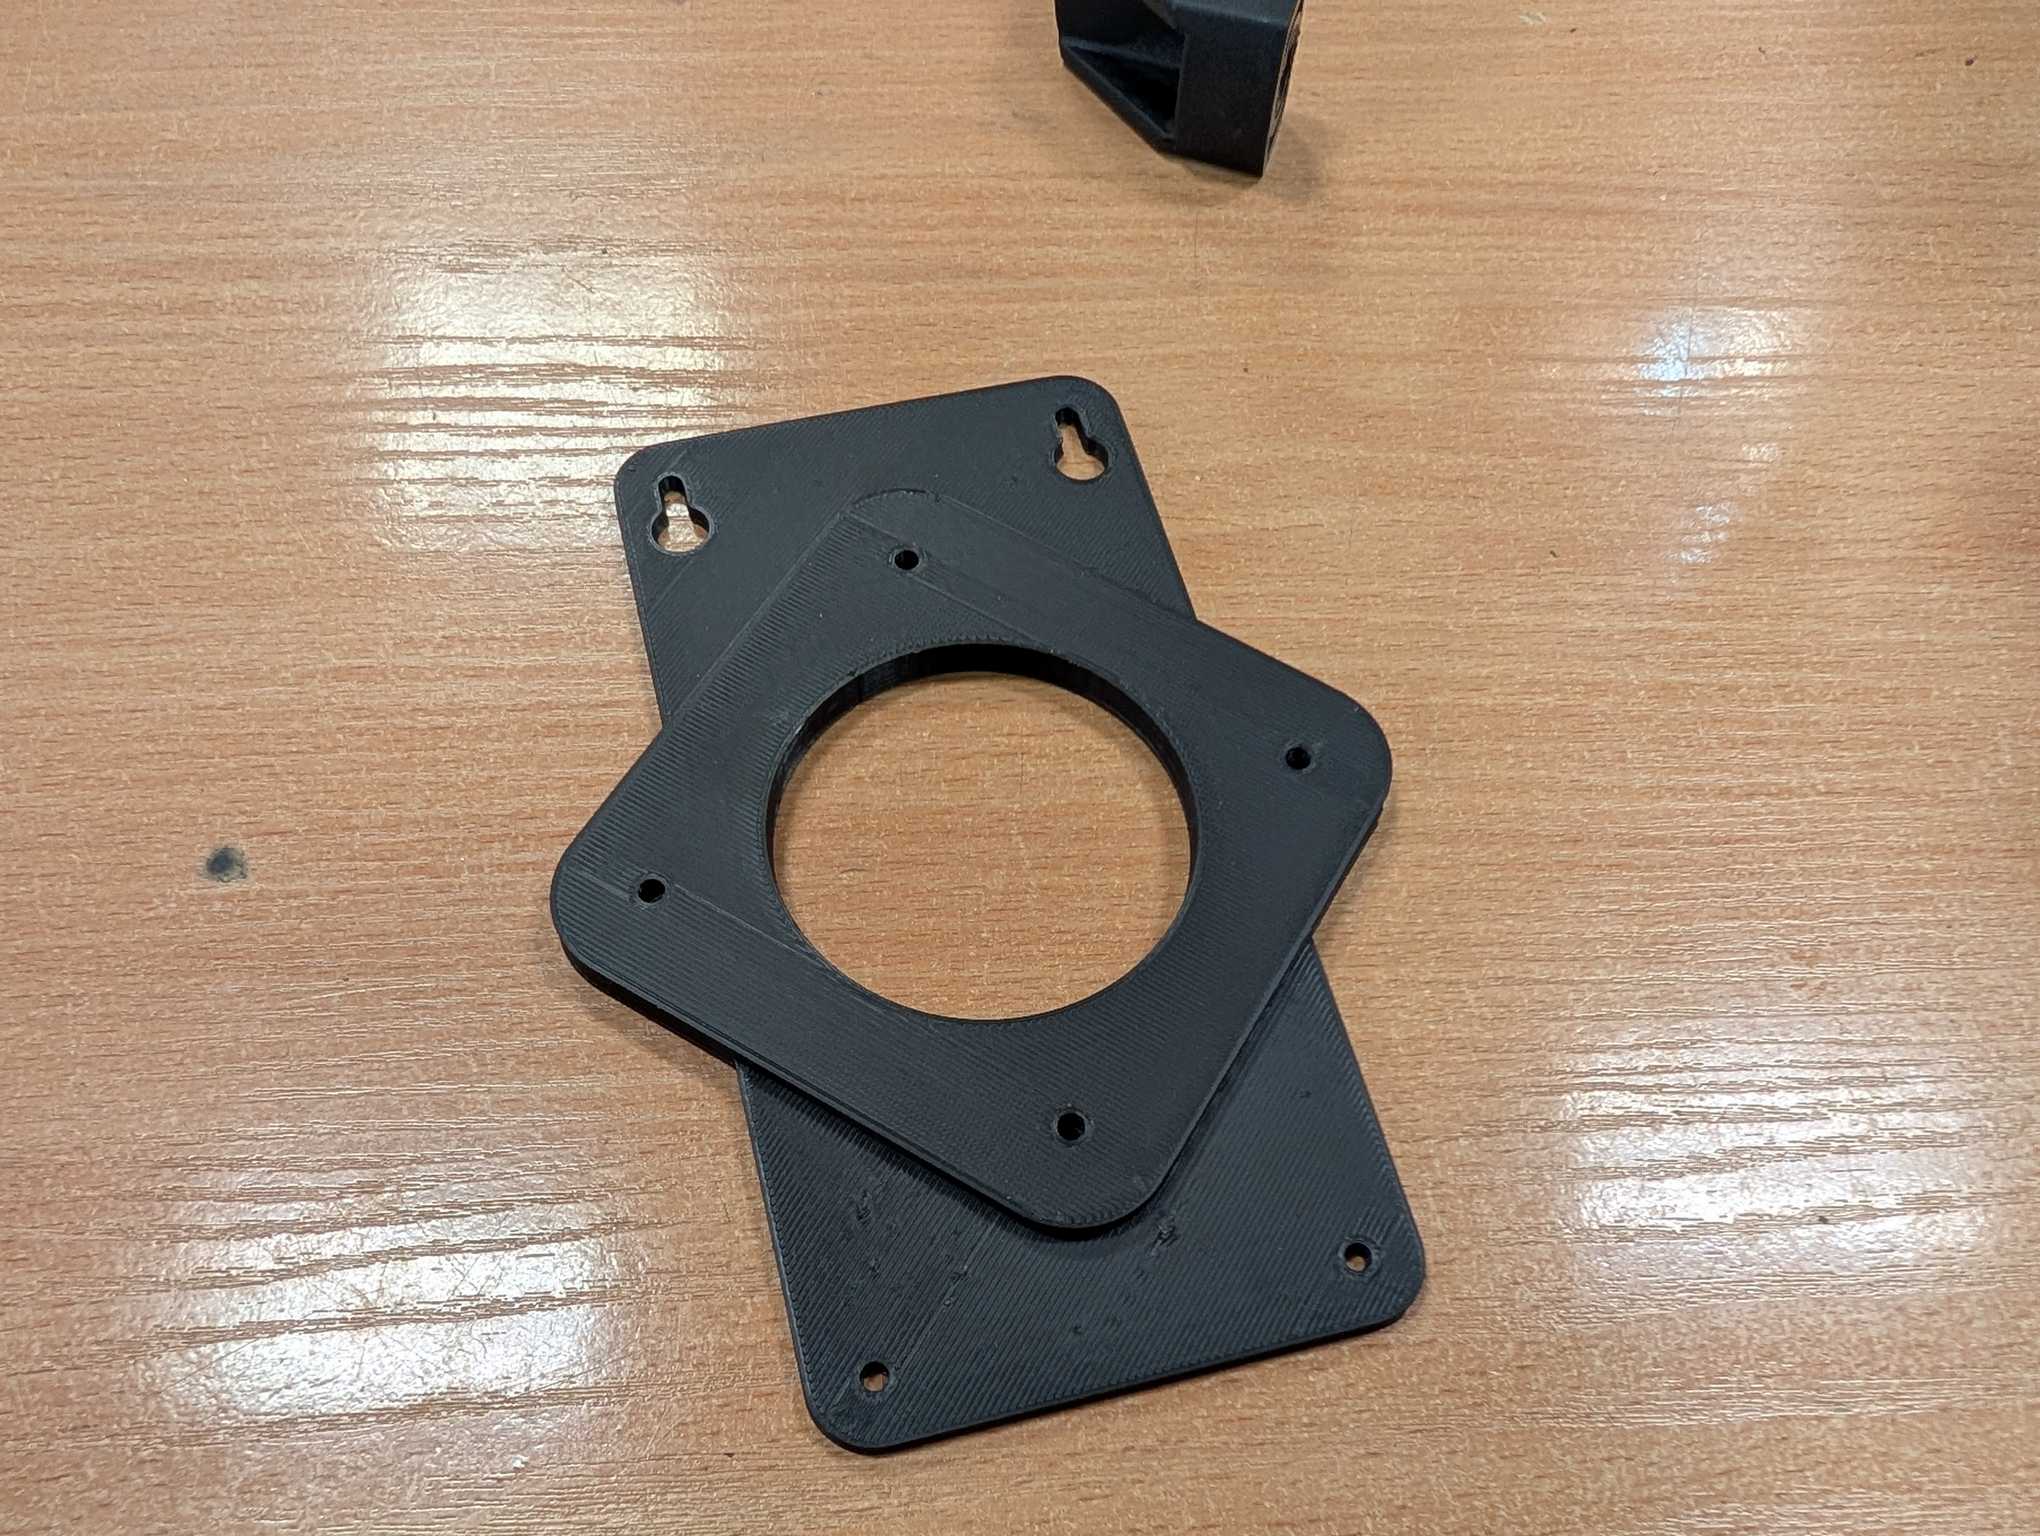
Also I found a 3D model for a bracket that would hold my NUC as well, which can be found here (and saved here for future).
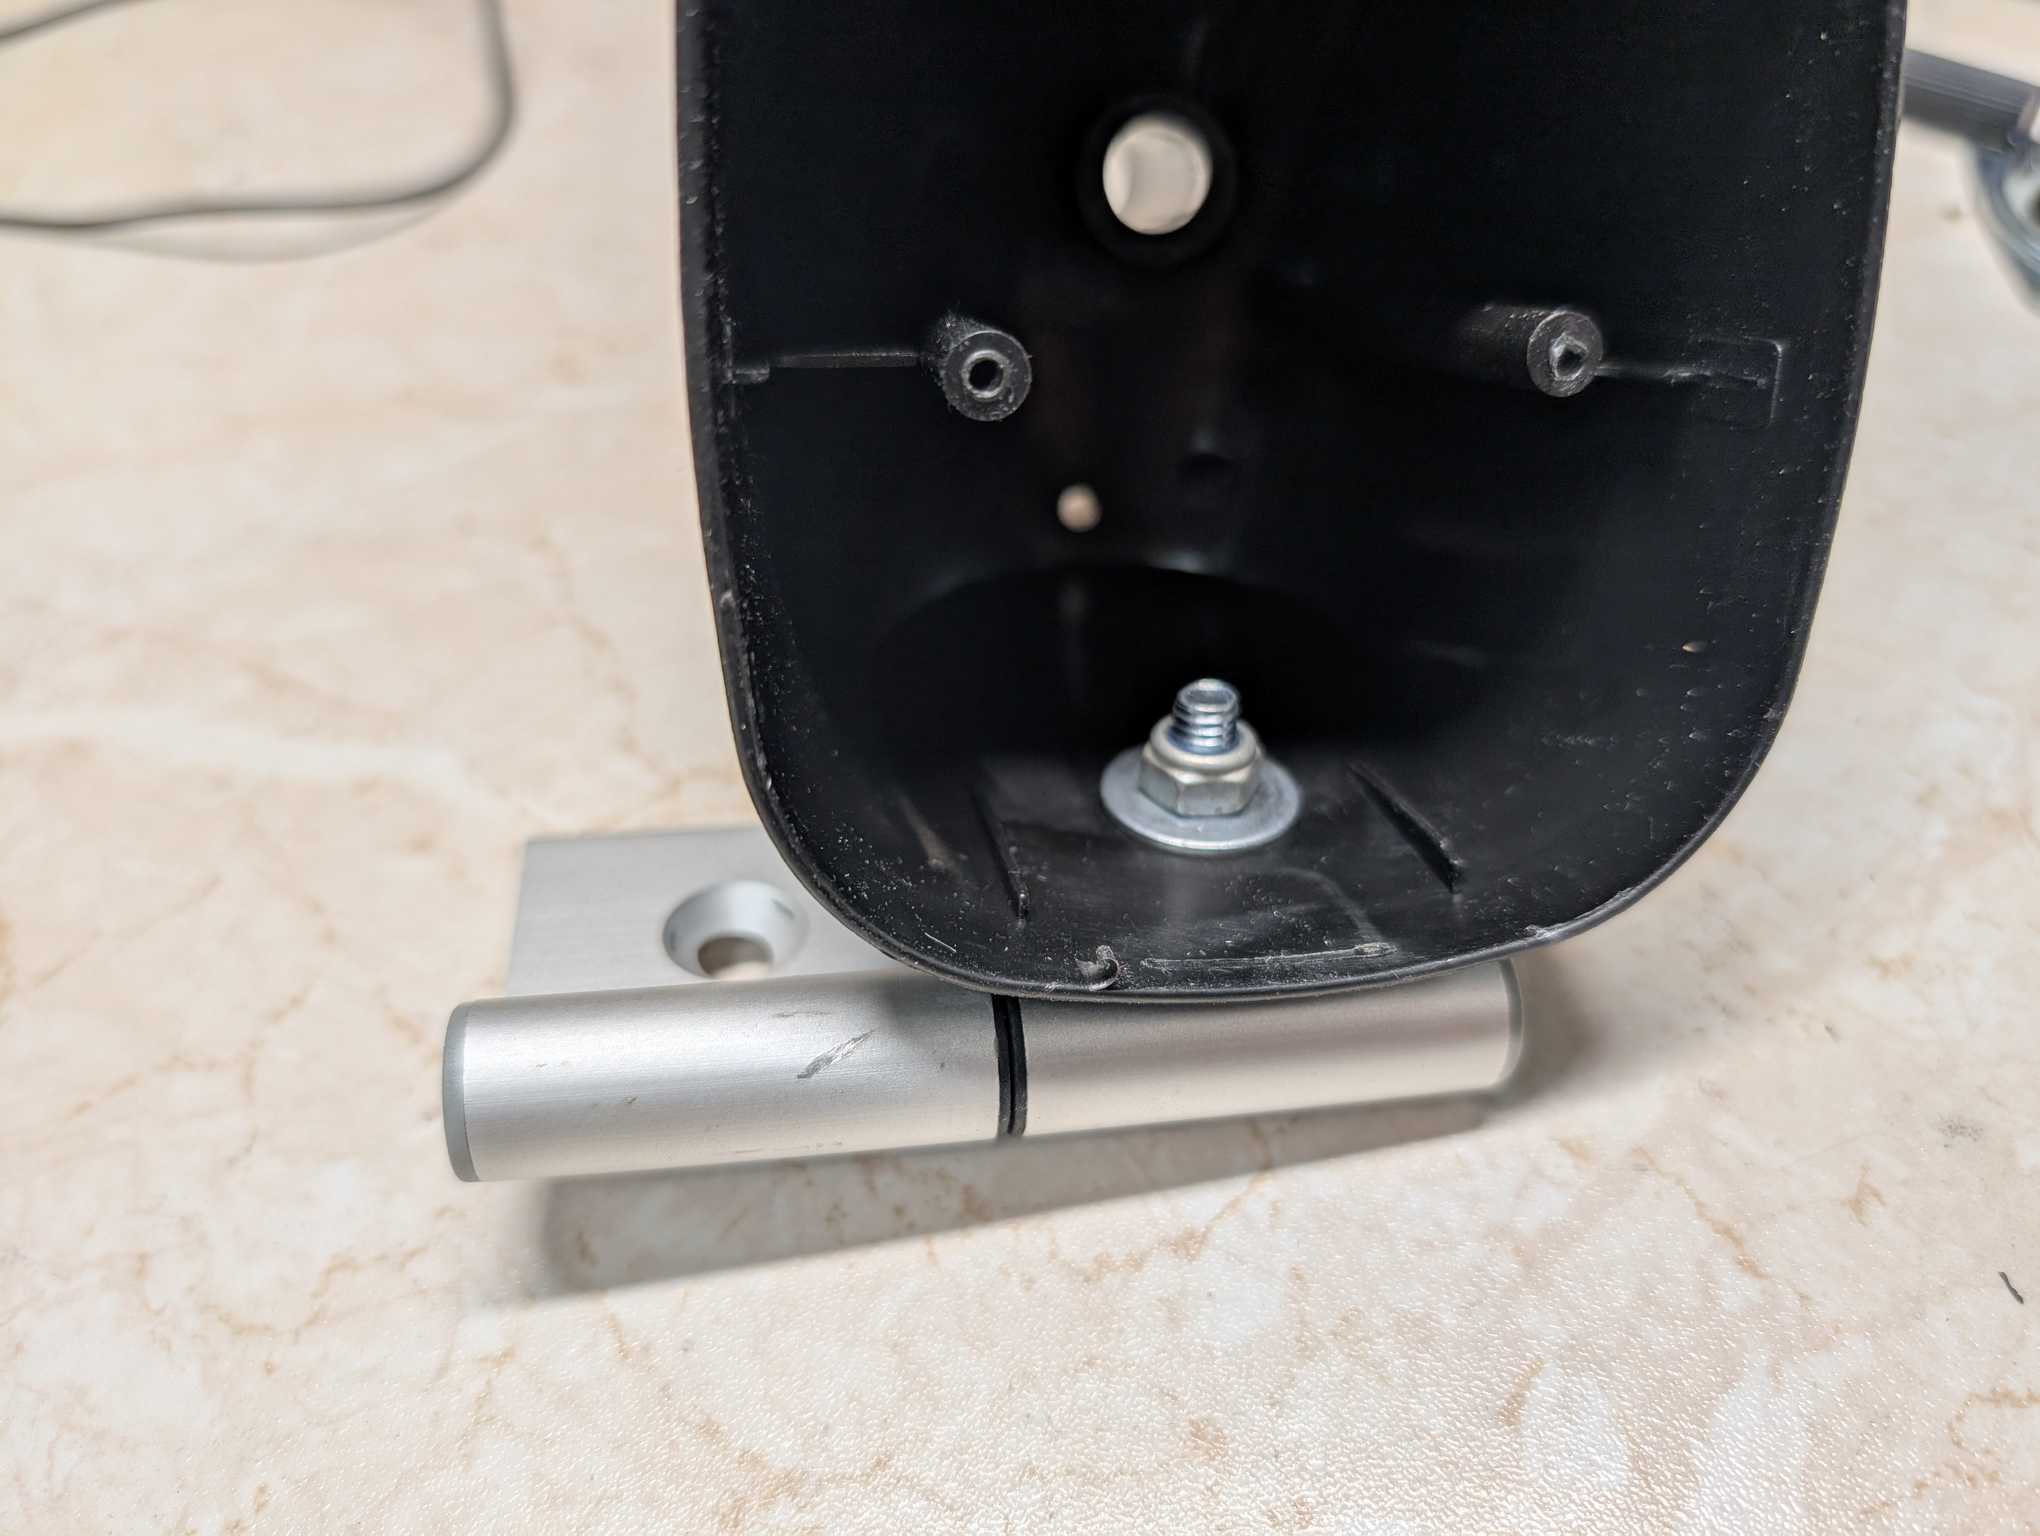
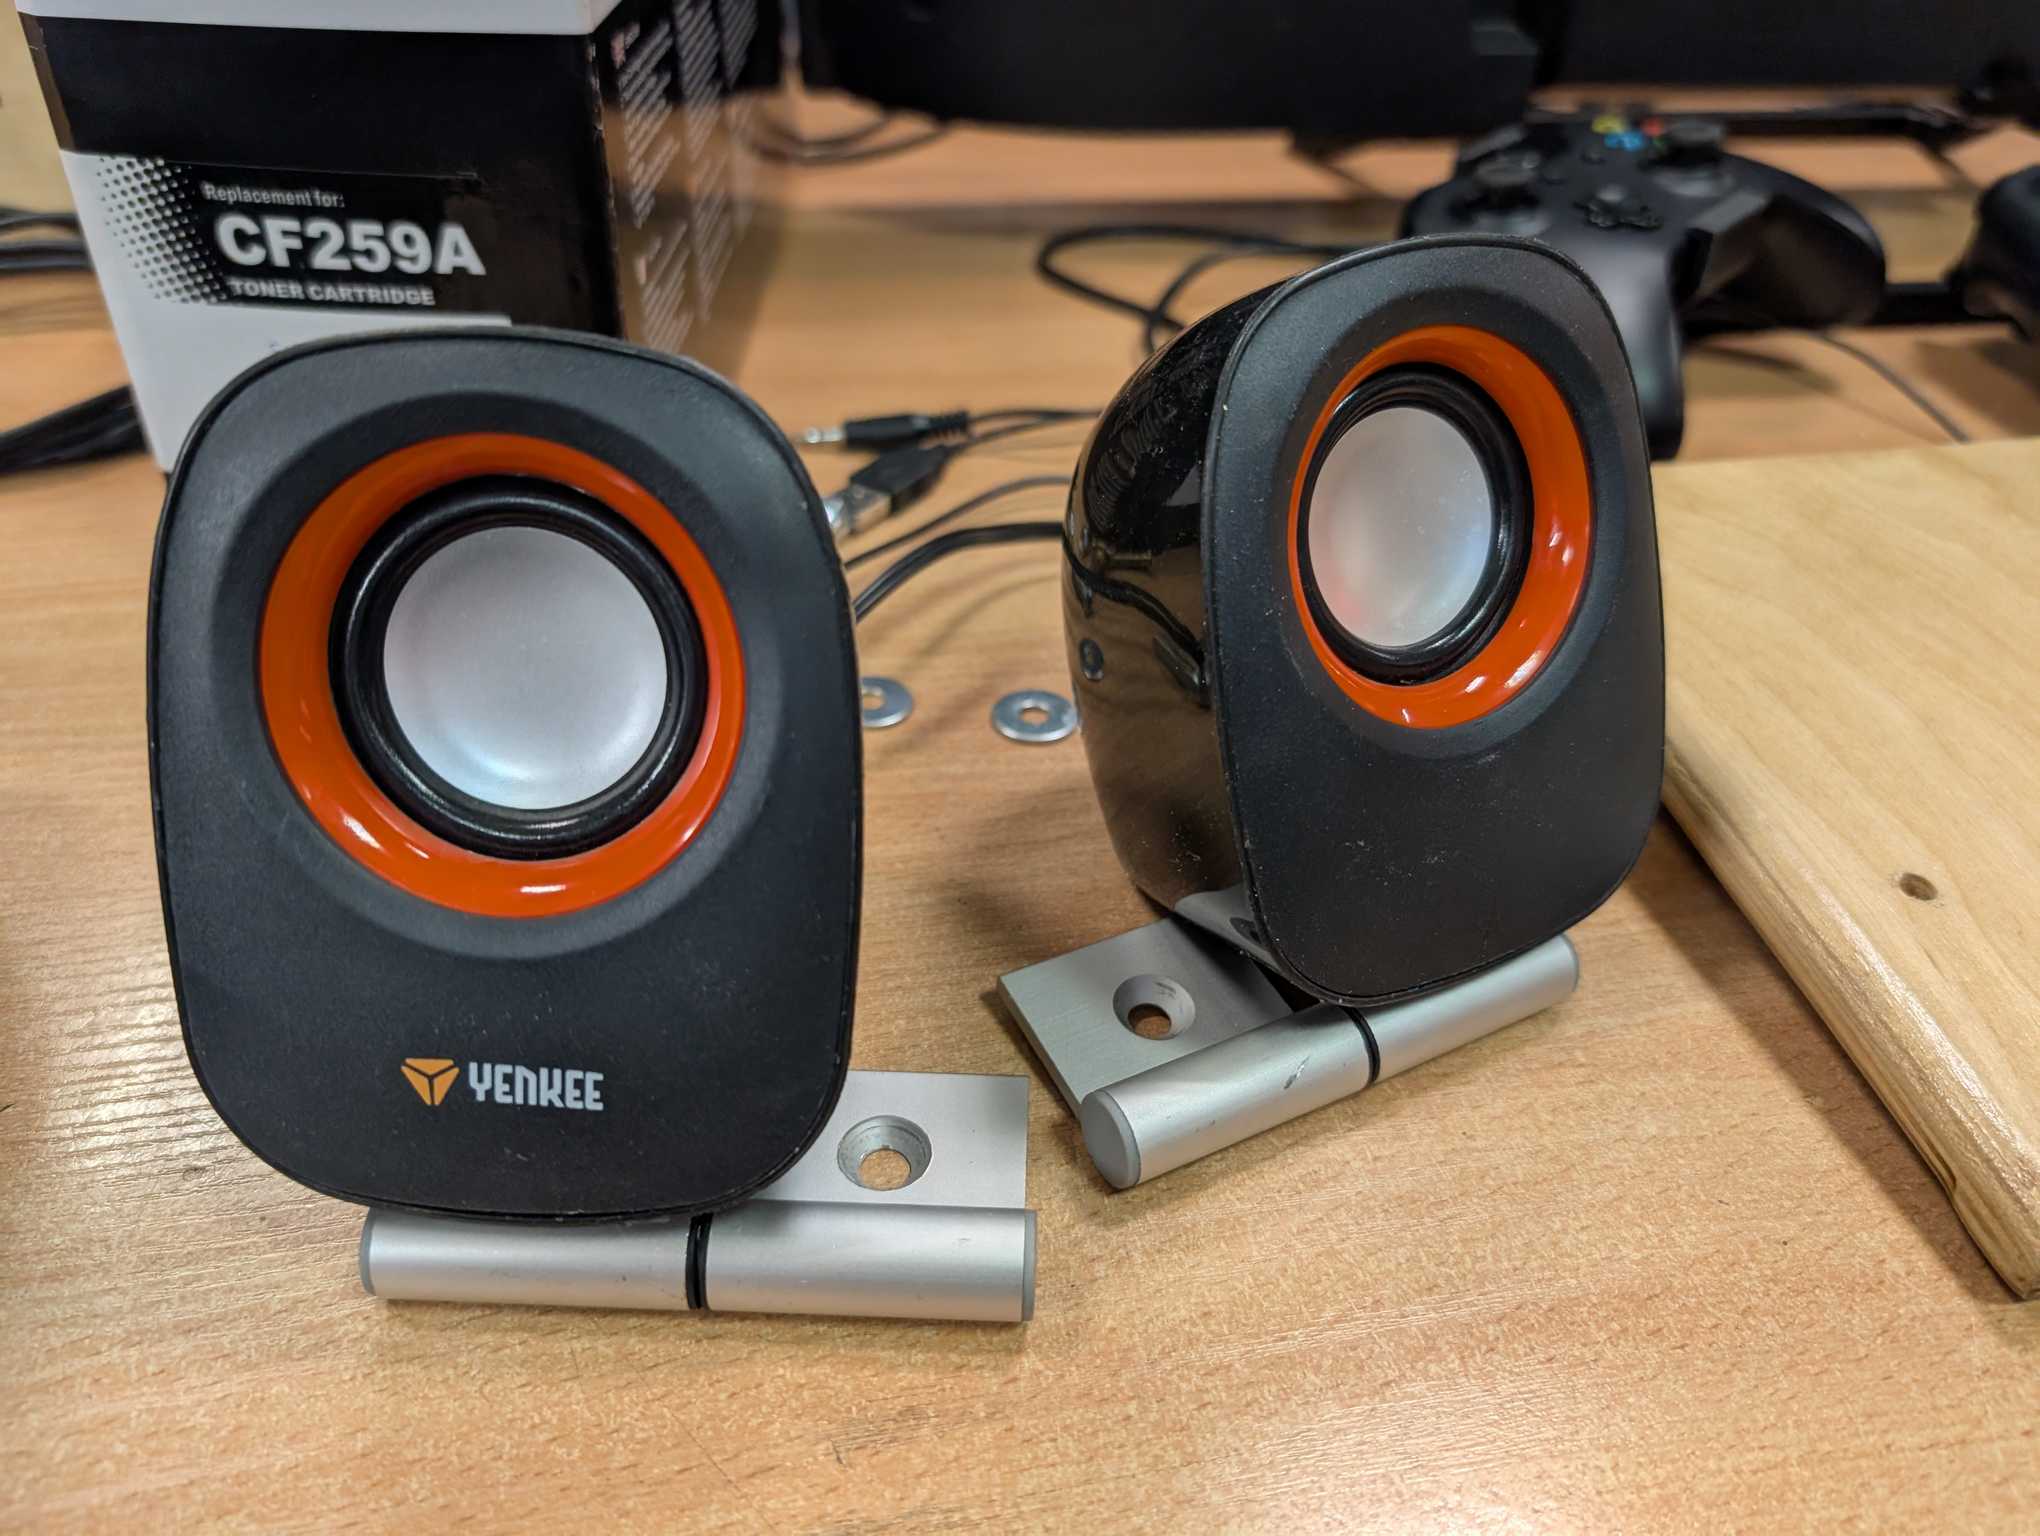
It happens that I had also found some simple desktop speakers and the reason to use them instead of the TV sound output is – volume knob. And also they are louder. With the volume knob you can control the audio faster and more easily.
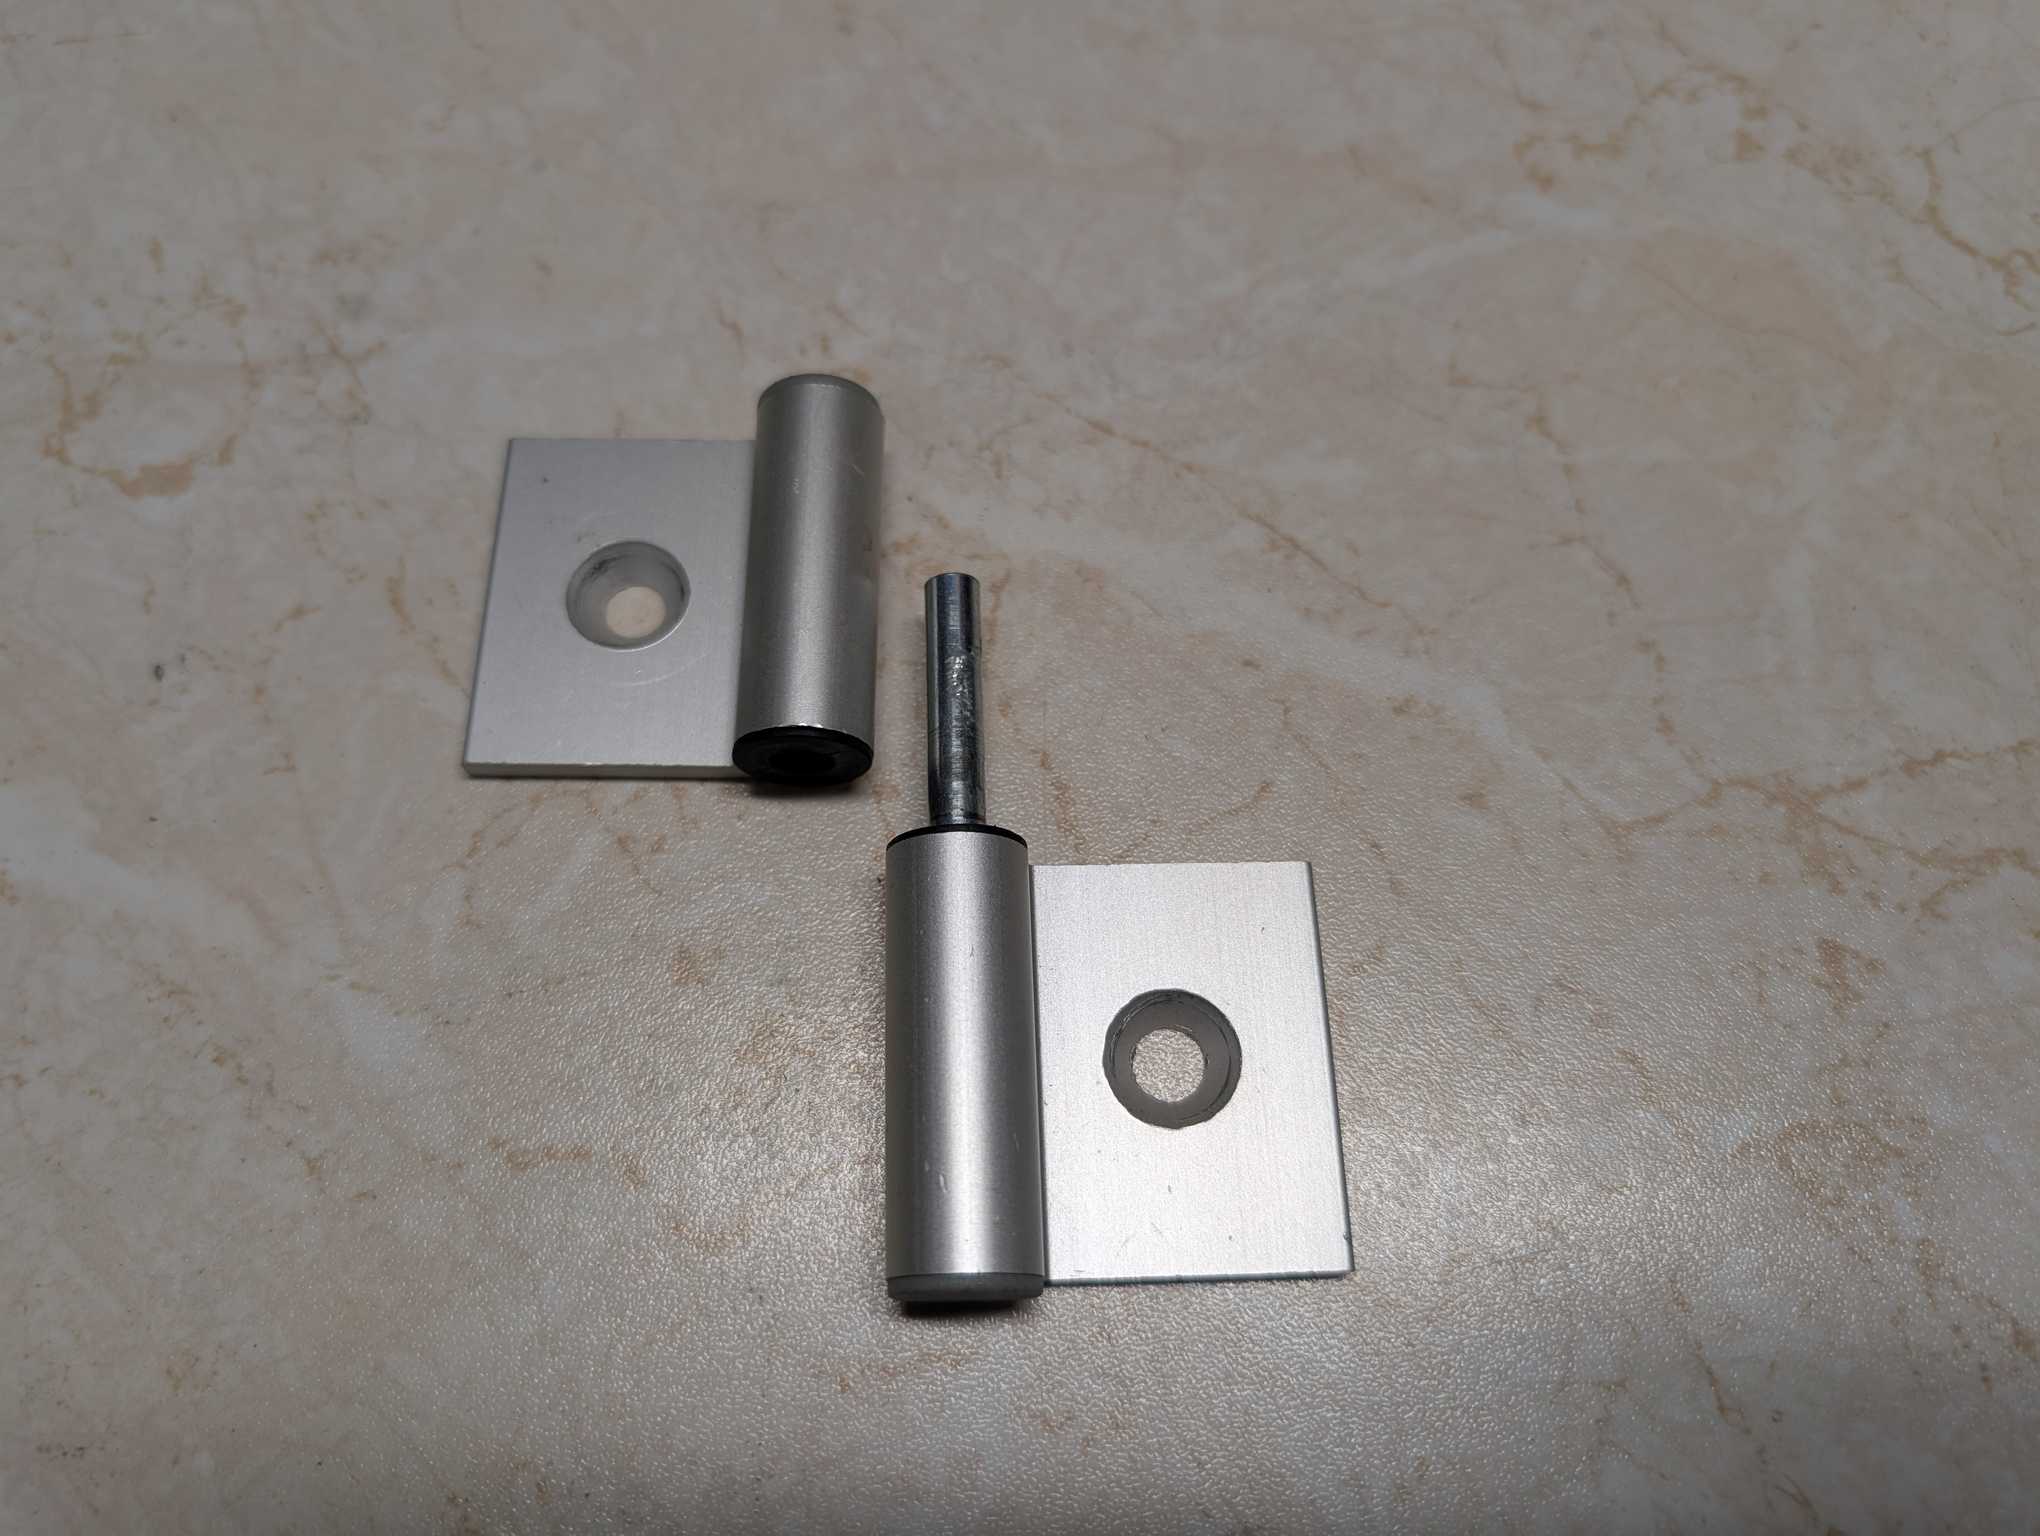
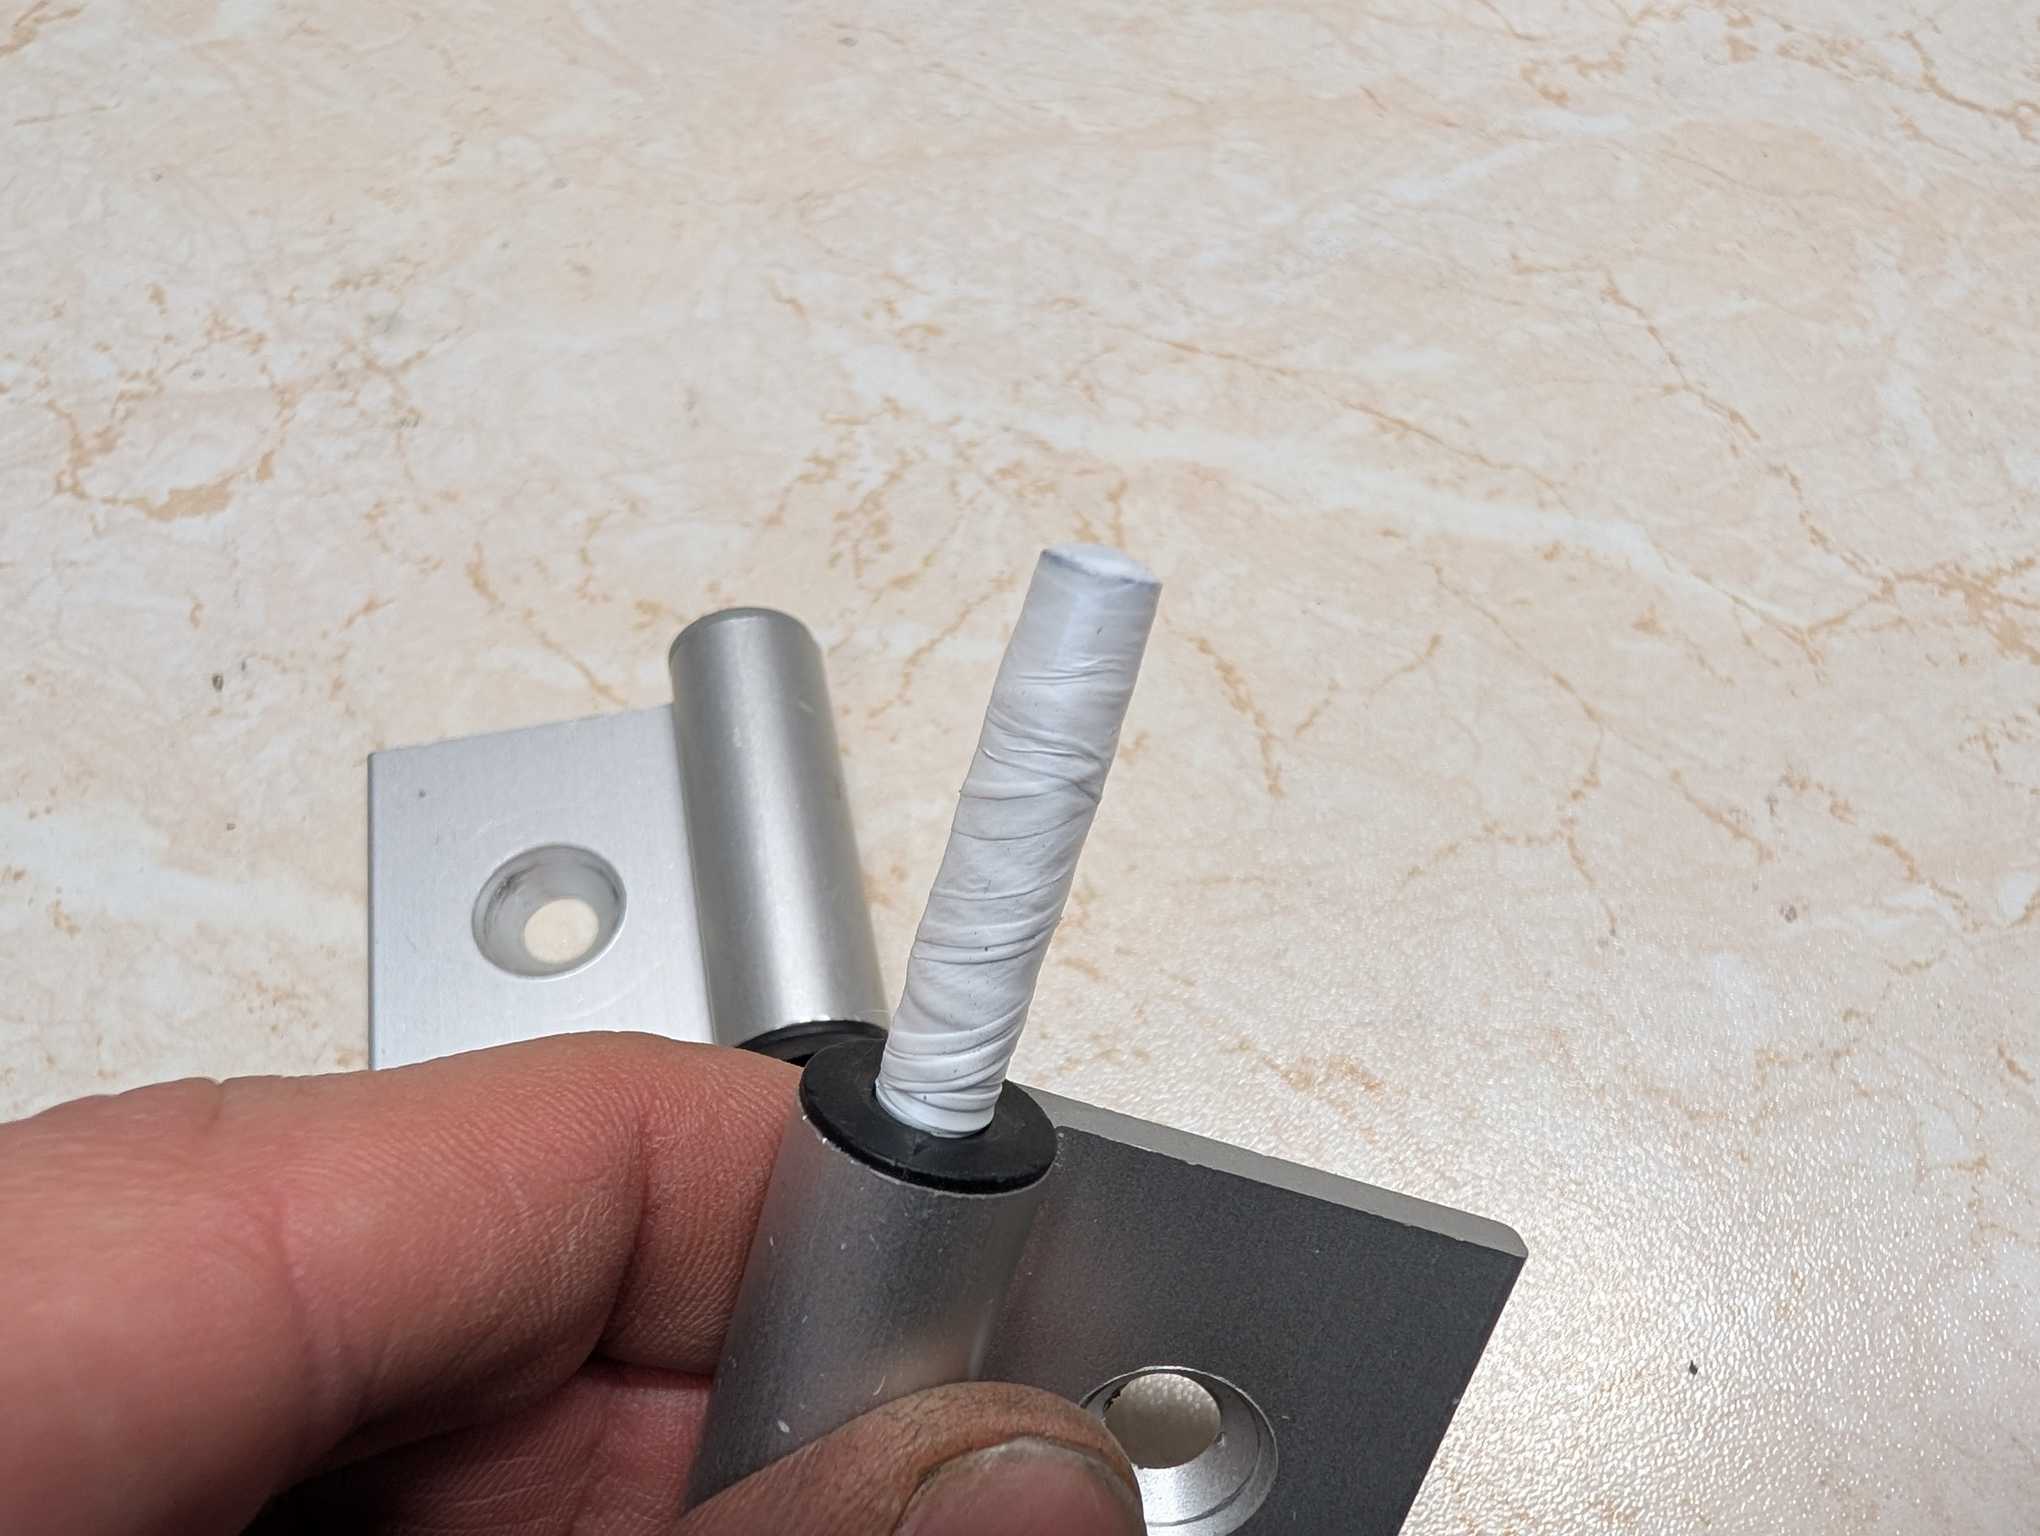
I wanted to have those speakers directed towards the players but there’s nowhere to mount them on the TV itself and I had a genius idea to mount them on the board. For that I found some aluminum hinges and used those, but had to apply some teflon tape to add resistance so they stay in place.
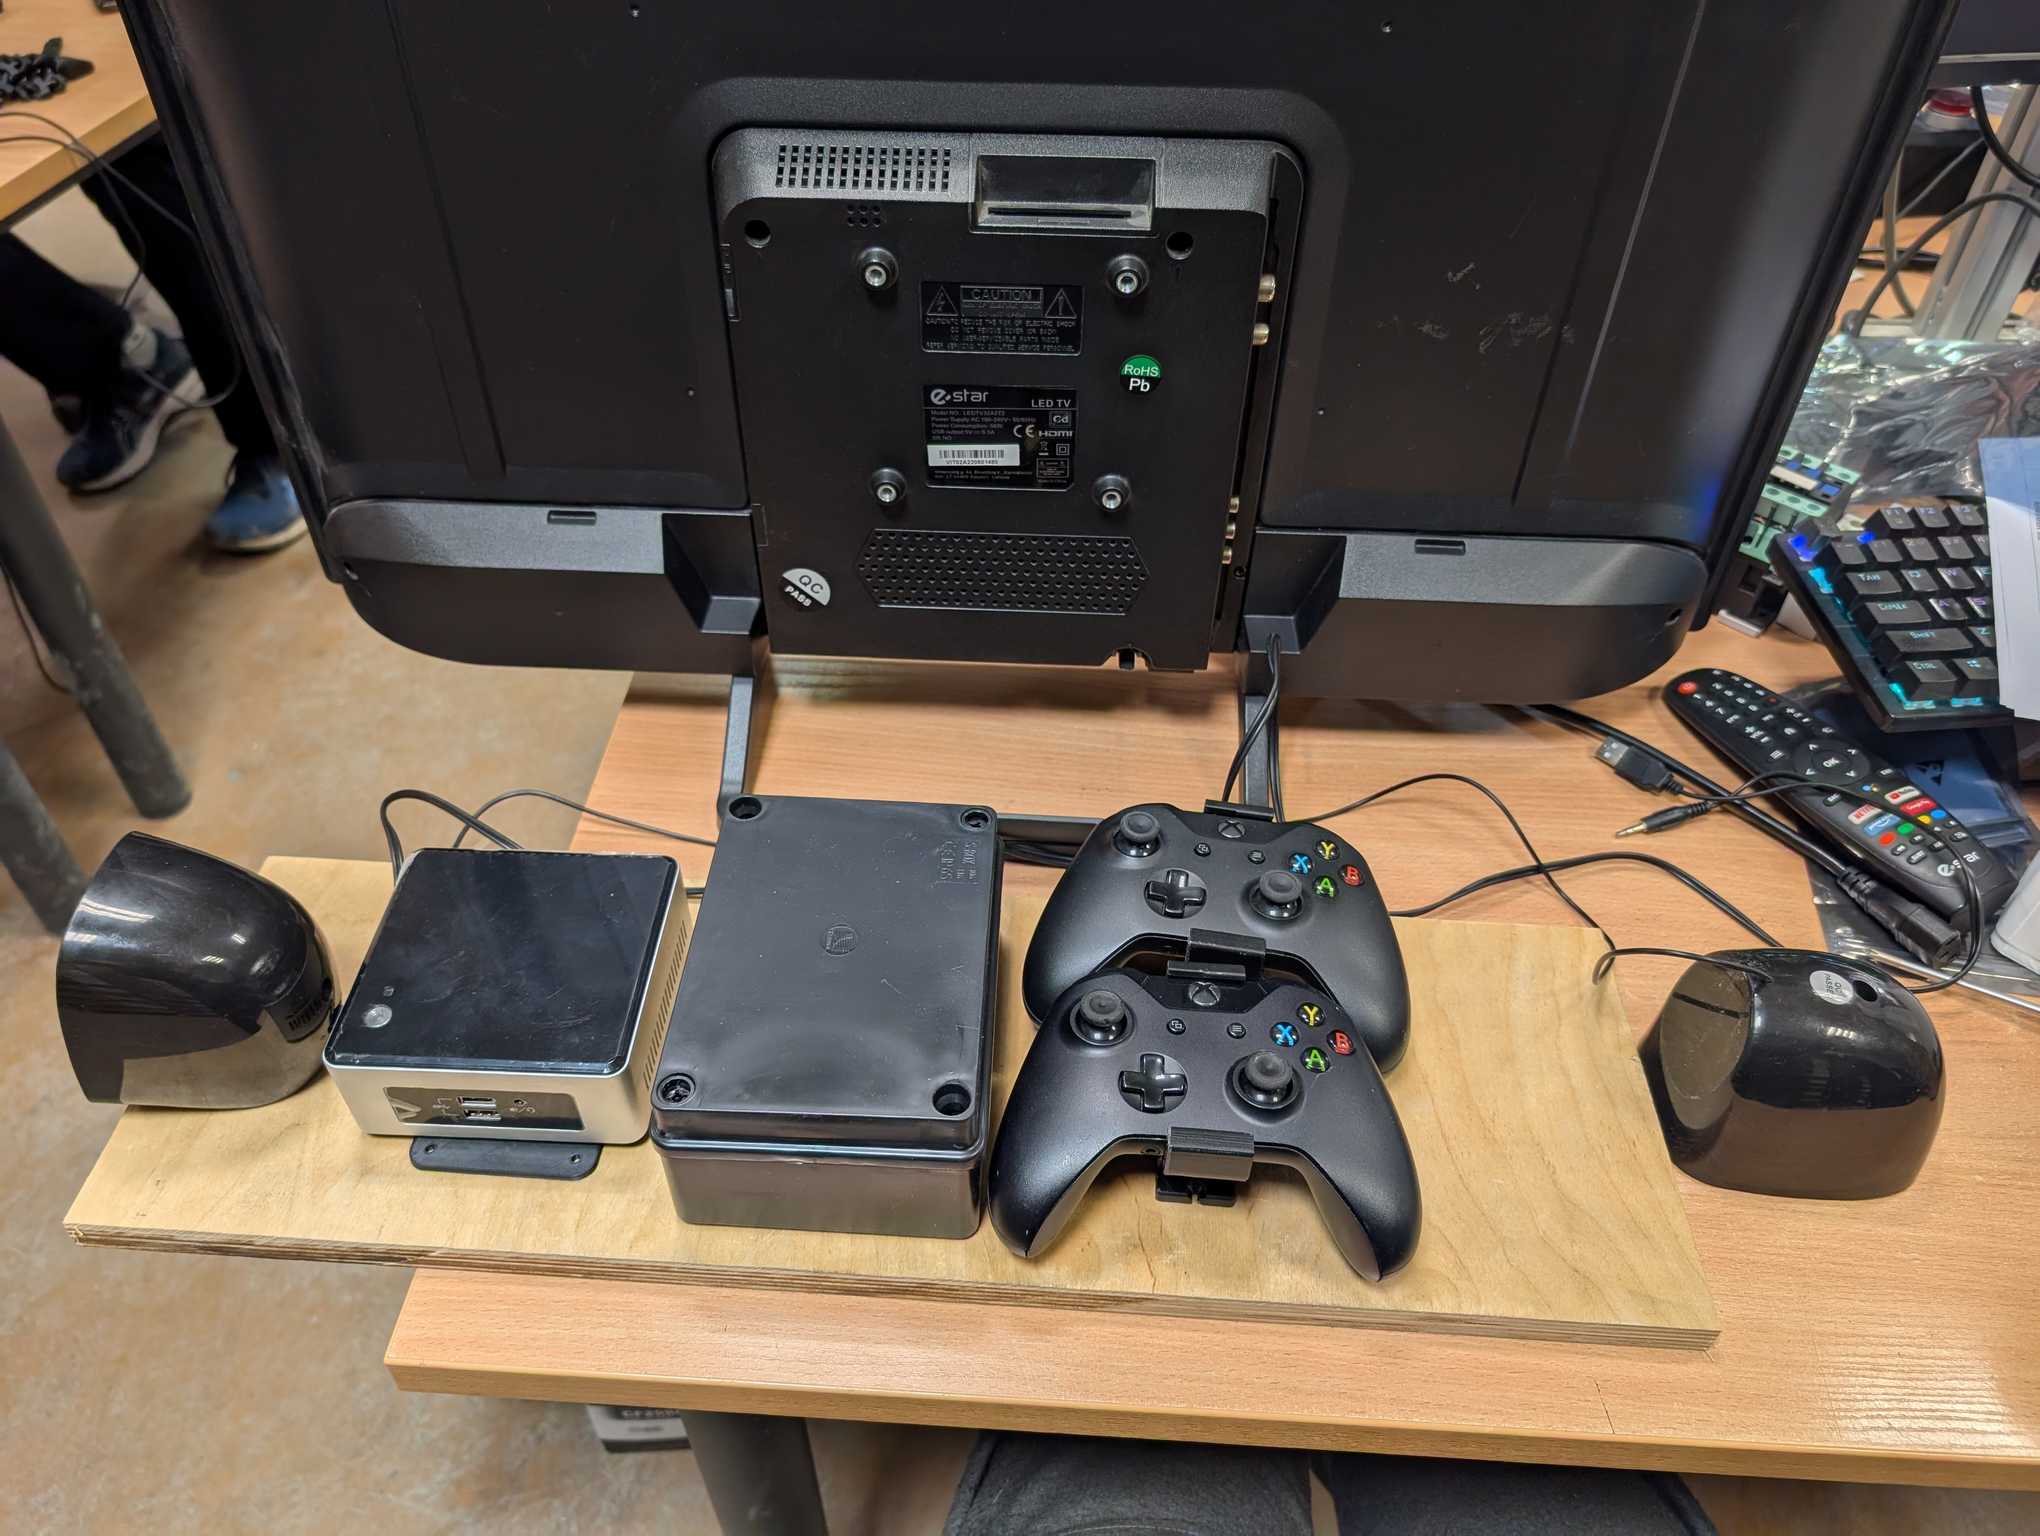
This is the basic layout how everything should look like when mounted.
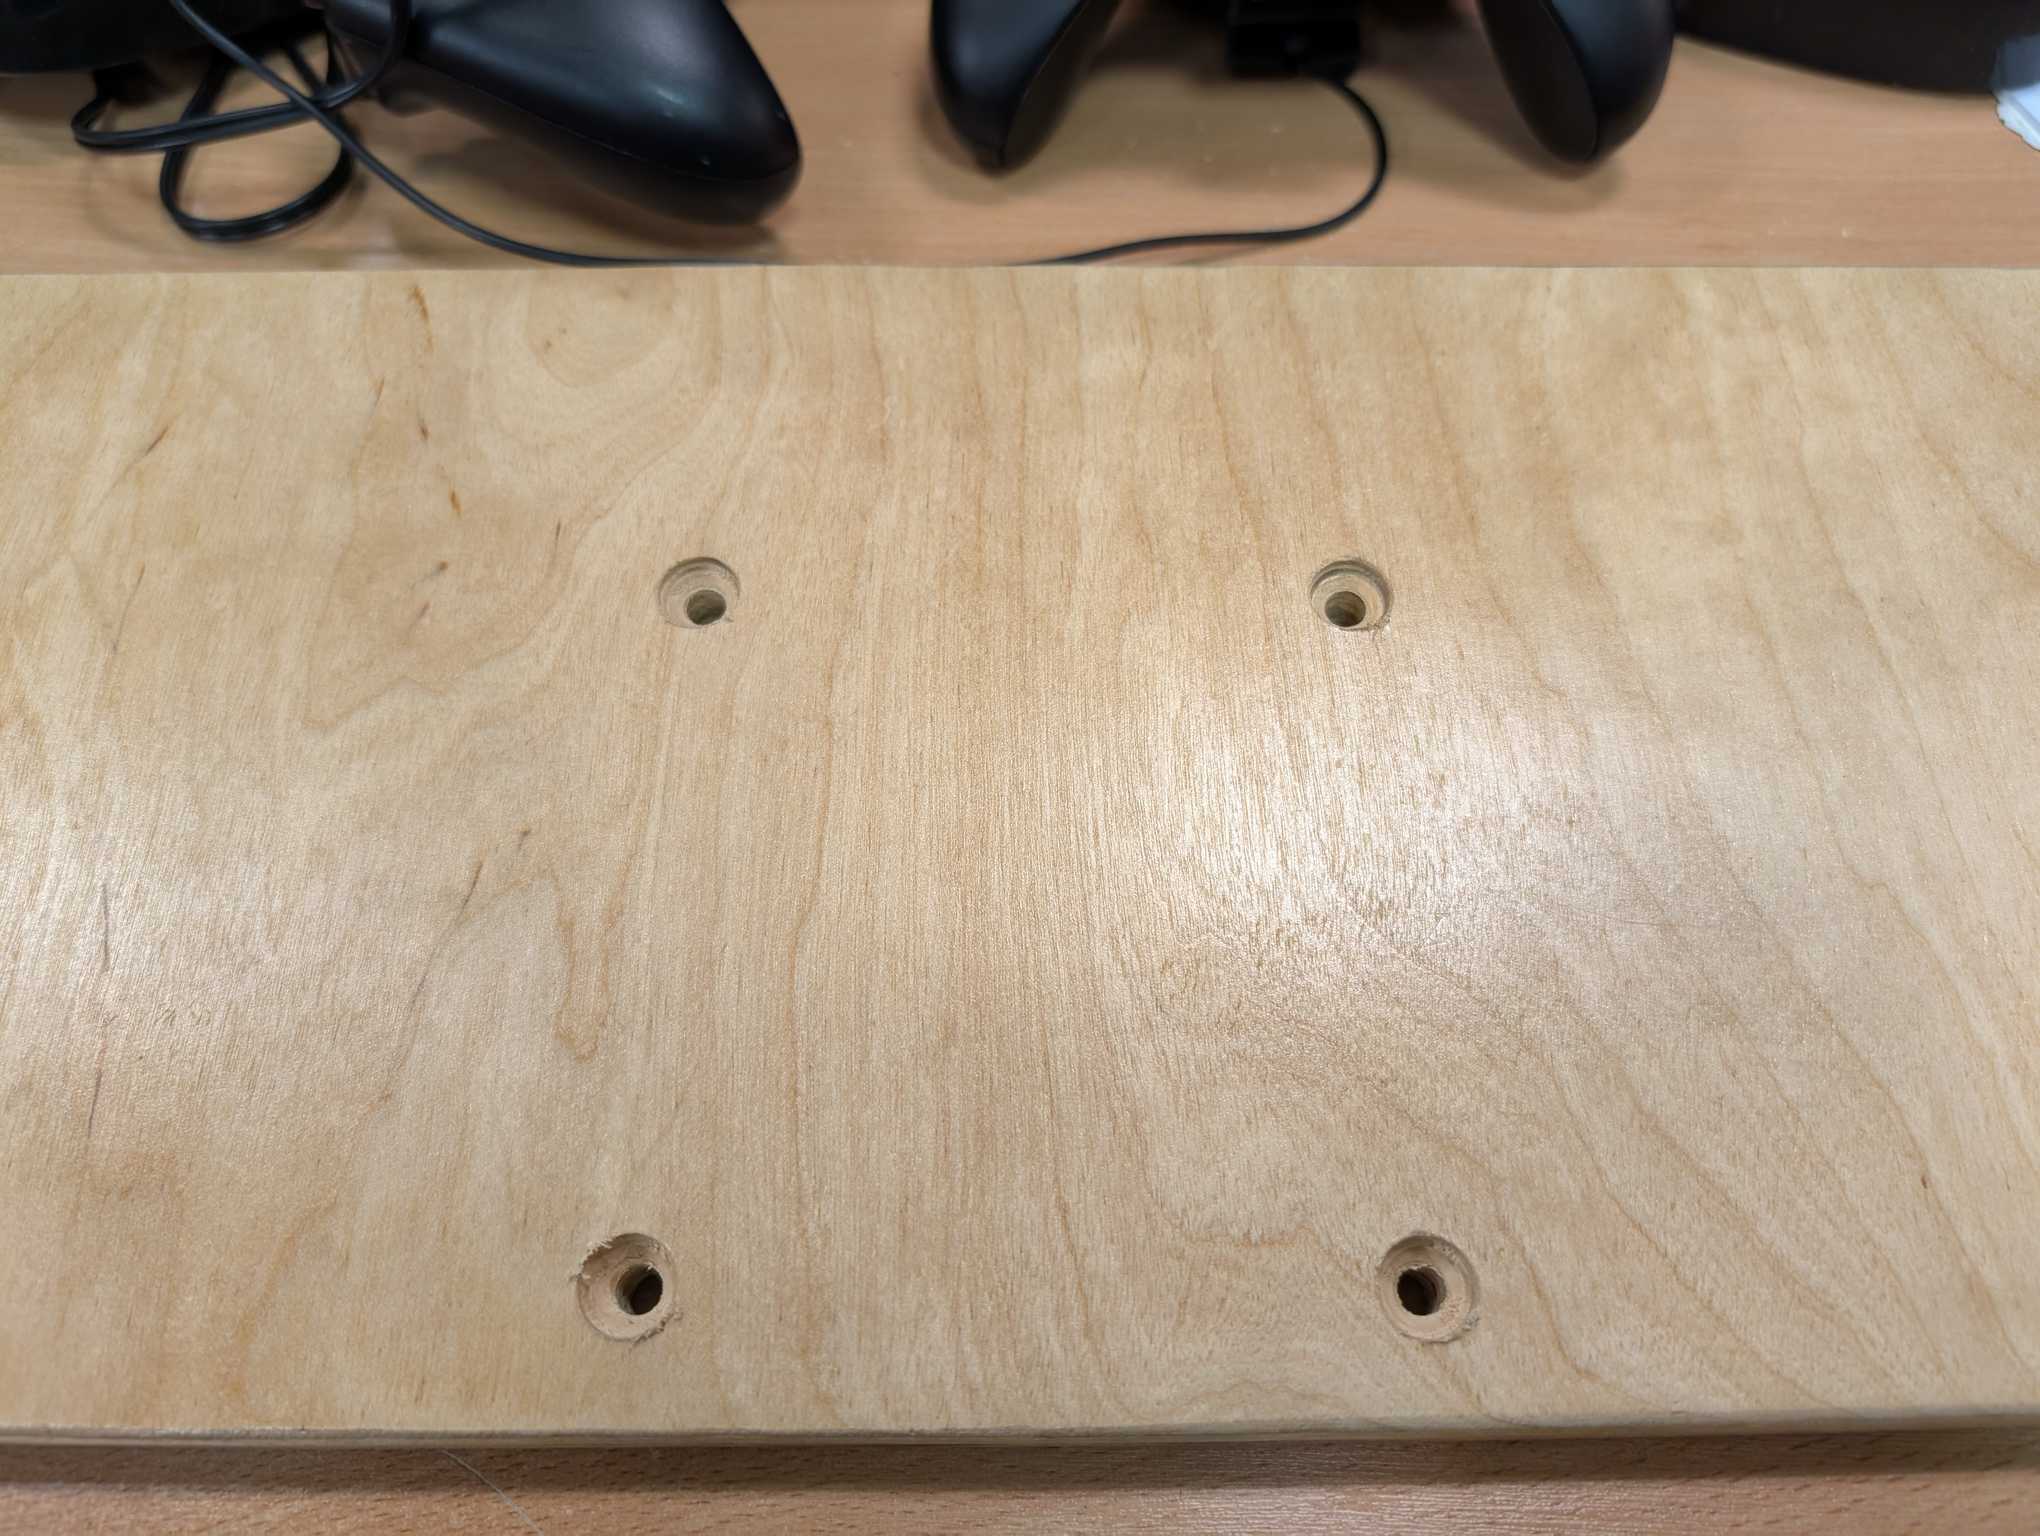
To continue mounting things I first needed to prep the board by drilling some holes without mistakes and I think I had enough karma points to succeed at this step.
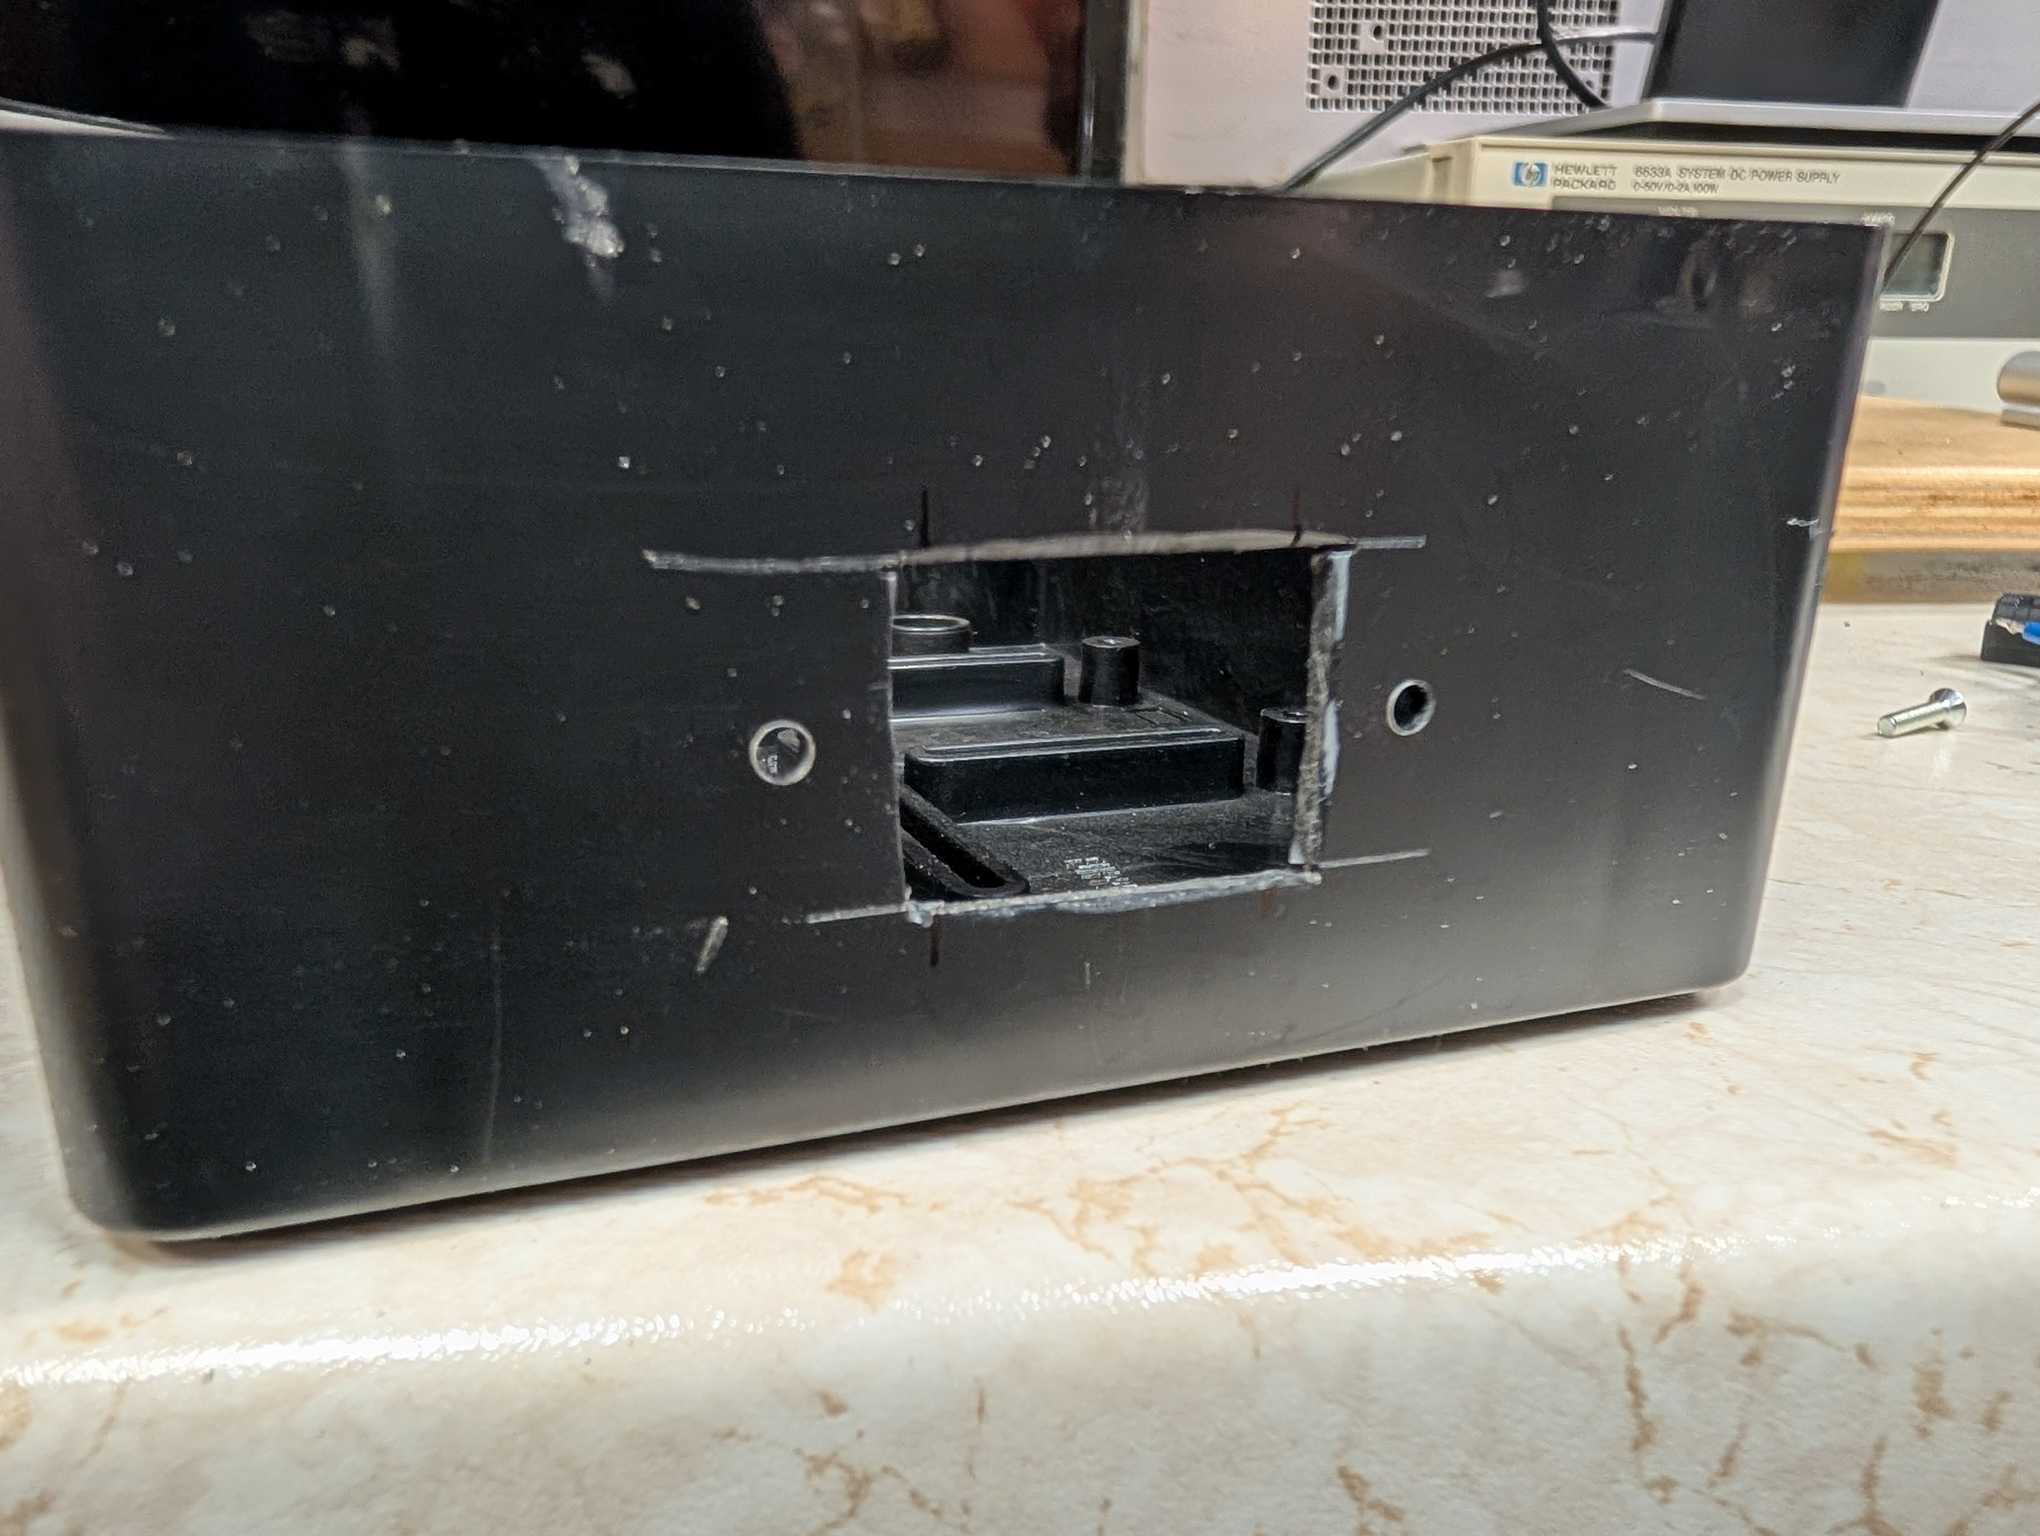
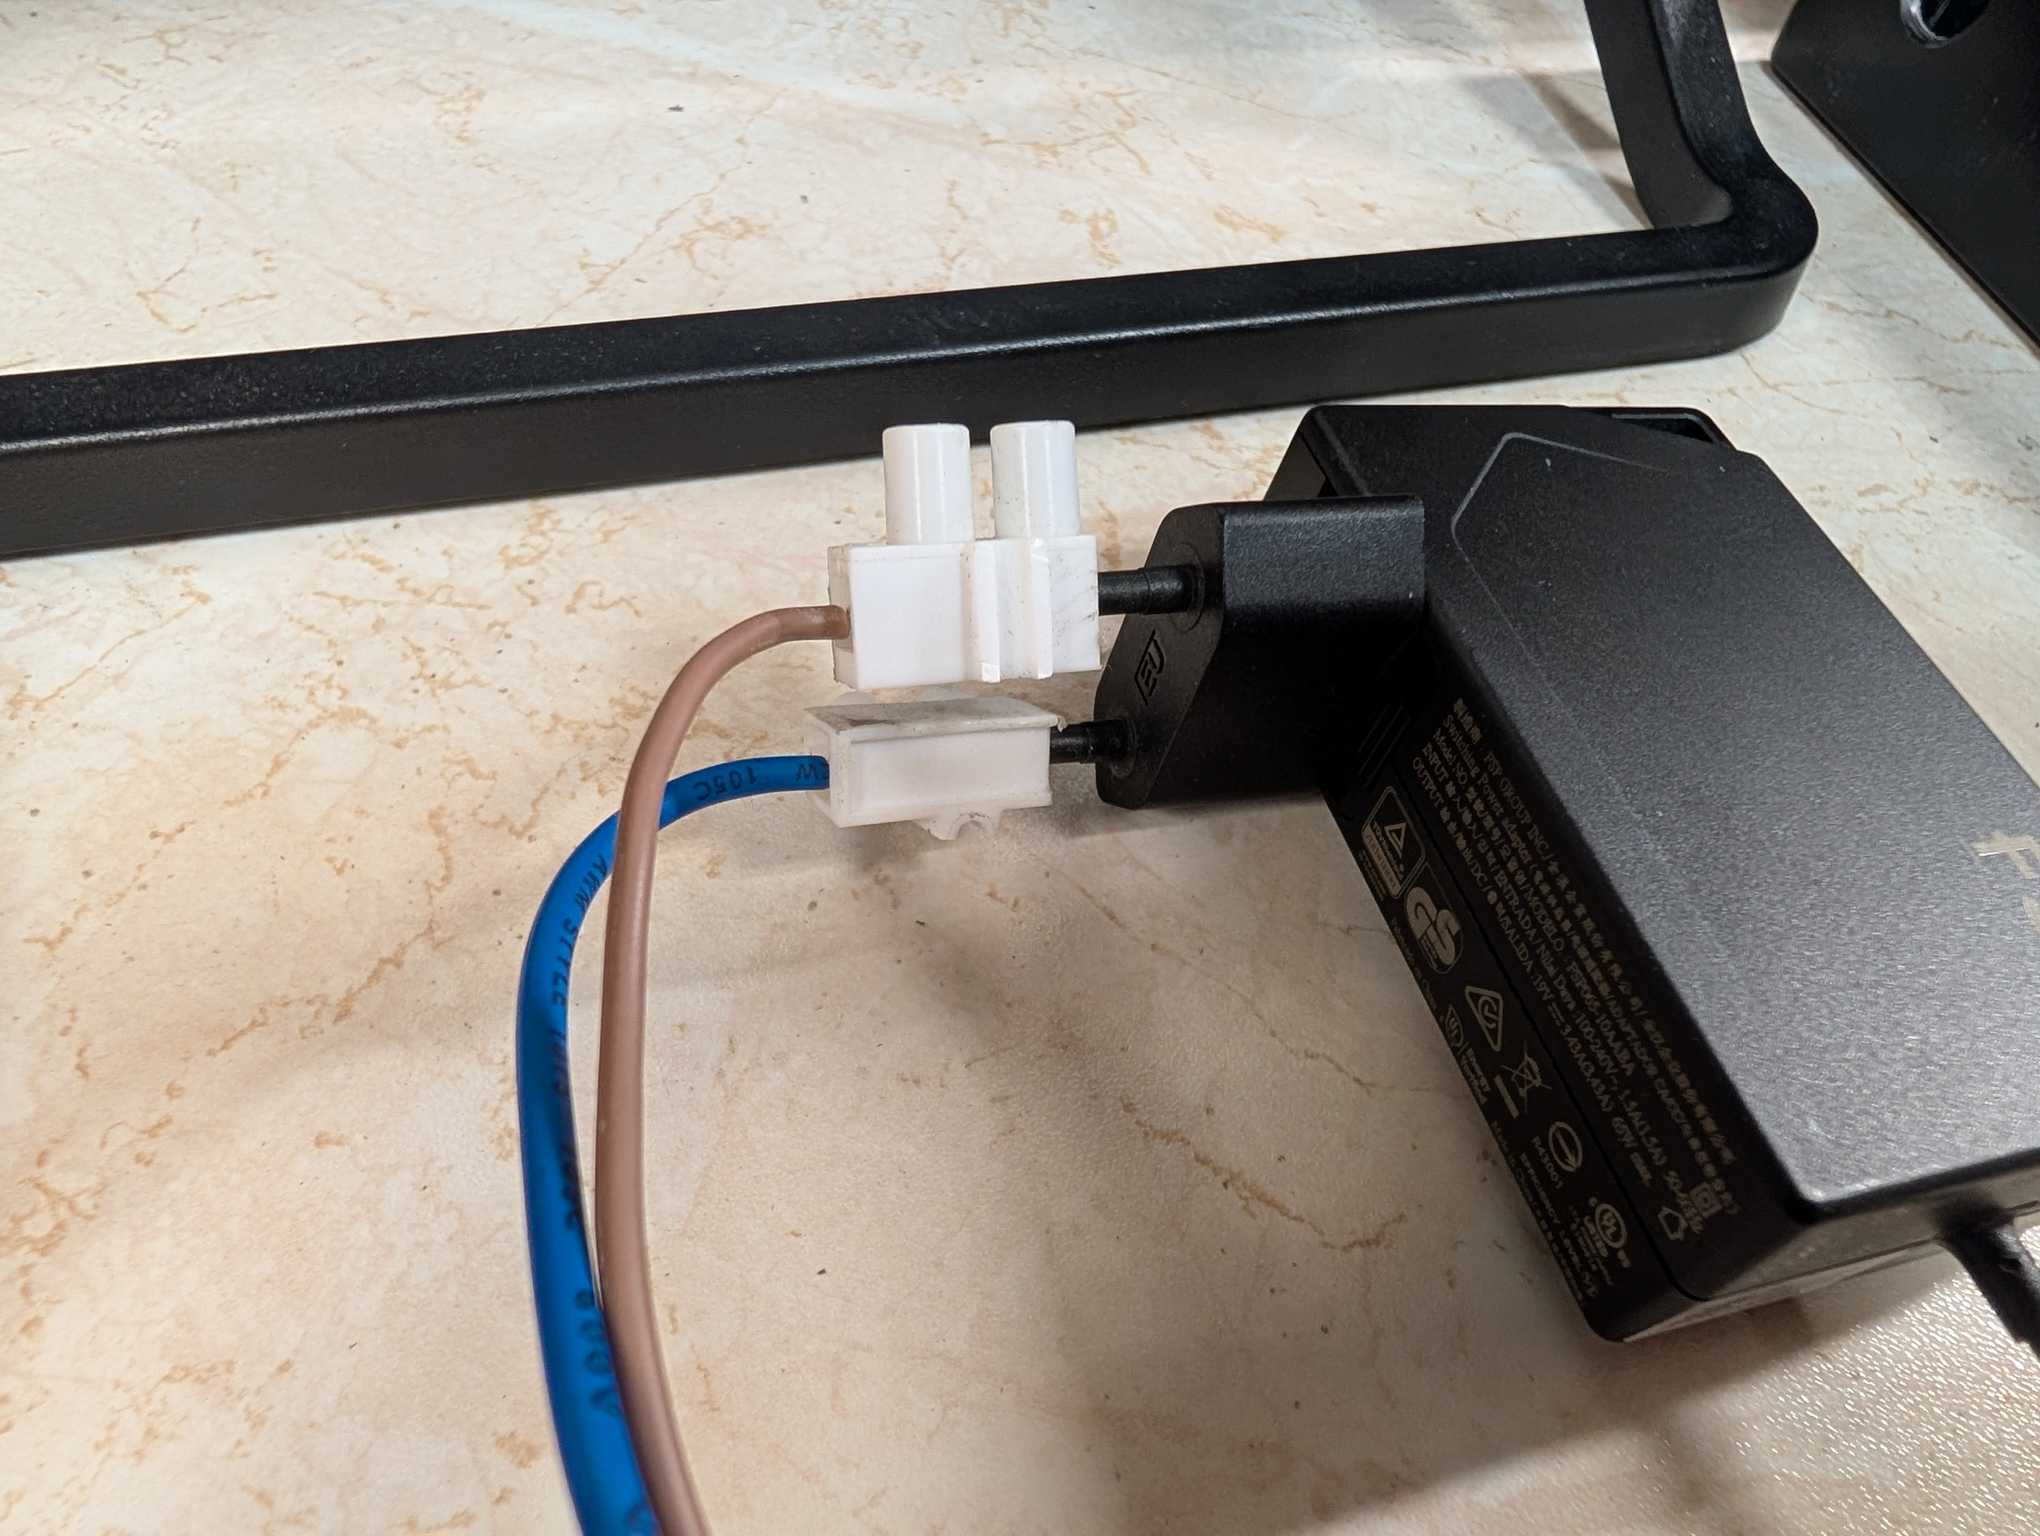
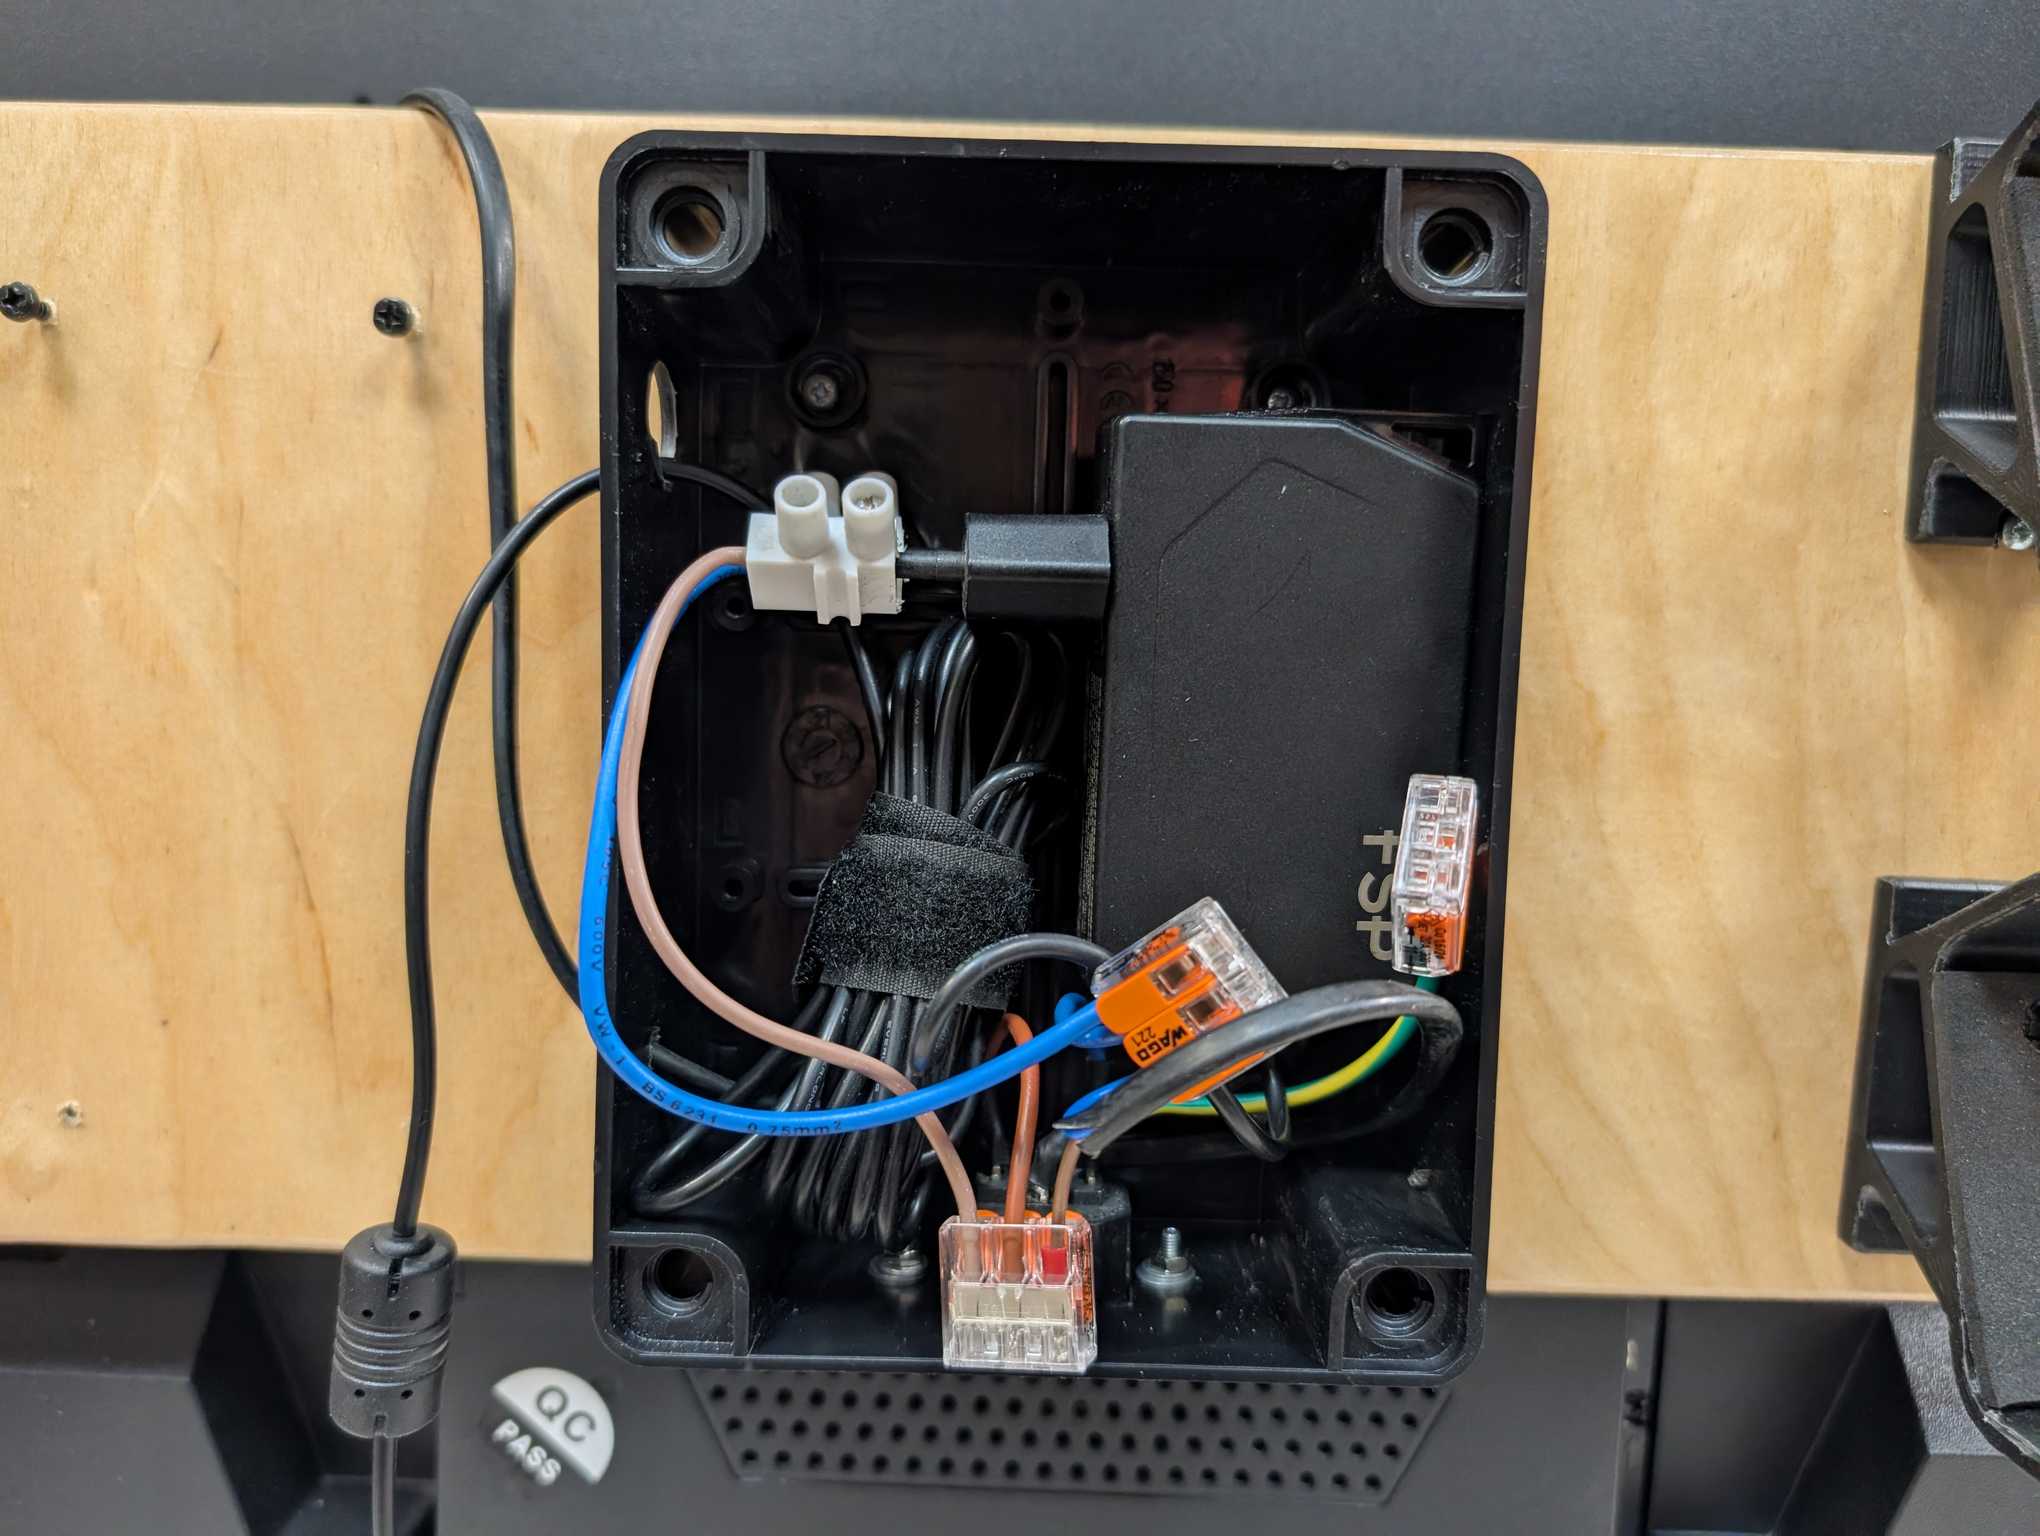
Then I drilled holes for the speakers on both sides to know how much space is left in the middle to mount the rest of the things. But before that I went on to attaching a PSU socket for the power cable onto the electrical box which will sit in the very middle. The idea with it is to distribute power to the NUC and the TV from a single cable.
Now everything is basically ready to be attached to the board.
And electrical stuff connected.
And finally with the handle attached it’s finished!
