This is a simple solution to a simple problem that I’ve been having at work. We have a small, basic server room with air conditioning that is somewhat broken but in a weird way that no one knows how to fix, so far. The air conditioner sometimes decides to shut down with an obscure error code and the room temperature then rises very quickly.
With this project, I wanted to have some sort of temperature measuring at two locations – top and bottom of the rack and have it connected to the network, so that using our information system (and possibly zabbix) we could monitor the temperature, log it, draw pretty charts and most of all send us a message whenever then air conditioner shuts down again (indicated by the rising temperature).
Also the thing should have a small screen showing relevant information on it for times when it can’t be reached through LAN or for a quick glance when I visit the server room. Also it has a small web UI to set things up.
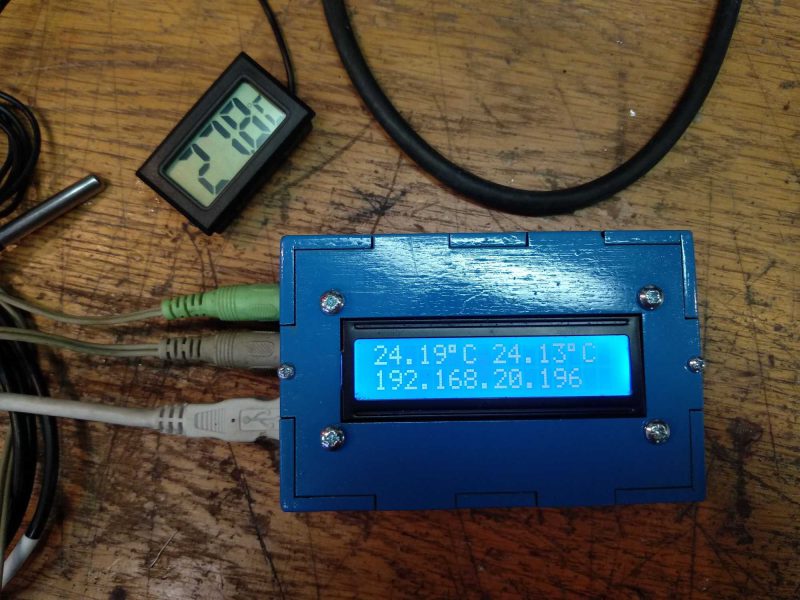
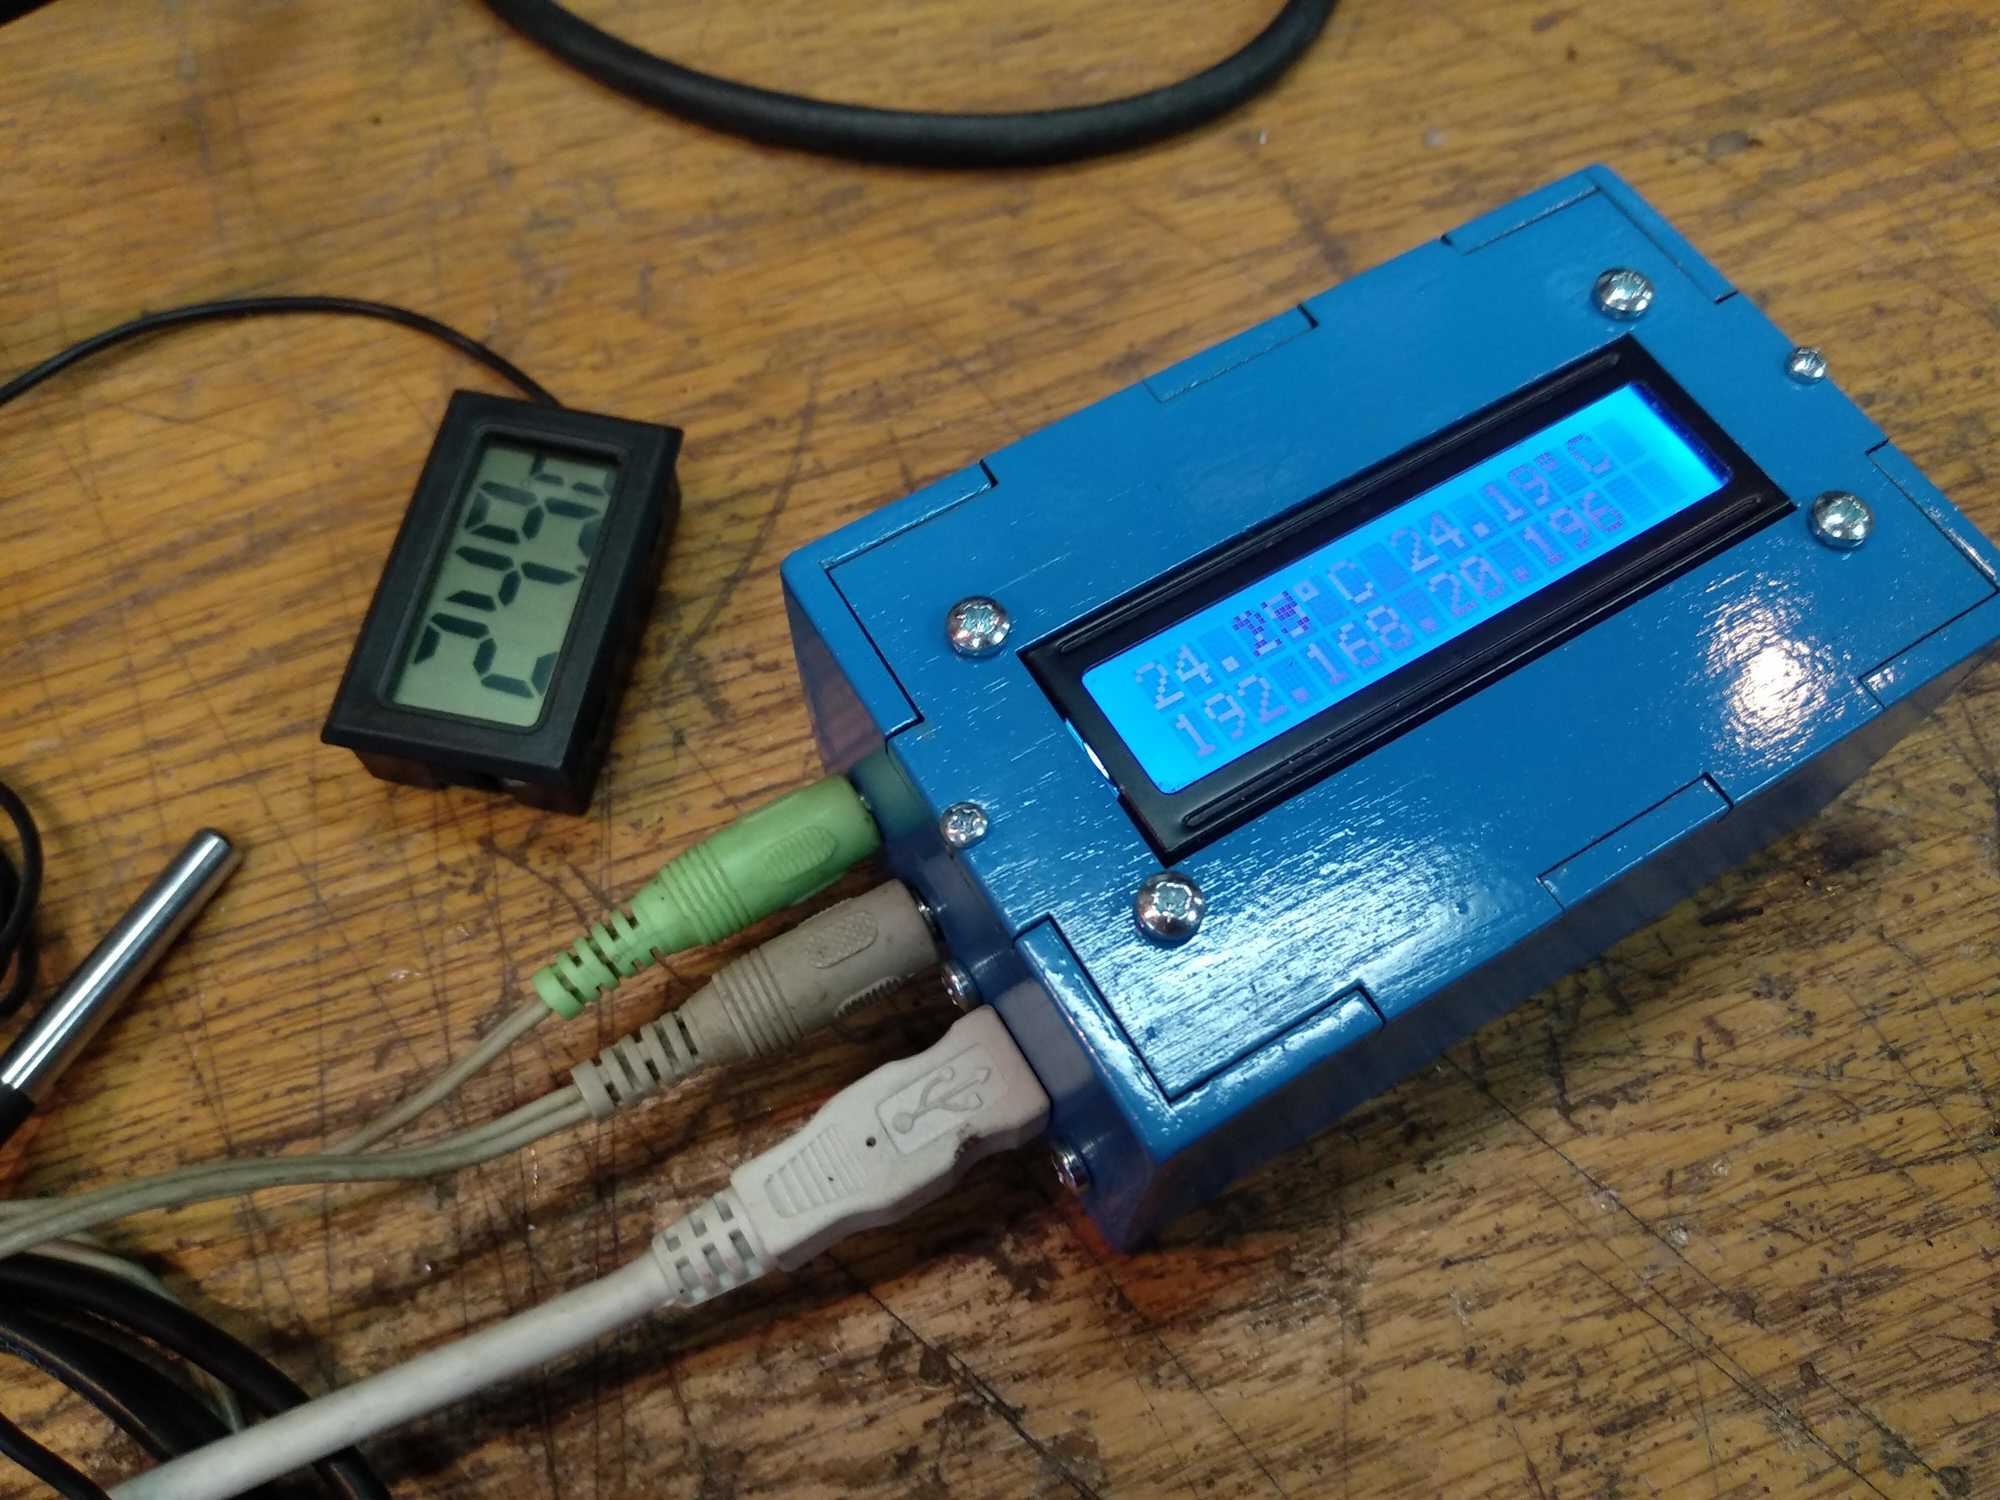
For this I used a WEMOS D1 microcontroller and a 16×2 LCD screen. I made the box for it from laser-cut plywood and for probe connections I used 3.5mm audio jacks. Of course after assembly it needs to be calibrated against a known constant temperature (such as boiling water). Calibration values are then put into the device using its web UI.
Below are progress photos and if you want to make one – here’s the 3D model I used (once cloned into your workspace it can be exported for cutting or printing): https://cad.onshape.com/documents/9ed8e5c1d55e17c111ae96f2/w/edd93666b012c5a27434141b/e/cfa795e13e40e725ad894c6f
Here’s the code I wrote for this: https://github.com/kulverstukas1/KMSTempCheck


EDIT 2022.10.06:
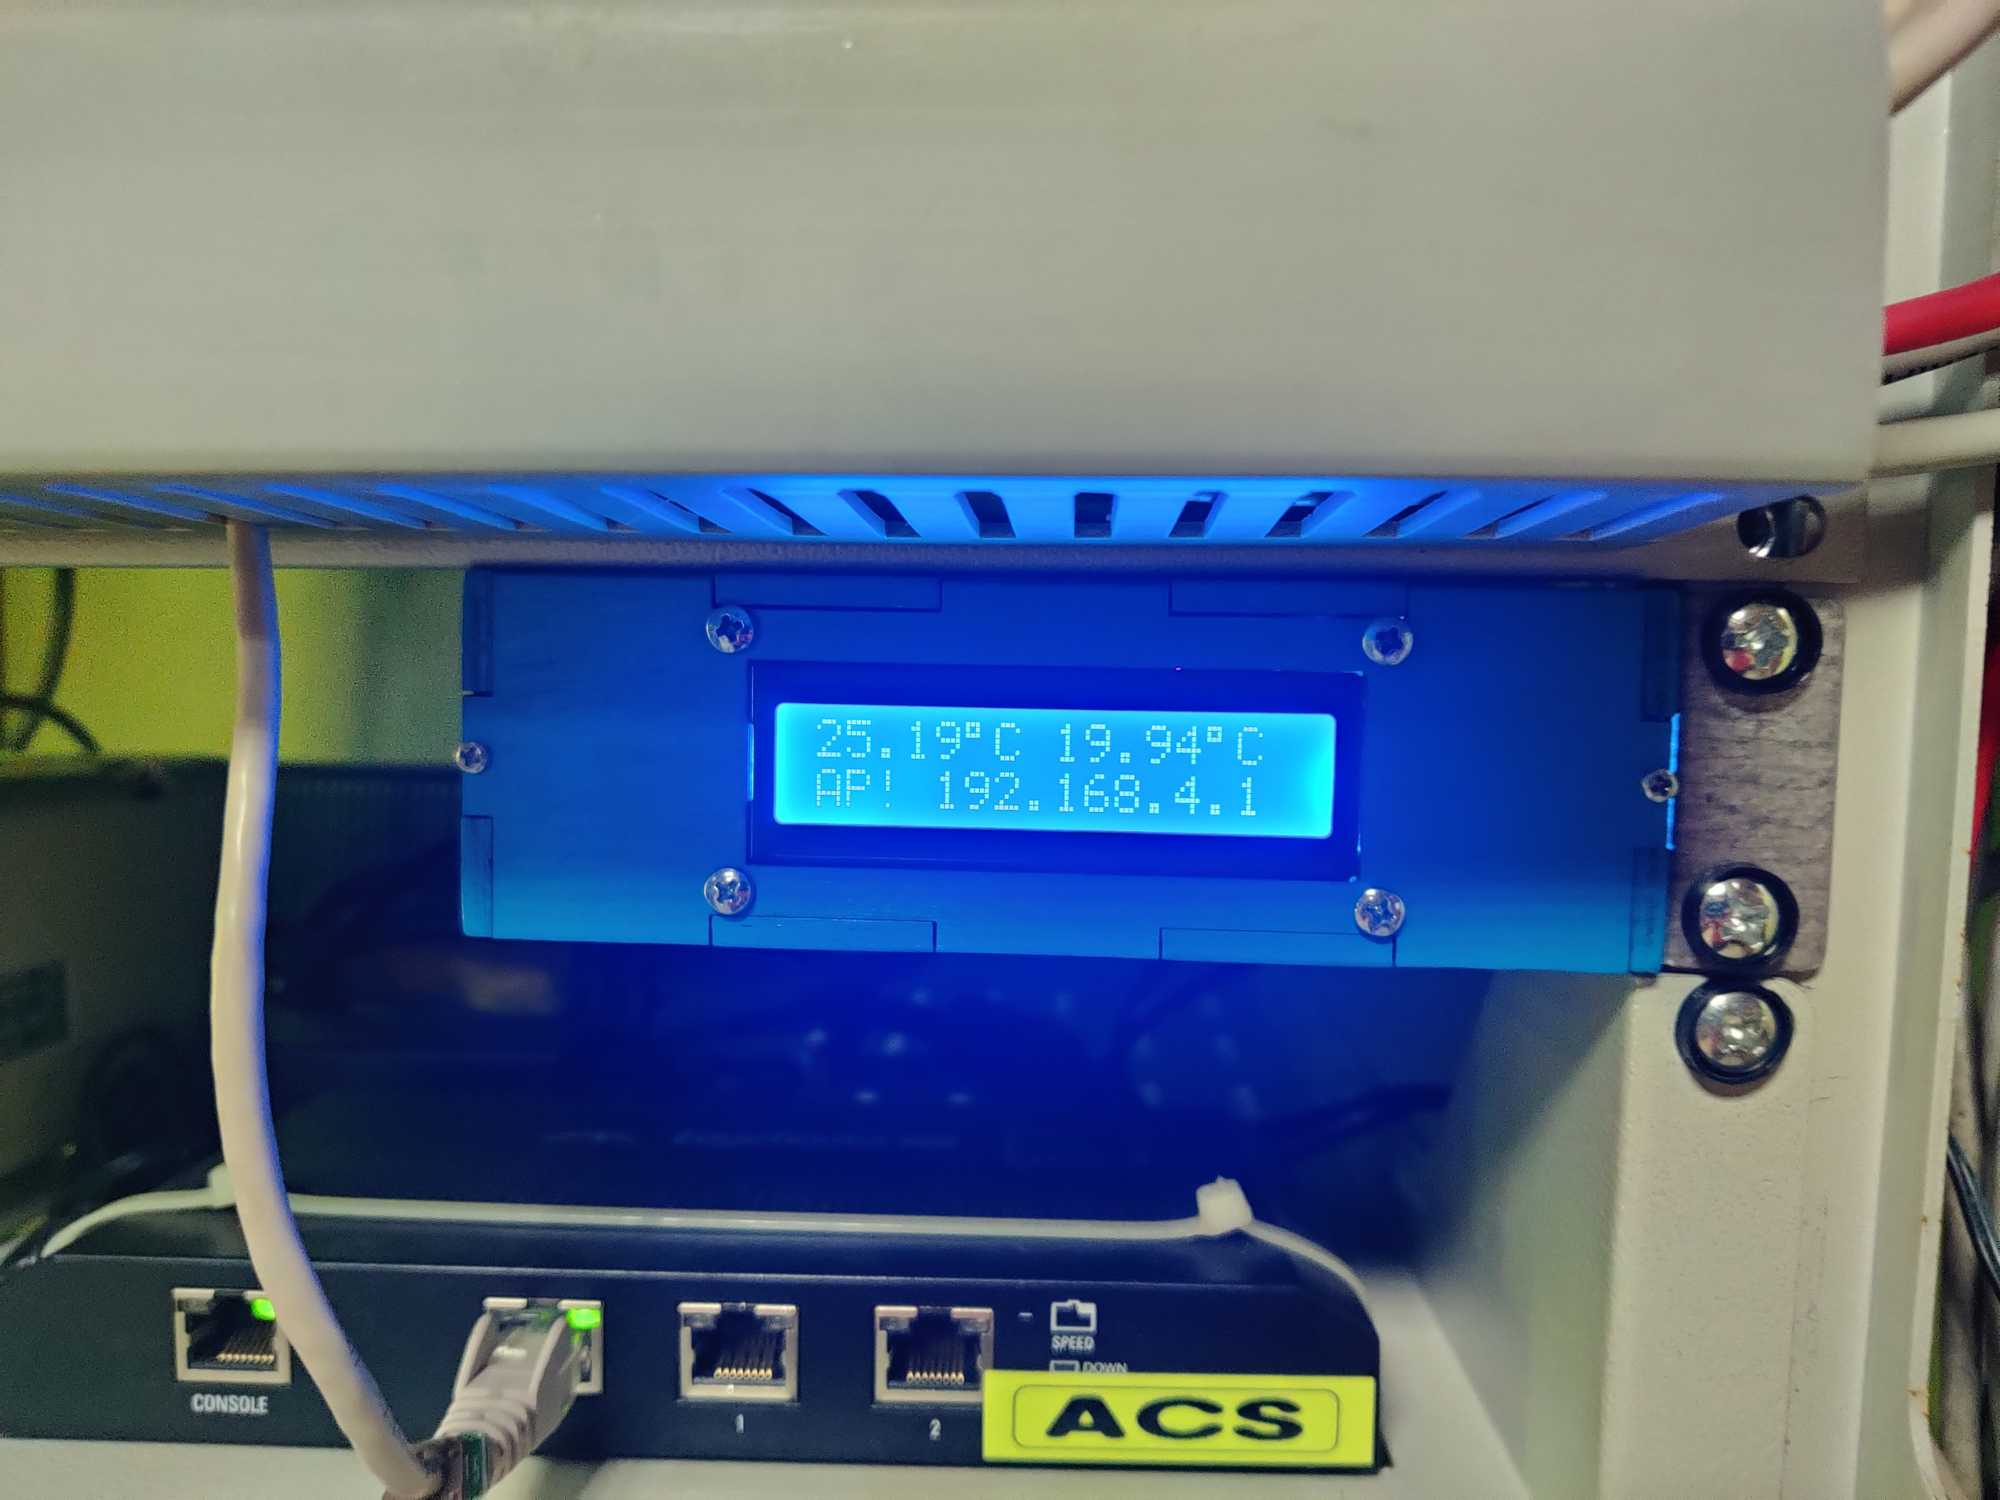
After a while using it I noticed that I made this too simple. Because of random wifi connection drops it would disconnect but wouldn’t reconnect. I needed to fix this by making it always try and reconnect to the configured network. However then it needs to somehow go into configuration mode in case you move it elsewhere with different network name. For that I added a button which you need to hold for 4 seconds to enter AP mode and configure it.
At the same time I also needed to make another one for another server room and I was suggested to maybe make a 1U rack mountable version, like a switch would be. Since I was making such modifications with the button and all, I decided to also design a new case too.
Here I was very happy to know that for some reason the typical 16×2 LCD screen is 1U in size and when put in a case made out of 4mm plywood it’d be a tight fit.
Also I modified the power connector here as well. I didn’t want to use the USB-A anymore, it proved to be not very practical, so I went with a simple PCB mountable DC jack and used a Nokia charger for power. I left the sensor connectors as they were – audio jacks salvaged from a PC soundcard. Oh and the holed were designed to be used with mounting brackets from an Ericsson switch.
If you want to make one, the 1U version is also in the OnShape link above on a different tab.