This is my third attempt at making my life easier with maintaining a fire. I wrote about other attempts here and here and it looks like that this project has a never ending continuity, since it’s such a useful device…
This device (like previous ones) are to ensure I keep my eyes out of smoke and lungs in proper working condition and this version design was inspired by other devices that are for sale on Amazon or eBay, but they are chinese made tools and require batteries to work… I thought I could make it a bit better with rechargeable batteries, a small display to see how much power is left, a normal on-off switch and possibly with a better air volume output. Also as an added bonus I thought I could use it to inflate a mattress a bit, so that I don’t have to do it with my mouth and then sit down a bit being dizzy AF. Obviously this doesn’t create enough pressure to inflate it all the way though.
I remember a scene in a “Tom and Jerry” cartoon episode “Barbecue brawl” where spike was blowing into charcoal to get the fire going and of course that didn’t go well, if only he had this device though :D
I’ve decided to make a new version after I was stuck in a campsite trying to get some fire going but didn’t have any proper things to get more heat. I had my last version with me, however I didn’t have batteries and no one around me did either. And it’s kinda basic now that I think about it :D
Anyway, here’s how I put it together:
The main thing in this is a fan that blows air. The design requires a centrifugal fan – it sucks air from the top and output it 90 degrees outward. Such fans are used in ventilation systems, vacuum cleaners and such. I needed a DC fan that would fit in a project box and sadly I didn’t find any fans I wanted to buy. Ones available on AliExpress or eBay are 12v and has a form factor of “too small” or 24v that have a form factor of “too big and can’t be overclocked much”, so I decided to make my own in hopes that I’d make it better somehow.
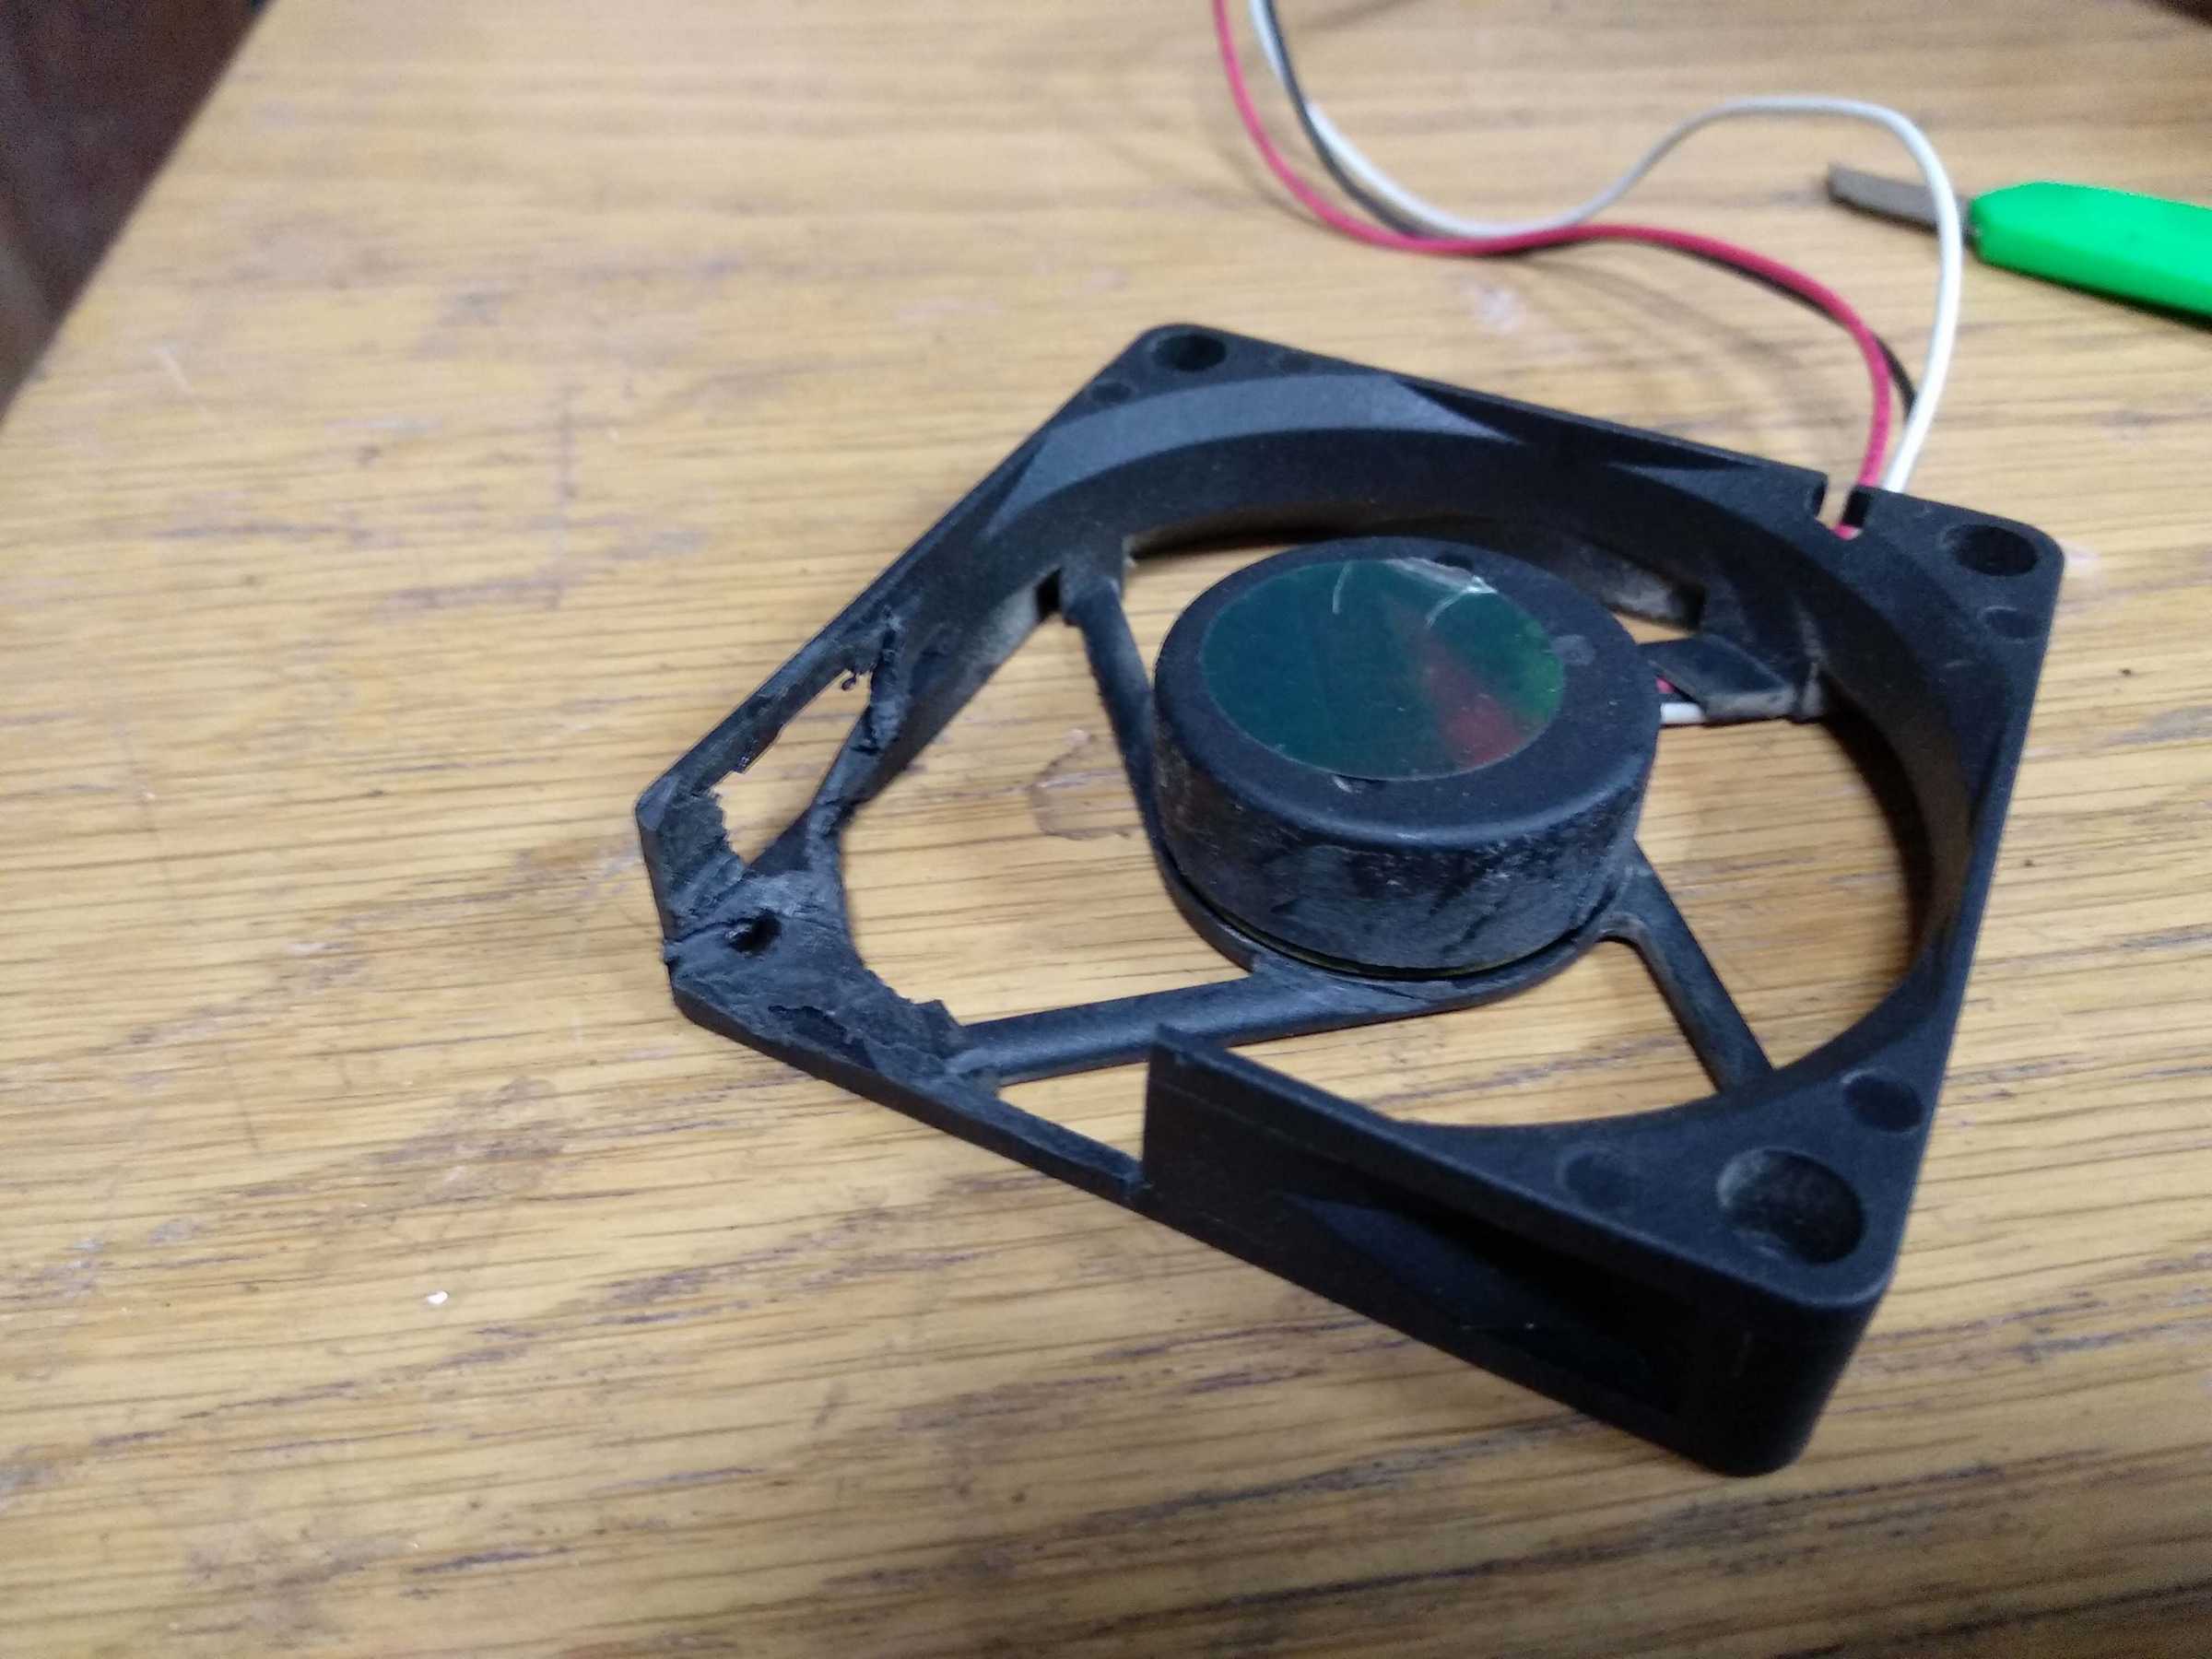
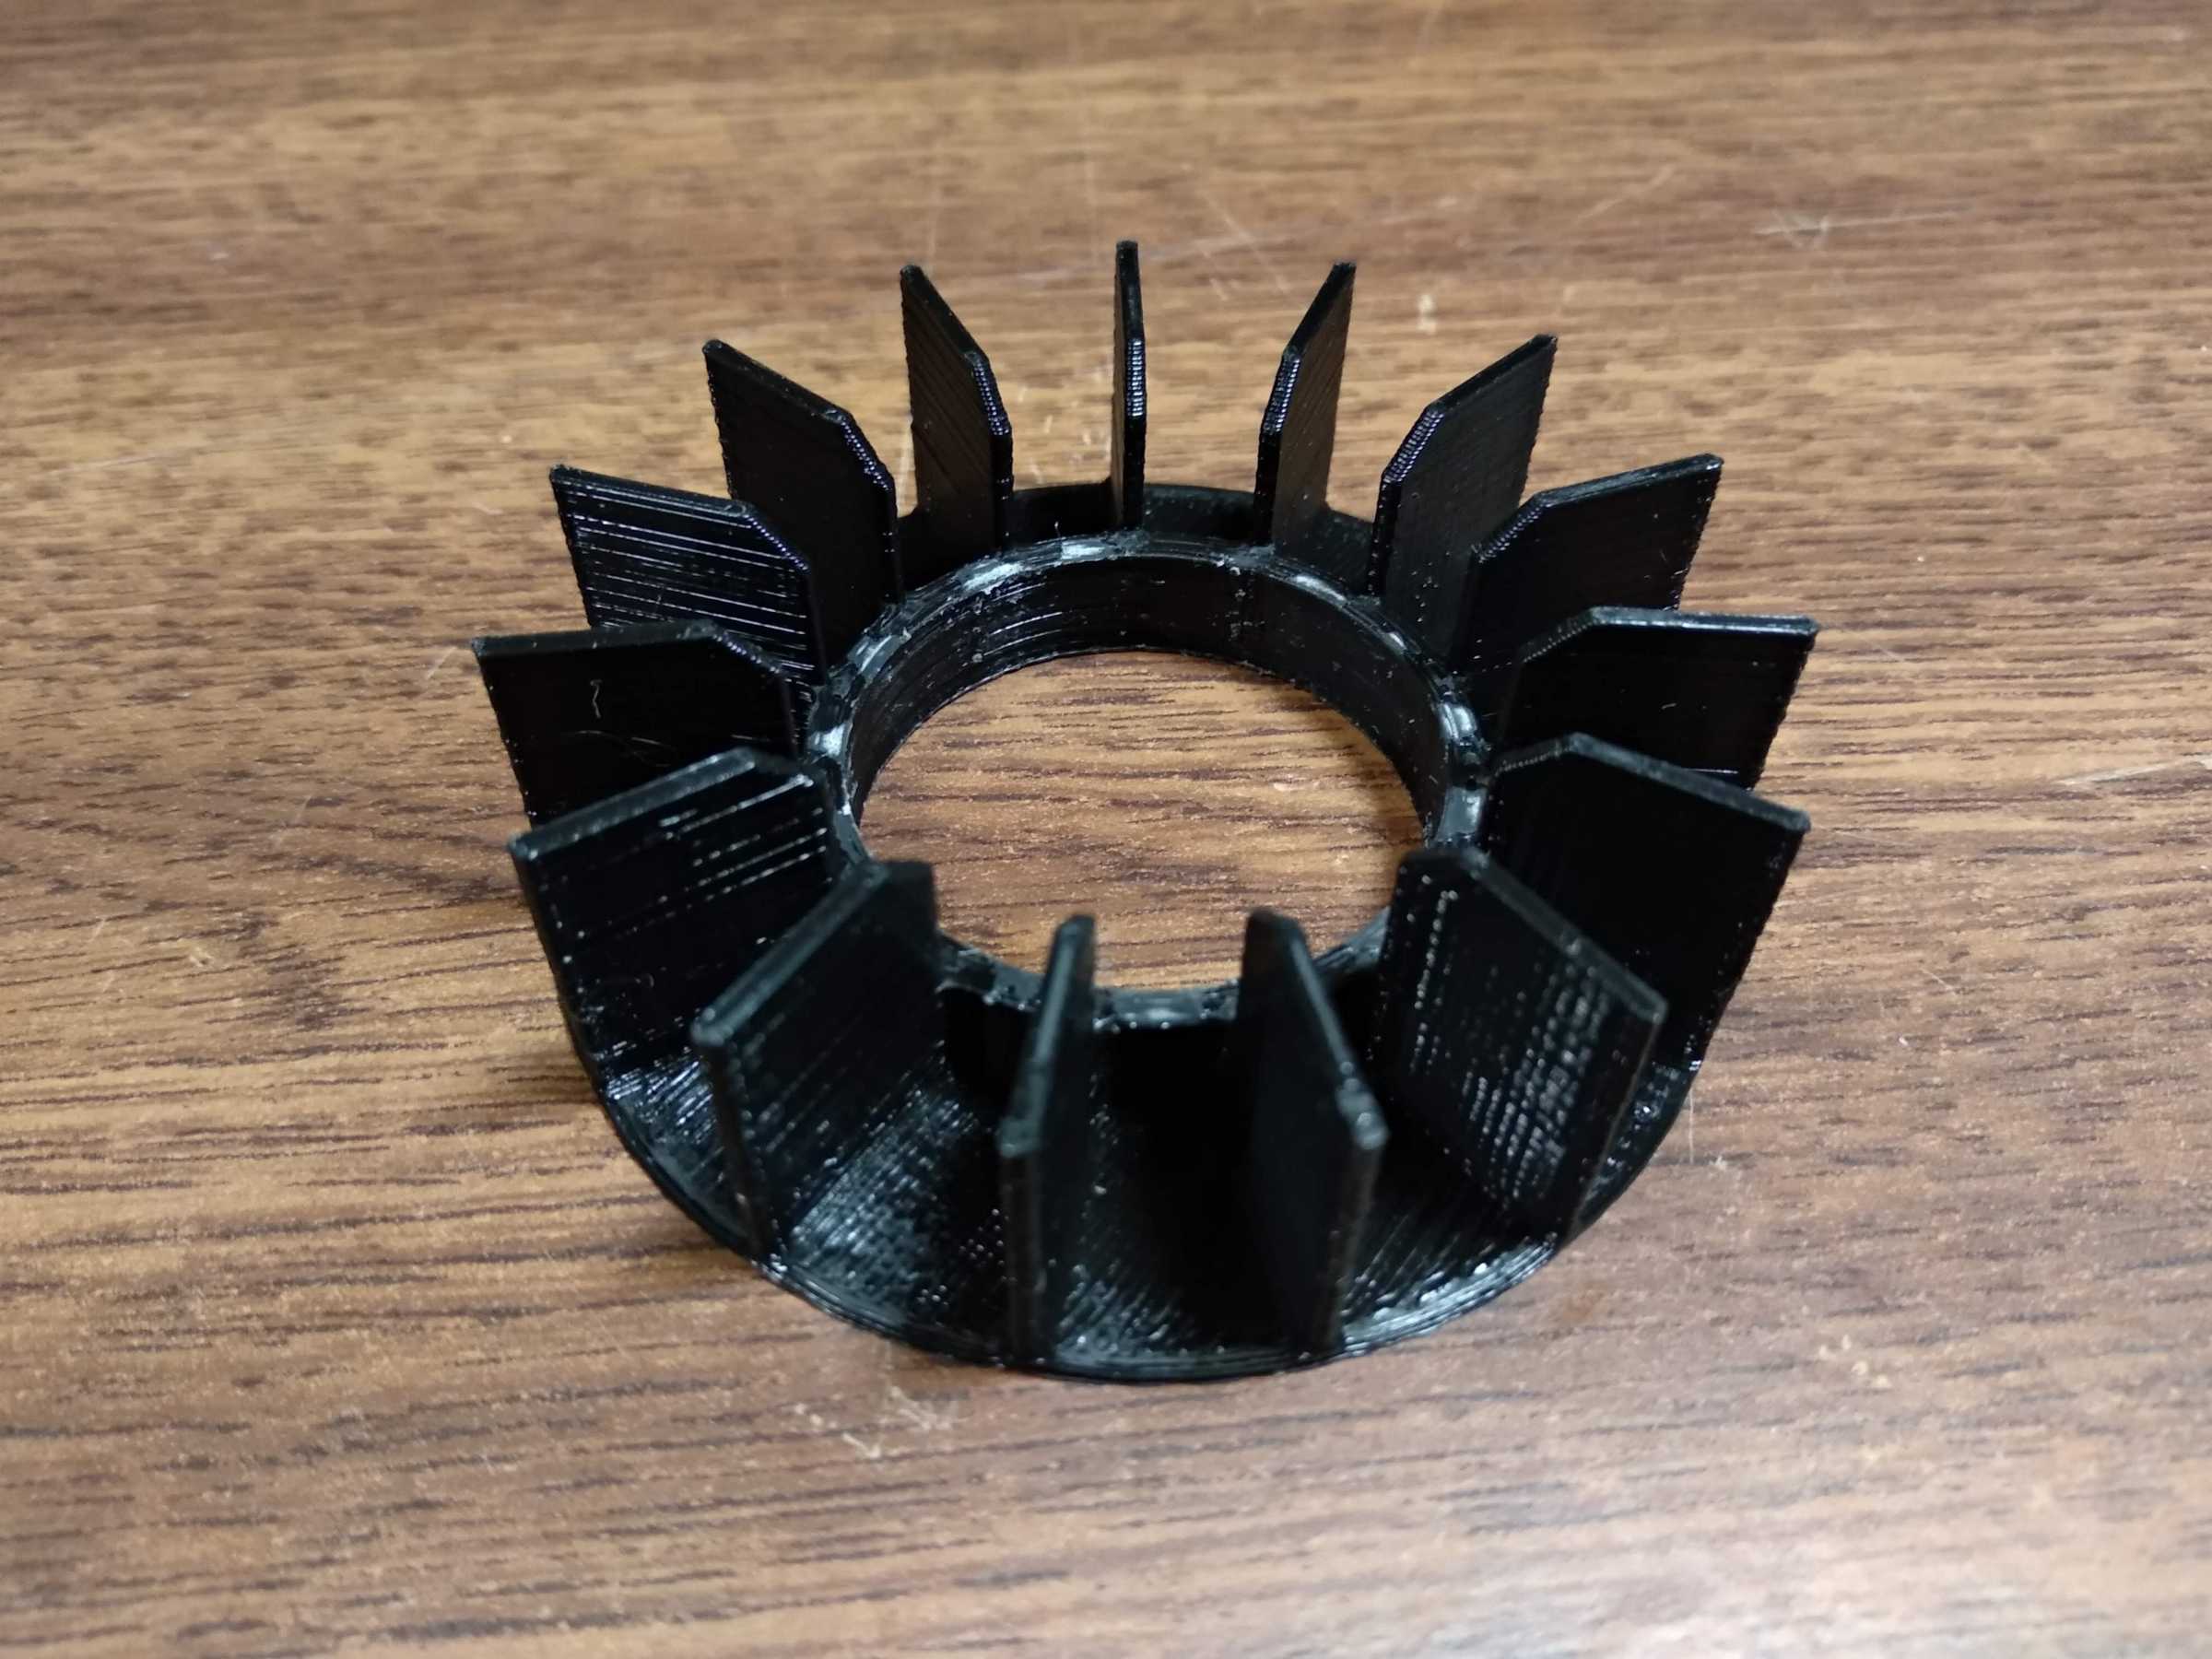
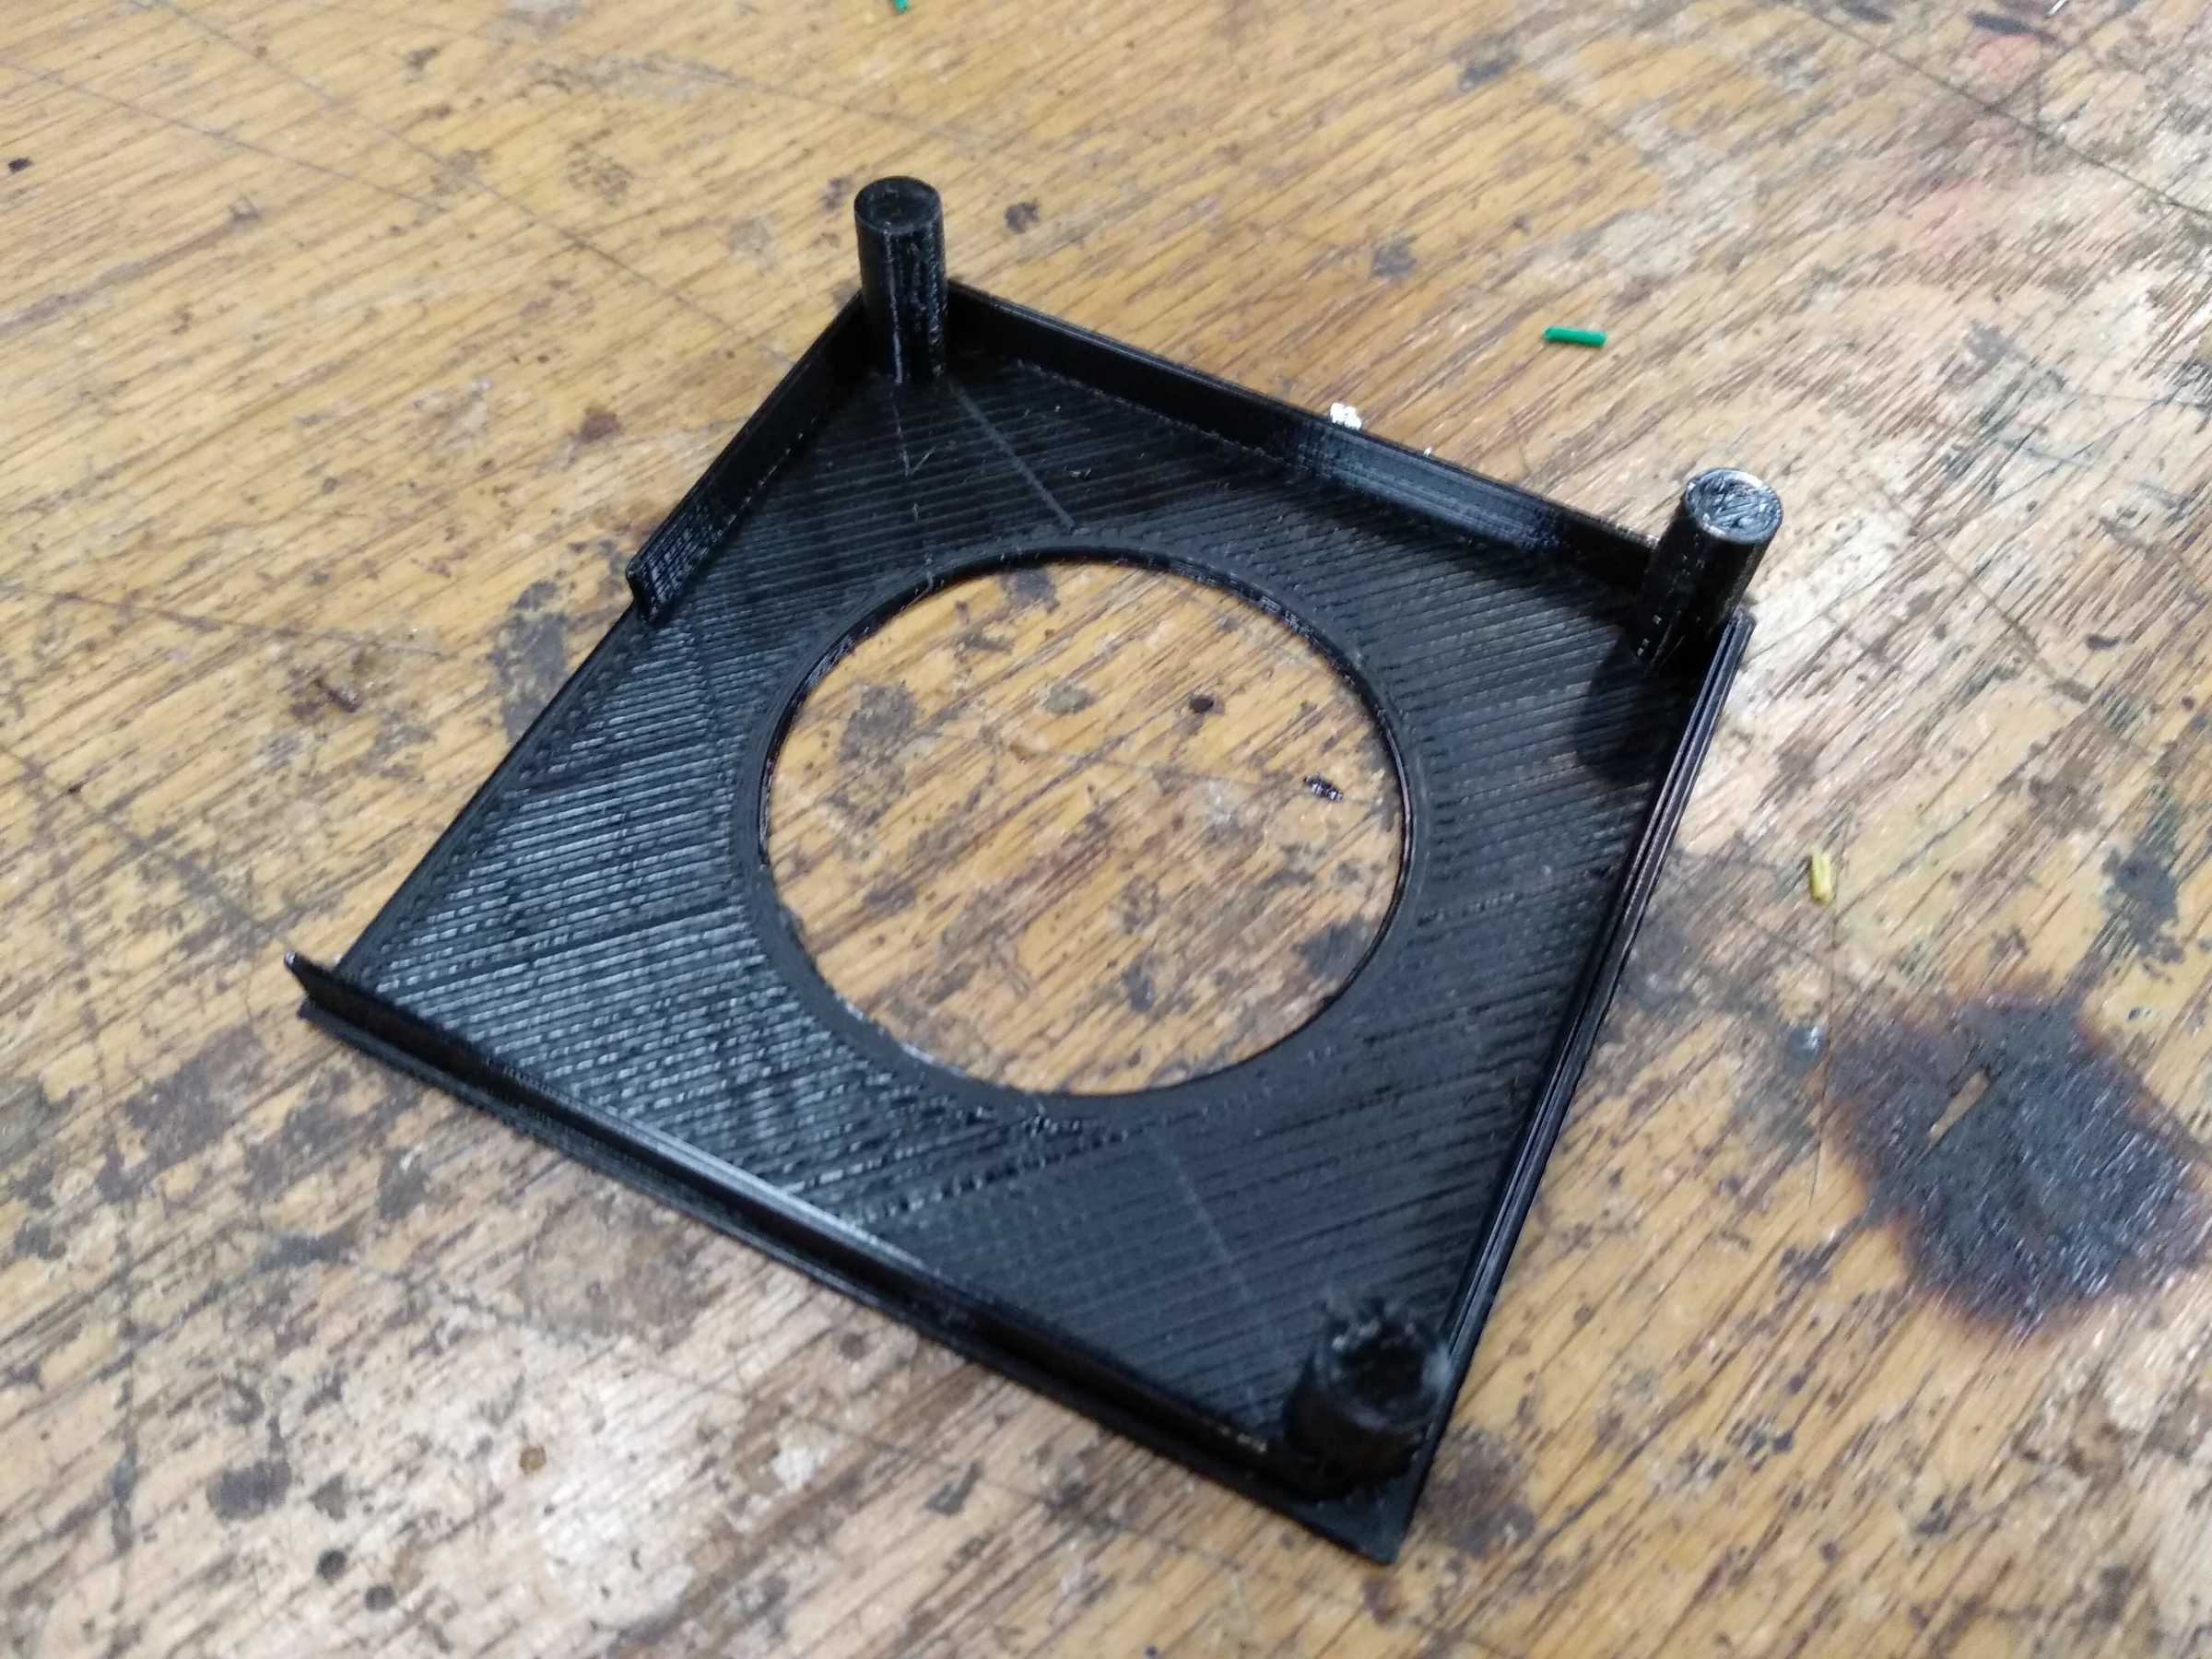
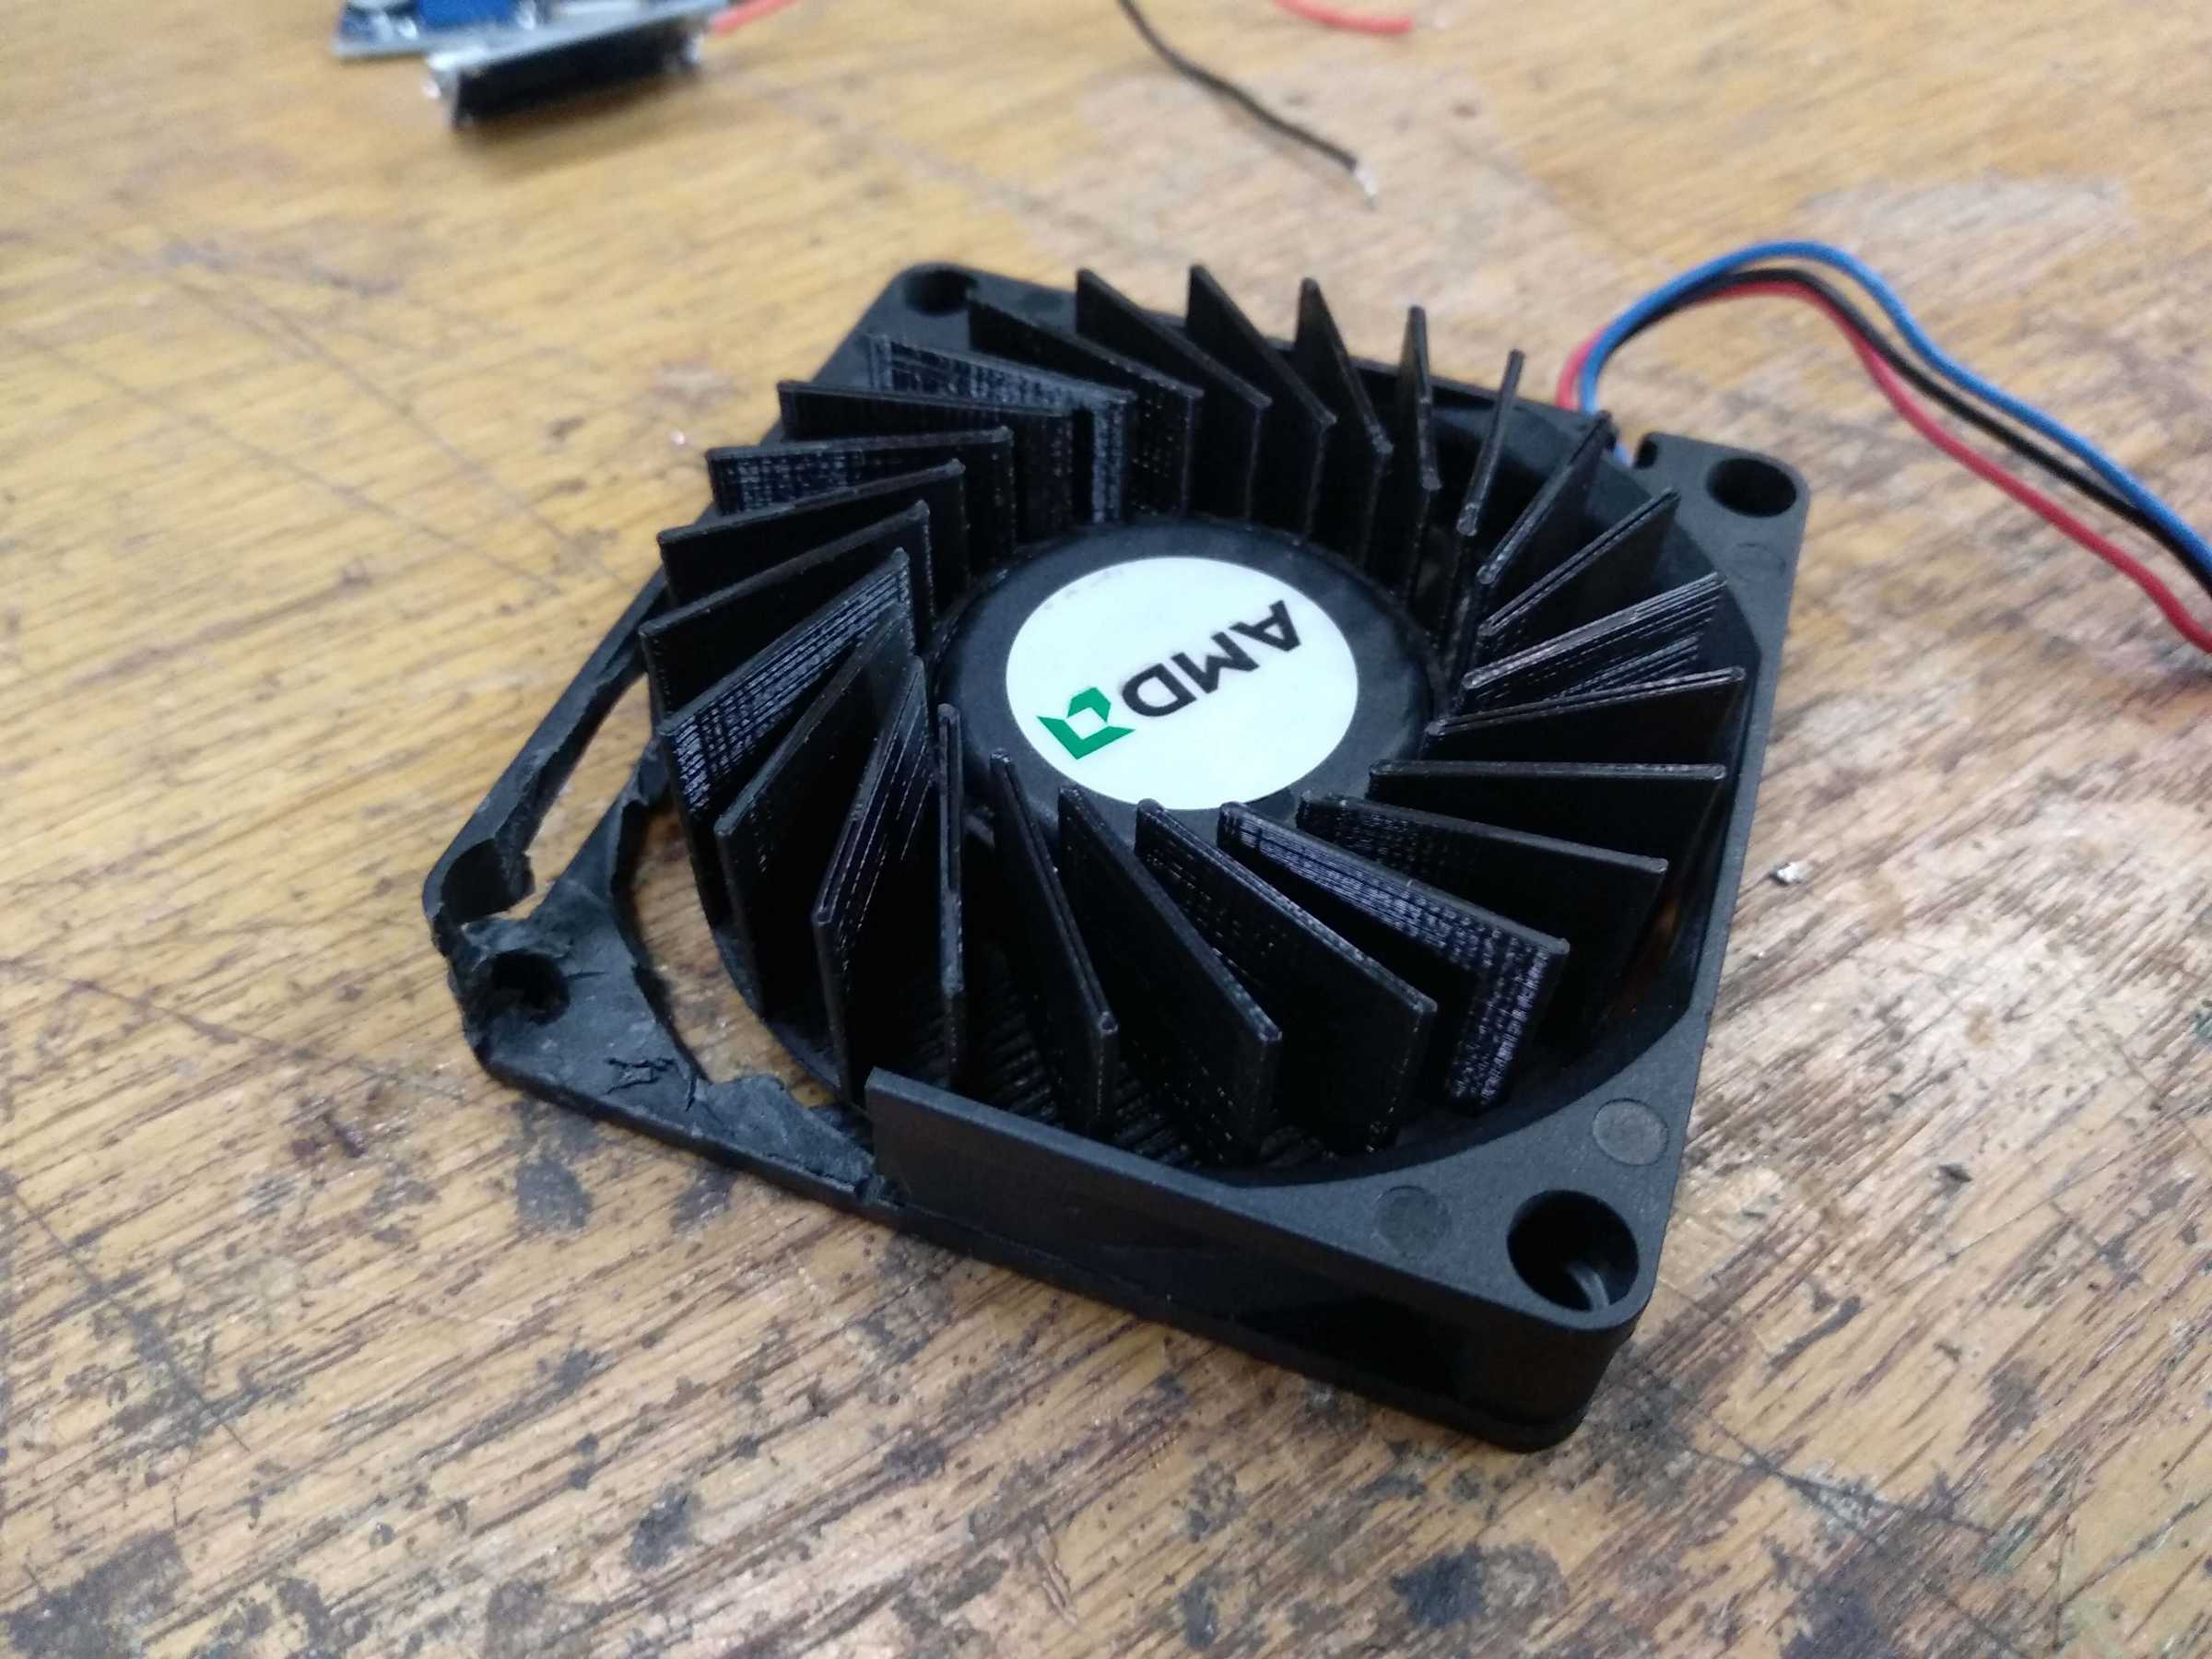
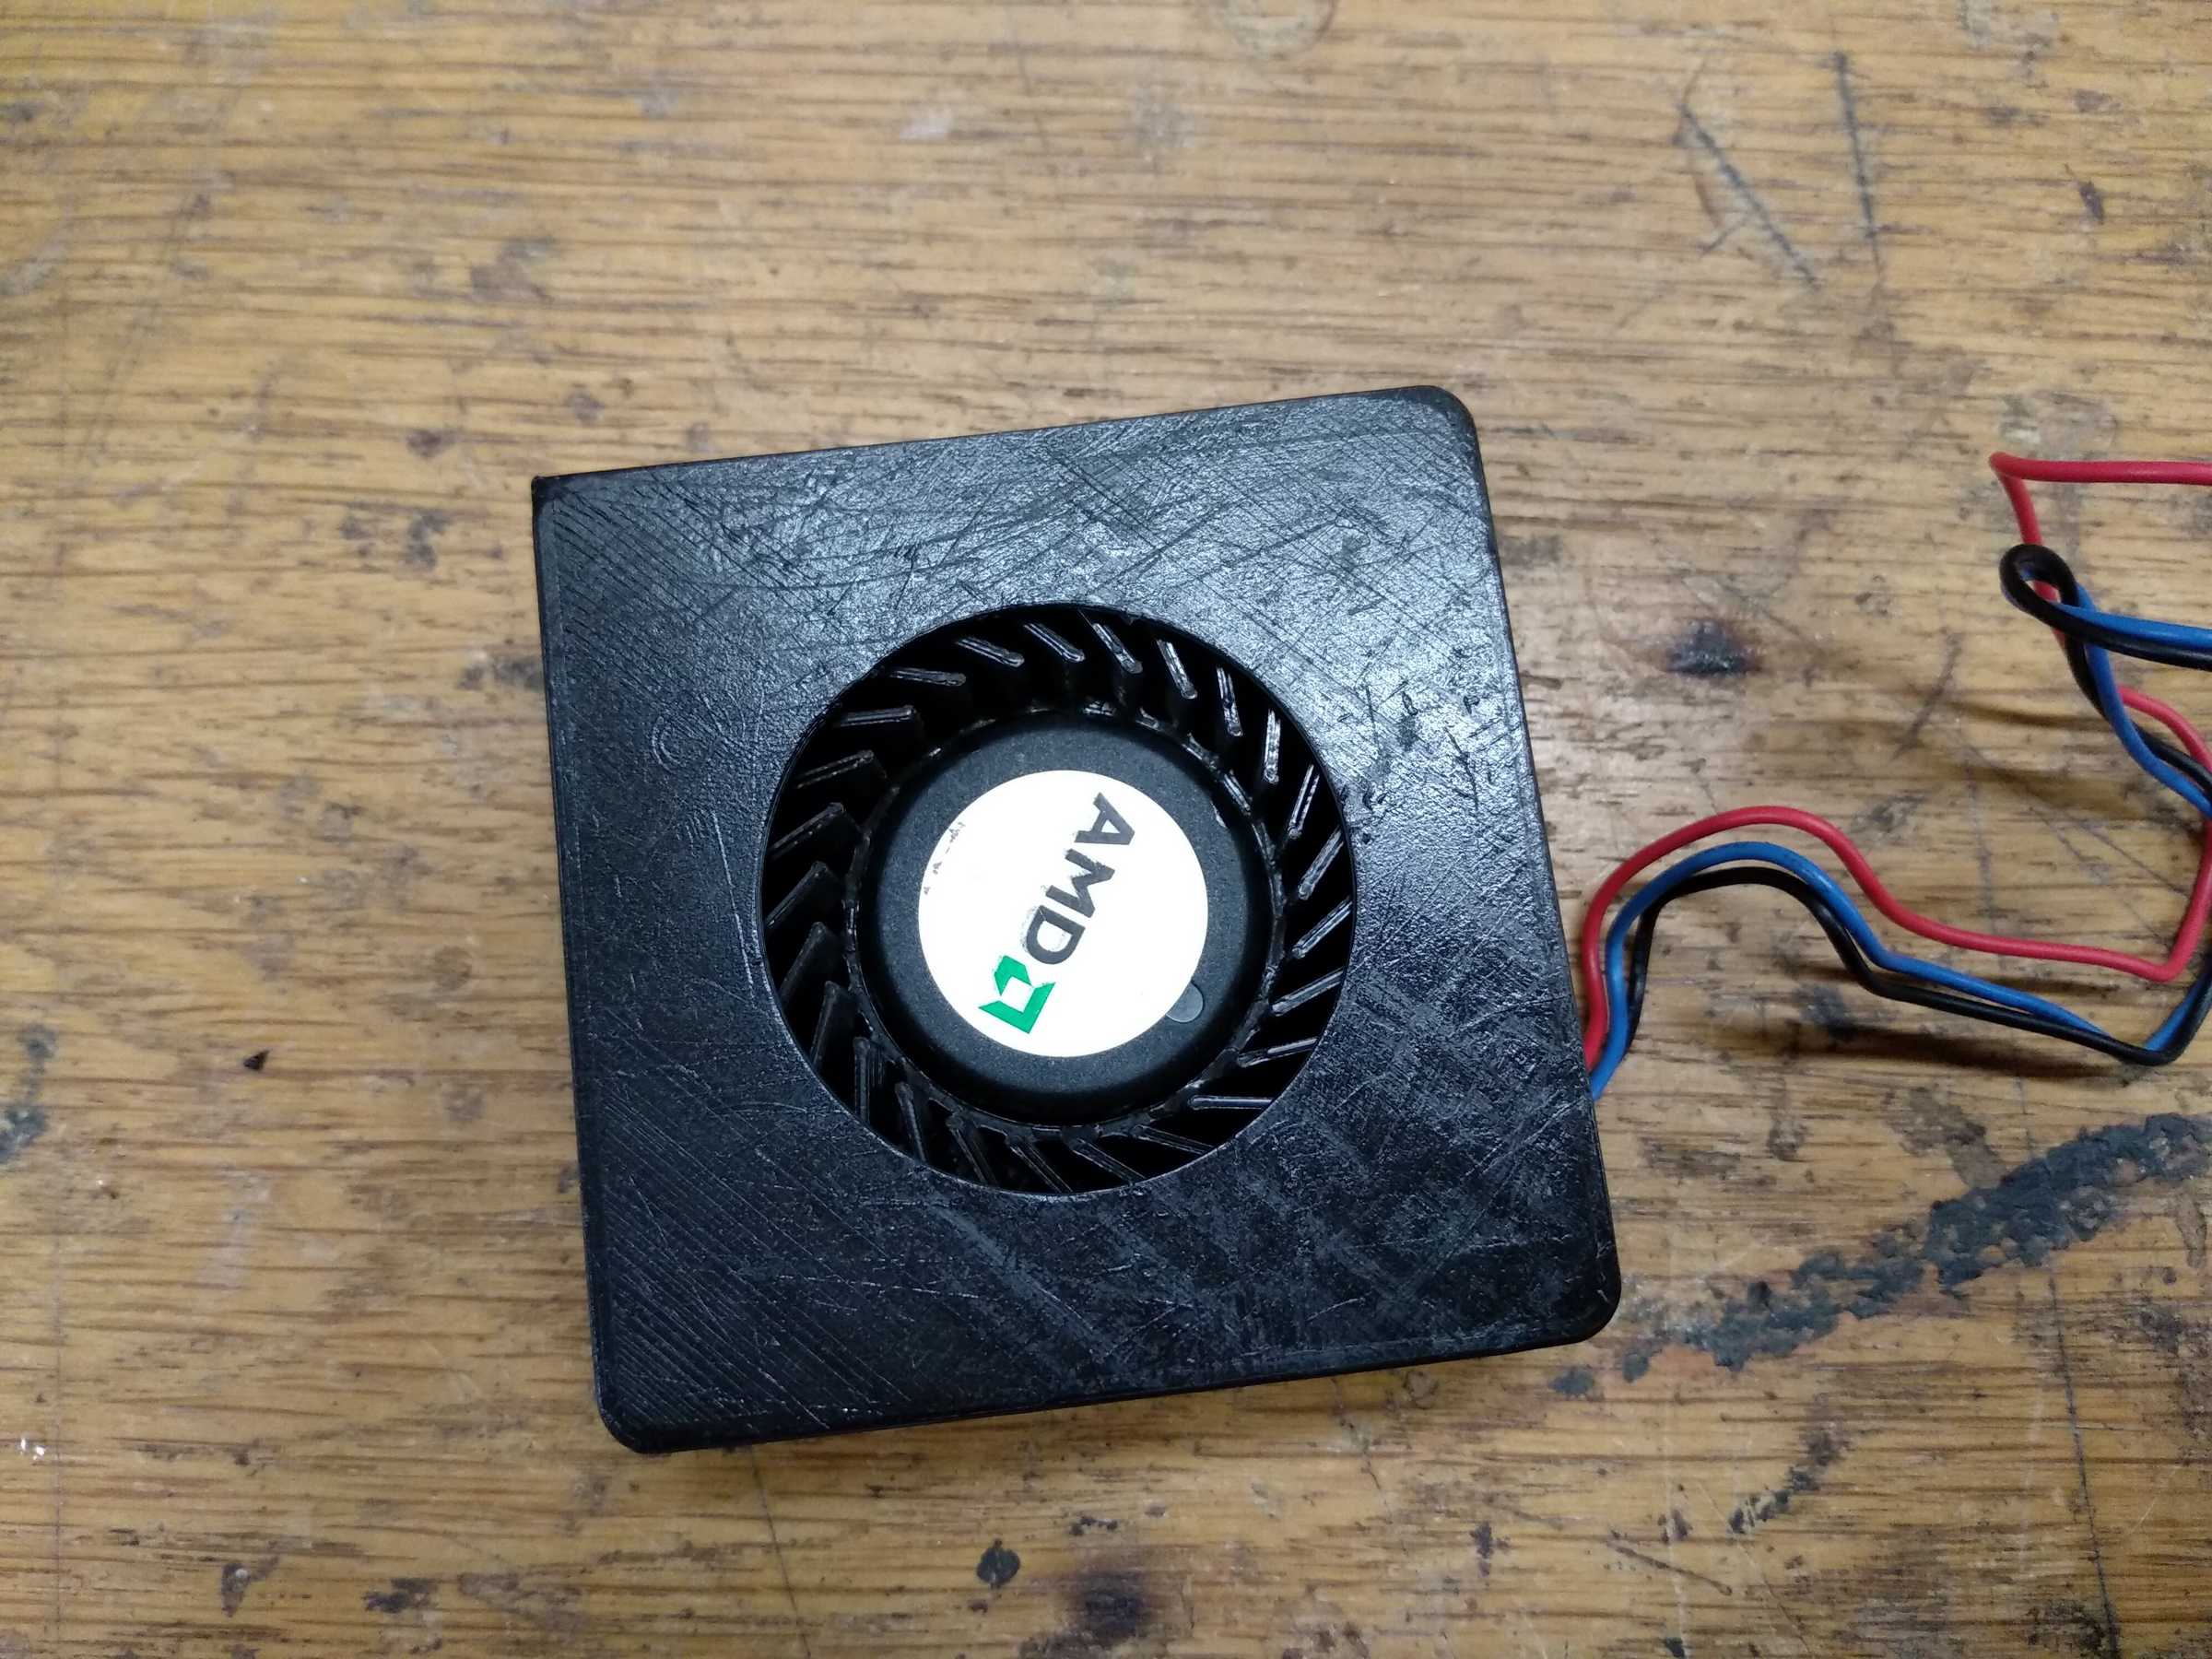
To make my own centrifugal fan that has a low form factor and has decent air output I took a 12v computer fan, snipped its blades and 3D printed a centrifugal fan impeller and a cover from ABS plastic.
Since I don’t know anything about this type of a fan, I tried searching for any information about how to design the blades for maximum efficiency, but I didn’t find any sources that could help me design this thing… coming empty handed I thought I don’t need super efficiency for this thing and started experimenting a bit – at first I designed a simple impeller with straight blades. Straight blades are best suited for moving solid stuffs without anything getting stuck to the blades and one usage for this is in water pumps.
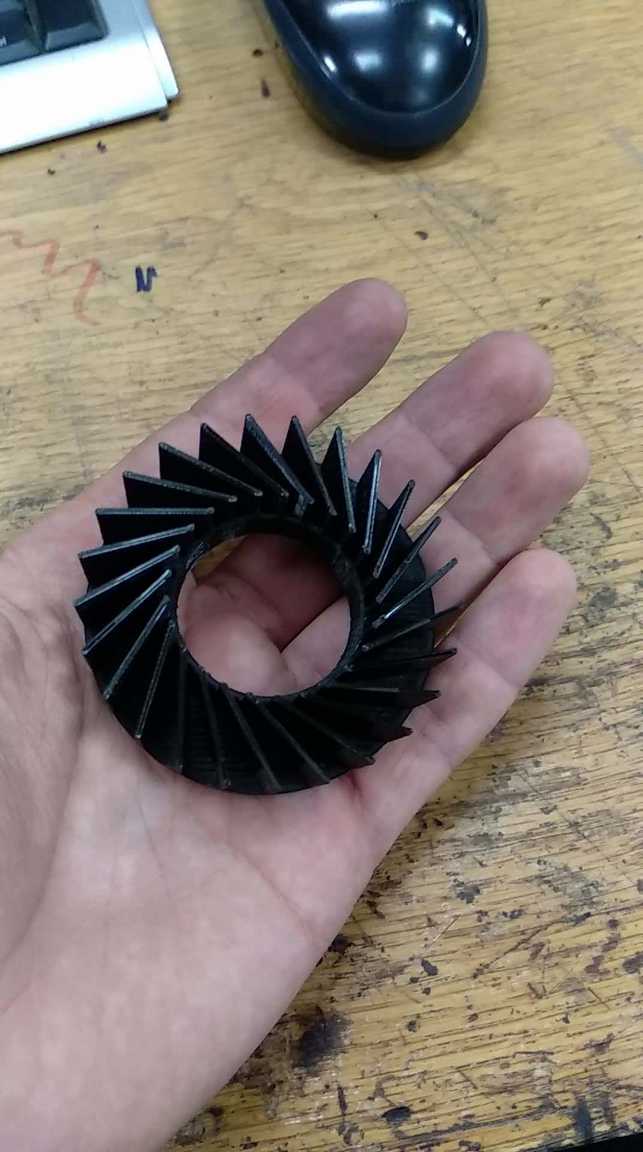
I didn’t like it because it was kinda noisy and I wanted to try forward-curved blades. I also added more of them.
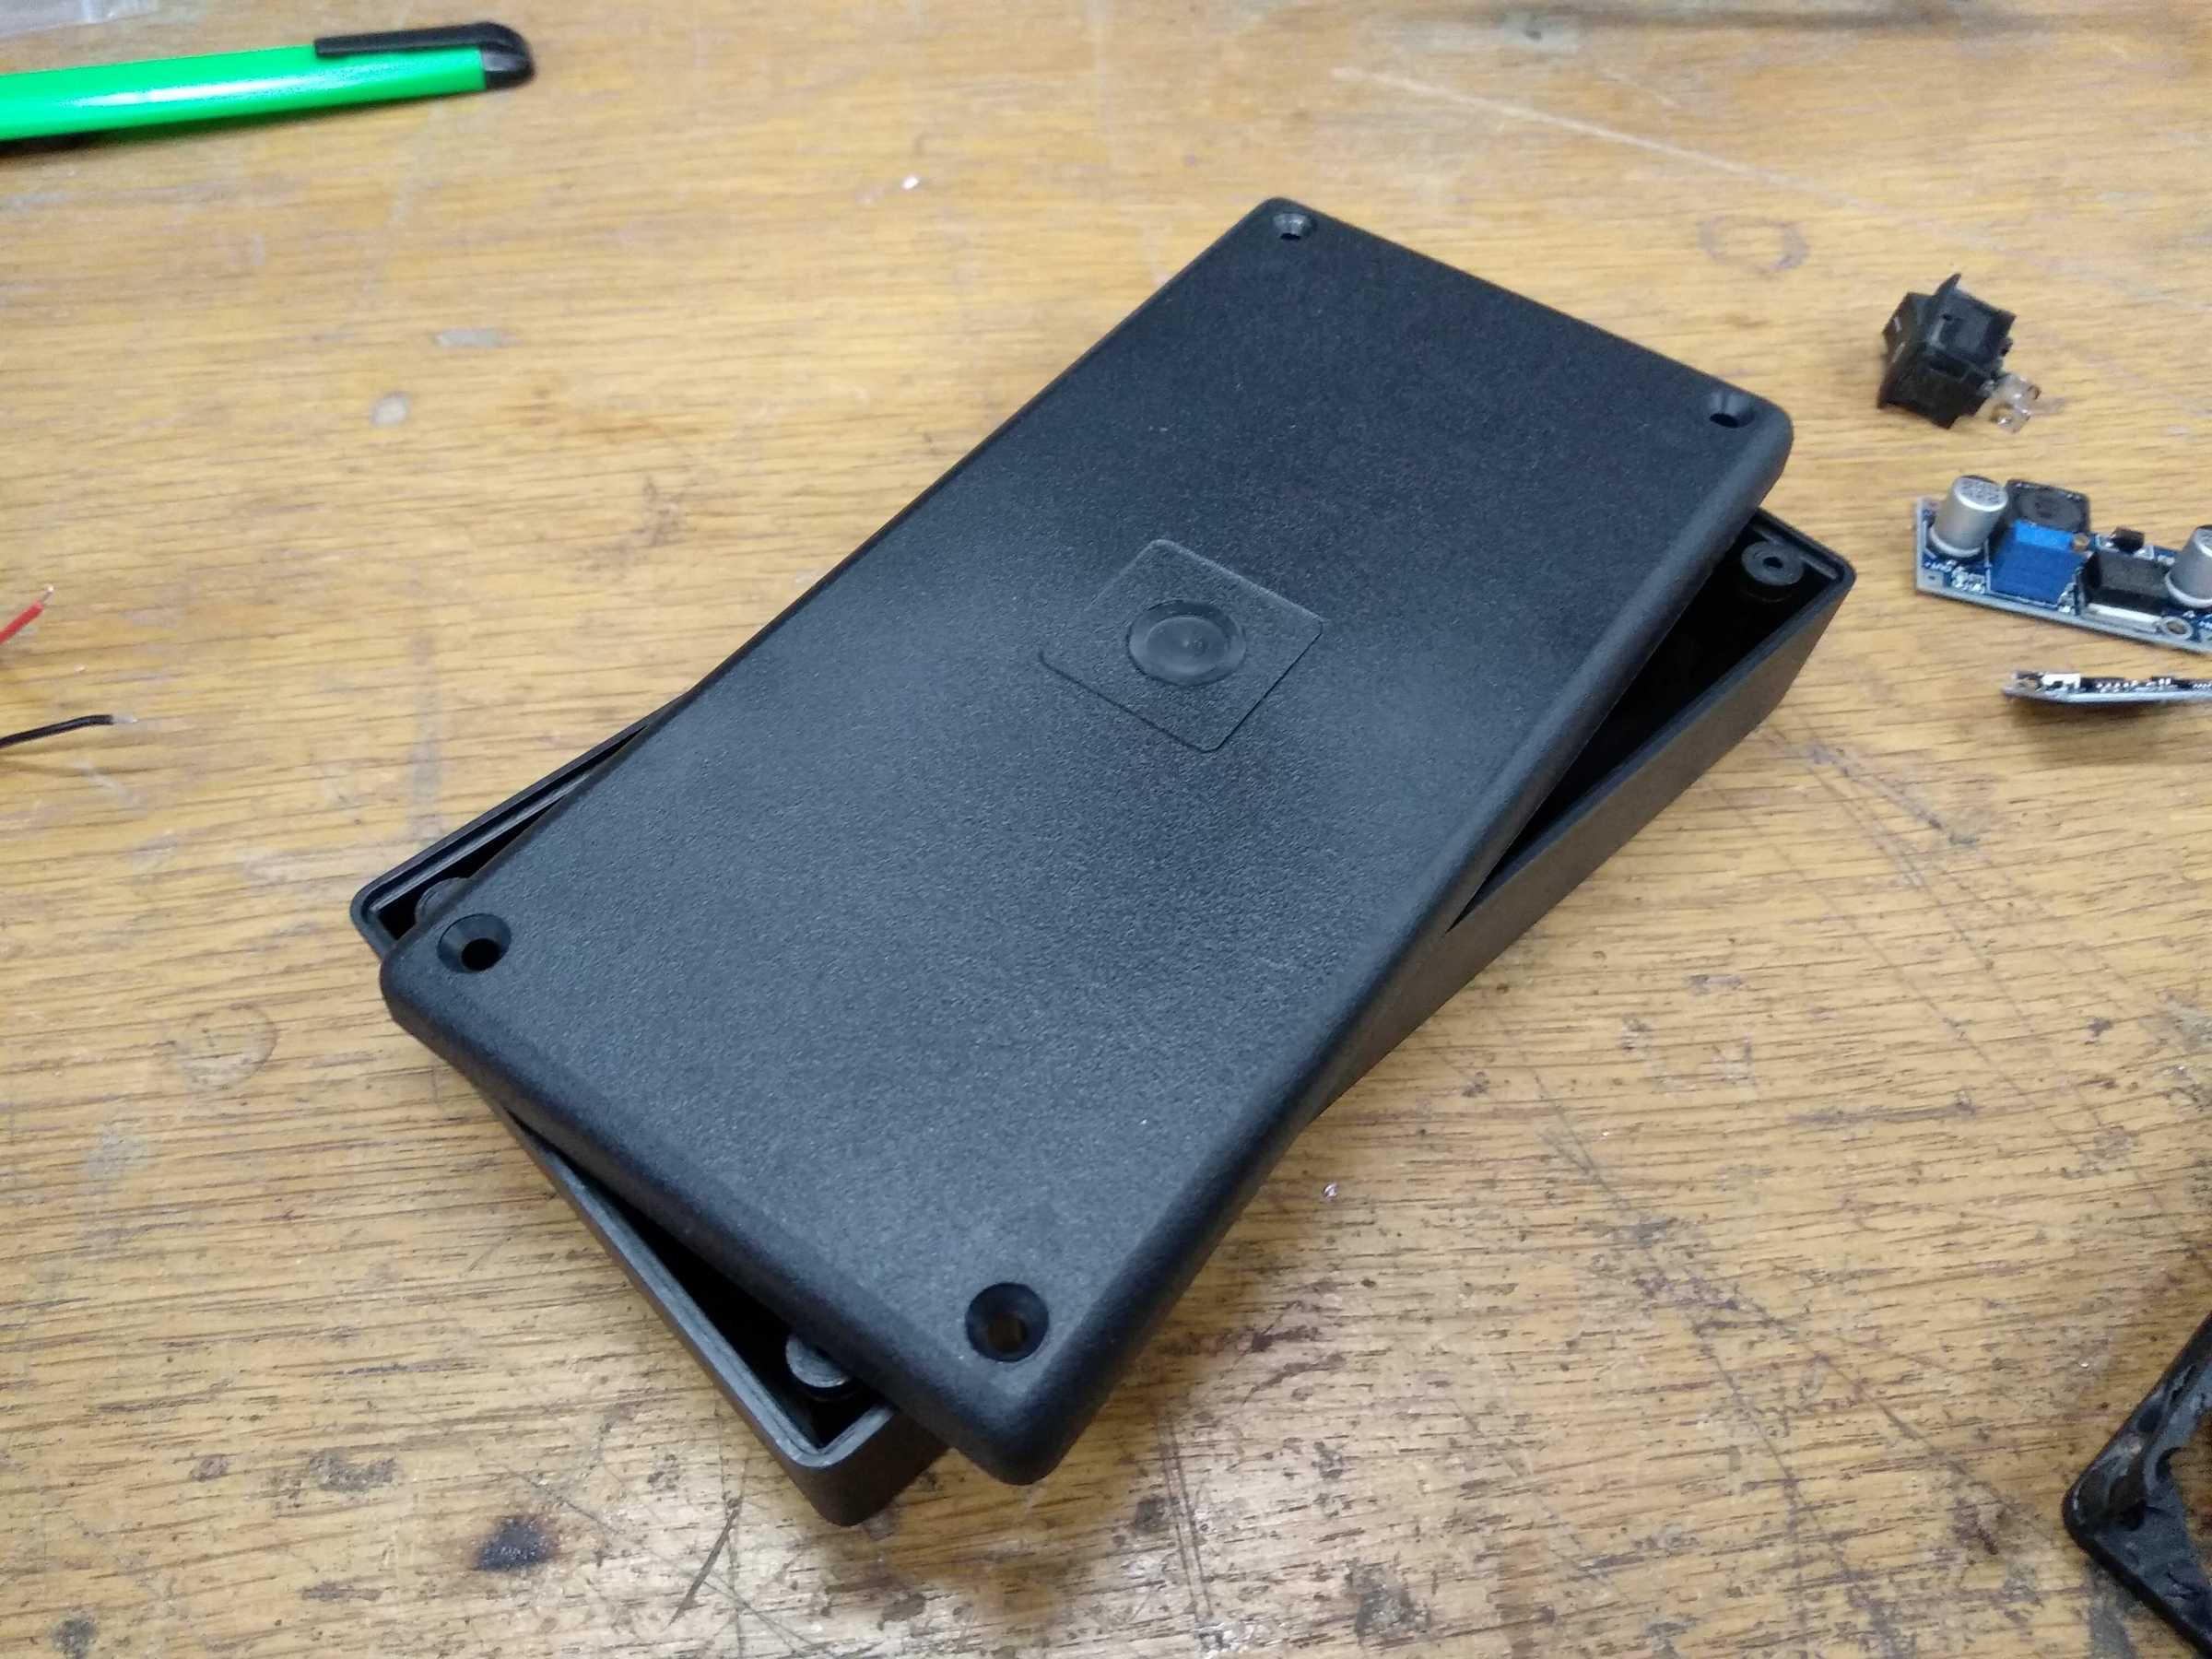
I didn’t notice a big difference, but it’s a little quieter and theoretically I think it moves more air since the blade have a bigger area. It’d blow even more if the fan was bigger, however I didn’t want to have a large device that would be like a brick and not fit in my hand – that’s not very user-friendly. So I bought a project box that is just right, but doesn’t have a lot of room to store all the components the way I would like.
The fan running at 12v doesn’t move much air, I guess it’d be ok for cooling something, but not enough to get the fire going, so using a boost converter I “overclocked” it to 27v, which is near the limit of burning up or overheating after a longer period of operation.
There is one problem though – I didn’t consider the fact that the fan would stretch when spinning, now because I left very small gaps between walls now when the fan is spinning and you move it, the fan blades touches the inner walls. But if I don’t move it quickly while using, then all is fine :P
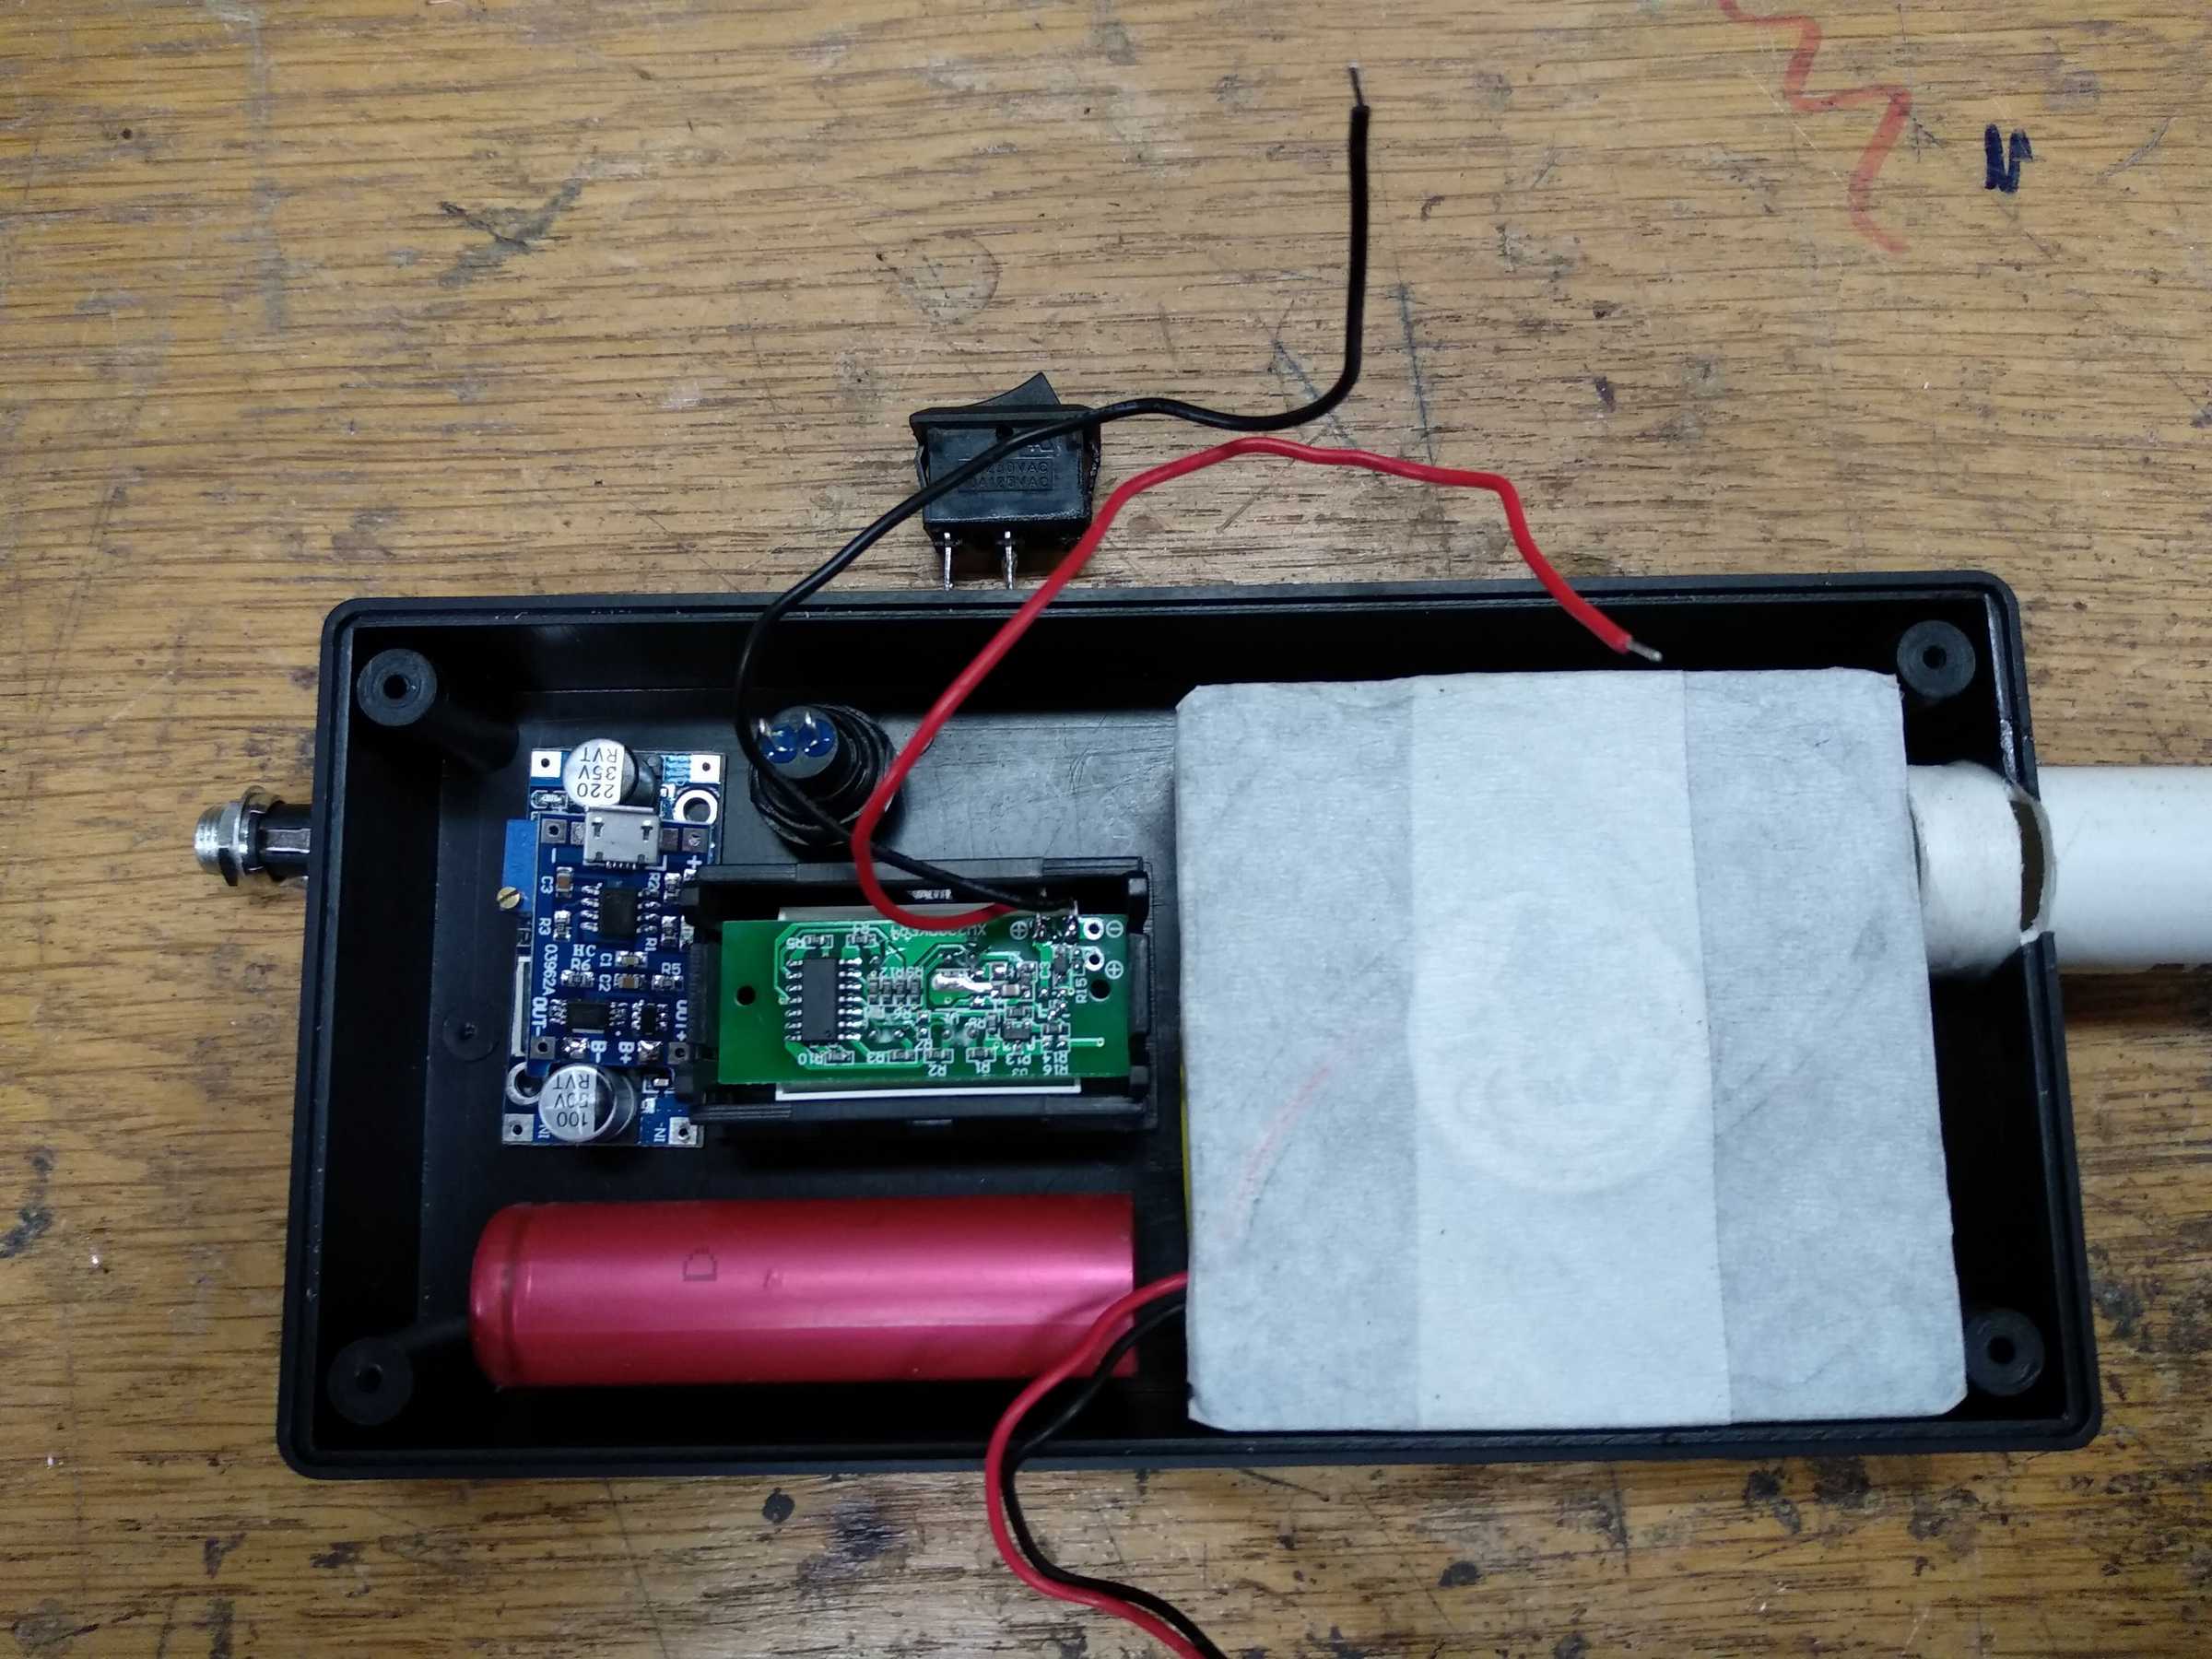
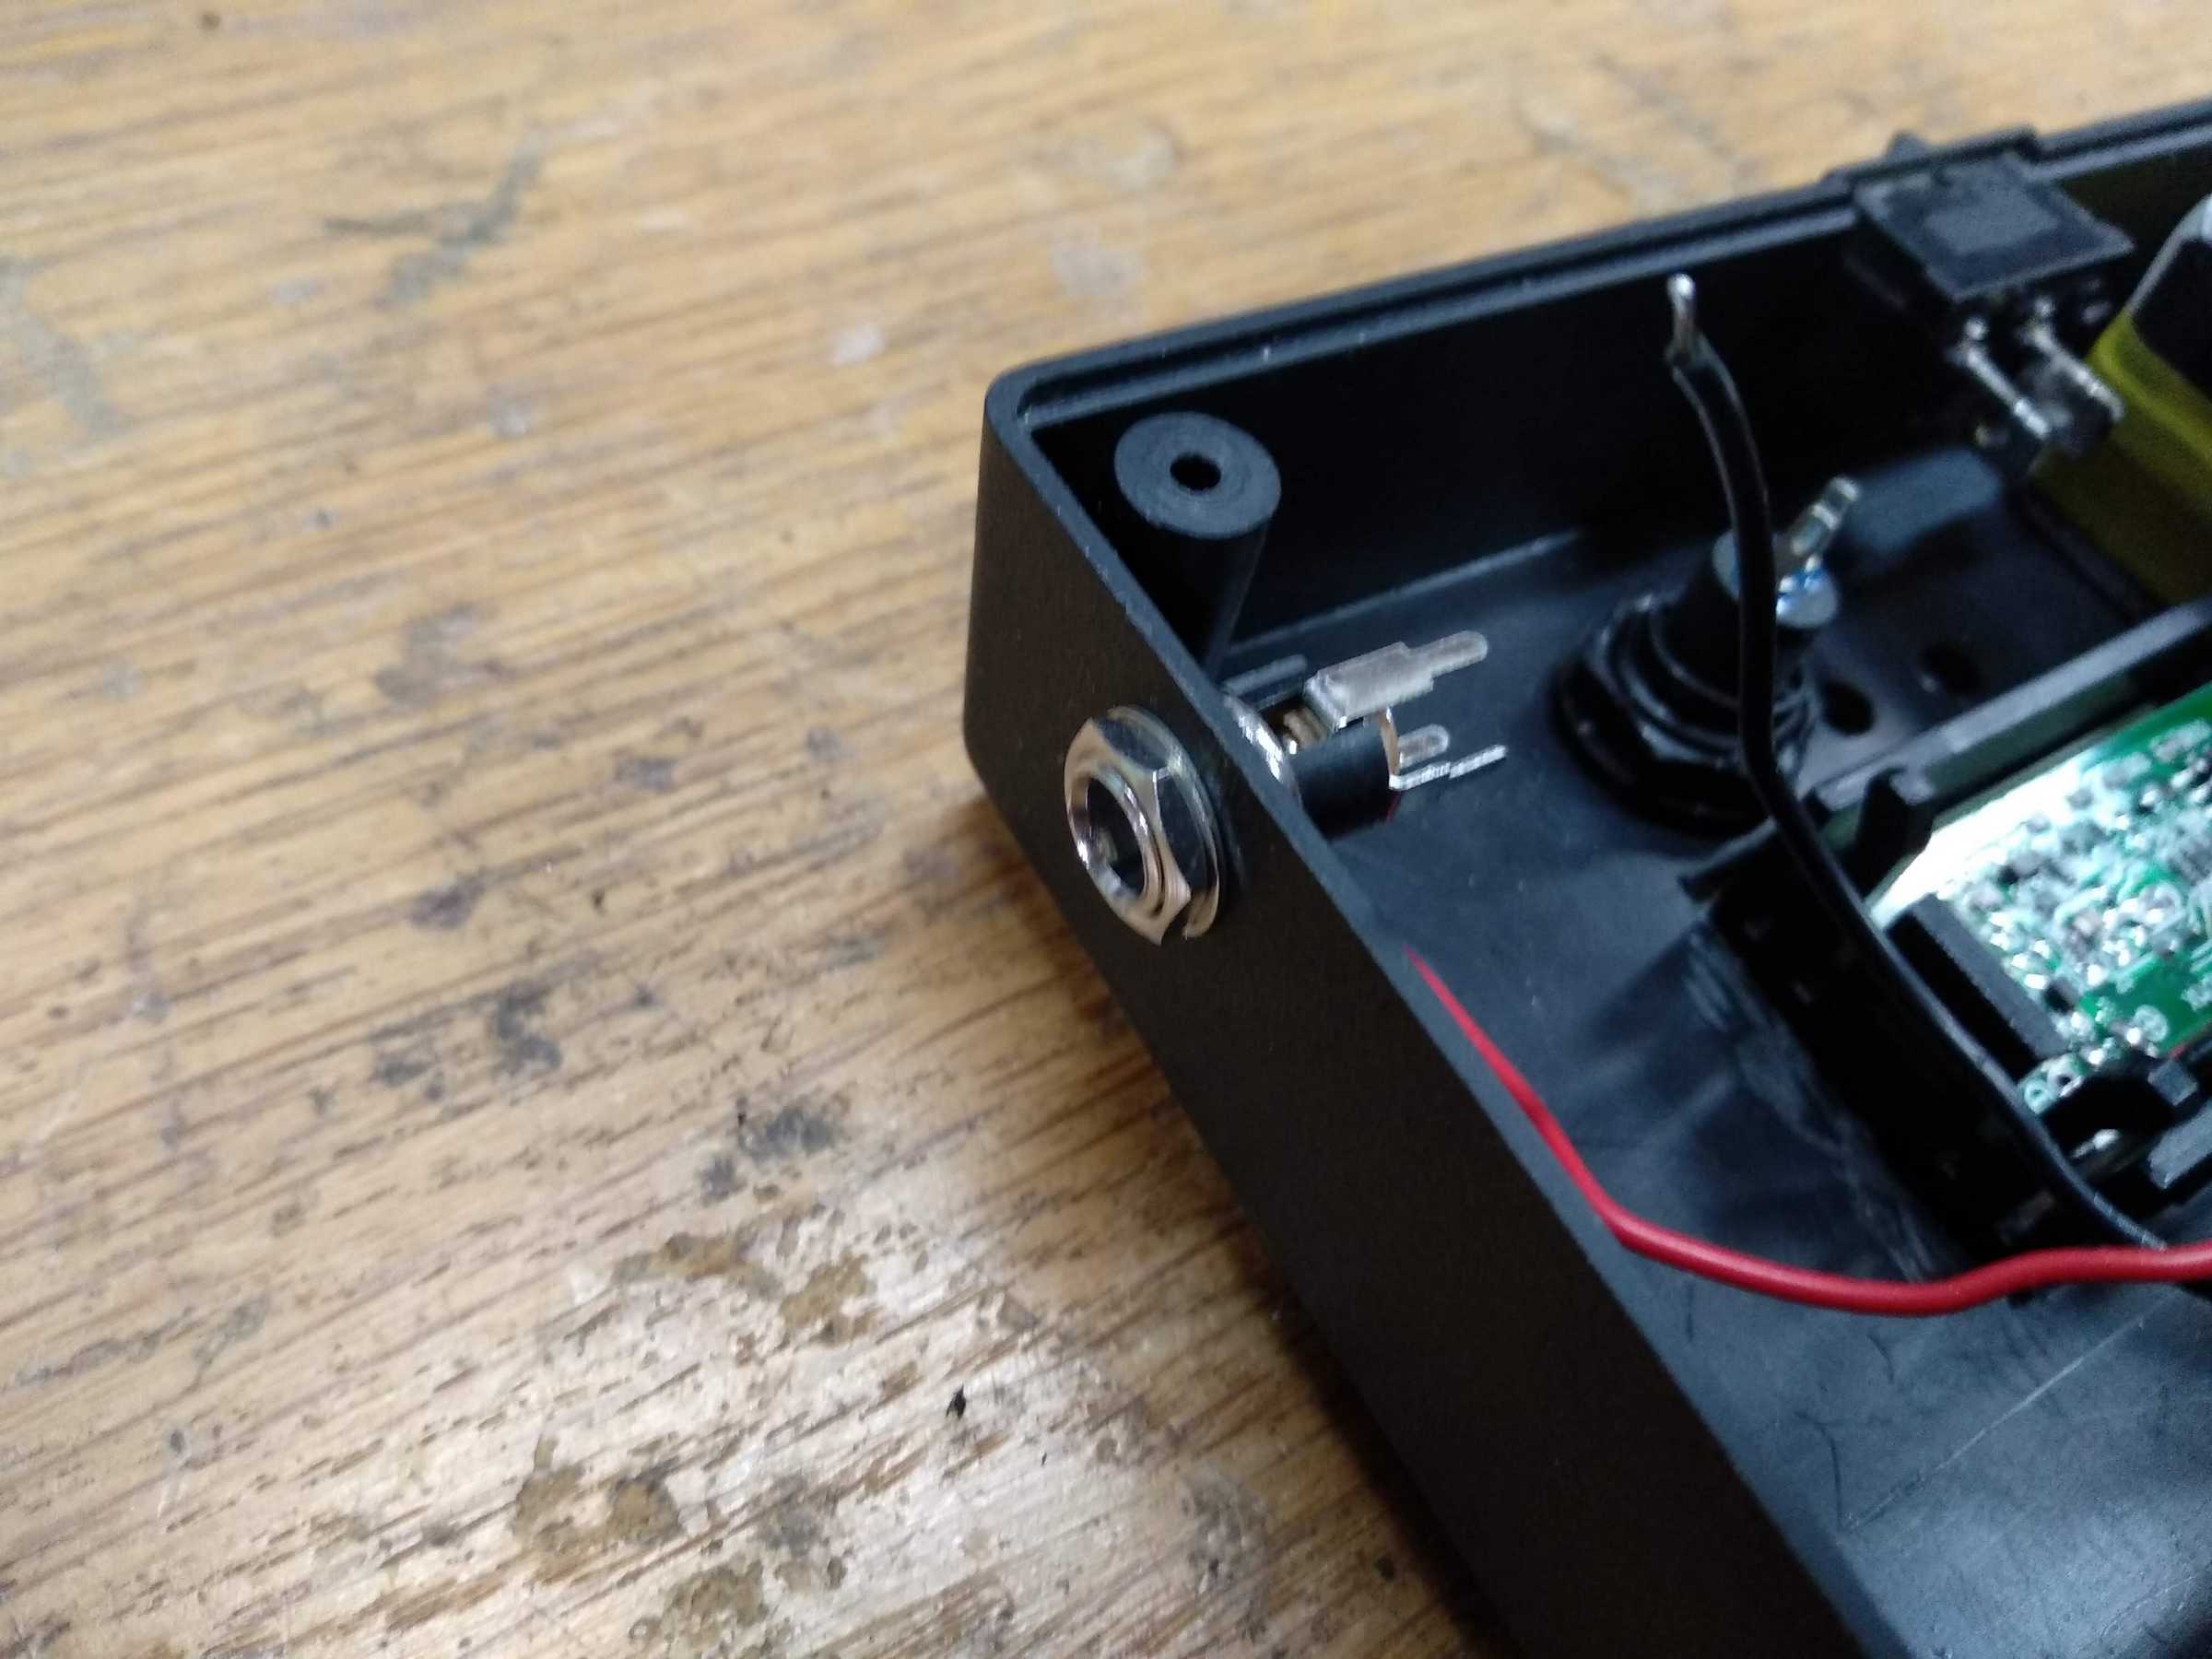
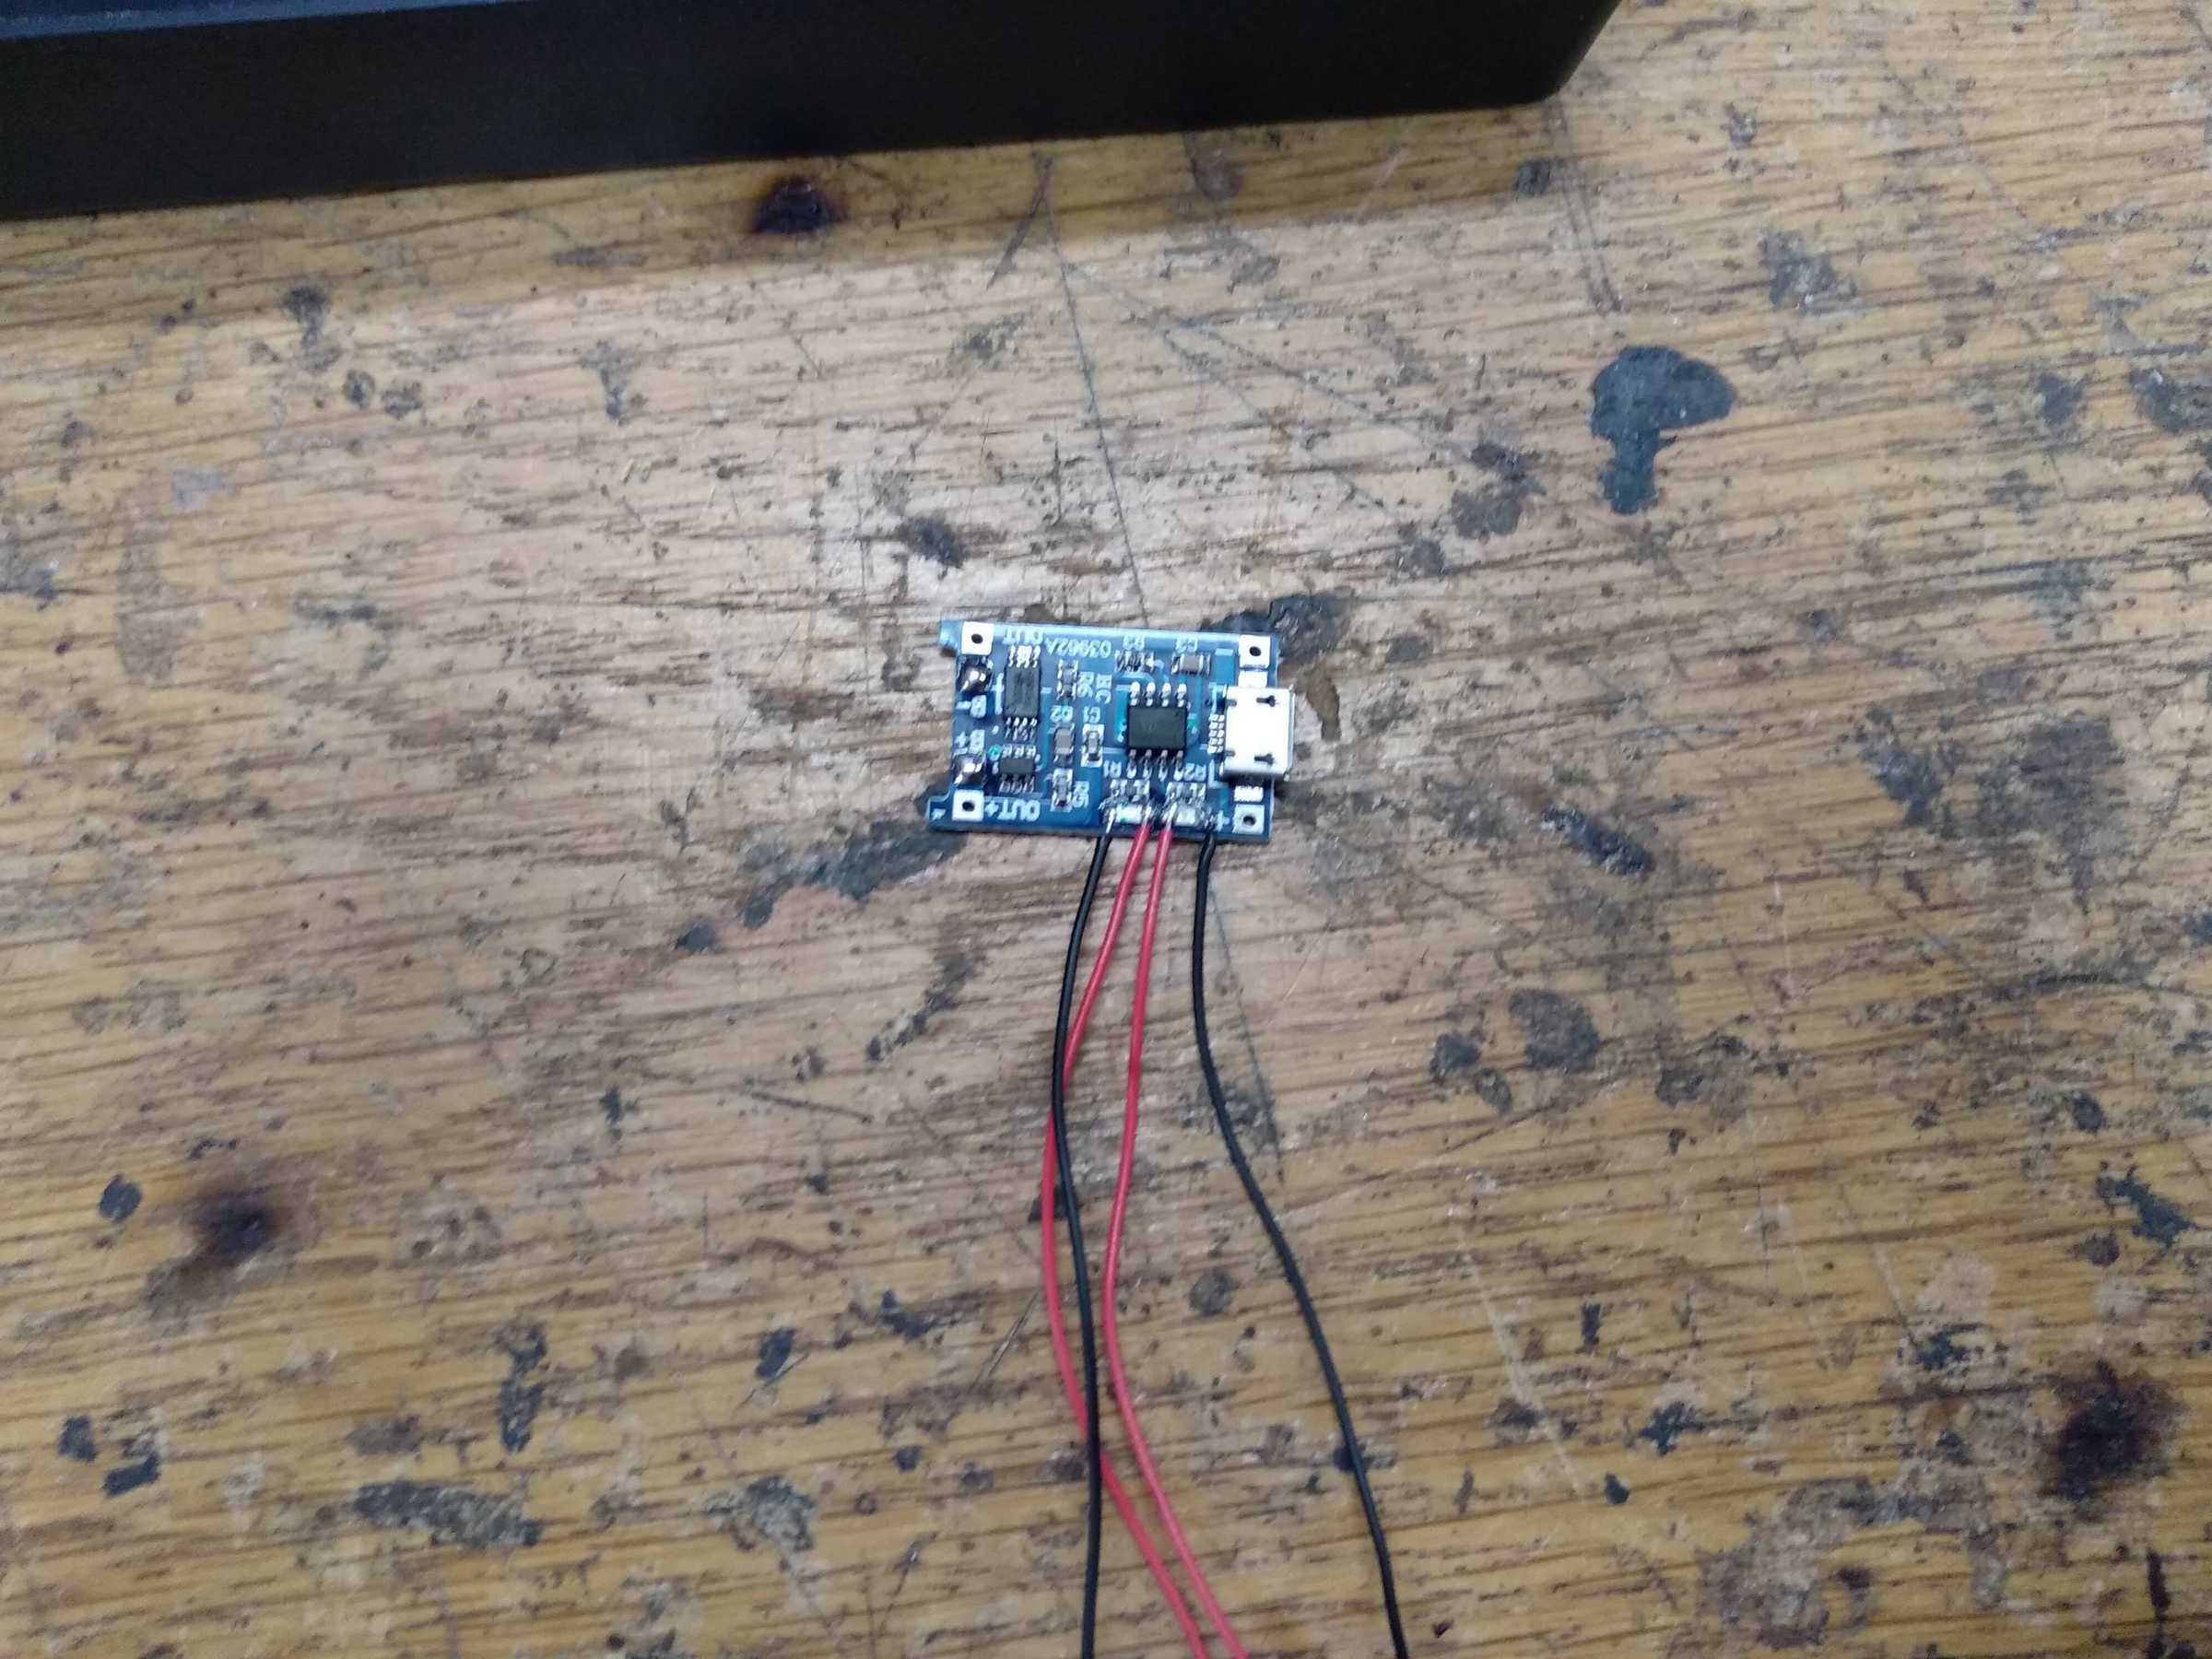
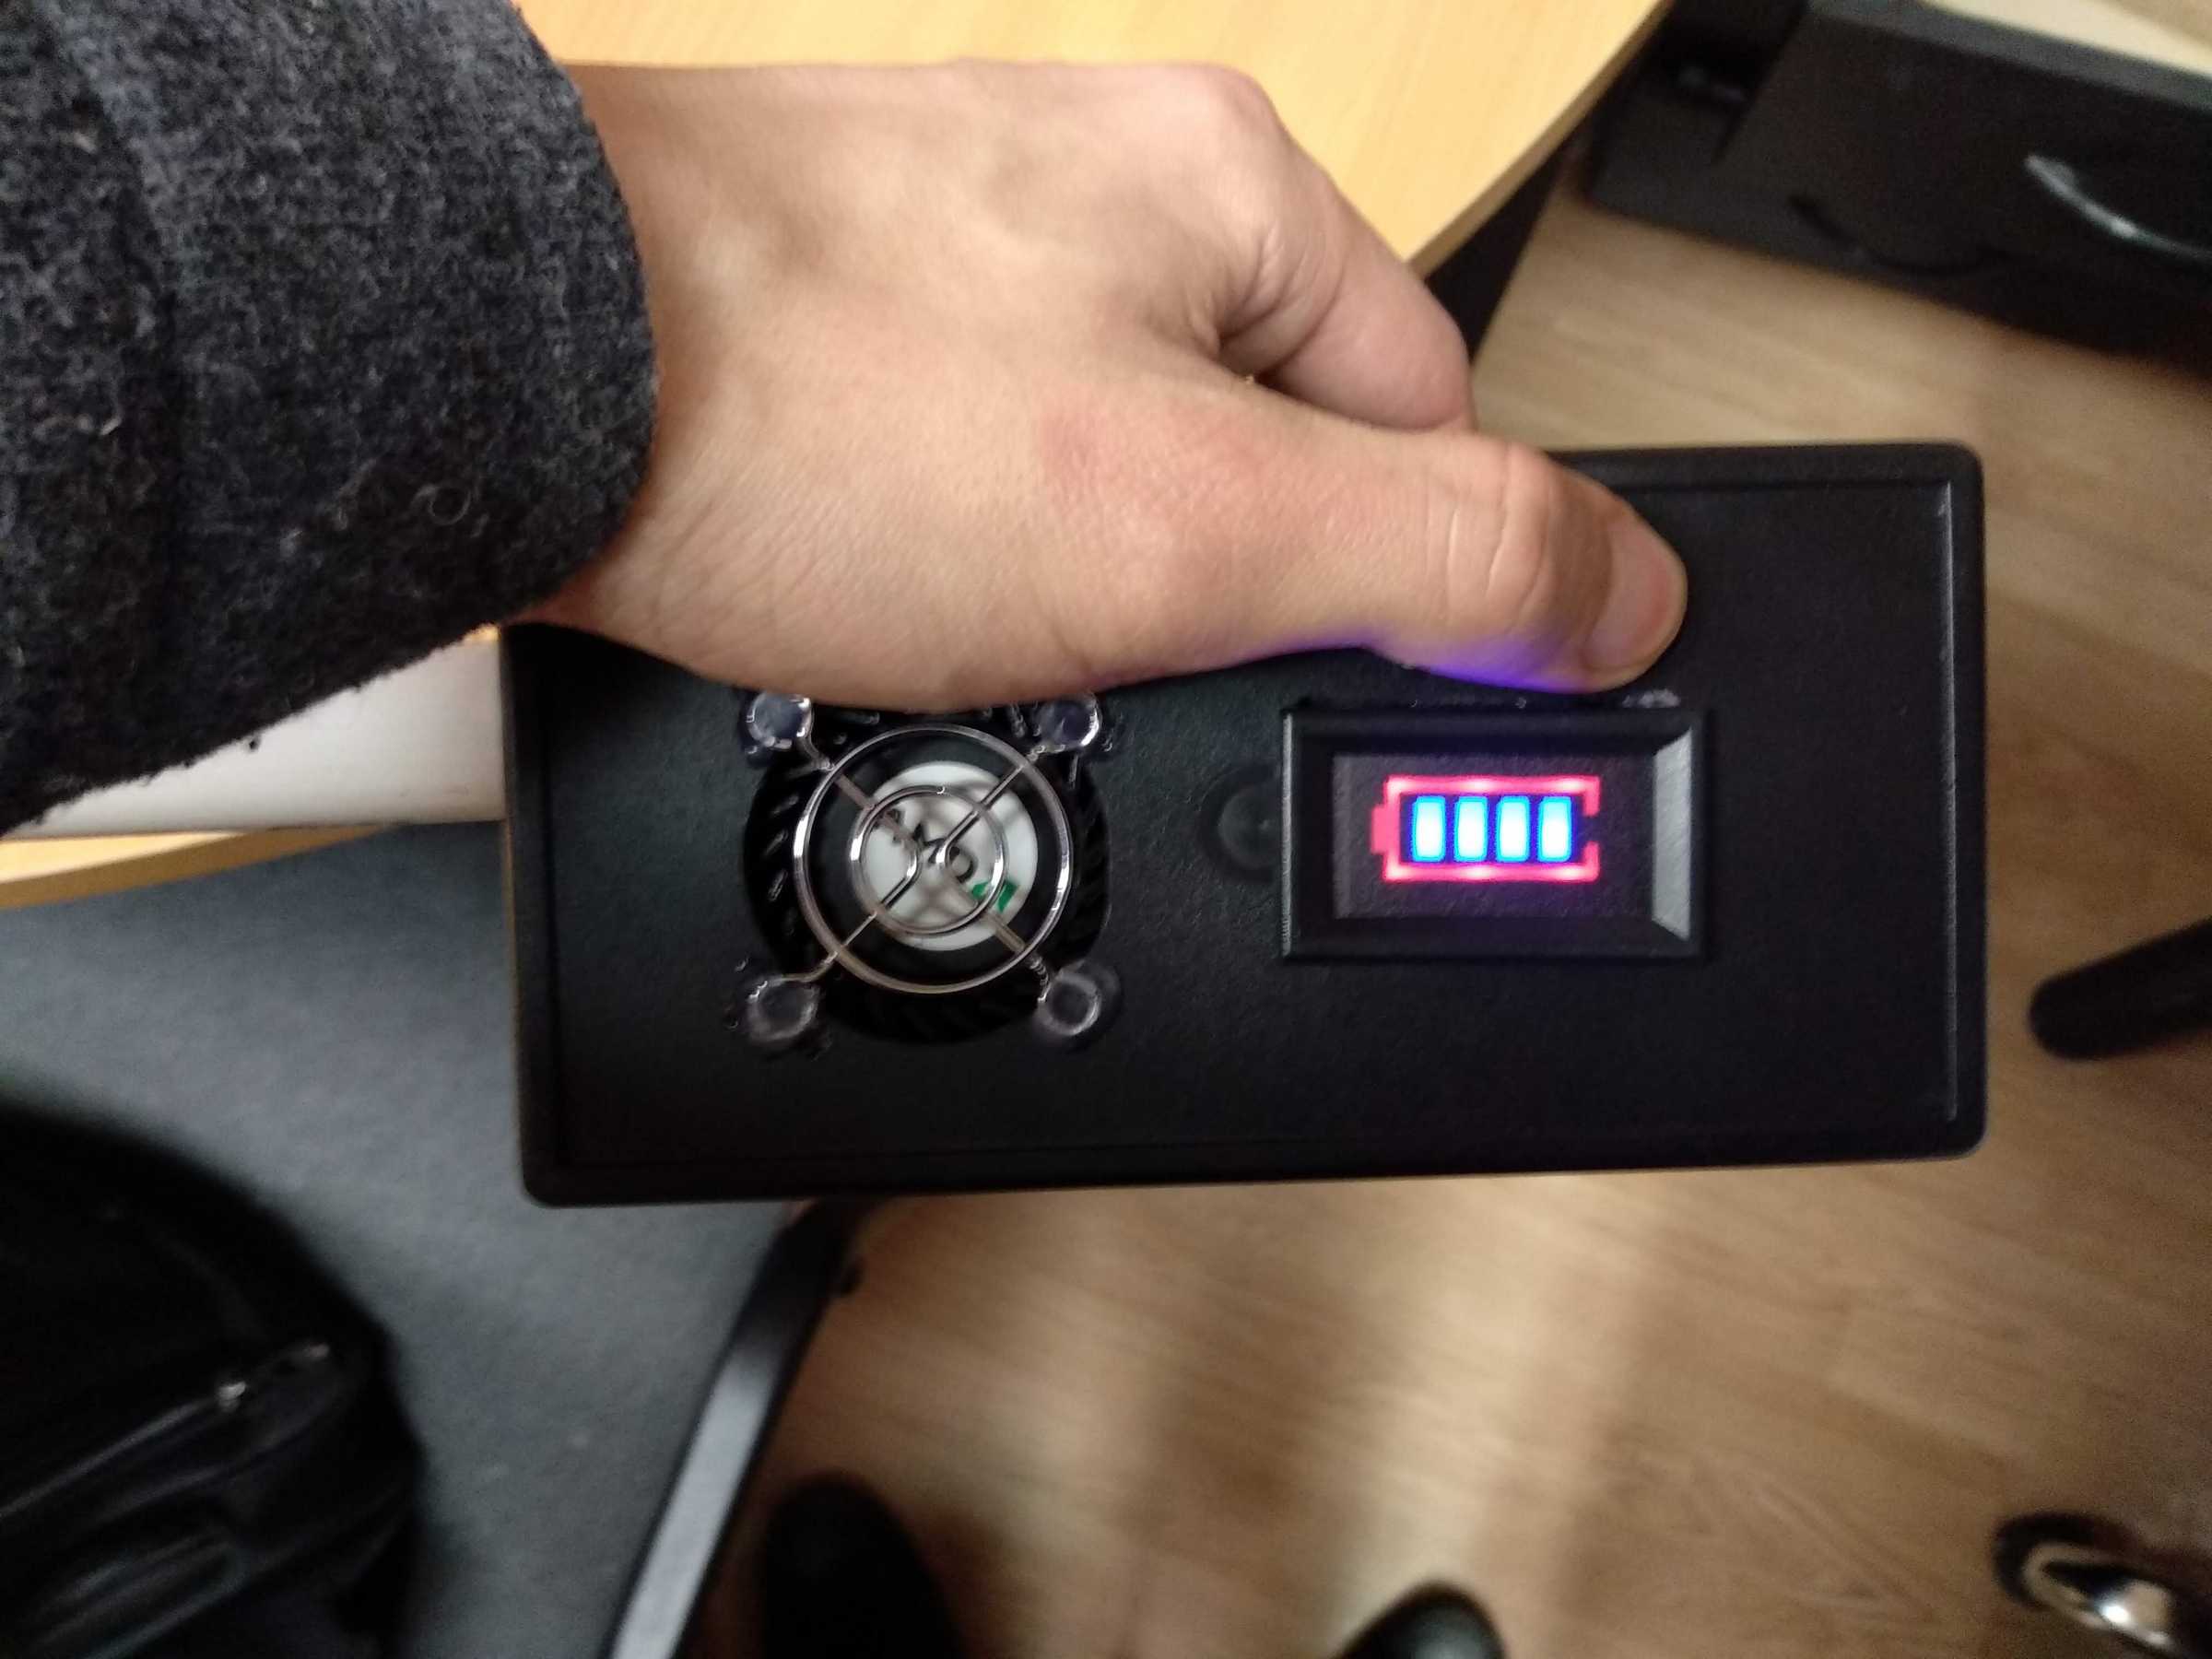
The next thing I did was plan out how I would arrange everything in a box and I had to fit a power connector, a power button, a battery level indicator and a pushbutton for it, a charging module with external LEDs, a boost converter and of course a battery.
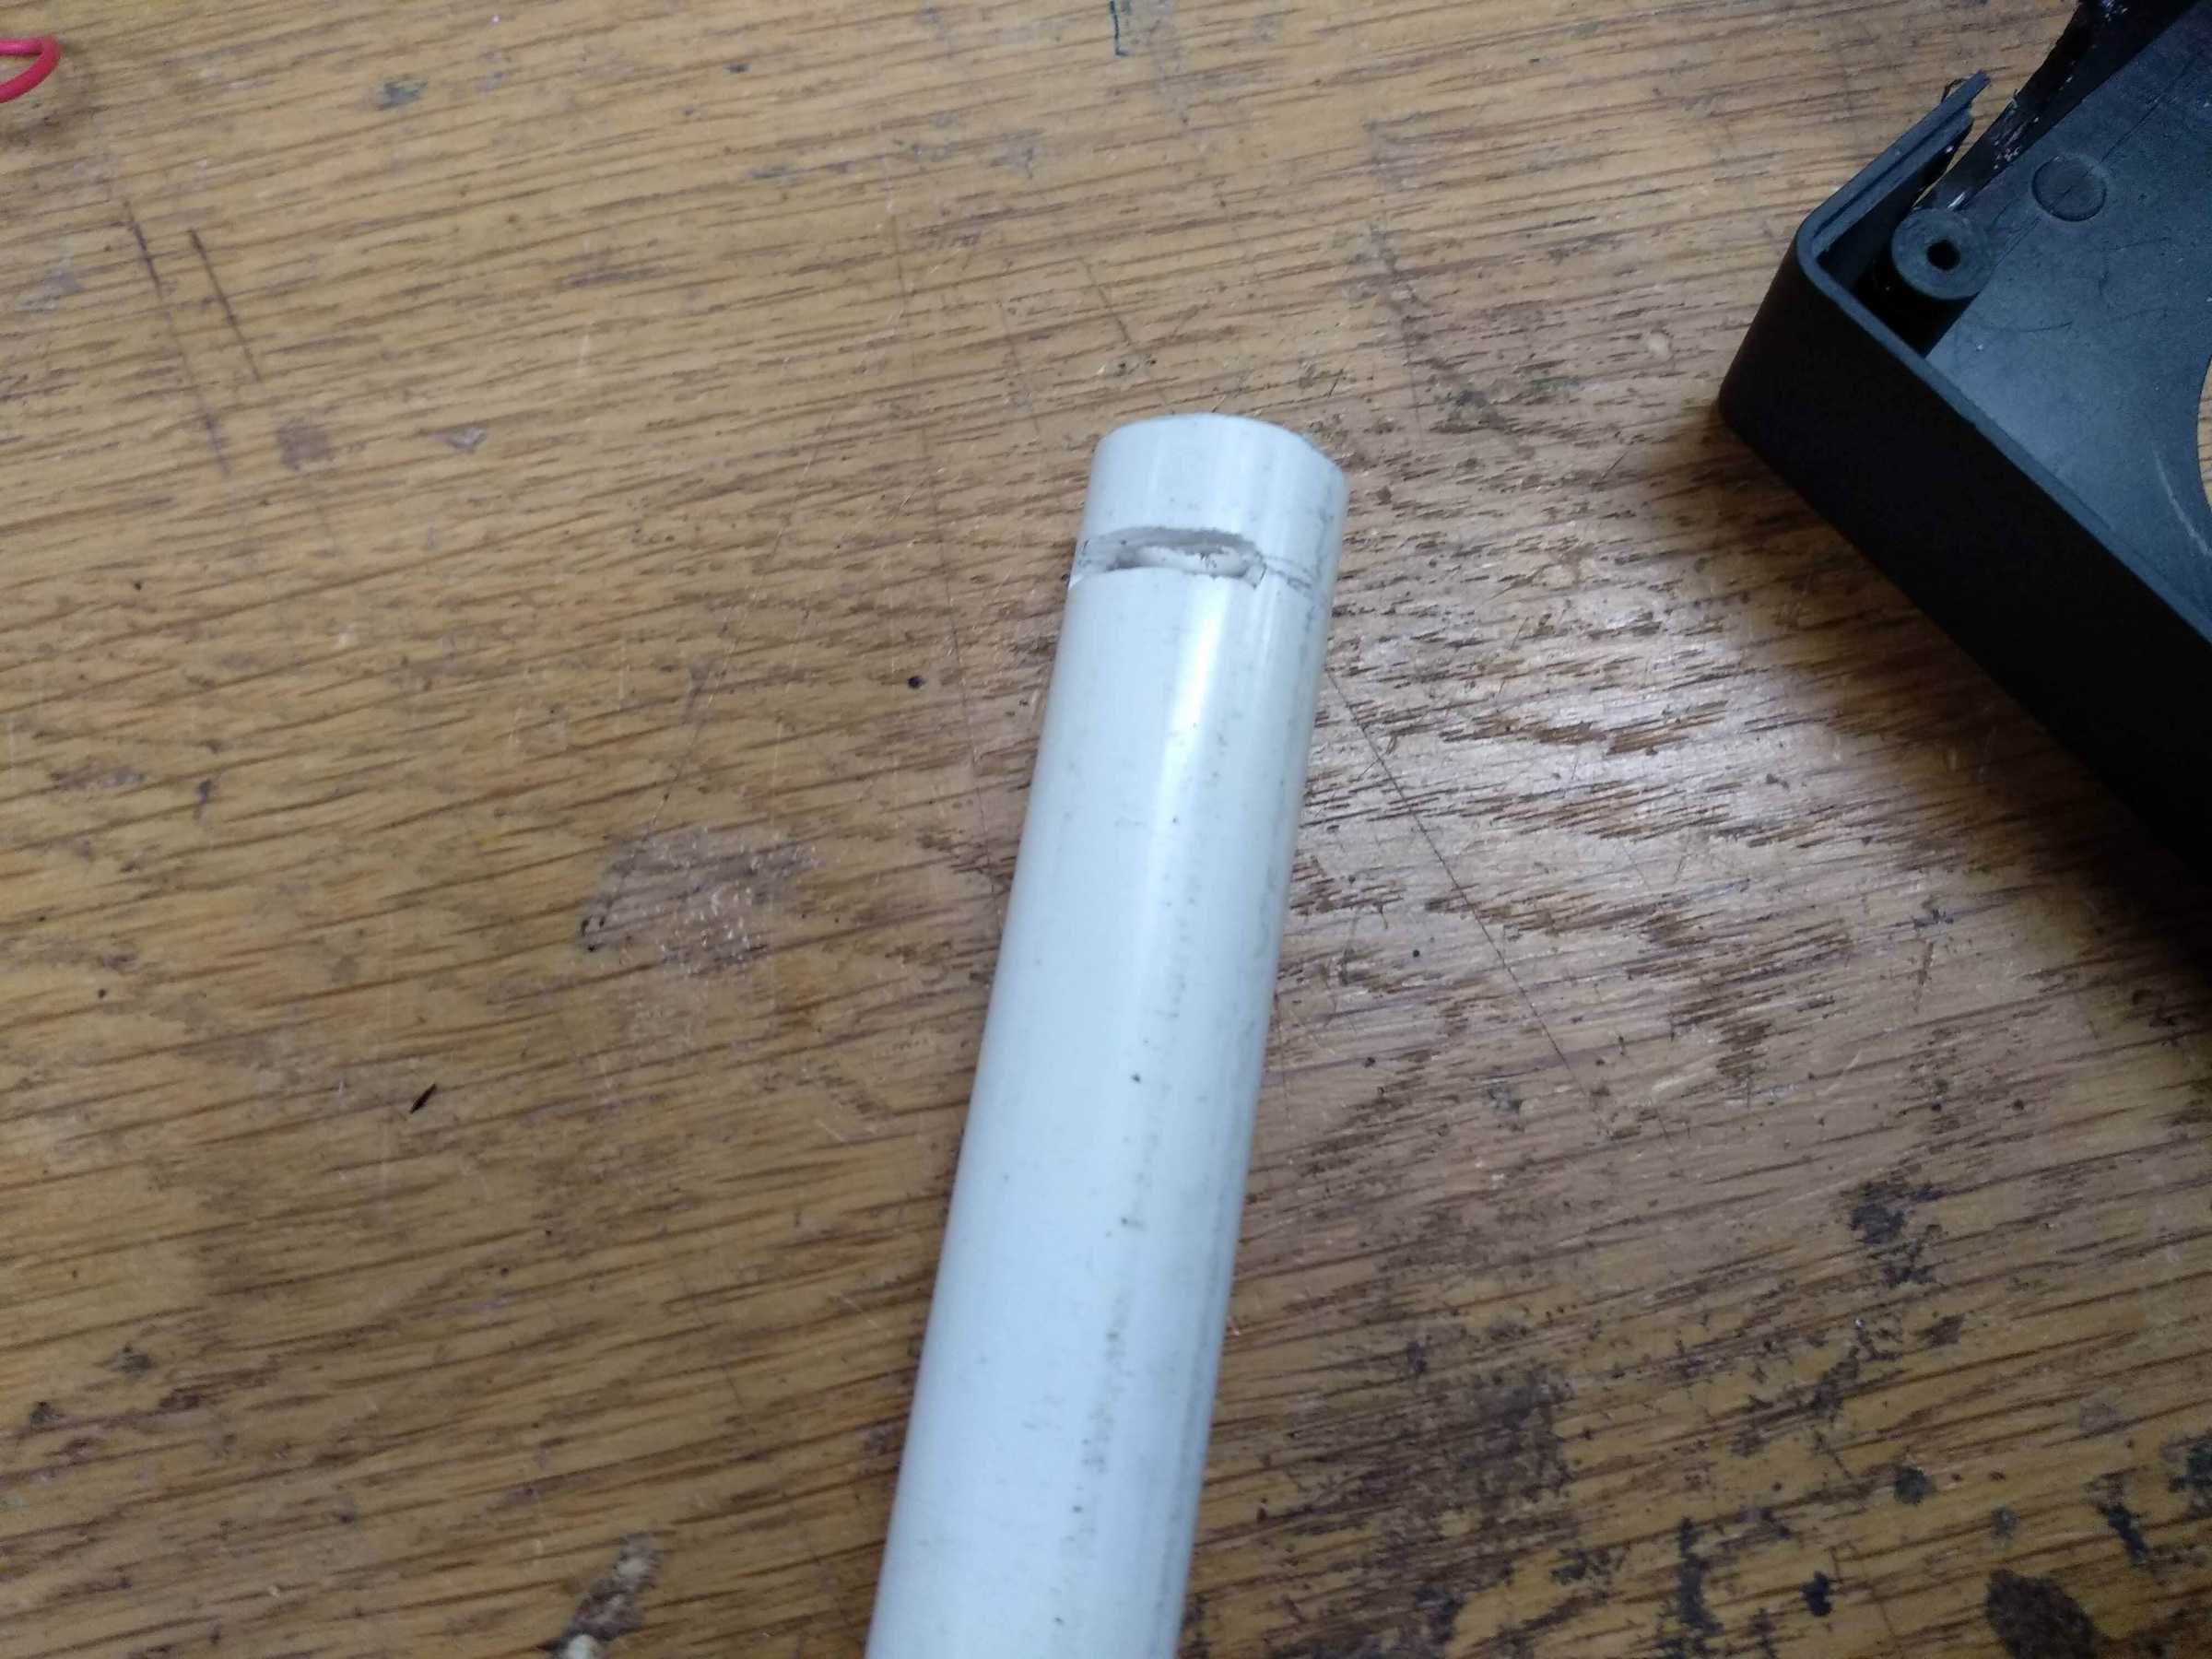
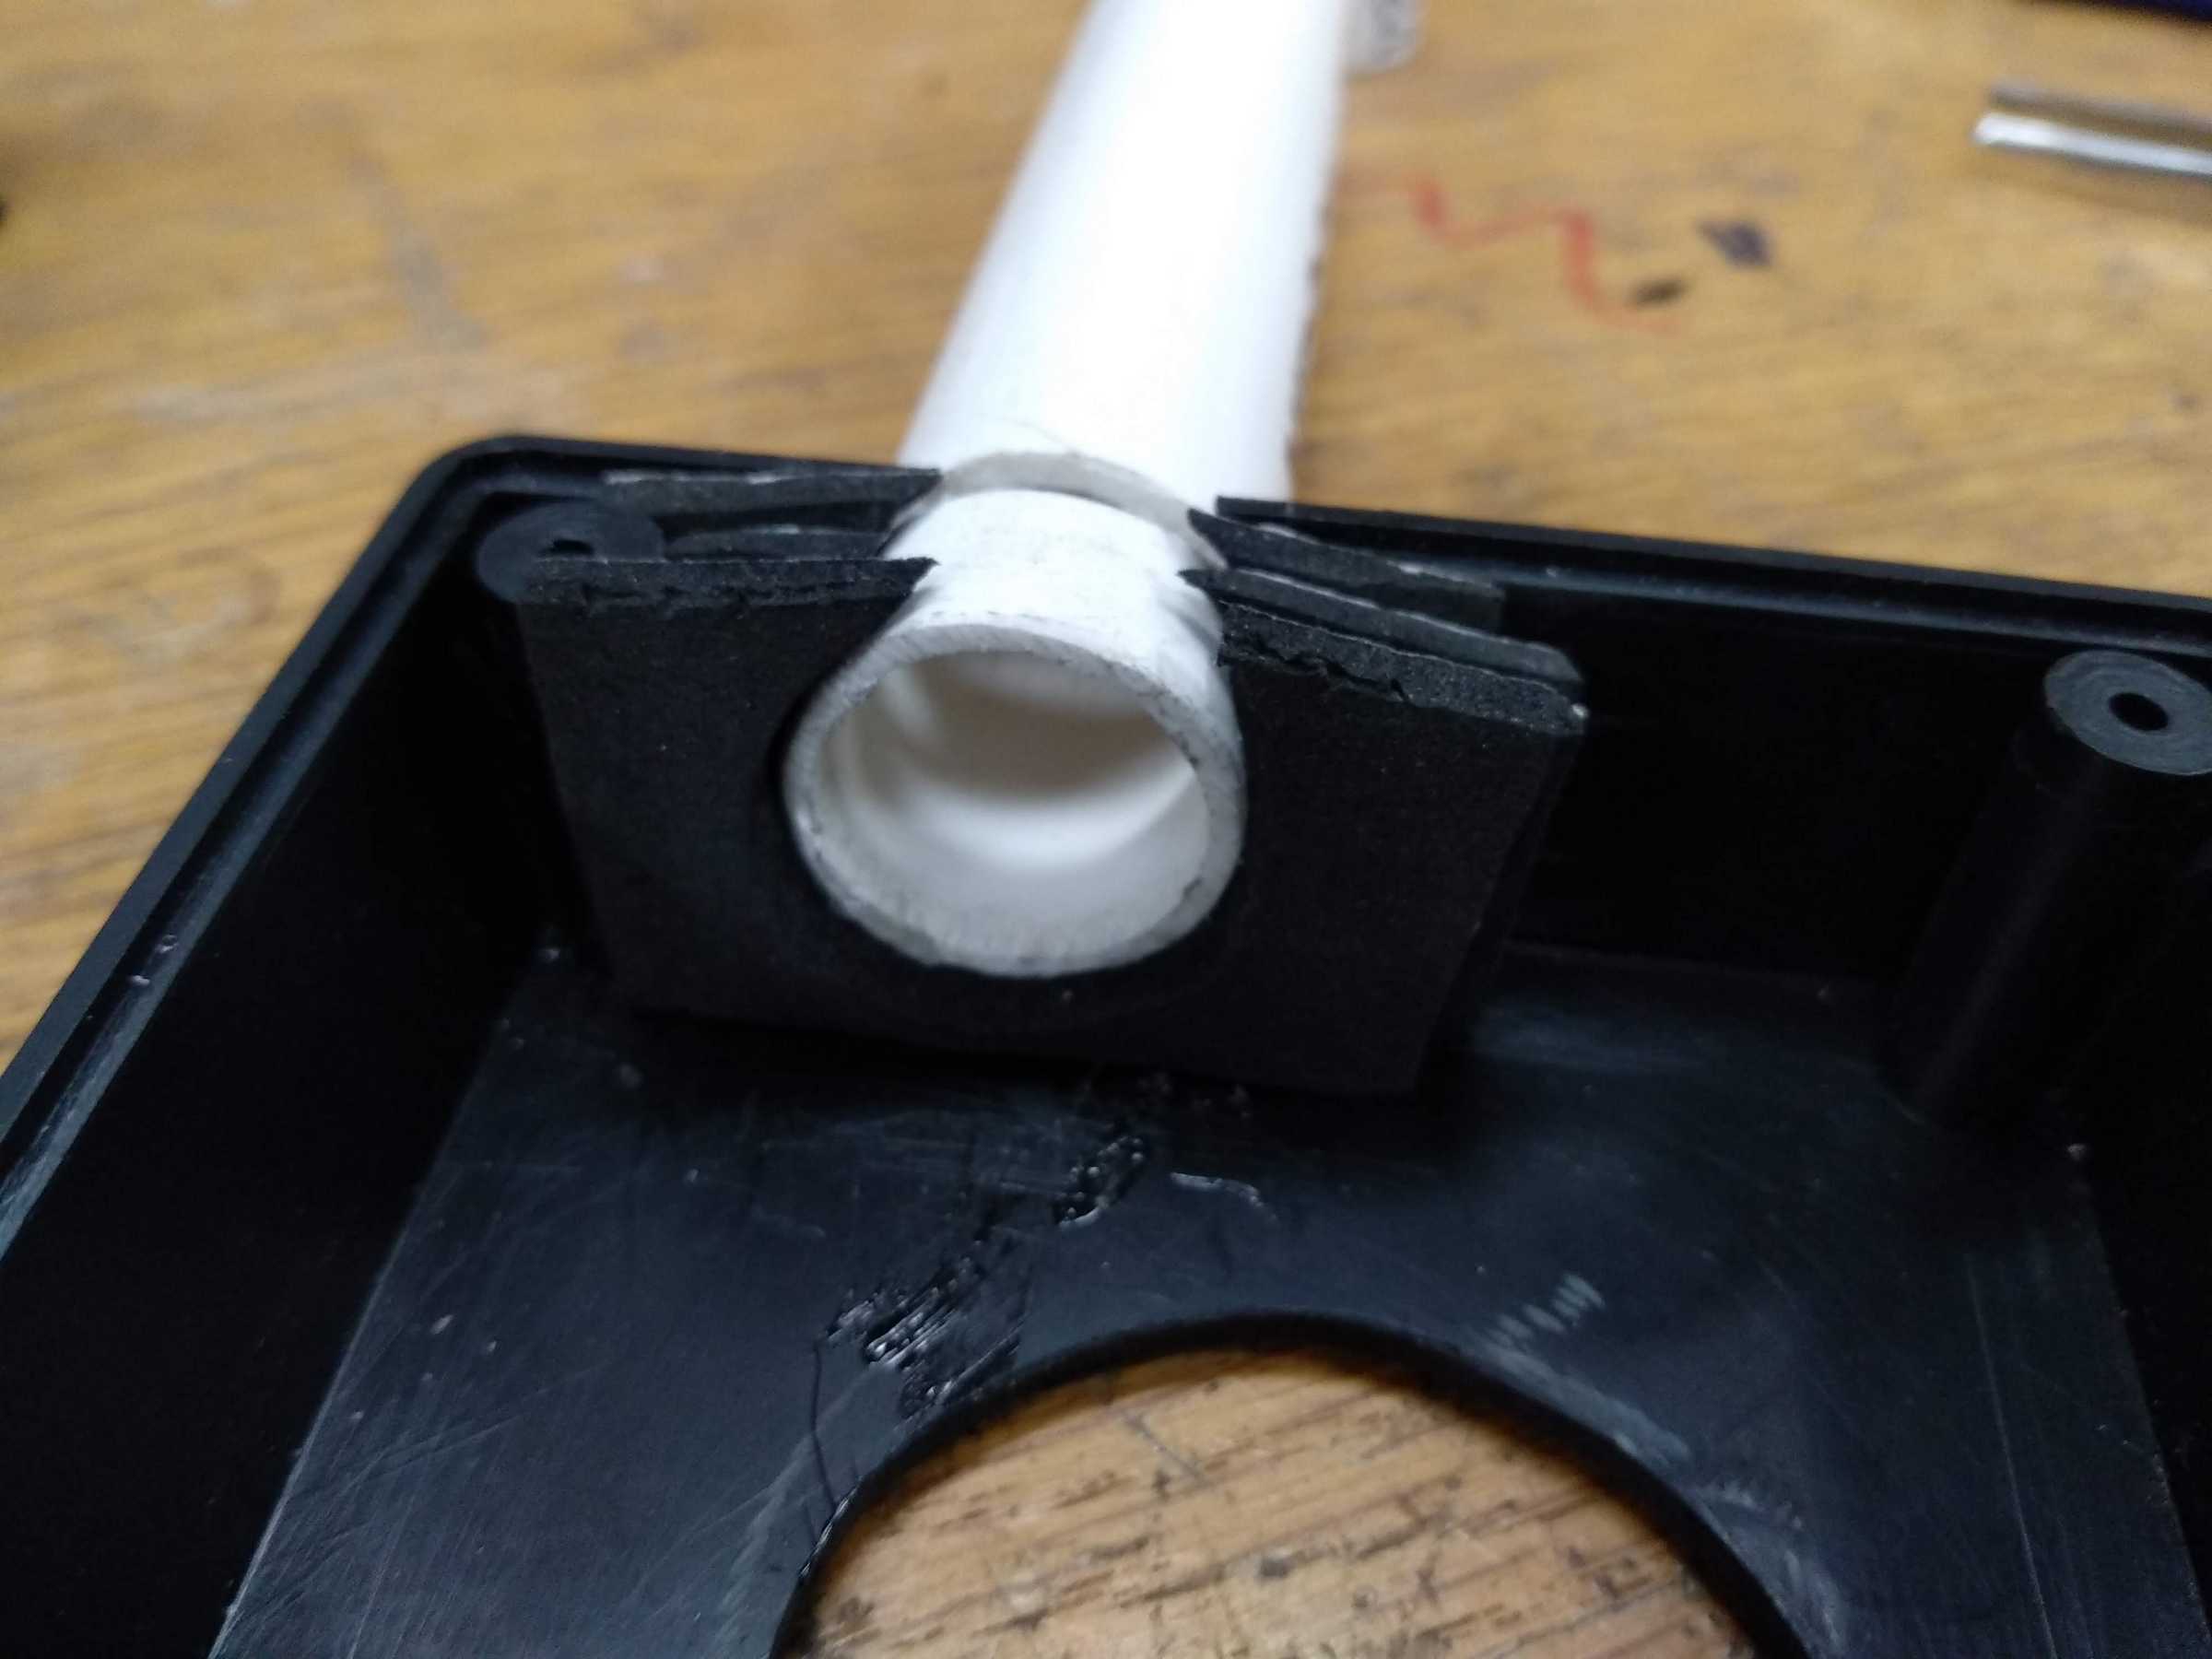
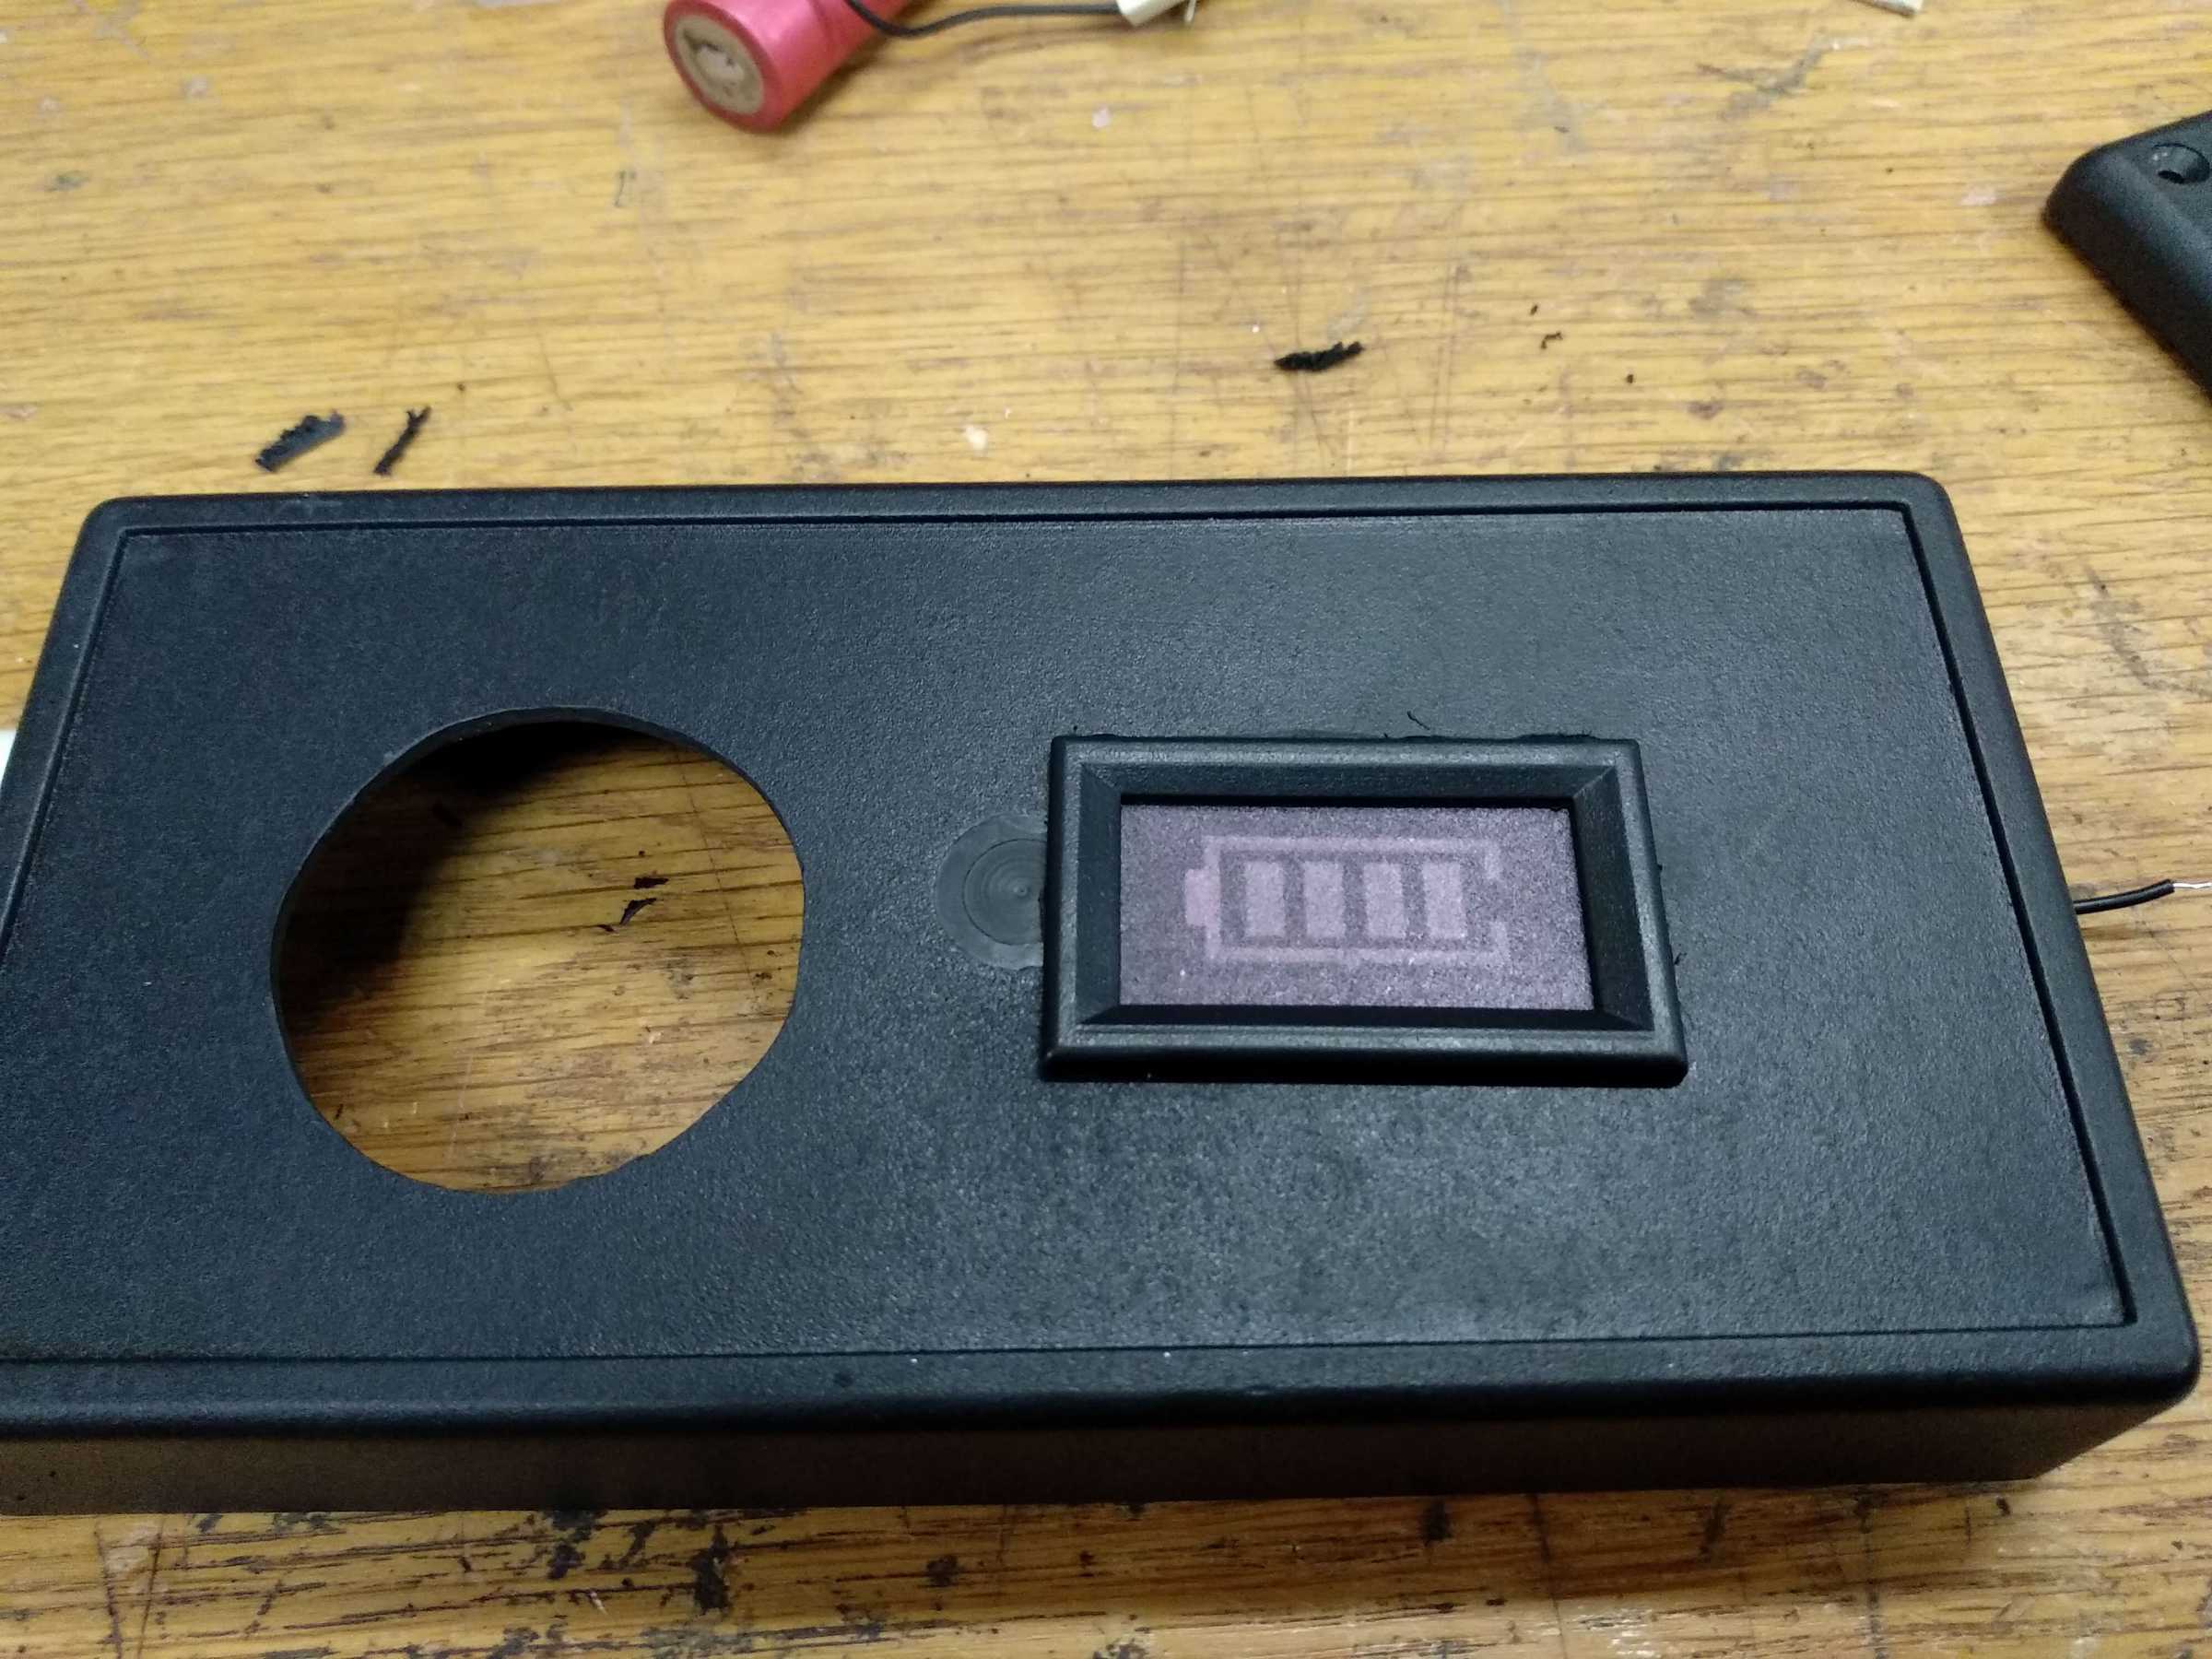
First I marked where the fan would go, cut out a hole for the pipe and used epoxy to keep it in place, made a hole for the fan to suck air through and cut out a place to insert the battery level indicator. Added some padding to fill a gap between the fan and the pipe, later with a double sided tape stuck the fan in place.
And then added everything else.
The charging module has LEDs indicate when it’s charging and when it is done. They are on the board and I wanted this visual aid on the outside as well.
Connecting everything proved to be the most time consuming task on this project. I like things nice and tidy.
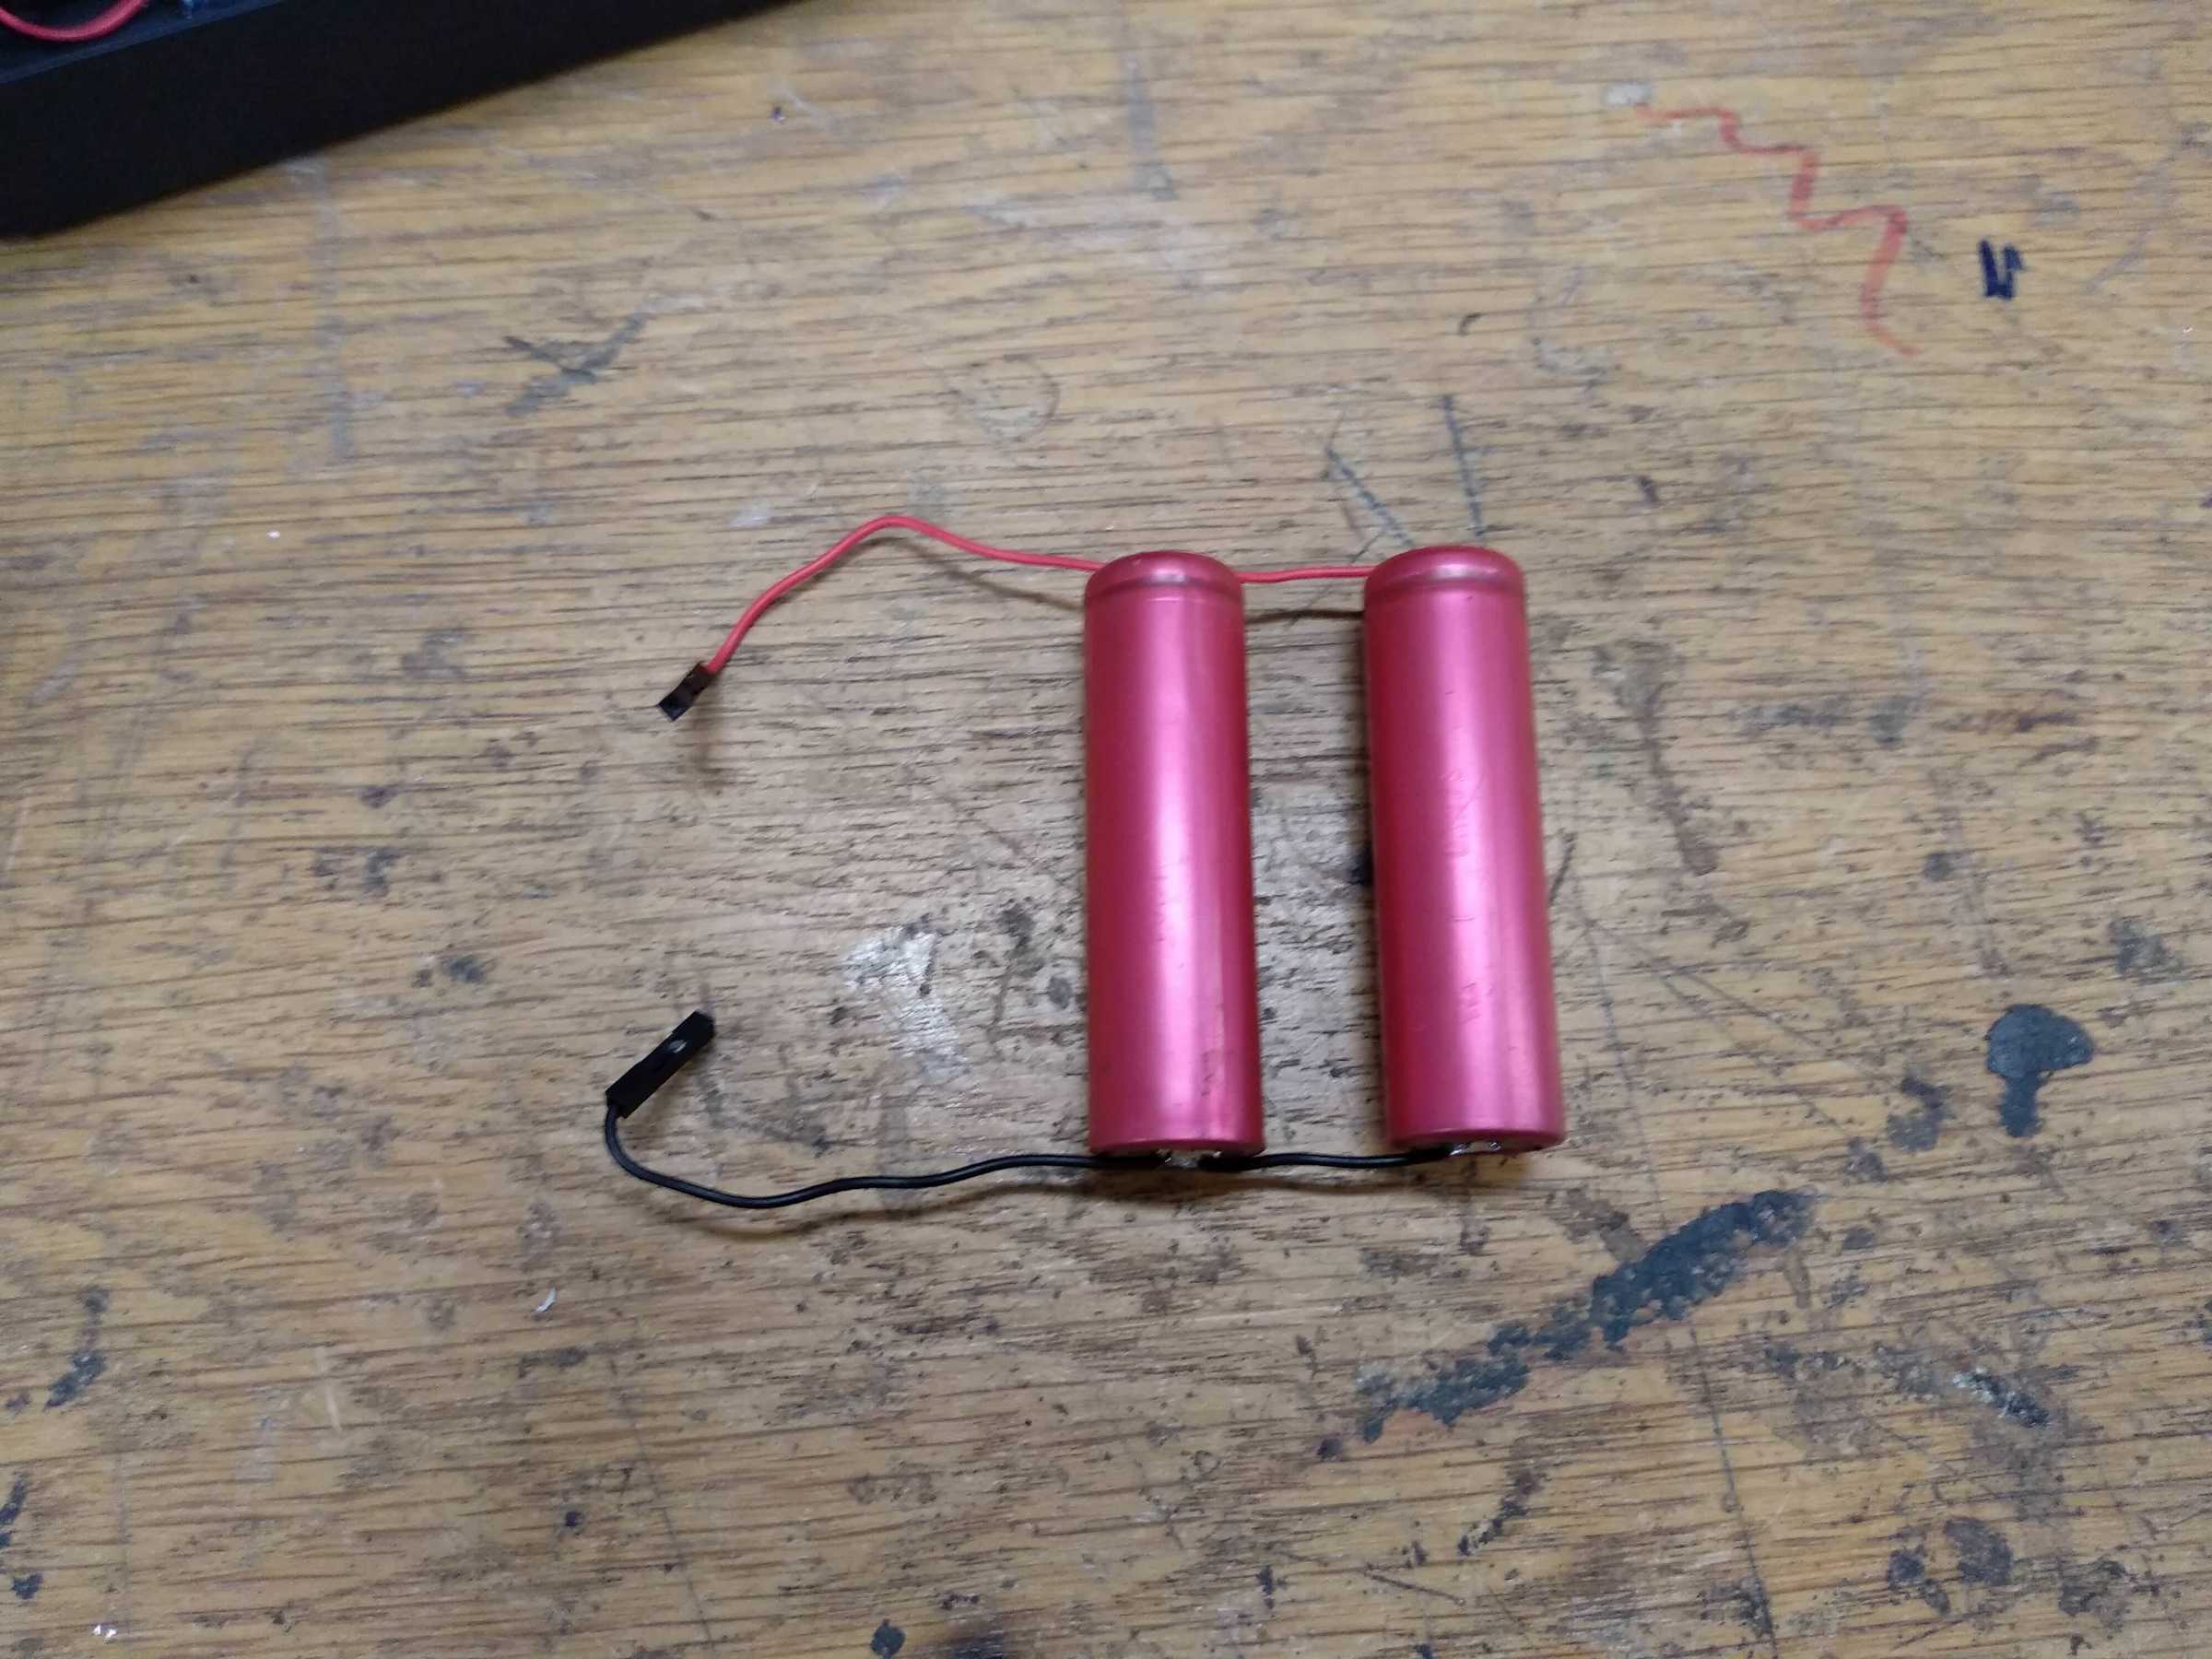
For the battery I used a LiPo cell salvaged from a laptop which is 2200mAh and as seen in the photos I made the battery detachable from the system in case I needed to replace it. More simpler would be to use a 18650 battery holder, but only if the box was bigger.
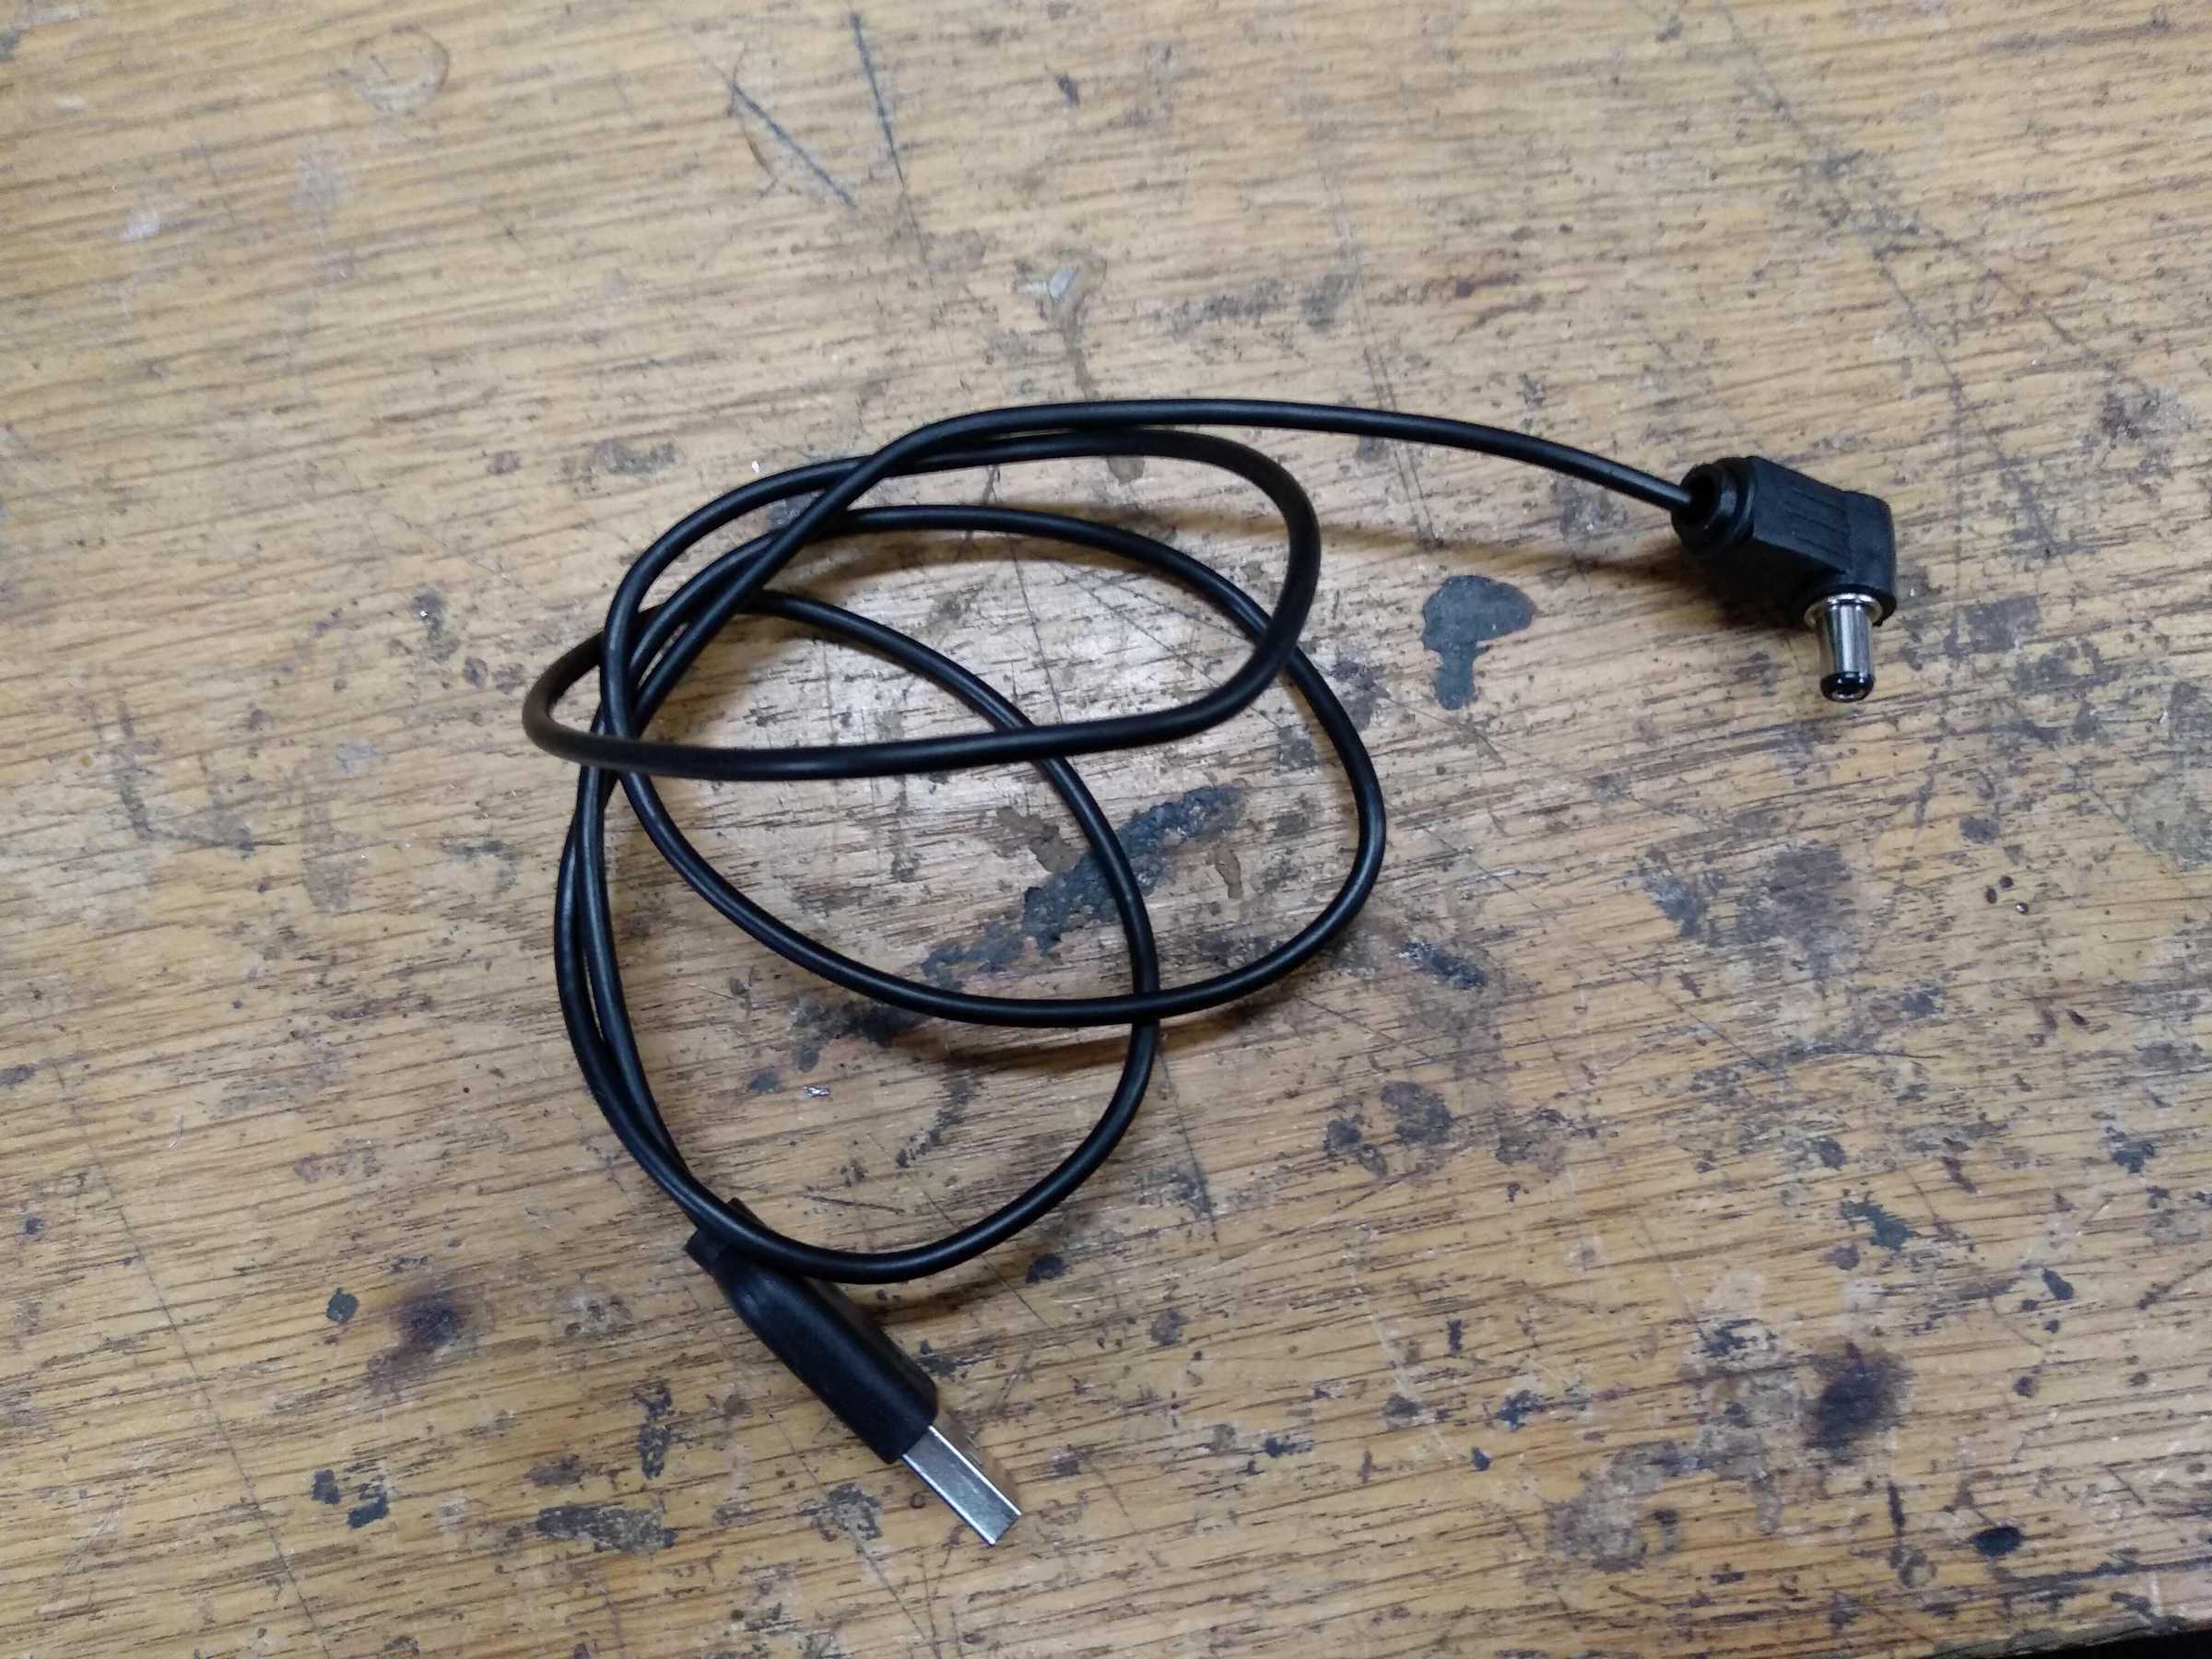
Only thing left to do is make a charging cable. I made it from an old USB cable.
And that’s pretty much it. After having it around for a while I noticed that the battery is draining fast when I’m not using it – the whole battery would drain over night. The culprit was the boost converter. I added a power switch (to power on the fan) after the boost converter and it was draining power even without any load. The fix was to move the switch before the boost converter.
Next after a while using it I noticed that a single cell might not be enough to last a barbecue session. With that in mind I added one more cell (2600mAh) connected in parallel to increase capacity since there was just enough space to have one more.
And that’s pretty much it.
As a finishing touch I added a guard to keep things out of the fan hole. I thought about that at the very end, but didn’t want to disassemble anything, so I just glued it on top…


