I do a lot of projects, but try to only do one or two at a time. It’s how I manage things and time doing them best and I don’t get confused. Sometimes though, my parts from various shops take more time than usual to arrive and I get stuck at a position where I don’t have anything to do.
That’s how this project was done in a short while between other projects that are on hold.
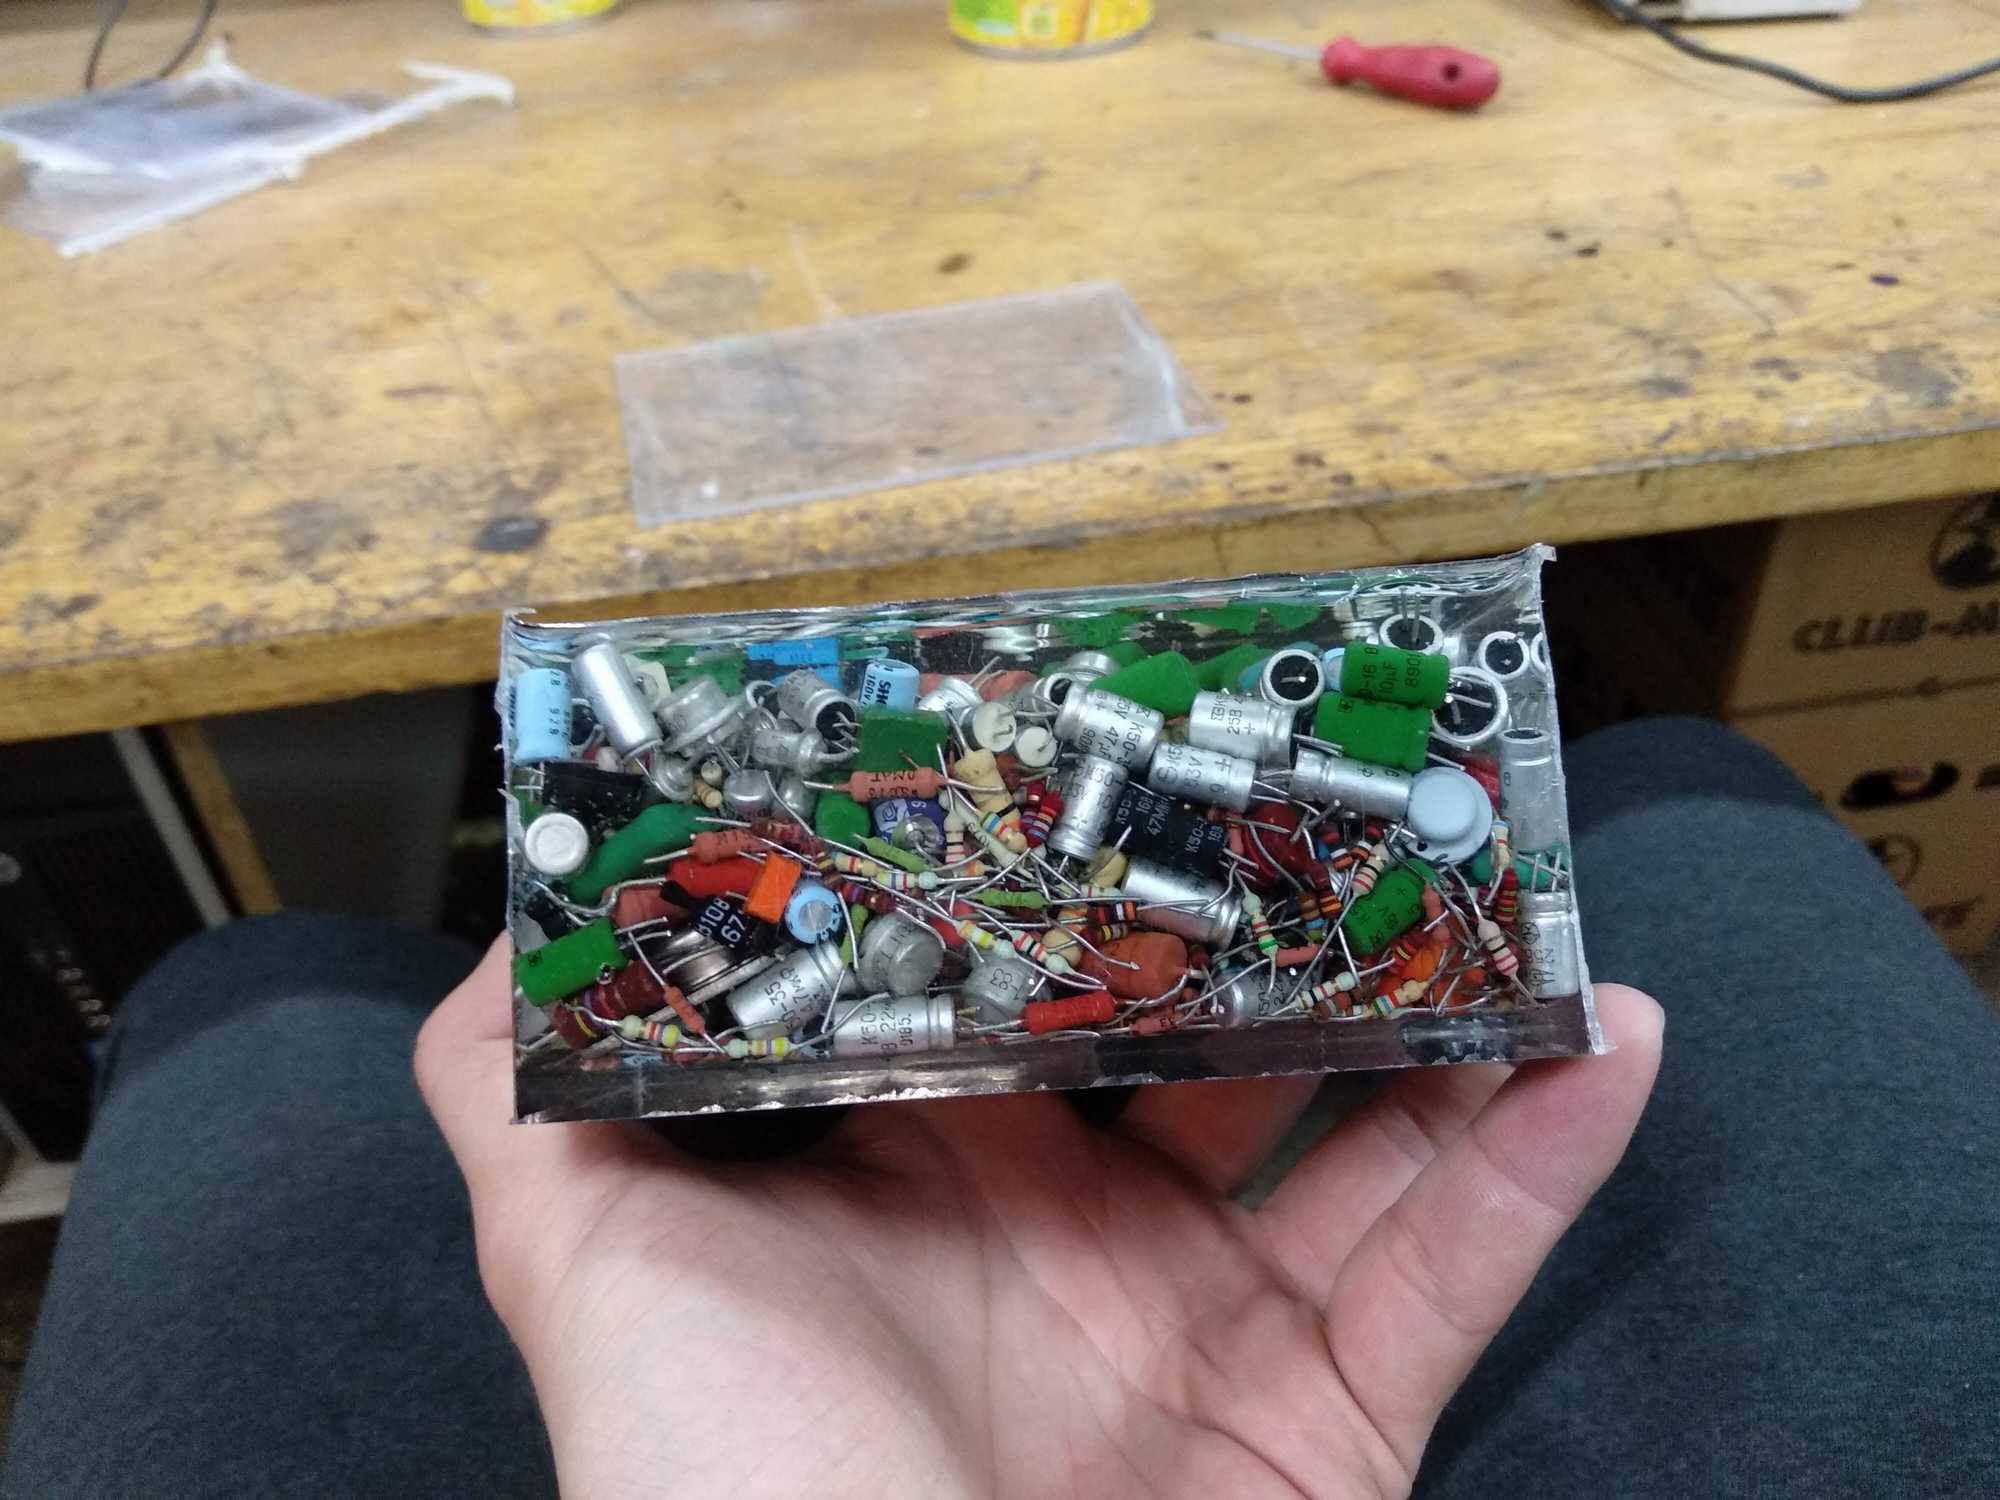
Anyway, first time I had such an idea was when someone brought in random electronic component mixture in a box. There were A LOT of them. Some are old Russian components, some are modern, some I never saw before. And sorting them would be just not worth the time and painful.
There is something that can be done with them apart from dumping them all into the trash container and one thing is casting them into epoxy.

First thing I did was buy some clear resin from silikon.lt. I bought the smallest quantity I could – 1.2kg (900gr resin and 300gr catalyst) and the one that allows pouring a 5cm layer at a time.

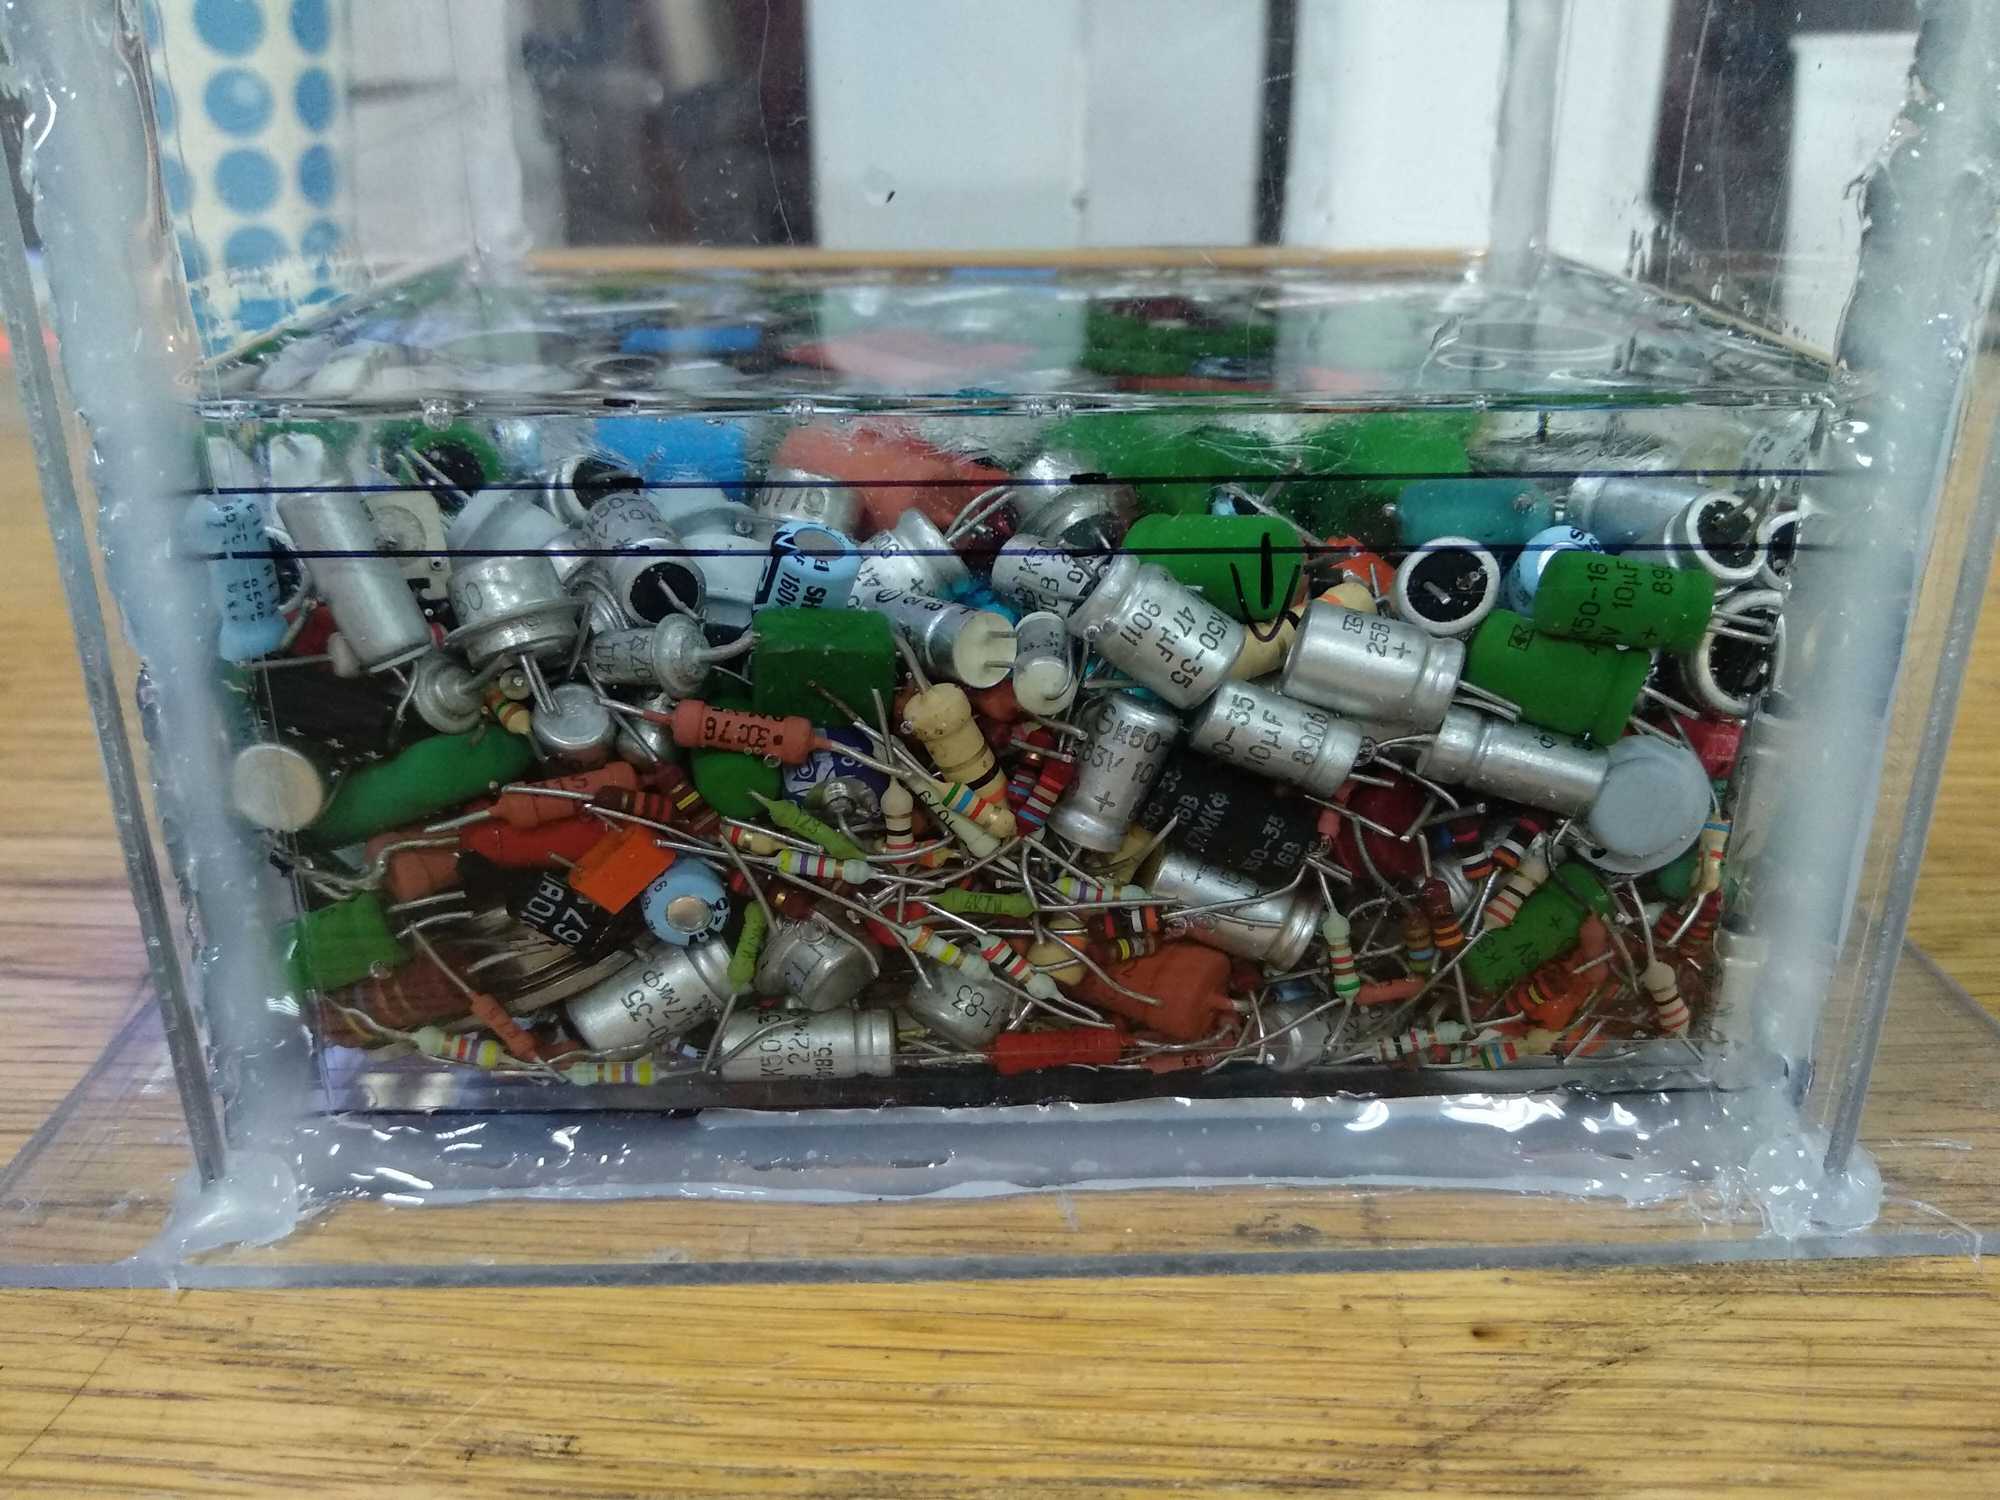
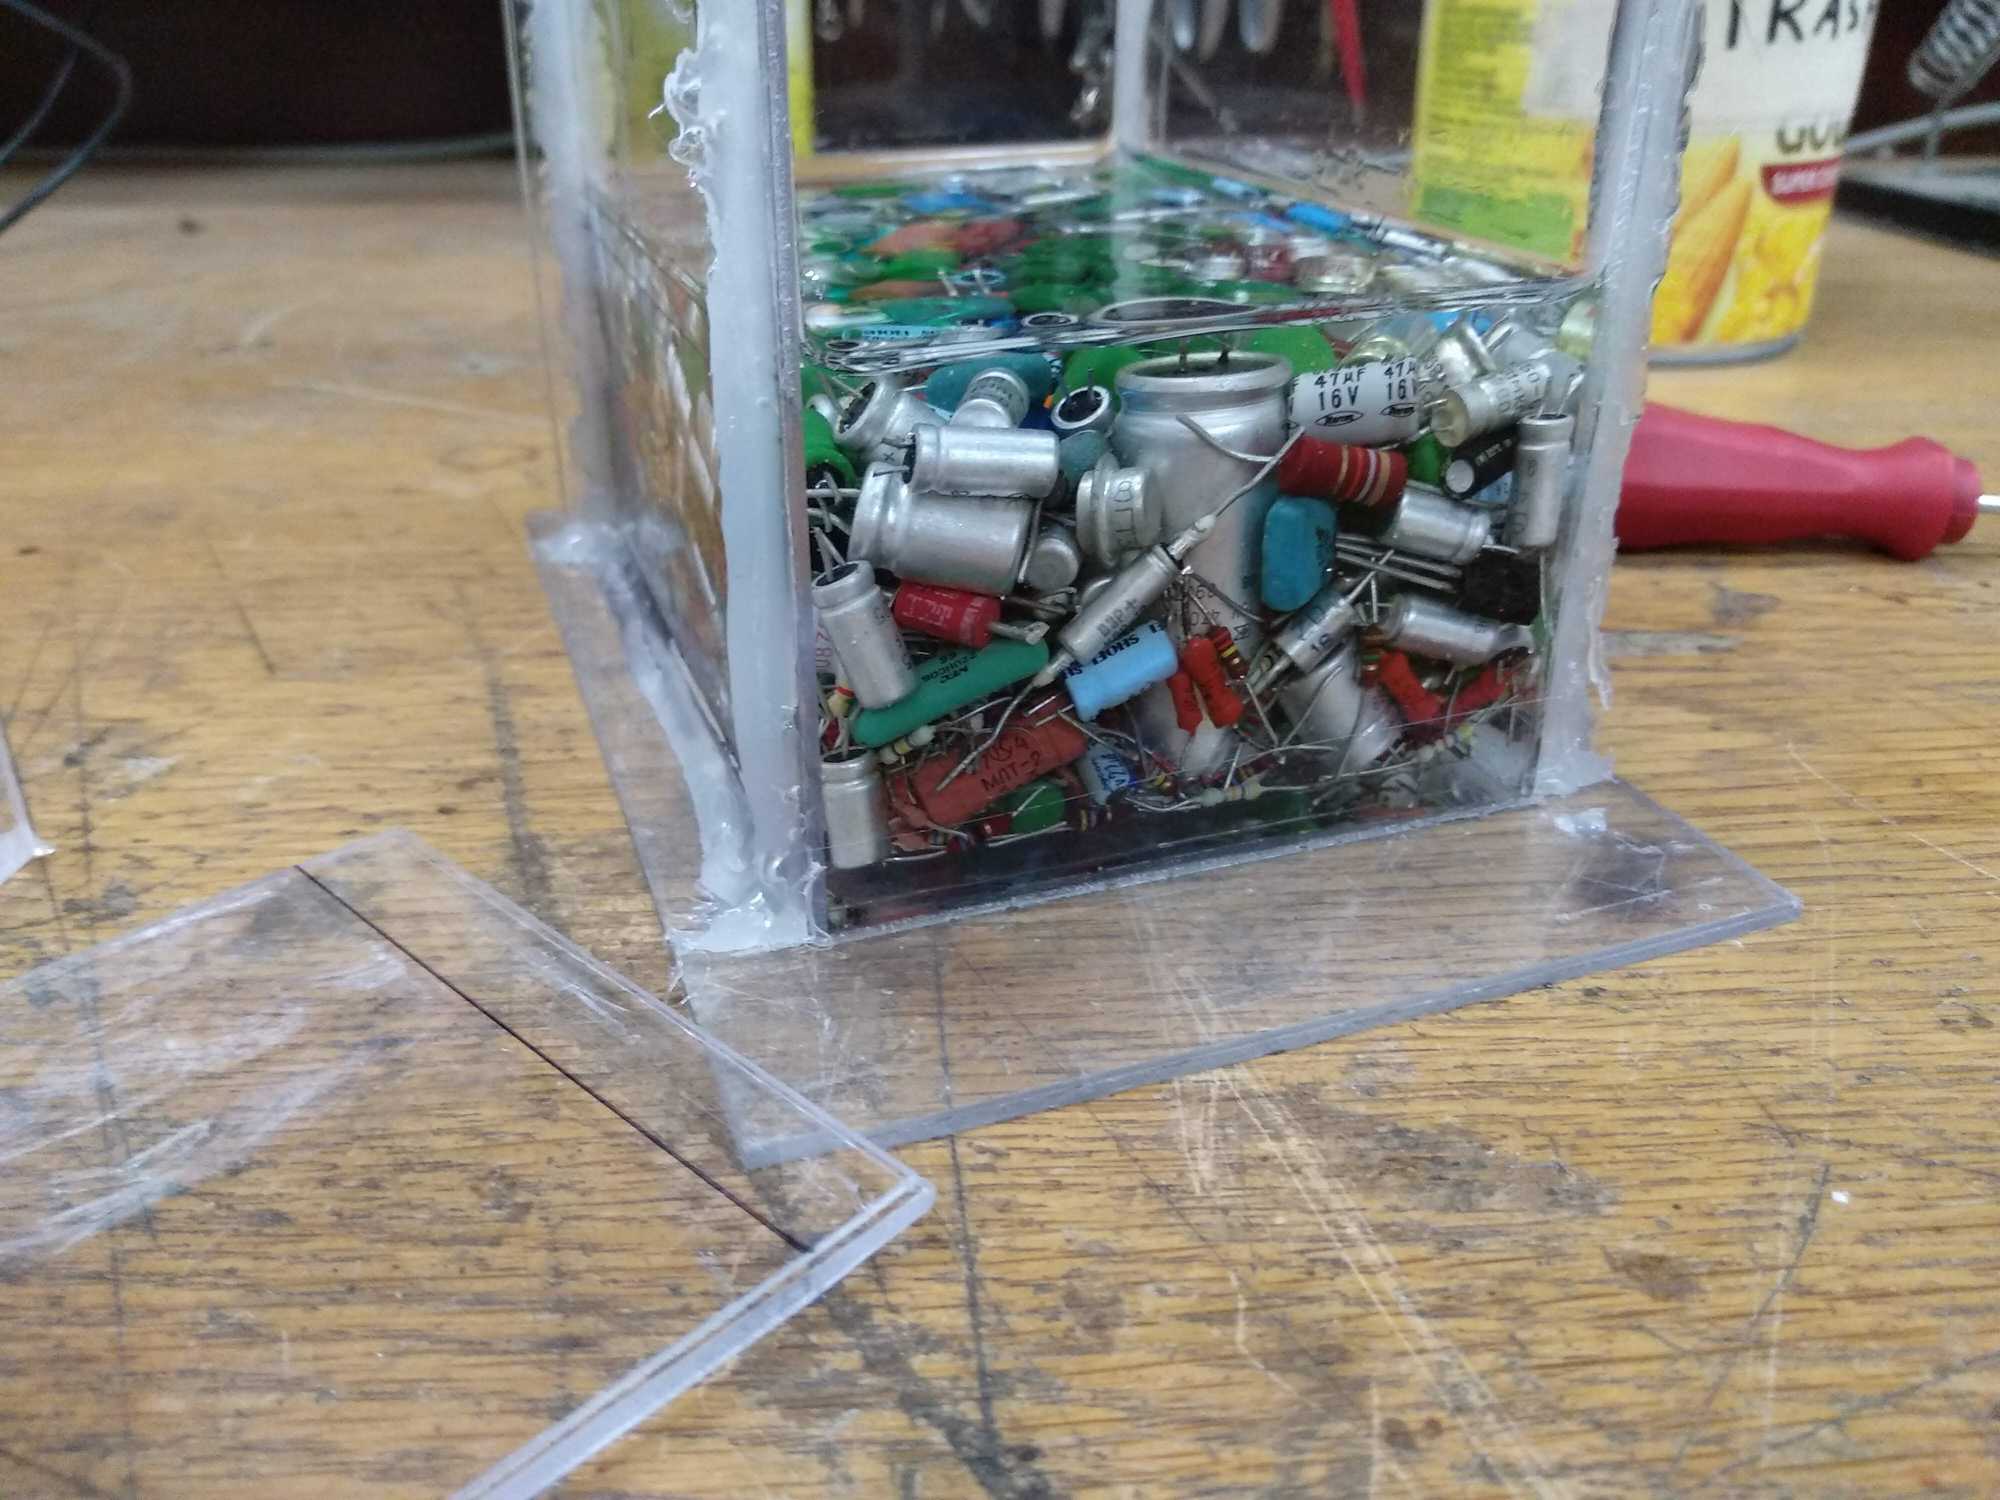
Then I went ahead to select the components that I would use. I didn’t actually select any by some criteria – all I did was take a big chunk from the box and that was it. Then I noticed that because of their long legs you can’t really see anything, so I had to snip them off.


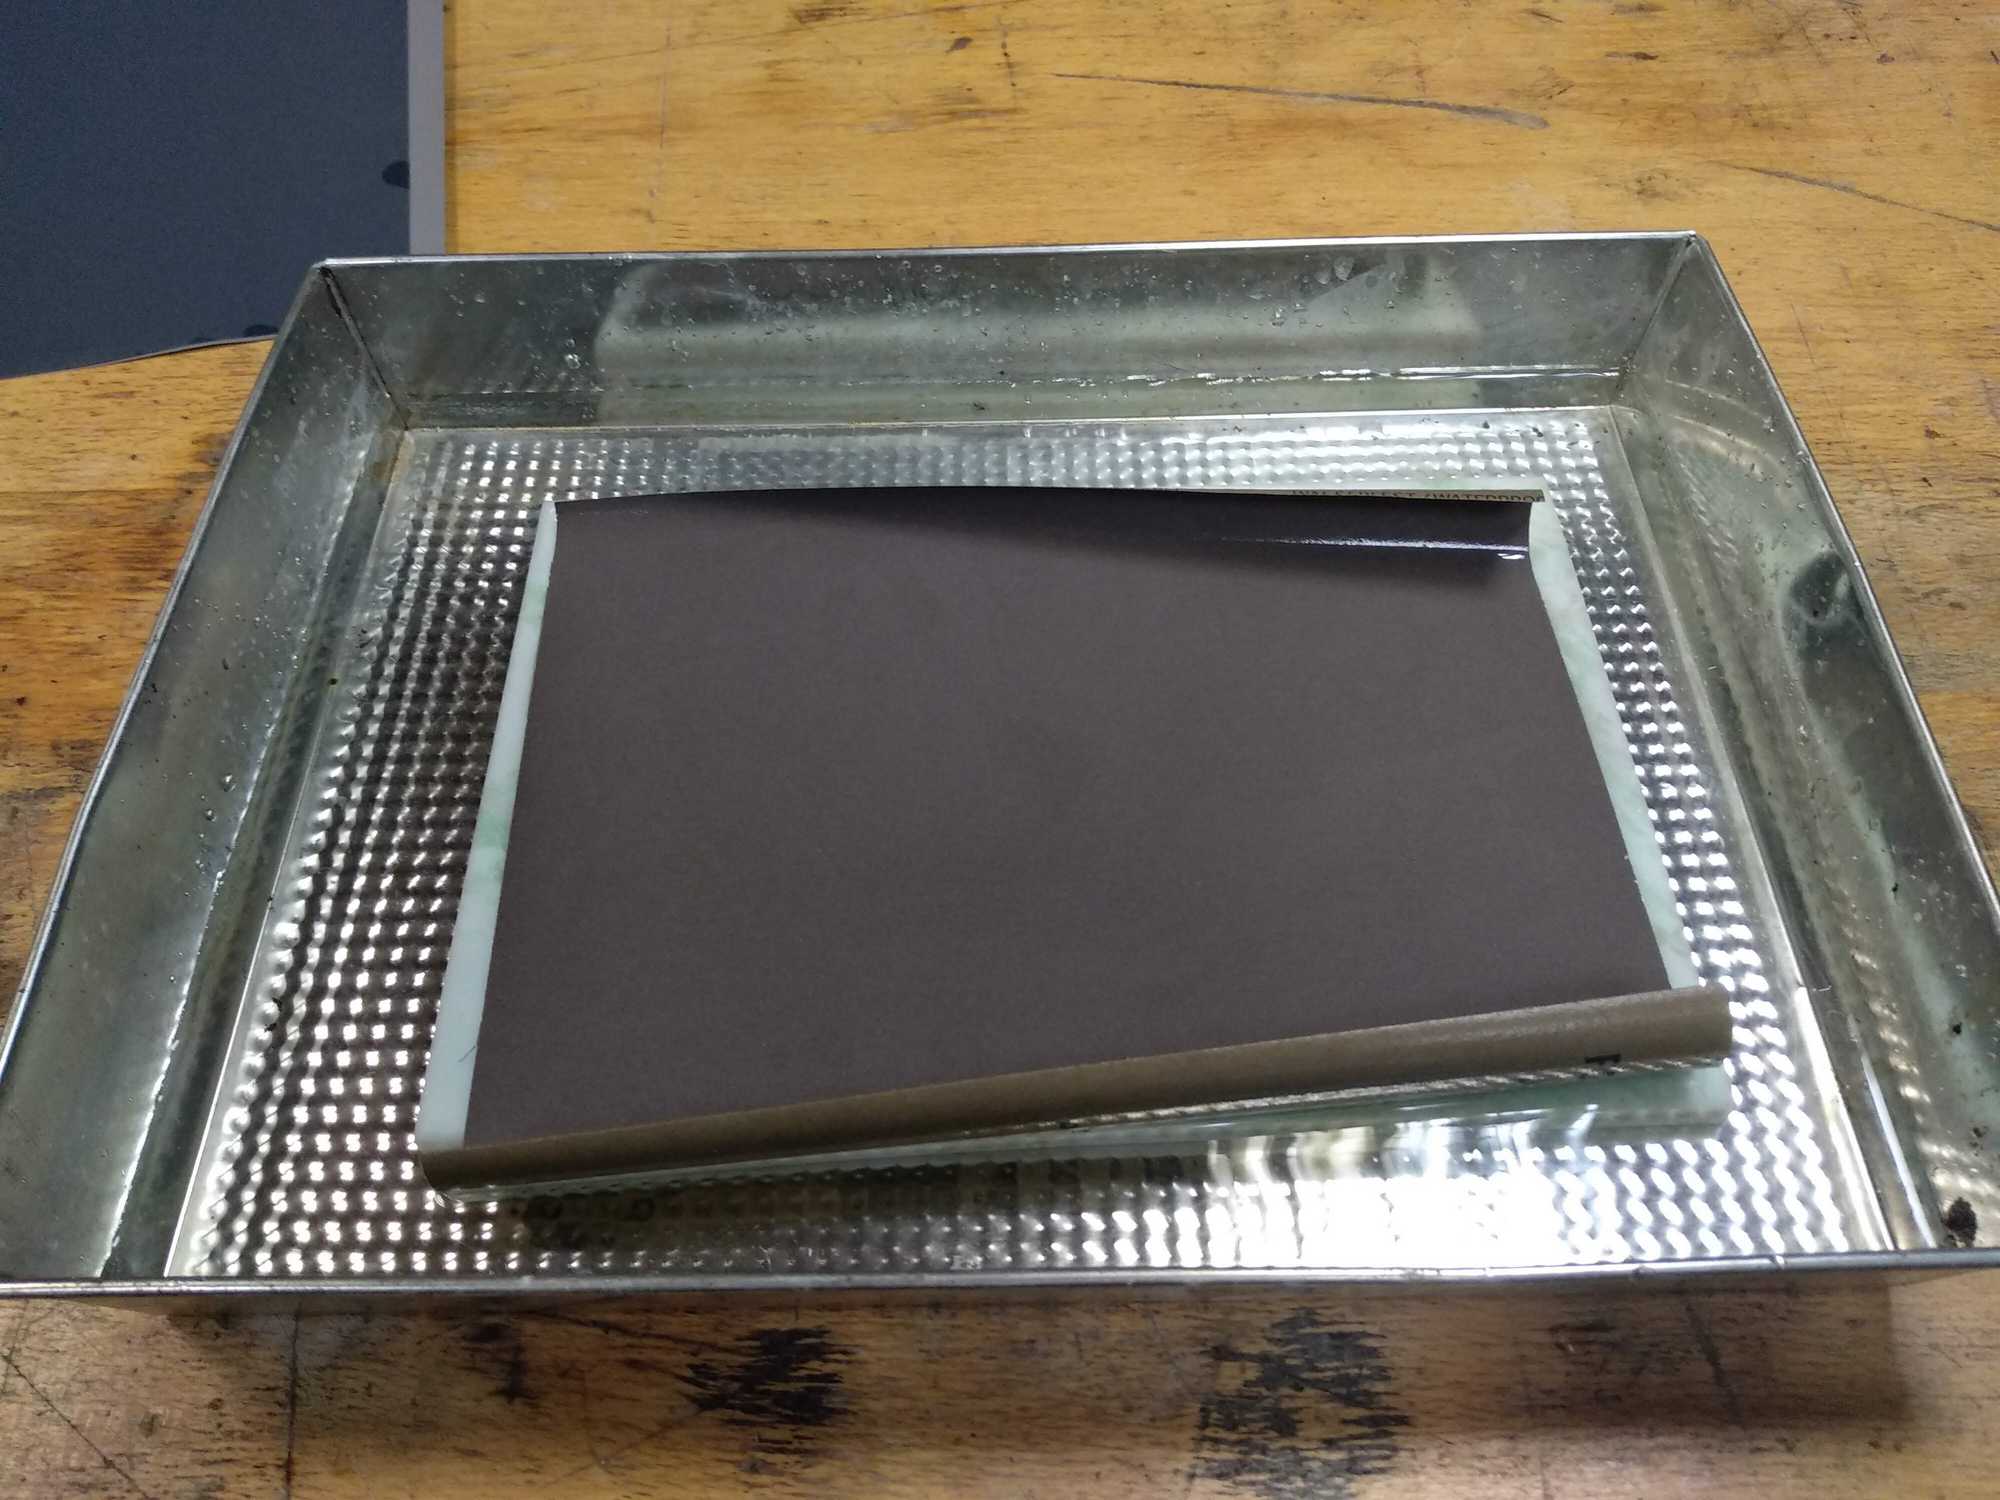
Bought a sheet of acrylic glass and made a box mould from it then poured 1cm to make the first layer. So that all my components are lifted a bit from the bottom. Waited a few days for it to harden, dumped all the components, shook the box a bit to randomly arrange and equalize everything and then poured resin over the components.


And then getting the bubbles out was the hardest part. I made a stand for this and blew hot air to the bottom. This made the resin a bit thinner and so the bubbles could rise to the surface more easily. Though some get trapped against the walls and components, so I used a needle to push components aside for air bubbles to get out. And using a hot air blower to remove tiny bubbles that rise to the surface was the best thing. Later I was told that adding a little bit less catalyst makes the hardening process slower and that helps to remove bubbles.
For all mixing ratio calculations I used an online tool: https://resin-expert.com/en/guide/epoxy-resin-calculator

After it hardened, removing this block from the mould was surprisingly easy – the walls simply peeled off and I didn’t have to use any special measures.
Also since I haven’t done this before, I wasn’t sure about anything I’ve been doing, but somehow everything turned out just fine. Even the first layer line is nearly invisible.
Looks pretty darn cool. Now I needed to sand it a little, mainly corners, edges and the top.
For that I used sandpaper with grits 400, 800, 1200, 1500 and 2500 and then polished it at the end.
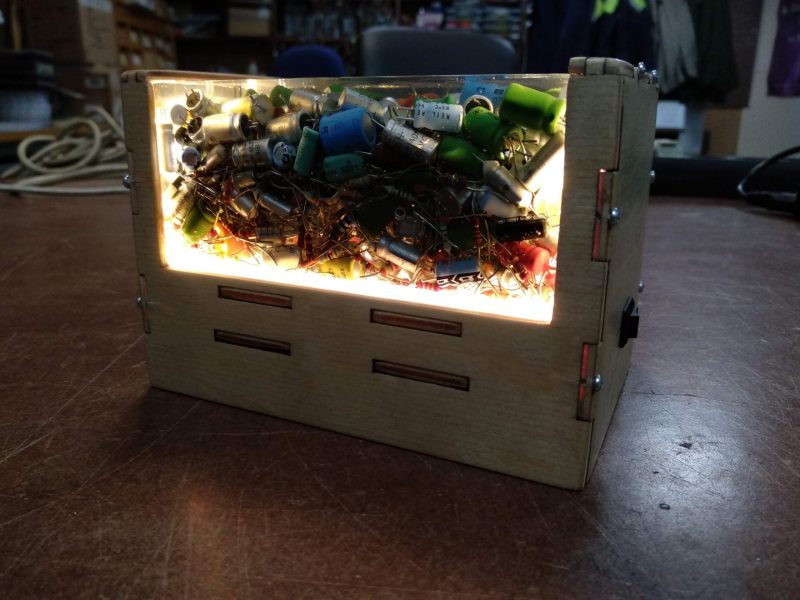
Okay, but a block like that, even though looks pretty cool, is kinda missing something, doesn’t it? I thought I could make the whole thing better by making a stand and adding some lights, so it looks even cooler in the dark :)
I went ahead to OnShape – my favorite 3D modeling program and made a model which I later laser-cut.

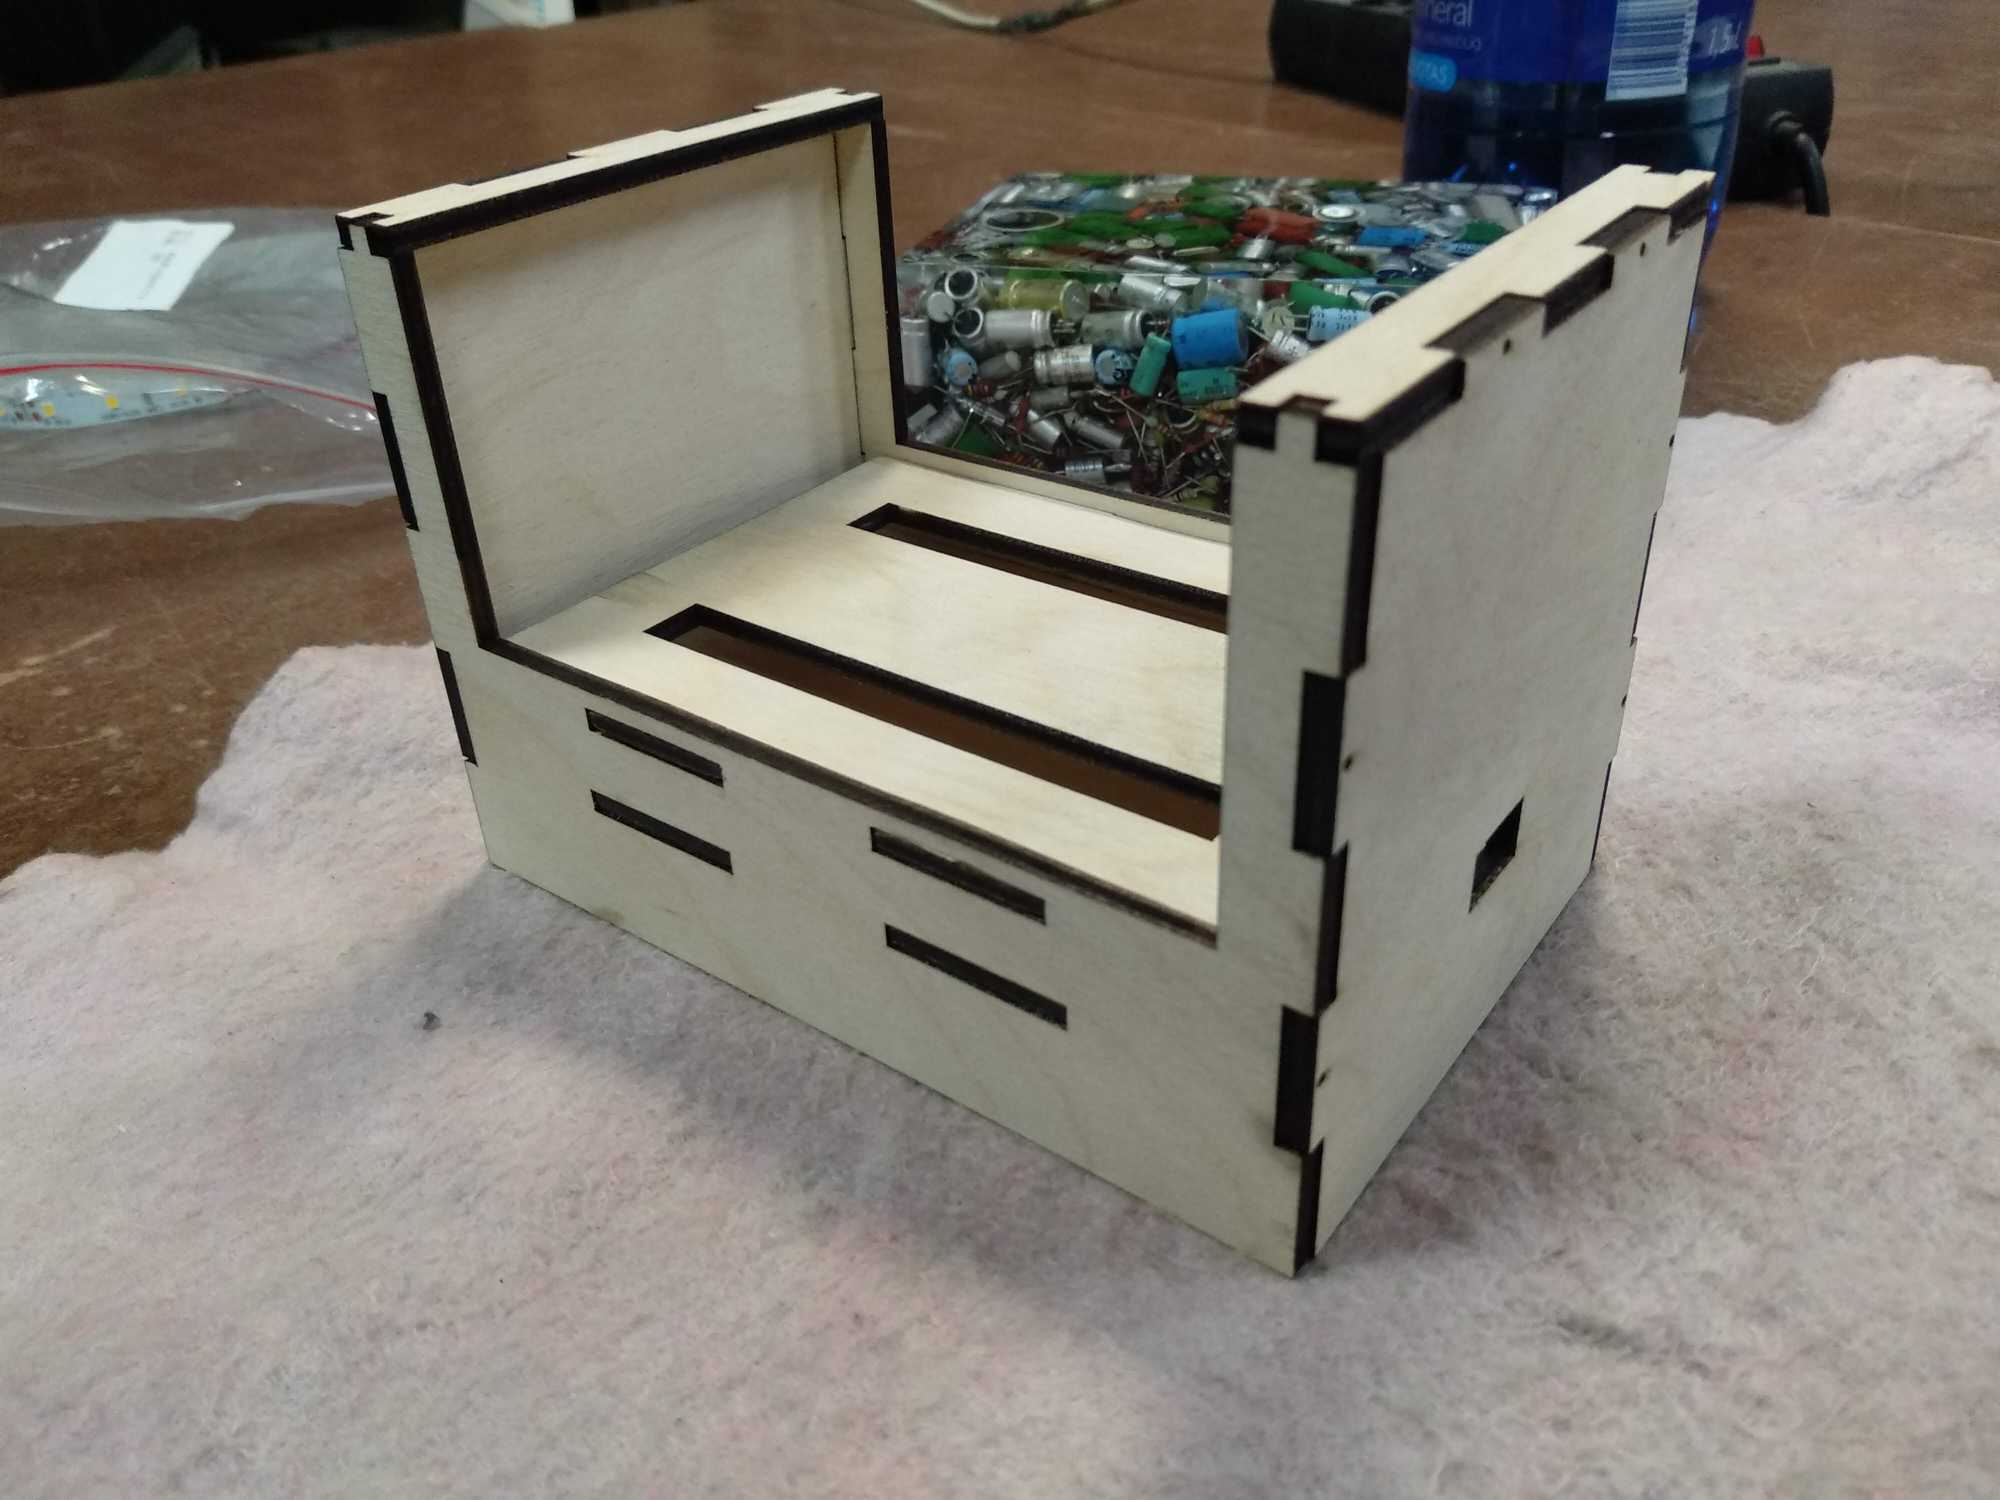

I didn’t do anything fancy once I cut it out – only sanded it down and applied clear lacquer.
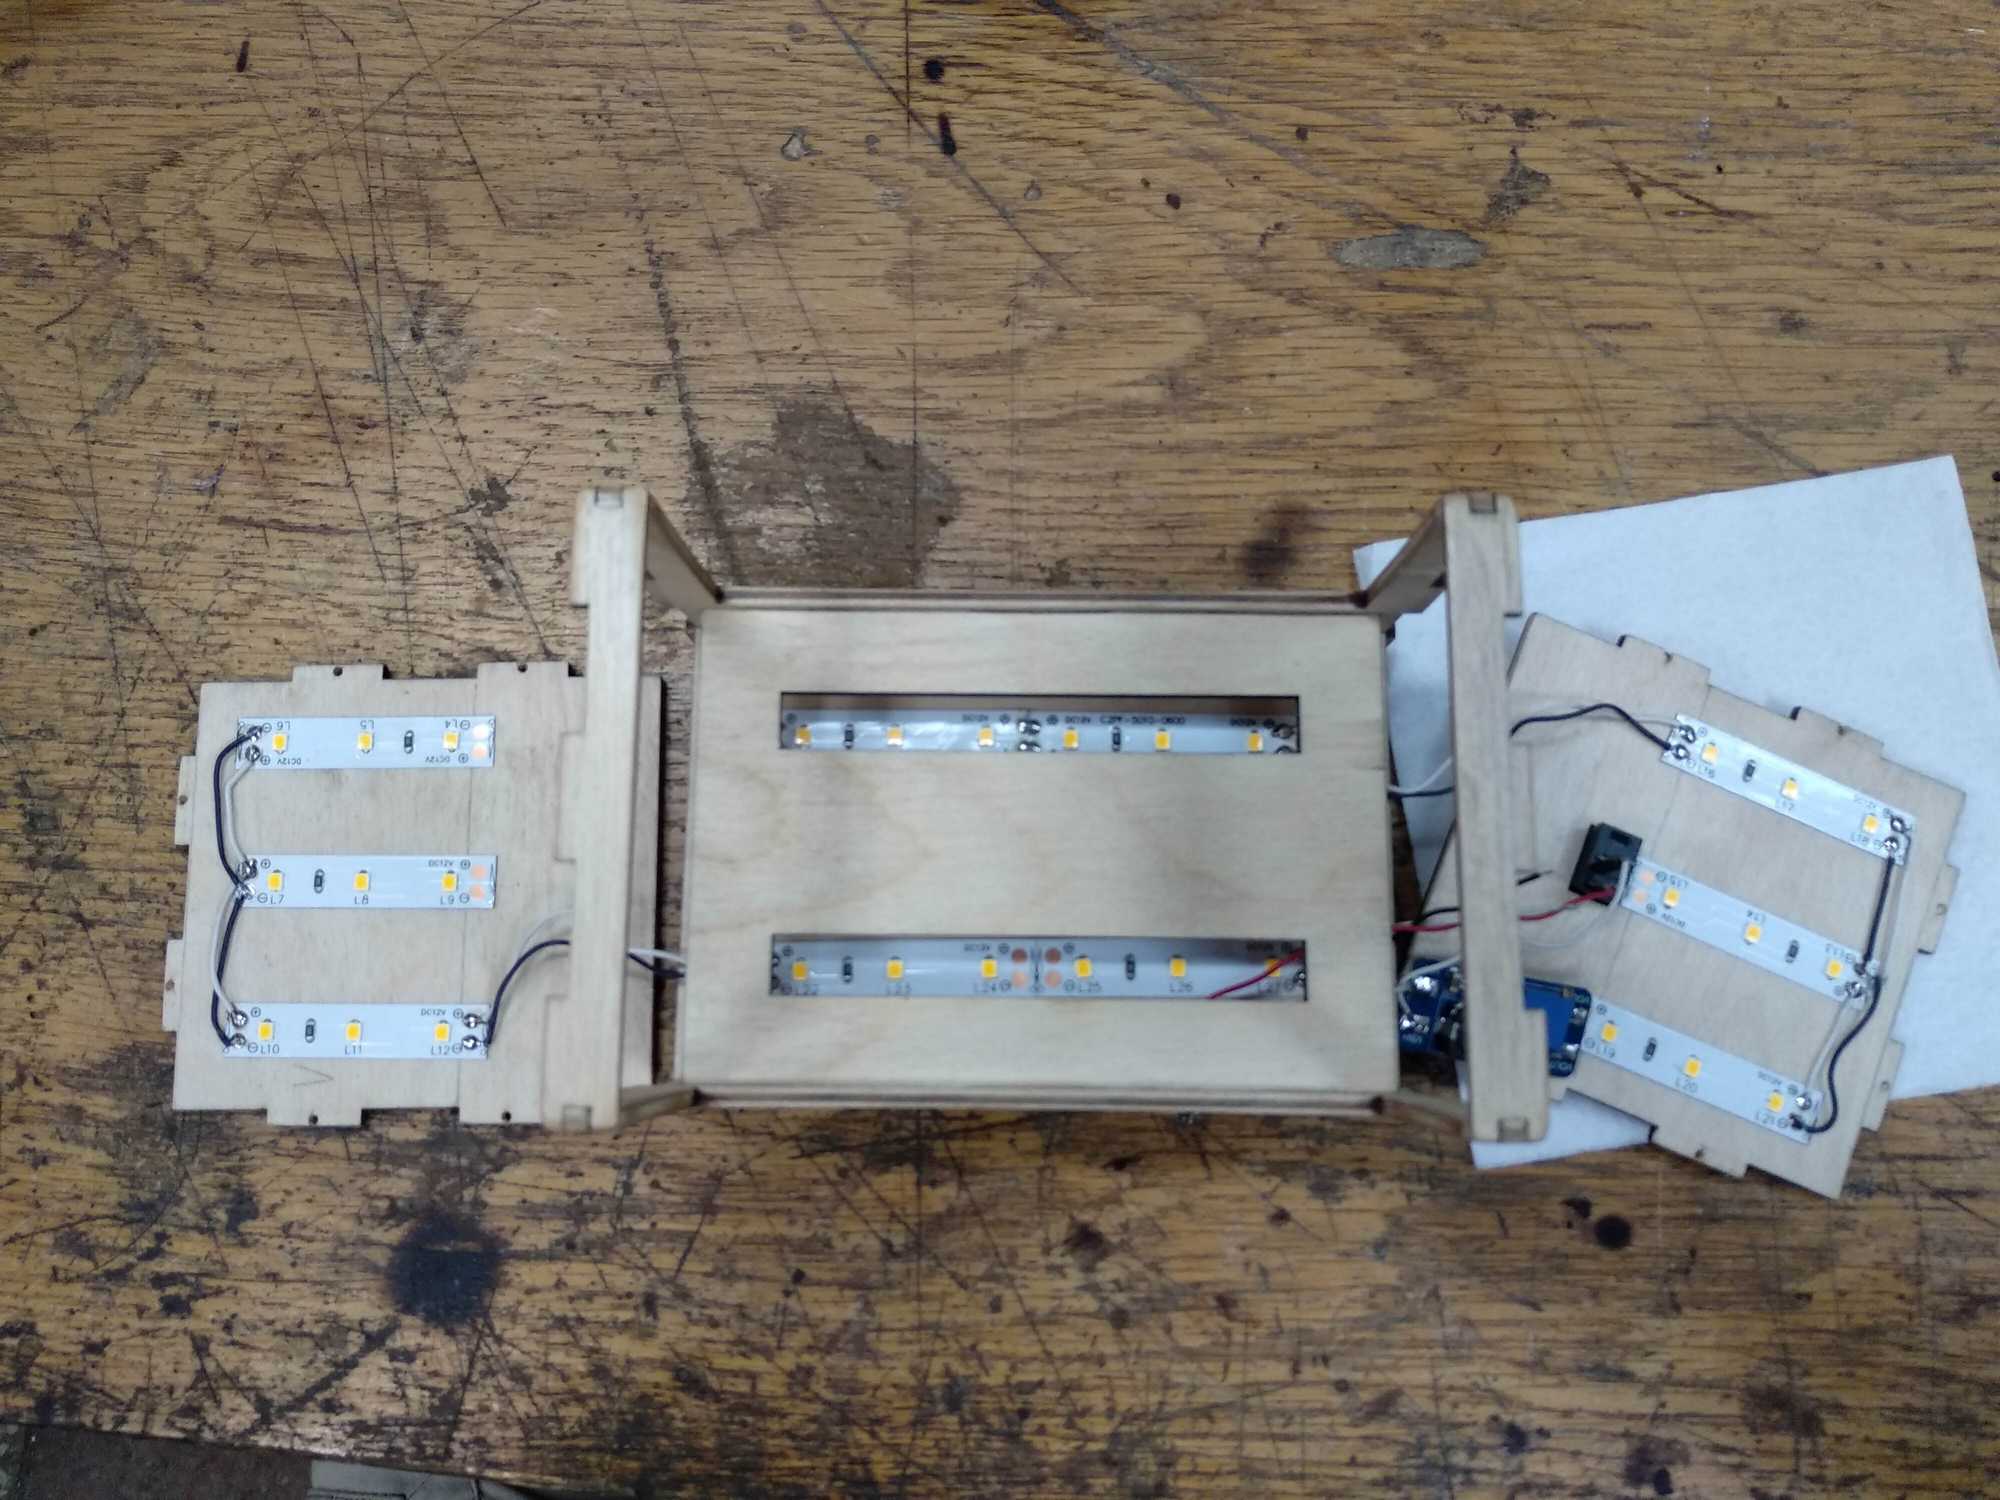
And then installed the warm white LED lights. They need 12v to shine, so I used 4 AA batteries (6v) and a boost converter to double that voltage.

All in all, I think it looks pretty damn cool :)

