Well, it finally happened – the engine kicked the bucket. Like I wrote in a previous post, I didn’t think it would hold but I expected to at least have some kinda action out of it, but it just exploded when I tried it for the first time after assembling it together. Rear wheels were lifted and I was reving it up a couple of times and then I heard a thud. Then I saw that a hole opened under the petrol tank.
Needless to say I was very disappointed. Seems like these engines were designed to work for a guarantee period and then just die, like many things, of course only when used within set limits and not on a go-kart.


After that quarantine started and I couldn’t do anything for that period because the workshop was closed down as well, until now when everything is less strict. So I went out and bought another engine – “Honda GX390 RHG4”. Of course it is used, because new one costs around 900€ and I paid 120€ with a centrifugal clutch, because mine doesn’t fit very well. Also the clutch that was used in a kart track is much more reliable and can be disassembled.
I got a Honda because they are very good engines, very durable out-of-the-box and there are a lot of spare parts, so I can easily replace anything that breaks. I got it from a kart track and it’s a RHG version which, from what I gather, is built to withstand abuse.
Of course it’s been abused like a mothafucka – max power all day every day for about 2 years or so (not really sure). But it stood up and still works. I can’t tell for how long it’ll work, because it’s been abused that much and it is still in a box, but it started very easily – with just two pulls and worked pretty well. I suspect it’ll work for longer than the previous engine did.
It’s very dirty with oil and mud though, so I had to do lotsa cleaning and applied the same tier 1 performance mods as with the previous engine, but also made a straight exhaust pipe for extra cool points (and probably some more power).


And after that I also replaced the makeshift steering joints with angle ball-joints and it’s such a big improvement in steering. Then mounted the straight pipe and added a stop behind the gas pedal so I can properly control how much speed I want and to prevent the driver from pressing on the pedal too much.


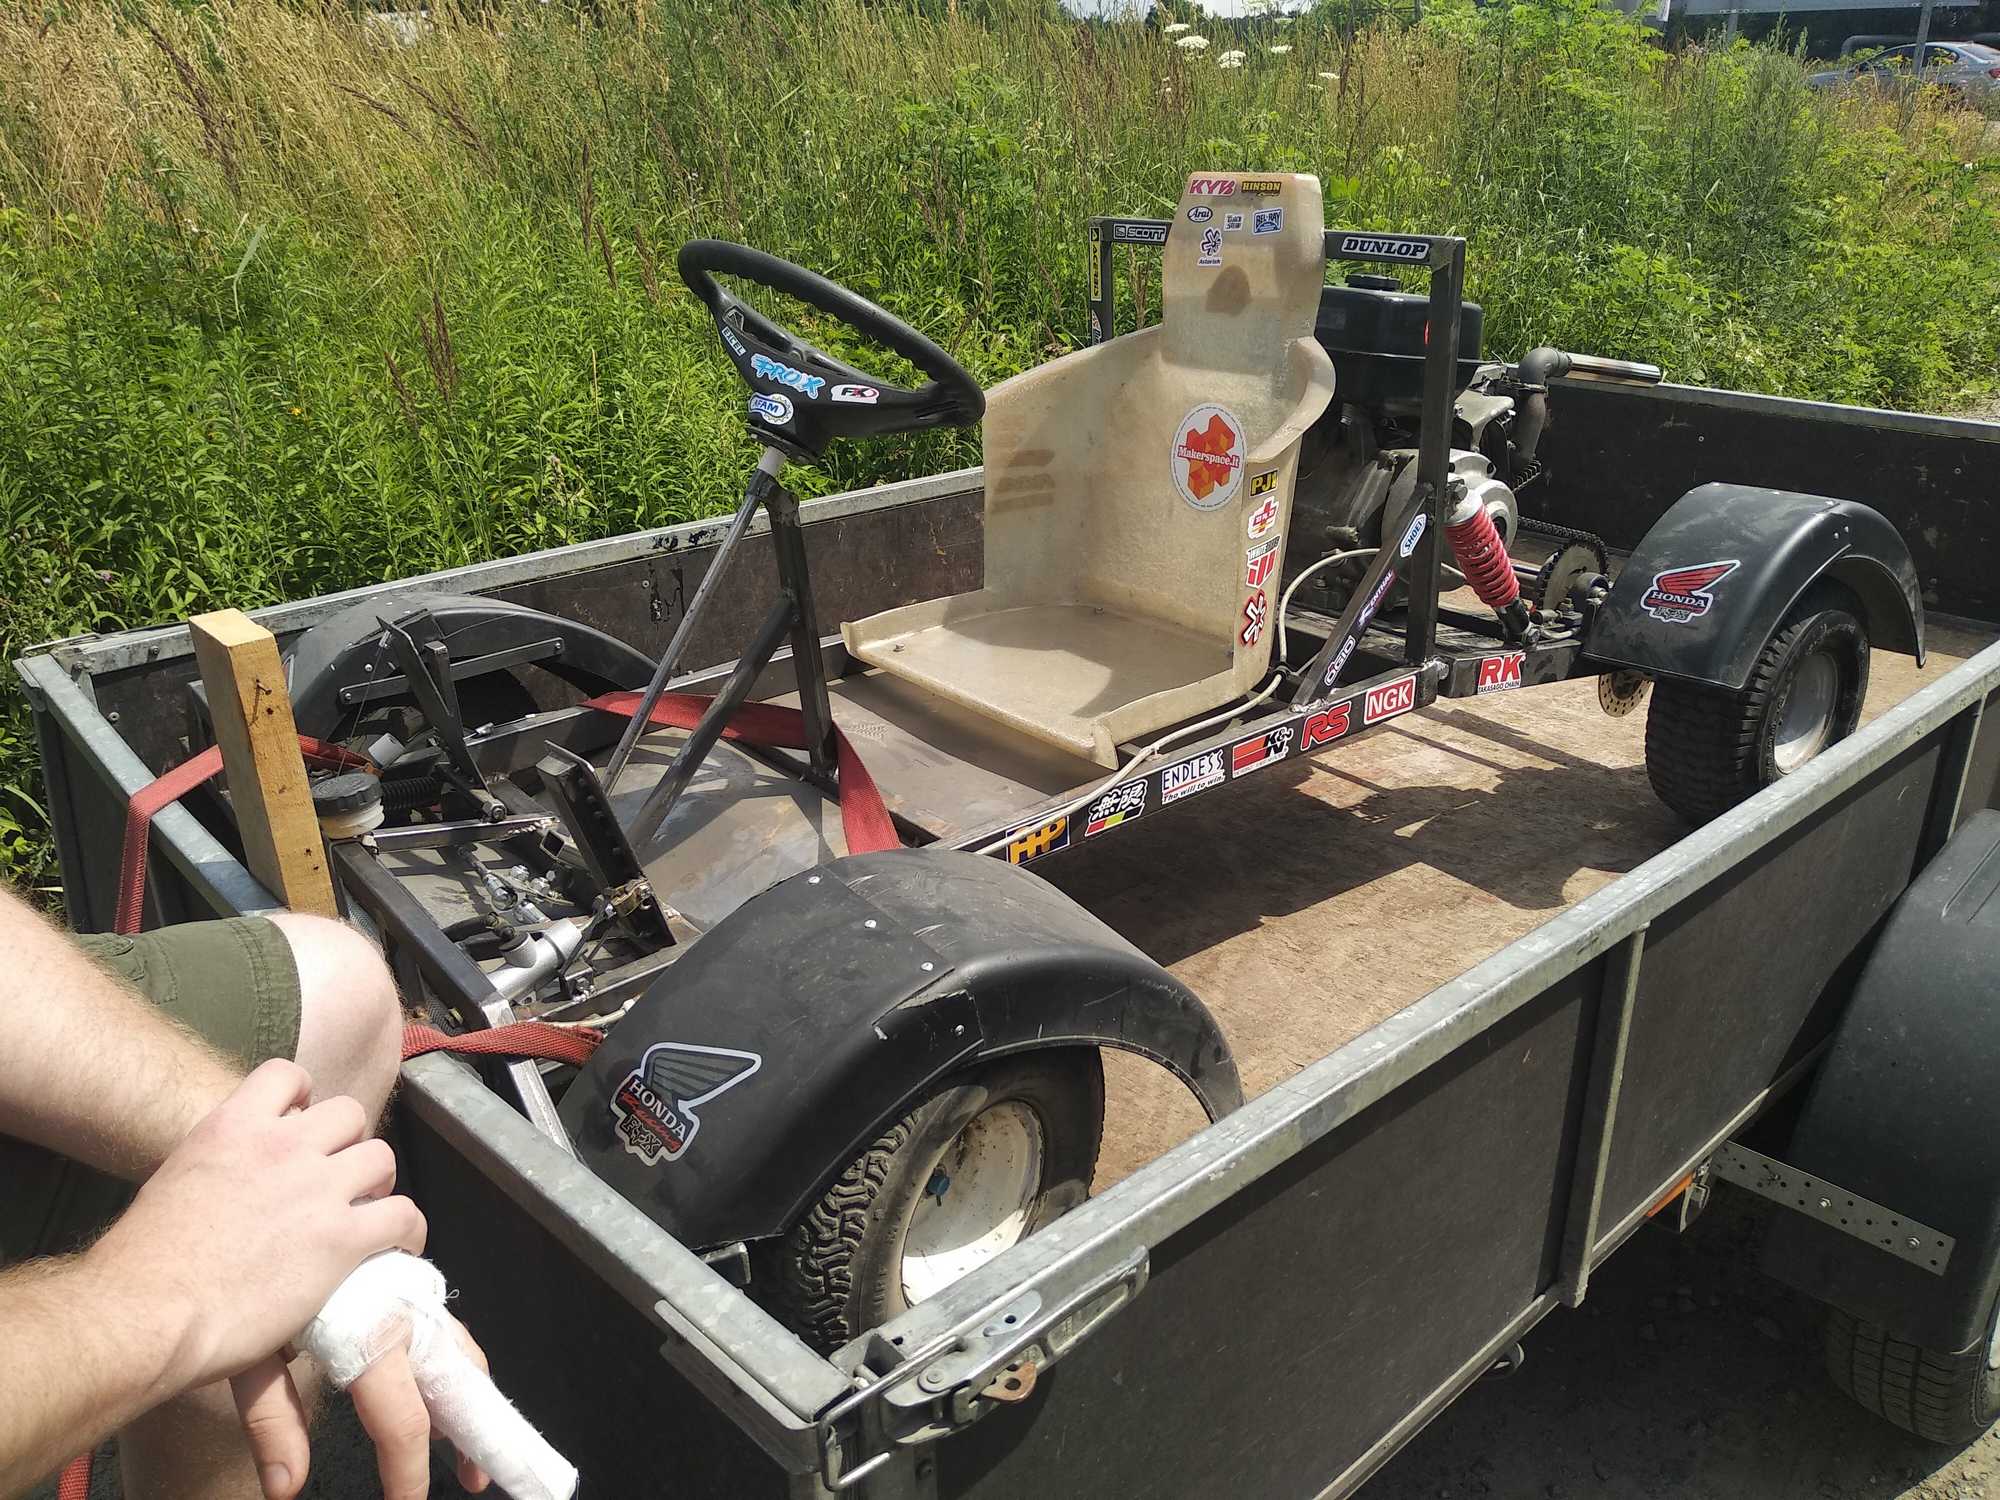
Then did some simple adjustments and improvement here and there and it was ready for a simple test drive. And I mean simple because it’s all still welded with mostly spots and has no reinforcements.
And when weather was ok for a day, we brought it out and right away with the first run it started disassembling itself lol. Apparently I underestimated the forces on every joint, mad vibrations and how much it’ll shake. Some of the nuts and bolts had unscrewed themselves and fallen off. Including the one that holds up the brake support. Some of the places had bent and some joints had detached. And I also crashed into a tree.
Now it’s rebuilding time.
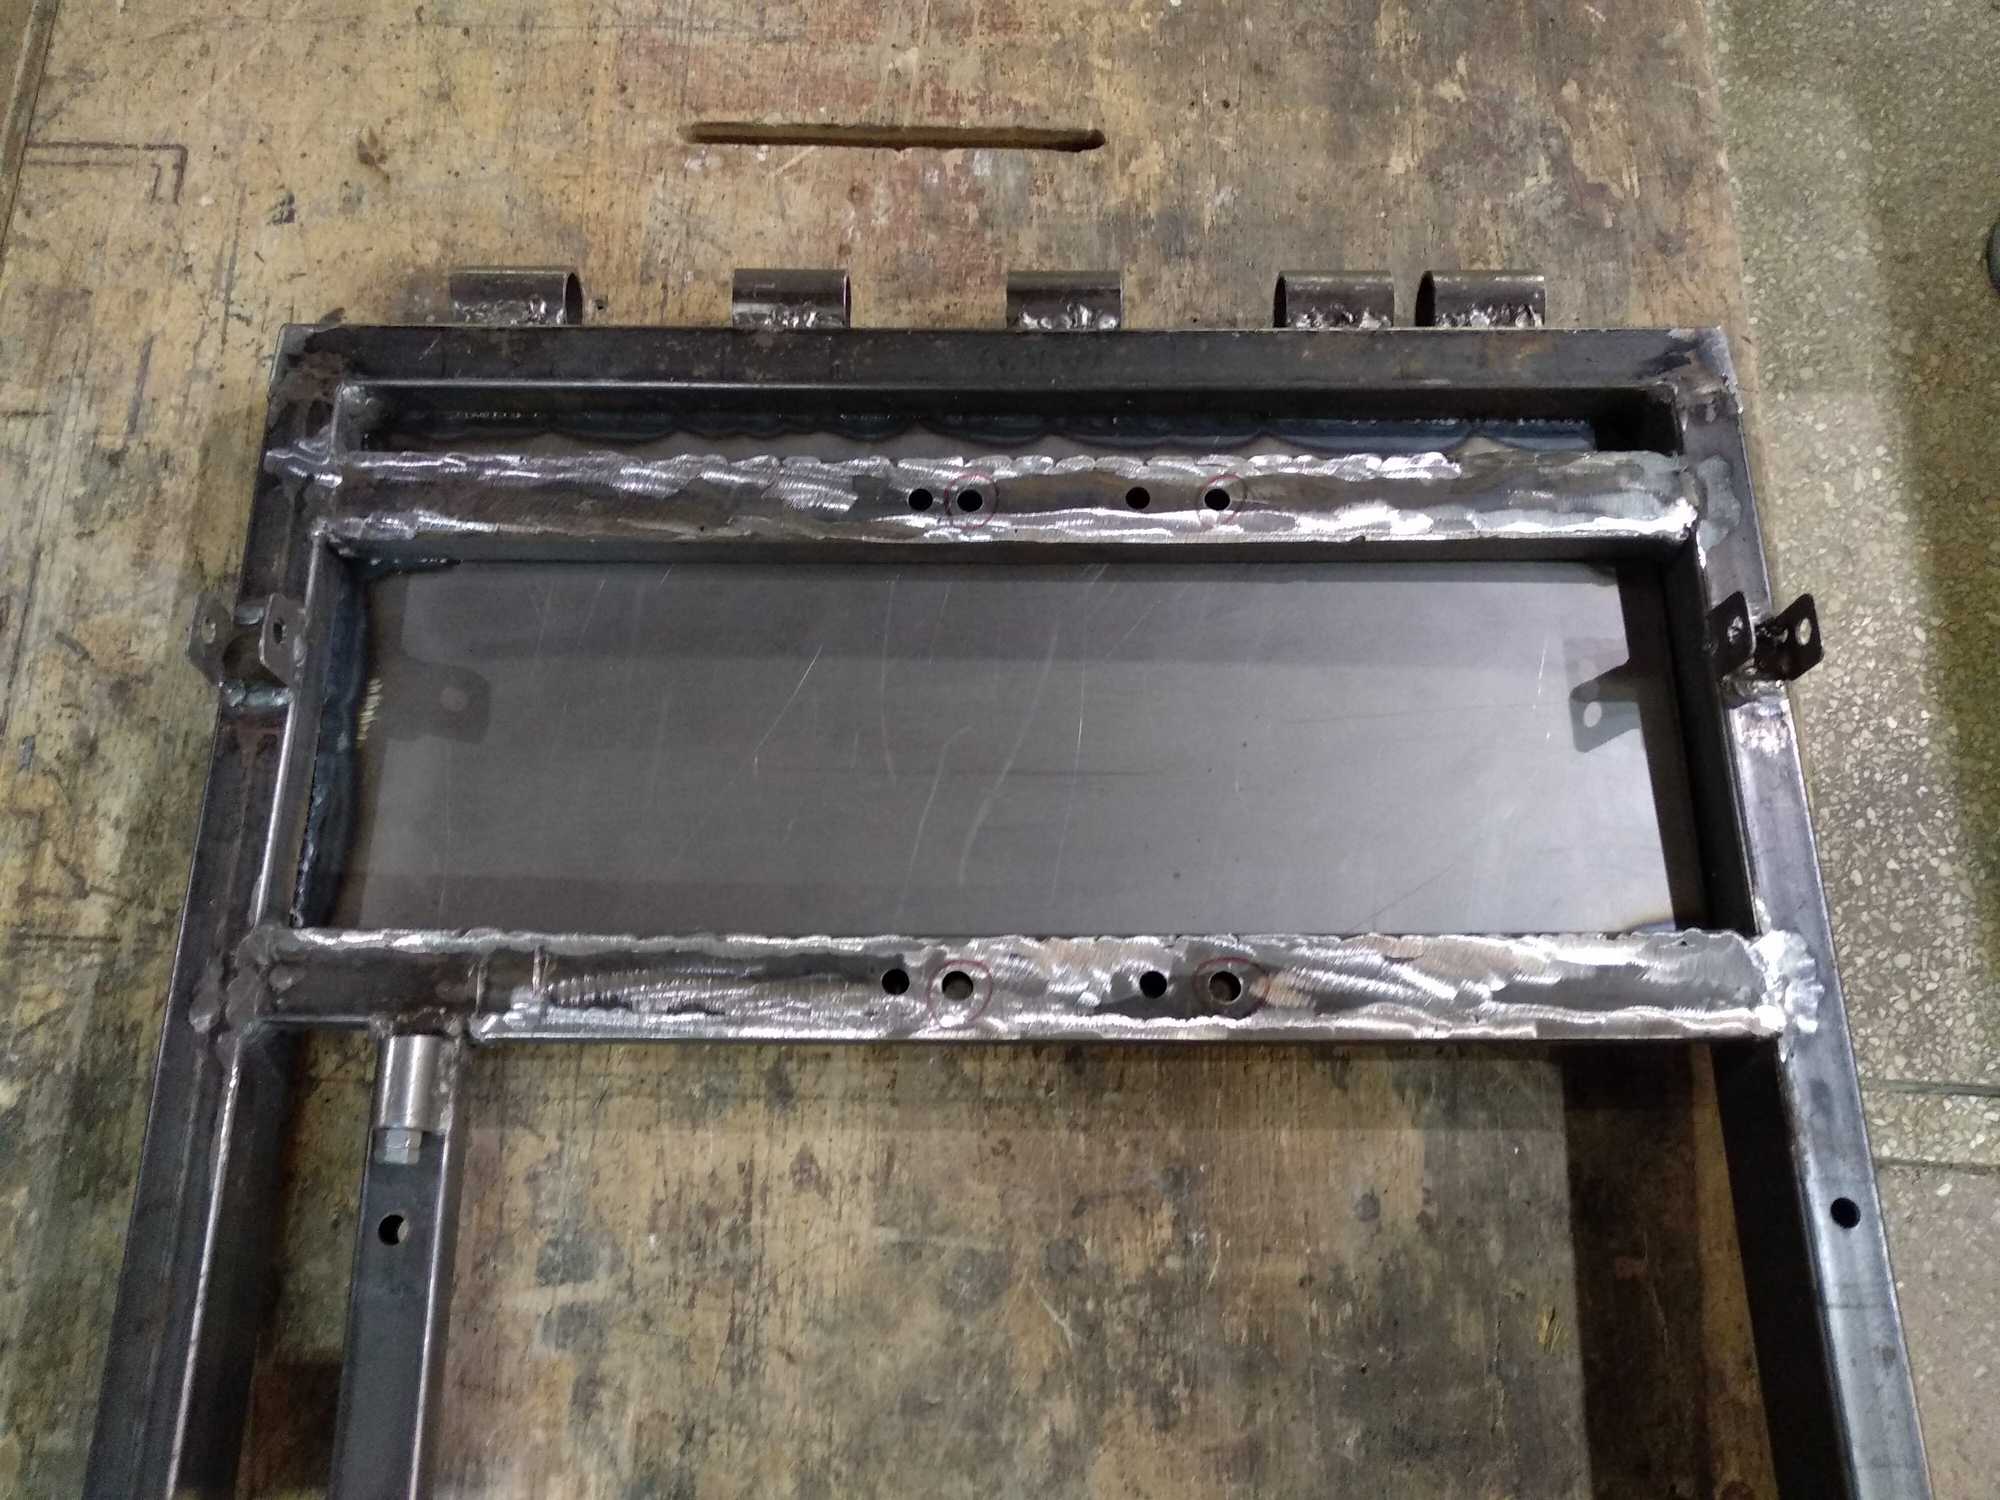
First things first – since everything was welded with spots, I welded every joint properly now, then closed off any holes on the ends, reinforced a few joints.


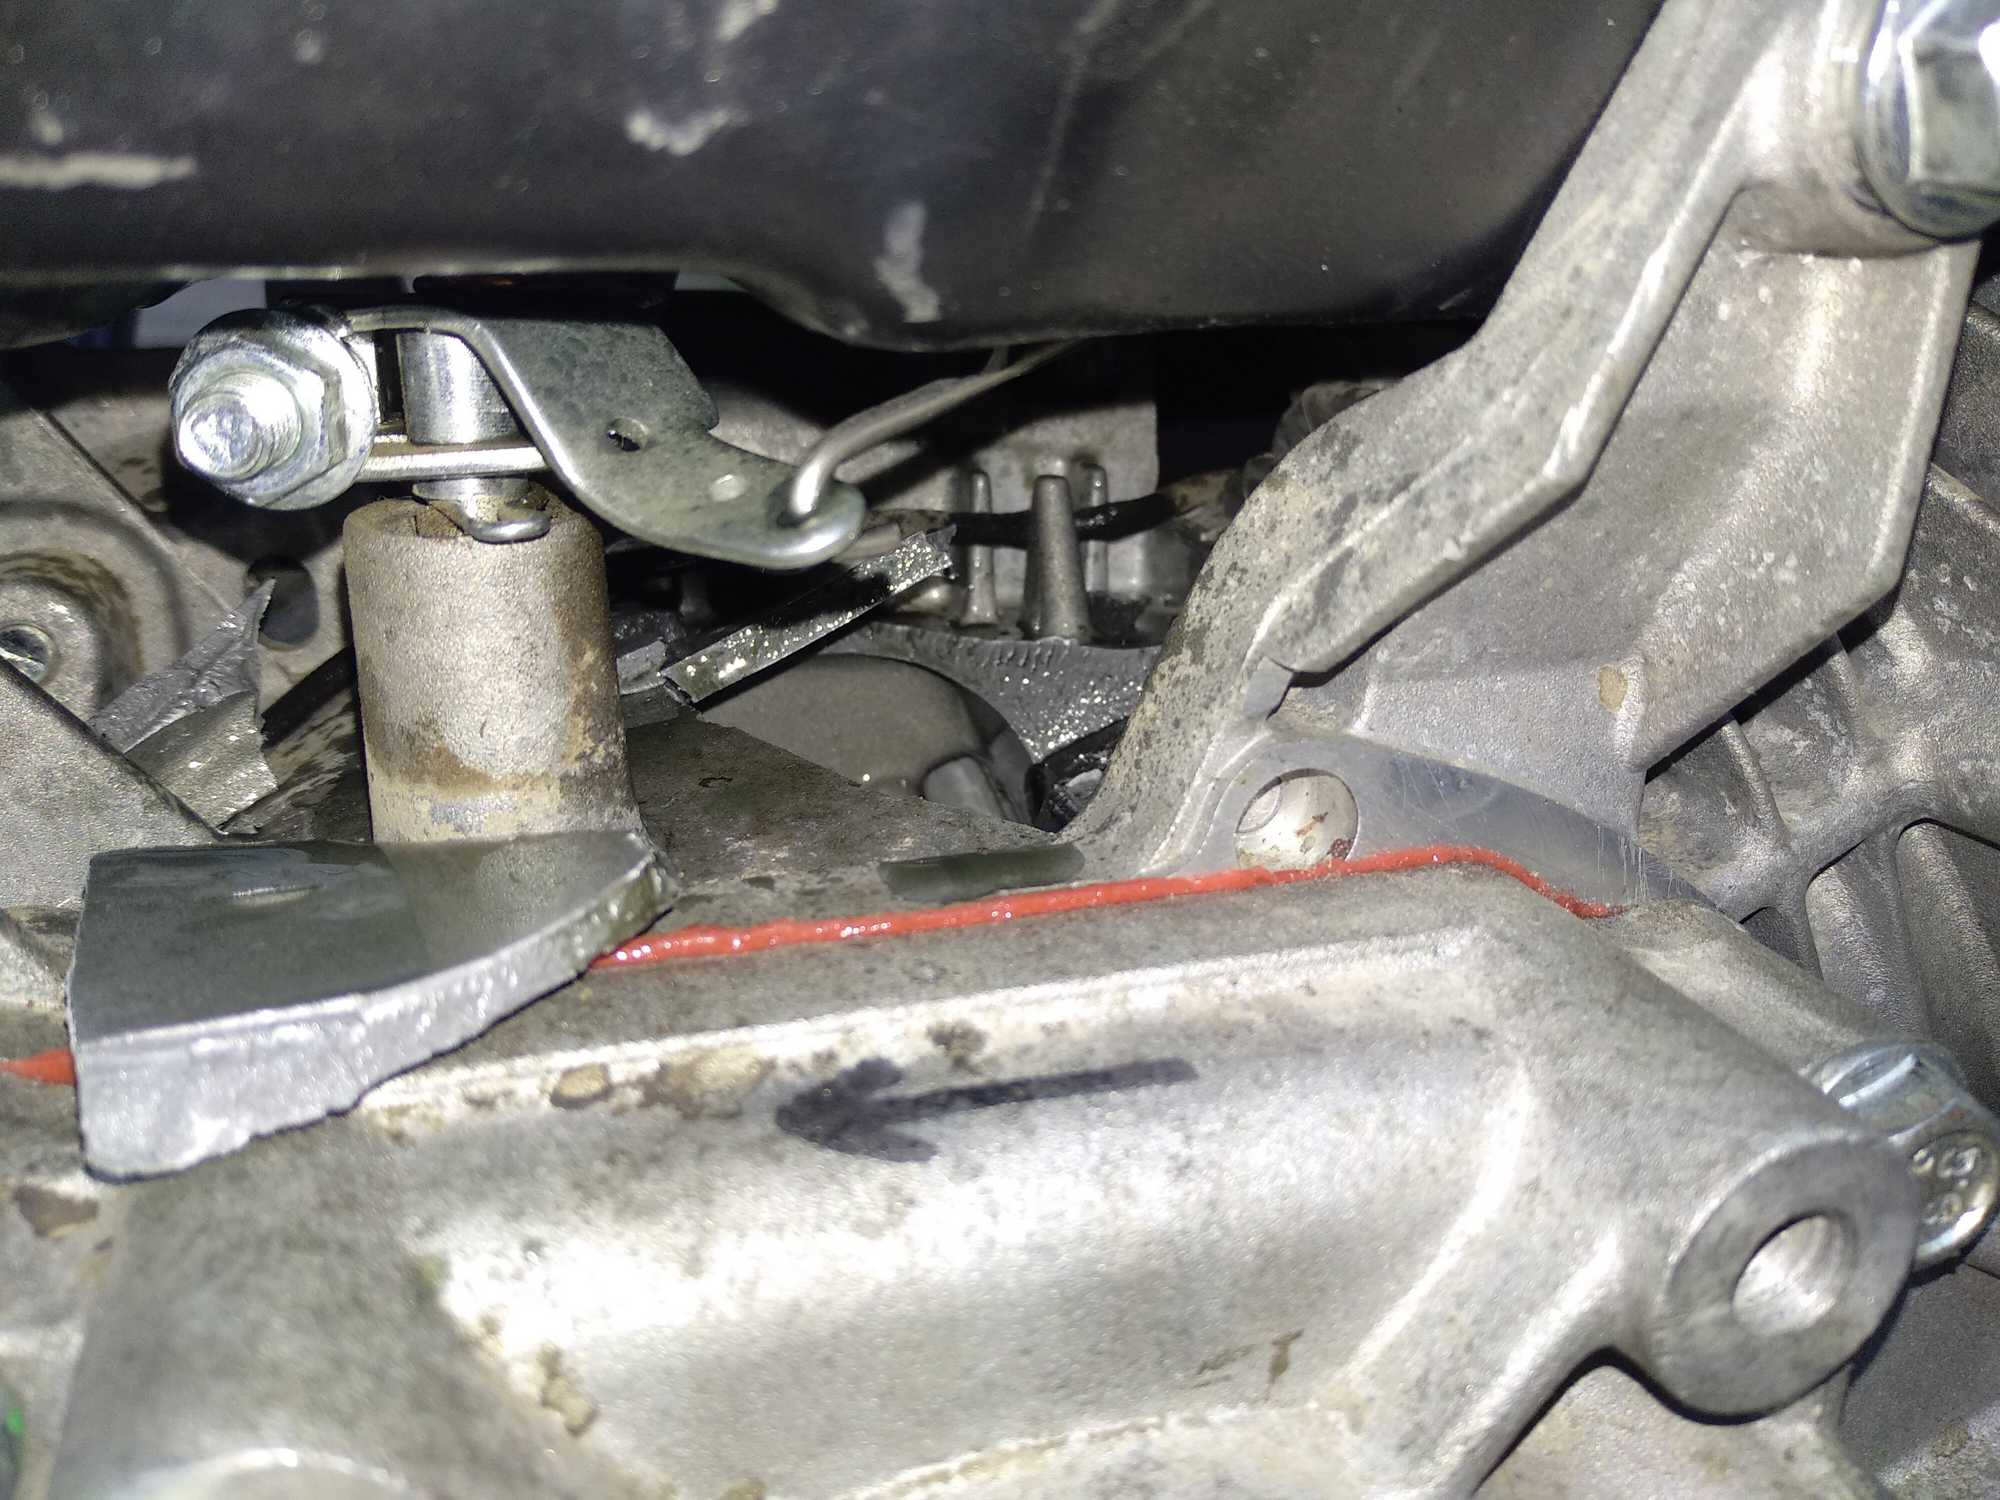
See in the last picture is the place where the engine sits. I made a mistake and didn’t use stronger metal here, because as I saw now, because of massive vibrations and downforce of the piston it is bent. I reinforced it more, but I feel that won’t be enough. We’ll see.
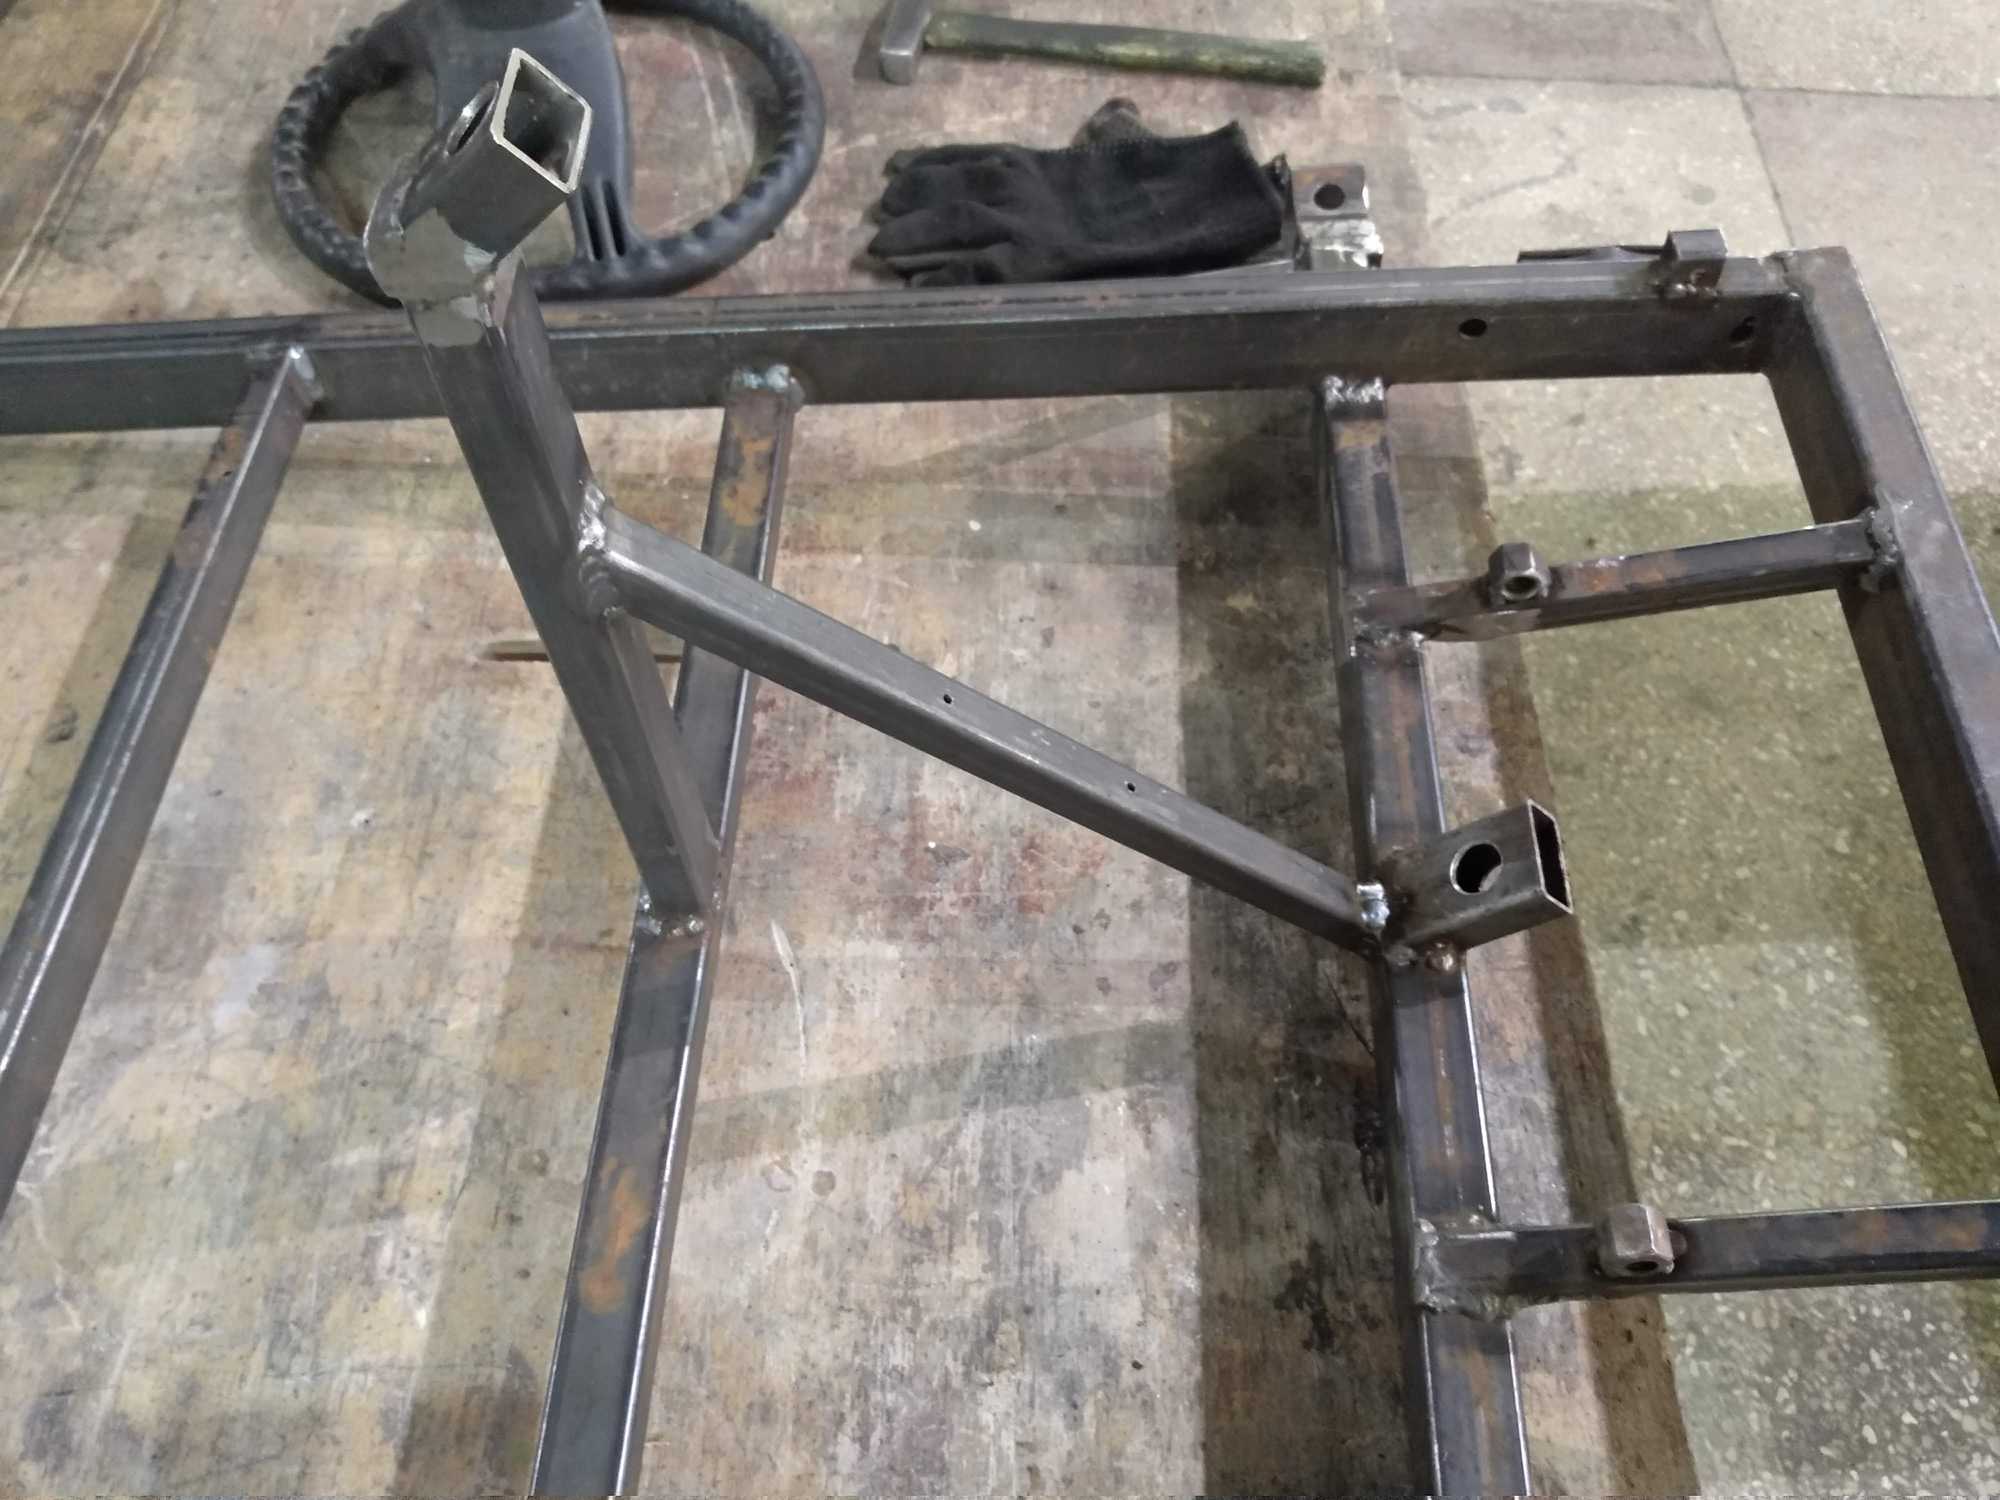
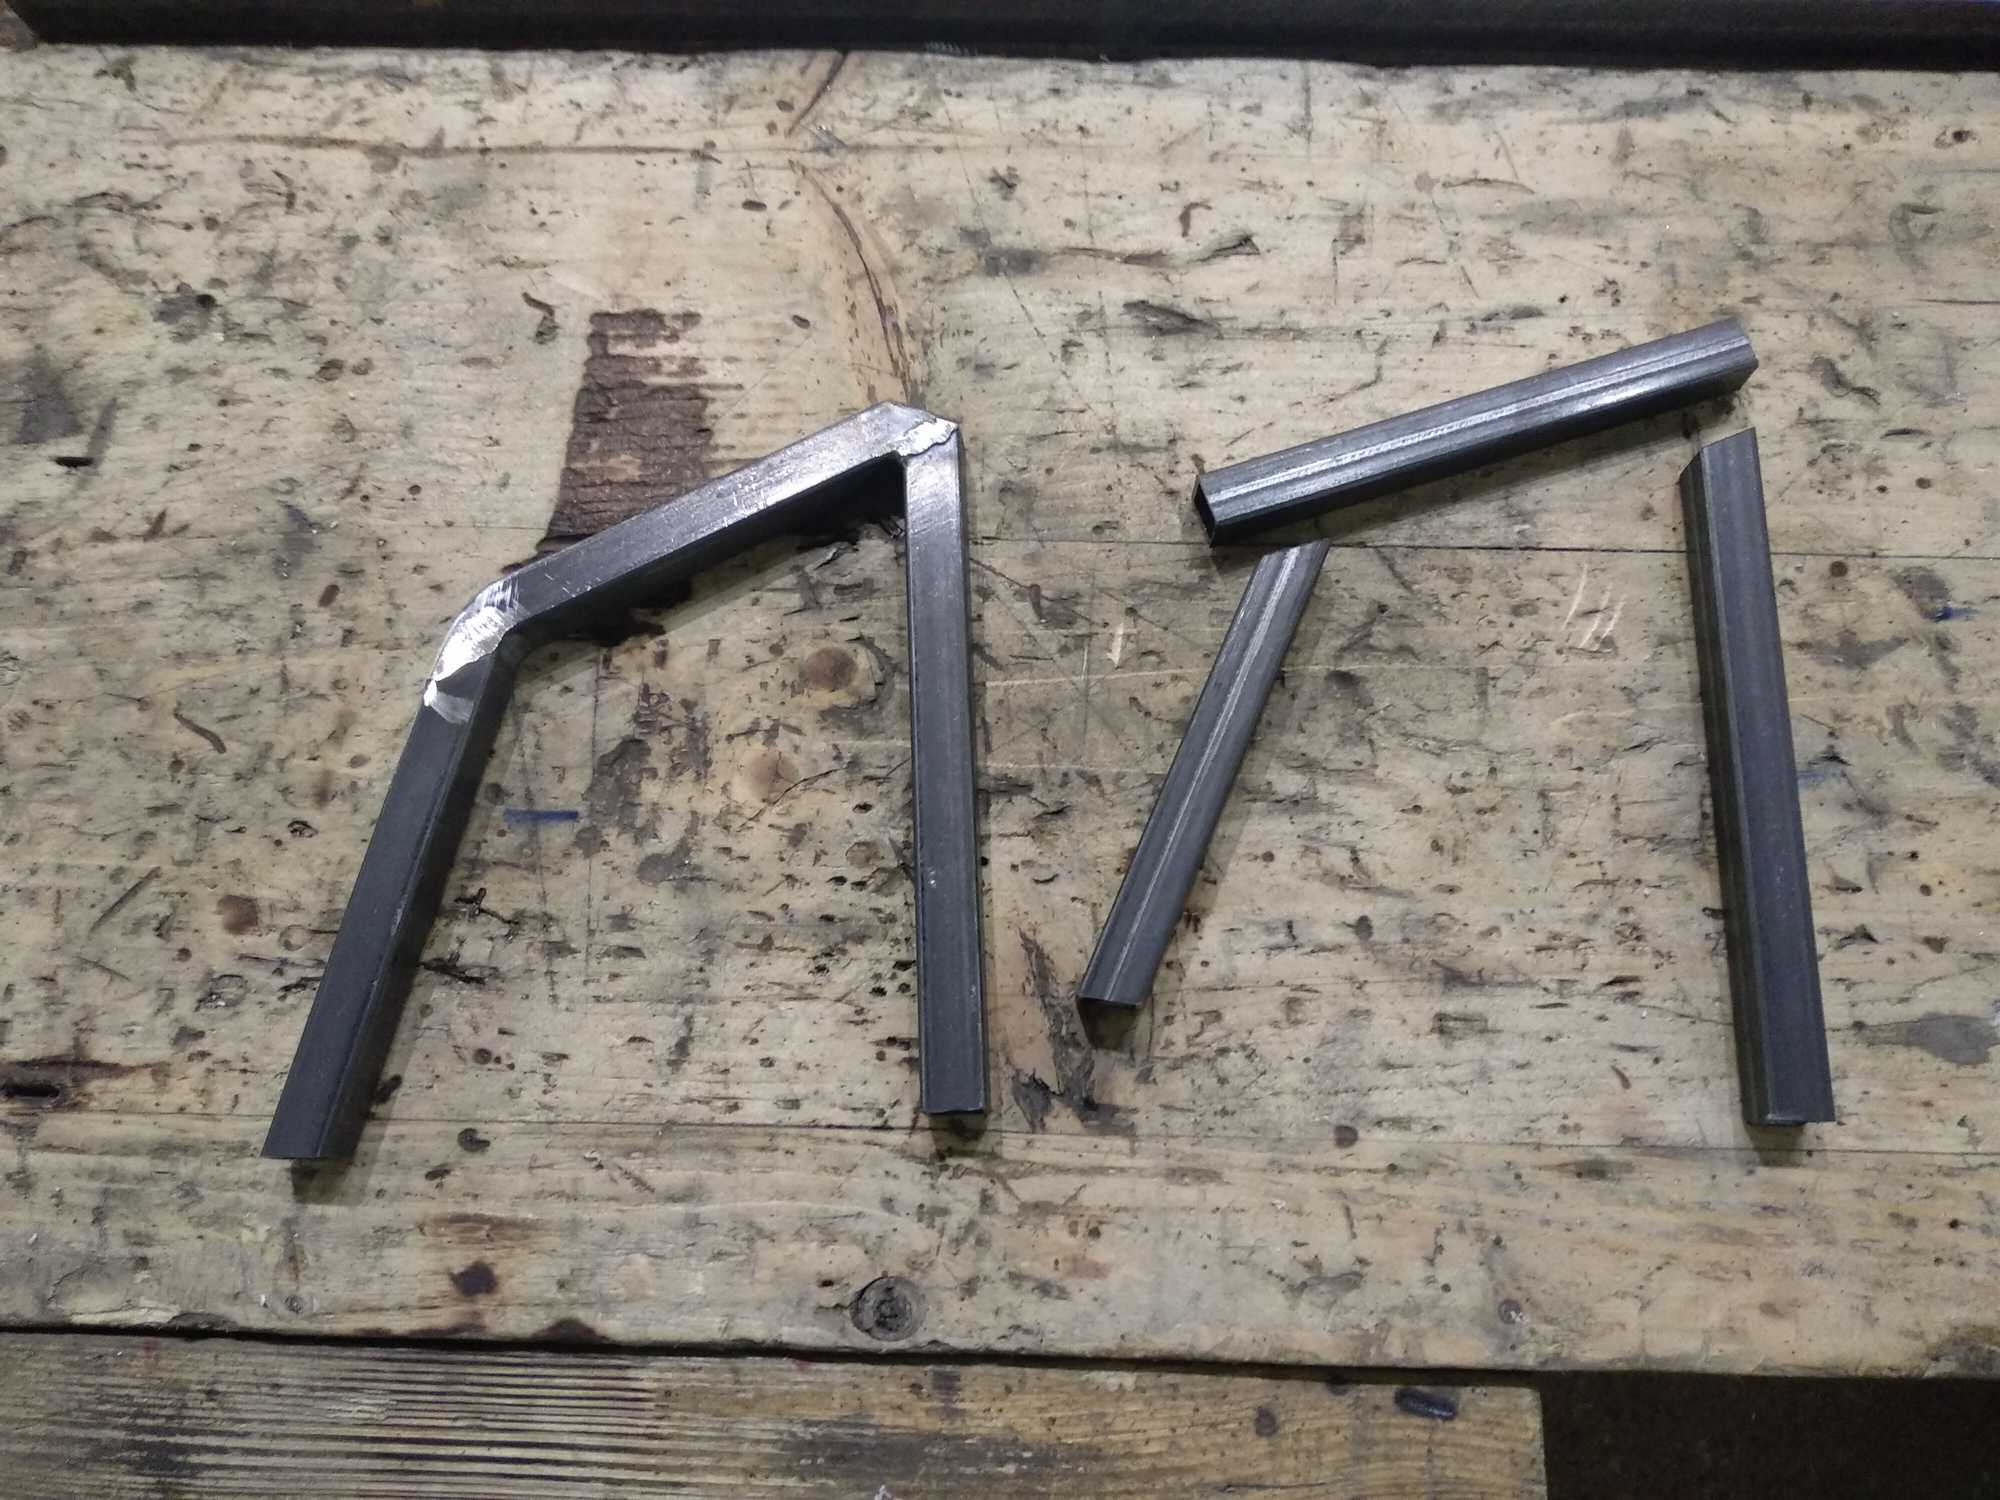
I had to modify the steering column a little, so I cut an end of it and welded on a piece of a pipe. Did the same for the part that goes on the end of a steering wheel rod. Should of done this before because it’s now much more sturdy.

Then I also sanded off the front wheel holders and painted them in this horrid blue color that I thought would look better :D looks like those Soviet-era bicycles…


Time to close off the bottom for protection. Below the driver I added 1mm metal sheet and on the very front, where the steering is I added a bit thicker piece of metal sheet for more protection. I figure the very front might get more abuse. And I added 3mm sheet below the engine for protection.


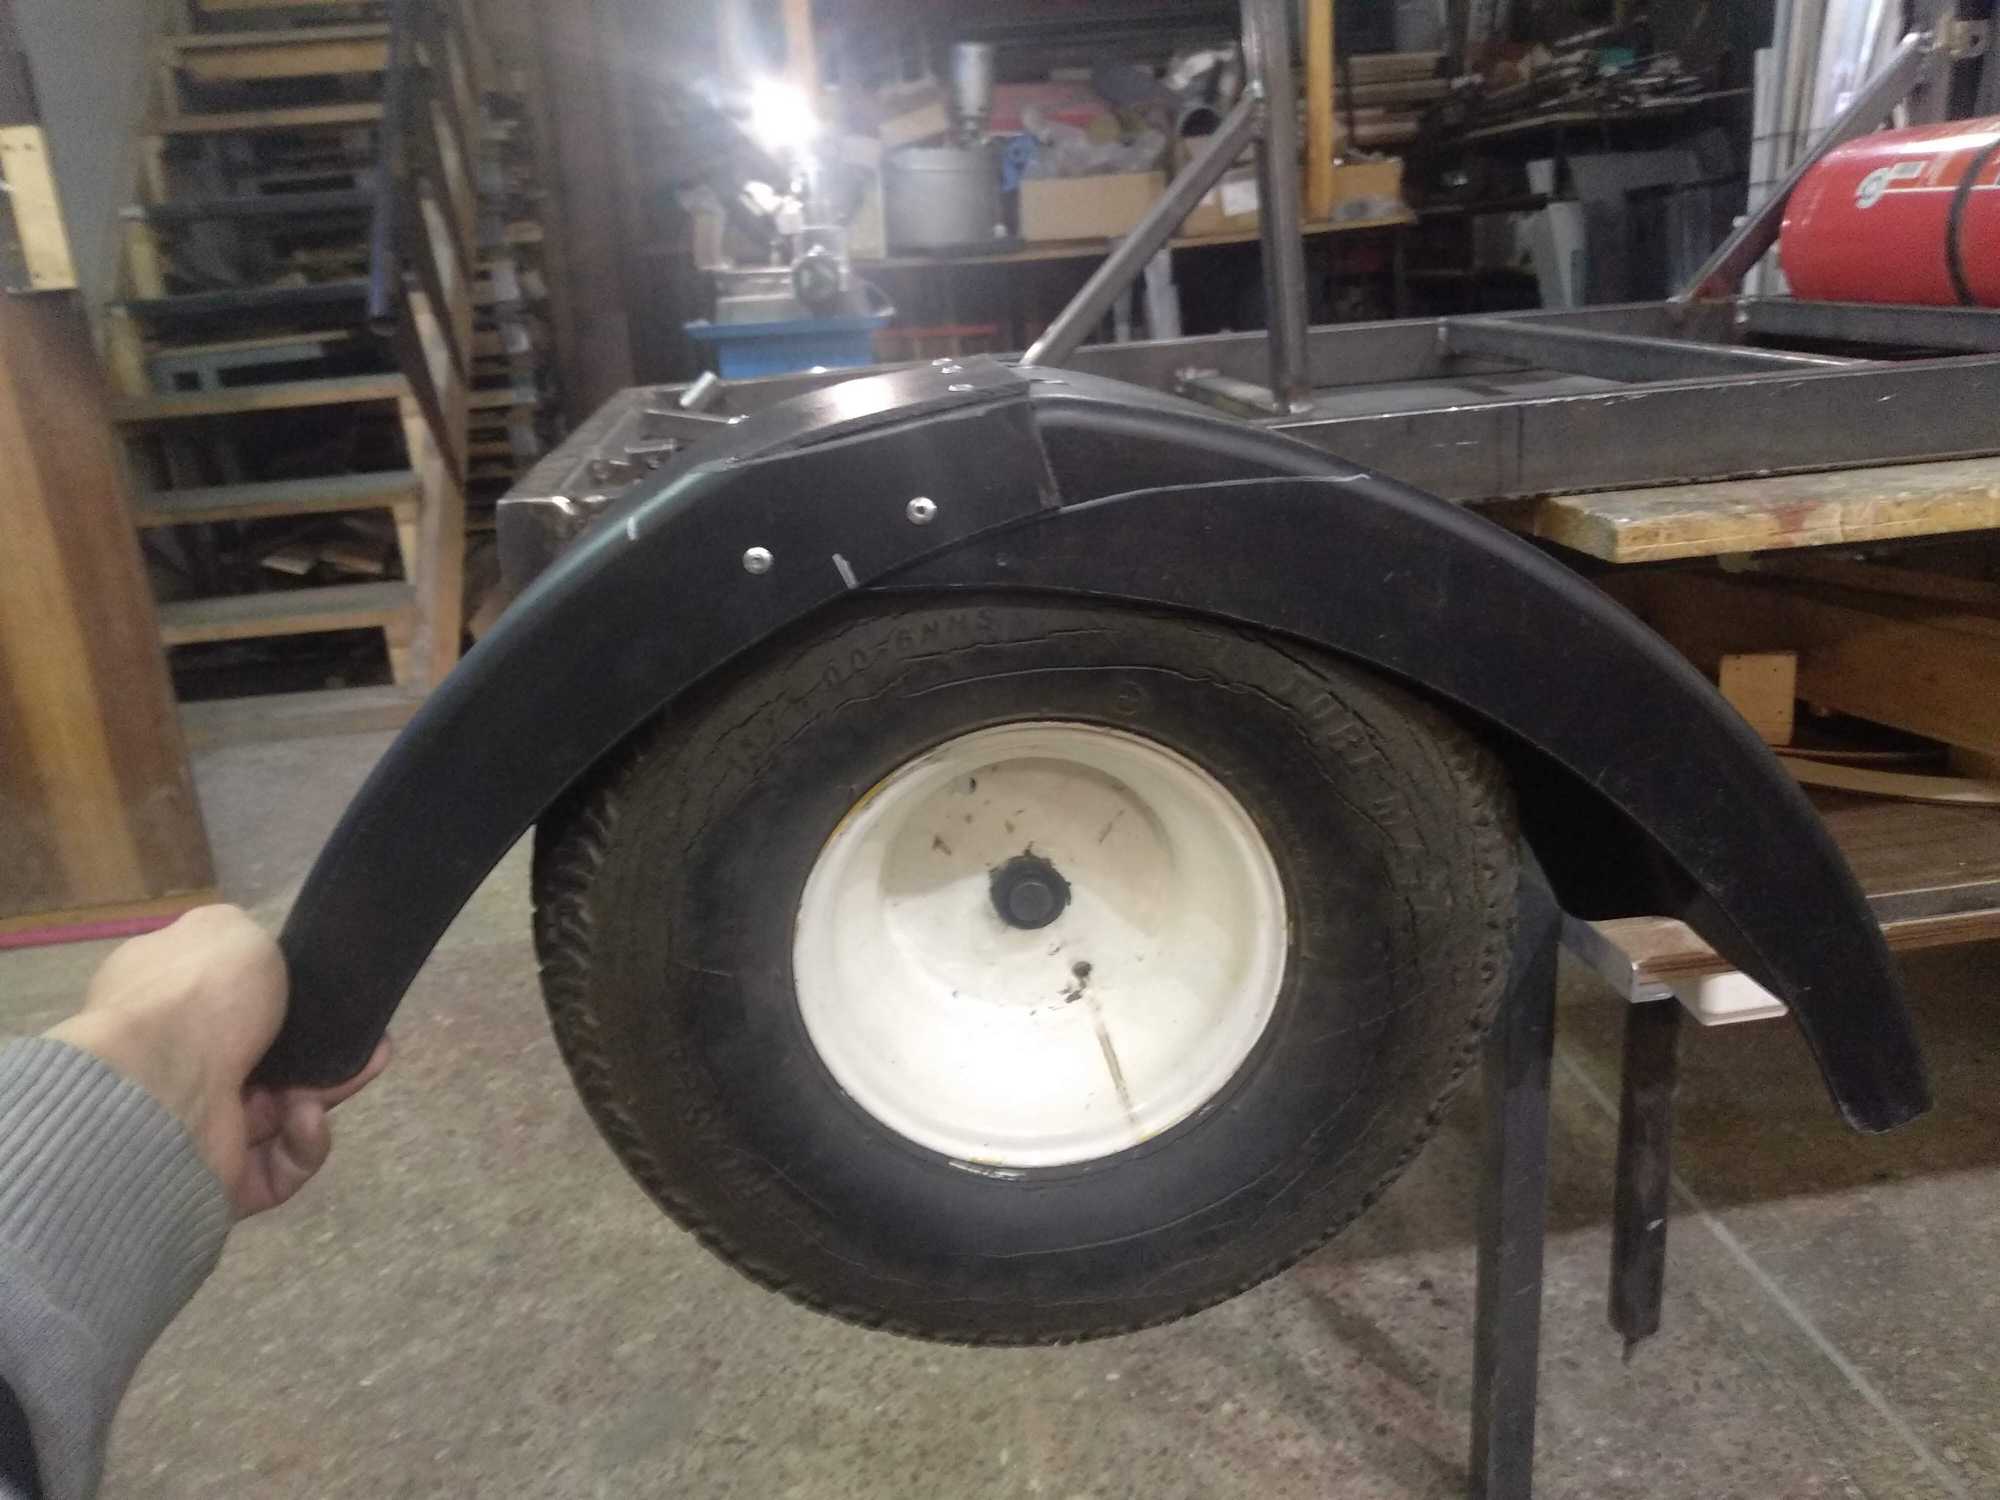
Ok, cool so far. Next I added fenders for all wheels. Why for a go-kart? well, it’s an off-road go-kart and I don’t really like getting mud, water, sand, pebbles and everything in between on me. Some might like that though :P
I couldn’t find fenders for my wheel size, so I bought universal fenders for a small trailer and cut them up, then joined with rivets.

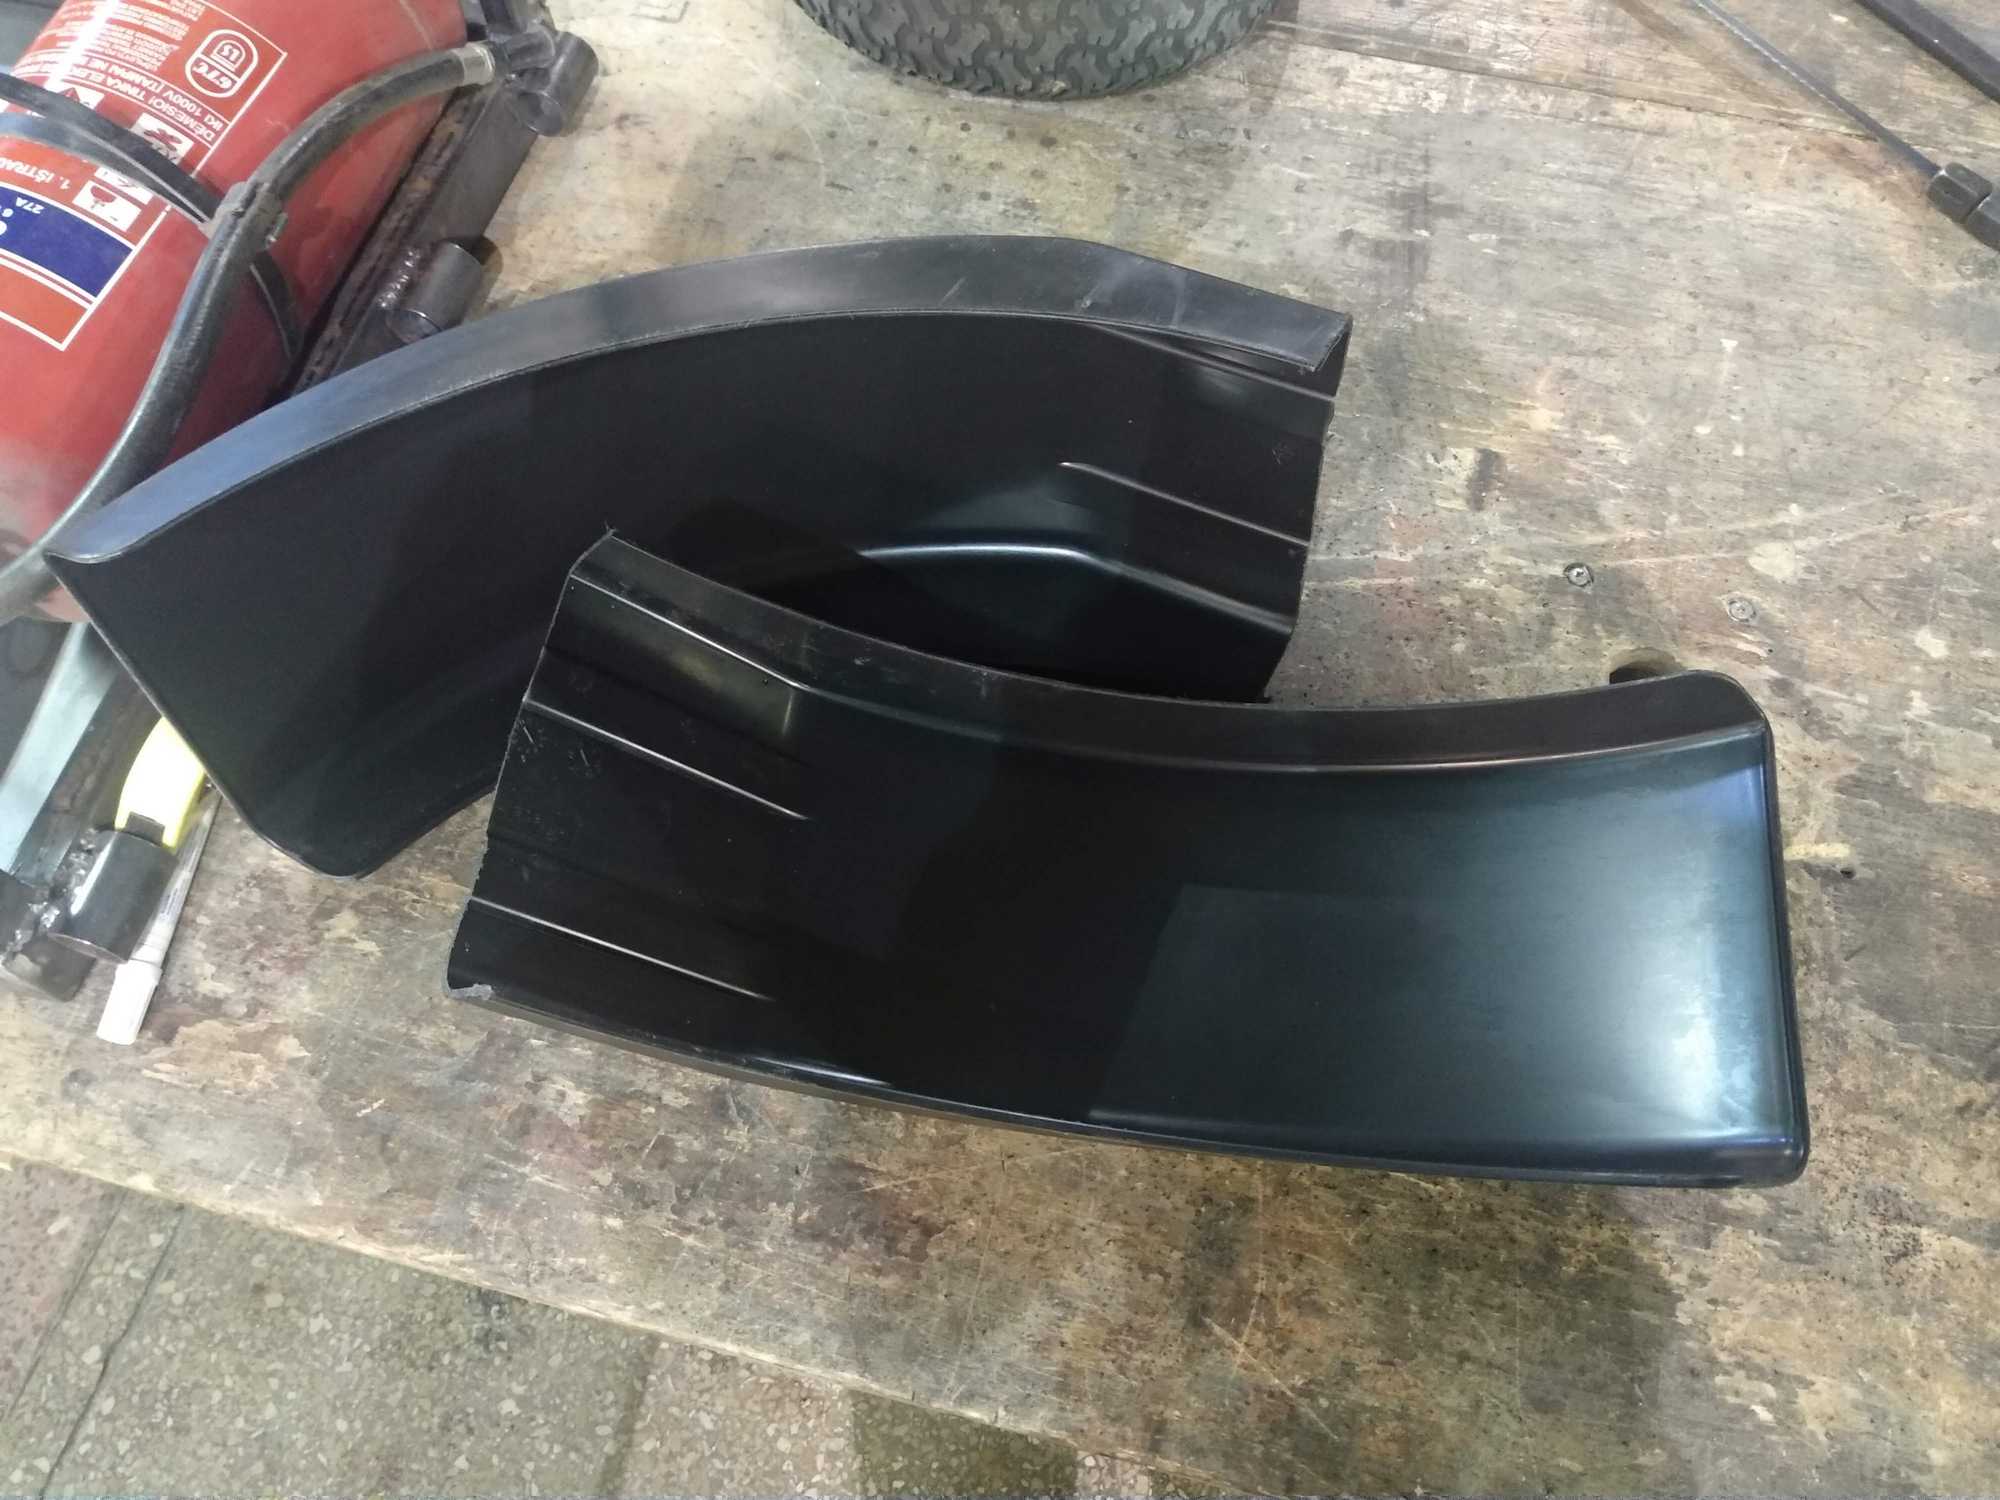
And so this was for the front:

And for the rear:


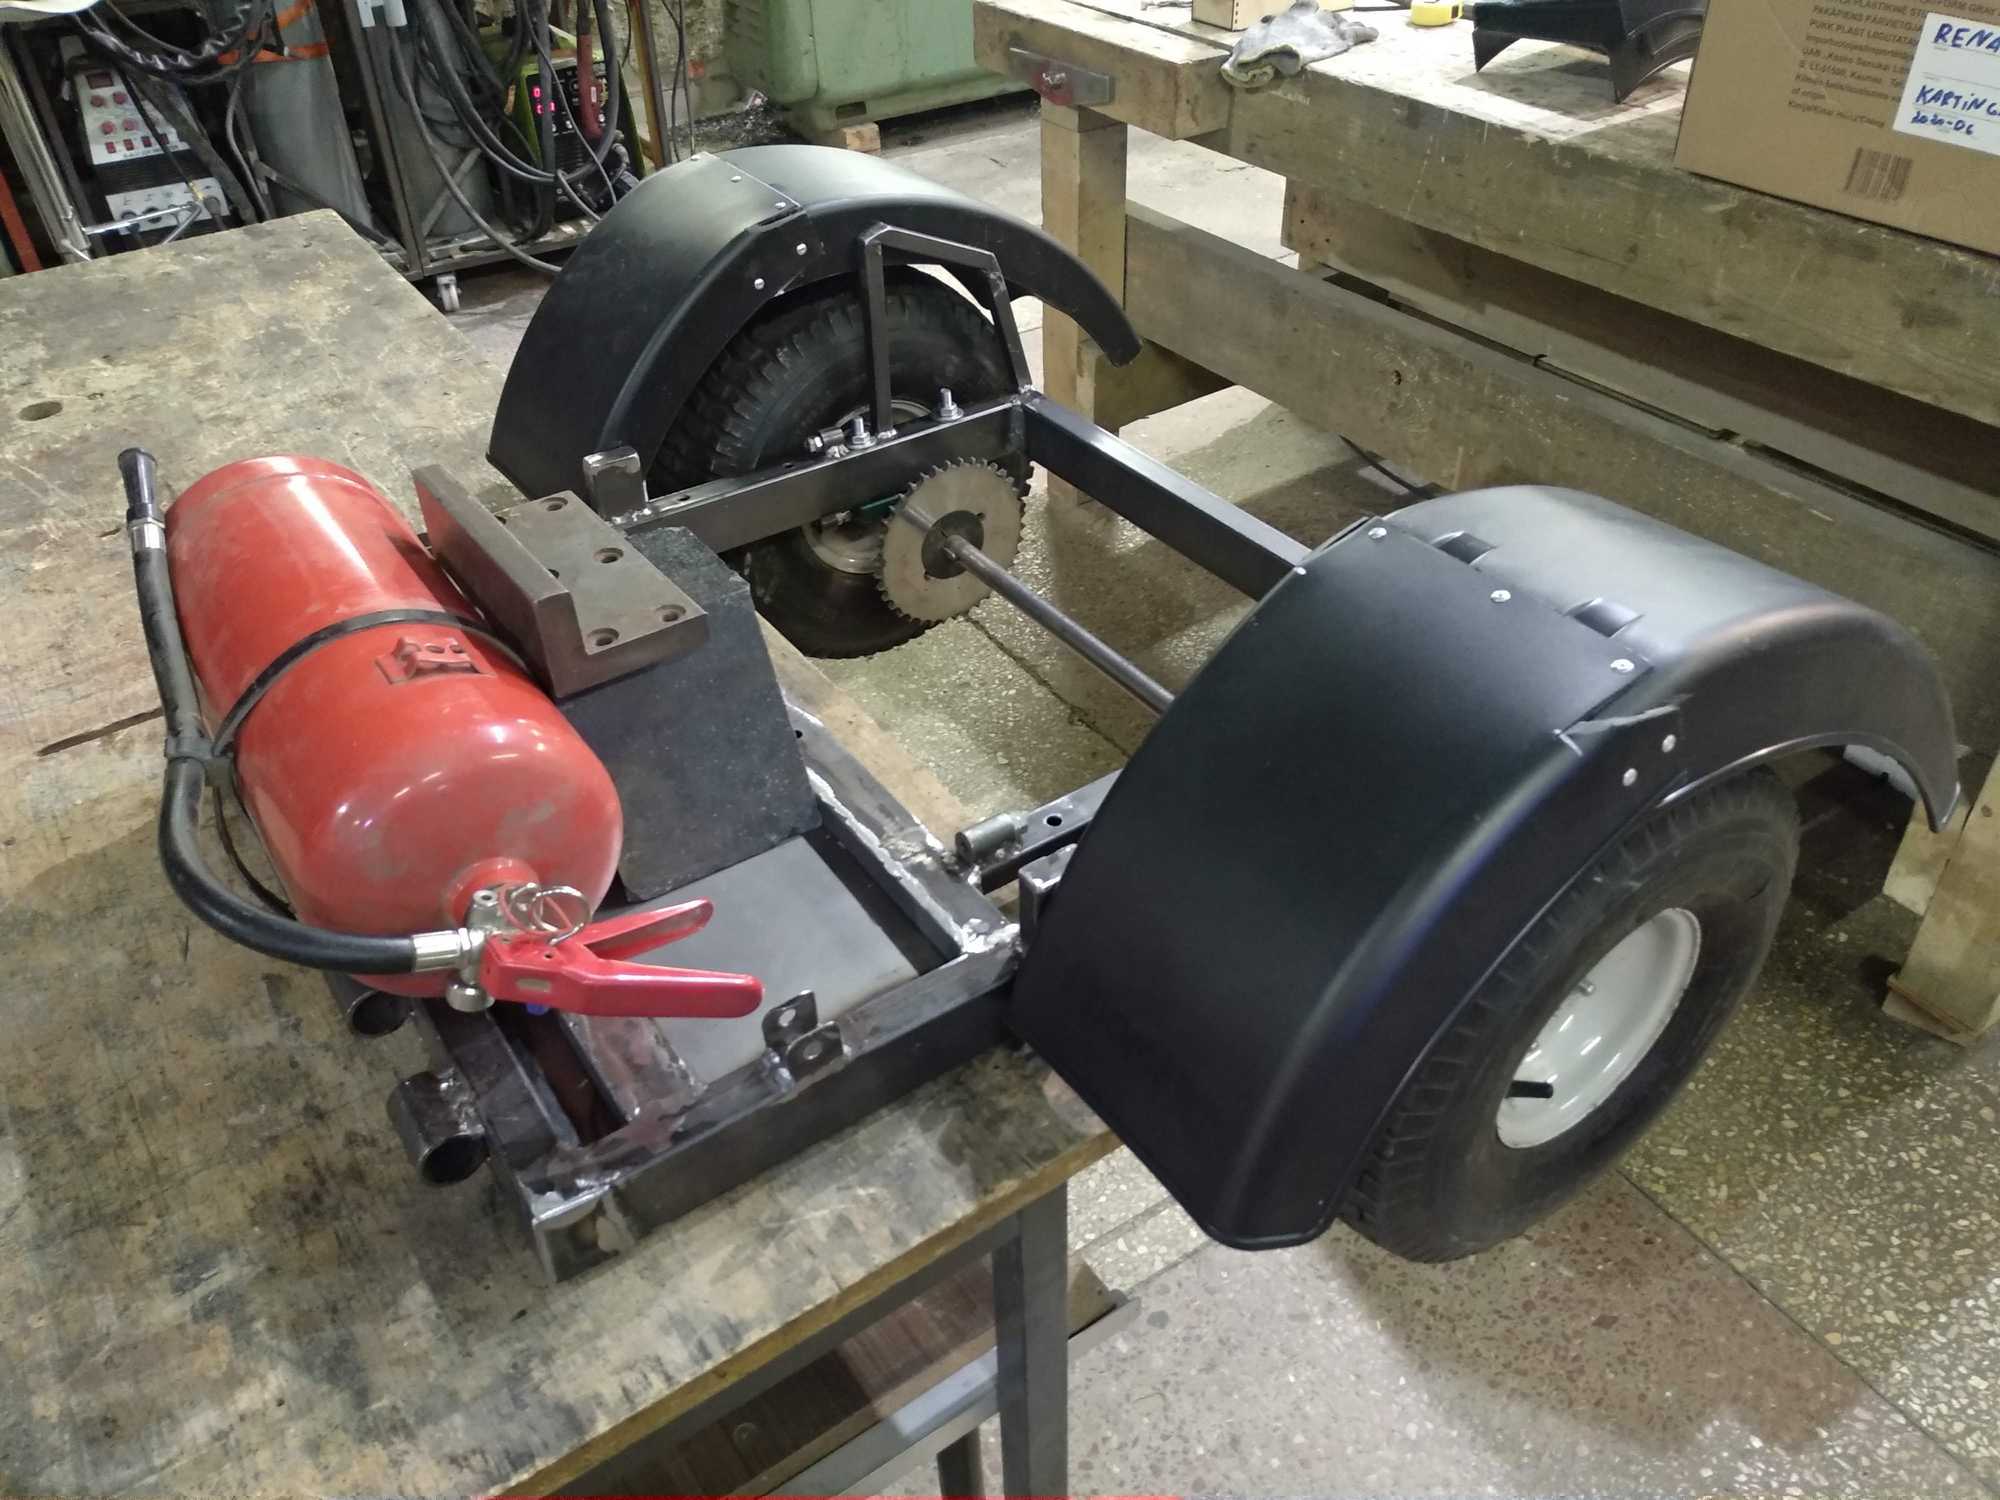
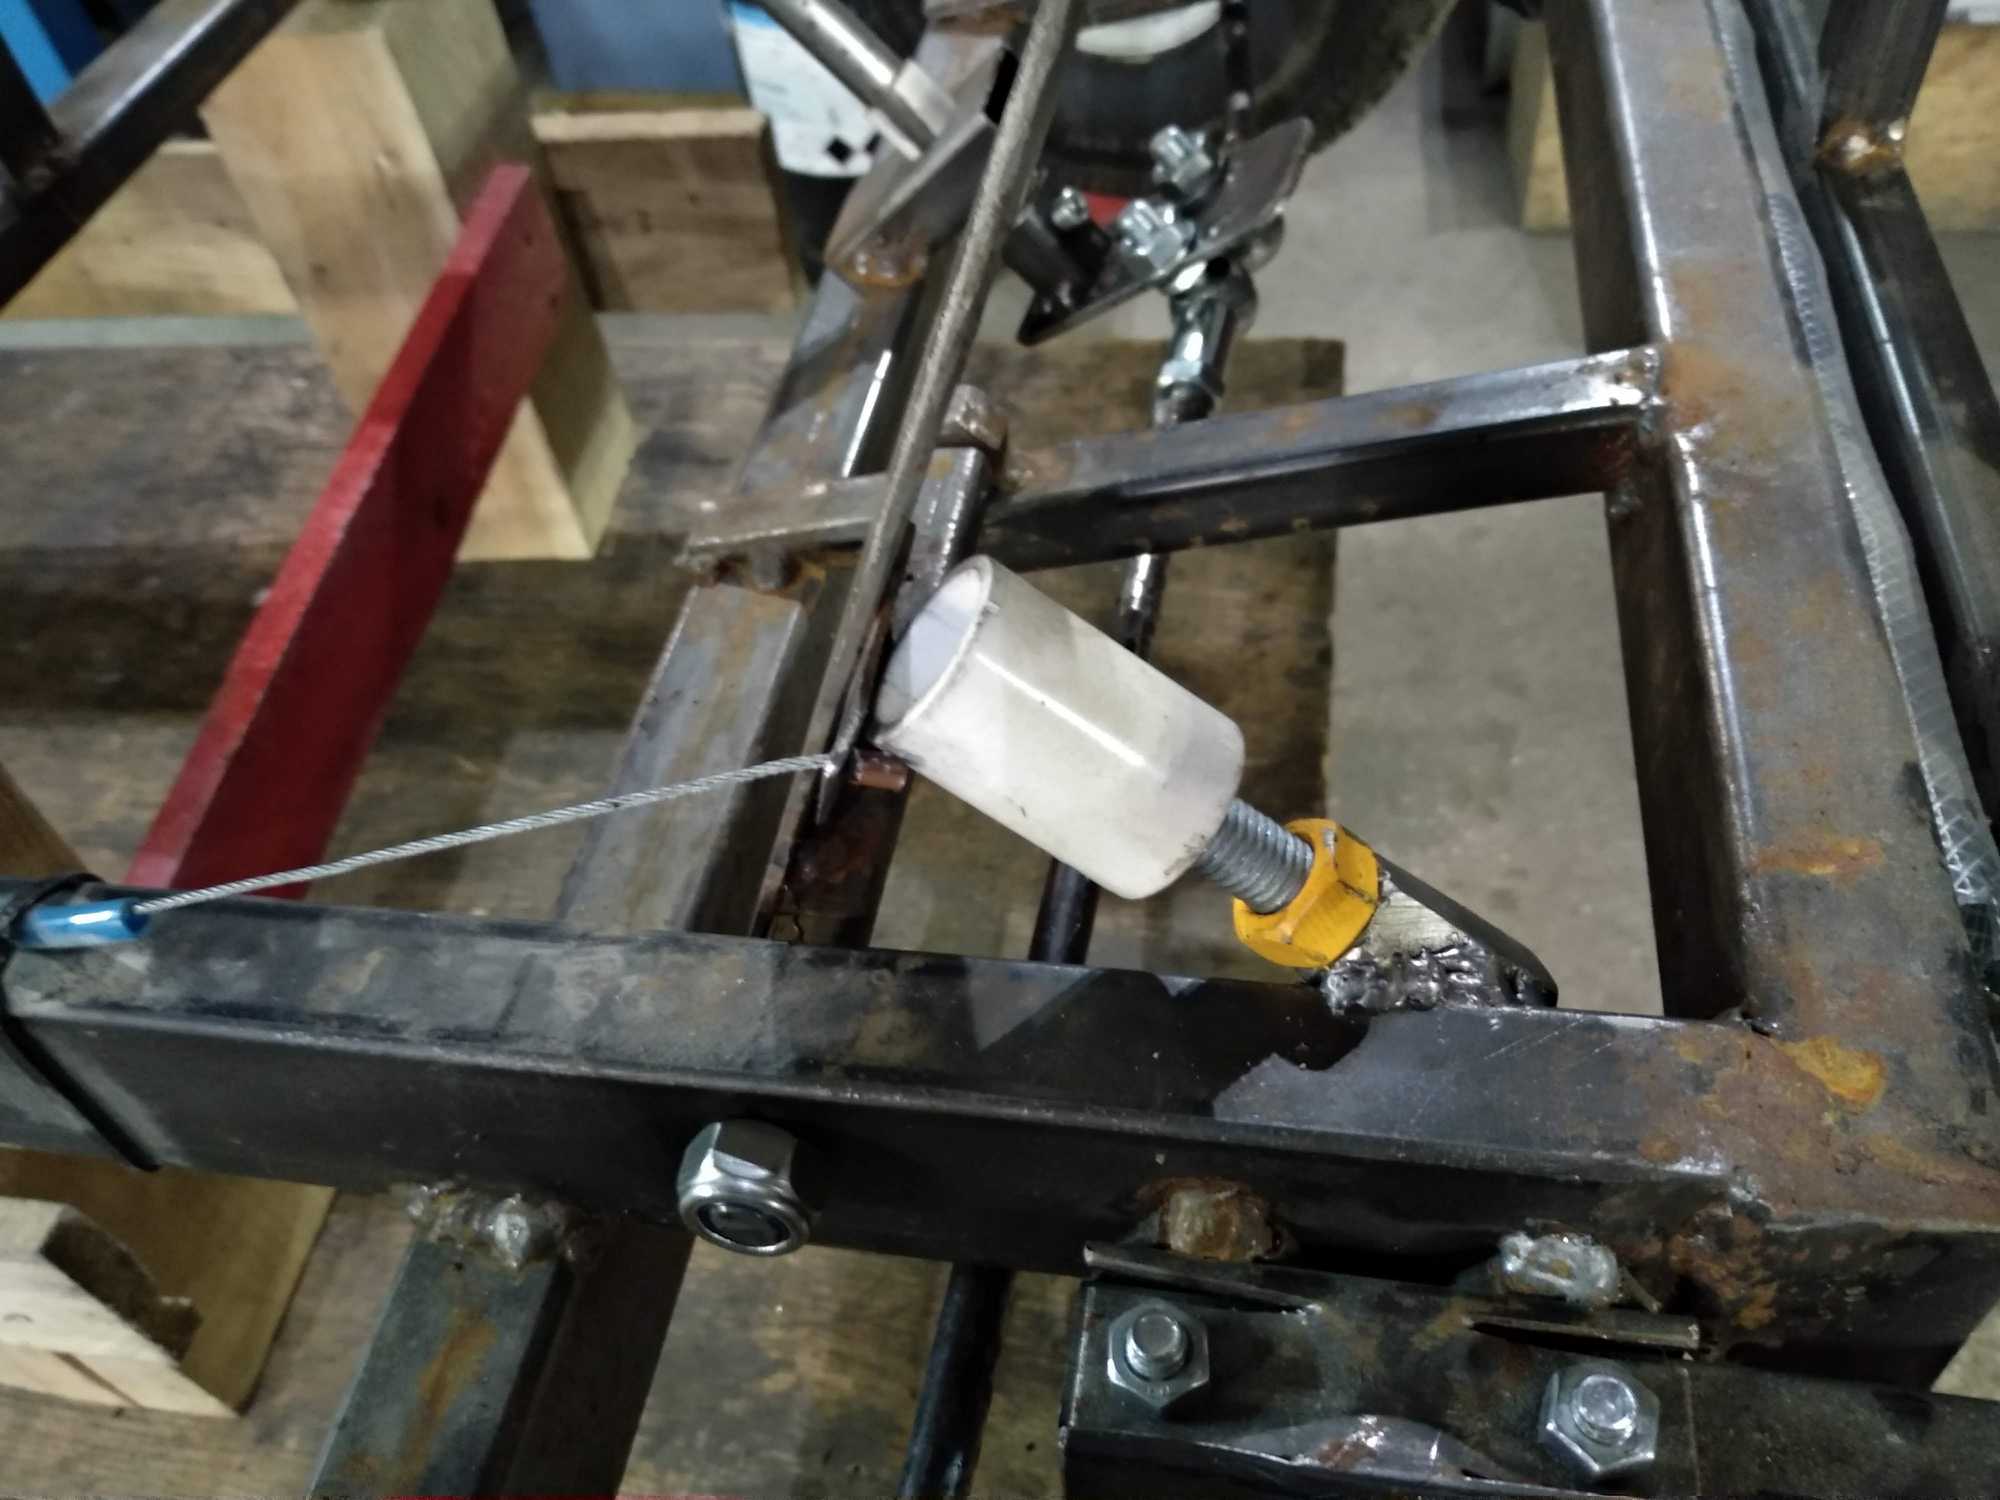
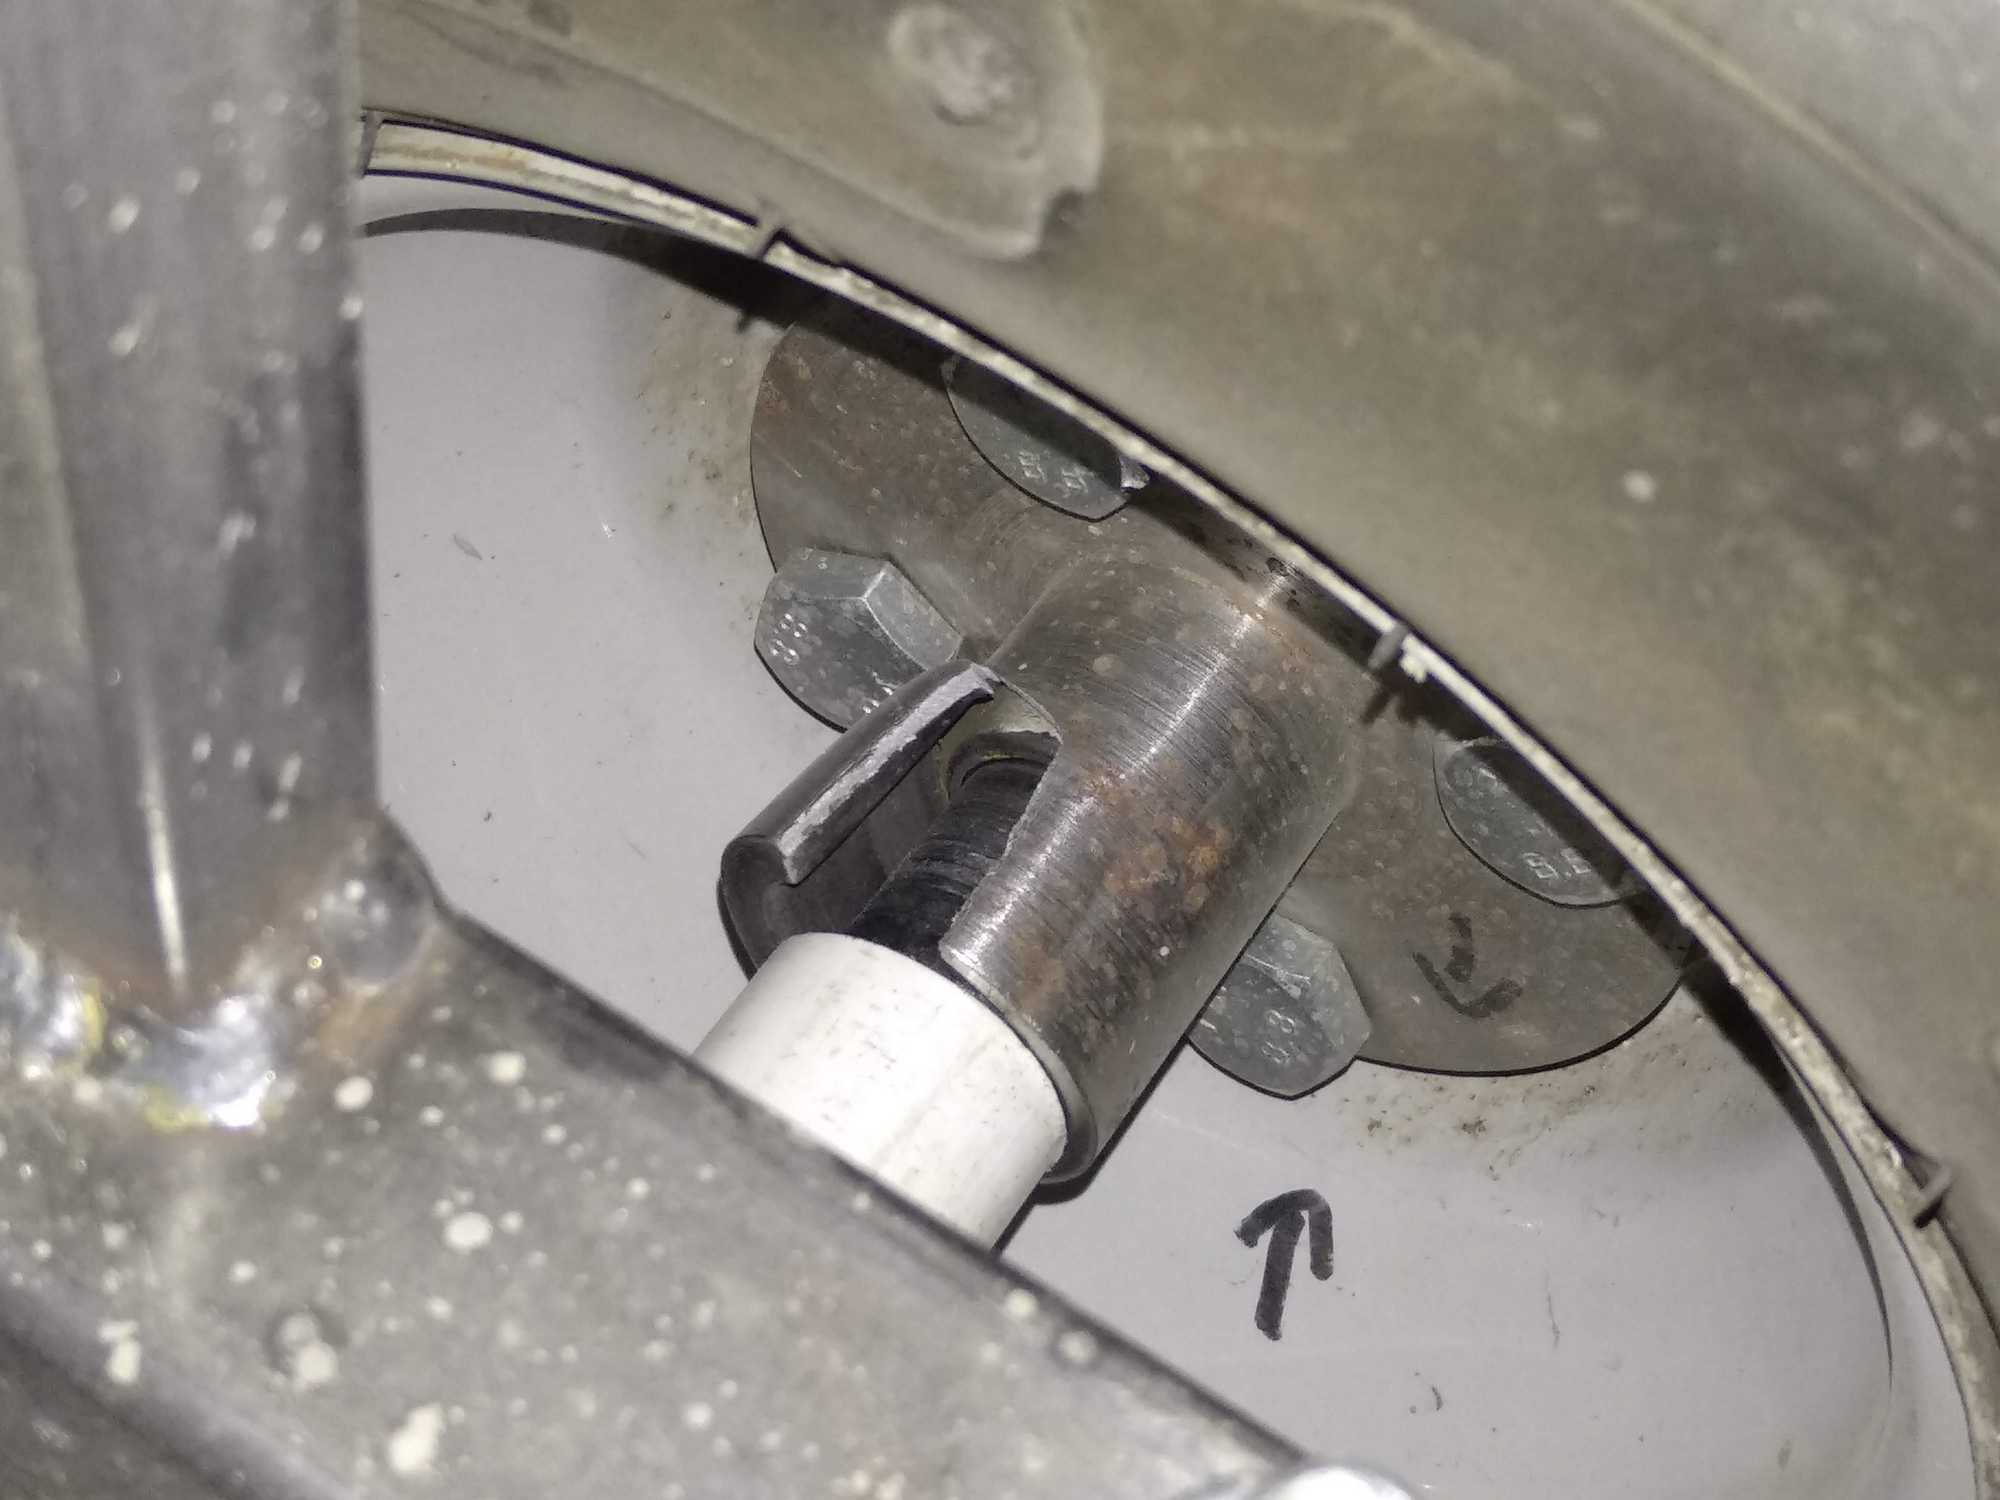
With all this done I assembled the whole thing again, but this time properly so it’s ready to drive. And of course I noticed that the rear axle, that was made of a iron rod was all wobbly and the brake caliper was moving sideways like crazy :D
It’s at this time that I began to realize that 20mm for a rear axle is way too little (for this go kart). Much better would be to use at least 25-30mm in diameter, however right now I didn’t want to change anything and just wanted to make it go already.
So I went out and bought a 45-steel 20mm rod (without carbon so it isn’t brittle), milled the keyways out and assembled on that. This steel axle should hold more abuse, but eventually it’ll give out as well. When that happens I’ll replace the whole rear system to a 25-30mm rod and with that I’ll replace the wheels to have more agressive tires, maybe I’ll connect the motor straight to the axle too for more speed. We’ll see in the future :)
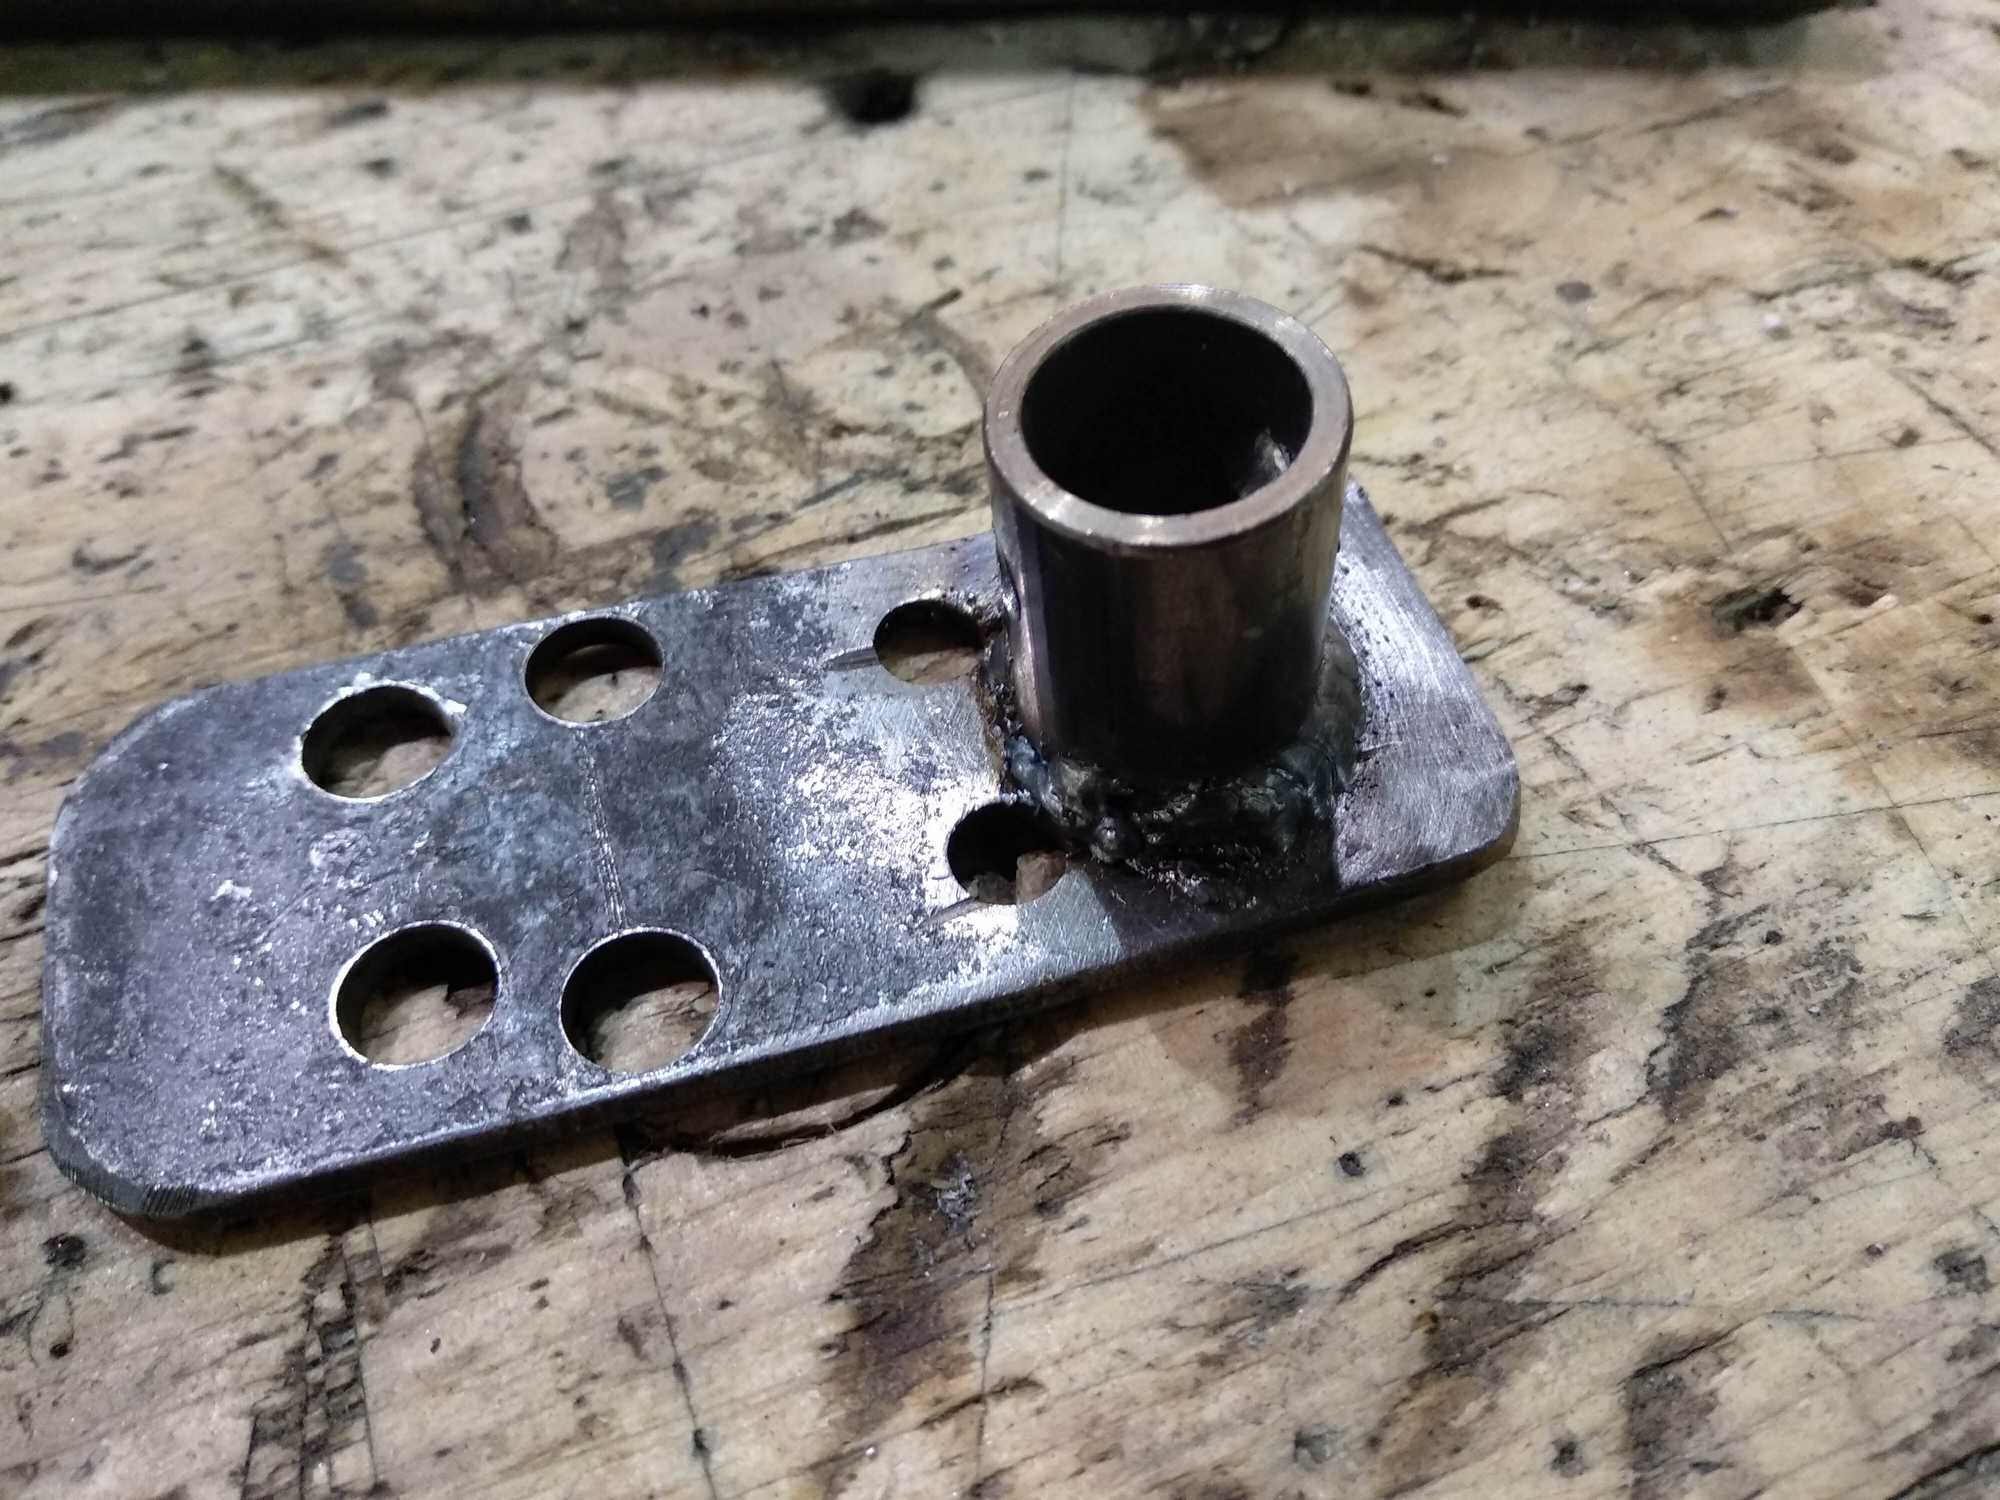
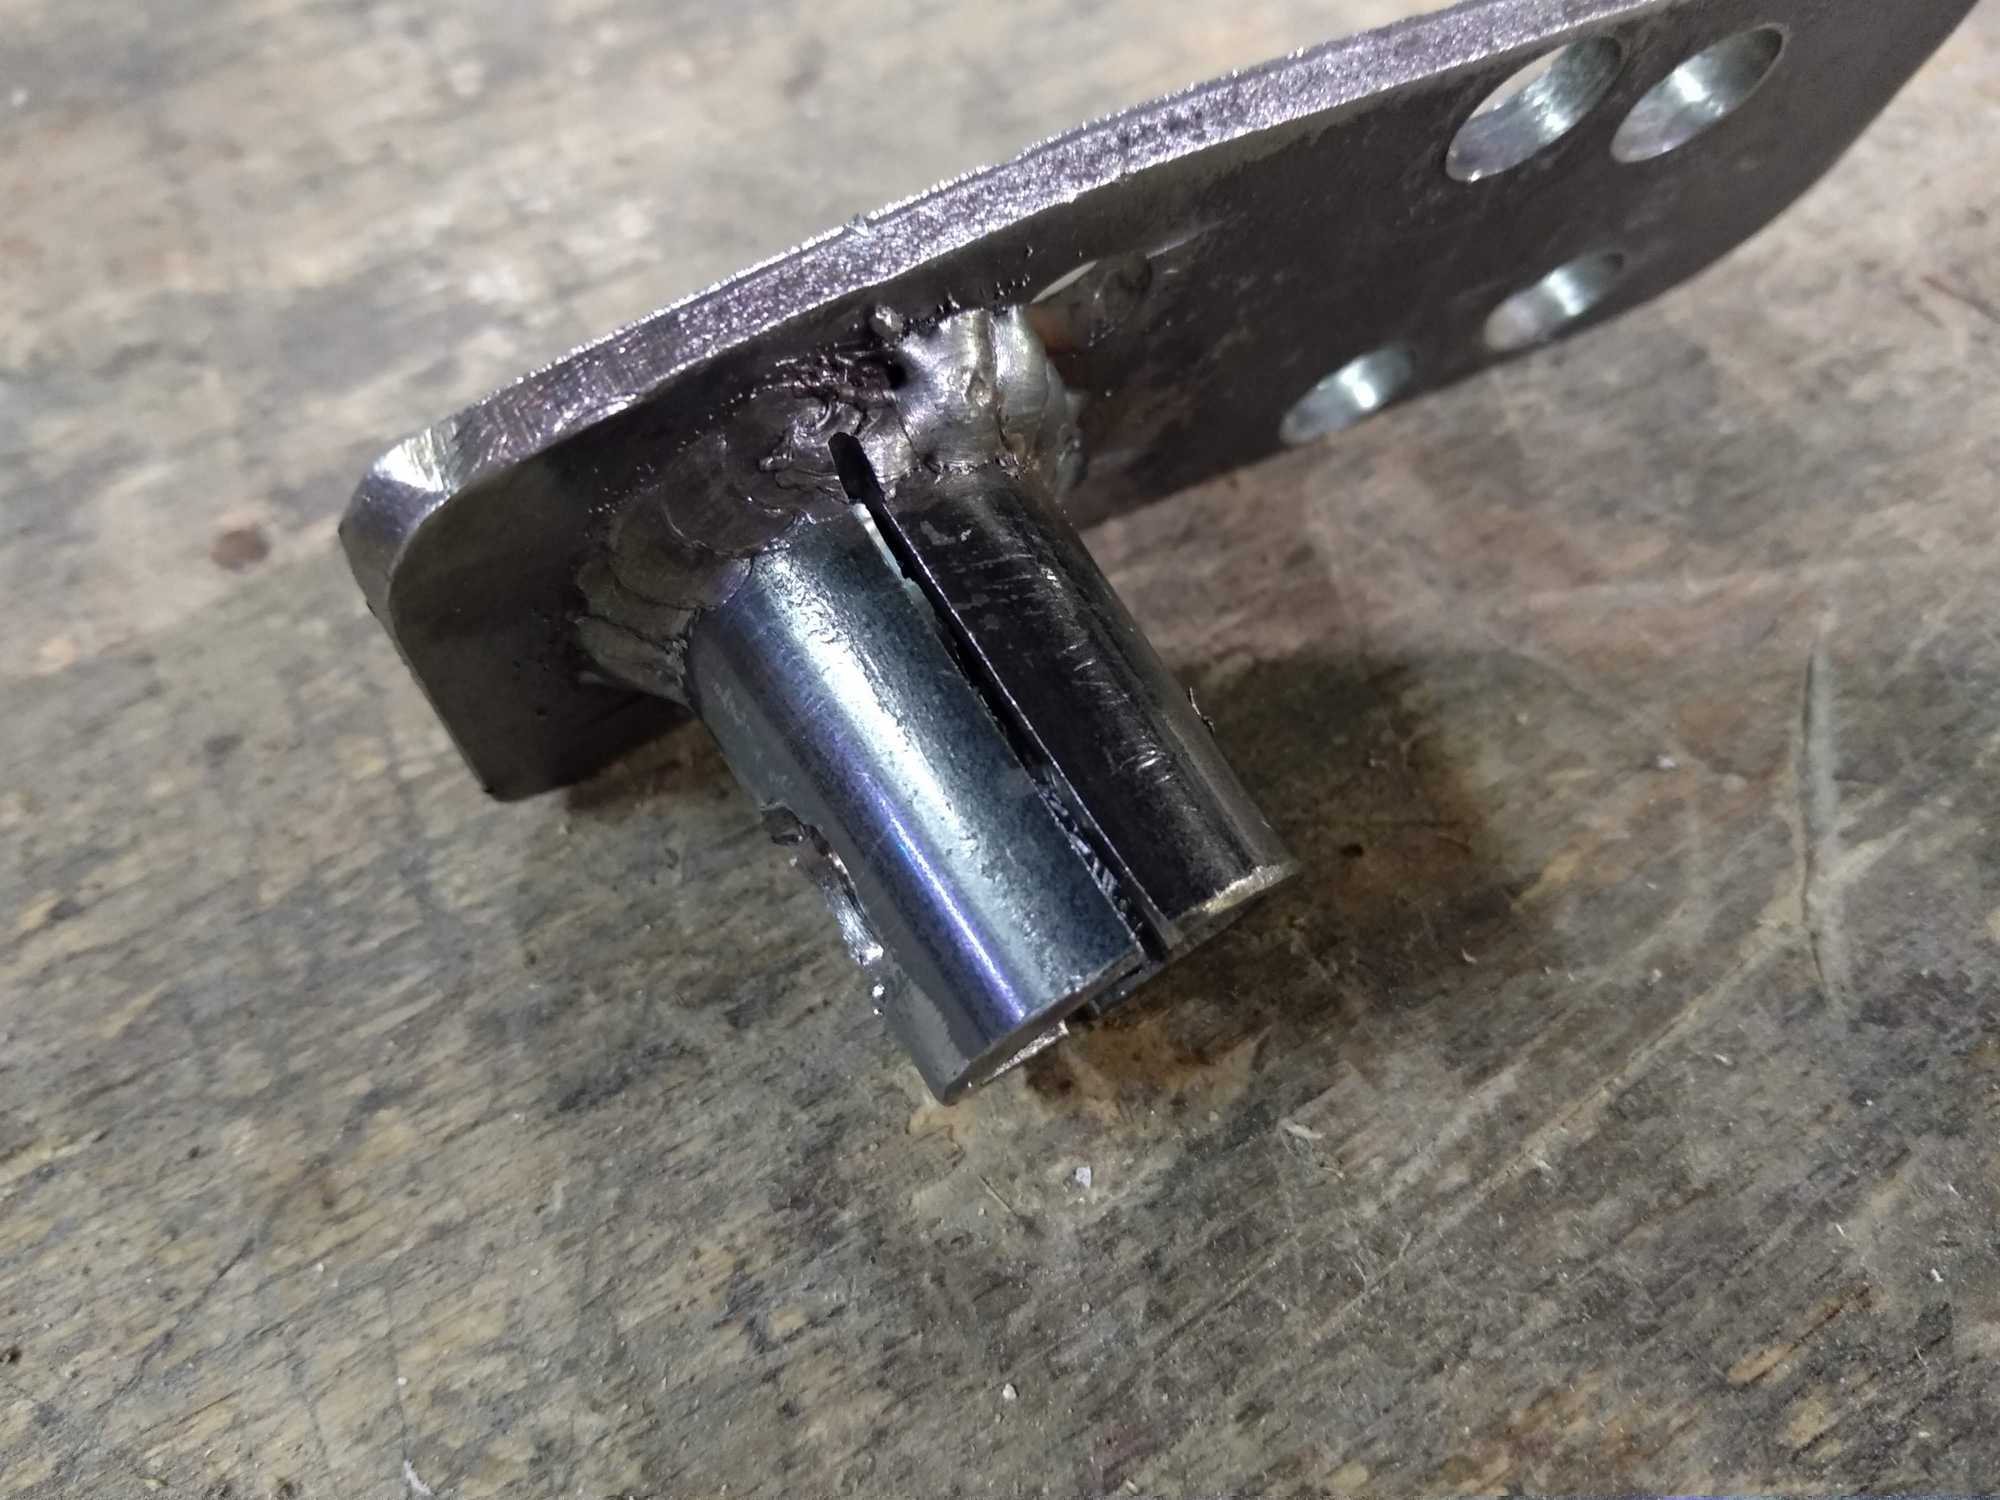
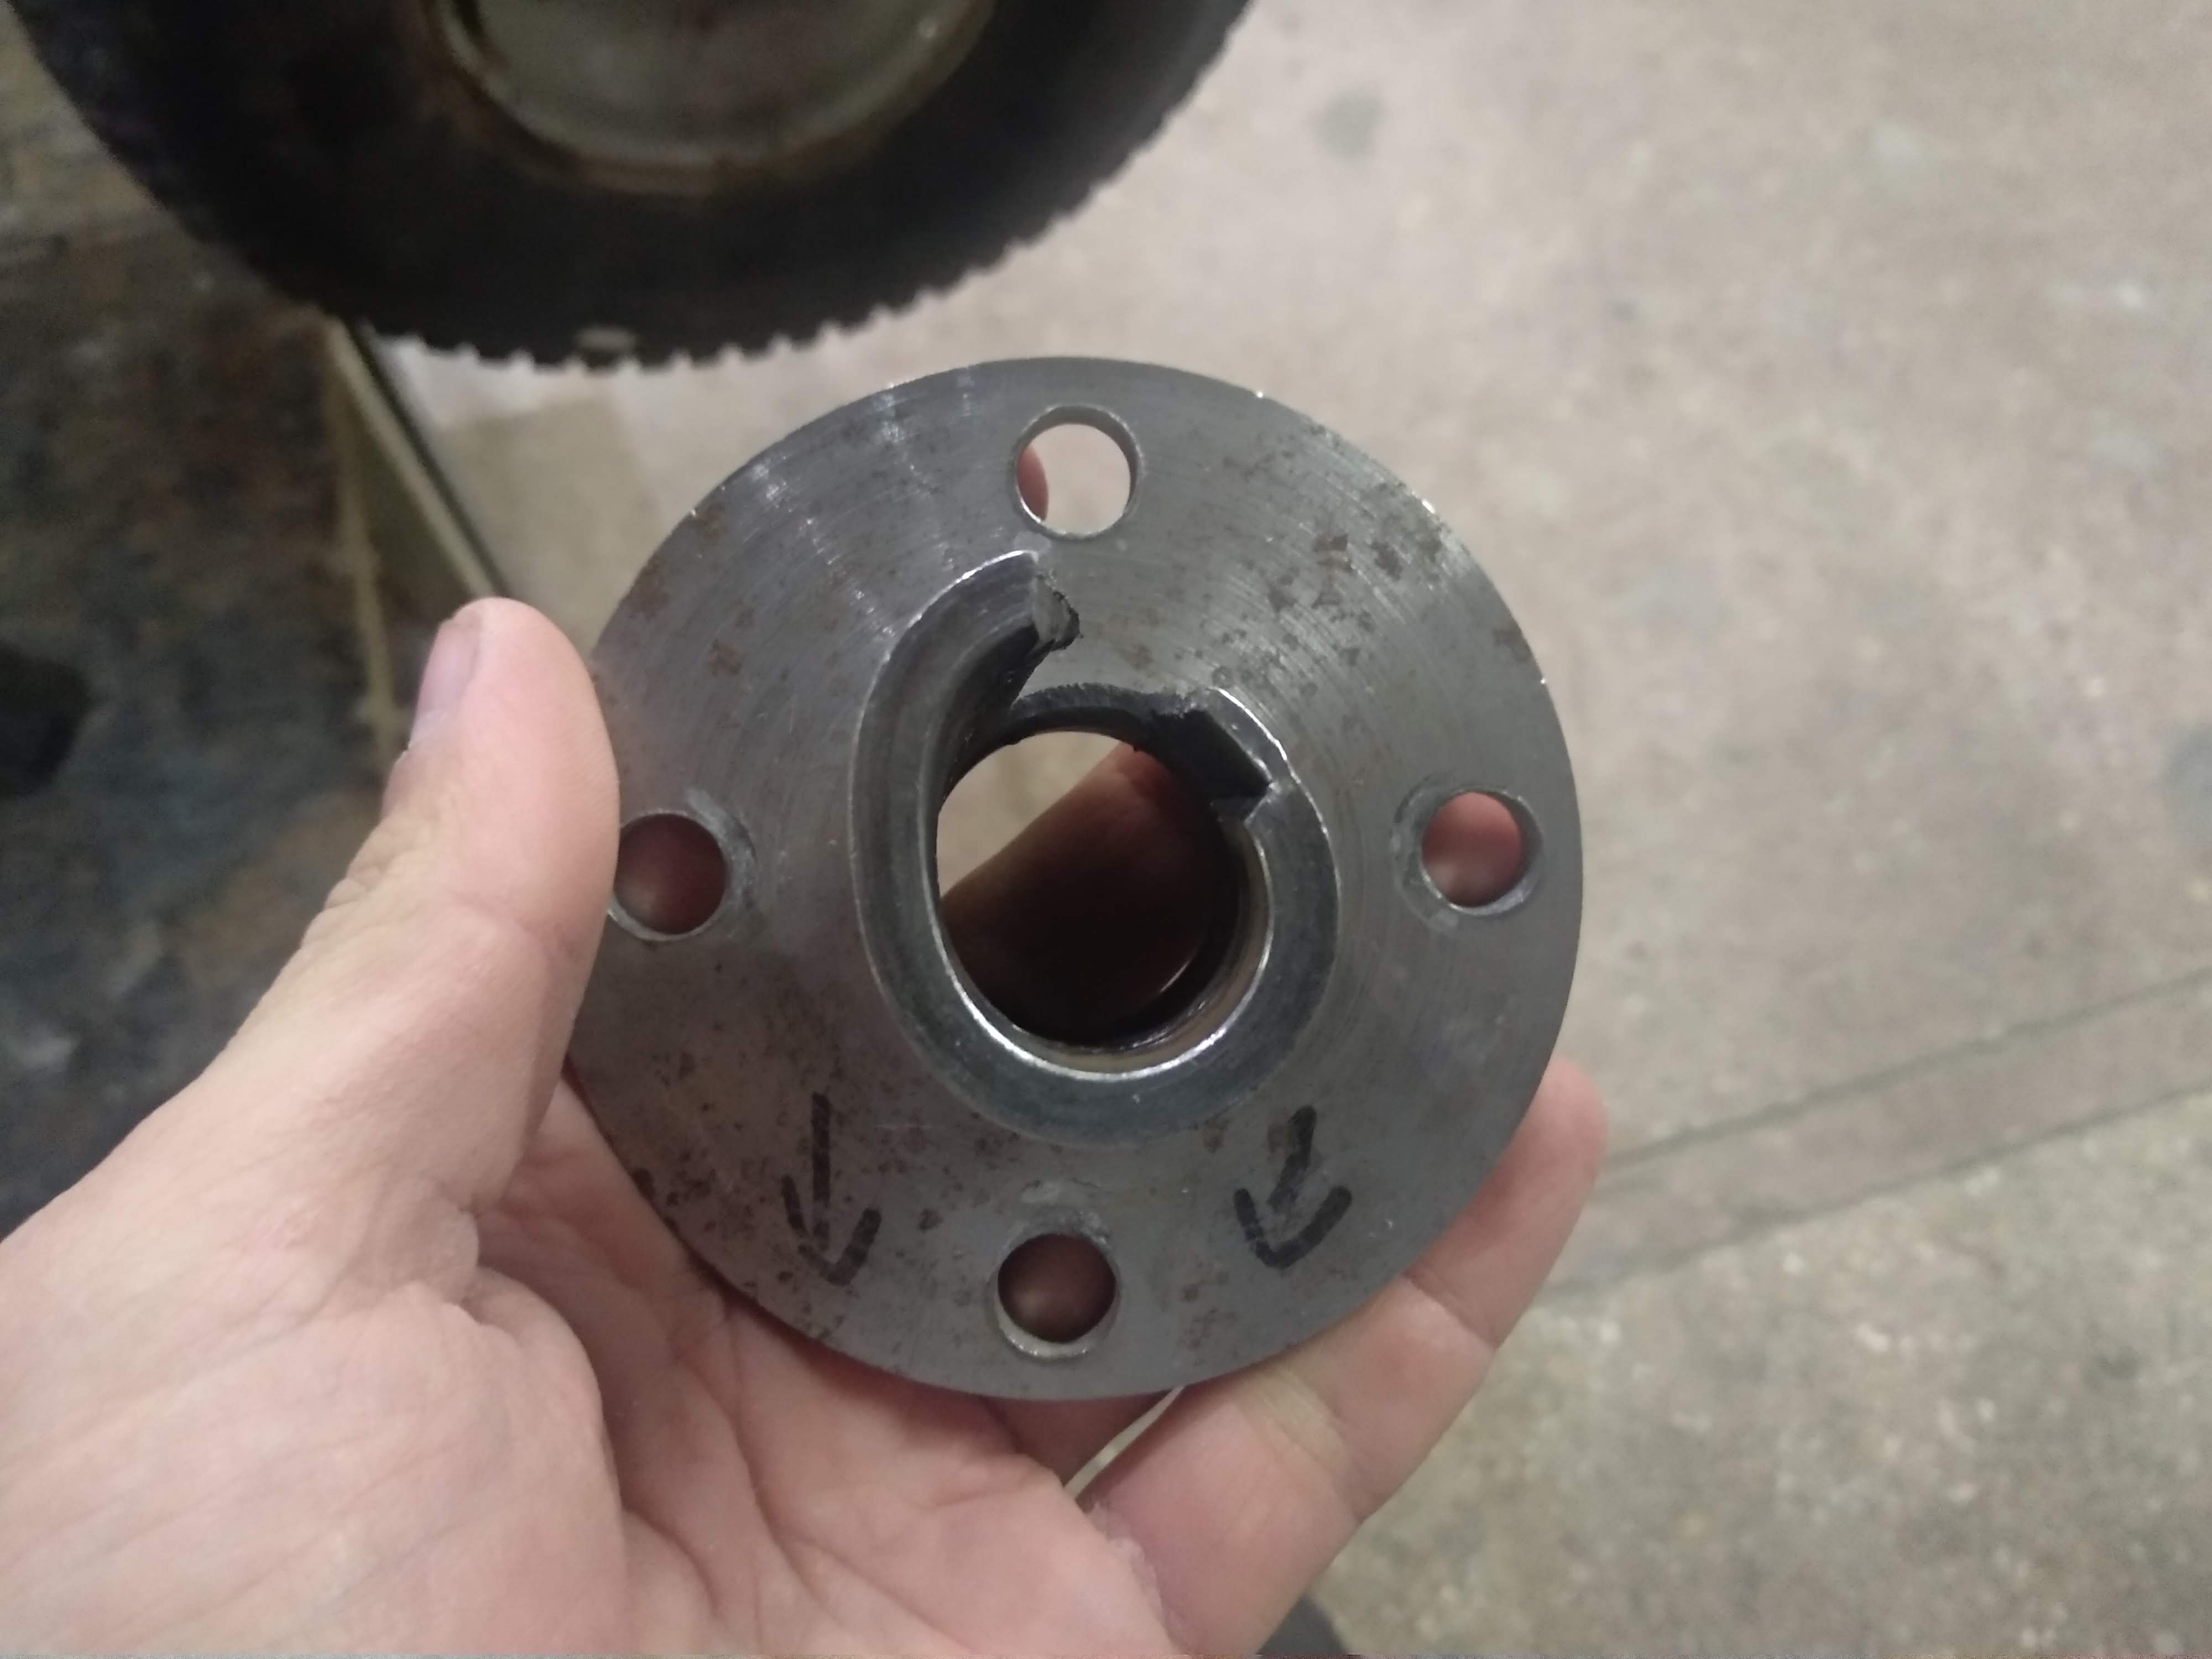
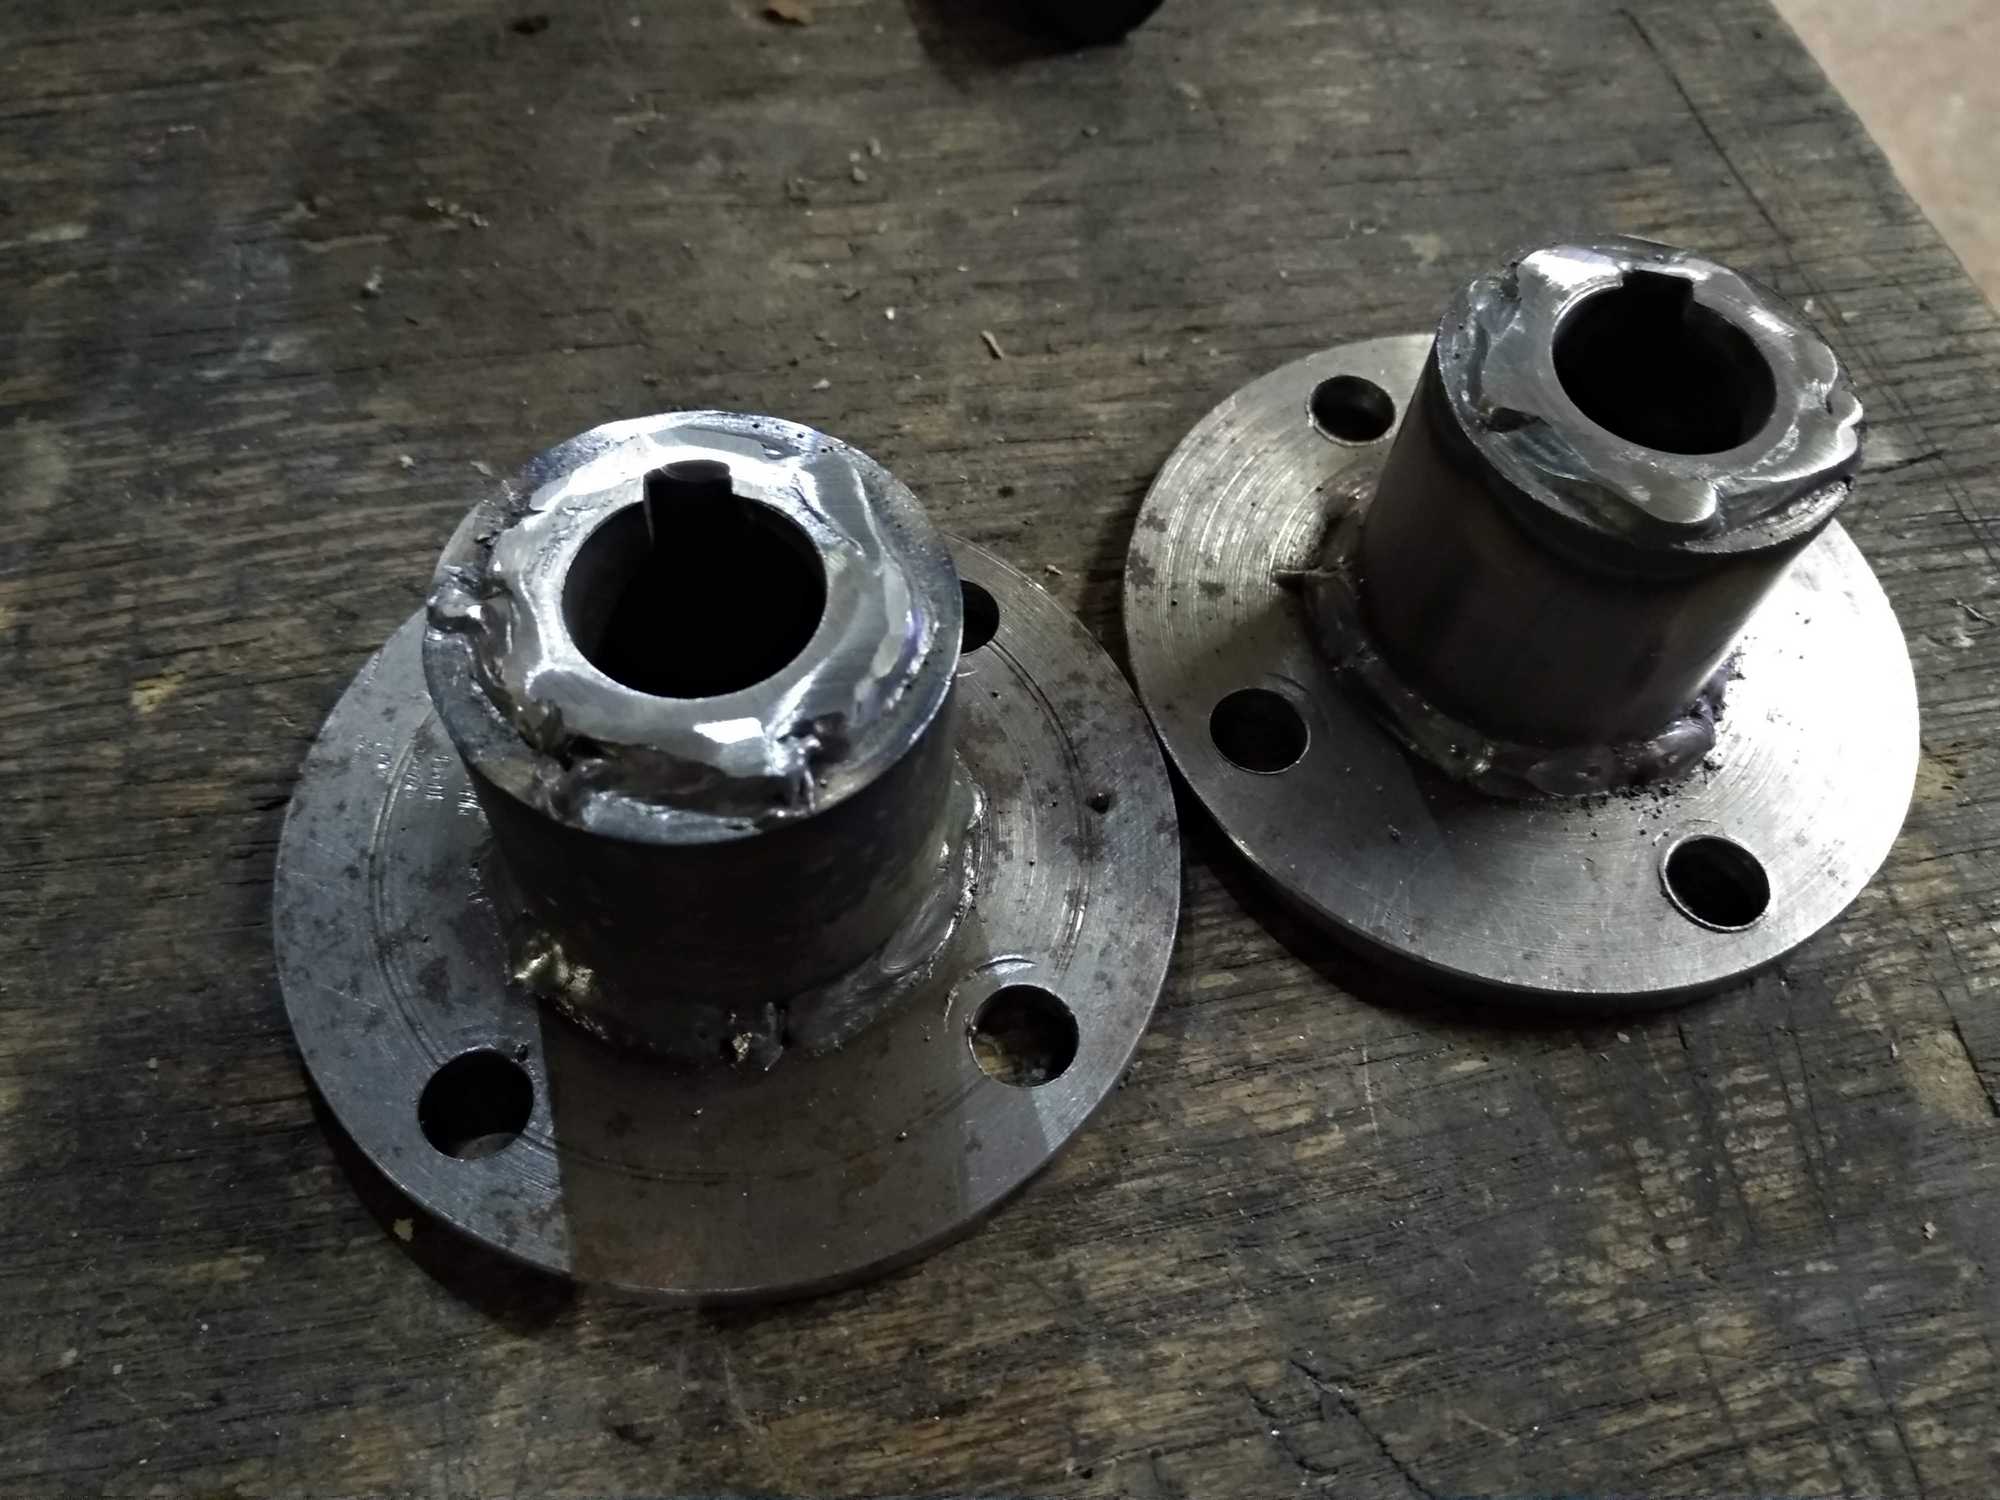
And just when I thought it’s ready for a normal test drive… one of the wheel hubs broke off, but thankfully I was able to repair it and make both hubs stronger by welding the bushings on.
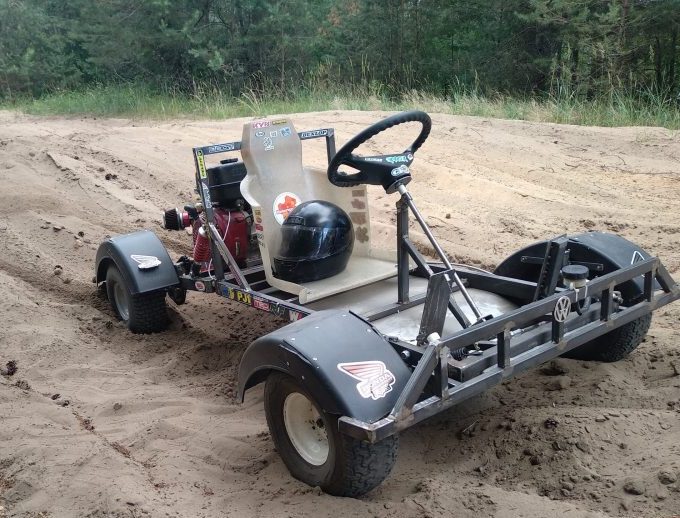
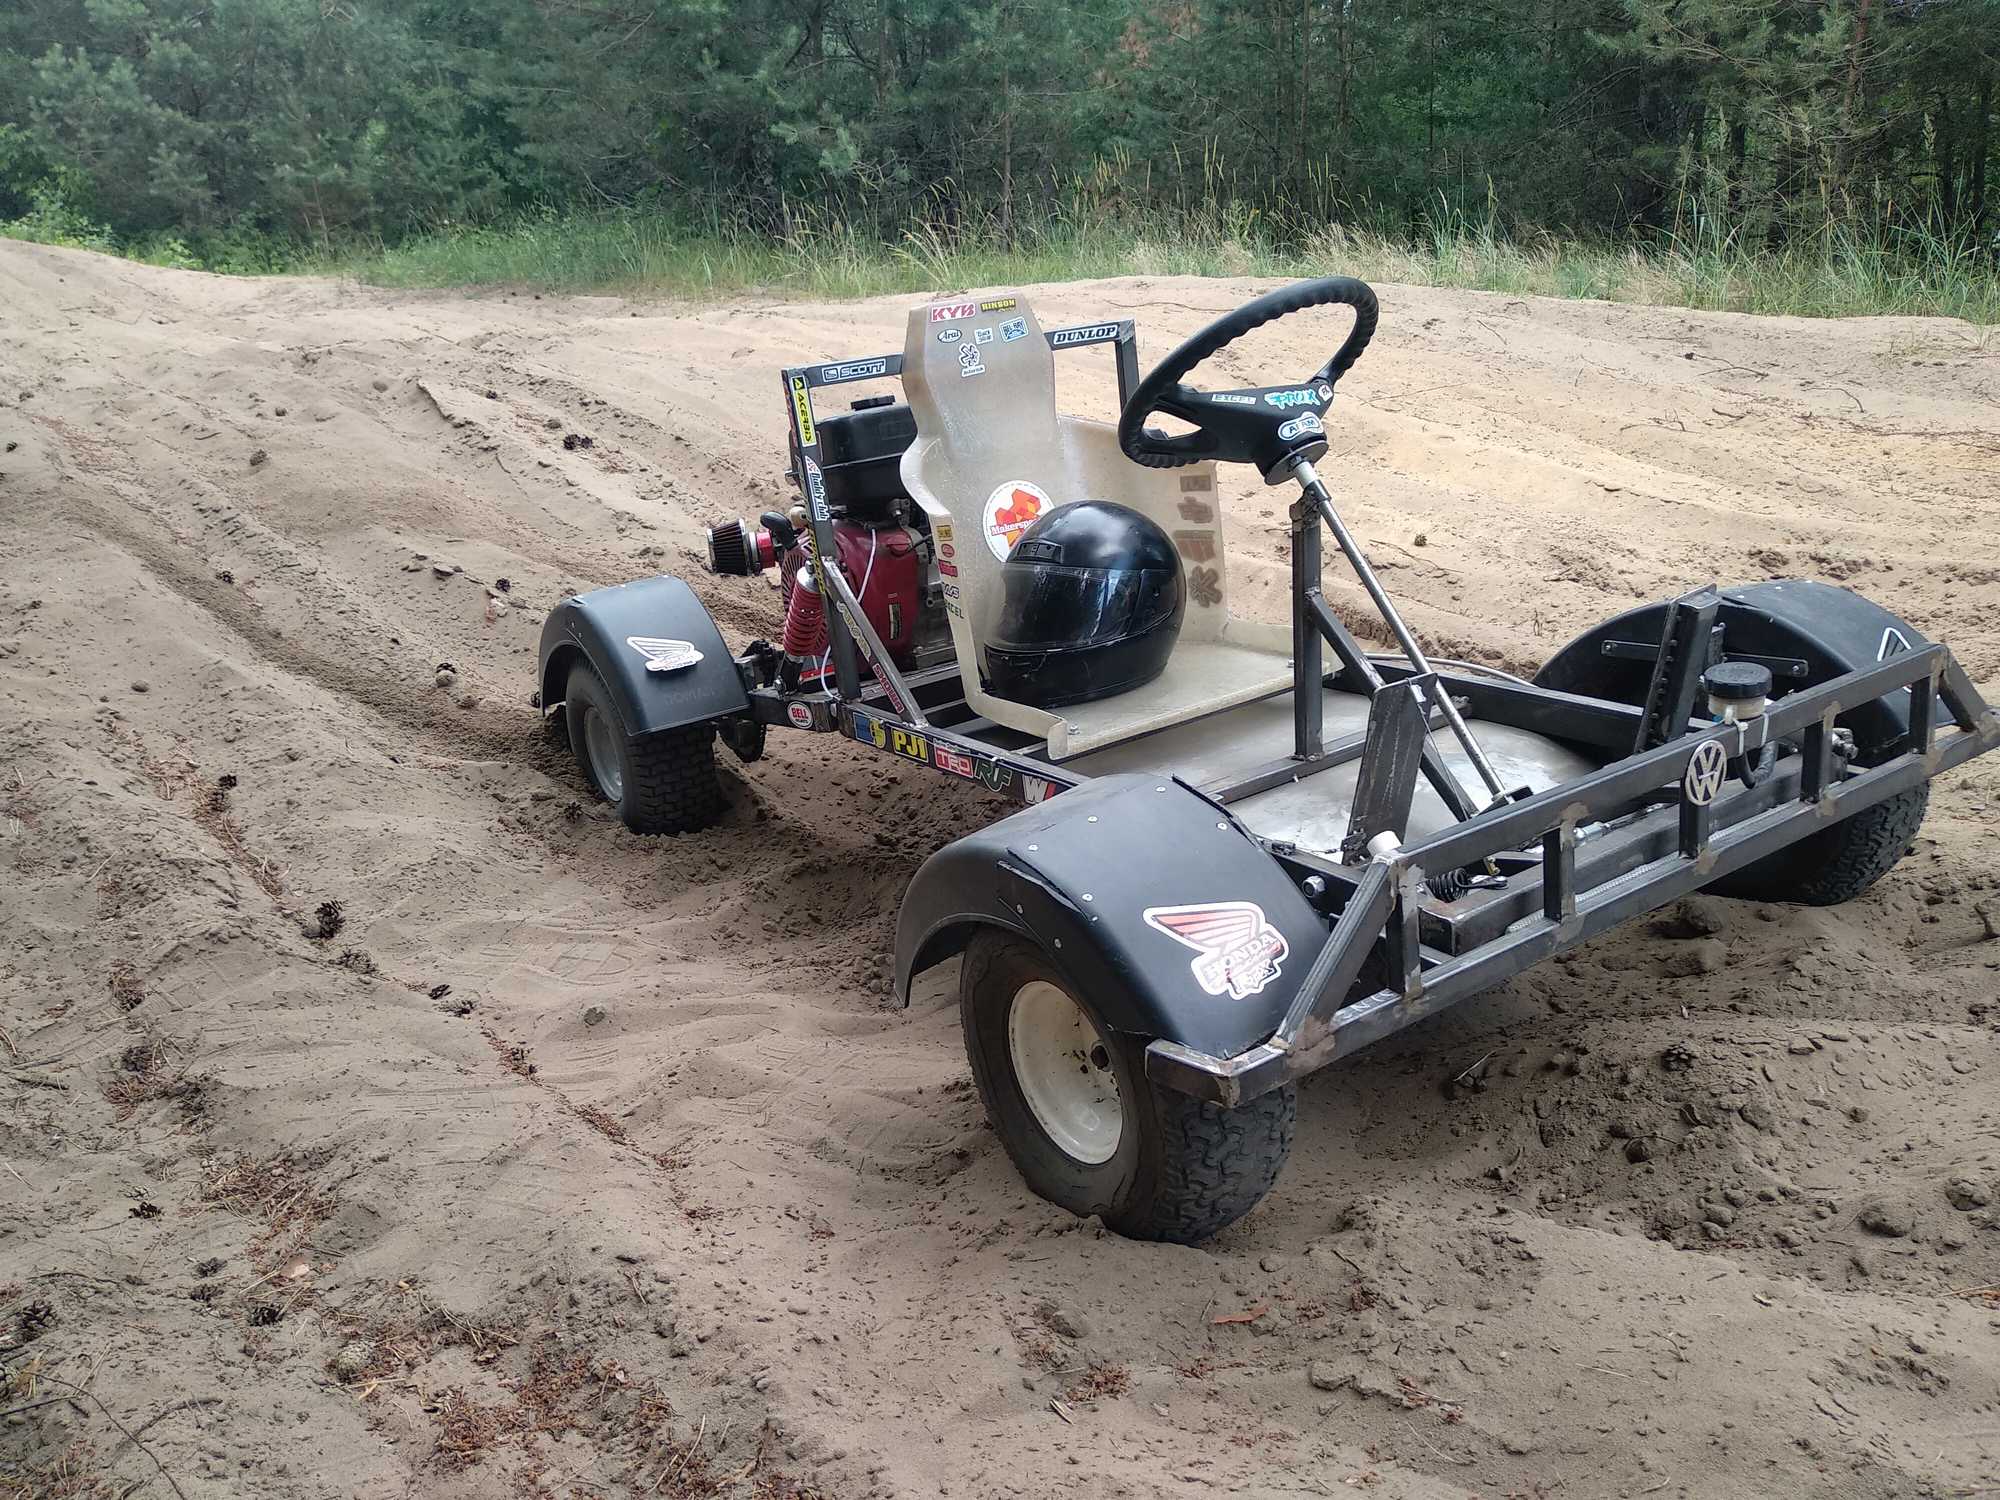
For now it’s kinda done and awaiting for its time on the track! How it goes you can see below.
https://youtu.be/a1fVYdpzswQ